WK 3 Update & Wall Sconce Light Makeover
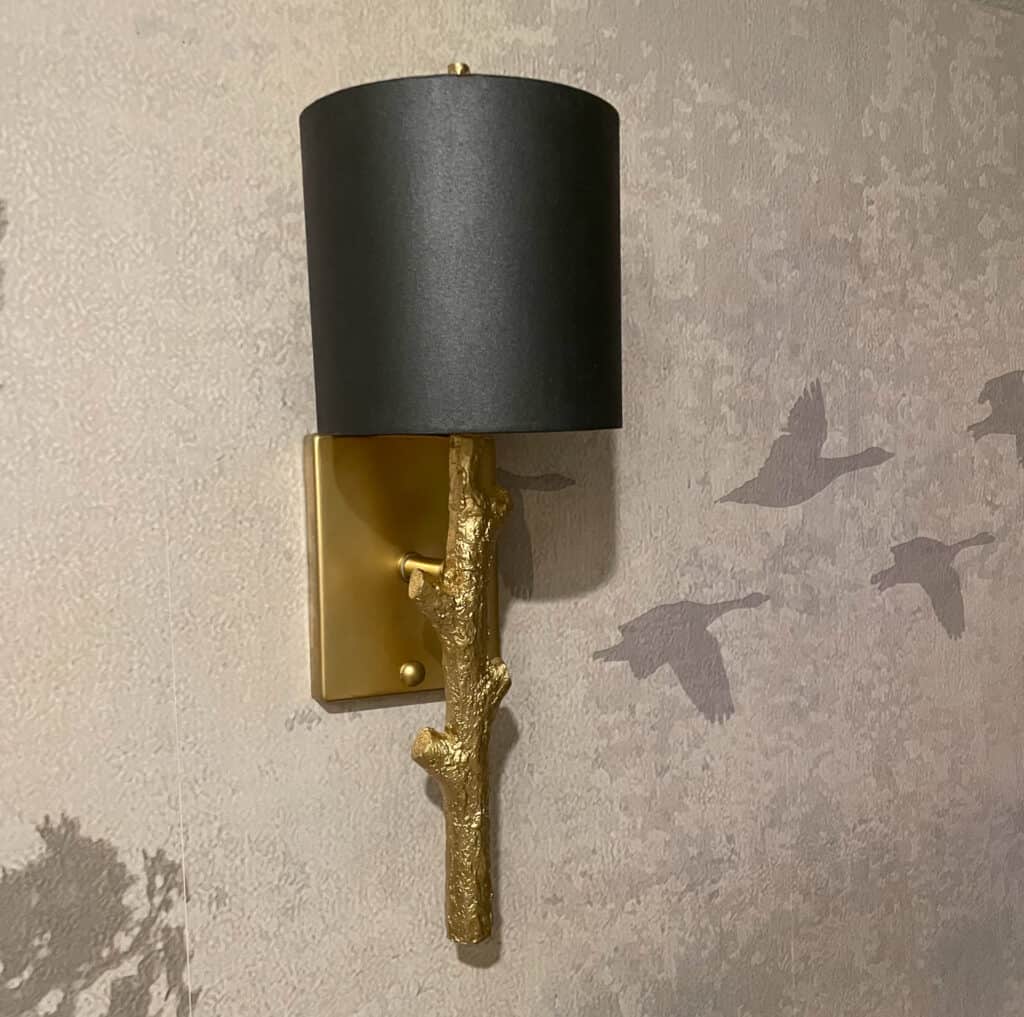
Week 3 is here and we are in the thick of it, one big hurdle has been the wall sconce light makeover. The style looks amazing but the execution required a bit of ingenuity.
So much to talk about this week! Everything from fabrics to furnishings – things have had to adjust. Speaking of adjusting, wait till you hear about the wall sconce light makeover.
I have so enjoyed participating in One Room Challenge event, our first one was way back in 2015 when we gave the pantry some serious love and organization. After that, I was hooked on this great event – so of our rooms have been completed and so many friends made over the years.
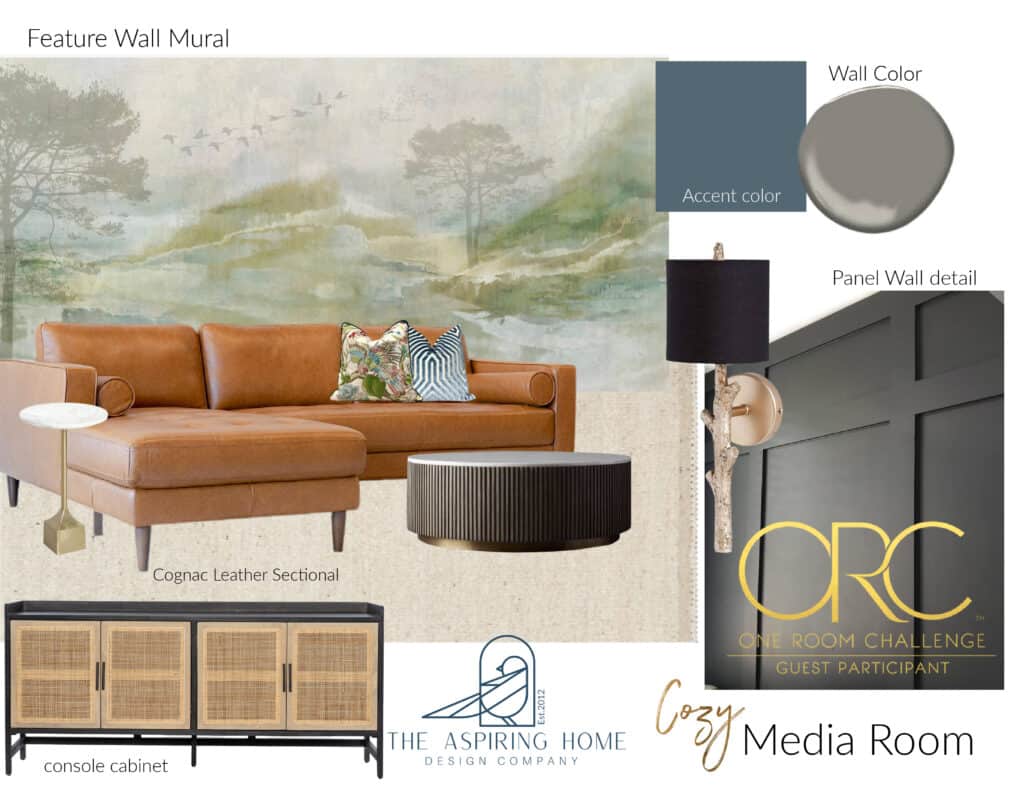
This season the ORC is partnering with Apartment Therapy for media and we are taking on the media room, creating a cozy place for fun evenings. It’s been a big project with a lot of it being the tech side with speakers and cat 5 wiring. This is what I came up with for the pretty part:
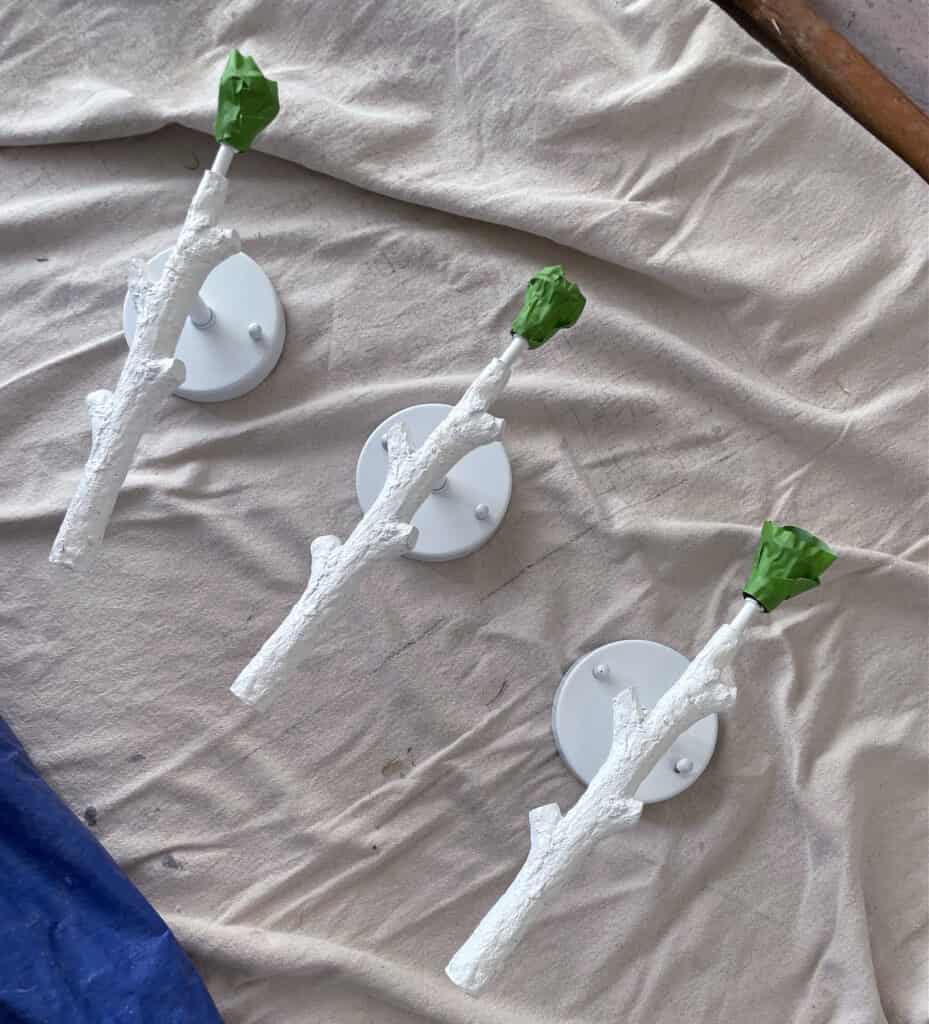
This week has been all about the lighting for me. I bought this sconces you see in white…cause they were cheaper. You know how that can go. It’s been a little bit of work but I love the way they look.
How did I give the wall sconce light a makeover?
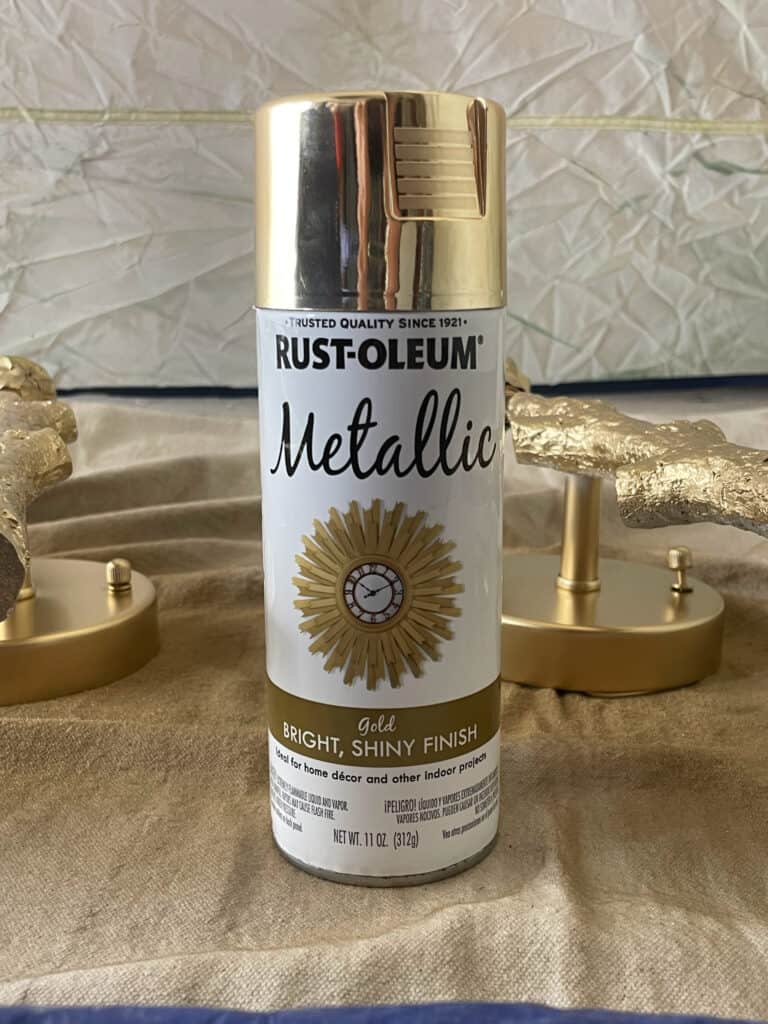
I started by using my favorite gold spray paint –
Now to give the plain shade a little glamour. I broke out my stash of DecoArt paints and tried the matte metallic in charcoal and gave it a go.
I used a square tip brush and applied light layers and feathered out the edges to avoid streaks. All was going amazing until it wasn’t.
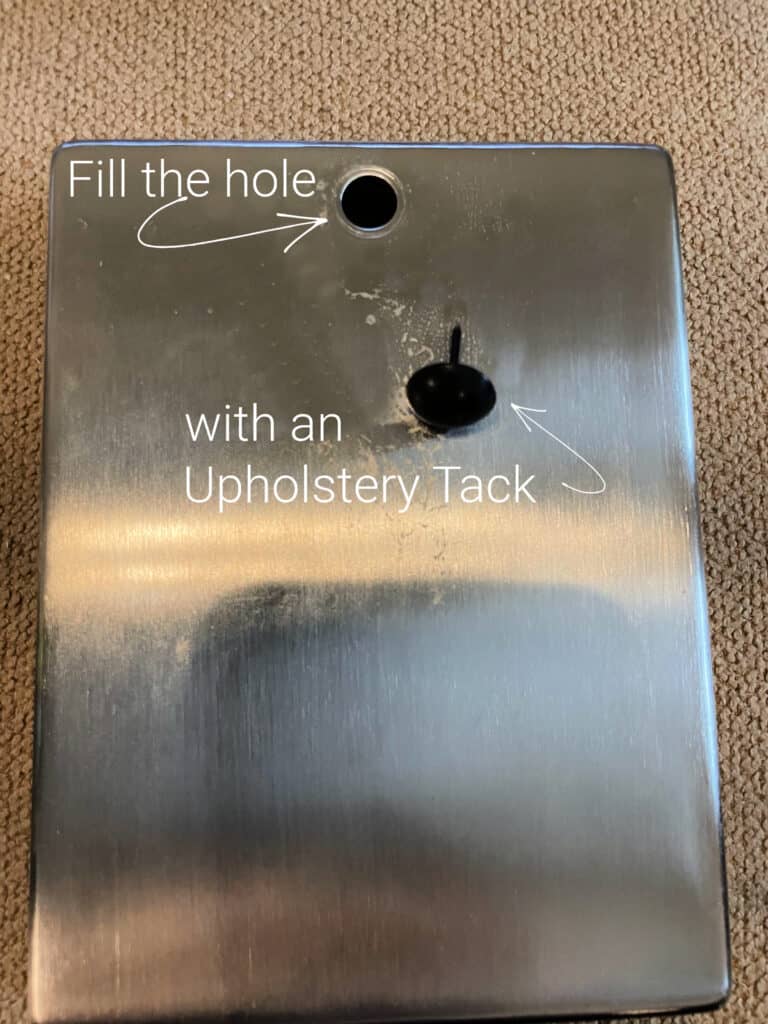
When we took down the current sconces, the opening called for a rectangle base. This wouldn’t be such a problem but mural wall opening was just a little bit too big to use the round base so we had to switch bases and plug the old how and drill a new one for the sconce.
I plugged the old hole by using an upholstery nail and securing with a little Gorilla glue. Then I sprayed it with the same gold paint.
Ready to see the new look?
It’s so lovely in person – I dig the warm old school glow! Here it is without the light on.
Forgive the crazy shadows – tough in a room where there isn’t much light for a reason. But look at that lampshade, love the slight metallic sheen.
What else is happening in the room?
A whole lot. HA! I changed the fabric choices. I loved the originals but my momma sense came into play and all I could think of is the “what ifs”.
You know, what if someone accidentally spills on my expensive fabrics?
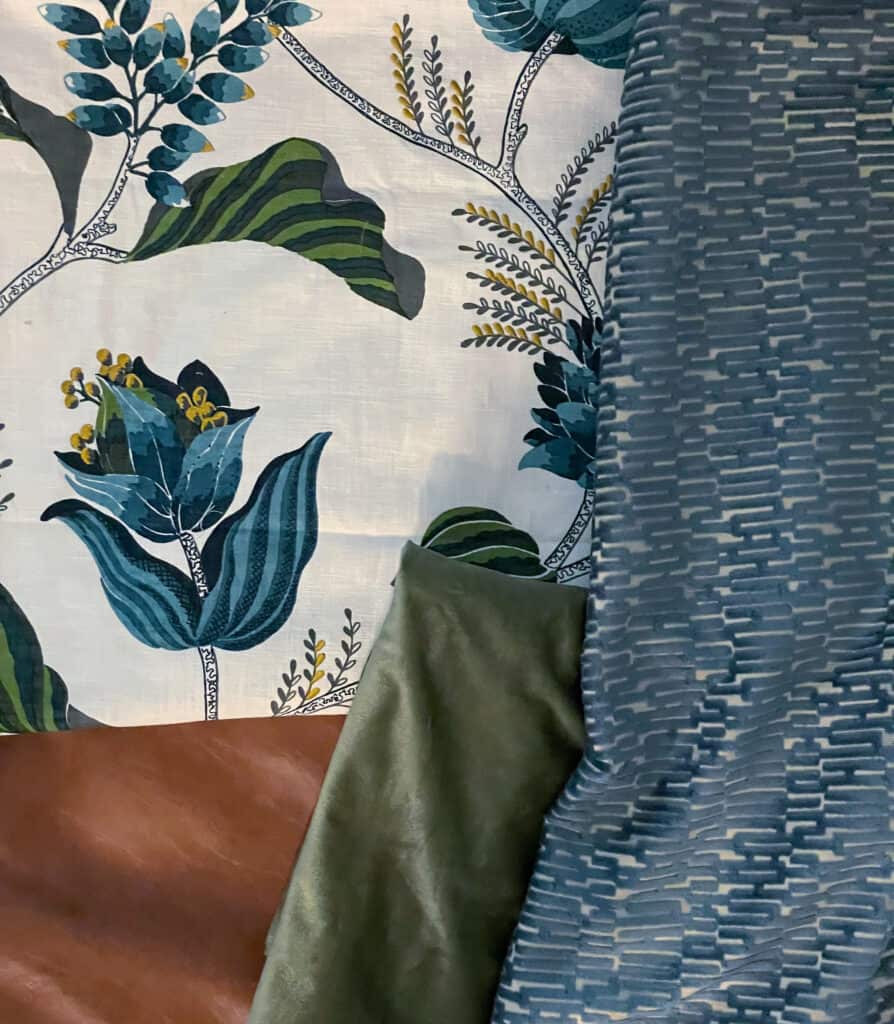
I would be on edge all the time. So, I changed it up. I found a Crypton velvet with a similar vibe to the original pick. I went with a very pretty more cost effective floral instead of the beautiful bird fabric.
Next I went hunting in my fabrics and found leftover faux leather and a great green velvet leftover from past projects.
Take a look at the new combo, I kinda excited about it, especially when you think about the beautiful accent color, “Waterloo” by Sherwin Williams coming in.
Next change up – the console project.
This one disappointed me. We searched high and low for Ikea Ivar cabinets – literally all over the great state of Texas and came up with zilch.
Wait, I take that back, we did find someone who bought a bunch and jacked the prices up. It just wasn’t worth it so we said goodbye to that Ikea hack idea.
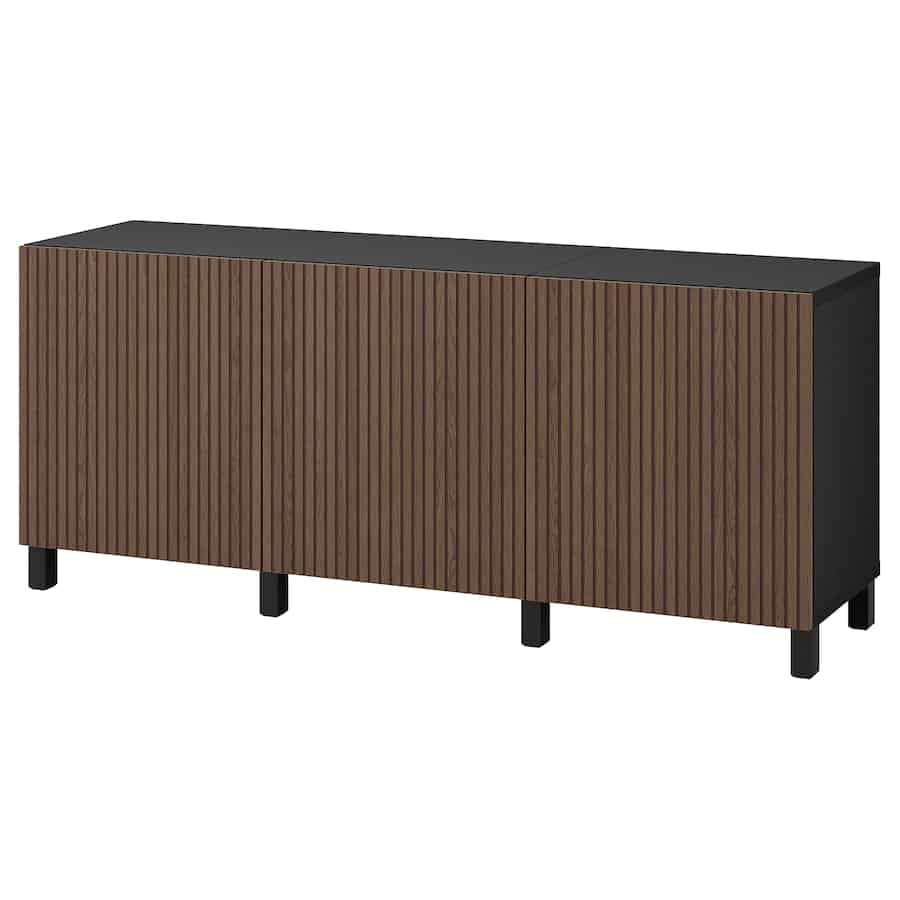
We ended up purchasing this console –
Now, think of this piece with a faux Carrera marble top and sides to brighten it up. Maybe cooler legs?
In any case, it arrives on Tuesday! Now with the new front style, I wanted to change the coffee table design.
Now the coffee table(s) will sport vintage movie reels similar to this one –
Finally all of the speakers are hung and the projector is next. Paint is going to go up and I have a special idea for the ceiling and we are working the details out.
Fingers crossed we can make it work!
Let’s head over to the One Room Challenge website to catch up with everyone during this week three update!
