Sew A Simple Pillow -Wk 6 ORC Media Room Makeover
Time is ticking away and this week was all about the soft goods. Lots of little details were accomplished including how to sew a simple pillow.
I thought it would be fun to share this tutorial “How to sew a simple pillow” with you during our week 6 One Room Challenge update.

Catch Up Here:
Week 1 // Week 2 // Week 3 // Week 4 // Week 5 // You are here // Week 7 // Reveal!
Hard to believe that this 10th year Anniversary event deadline is fast approaching. We are so close to be being finished! I can not wait to share the reveal with you.
One of my favorite things to do is to sew. I love making things. So, when the opportunity to bring in something pretty, I pulled out the old sewing machine. One of my biggest hints, sew simple items and use beautiful fabrics.
Hence this sew a simple pillow tutorial. Now, I do not claim to be an accomplished seamstress or an expert BUT I can sew a straight line and that’s all you need. You will find a ton of tutorials on the internet and this is just one more.
Step 1 – Cut your fabric to size
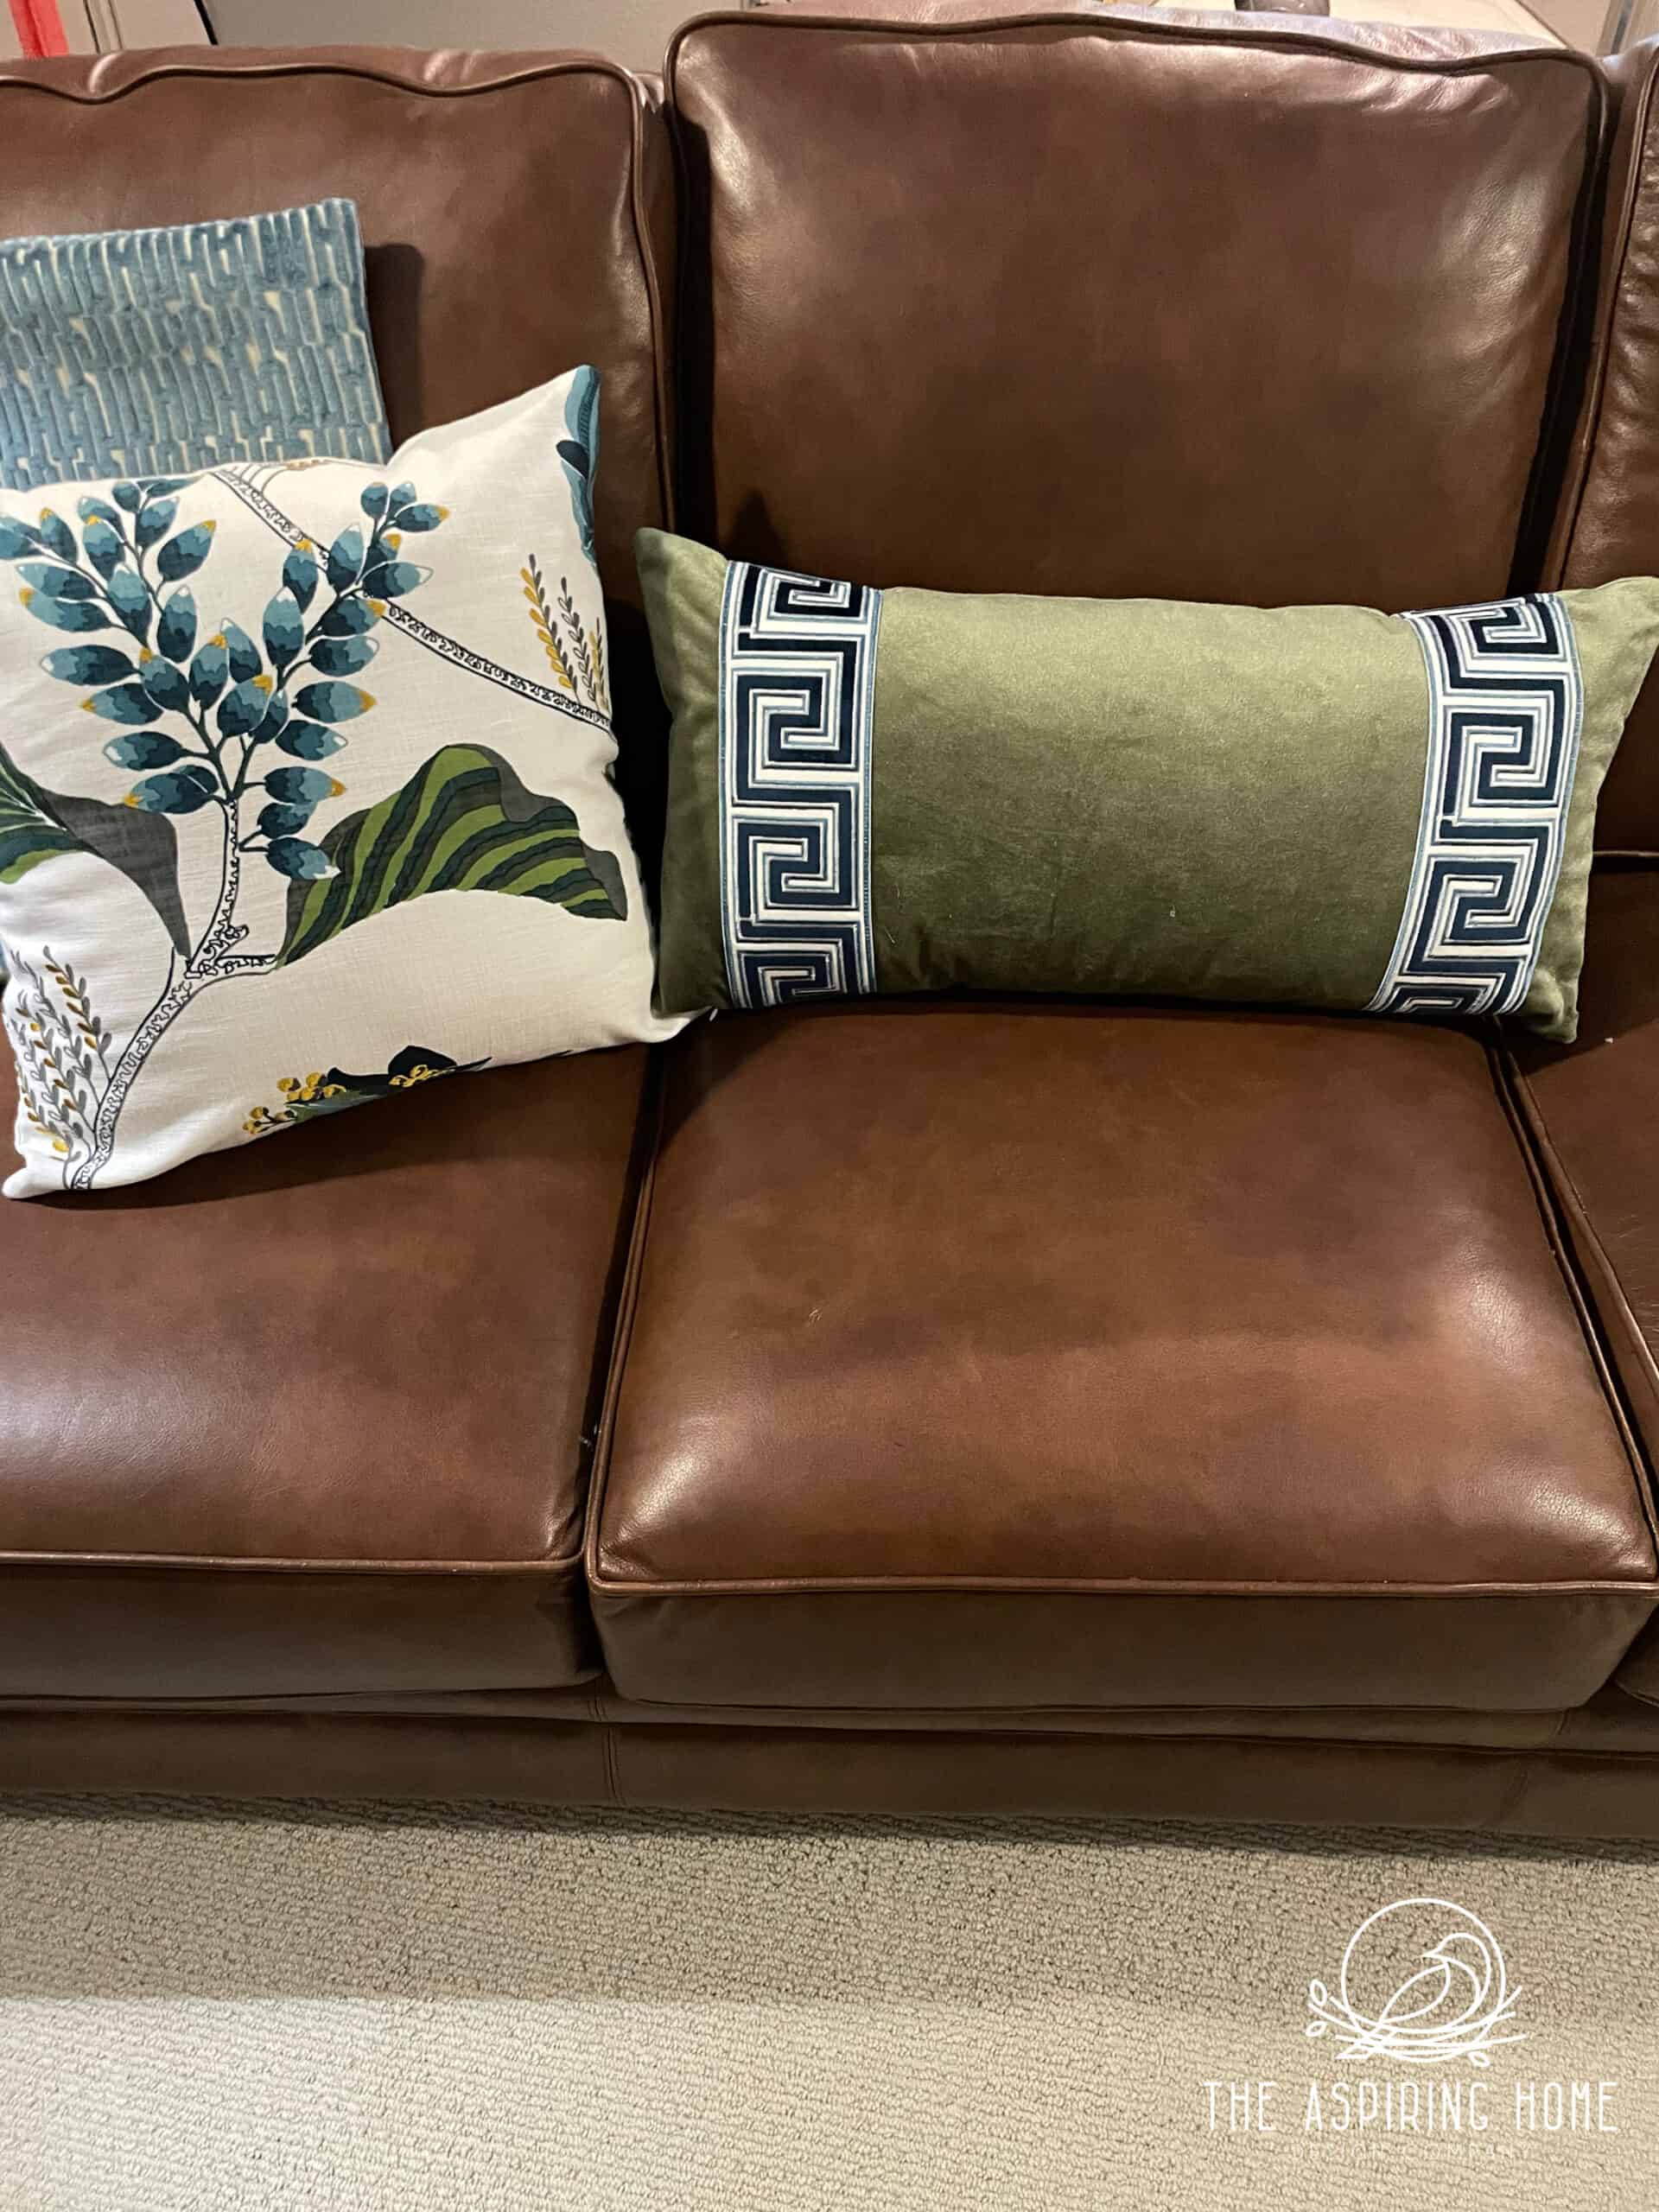
For this project I chose to use 18 inch and 20 inch pillows. I liked the ratio on my couch. So, I cut out squares that were: 18 inches and 20 inches.
Why 18 inches and 20 inches? I wanted fluffy full pillows. By making them the exact size and stuffing them with 20 inch and 22 inch inserts – I pillows that will actually support your back while lounging and watching movies.
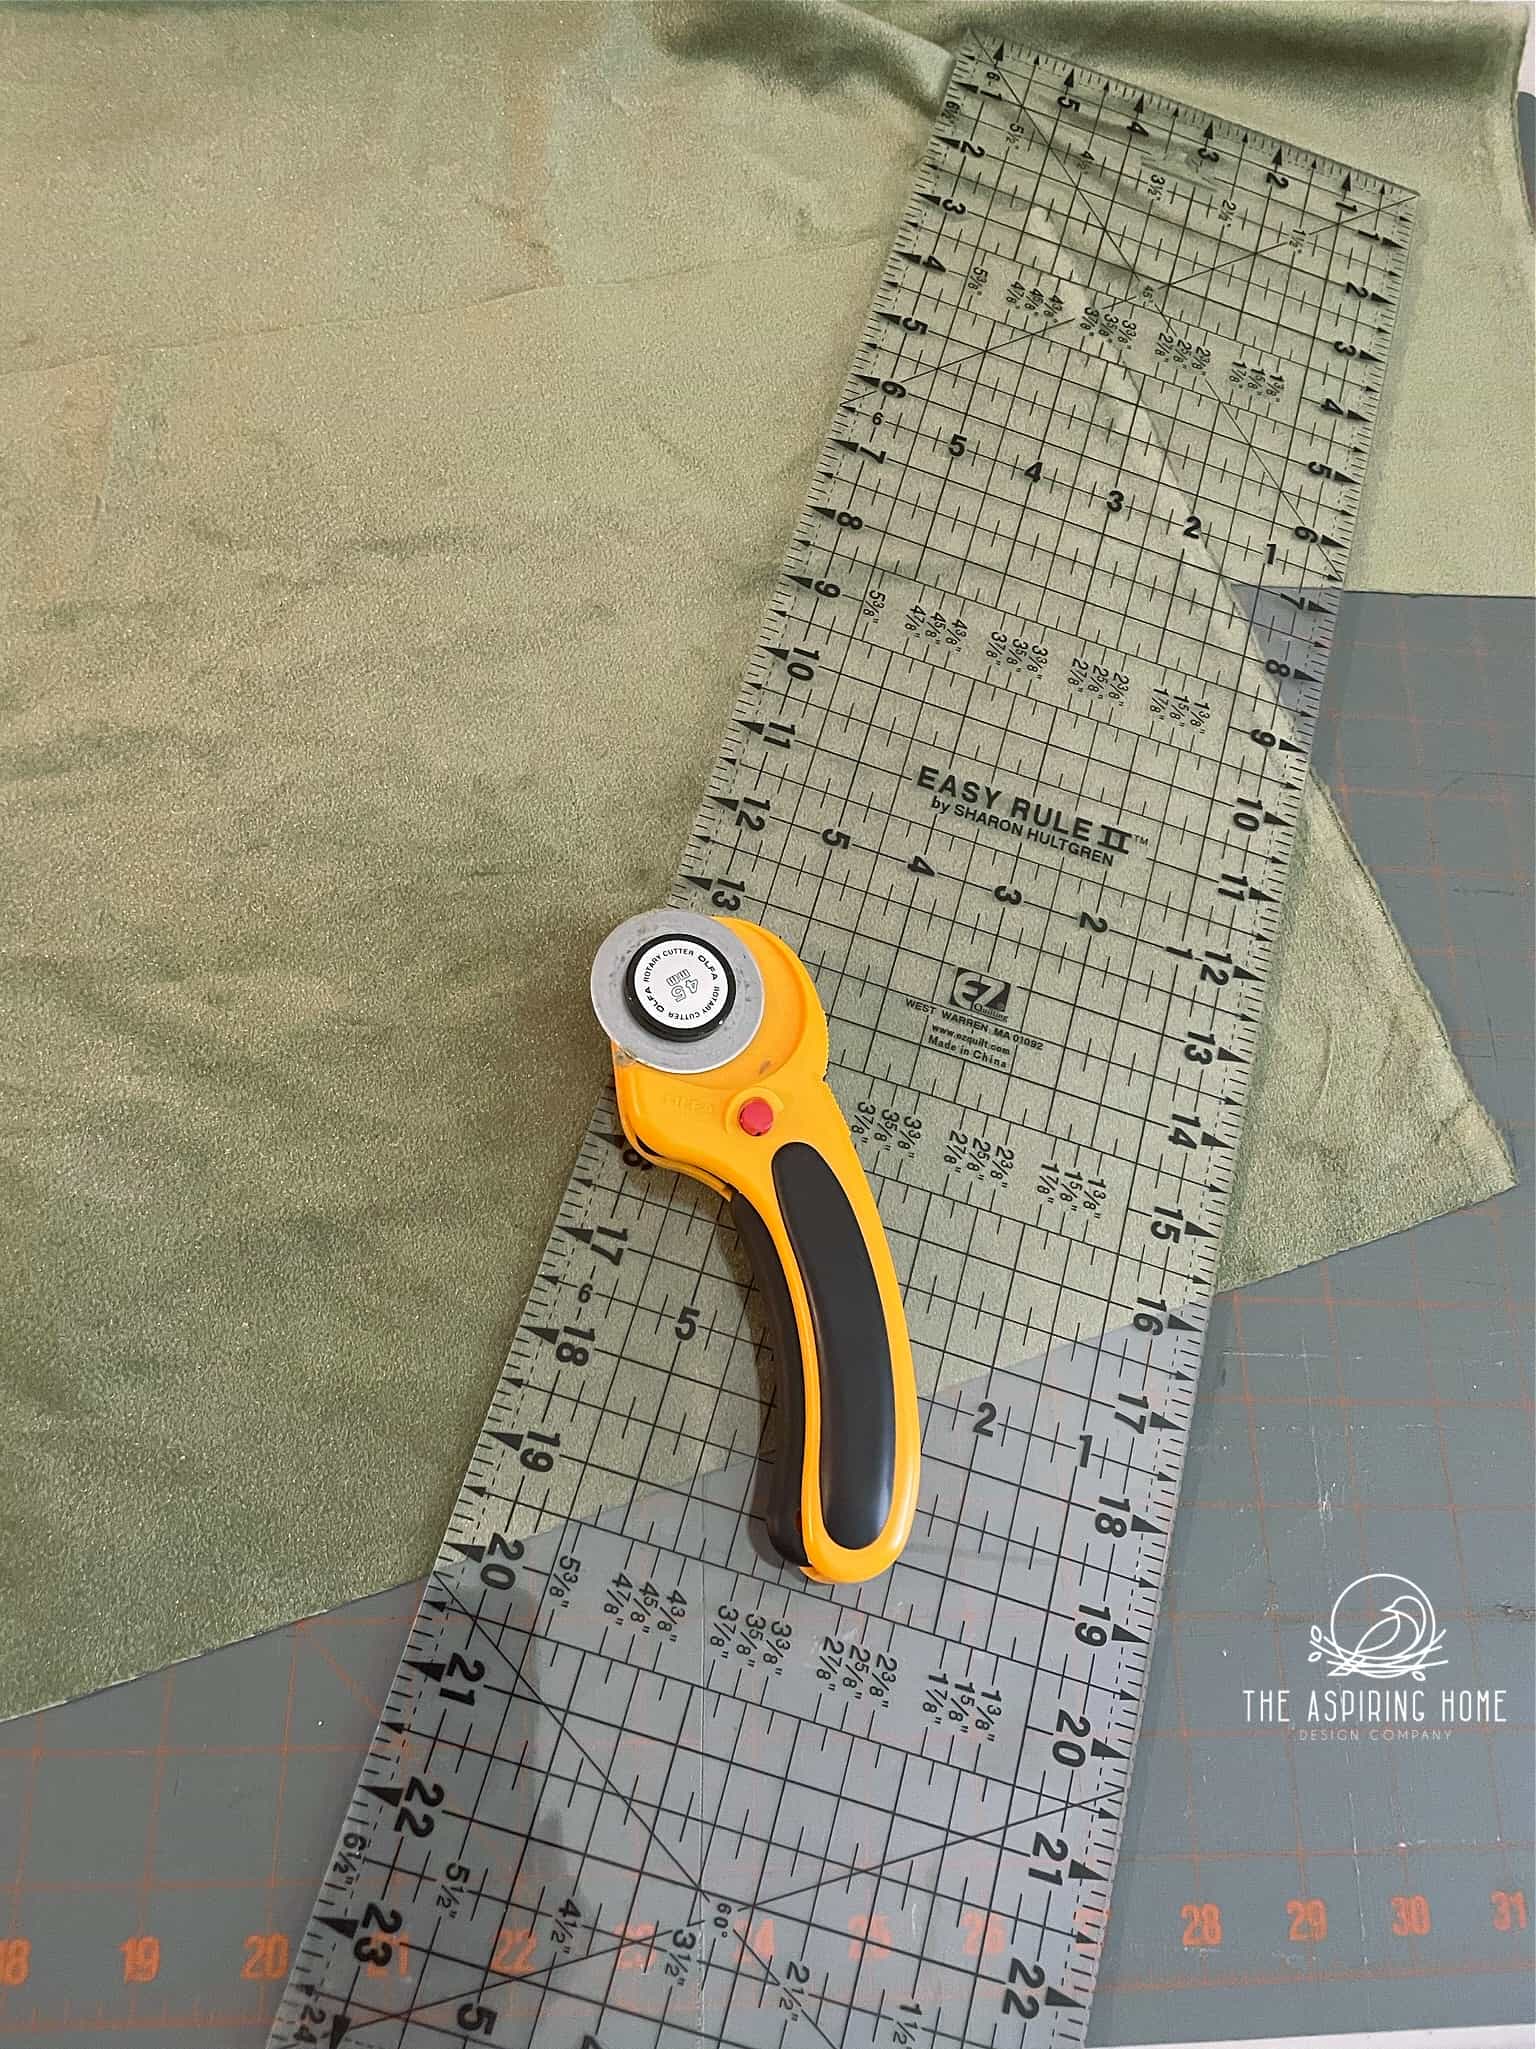
*make quick work of cutting by using a rotary blade and cutting mat.
Step 2 – Stitch the lower edge of each pillow panel
With your serger or with the zigzag stitch on your machine, reenforce the lower edge. I added an invisible zipper to each of my pillows and this will help with potential fraying as you apply the zipper to the pillow panels.
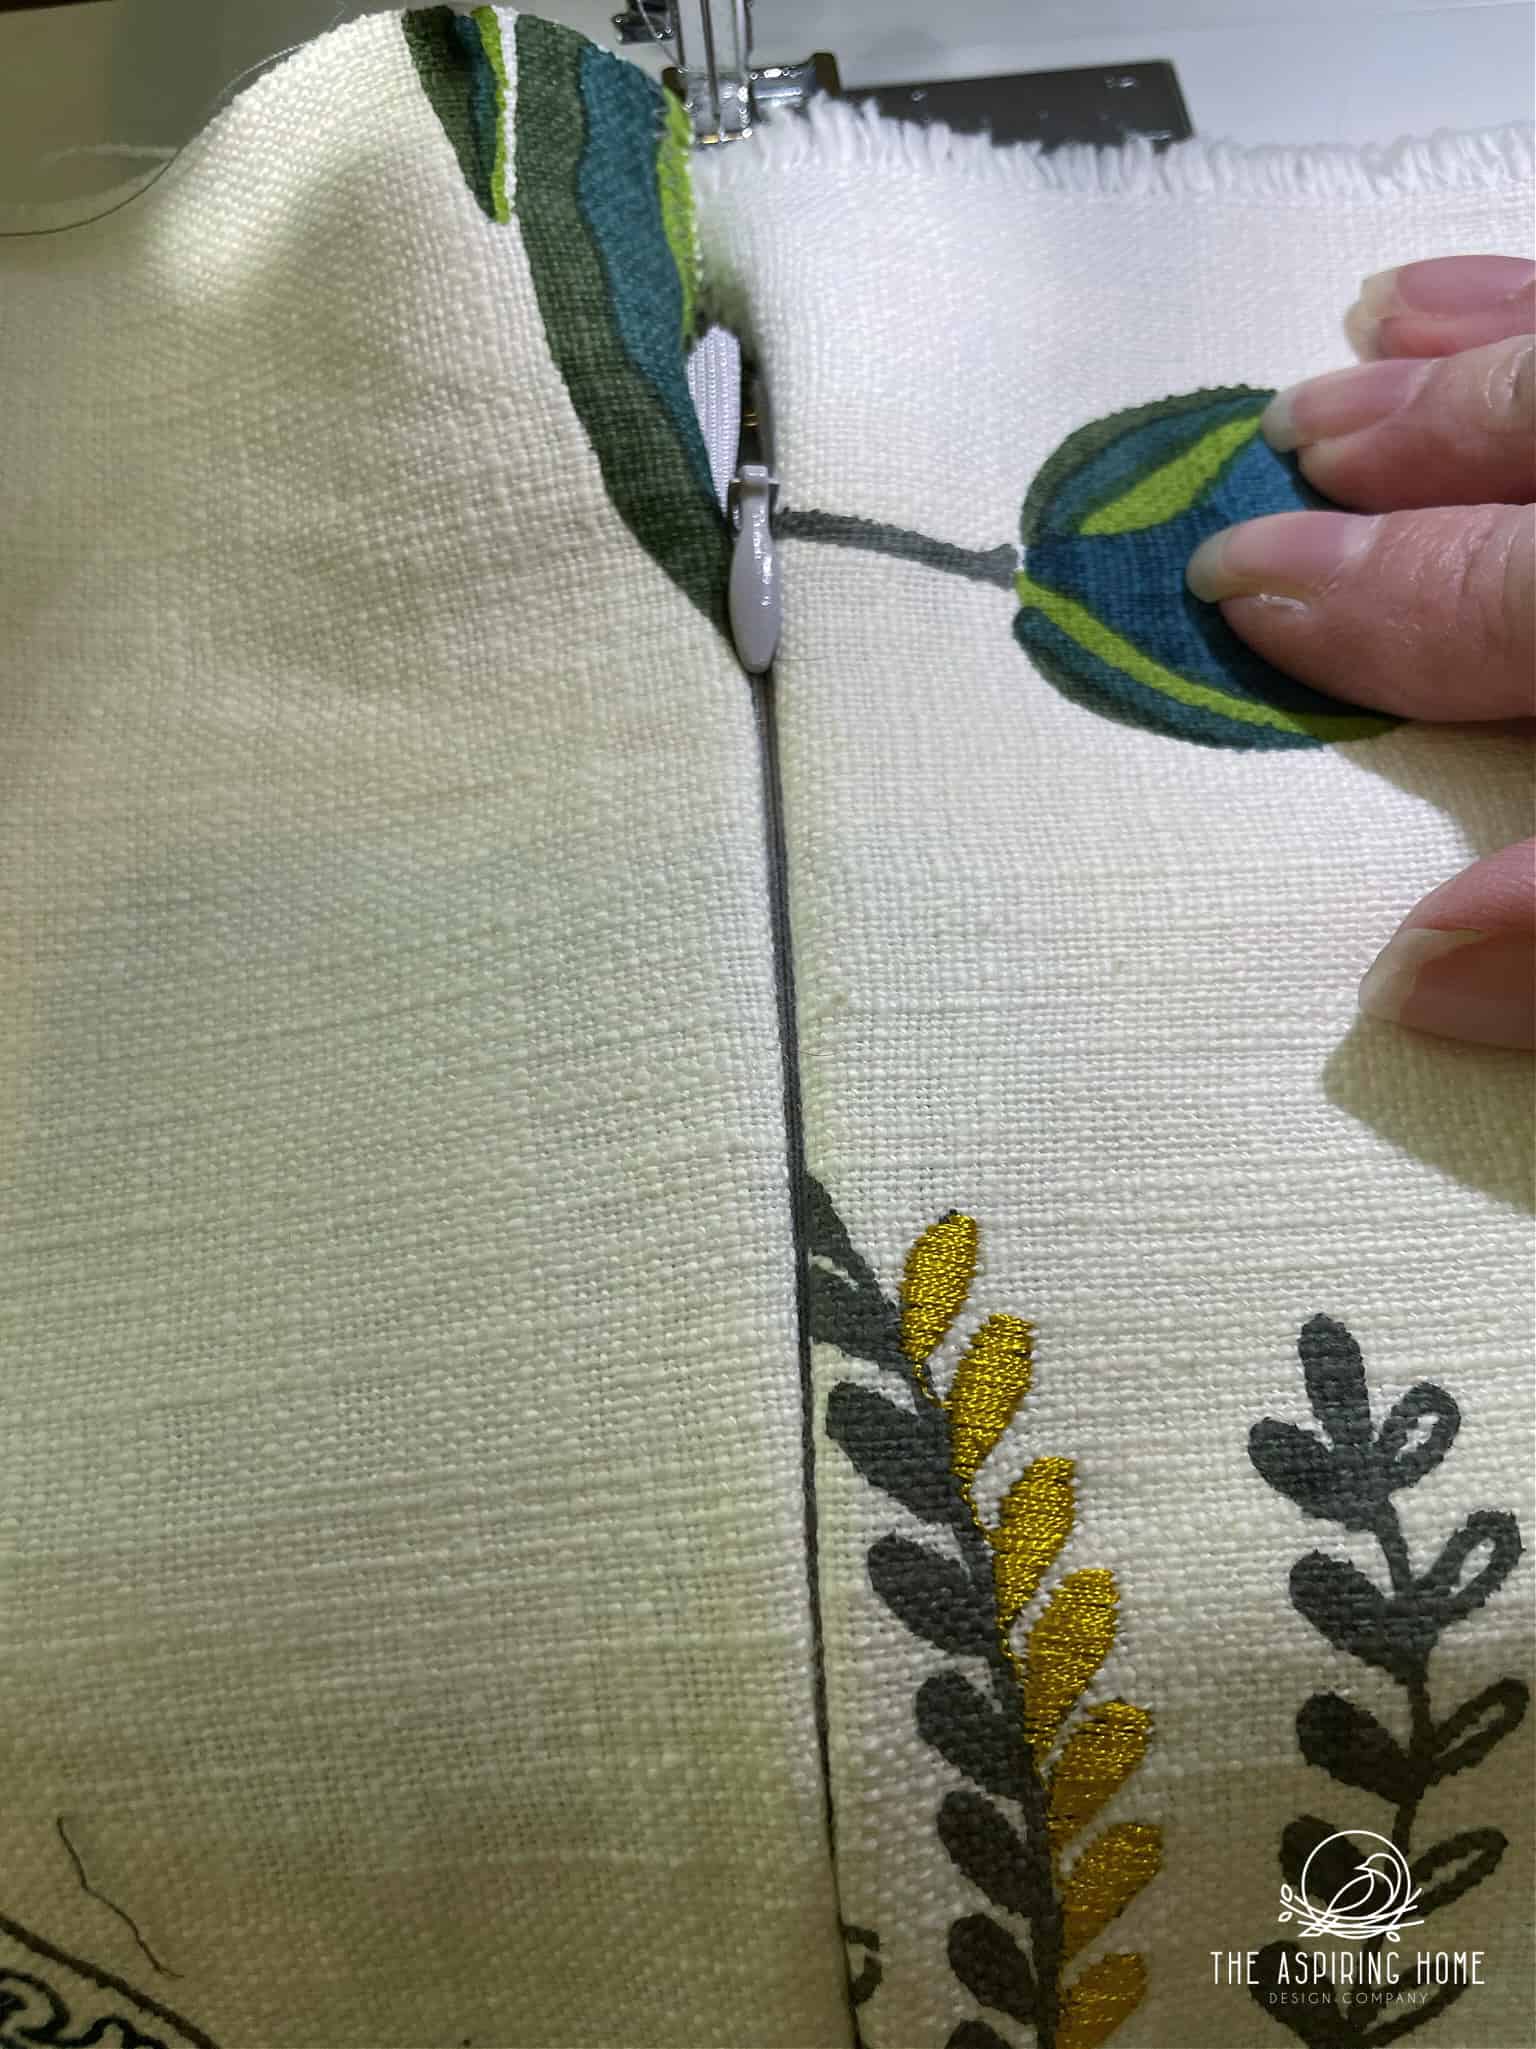
Step 3 – Pin the zipper to fabric
Measure 2 inches in on each side of the fabric. This will be the start and stop point of your nylon zipper. IF your zipper is too long, mark your desired point to the end zipper and carefully sew over the mark creating a new stopping point.
Cut the new zipper stopping point 1 inch longer.
Carefully pin the invisible zipper to the fabric. The zipper should face down as you are pinning it.
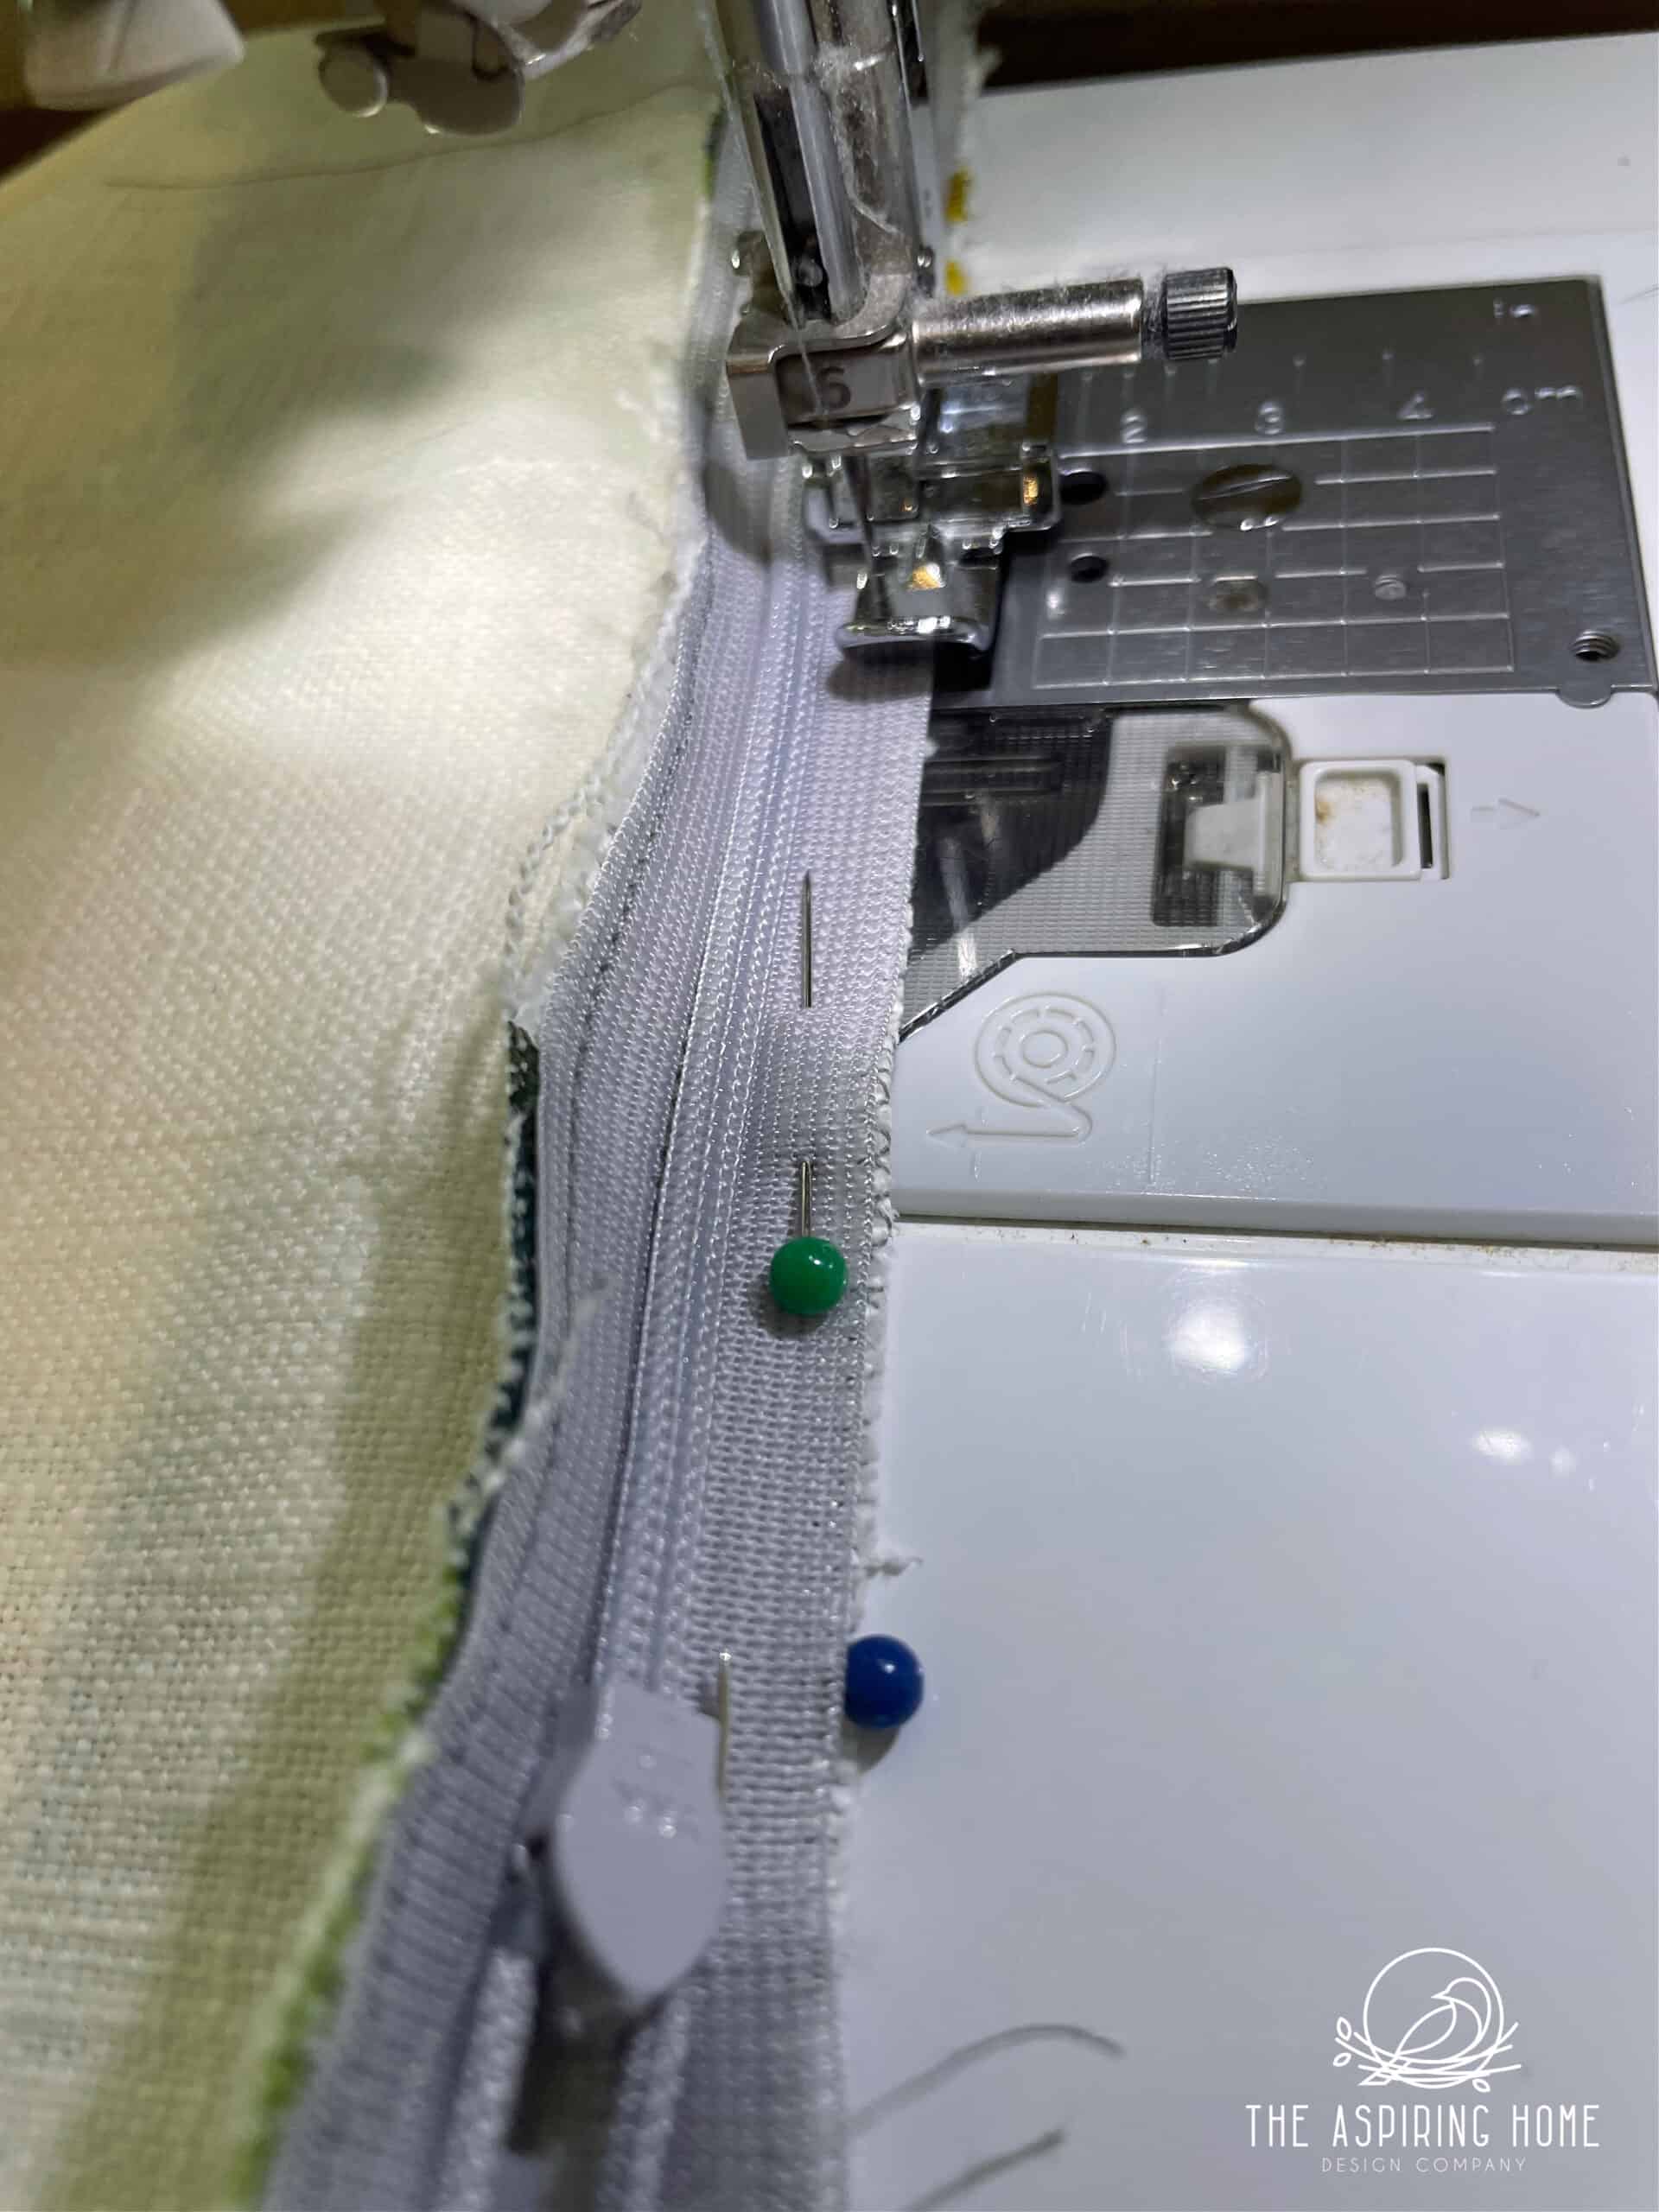
Notice that this is showing the second side of the fabric pinned to the zipper. My apologies, I do not have a clear shot of the first side but pinning the fabric to the zipper is the same method for both sides.
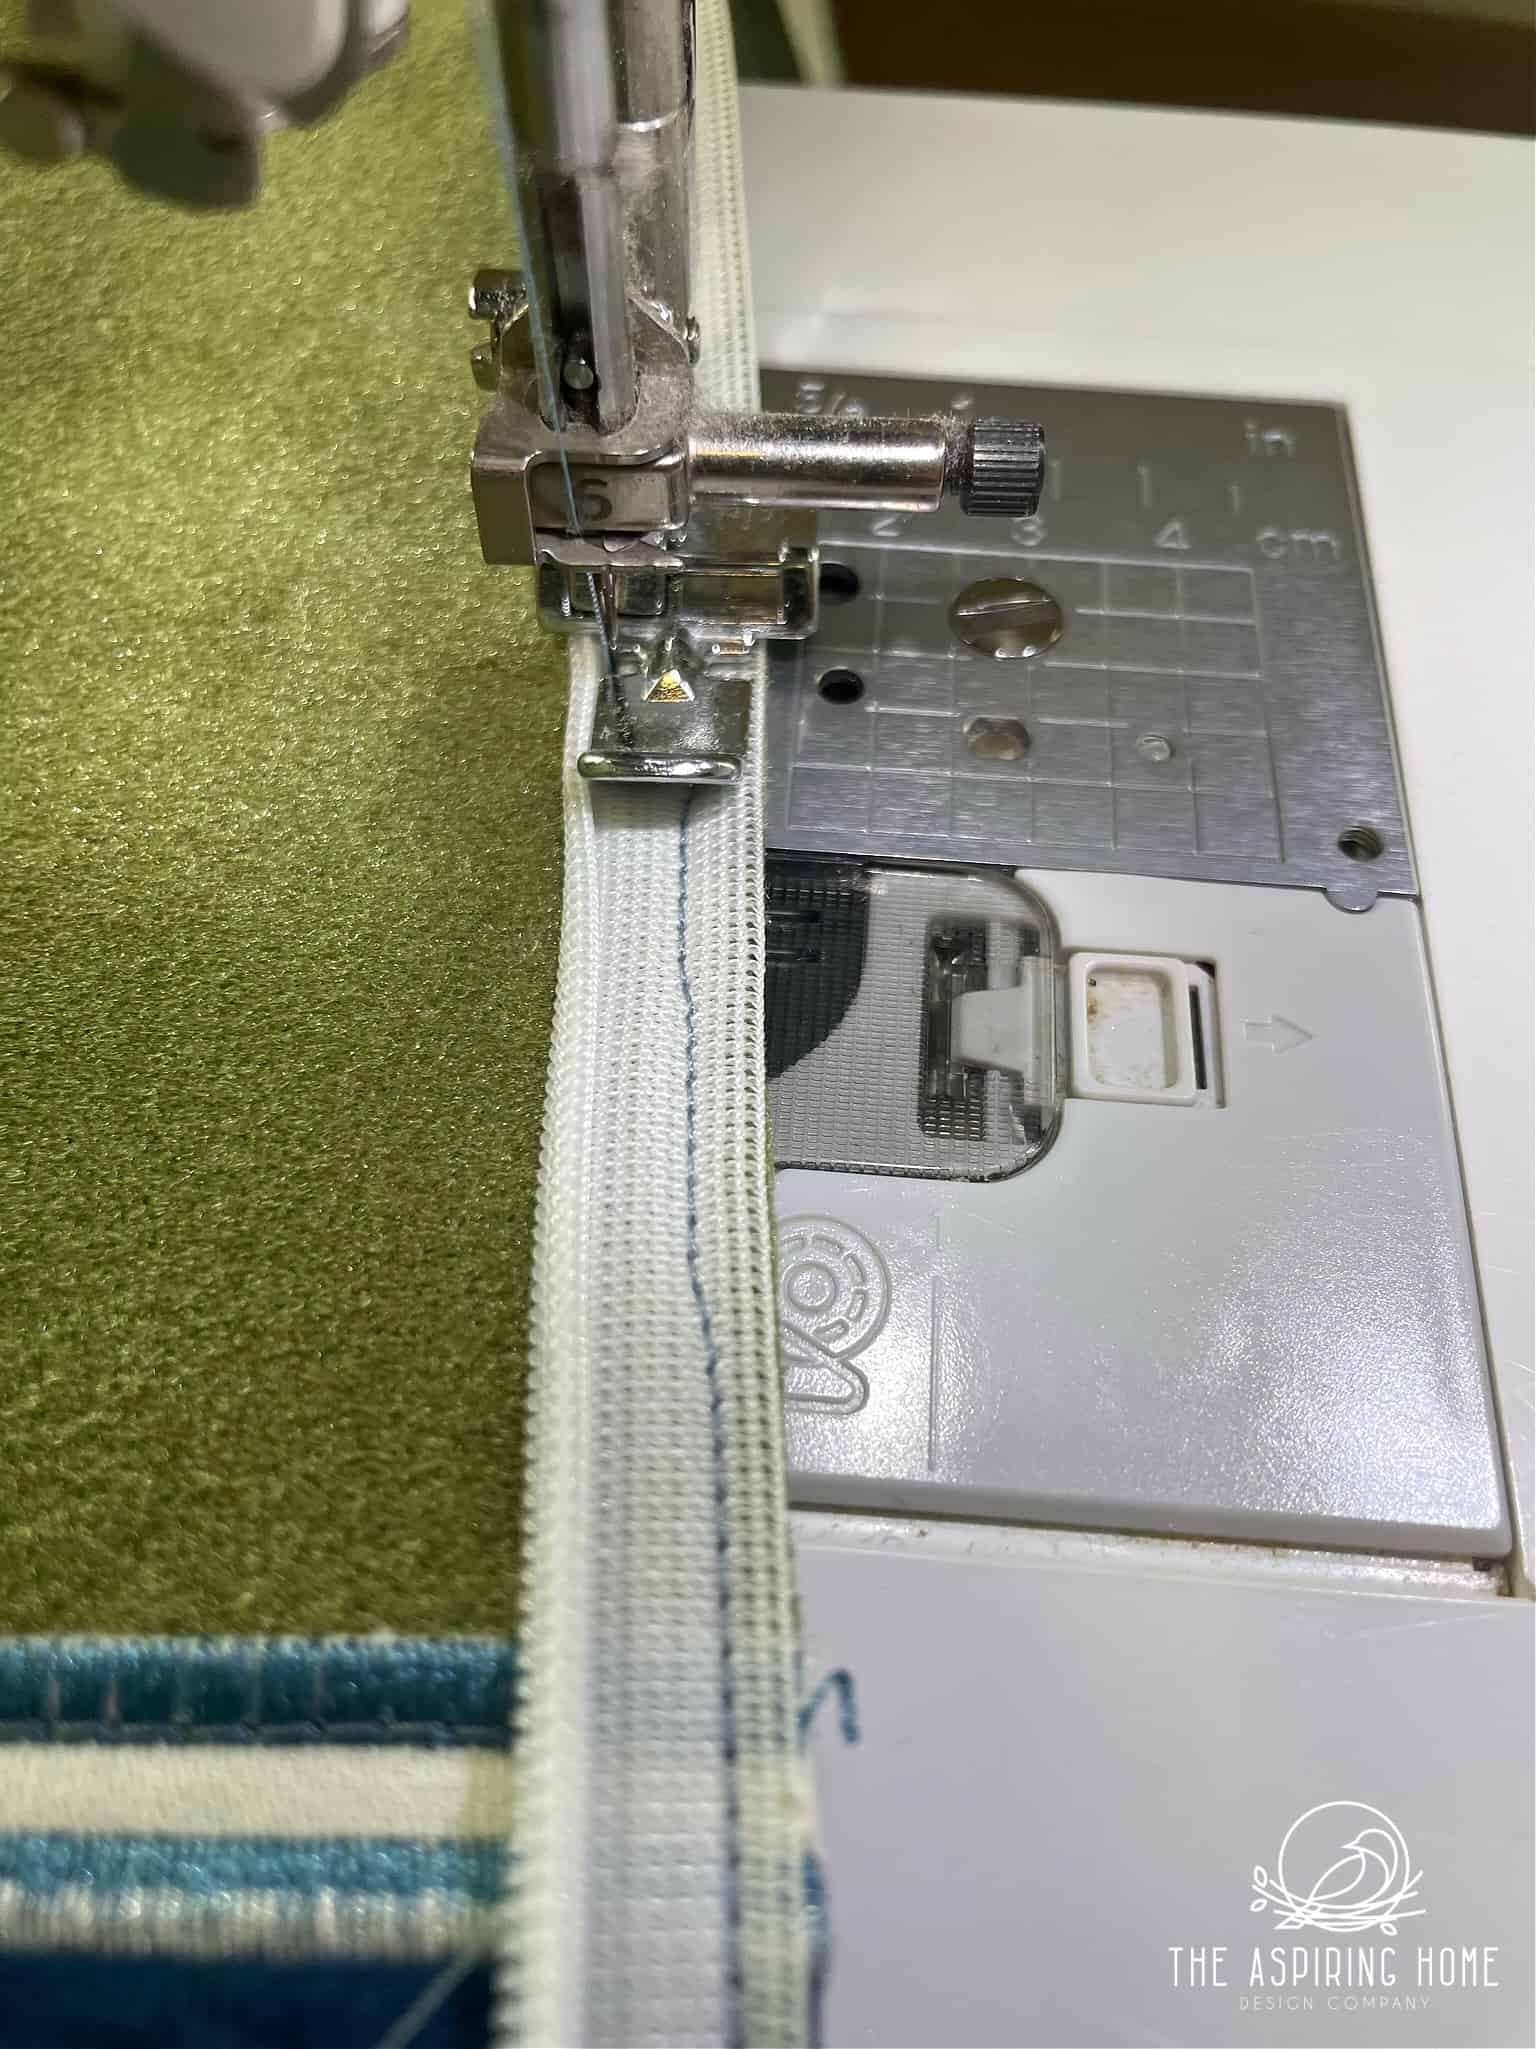
Step 4- Sew the zipper to the fabric
Adding this stitch isn’t necessary but it helps keep the line straight when sewing near the coils later.
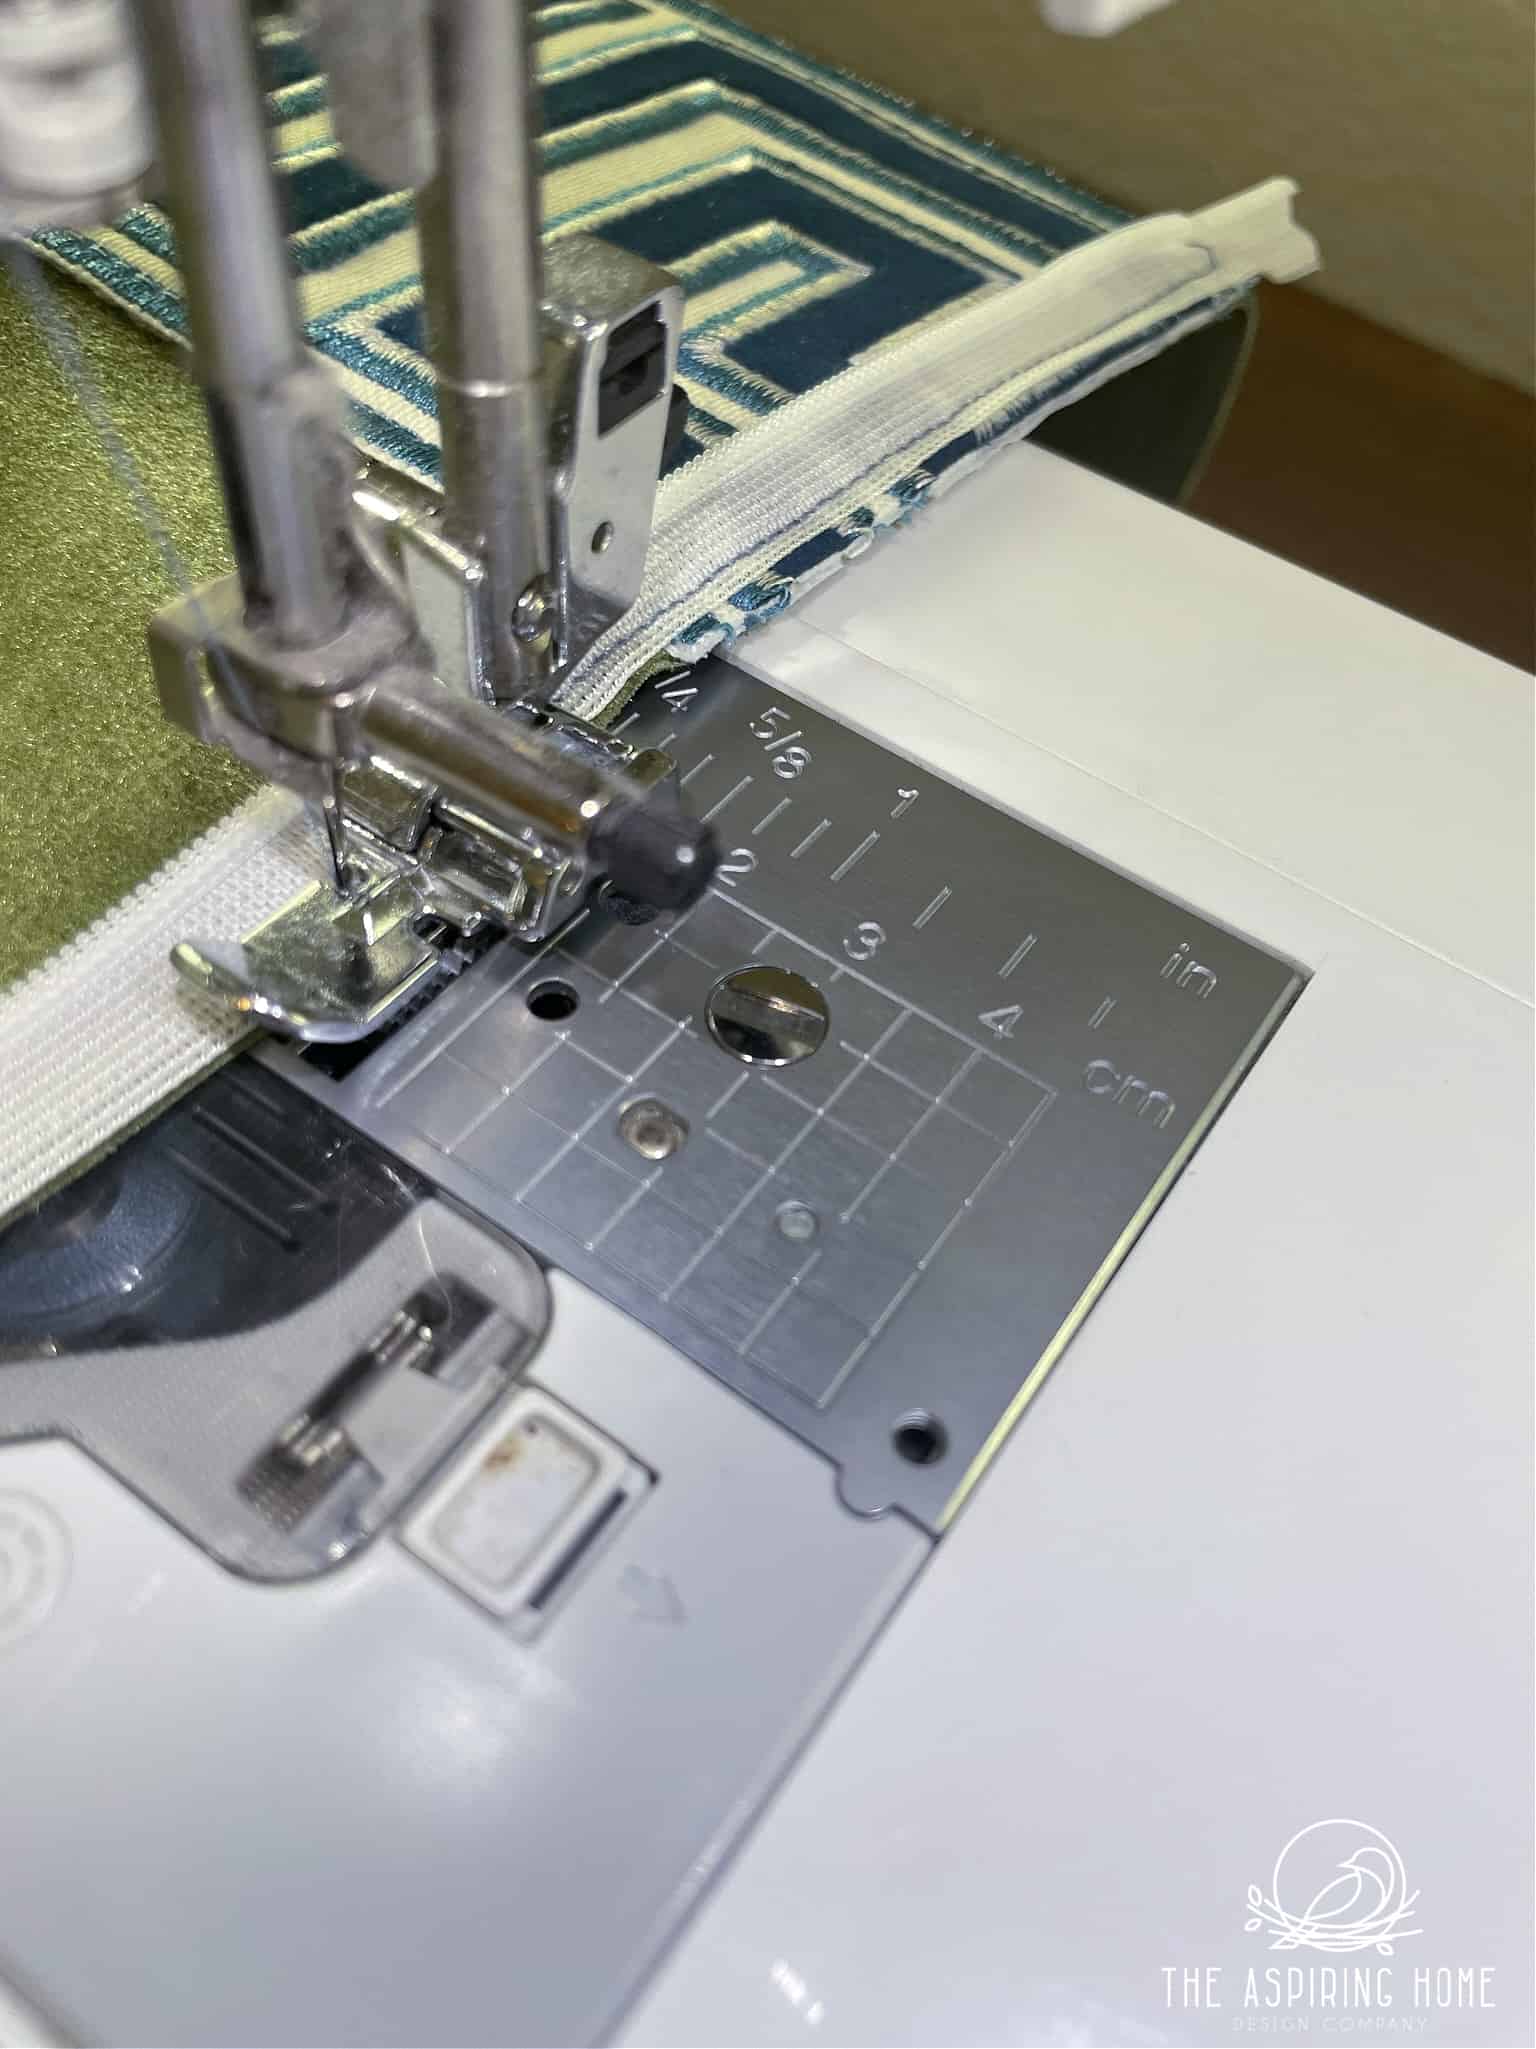
Step 5 – Sew near the zipper coils
Gently with your fingers, roll the zipper coils flat. You will see where the woven area fabric texture changes slightly as you near the coils.
Sew up to the line where the texture changes but do not go over. Believe it or not, sewing too close to the coils will not allow your zipper to close. I tried it, you know just to see. It’s true.
**Repeat steps on 2nd square, remember to line up your fabric so the edges are even.
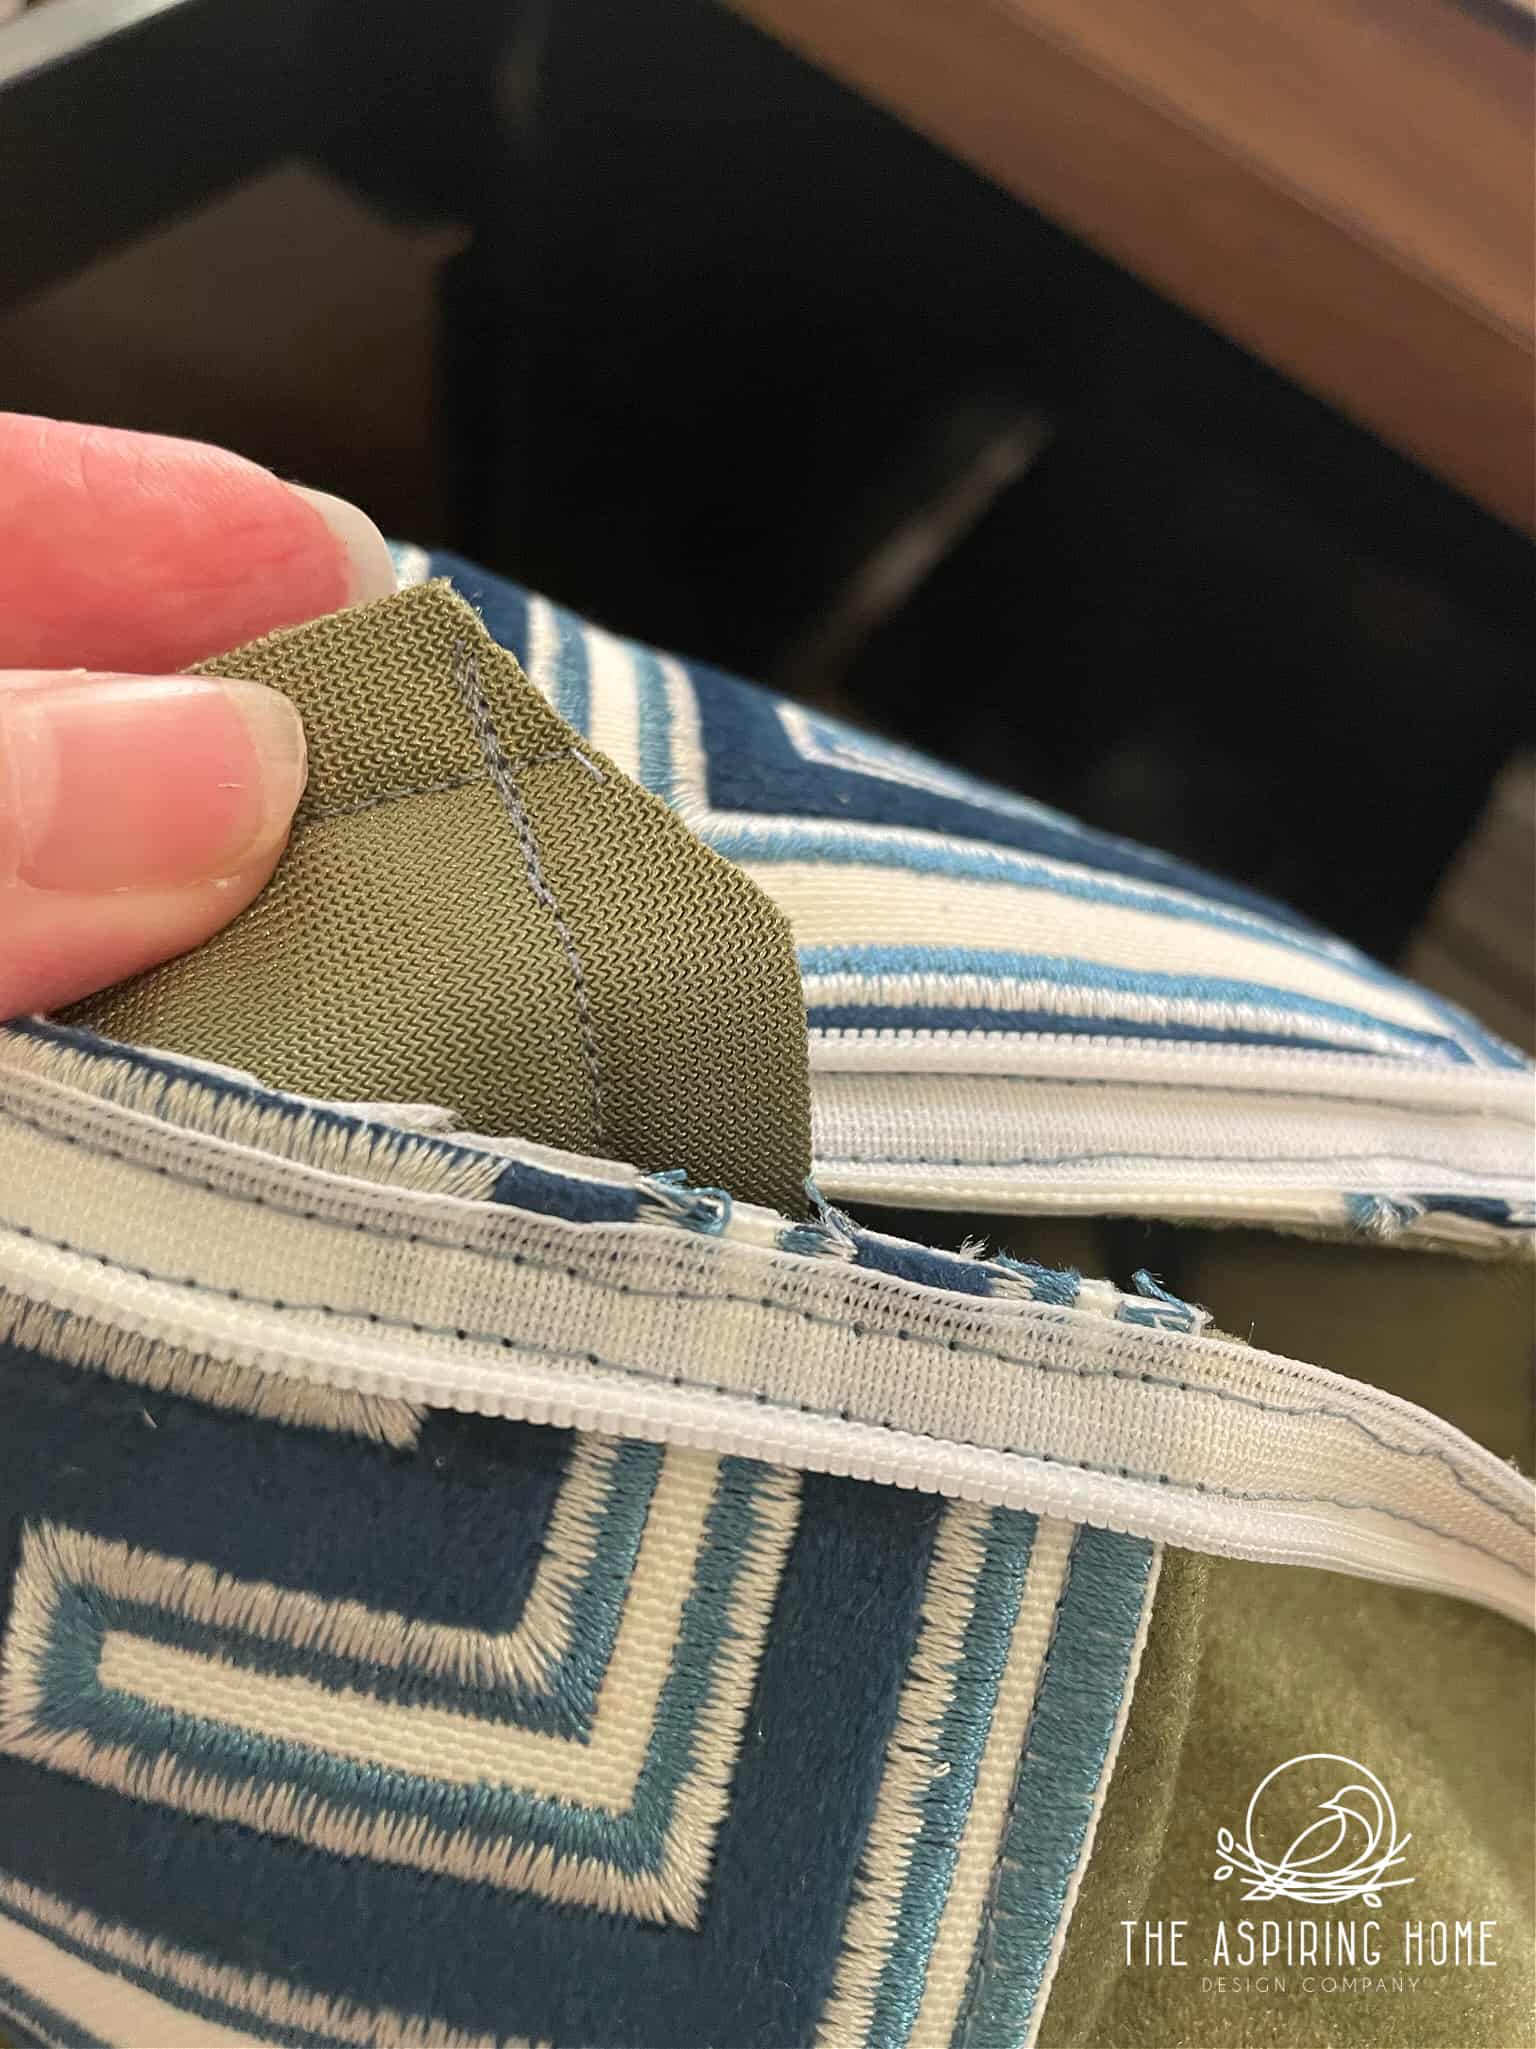
Step 6 – Sew remaining sides of pillow
Before pinning the remaining sides of your pillow, make sure your zipper is open. If not, you will not be able to turn your pillow inside out.
Cut the corners at an angle before turning inside out. Less bulk equals a cleaner corner.
Step 7 – Stuff your pillow
I always buy my inserts 2 inches bigger than the size of my pillow. I like that slightly stuffy full look.
So, since this is also an update post, lets get to it.
We are creeping up to the finish line! The media console has been built and to glam it up we painted the legs in my favorite gold spray paint.
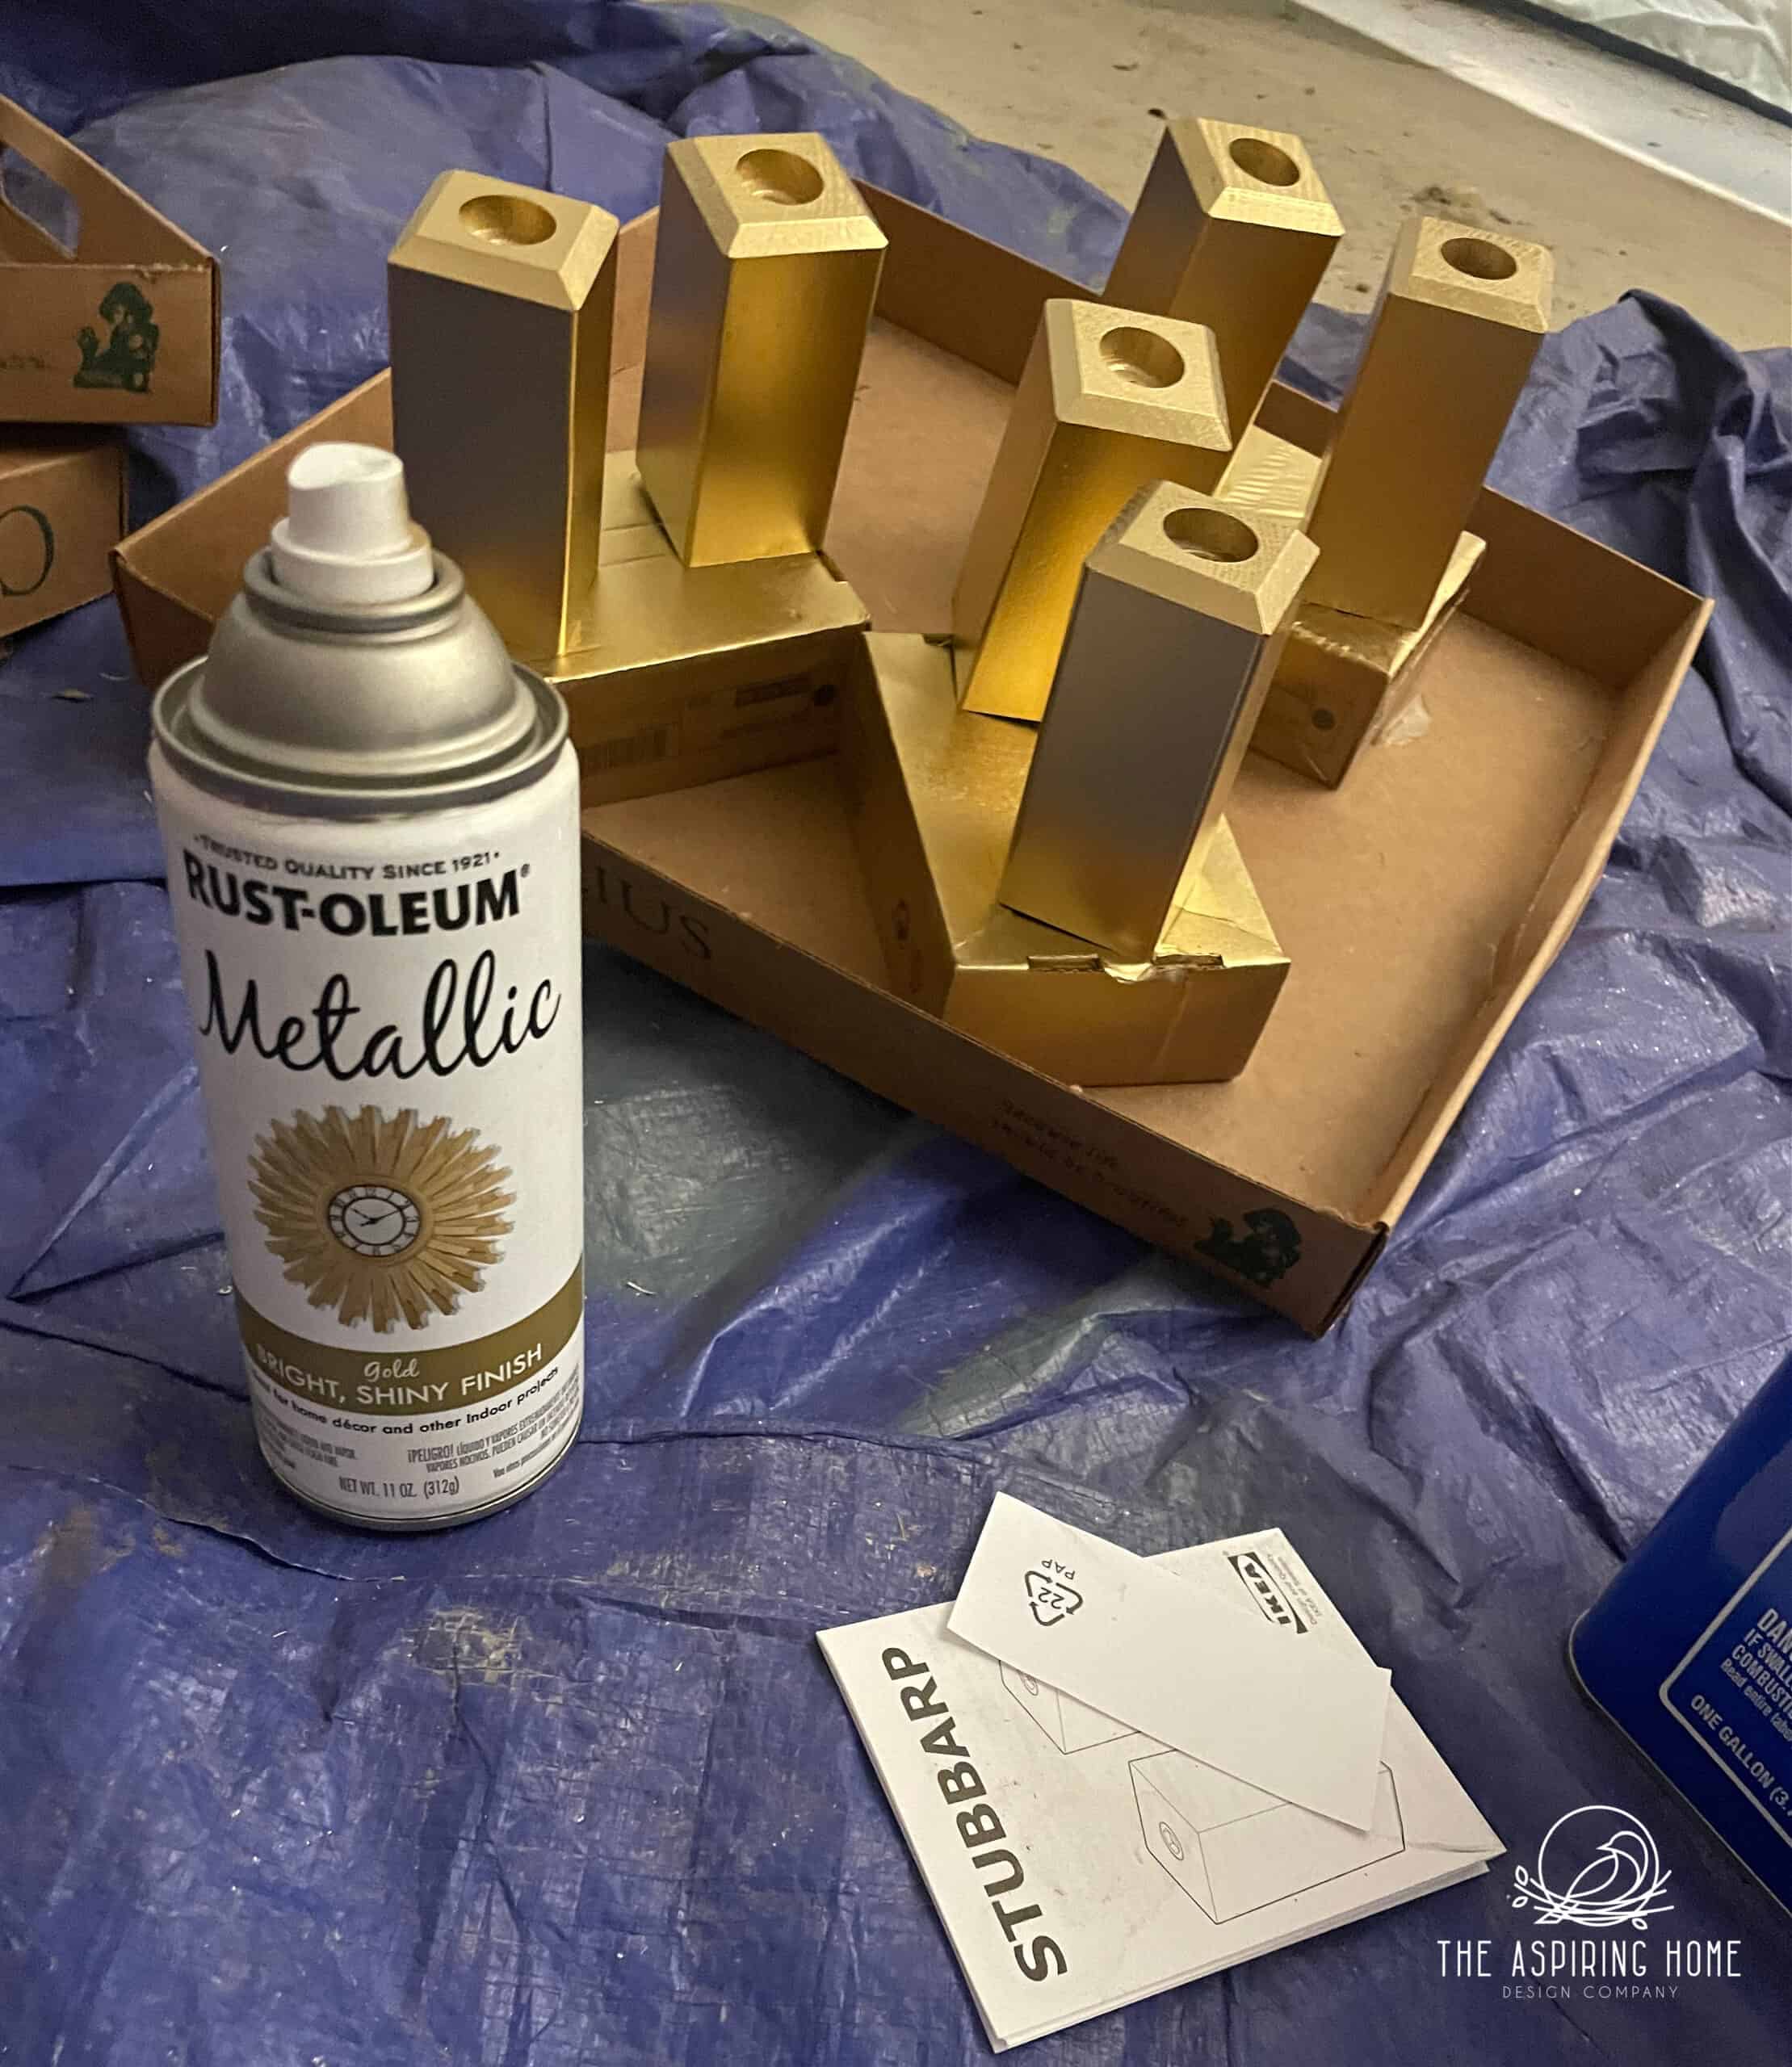
That little change made such a difference. The whole room is coming together including the movie reel nesting coffee table – I think that maybe my favorite!
We are checking of the “to-do” list so I better get back to it… if I want to reveal this gorgeous beauty!
Til later, keep creating home my friends!

Joy Maier is the founder and principal designer of The Aspiring Home Interiors, an award-winning studio serving the greater Dallas area and beyond. Blending gracious living with elevated design expertise, Joy creates interiors that feel deeply personal, beautifully refined, and effortlessly livable — from full-home renovations to boutique vacation rentals. Her professional affiliations include ASID (Associate), ART, the Interior Design Society (Professional), NKBA, VRD Collective, and she is a founding member of Designers for Dogs. Since 2012, she has shared design tips and heartfelt stories on The Aspiring Home Blog. Her philosophy is simple: “Design should feel like a deep breath. When we get it right, your home greets you with that exhale every single day.”