DIY Dr. Strange Costume Tunic
You won’t believe what I used to create this idea. Read on to see this DIY Dr. Strange costume tunic!
It was October 31, 2017, we were finally getting the damage from Hurricane Harvey dealt with. Life was a blur and I woke up realizing that I did not have a costume for my son. Before he headed off to school – I asked him what he would like to be. “Dr. Strange”, please but I want it to look like the movie! Ok, sure…and I started scrambling to find ideas for a DIY Dr. Strange costume tunic. Y’all I was coming up with zilch.
To be honest, he had told me before what he wanted to wear but it totally slipped my mind. What to do? I dug through my scraps and fabric…nothing was inspiring me. I went back to the picture of Dr. Strange I pulled up. I stared at it. Then I had a light bulb moment!
I had an old navy blue top sheet, a red tablecloth that I rarely used, and leftover “crocodile texture” pleather scraps from the study room upholstery job! These could yield a decent costume. Since this project is lengthy, I have broken it up into 3 parts.
The most complicated piece was the tunic.
Take the twin sheet and folded it in half, then cut it in half.

Now take one of the cut sections of the sheet and fold it in half – longways. Cut the fabric.

Set aside the uncut section – this will be the back of the tunic. The other pieces we will pleat. Since this was for my son -who was at school, I just did a guestimate measure by measuring my shoulders and adding a couple of extra inches. I figured once he came home I would hem the edges to fit his frame better.
Sew a narrow hem along the top of the tunic back.
Take your shoulder to shoulder measurement and cut the back tunic piece down to the shoulder measurement. Set it aside again.

Now the front pieces will undoubtedly be larger than the newly cut back… this is a good thing! This will give us room to create pleats.
So how do we decide how deep to make our pleats? Here’s how I did it. I took the shoulder measurement and divided it by 2. This number will be the ultimate width of each of our front pieces. Take this number and subtract it by the width of one of the front pieces. This number is what we have left to work with, now subtract 6 inches for the “sleeve”. After this subtraction, we will be left with what we will call our “pleat number”.

Our new number – divide it by 2.
Why? Well, we will be making 2-inch pleats. So if we have 14 inches leftover – we will have 7 pleats. If we have 15 inches leftover we will have 7 pleats but leave the last pleat just slightly bigger. This is where we will make up the difference.

Measure and Pin each pleat. After pleating, do a test run by laying the back piece flat on the table and line your top pieces. Adjust pleats if necessary.

Sew pleats across the top to secure the pleats. Carefully iron pleats down the front. Take your time here and measure as needed to make sure the pleats stay consistent. Once you have finished ironing, pin every so often to keep the pleats.
Next up, sew each pleat from top to bottom.
This will give us a more detailed tunic similar to the one from the movie.

After you sew the pleats from top to bottom, sew each front piece to the tunic back piece at the top (where you sewed narrow hem).
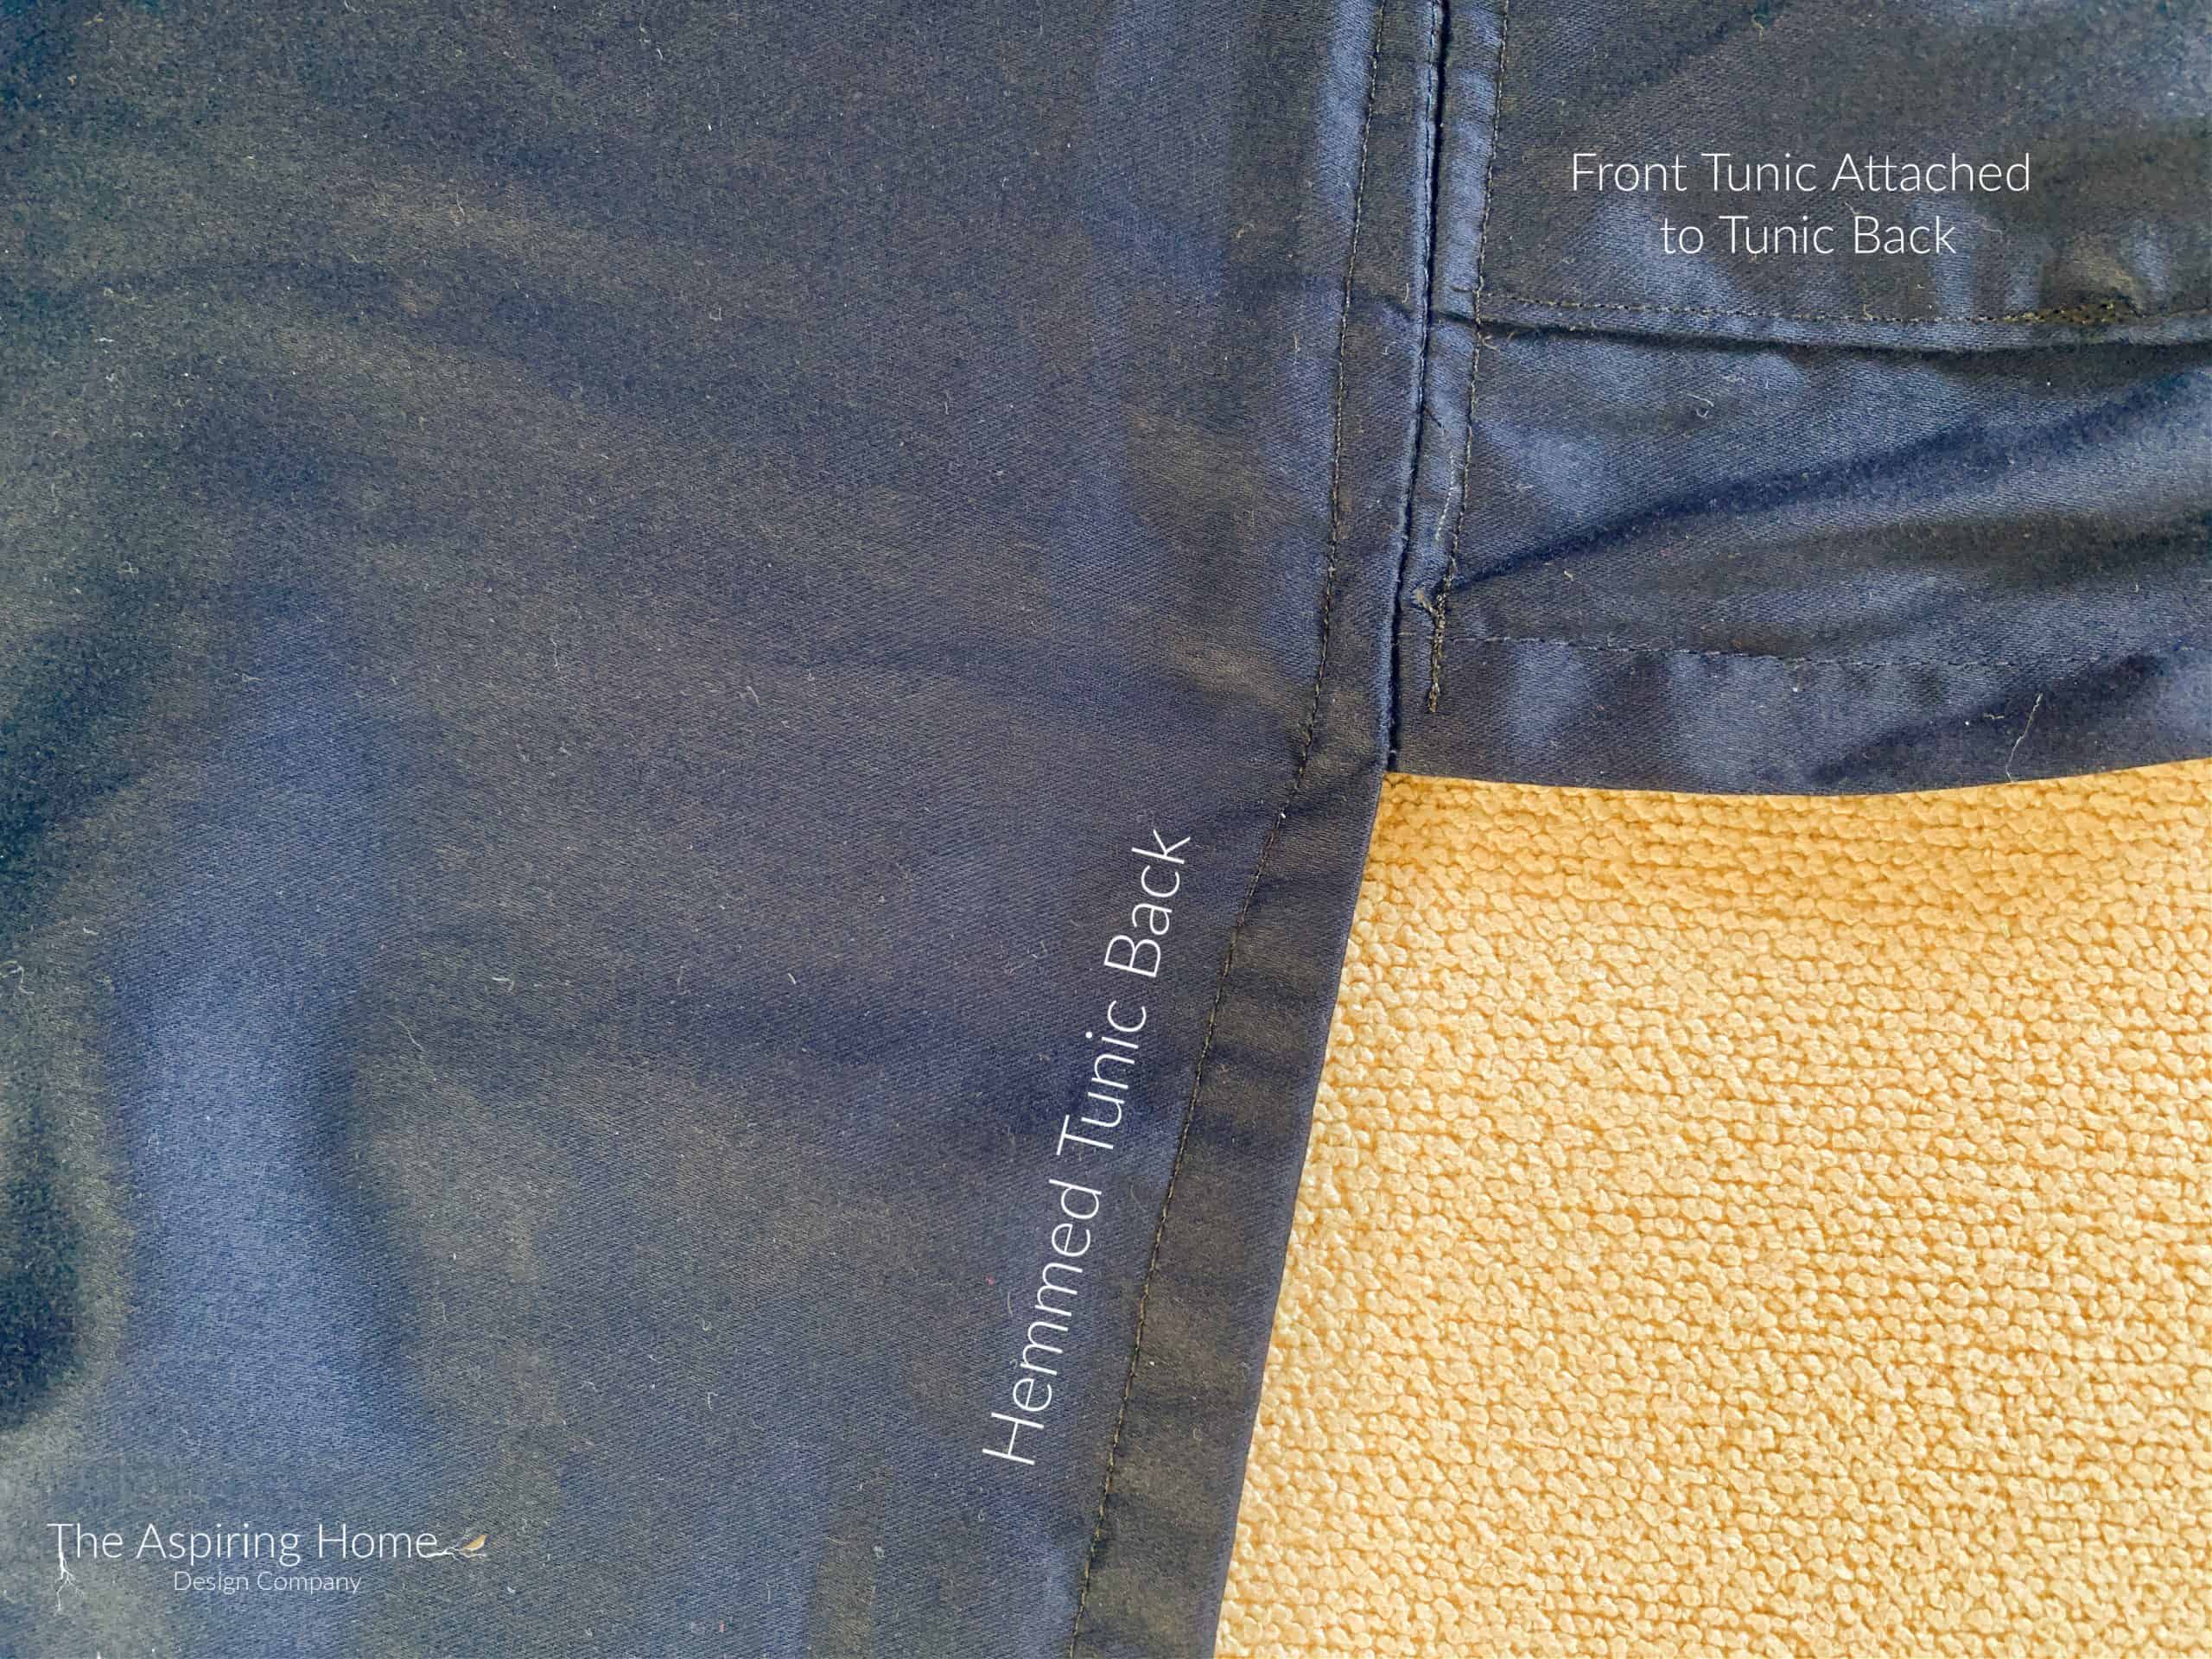
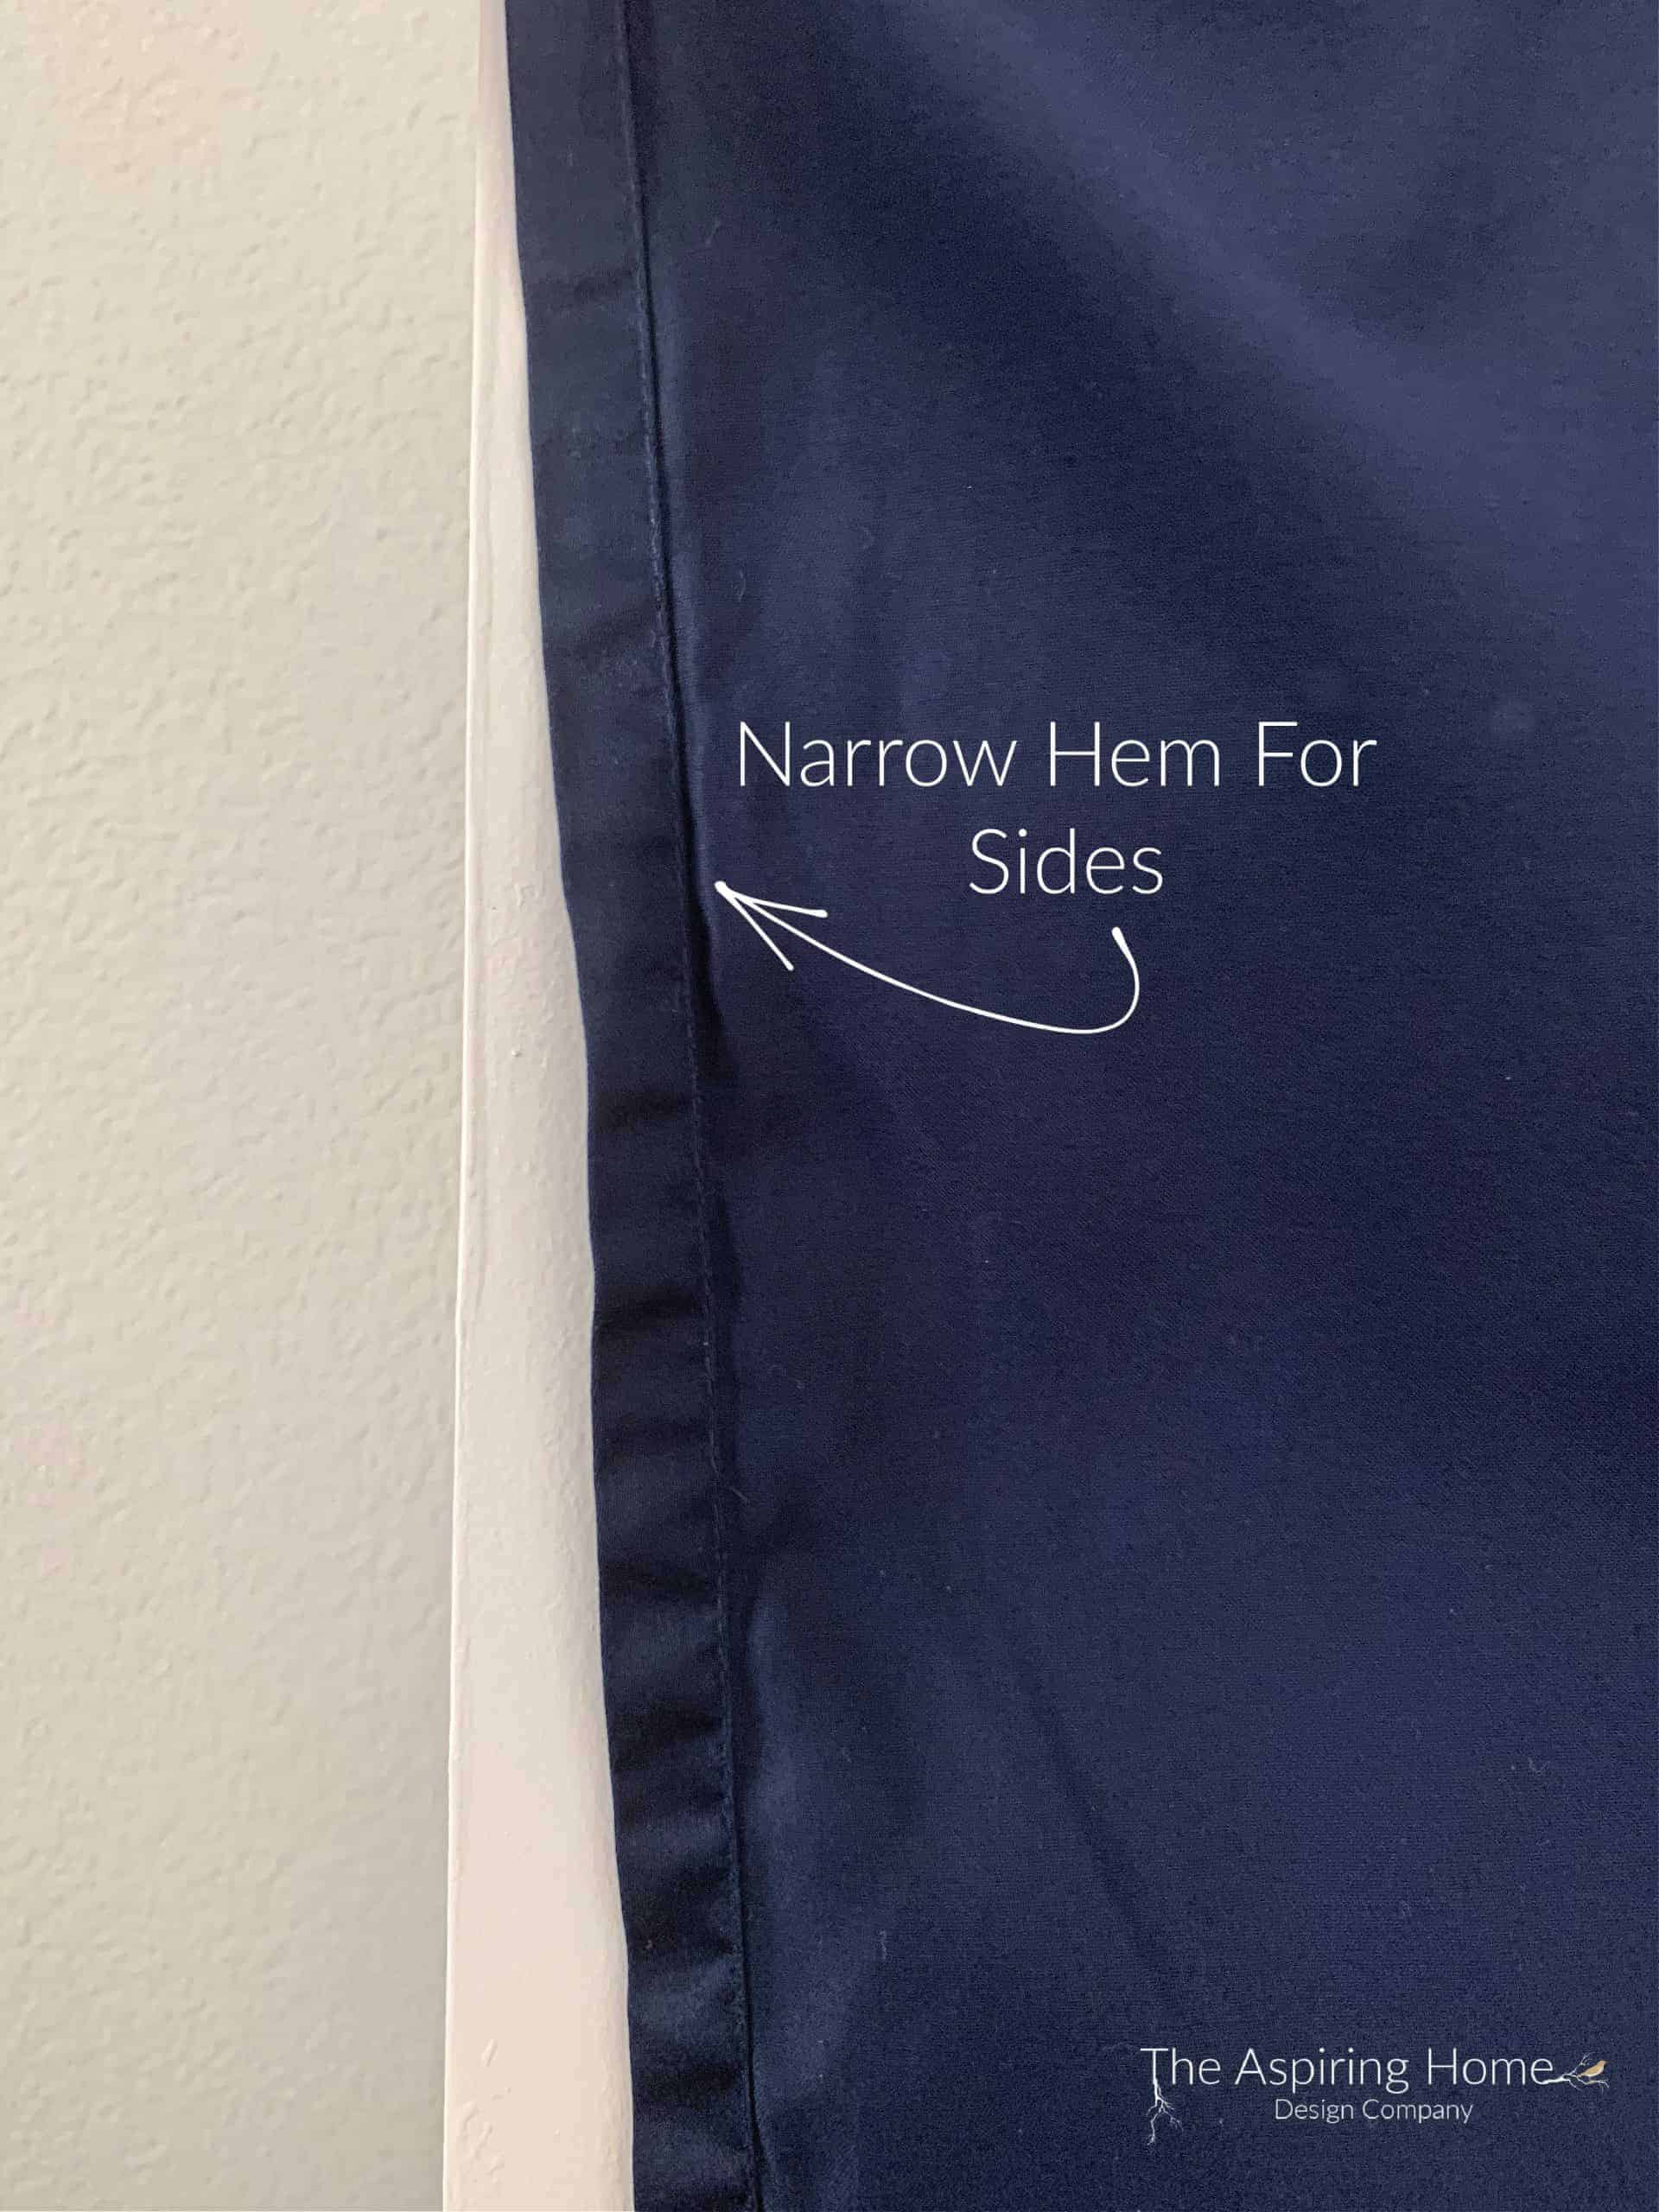
Sew a narrow hem along with the tunic back bottom and along the sides (includes the sides of the back tunic piece and the front tunic pieces).
Our tunic is now ready!

Next up will be our Cloak of Levitation in part 2 of this DIY Dr. Strange Costume!
Til Later Friends,

Here are a few ideas to dress up your home for Halloween –
DIY Faux Metal Pumpkin Floral Centerpiece
Joy Maier is the founder and principal designer of The Aspiring Home Interiors, an award-winning studio serving the greater Dallas area and beyond. Blending gracious living with elevated design expertise, Joy creates interiors that feel deeply personal, beautifully refined, and effortlessly livable — from full-home renovations to boutique vacation rentals. Her professional affiliations include ASID (Associate), ART, the Interior Design Society (Professional), NKBA, VRD Collective, and she is a founding member of Designers for Dogs. Since 2012, she has shared design tips and heartfelt stories on The Aspiring Home Blog. Her philosophy is simple: “Design should feel like a deep breath. When we get it right, your home greets you with that exhale every single day.”