Faux Metal Pumpkin Vase DIY Centerpiece
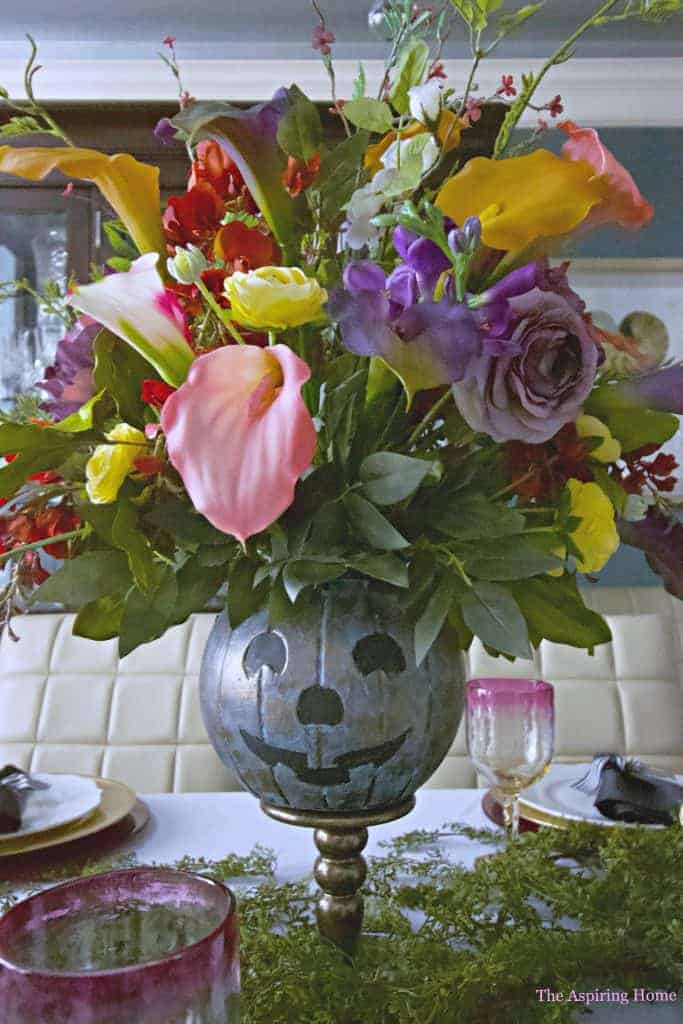
Get ready for Fall fun with this happy faux metal pumpkin vase DIY centerpiece! It’s a little out of the box idea that your family will adore.
When my kids were younger, they used darling little plastic pumpkins to go Trick or Treating through the neighborhood. They didn’t hold much candy but I was kinda alright with that. Ha! Now they are grown or practically grown and I held onto the plastic pumpkins. One day, I was contemplating new ideas for the season and I had a lightbulb moment! Here is the cutest idea, a faux metal pumpkin vase DIY centerpiece!
Let’s get started on this tutorial!
Supplies:
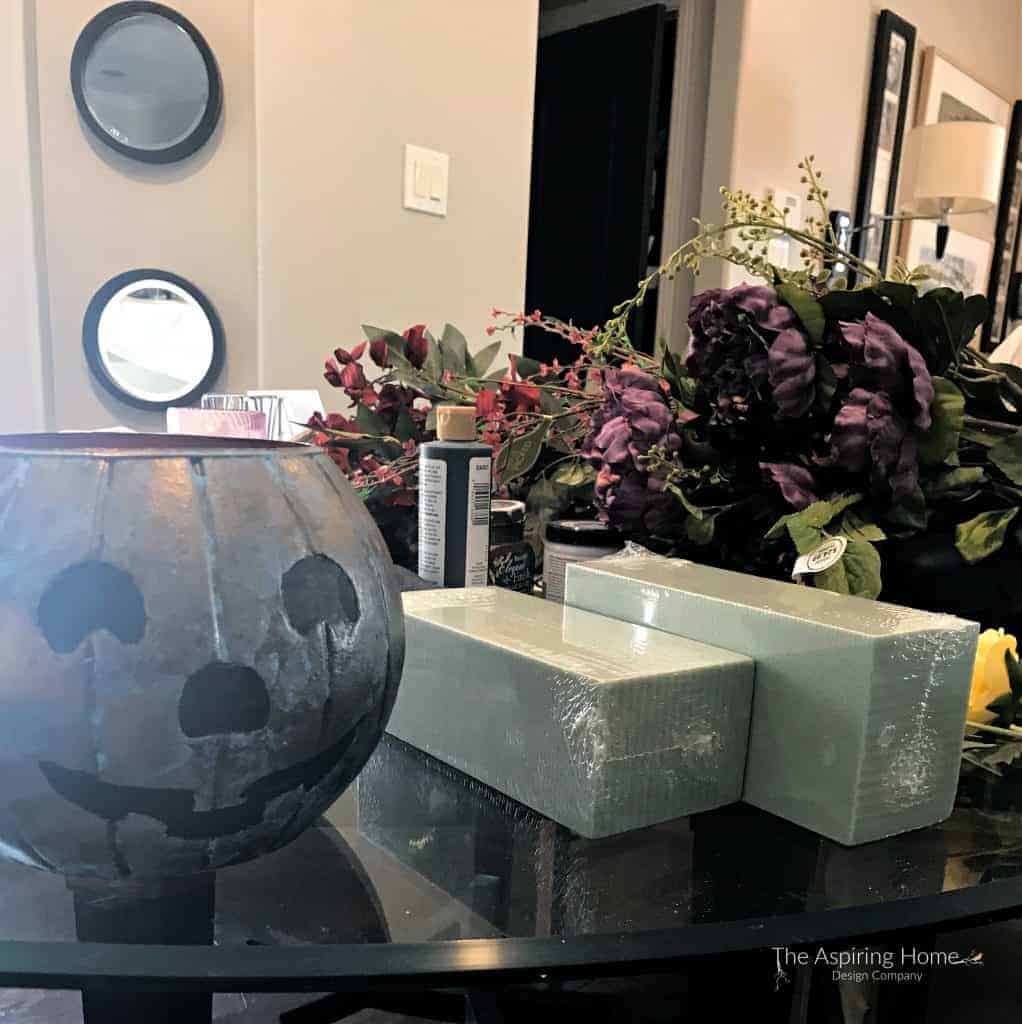
- Plastic Jack o’Lantern pumpkin
- Black acrylic paint
- Turquoise acrylic paint
- Bronze acrylic paint
- Paper towels
- An assortment of small paint brushes
- Floral Foam
- An assortment of faux flowers
- Wire cutters
All items were found at my local craft store.
You can find several of these items on my Amazon storefront by clicking here.
**Please note that this link is an affiliate link and I do receive a very small commission if you purchase through this link at no additional cost to you. If you choose to purchase through this link, THANK YOU for your support of The Aspiring Home, I so appreciate it. You can read the full disclosure on my about page.
Step One- Paint the Pumpkin
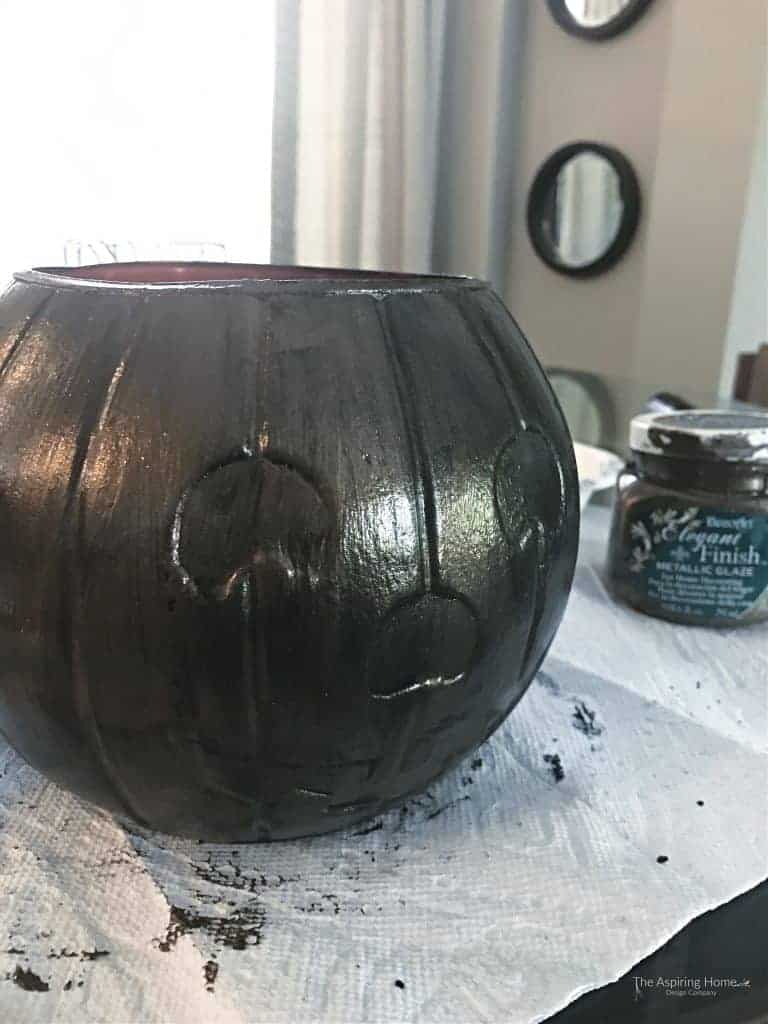
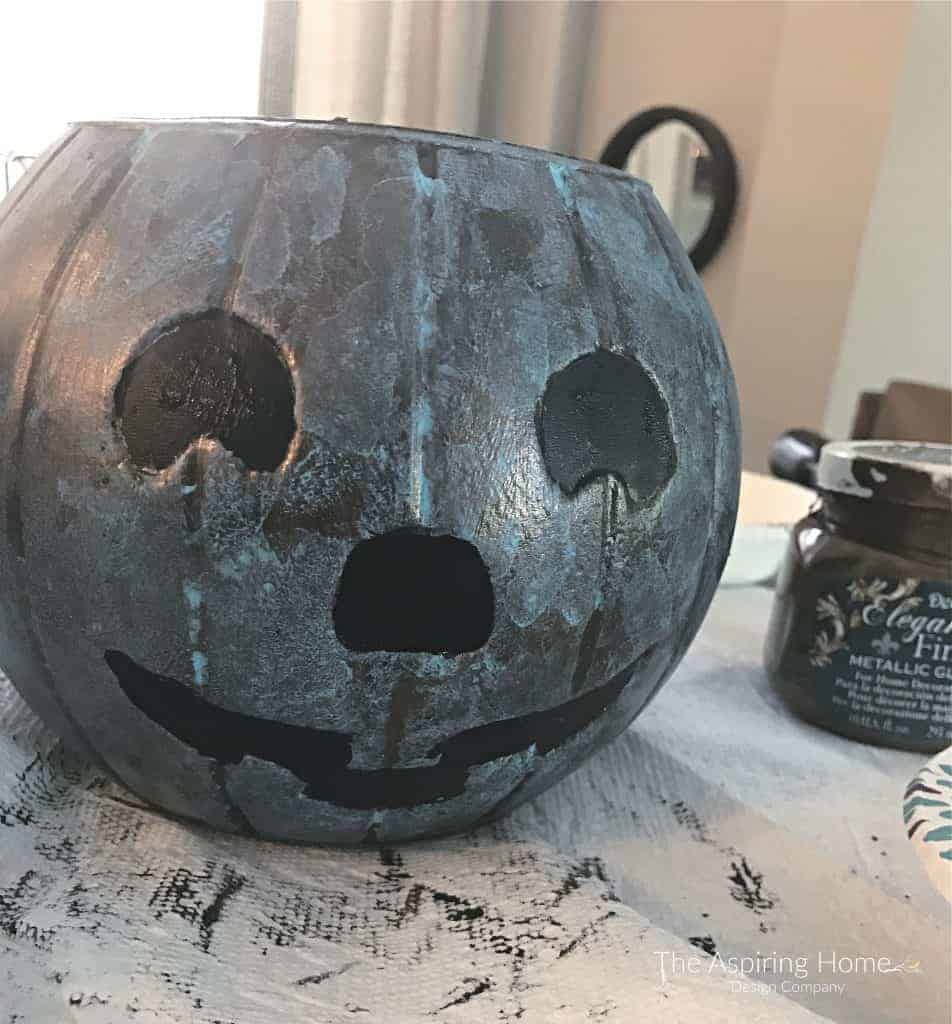
Begin by painting the pumpkin with black acrylic paint. Allow time to dry completely. Add a second coat to cover any remaining orange color.
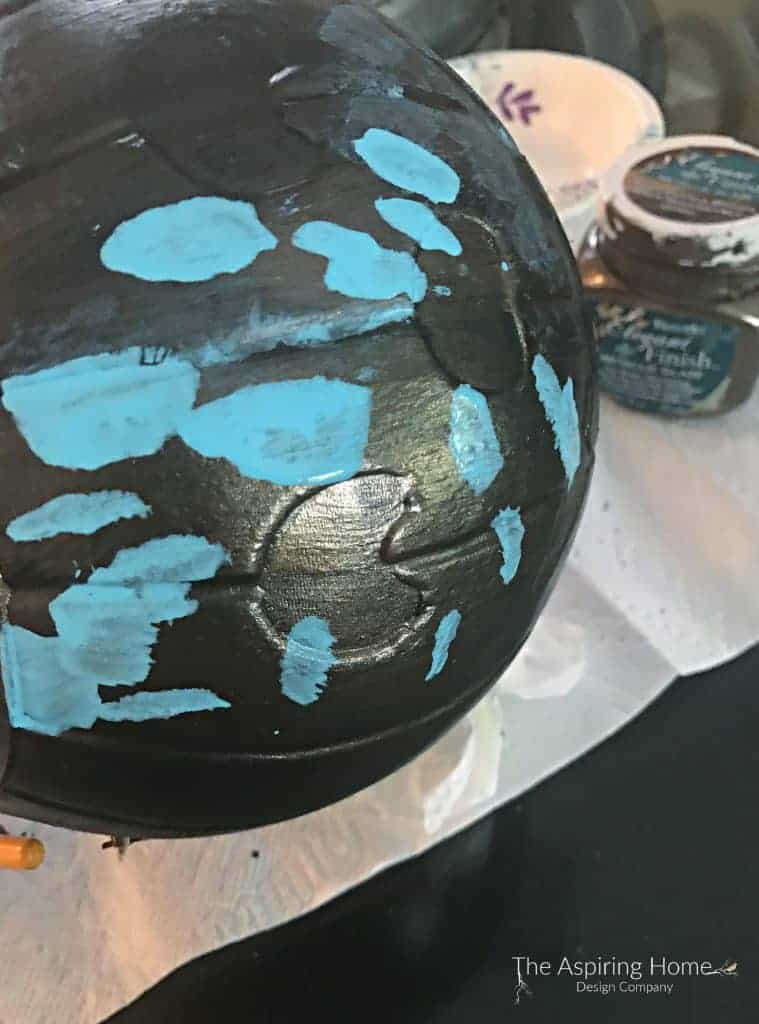
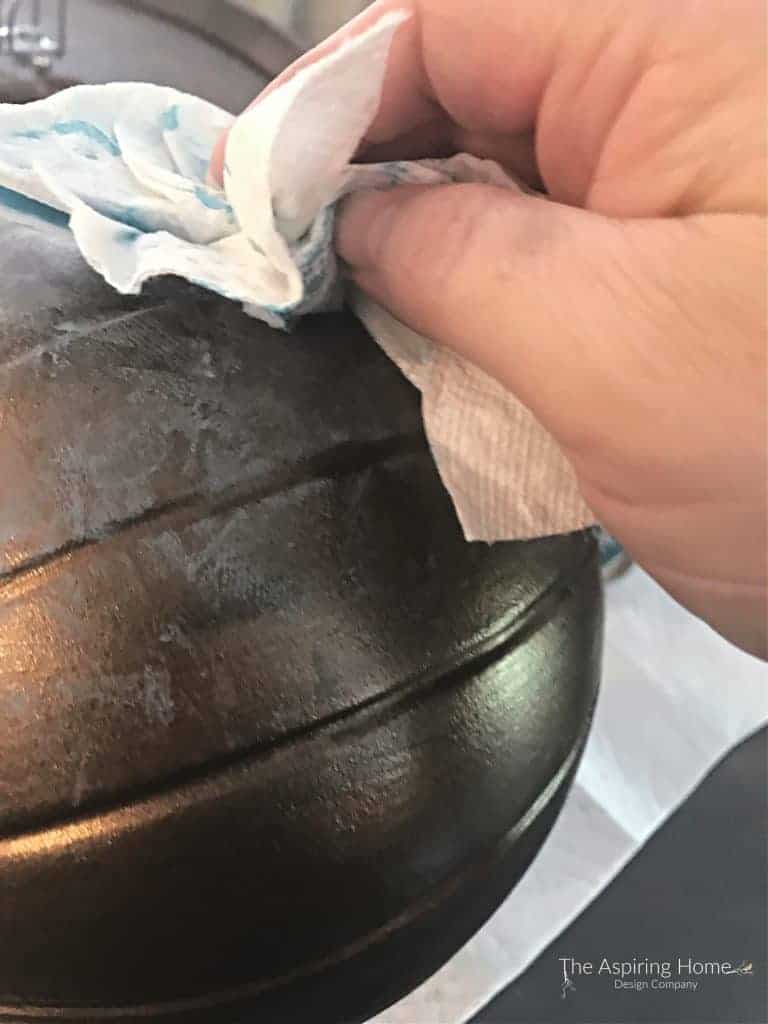
Next dab several places with the turquoise acrylic paint. Quickly with a paper towel – blot the paint, twisting your hand slightly to create texture. Continue this method until the pumpkin is covered.
Finally, add a layer of bronze using the above method. Go back and add a little more turquoise in areas to achieve a layered patina finish.
My apologies – this is the closest picture I have to show you the bronze paint.
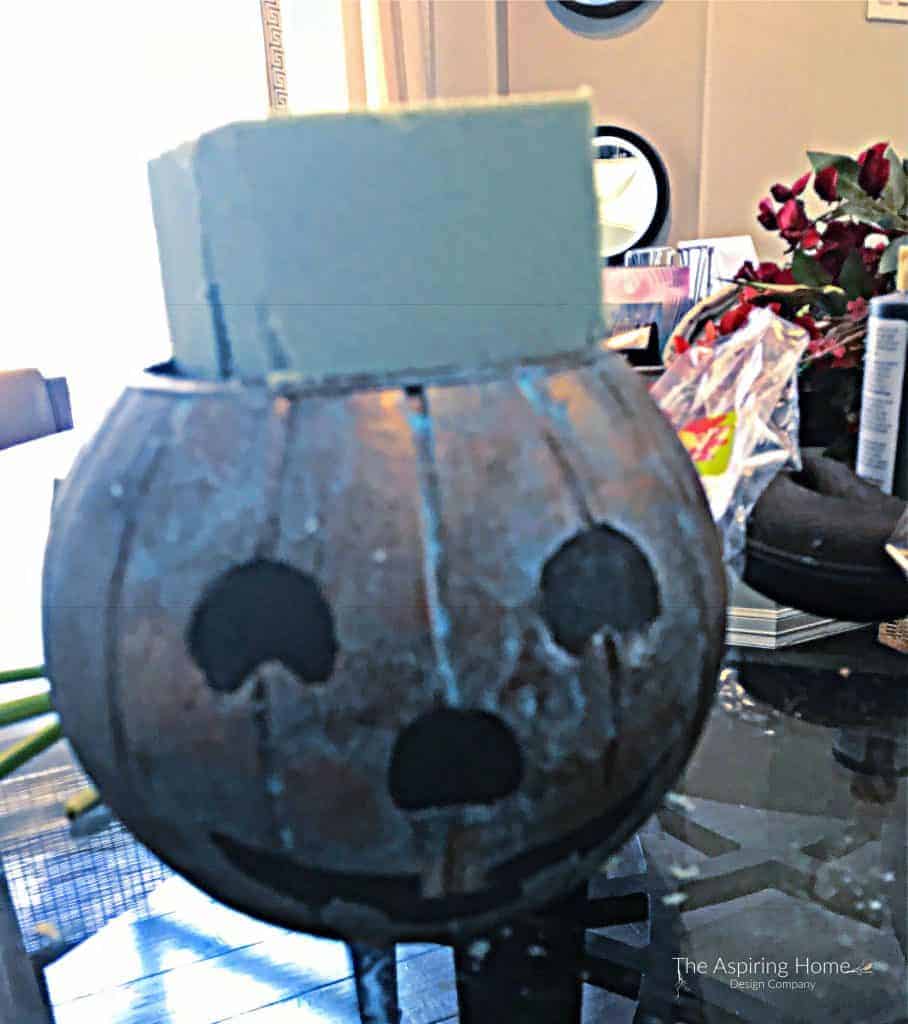
Step Two – Now add the florals to our faux metal pumpkin vase!
I am going to give you my tried and true method for creating big floral arrangements. I have taught so many friends via this method and many are still using it to create their own beautiful floral arrangements!
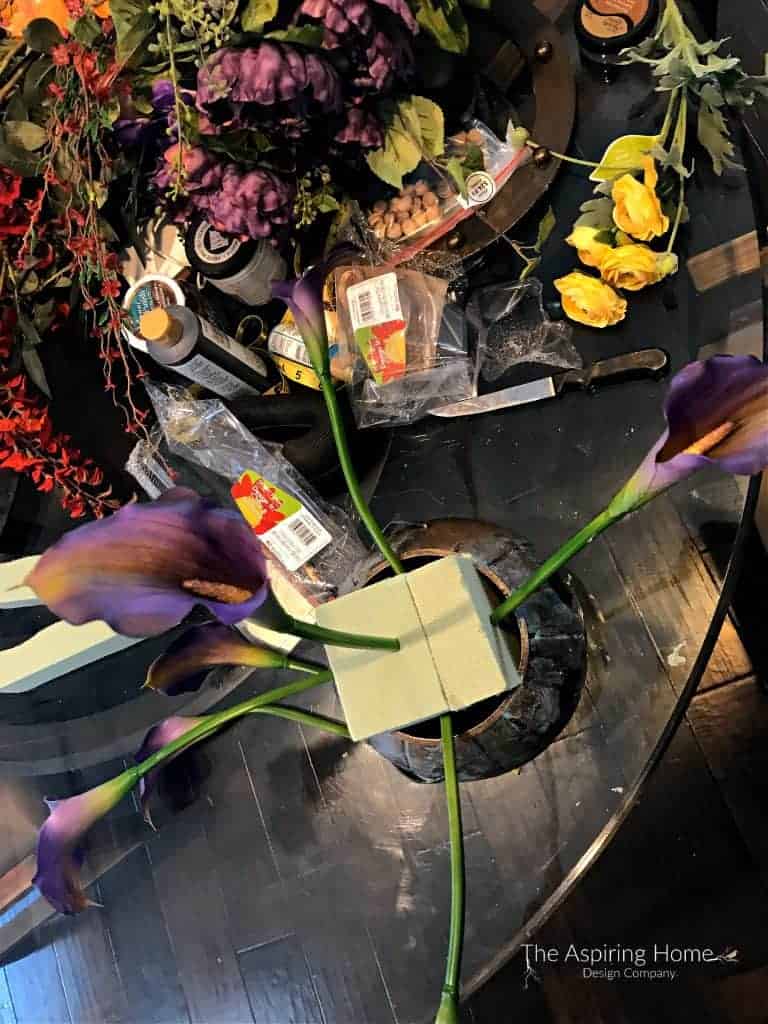
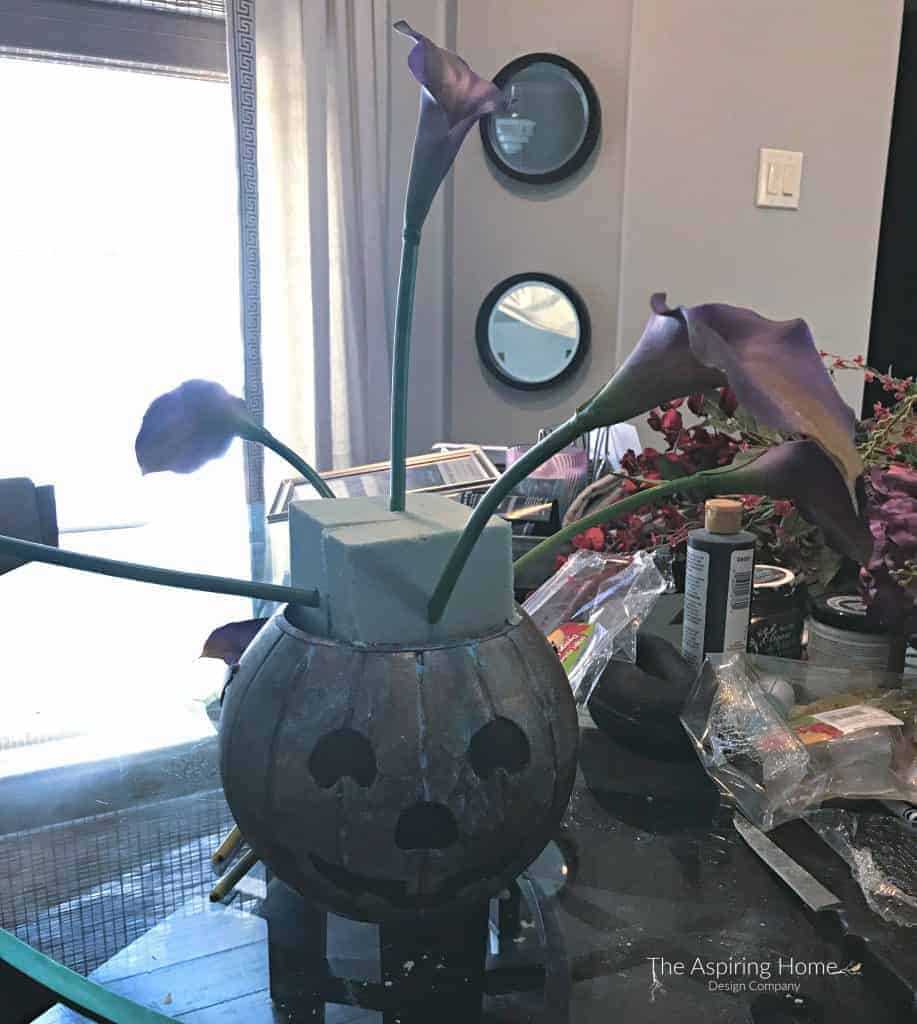
The first thing I will tell you is… RELAX! This is supposed to be fun. The next thing I am going to tell you is to choose one flower and stick it into the middle of your floral foam – adjust the height, you decide how tall you would like the arrangement to be.
Remember the taller the arrangement – the more flowers and greenery it will take to fill it out.
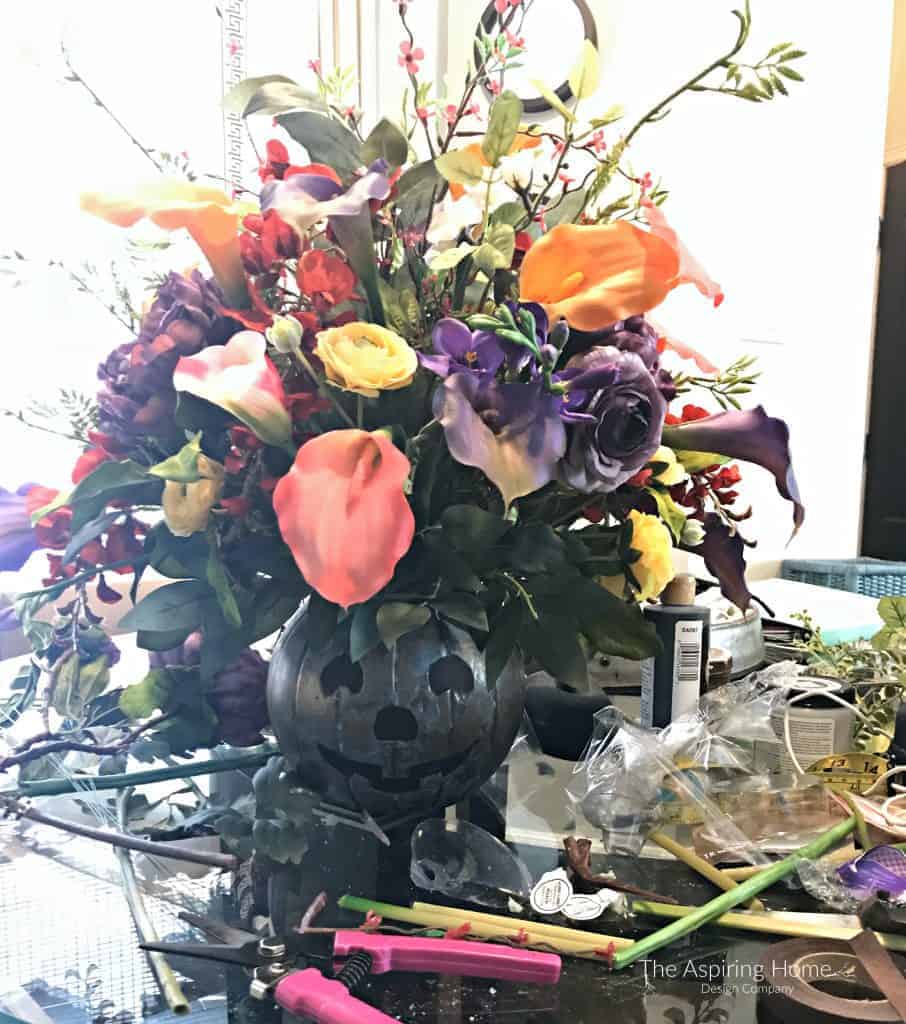
The shorter the arrangement you will create a tighter more ball like feel. I chose to go with a medium to taller stem because I wanted my arrangement to be a little wild and mimic Carmen Miranda’s famous Tutti Fruiti hat.
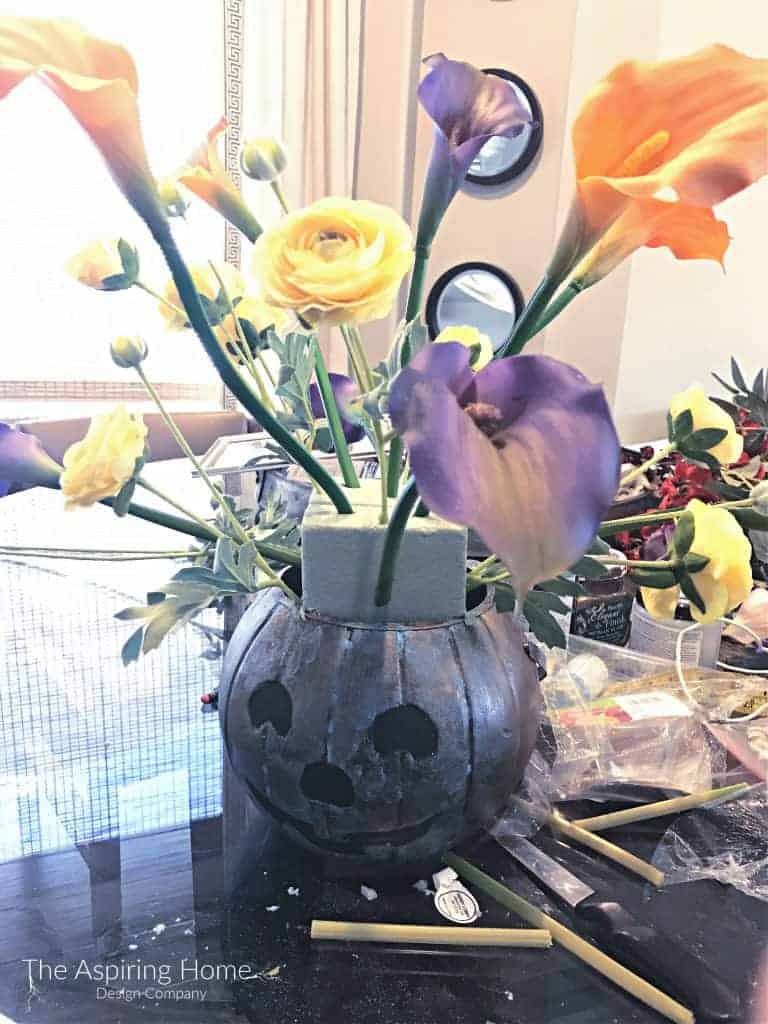
Once your stem height is established – place a stem in the North, South, East, West side of the arrangement – just like a compass.
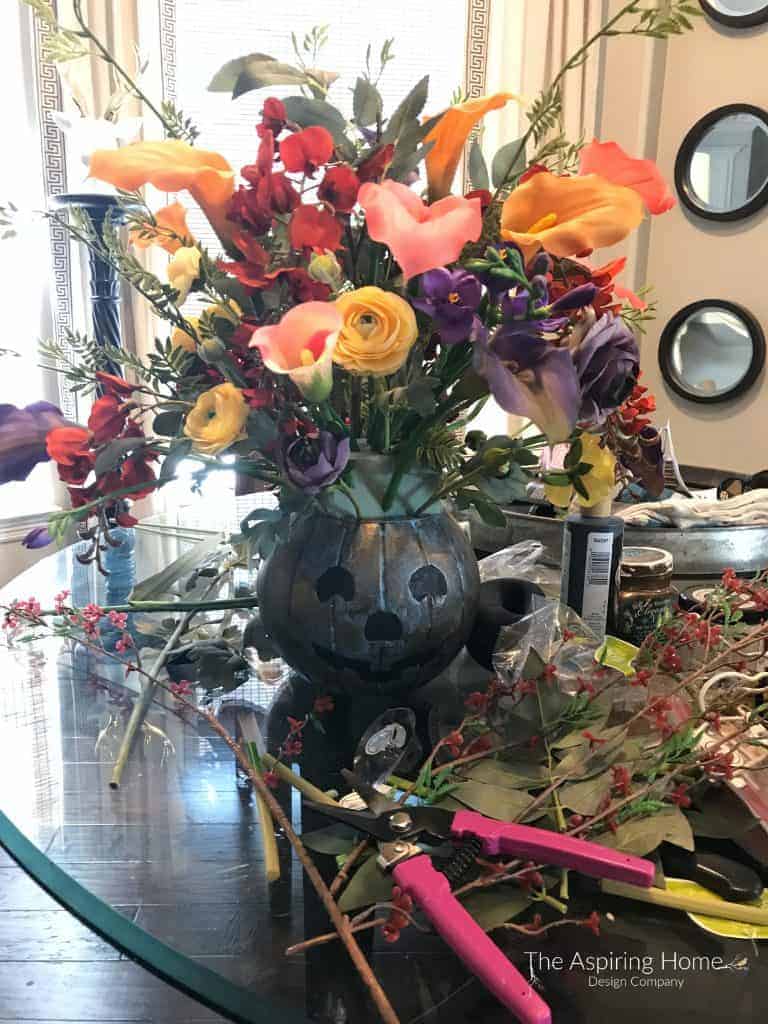
Now, this is going to allow you to work in sections and see where you are missing key flowers. Begin adding more stems (these stems will be slightly shorter than the original stems (you will have to eyeball this and just go with what feels right). In each section – place a stem on each corner of the floral block. Then, place a stem on each side of the original N,S,E,W stems.
Finally, place stems on the top where you discovered how tall you wanted your arrangement. You will put stems on each corner then on each side of the original stem.
Repeat this process with different floral stems until the arrangement feels full but a little leggy. Next, we add our greenery using the same process but cutting the stems a little shorter to create fullness in your faux metal pumpkin vase.
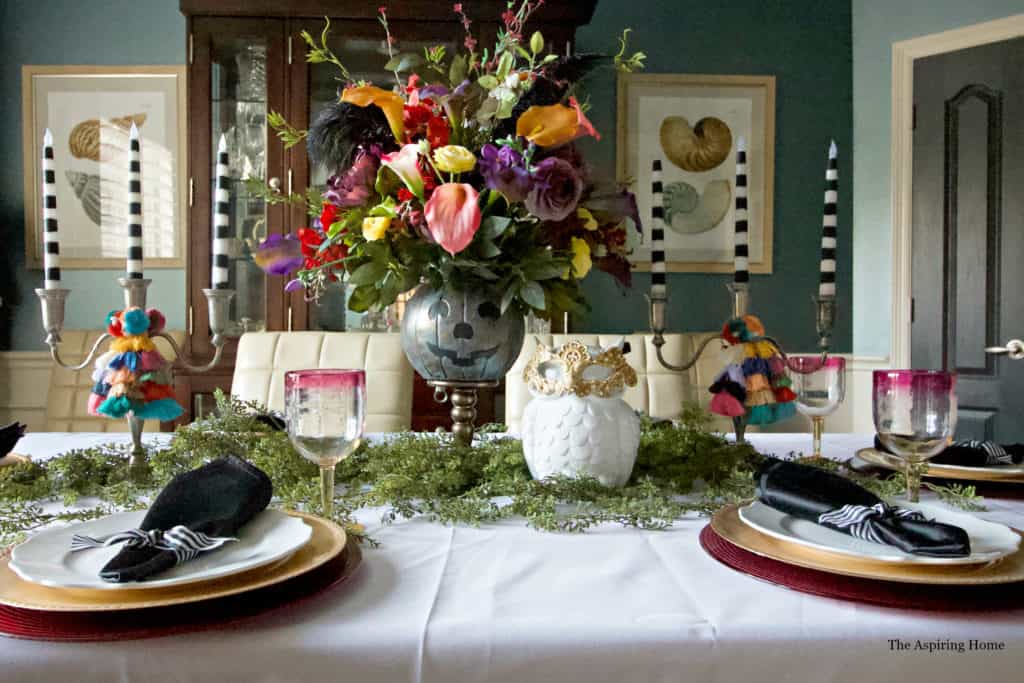
Time to set the table with the star of the show! I am so in love with all the colors. I flanked the centerpiece with my DIY Striped Candlesticks for more added color and fun.
Did you know that the striped candles were a super easy project? I’ve linked the DIY for you.
Have a grand time decorating for the Fall season!
Till Later Friends,

Other Neat Ideas You May Like:
9 Easy Ways You Can Decorate For The Fall Season
Painting Pumpkins – A twist on the traditional

