Updating Outdoor Jack O’ Lanterns
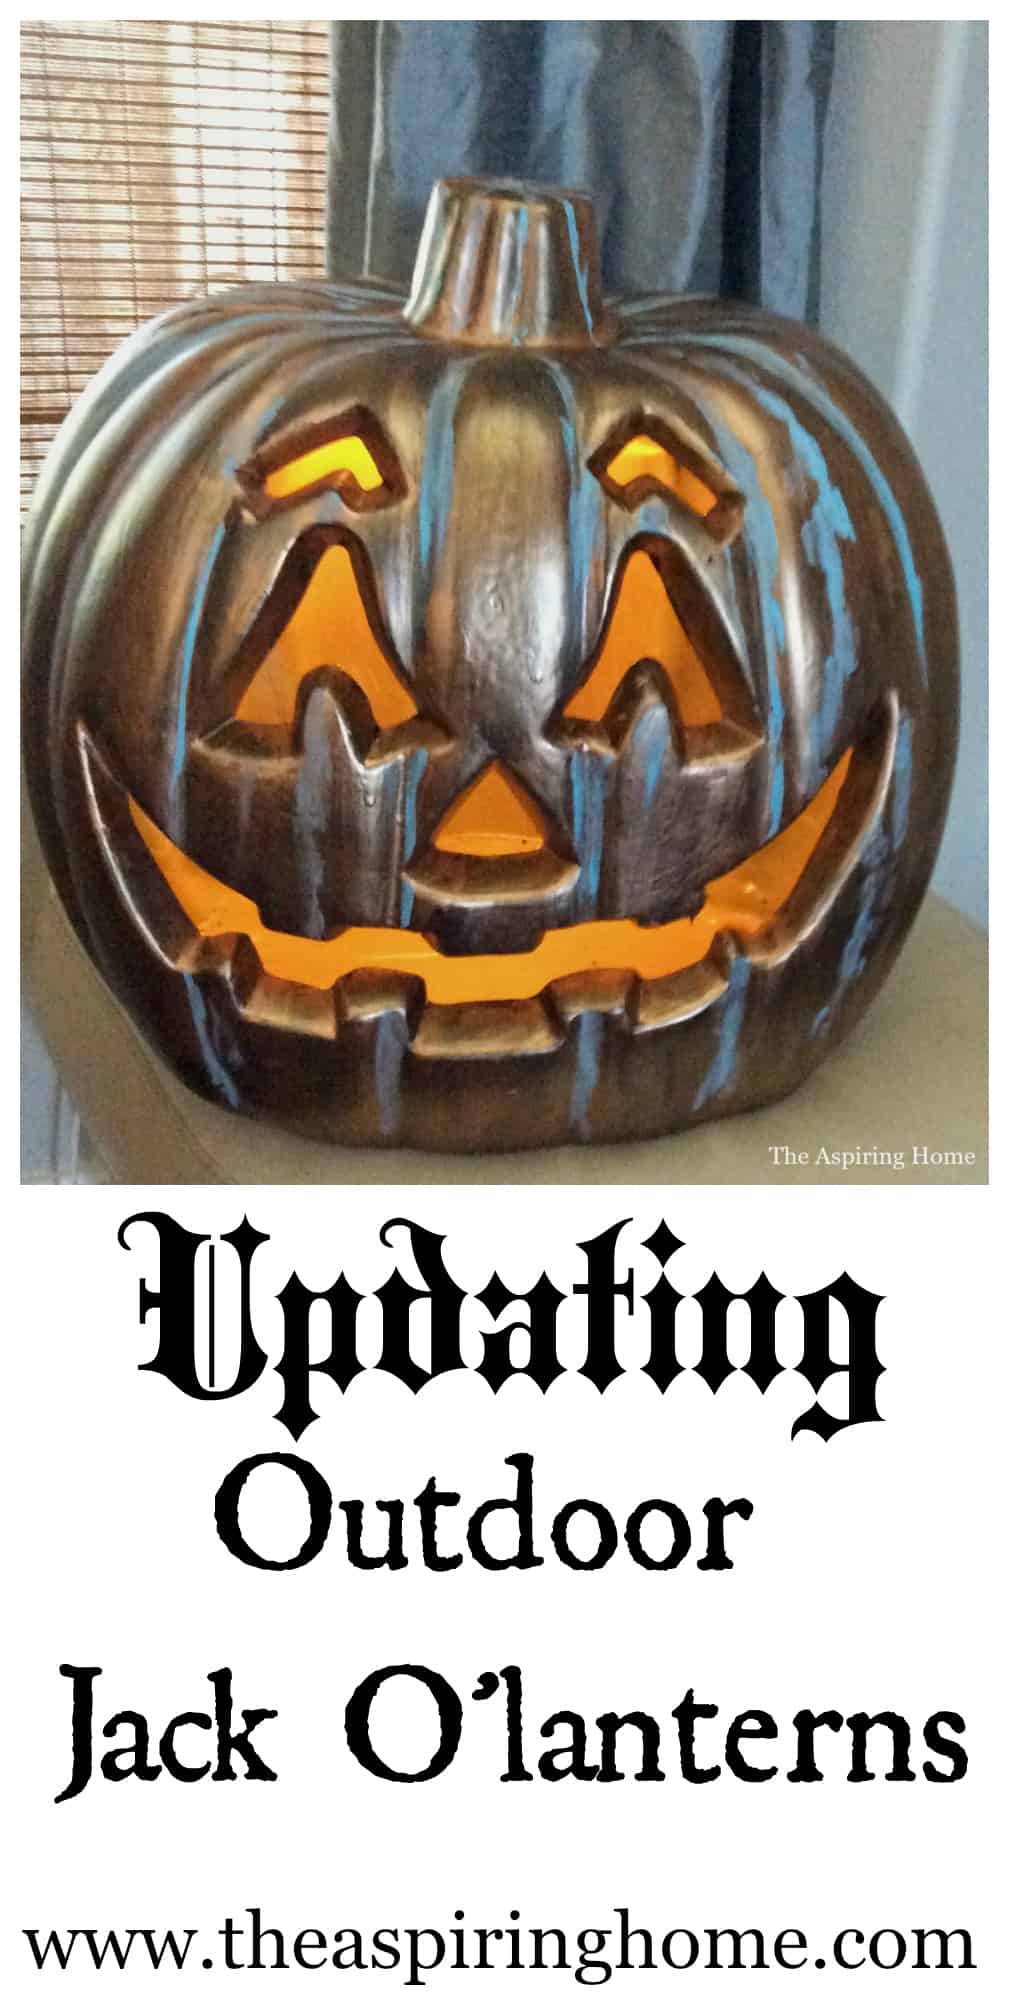
Worn faded pumpkins are too scary, see how updating outdoor jack o’ lanterns will put the fun back into your Halloween decor!
I admit it, I don’t have a ton of Halloween decorations. I’m not into the gory stuff, at all. One day as I was walking through the aisles of my local Target store I came across the happiest pumpkins. I don’t normally splurge but I couldn’t pass these jovial gourds up. After a few years out in the yard, pumpkins became faded and not so happy. I was sad to let them go and came up with this easy solution to updating outdoor jack o’ lanterns and all is well again!
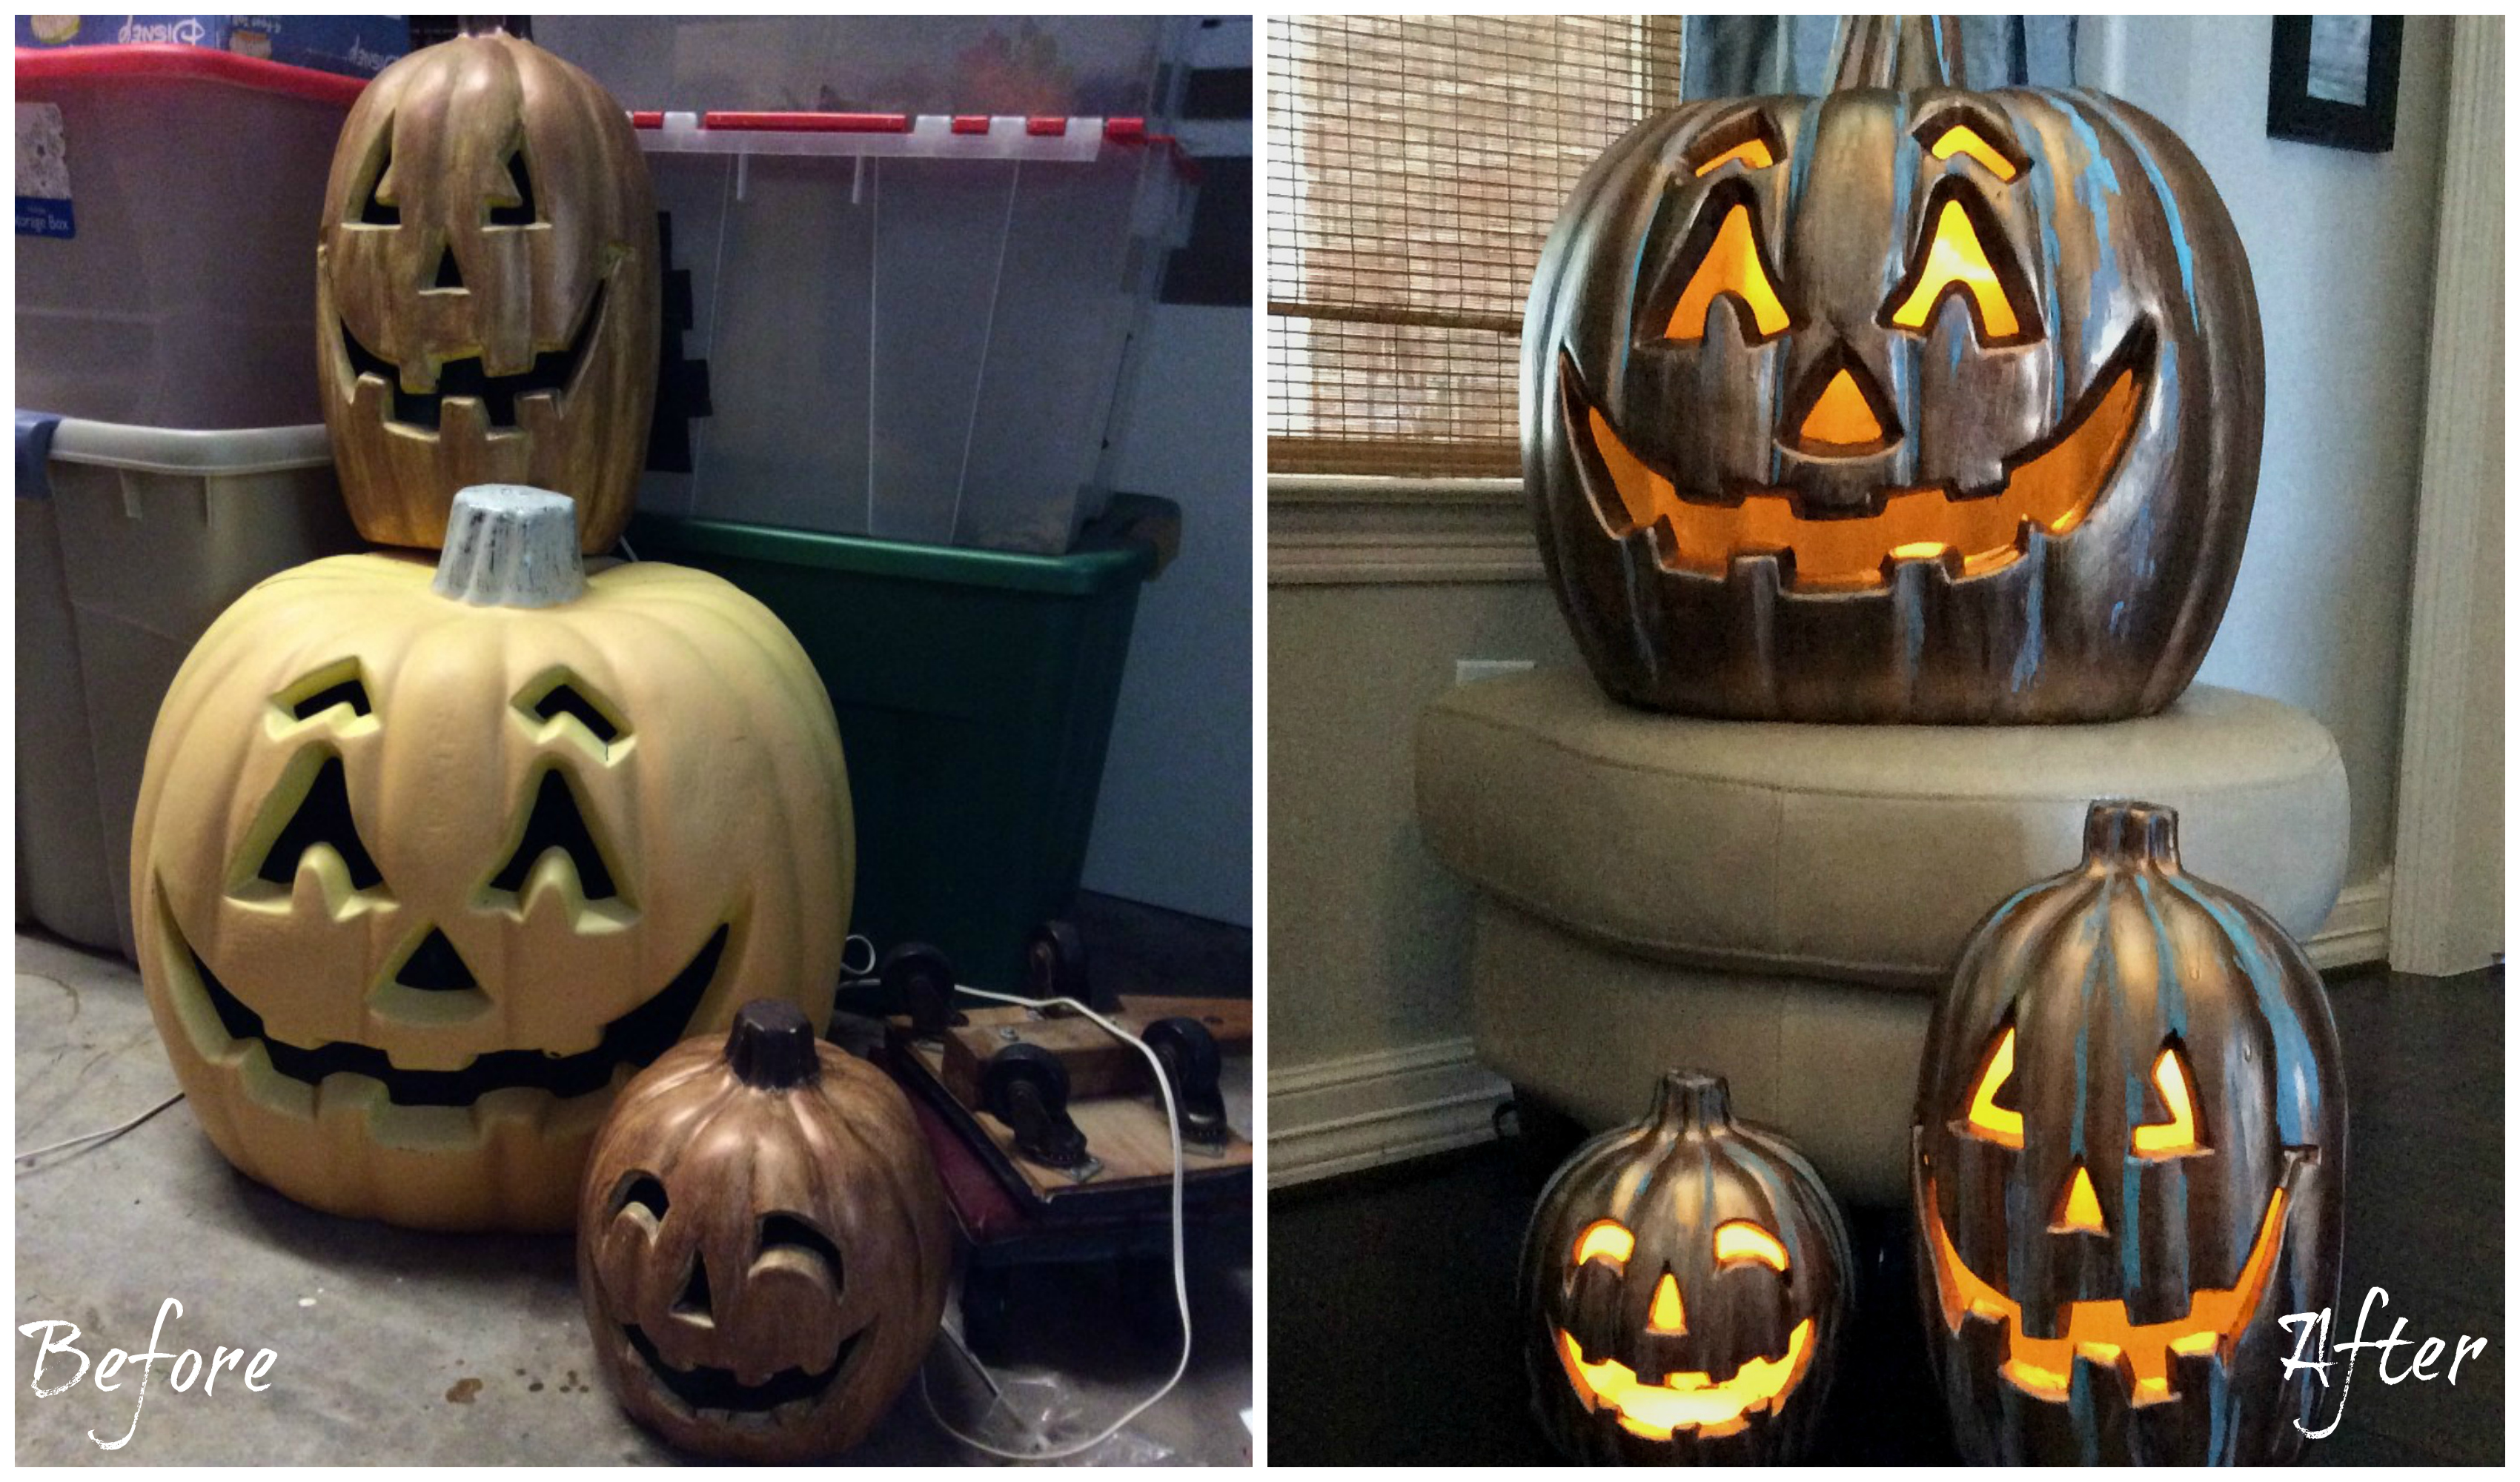
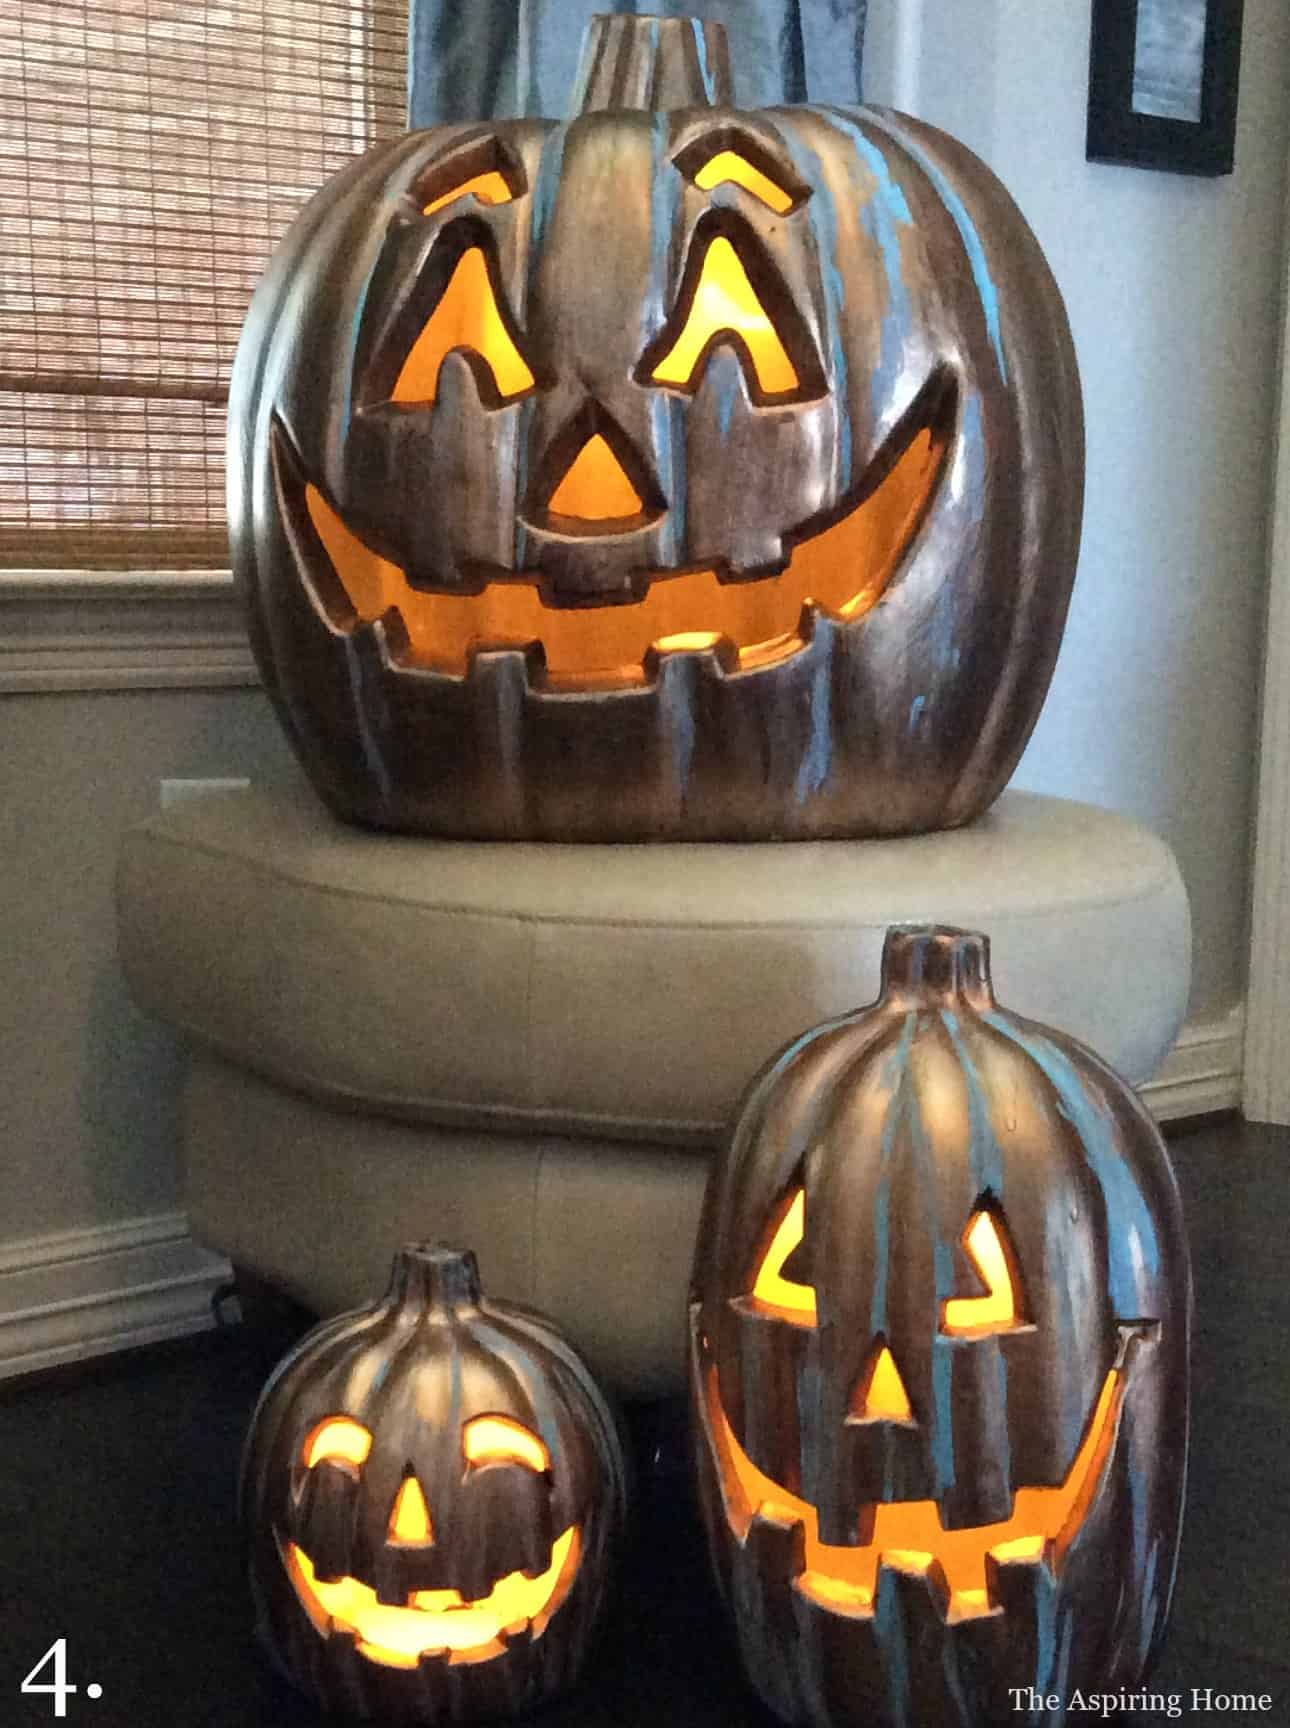
Let’s take a quick look at the before and after photos before I jump into the easy process! In the before photo, you can see the original fading via the large pumpkin and then my attempts at making these cuties better. The attempt worked for a season but I had no desire to keep repainting every year. Hence, today’s tutorial.
Let’s get started on the updating outdoor jack o’ lanterns project!
Supplies:
Flat black paint
Antique copper metallic craft paint
Precious metals Bronze paint
Turquoise acrylic paint
Satin non-yellowing spray lacquer
**Contains affiliate links. I may receive a small commission through these purchases at no additional cost to you.
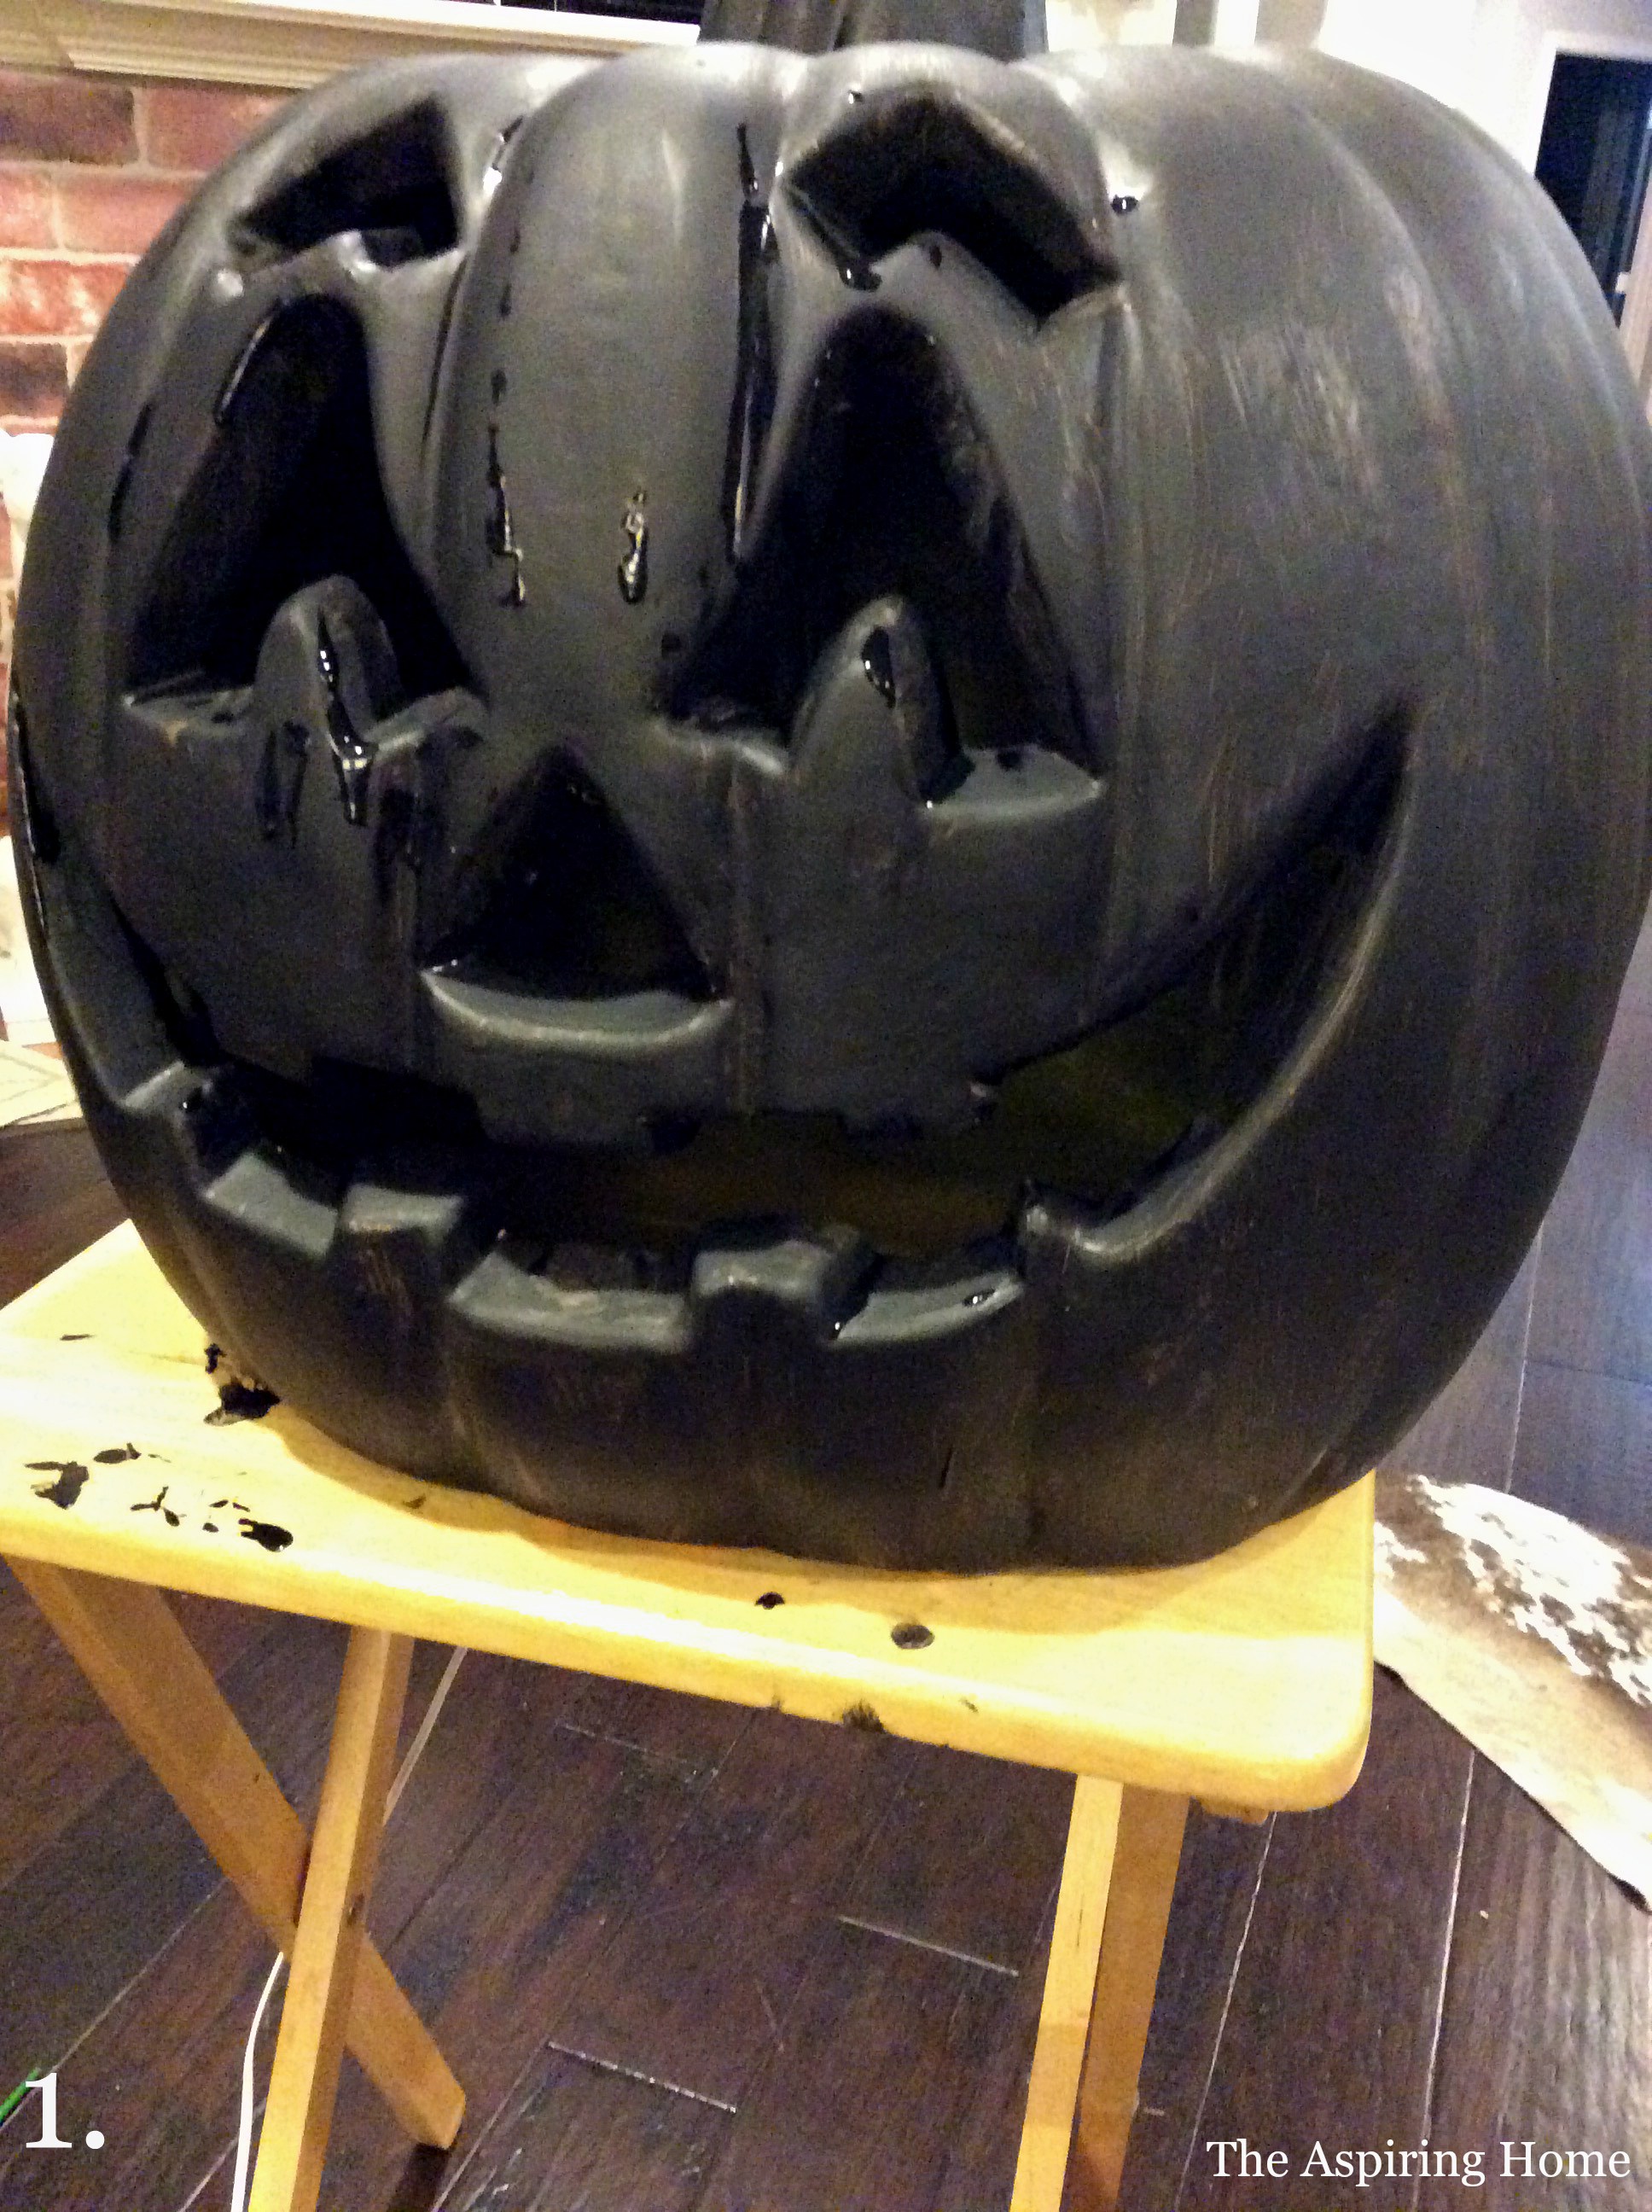
Step 1:
I started out by painting the pumpkins flat acrylic black.
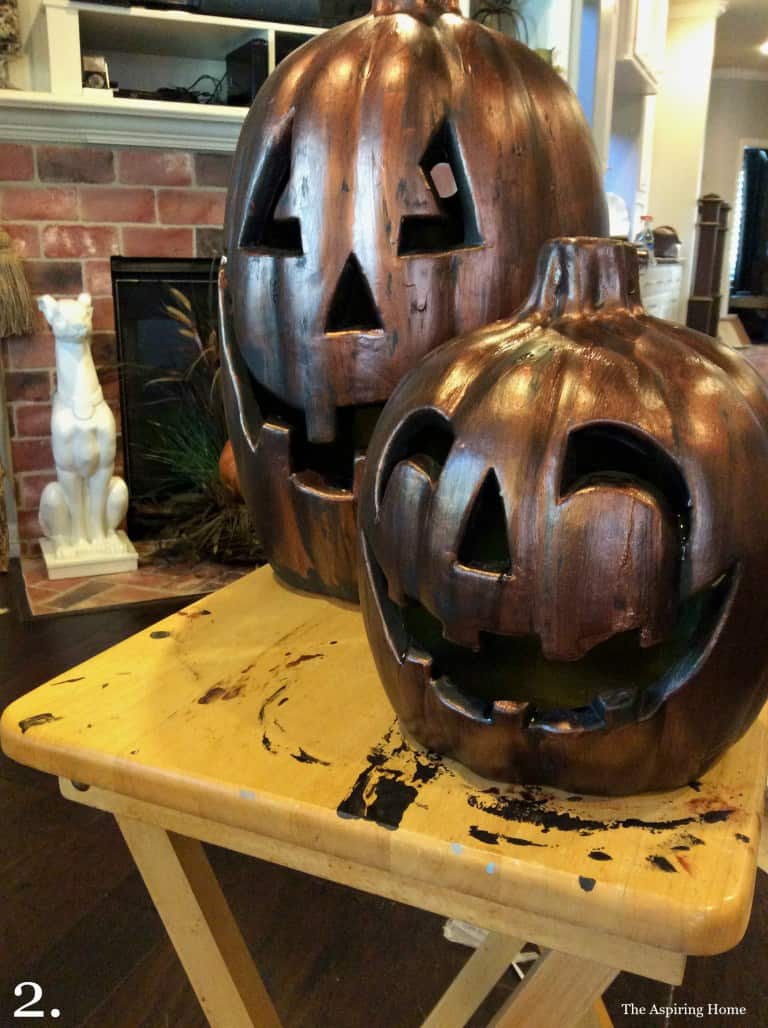
Step 2:
Once dried I applied a thin layer of antique copper.
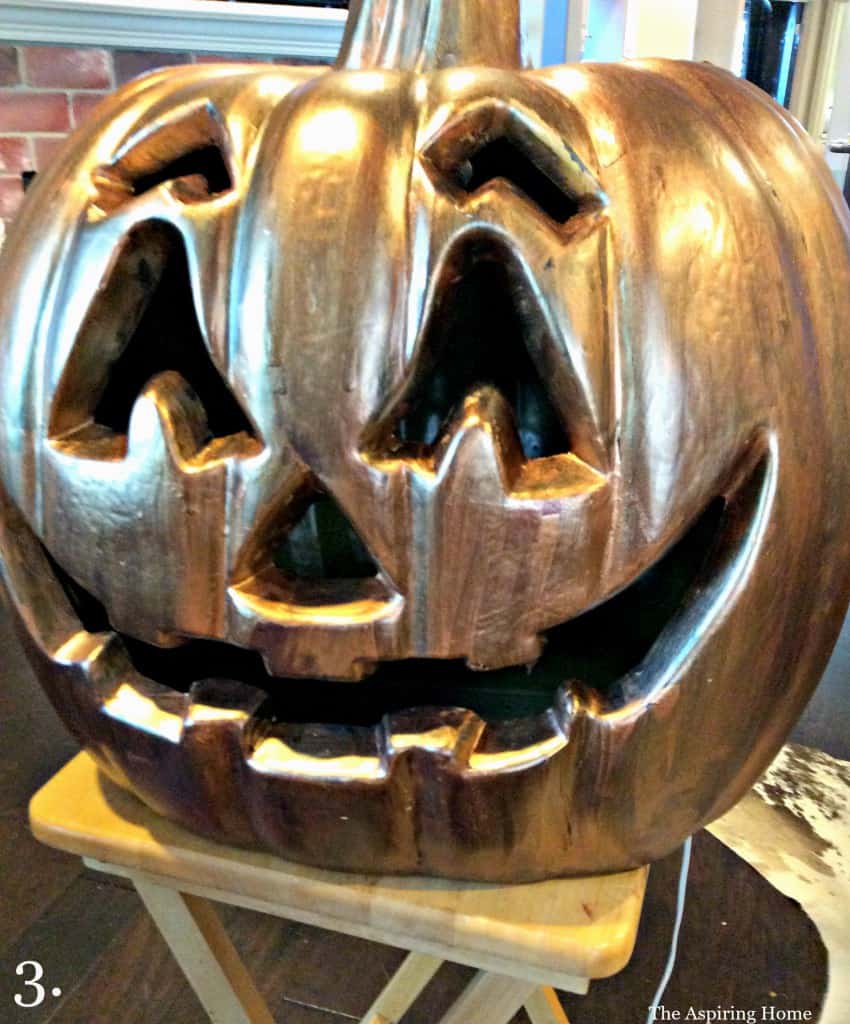
Step 3:
For the third paint layer, I grabbed my gorgeous Bronze paint by Precious Metals and went over the entire pumpkin.
Step 4:
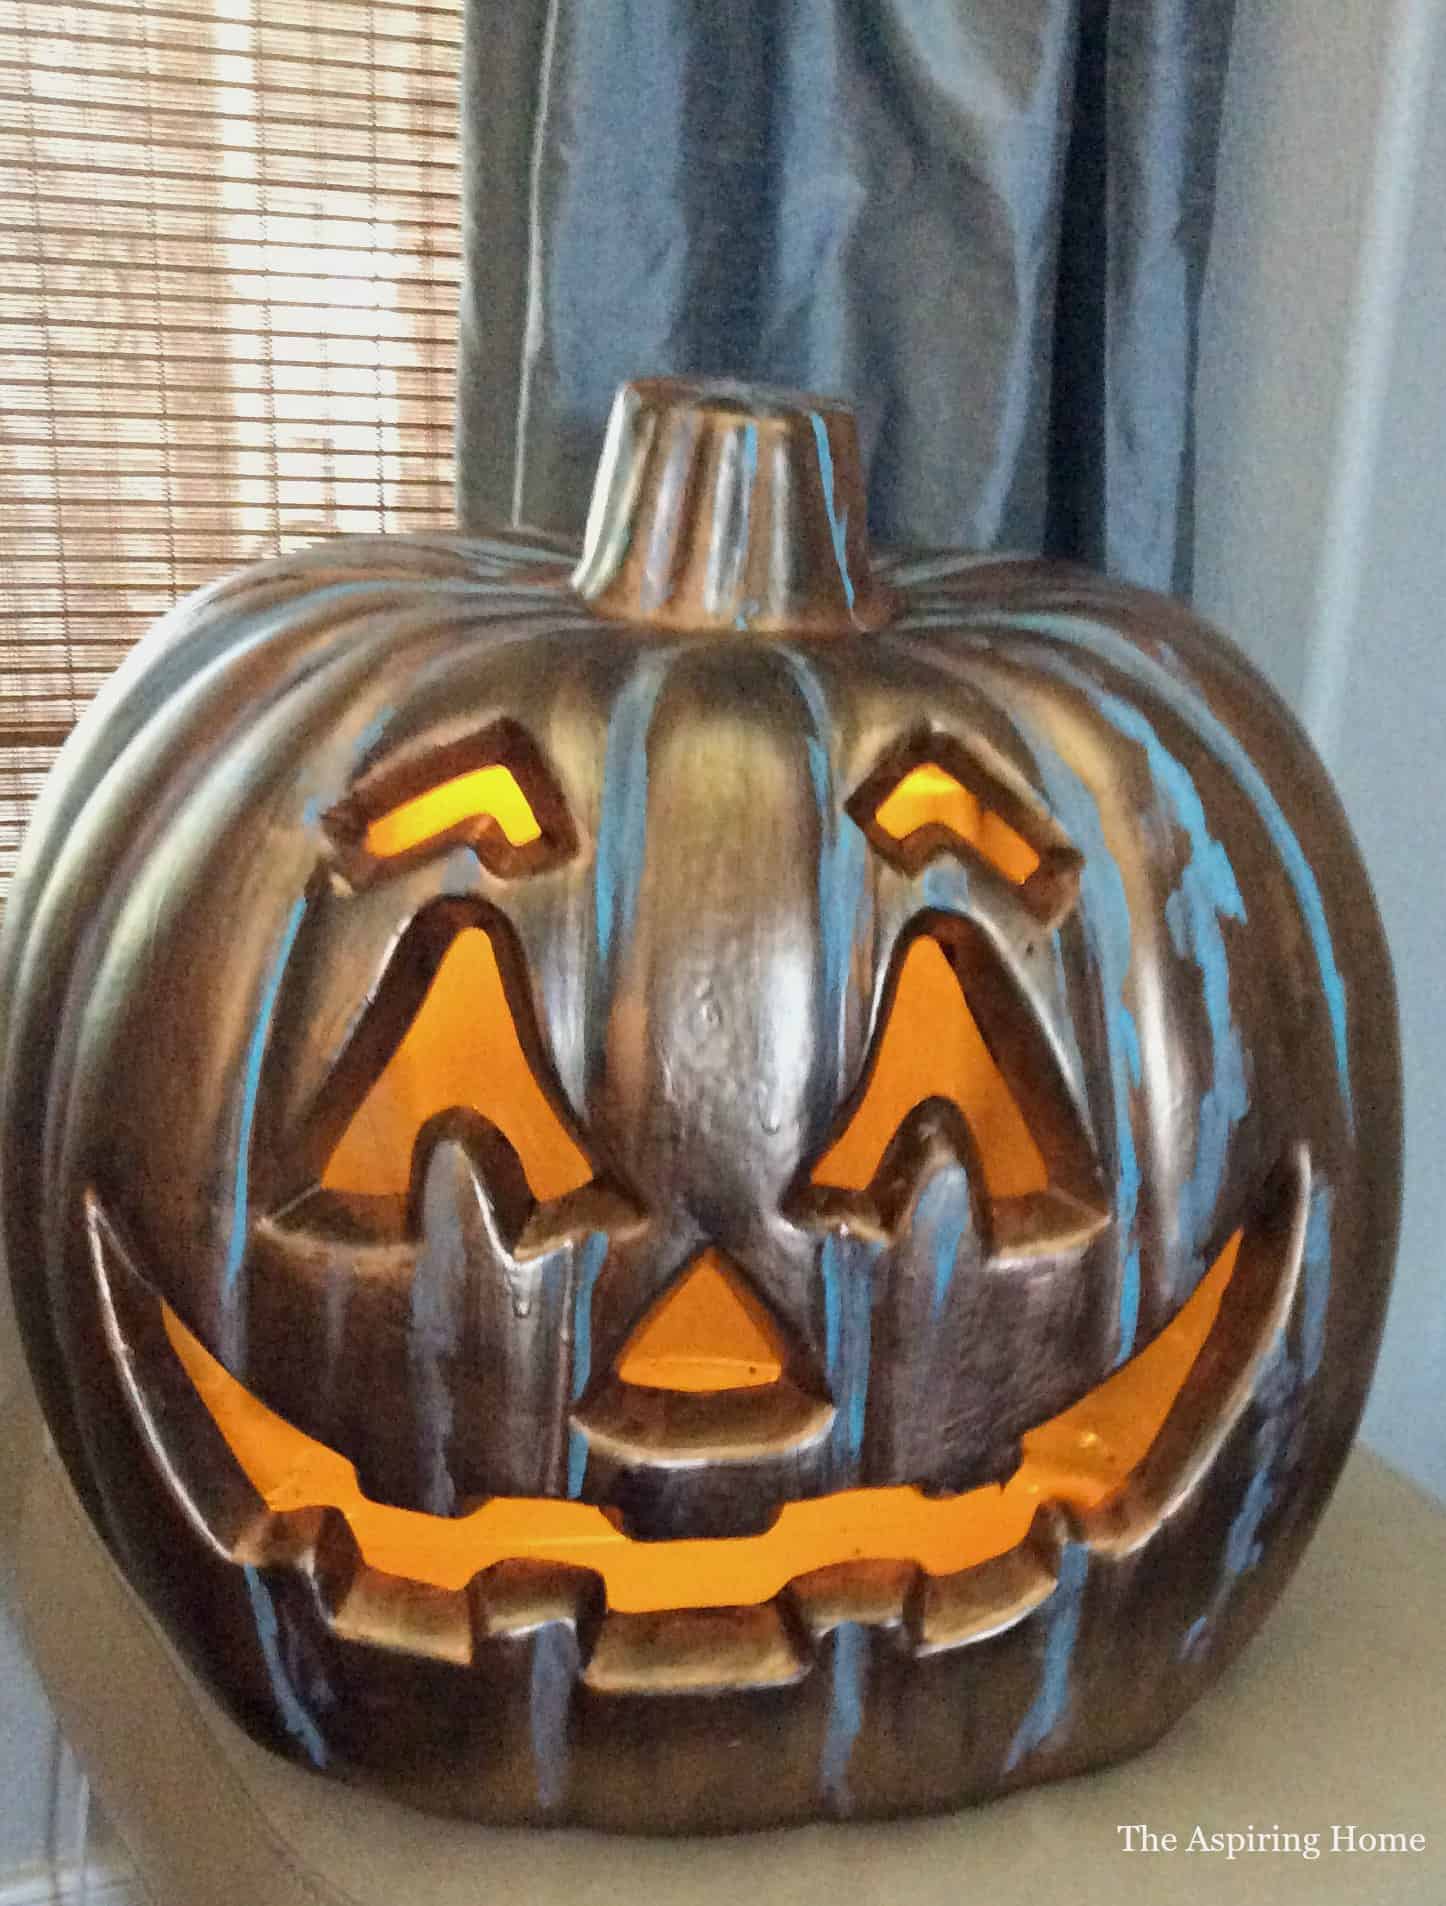
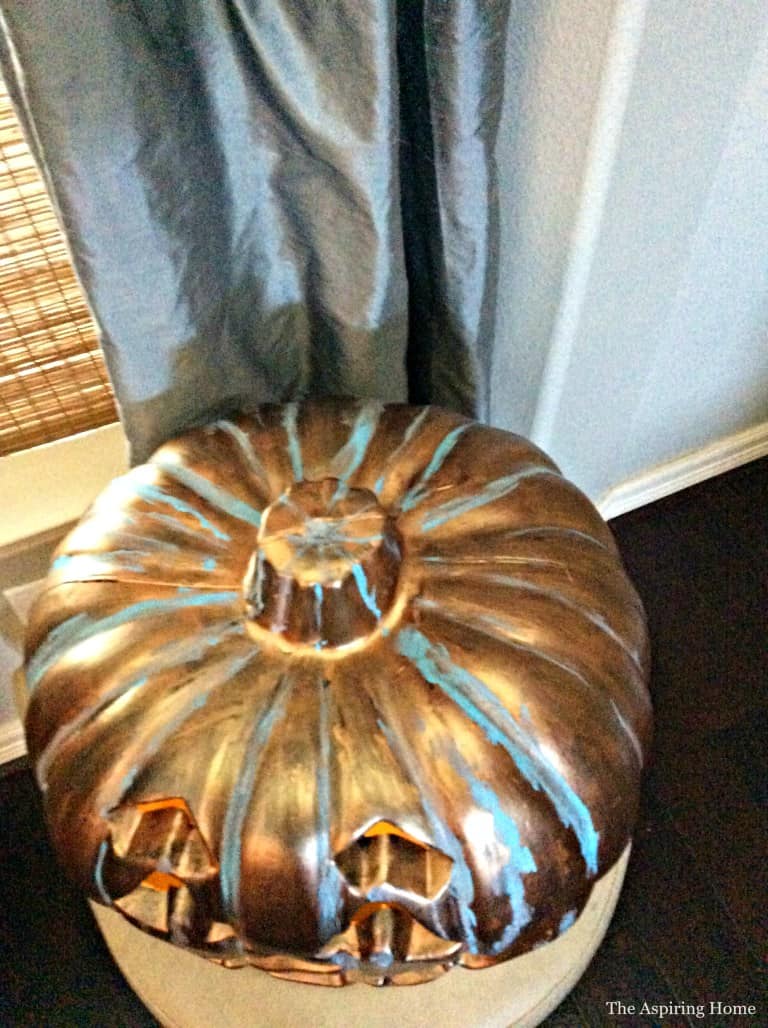
After allowing the bronze paint color to dry I dragged Decoart’s “Indian Turquoise” acrylic craft paint down the sides of the Jack O’ Lanterns… paying attention to how the elements might affect the happy gourds. I smudged the turquoise in areas to create a little more wear.
Step 5:
Finally, add two coats of non – yellowing satin poly to keep the pumpkins bright and shiny!
Looking forward to tucking these little guys into the landscape and you can replicate this process on any pumpkin!
Till Later Friends!



These are amazing-I’m going to try this, Joy!!! Thank you.
Well…aren’t they just adorable. You did a great job of making them happy again.