Reupholster a Bedroom Bench
Let’s update our space by reupholstering a bedroom bench. It’s an easy and quick weekend project.
Hey there friends! I love a good bargain and this bench was a good bargain. Why? The price was right and I could see the bones of it…with a little elbow grease, it could become something so much more. This reupholster a bedroom bench tutorial can really be completed in less than a weekend! Let’s get started.
Heads up! This post contains affiliate links. If you choose to purchase through these links I may receive a small commission at no additional charge to you.
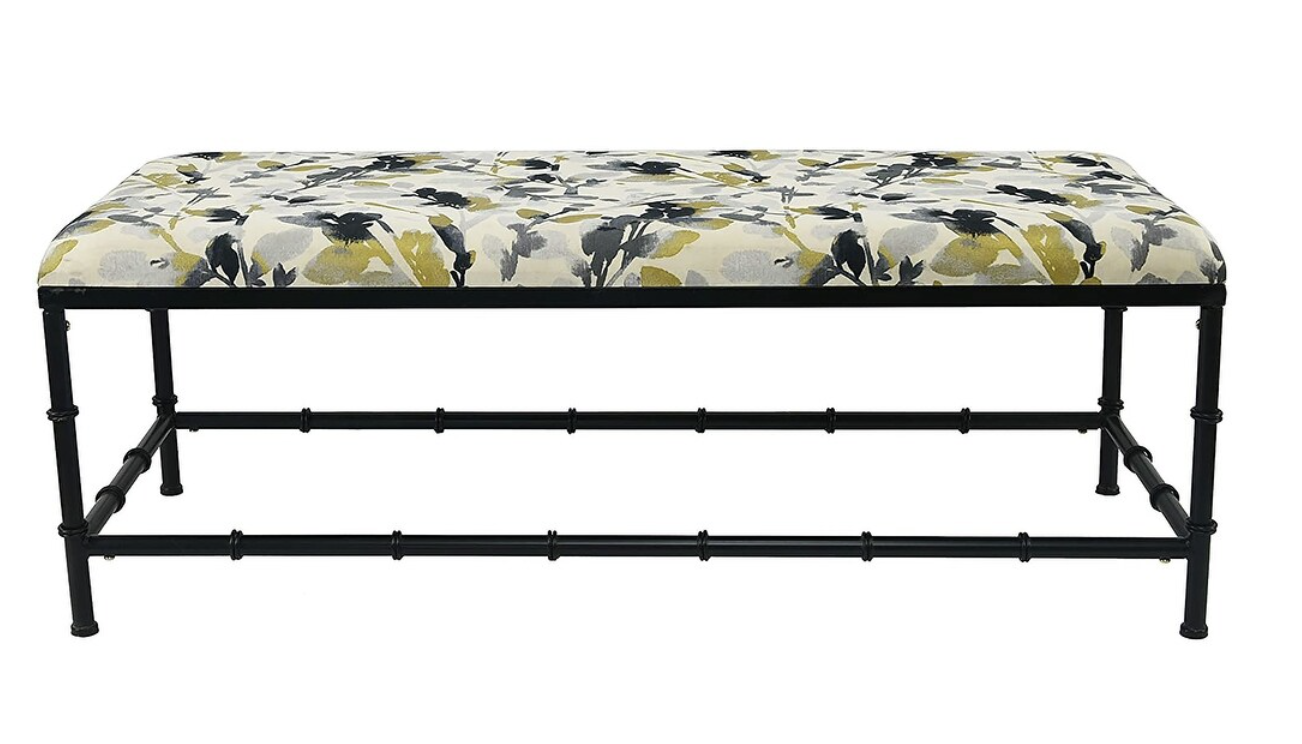
So, what I see in this bench?
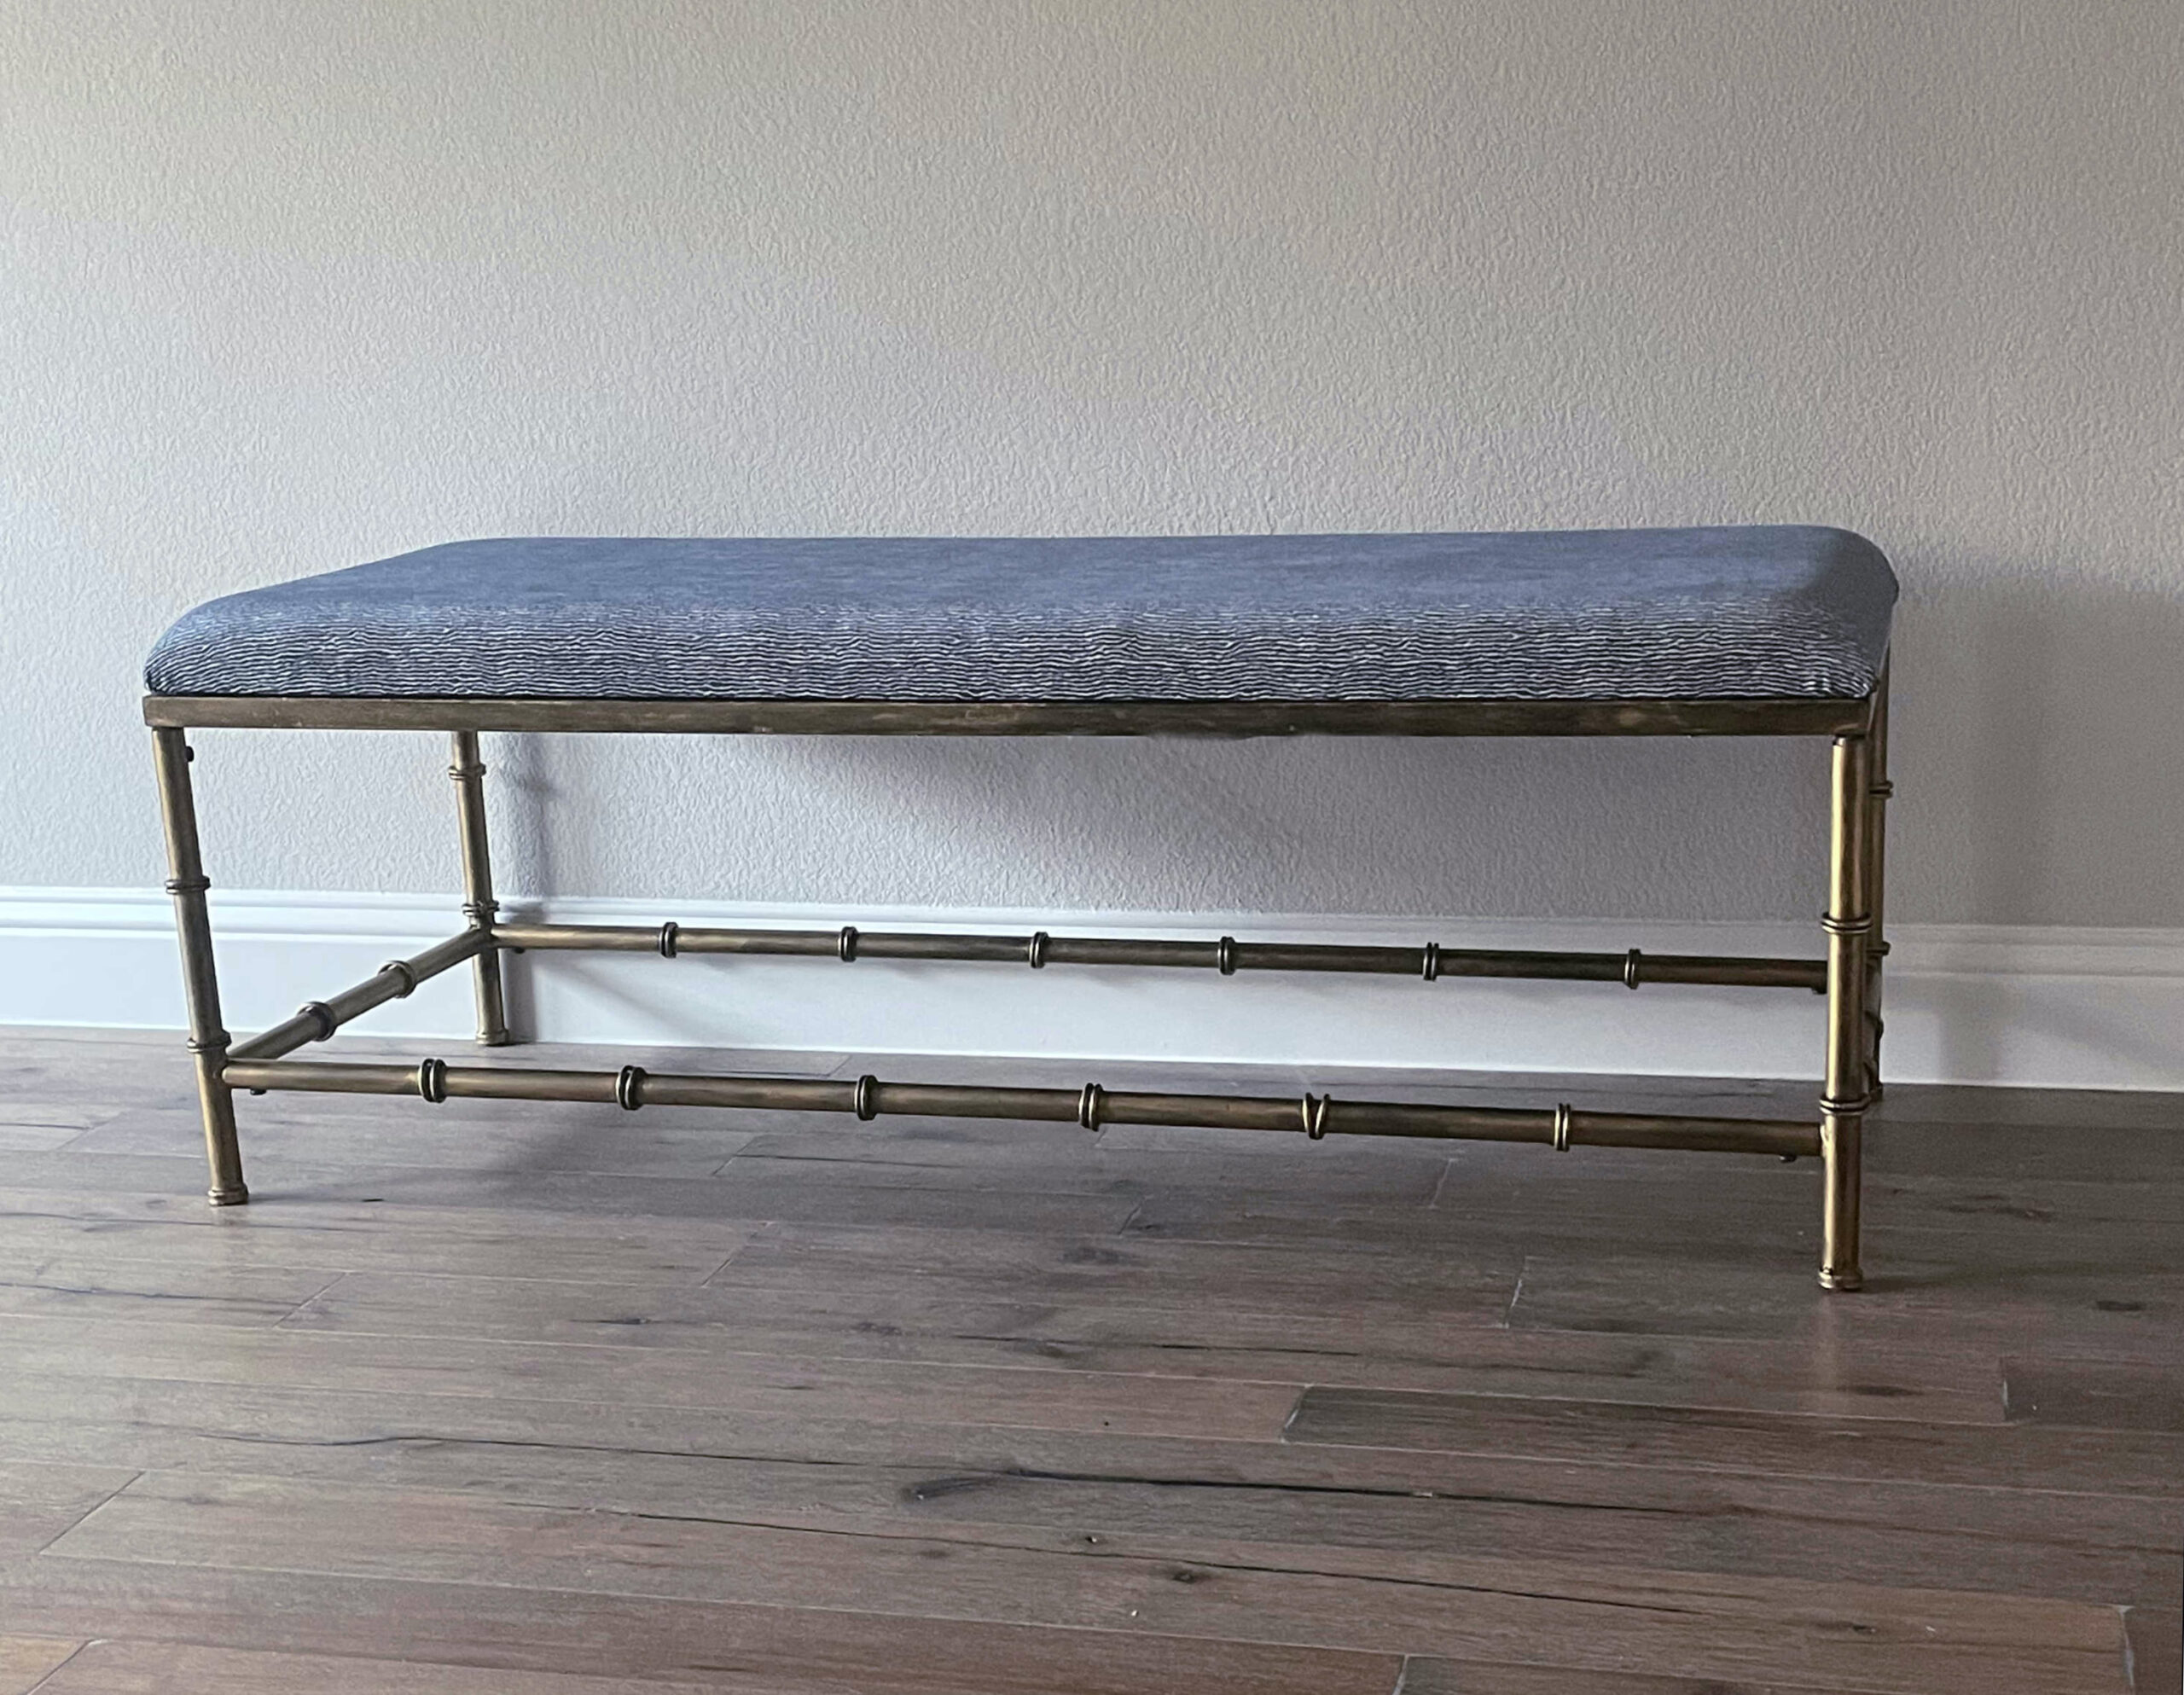
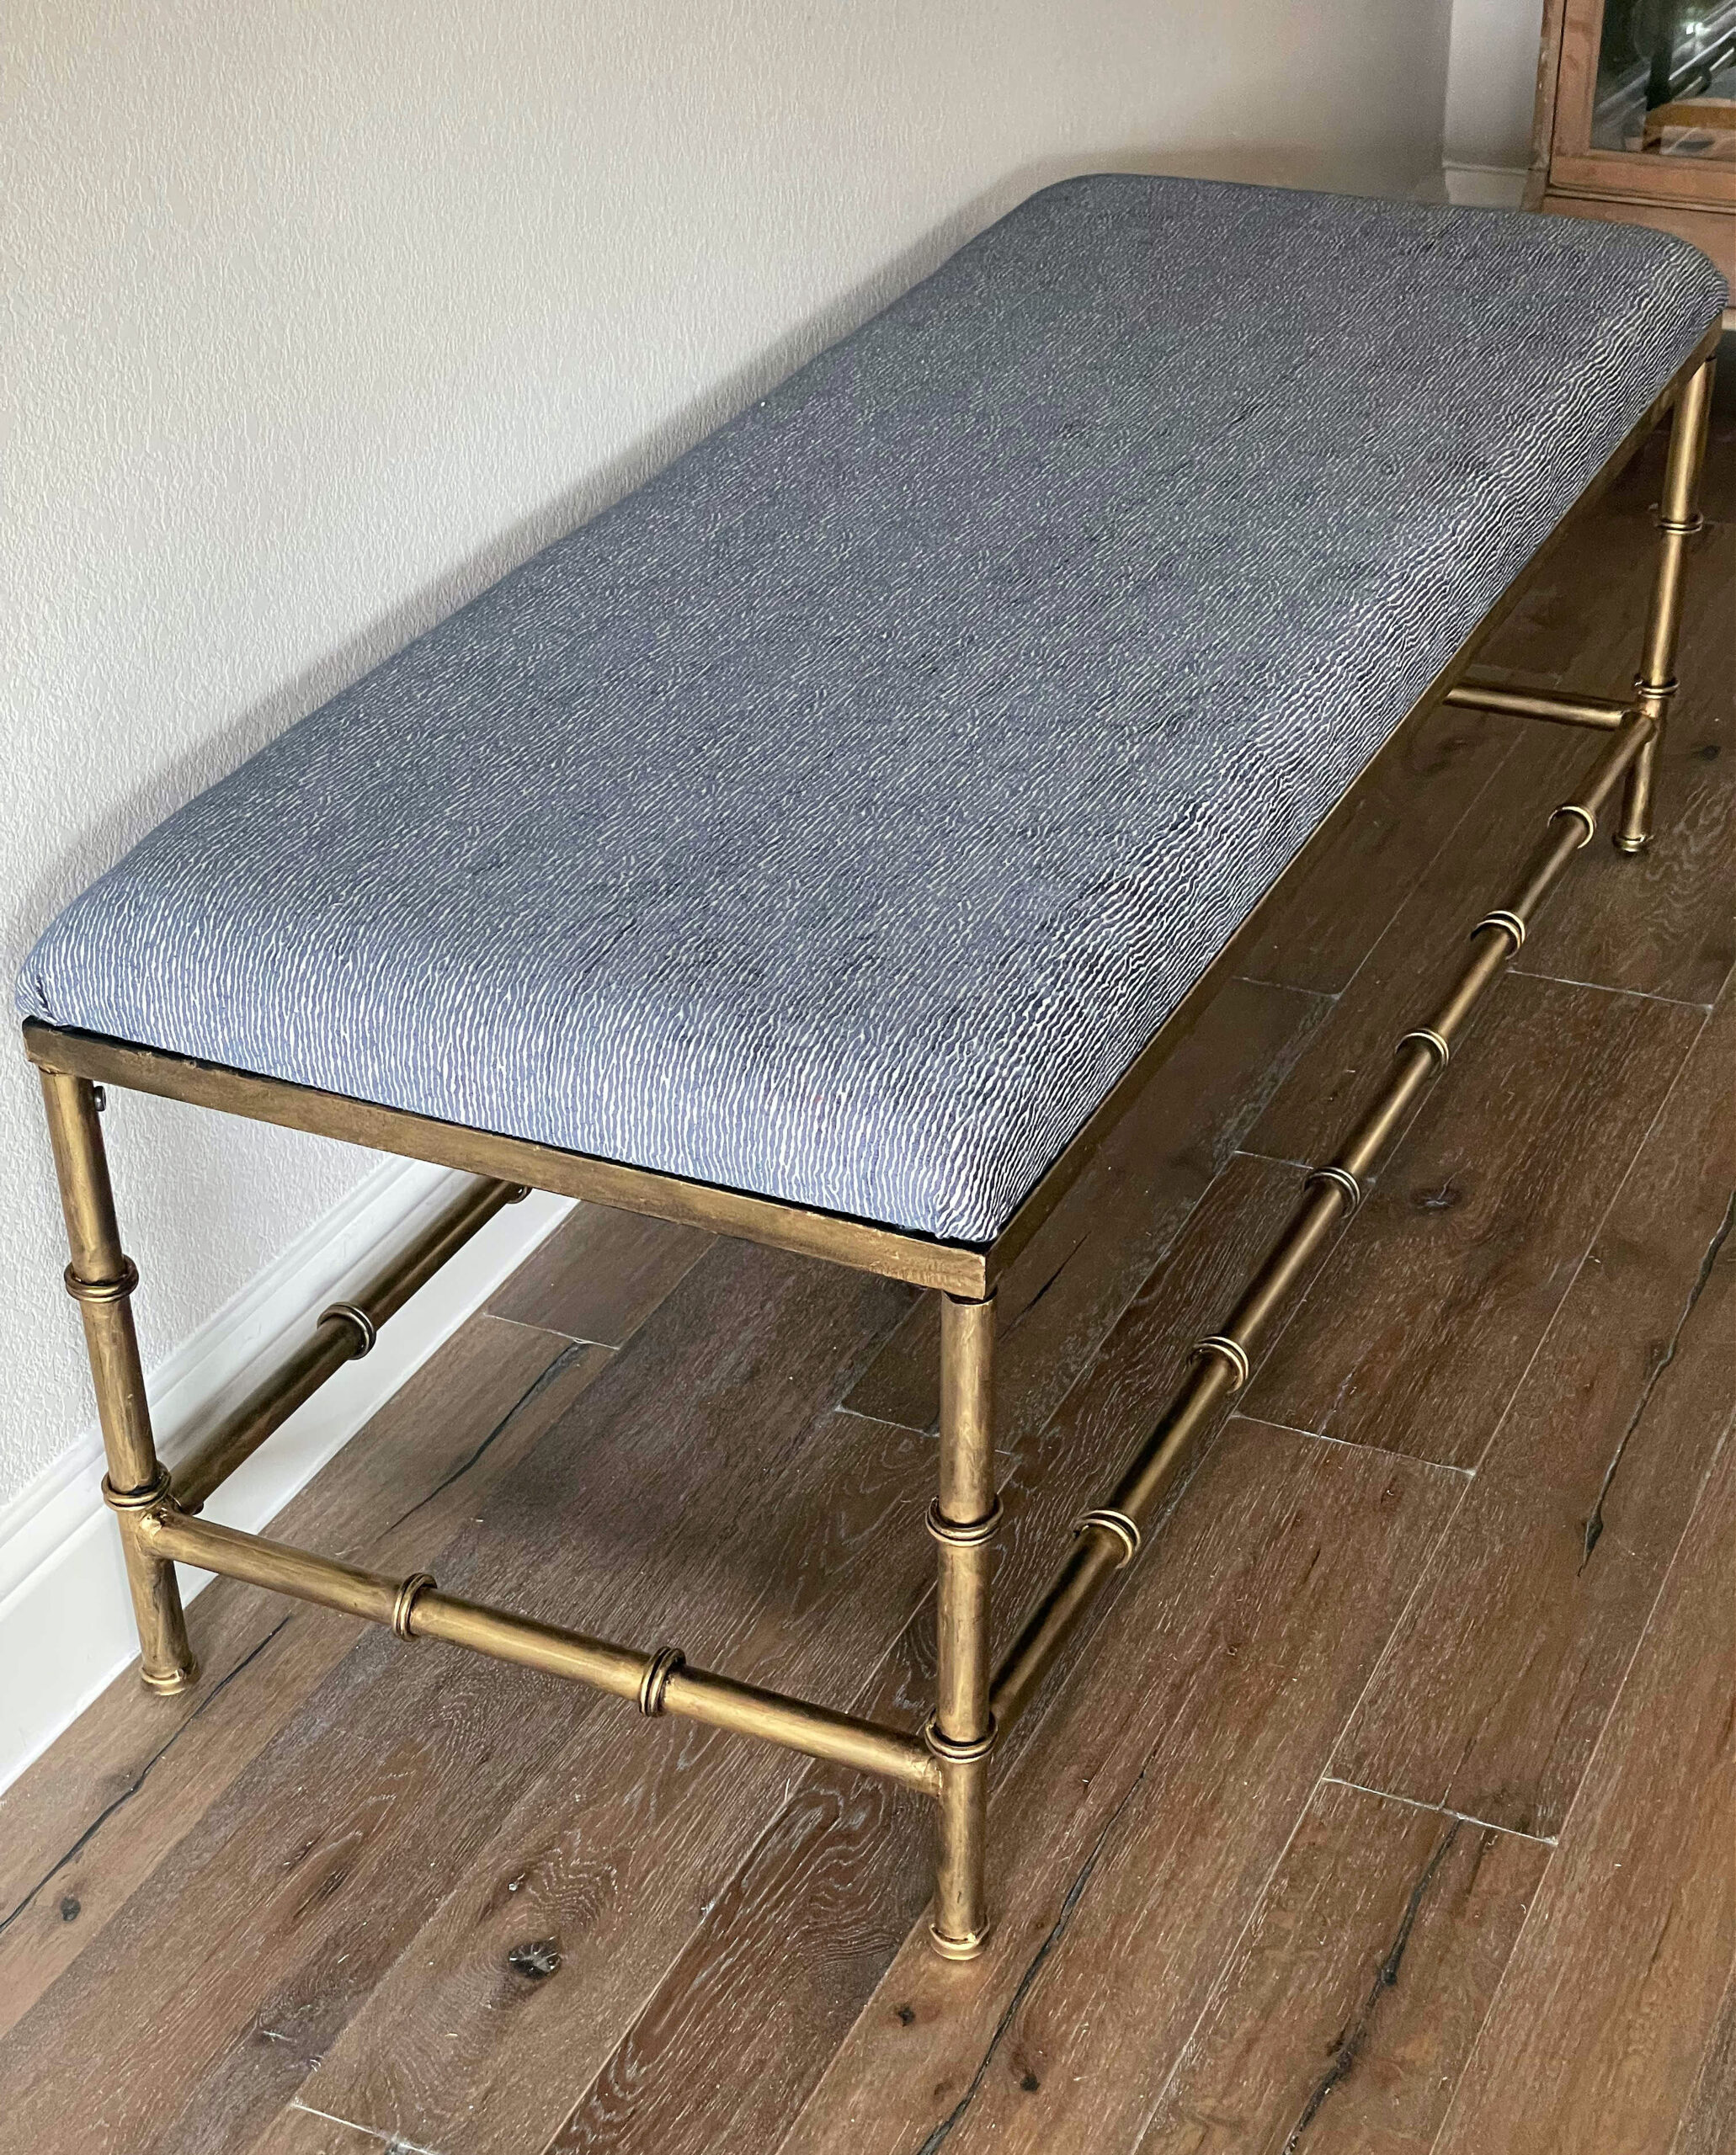
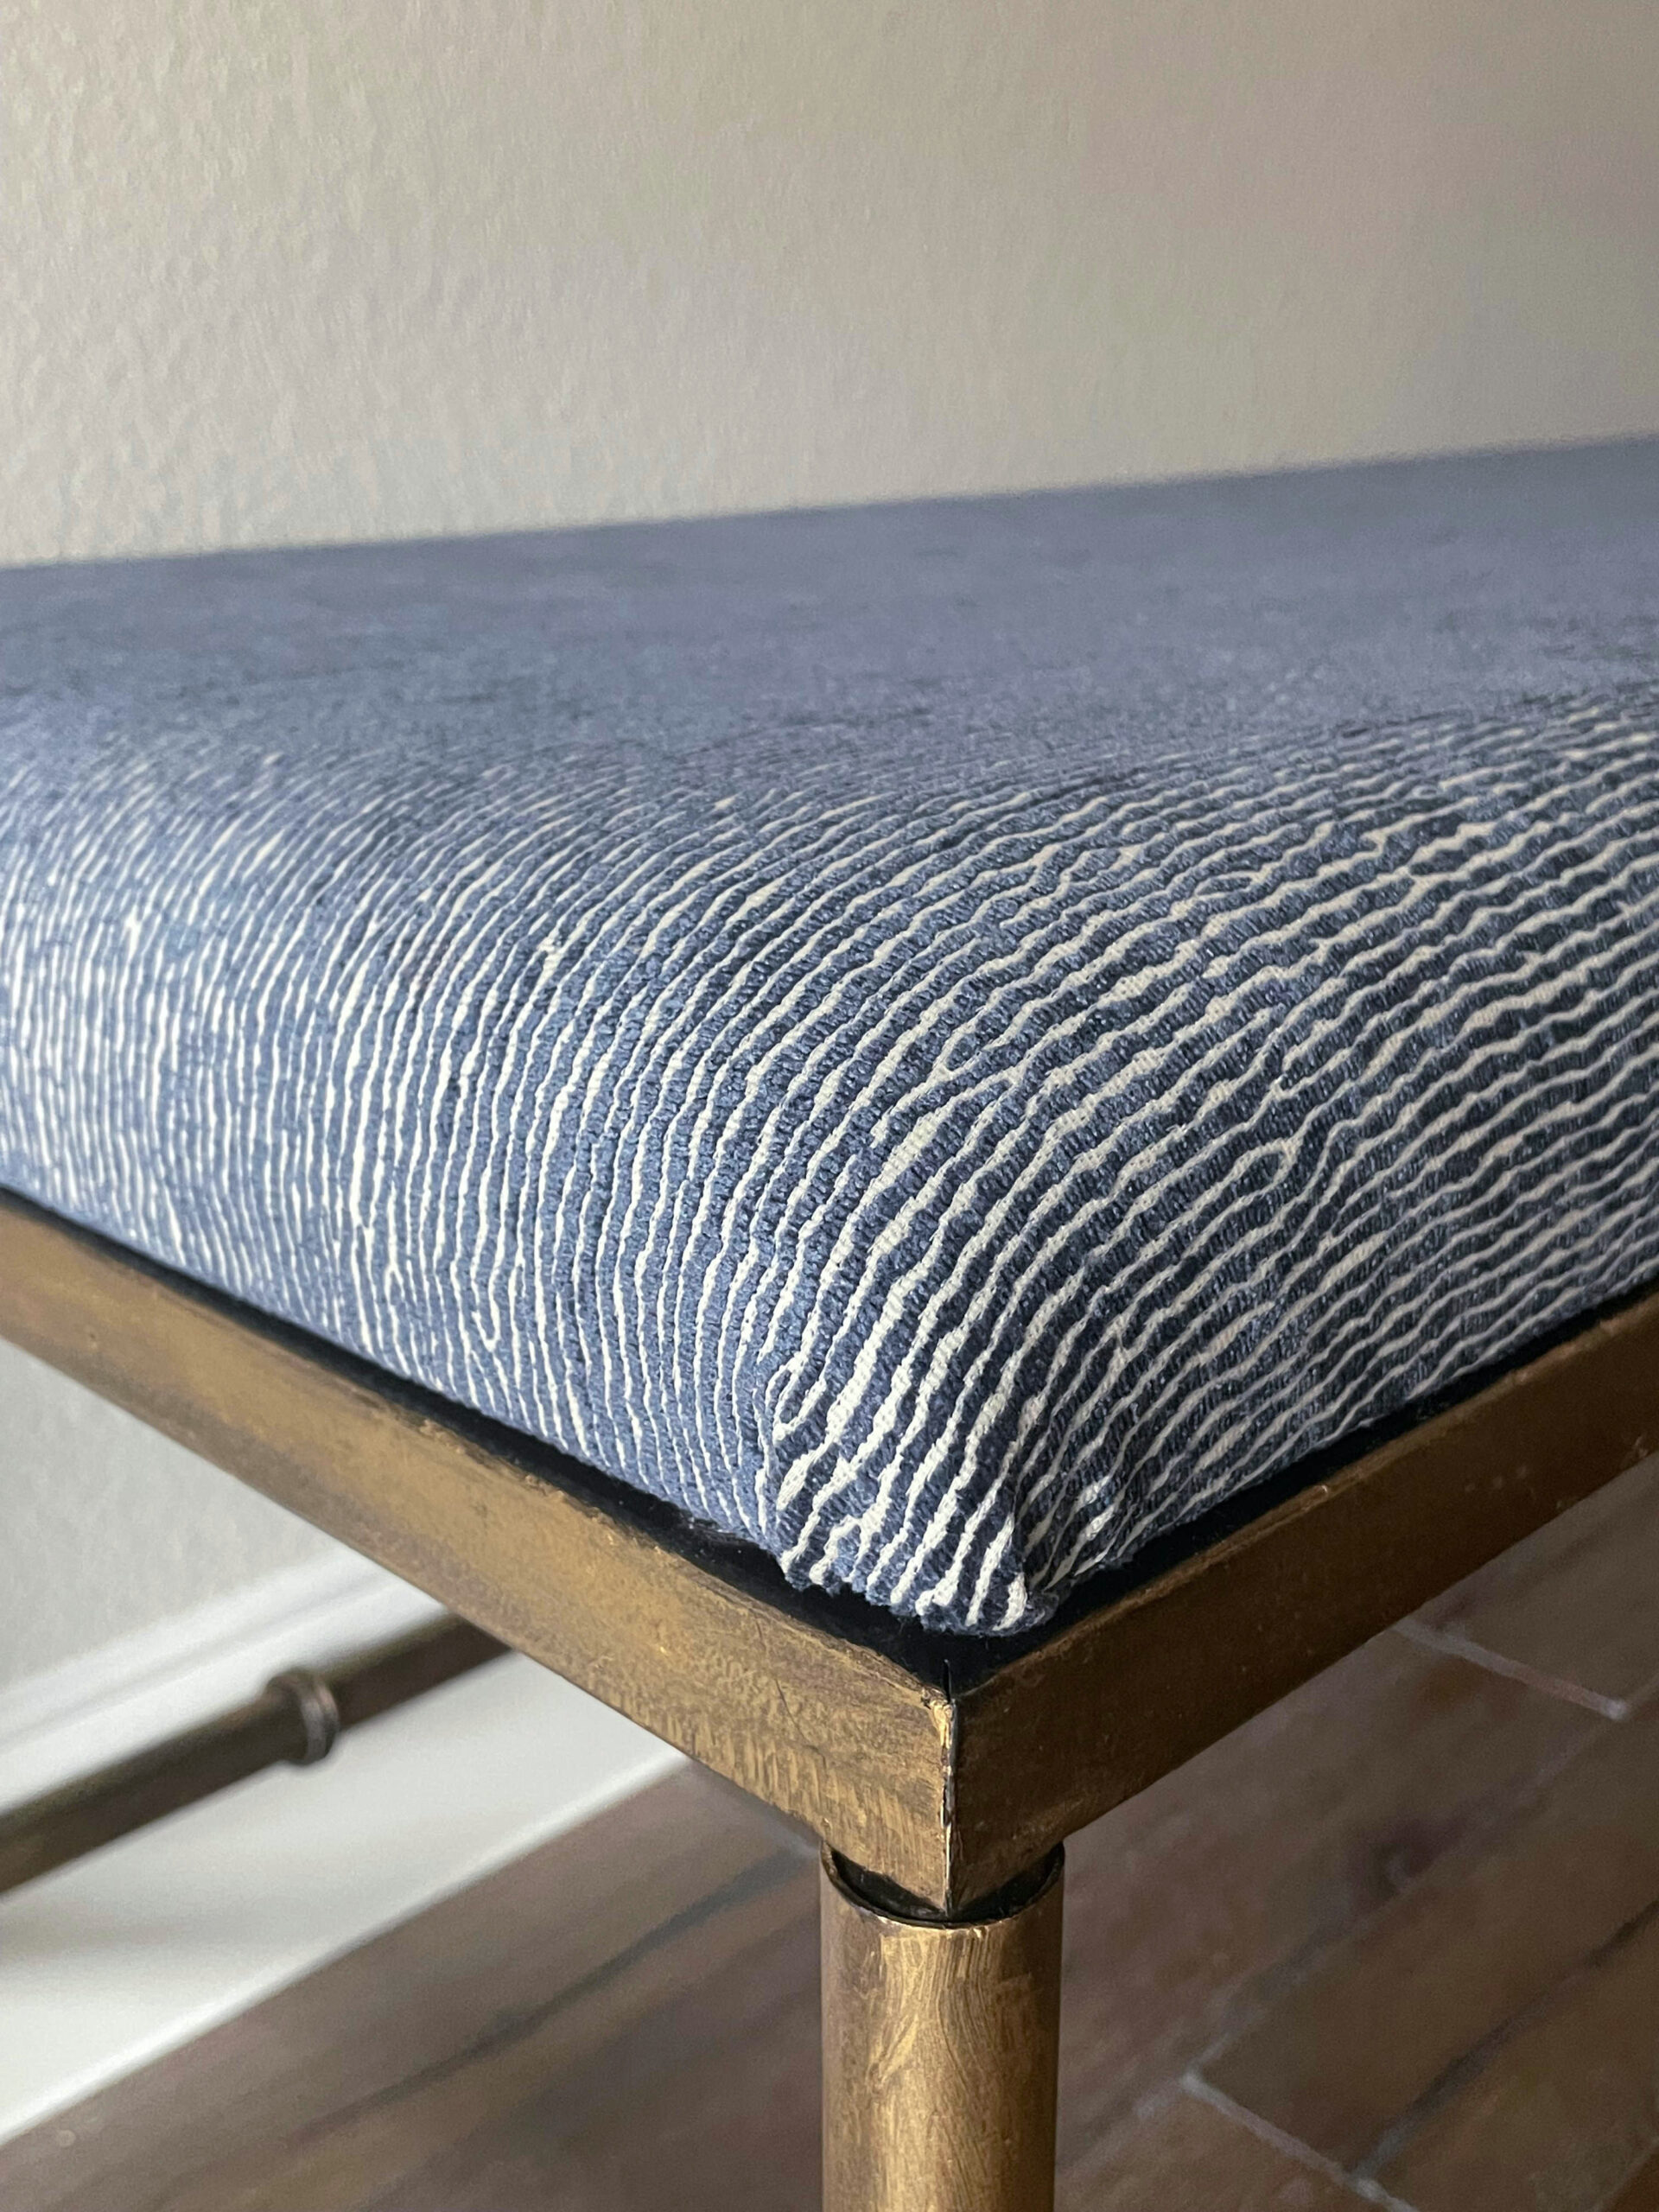
I see a different finish could make this bench feel more like bamboo trend and the fabric could be changed to something a bit more luxe, a bit more gorgeous.
Something like this:
Supplies
- Fabric of your choice
- Upholstery gun
- Staples
- paper towels
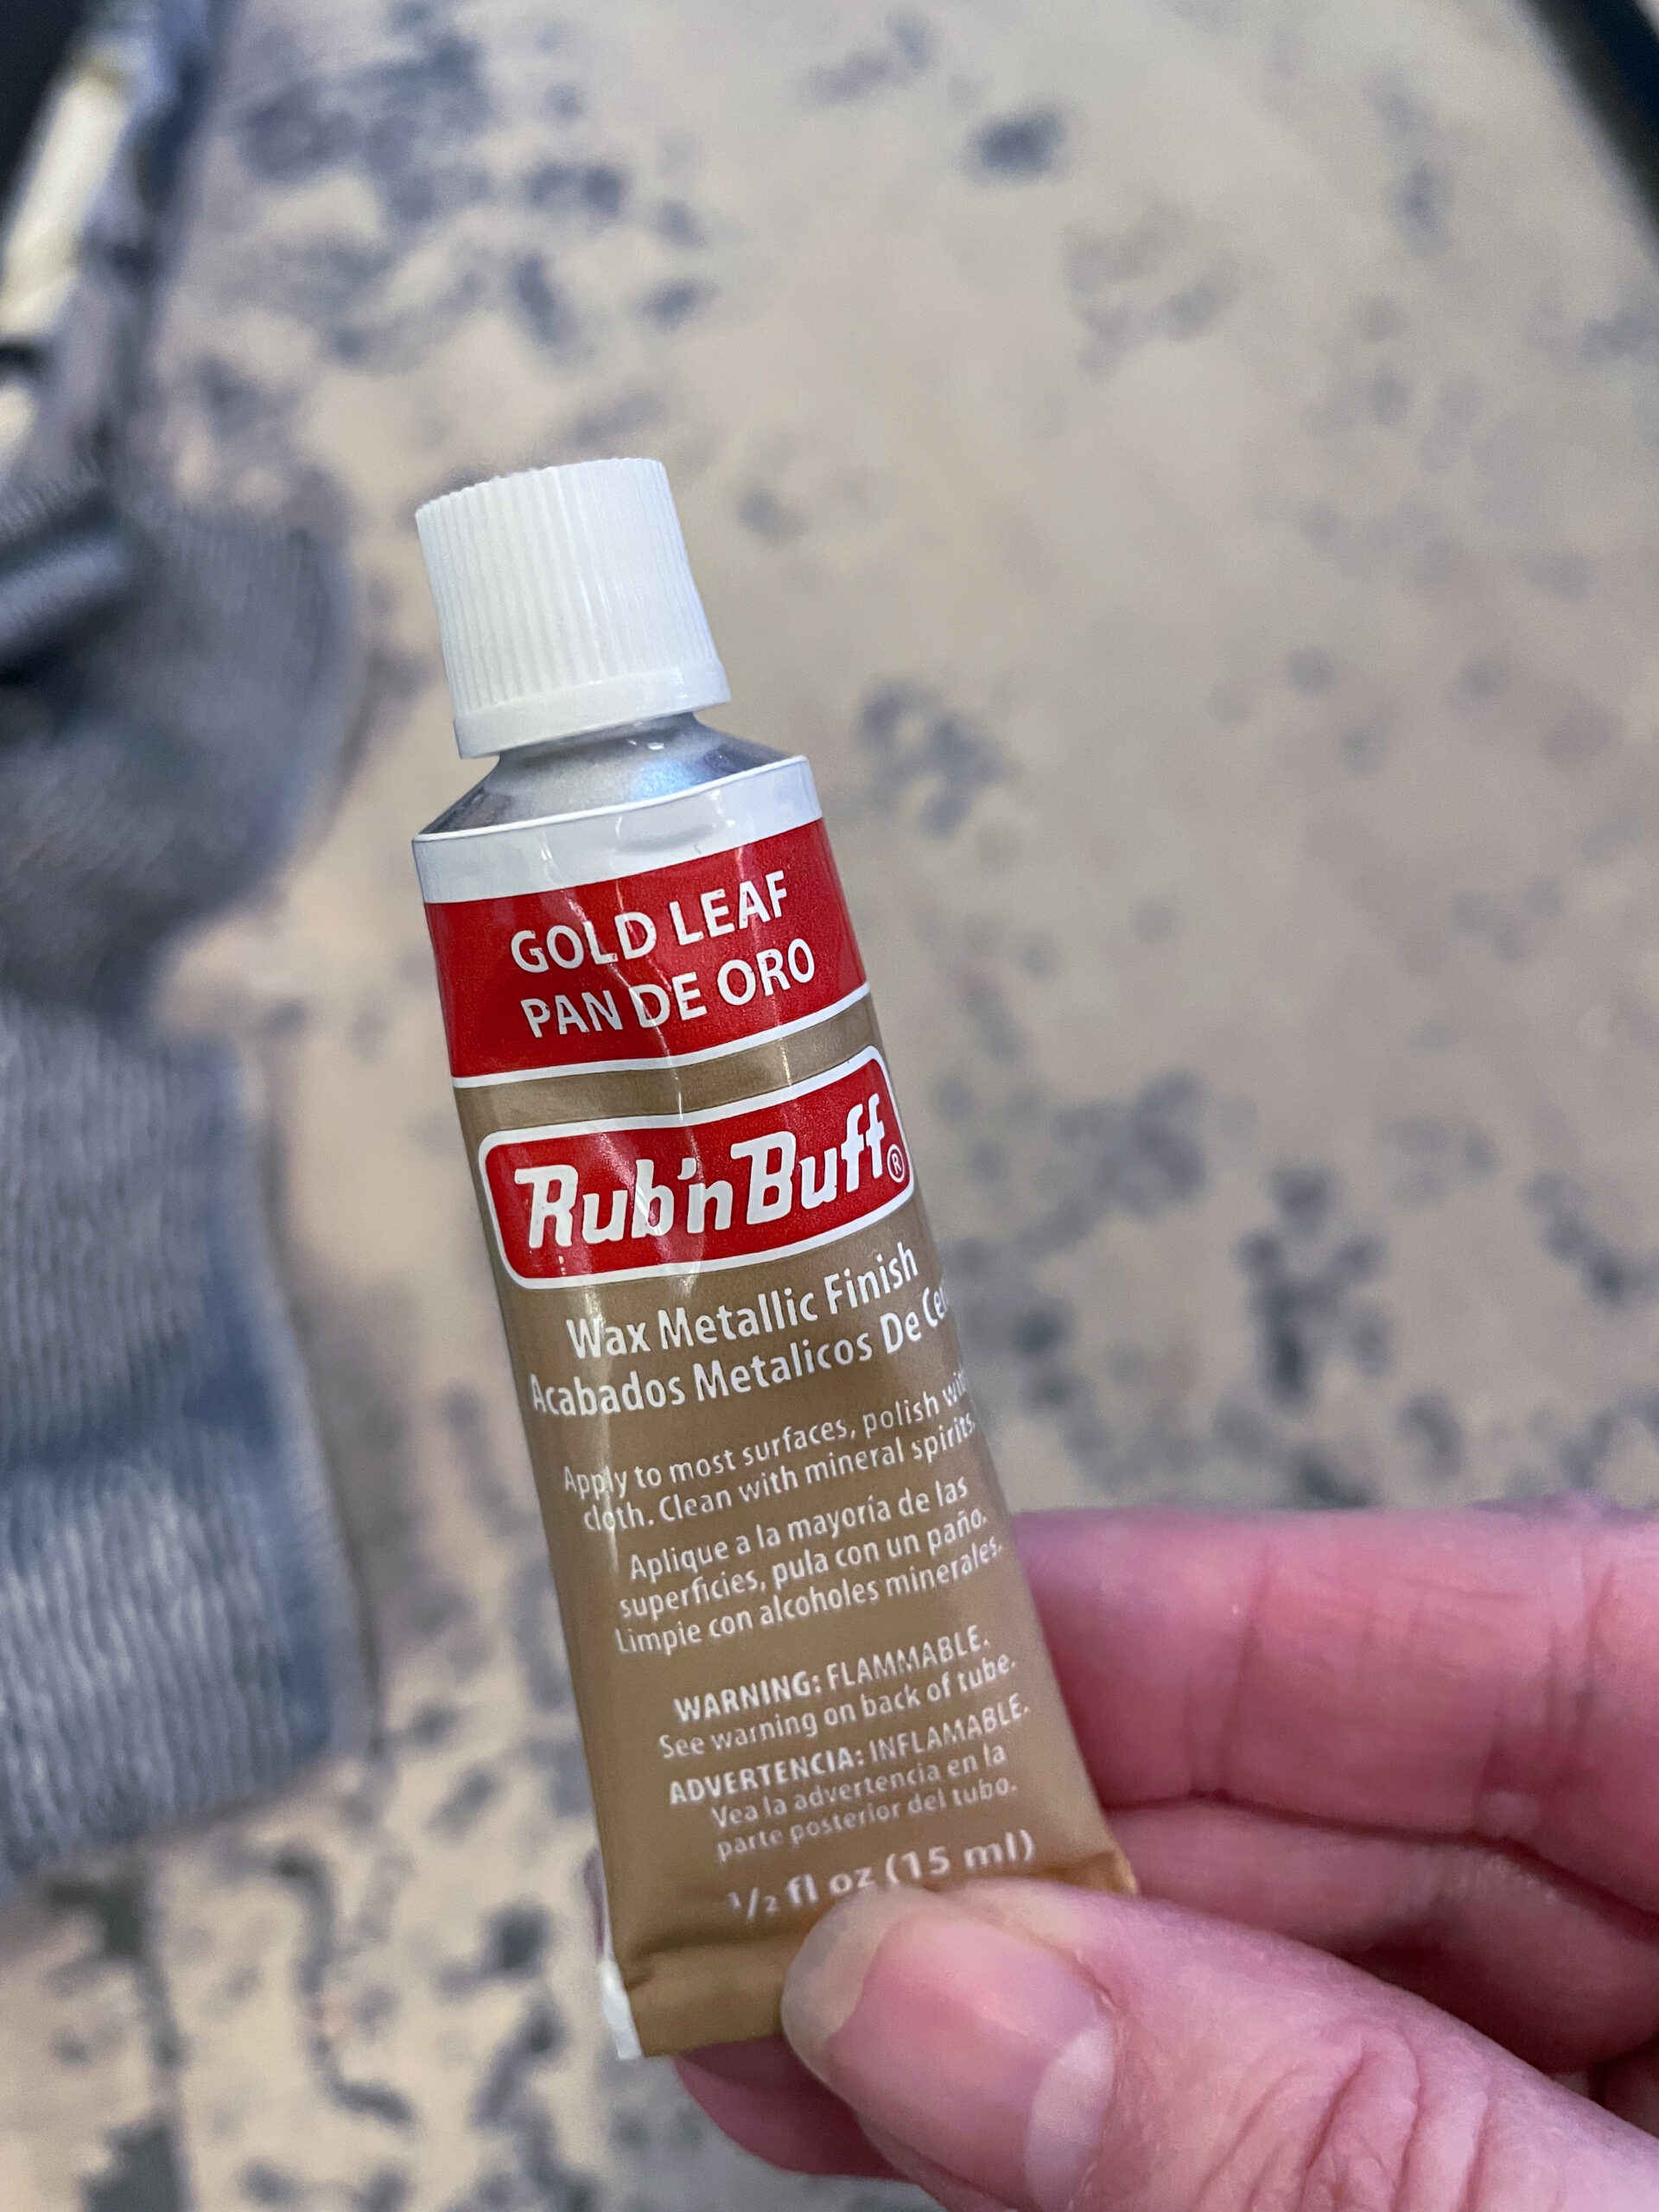
- Rub n Buff
- Scissors
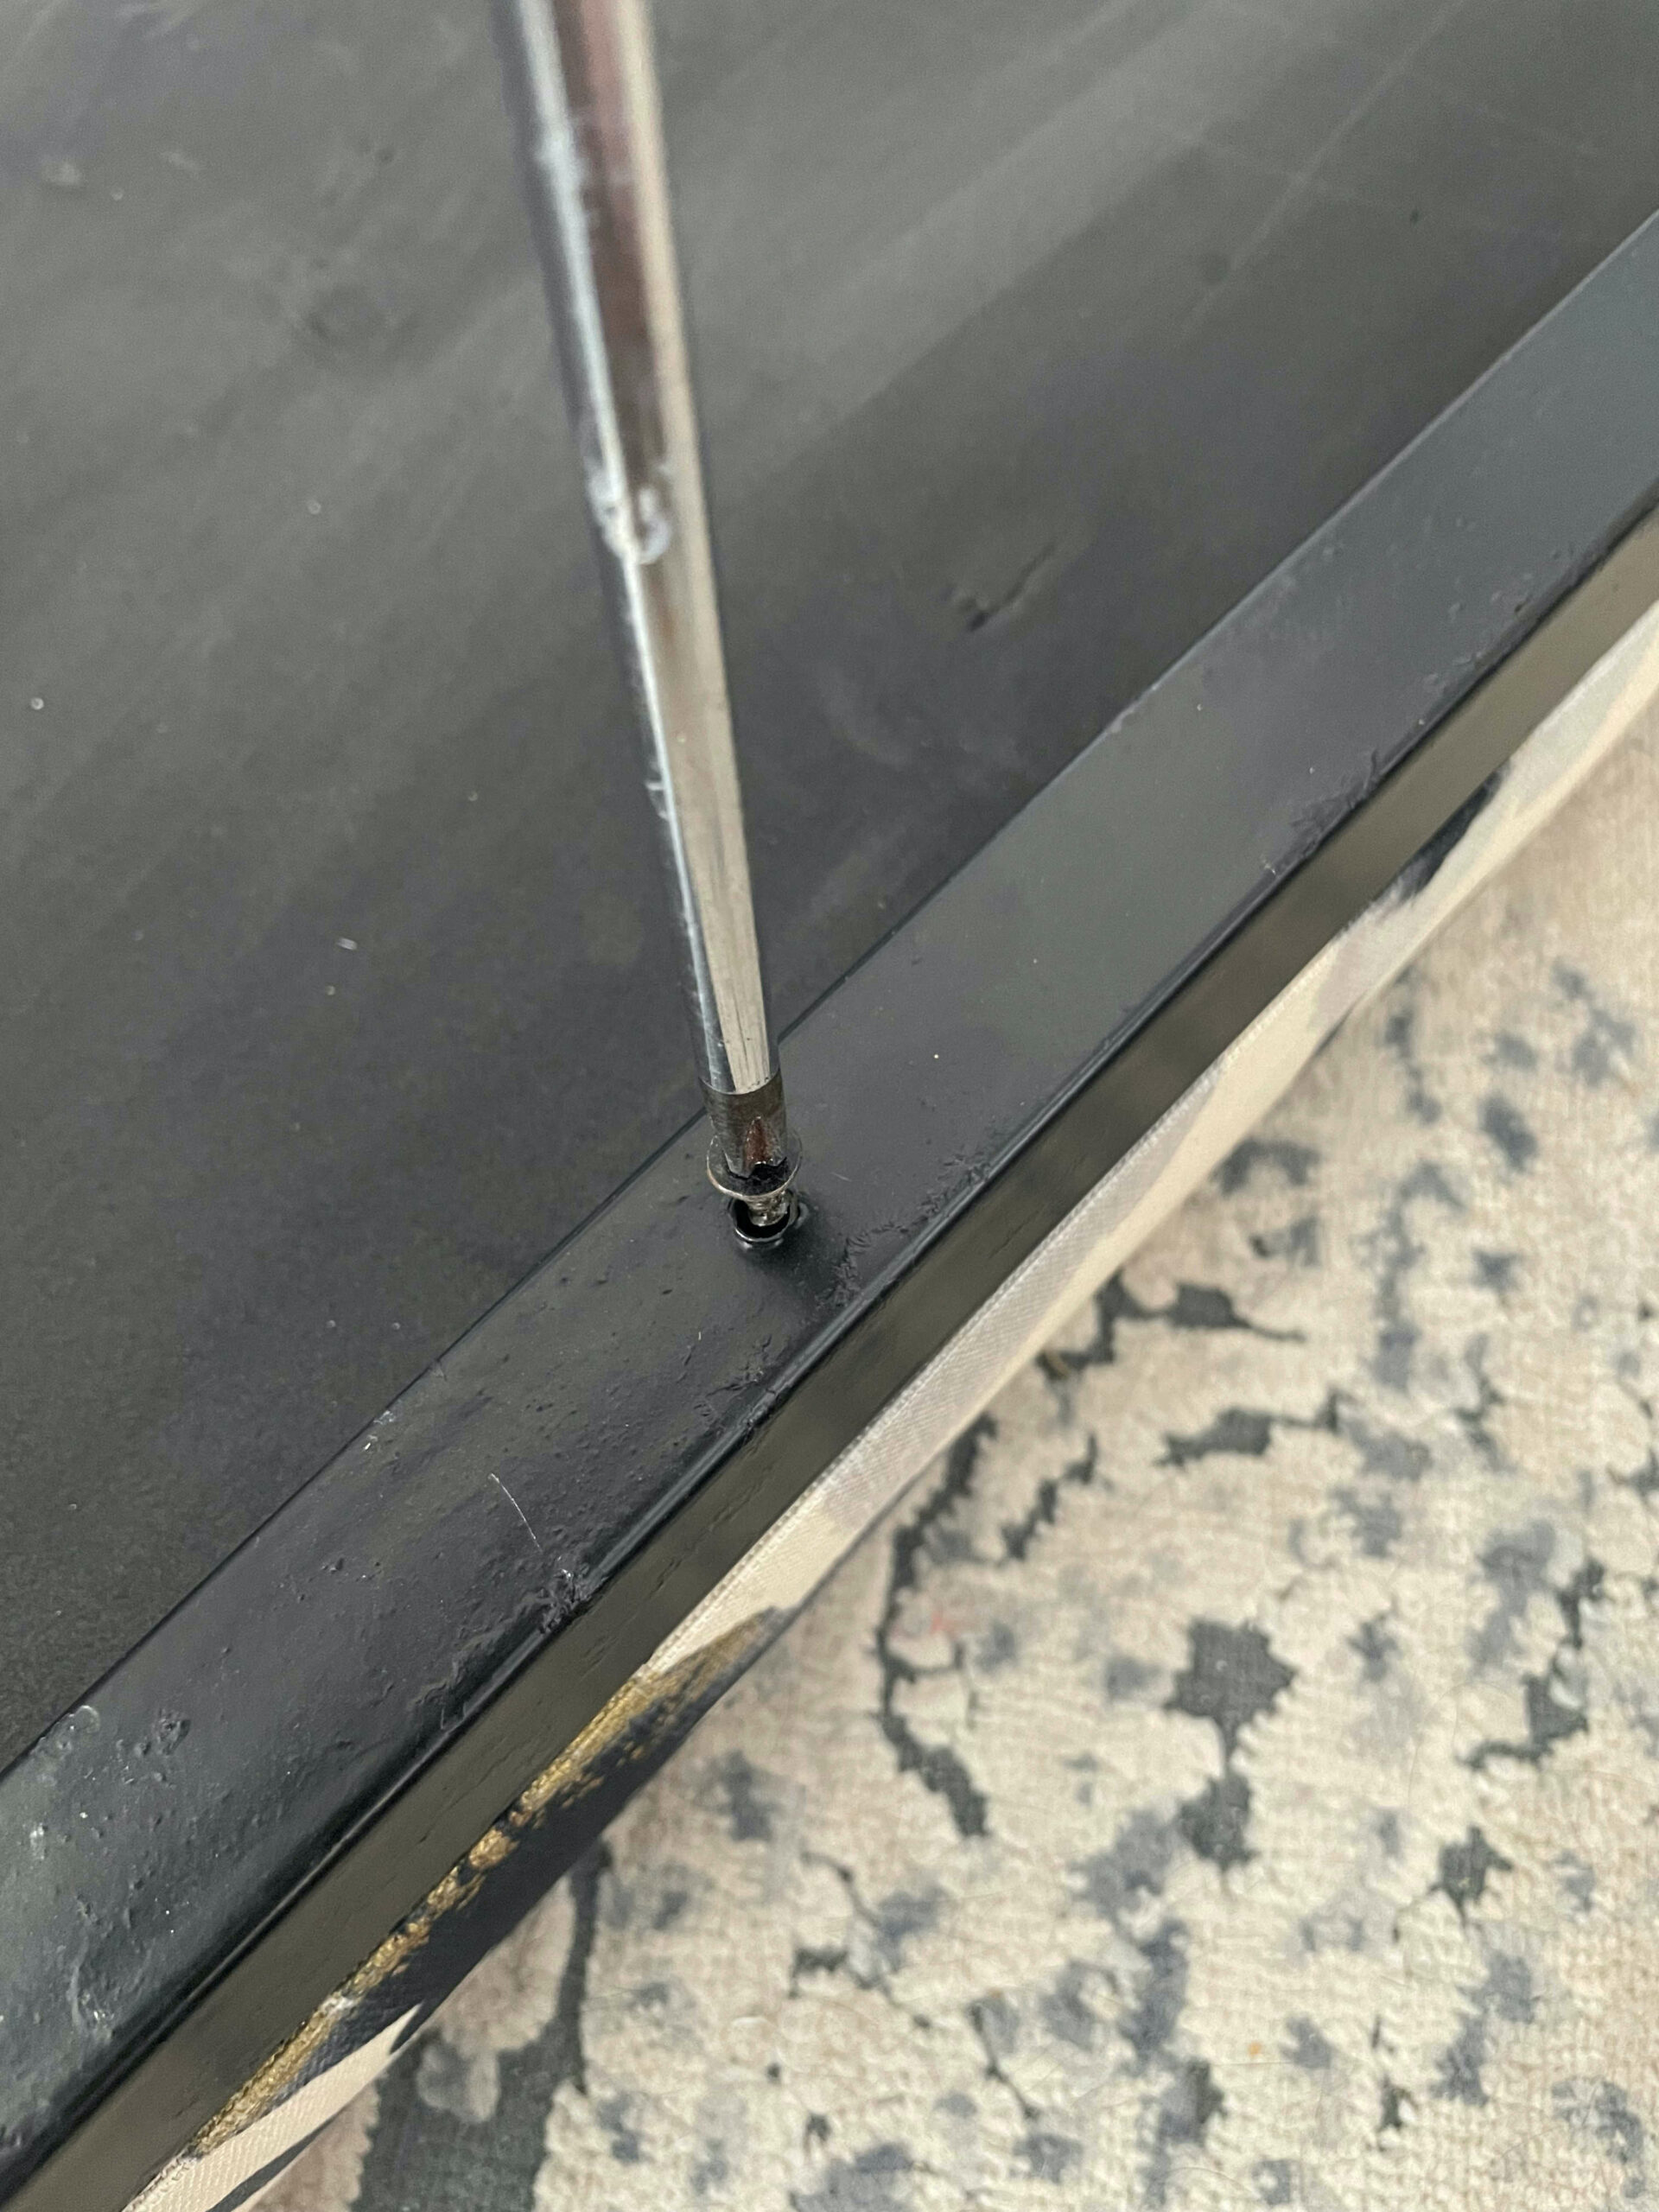
- Screwdriver (to take bench top off)
Step 1 Remove original fabric
Start by removing the fabric covered section of the bench with a screwdriver. Here is where the bench quality went a little down hill.
The bench seat was made out of a composite material that did not hold the screws tightly therefore the bench was not as secure as I would have liked.
To help remedy this – when the bench was reattached – I used a little glue on the screw tip for grip.
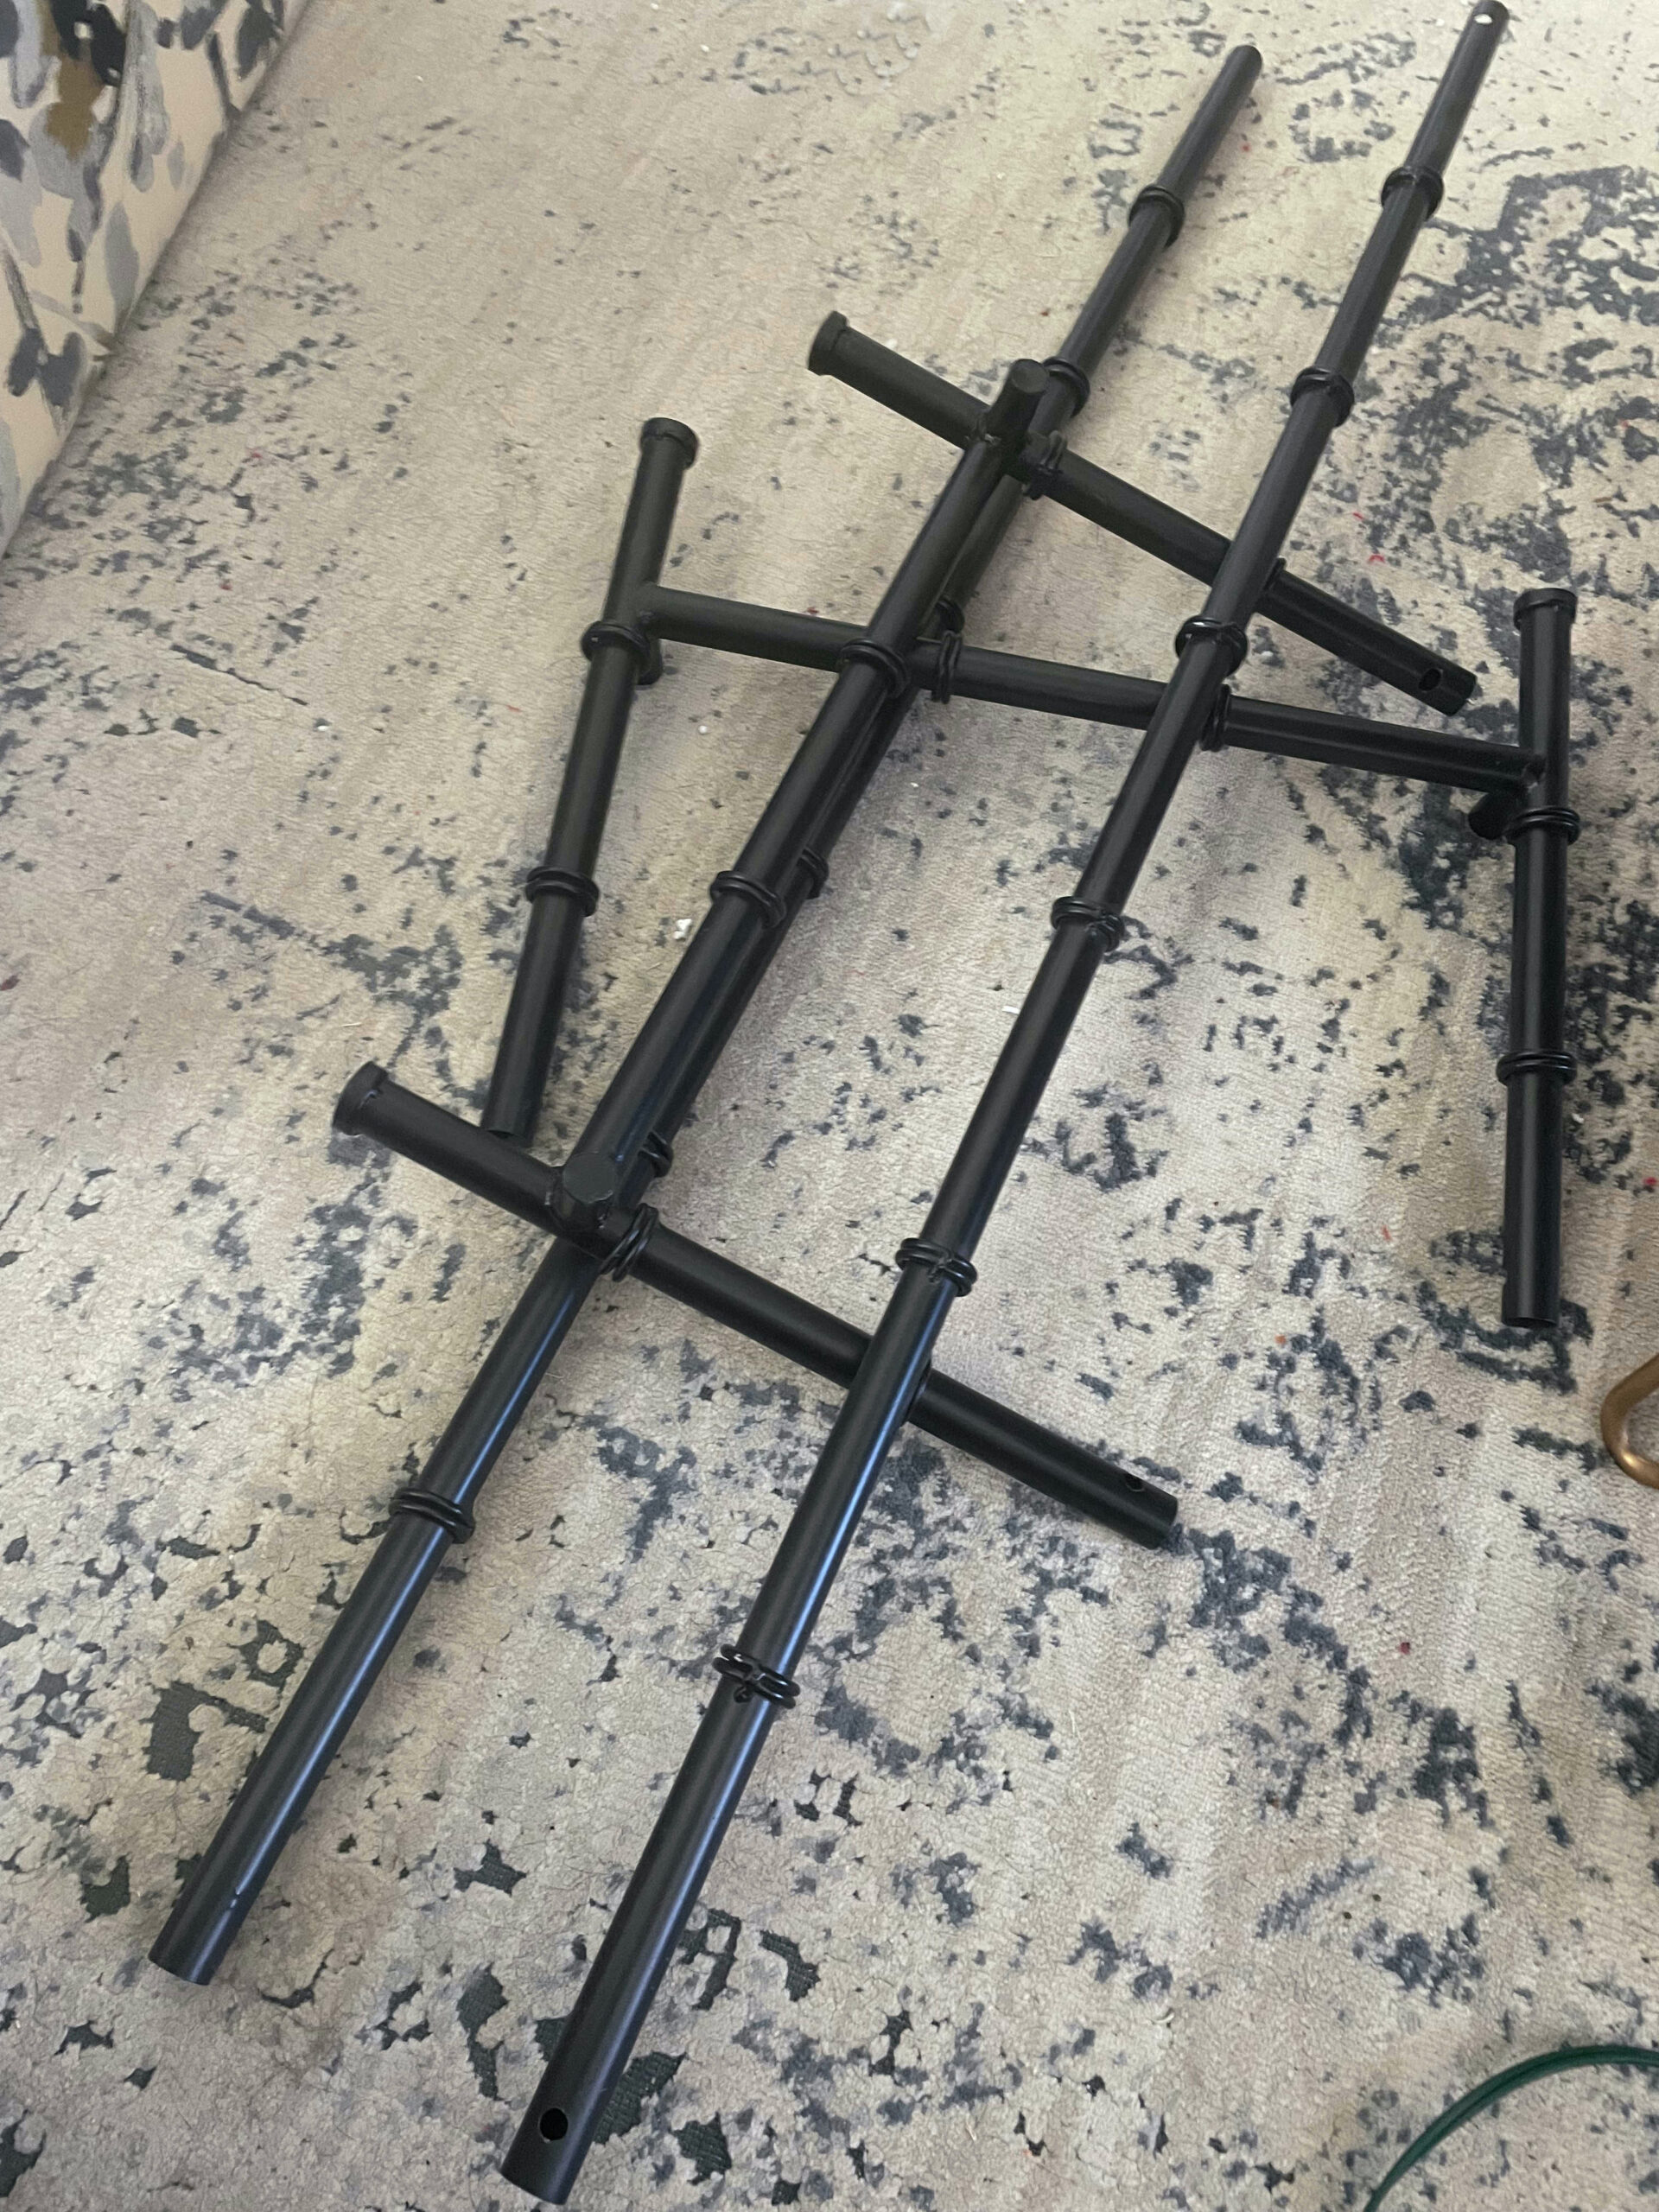
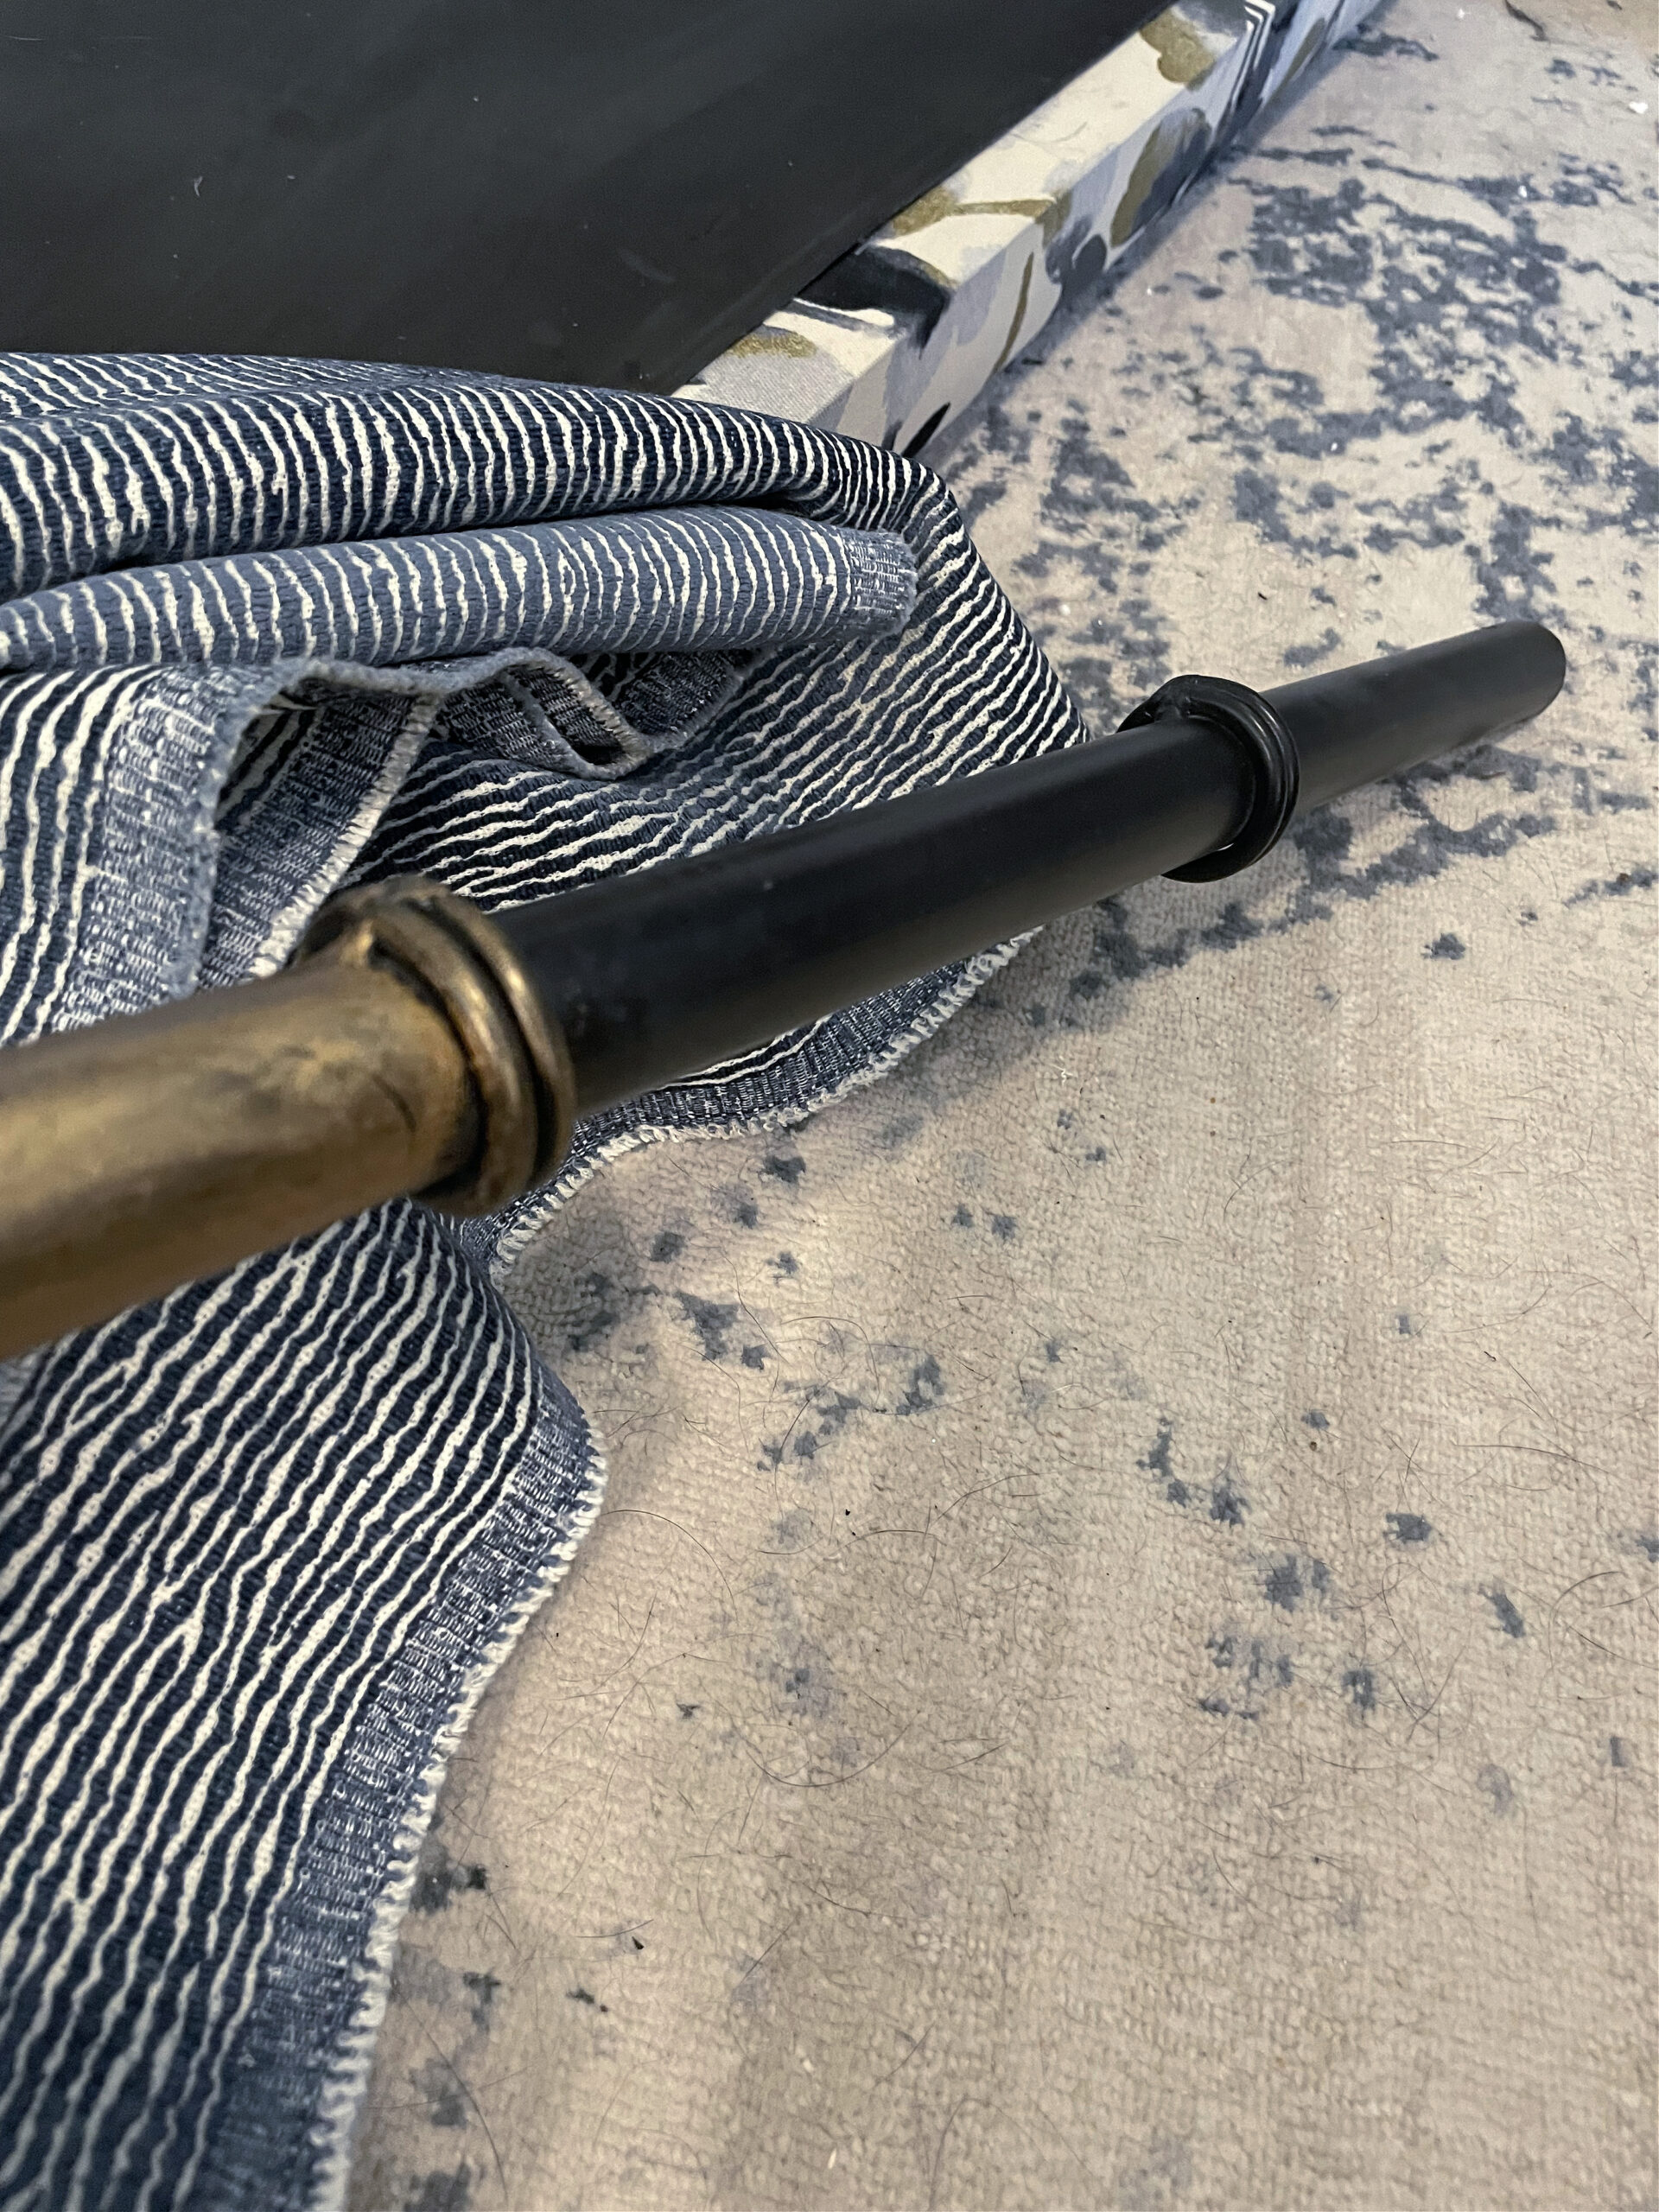
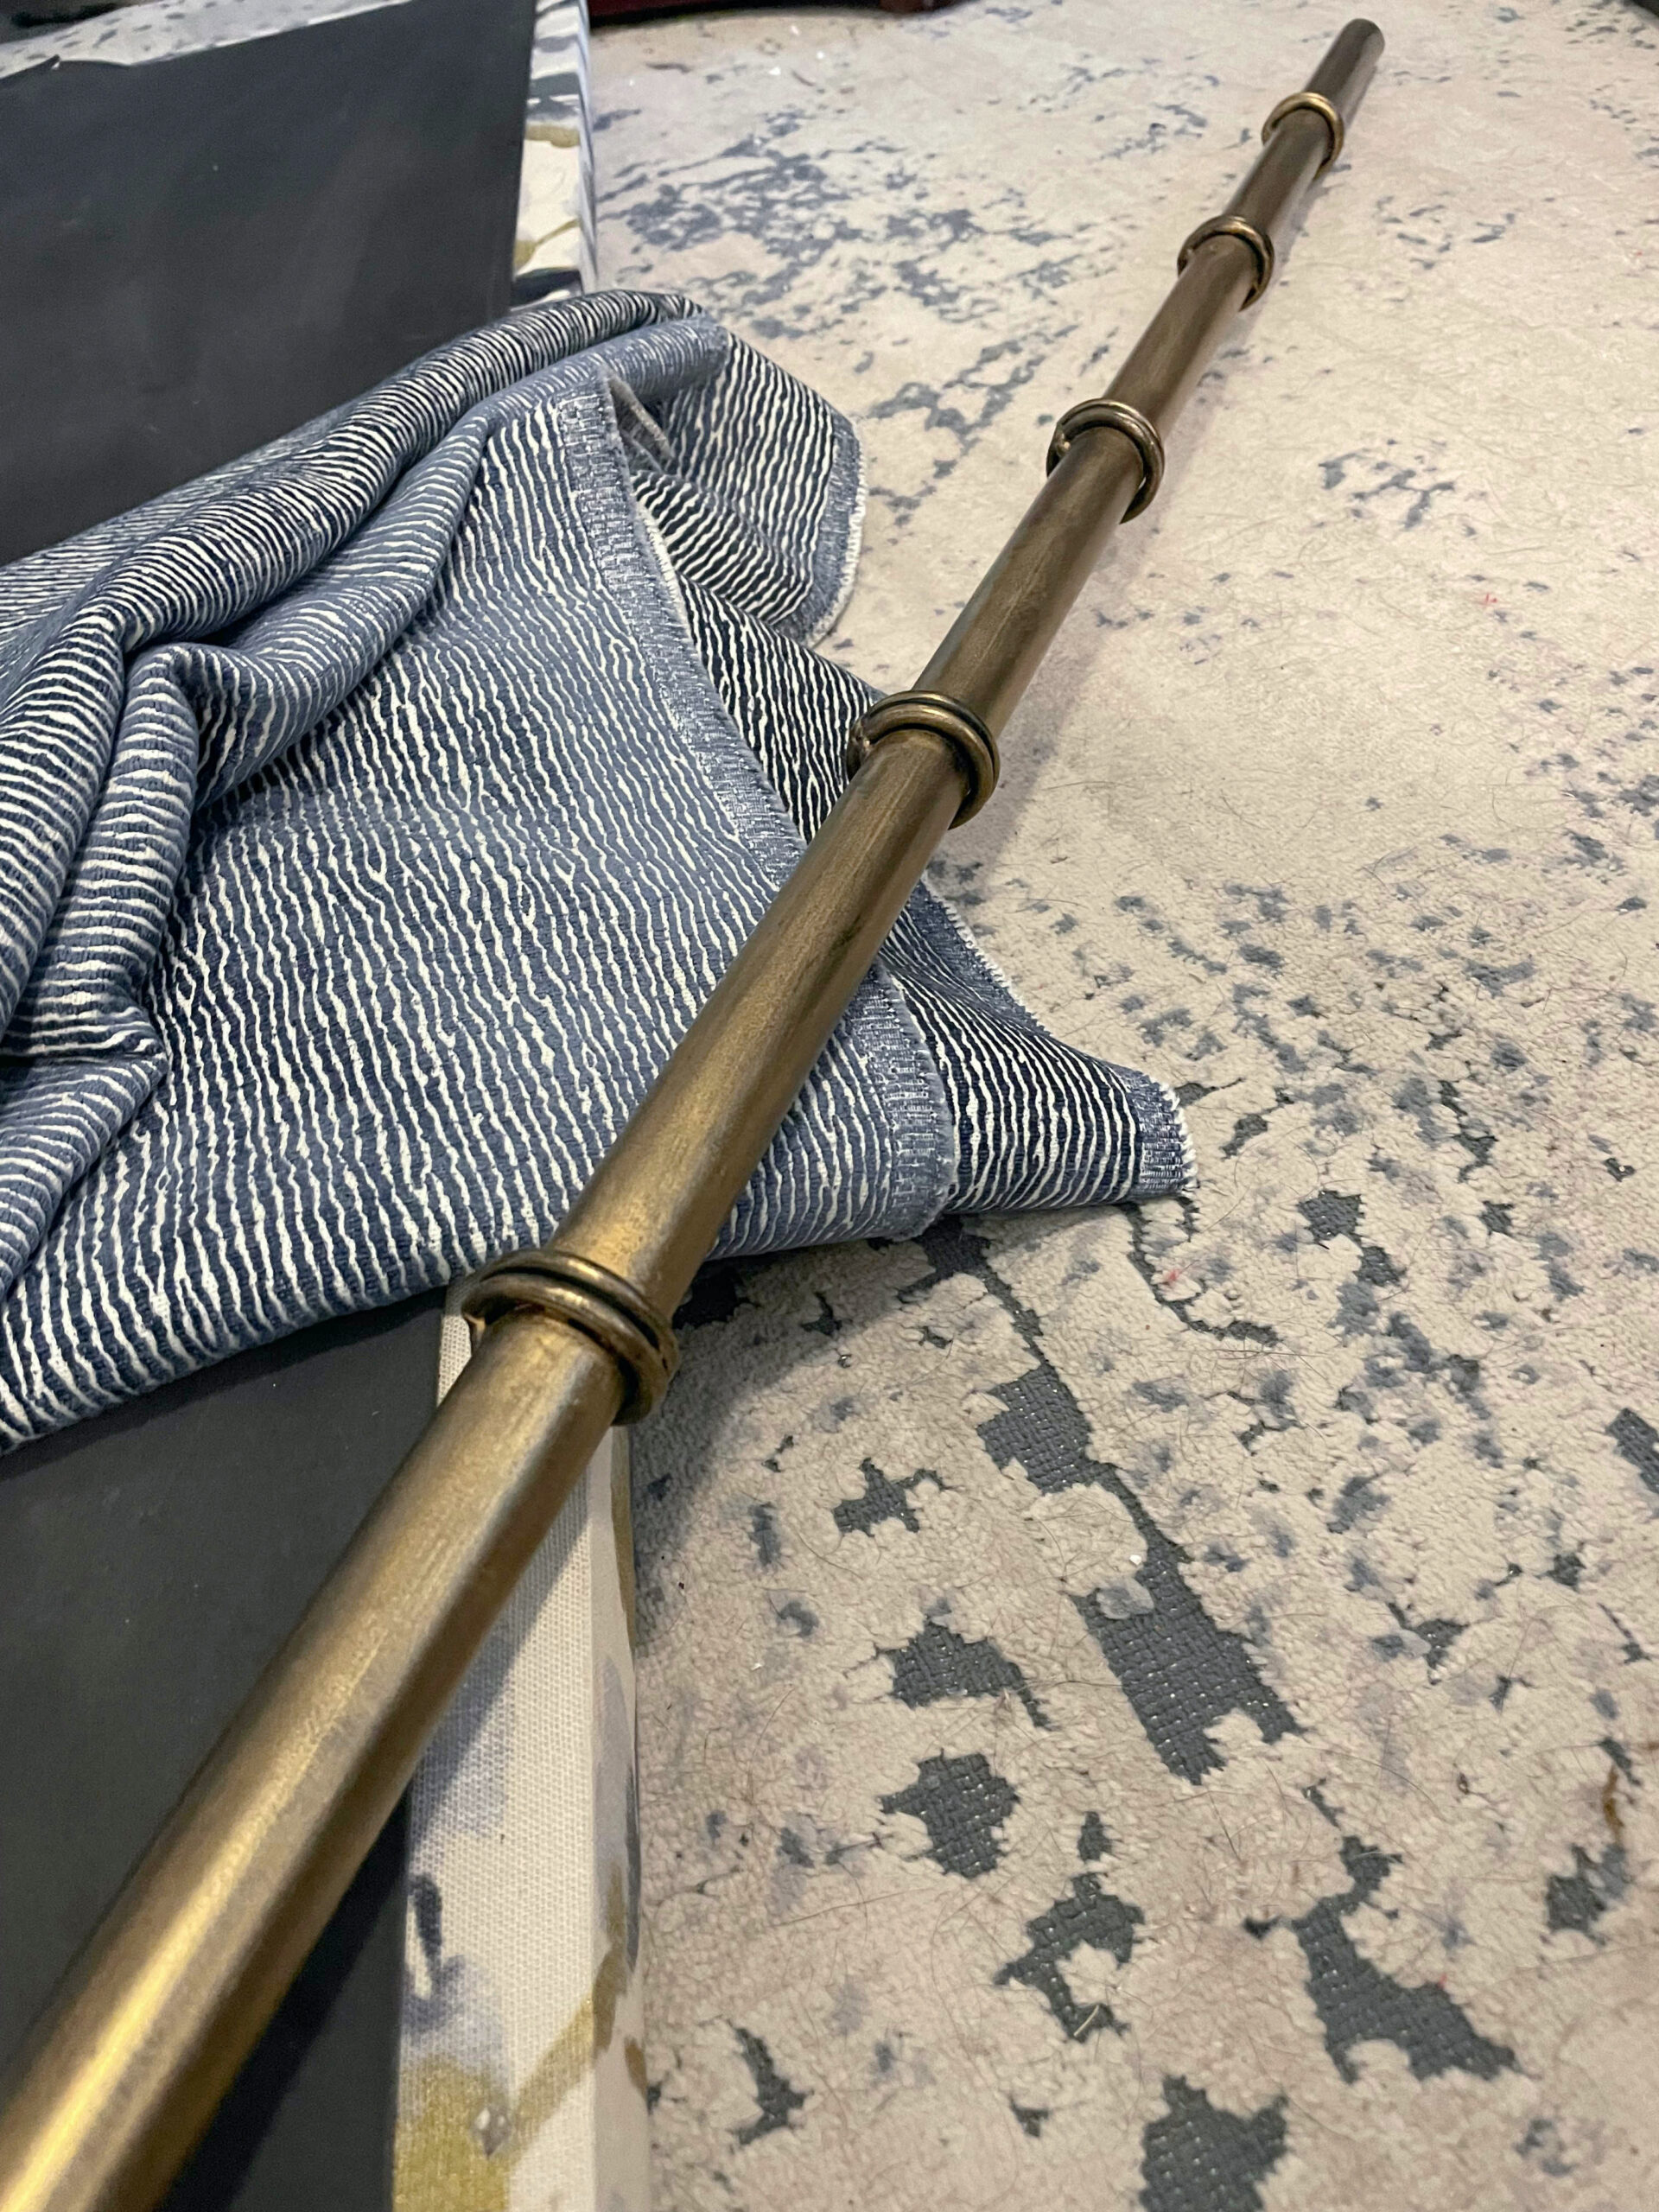
Step 2 Change the finish
Glam it up. Use one of my favorite ways to update furniture… Rub-n-buff. A little goes a long ways with this stuff!
I used a little dab on a paper towel, then gently wiped and buffed the wax on the metal.
Using little dabs of the product will allow you to build the color. I wanted my bench to have an aged look to it so I kept the layers light.
Step 3 Add the new fabric
Update the fabric. I didn’t spend time taking the old material off.
It was a smooth cotton and it didn’t feel necessary since my preferred fabric was an upholstery weight.
I did this step so quickly that I forgot to take pictures.
I know, I know. BUT you can see the very same process on this upholstered skirted bench project by clicking here.
Step 4 Assemble bench base
Follow instructions on building the base and then reattach the upholstered top.
That is it! Upgrade complete!
Love simple projects with high impact – don’t you?
This upholstered bedroom bench can be used at the foot of the bed or to fill an empty wall or be the perfect place to hold bed pillows or all the above!
If you would like to purchase this bench you can do so here.


Joy Maier is the founder and principal designer of The Aspiring Home Interiors, an award-winning studio serving the greater Dallas area and beyond. Blending gracious living with elevated design expertise, Joy creates interiors that feel deeply personal, beautifully refined, and effortlessly livable — from full-home renovations to boutique vacation rentals. Her professional affiliations include ASID (Associate), ART, the Interior Design Society (Professional), NKBA, VRD Collective, and she is a founding member of Designers for Dogs. Since 2012, she has shared design tips and heartfelt stories on The Aspiring Home Blog. Her philosophy is simple: “Design should feel like a deep breath. When we get it right, your home greets you with that exhale every single day.”