Make This Halloween Door Swag DIY In a Day
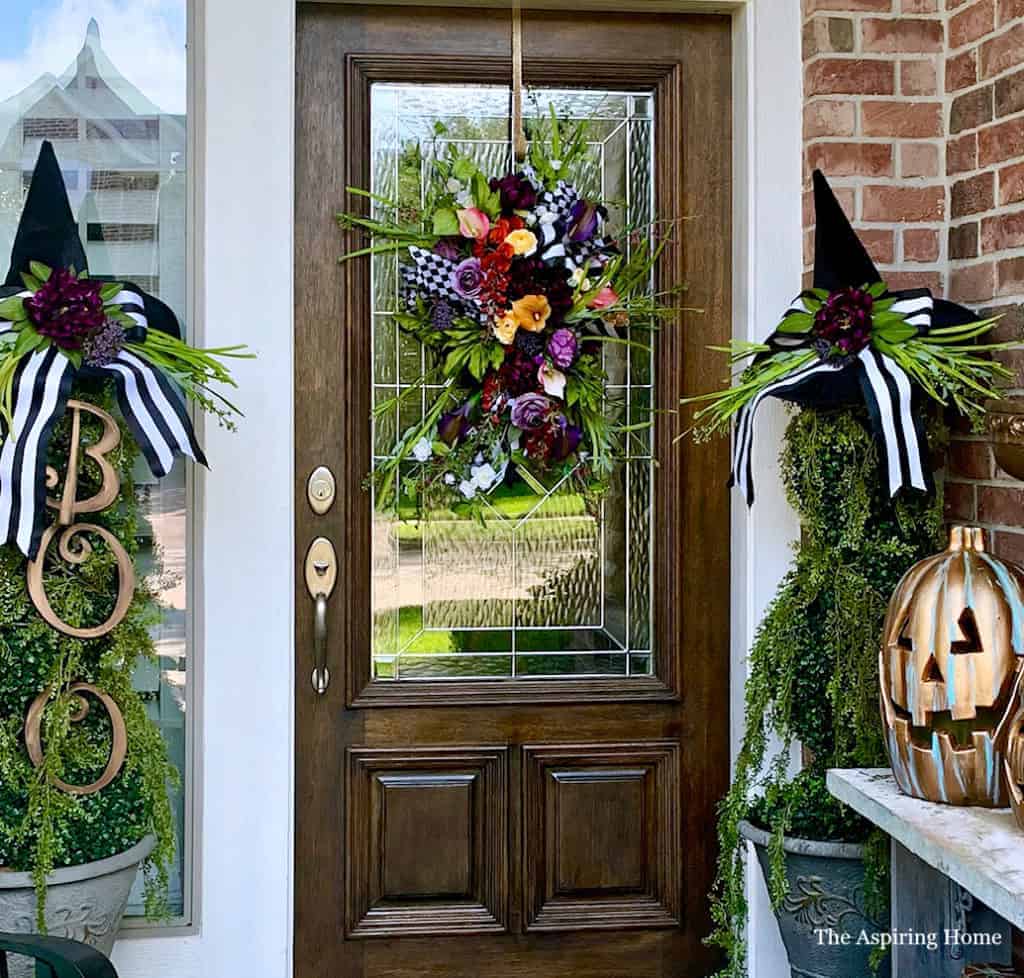
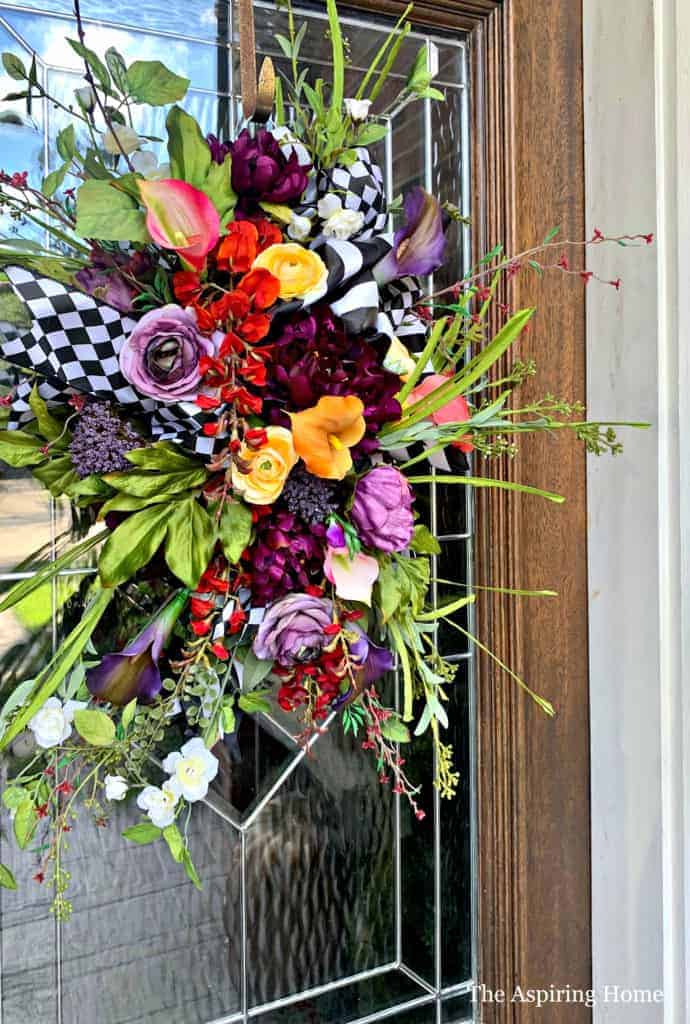
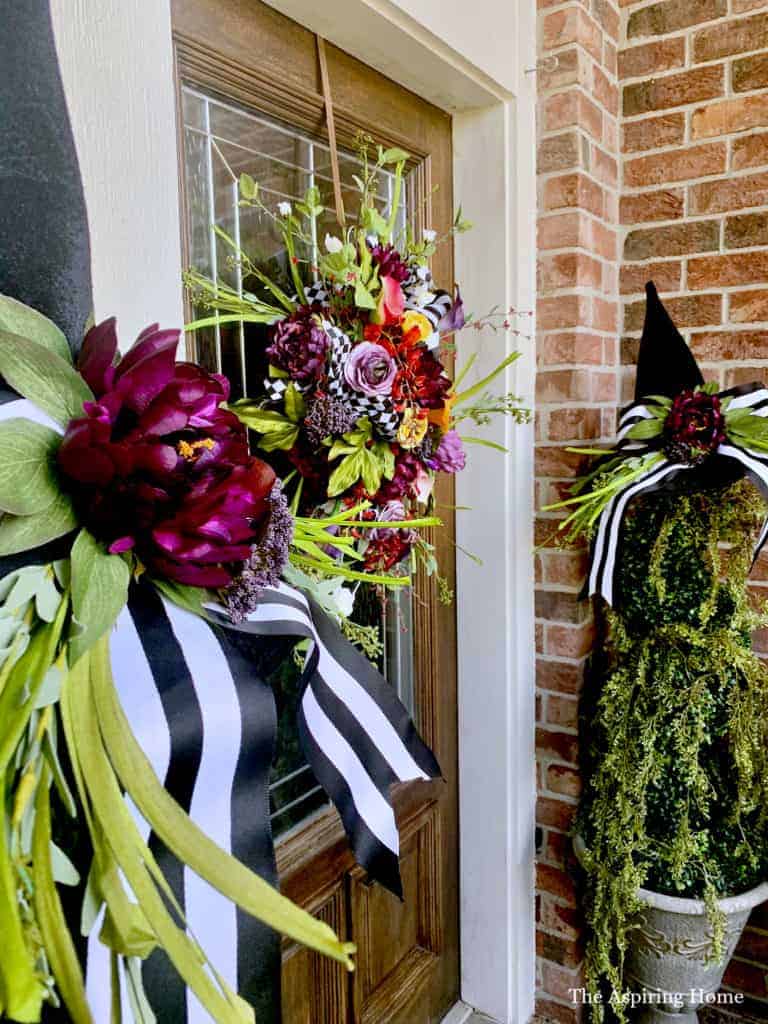
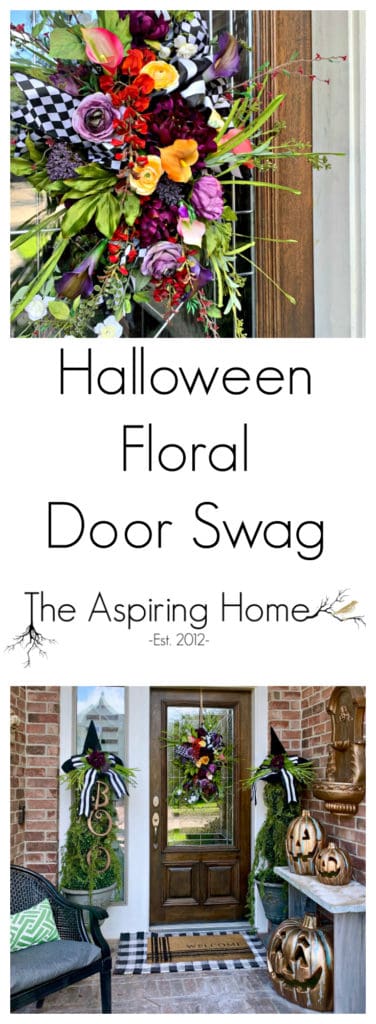
This Halloween door swag DIY project is perfect for the cute side of All Hallow’s Eve. You can create this look in only a few hours.
This Halloween door sway DIY is so easy, you will have it hanging on your door by the afternoon!
Halloween Front Door Swag
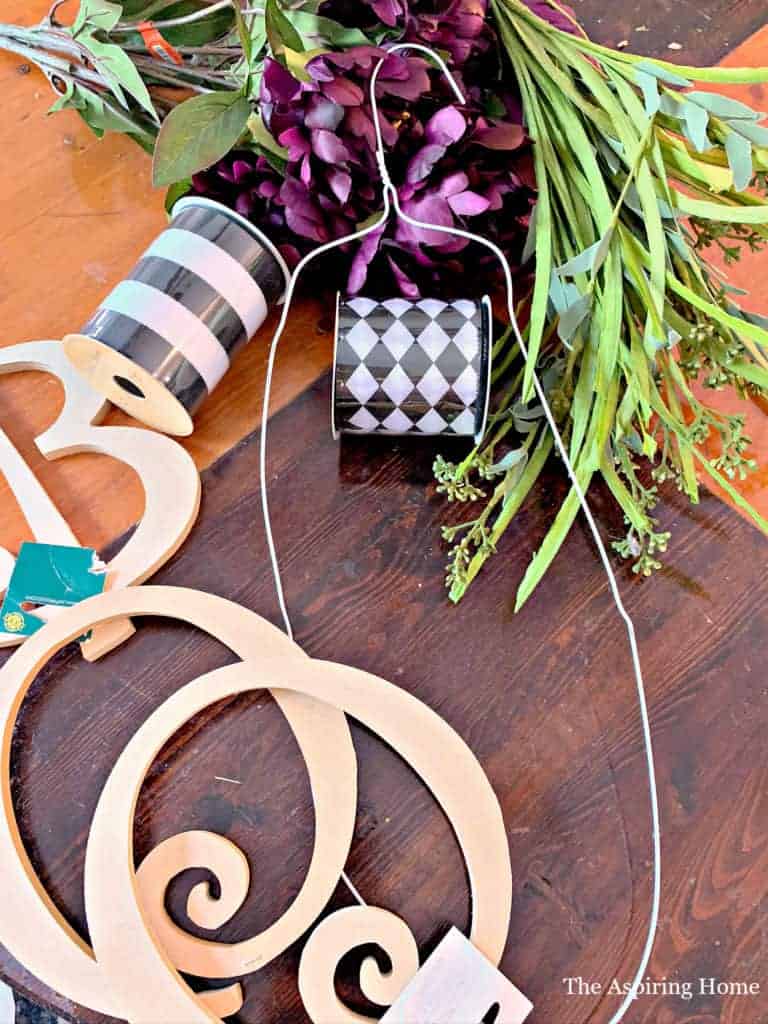
Supplies:
- Floral foam block for dry flowers
- Wire cutters
- Assorted flowers, twigs, and grasses – your choice
- Ribbon – your choice but I chose two different patterned ribbons with the same color scheme
- Craft/floral wire
- Floral tape
- Wire coat hanger
*I found everything for this Halloween door sway DIY at the local craft store.
Step 1- Prep the Base
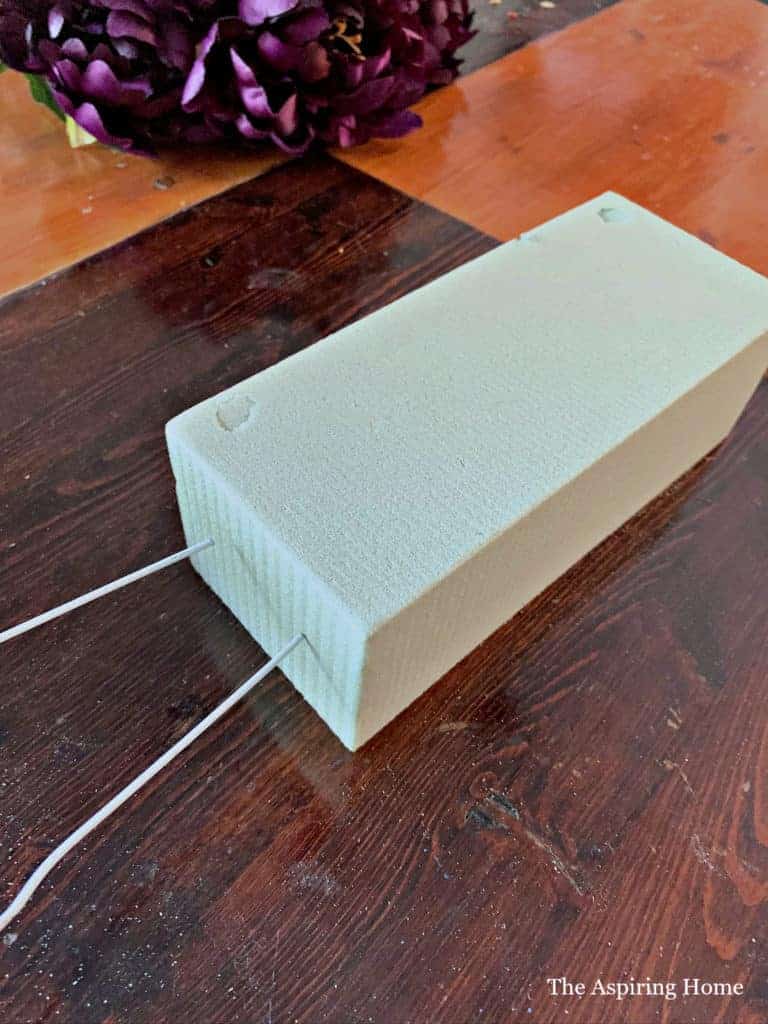
Take your wire coat hanger and bend it flat.
Cut off the end where the hanger curves.
Insert the modified hanger into the floral foam block.
Step 2 – All about the Greenery
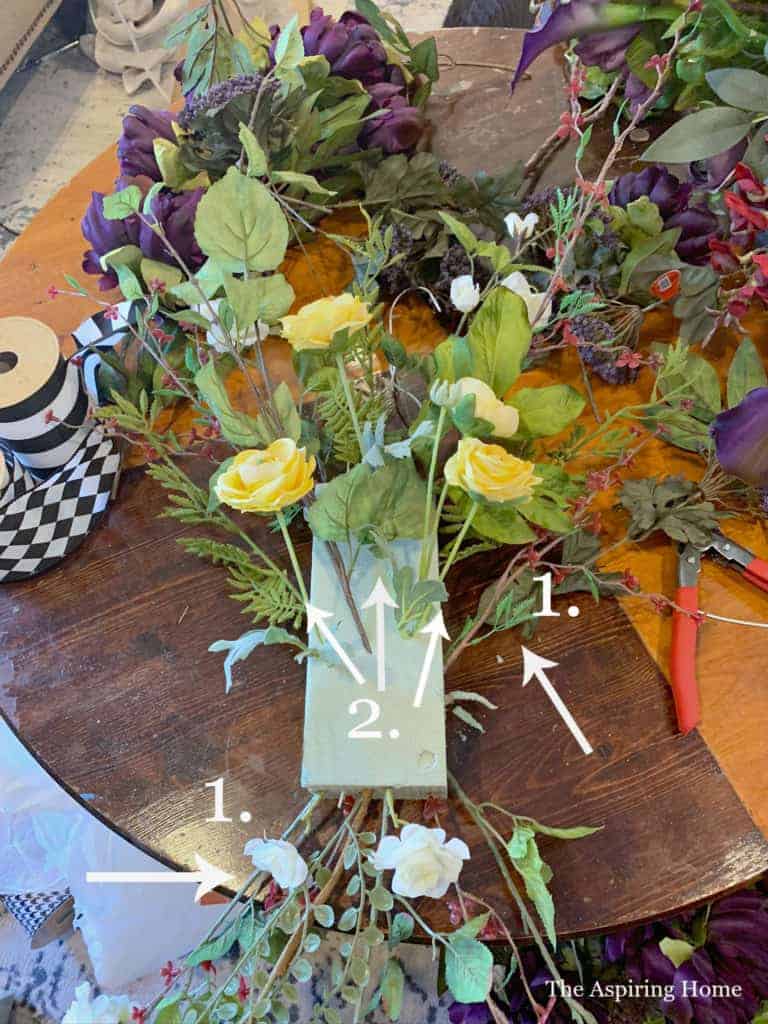
This is the step where the magic happens. Cut all your stem if you purchased flower/grass/sprig bushes. Determine how far you would like your swag to “stick out”, pretty certain there is a better way of saying this. I chose to cut my floral stems in 6, 8, and 10-inch lengths and my sprigs/ grasses… I cut as I went.
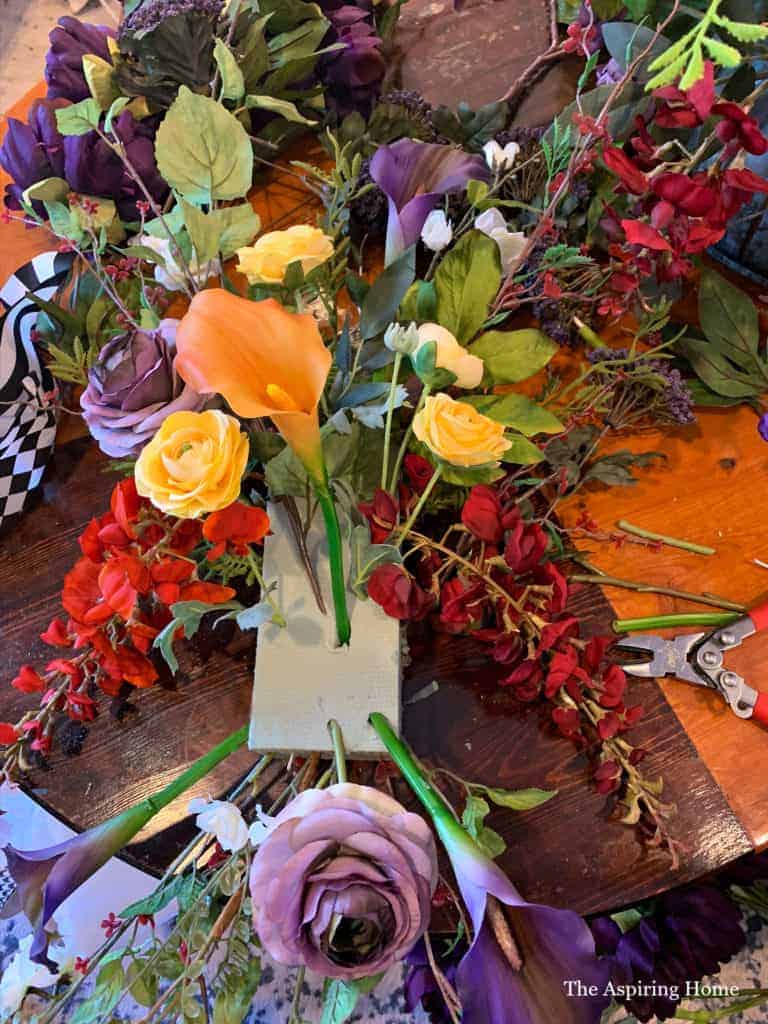
I don’t believe in hard fast rules except for the rule of odds and the rule of triangles. Use an odd number of stems, so I had 3 of one type of one flower and 5 of another. When I placed the flowers in the wreath, I tried to create loose triangles in my placement – this will help with creating a balanced look. Do your best but ultimately rely on your “eye” for what feels right.
Place sprigs at the top and bottom in a fan formation. This will give us our height. Once all the florals have been inserted, we will go back and add more sprigs/grass to fill out the front and give a more dimensional look.
Step 3 – Add the Fluff
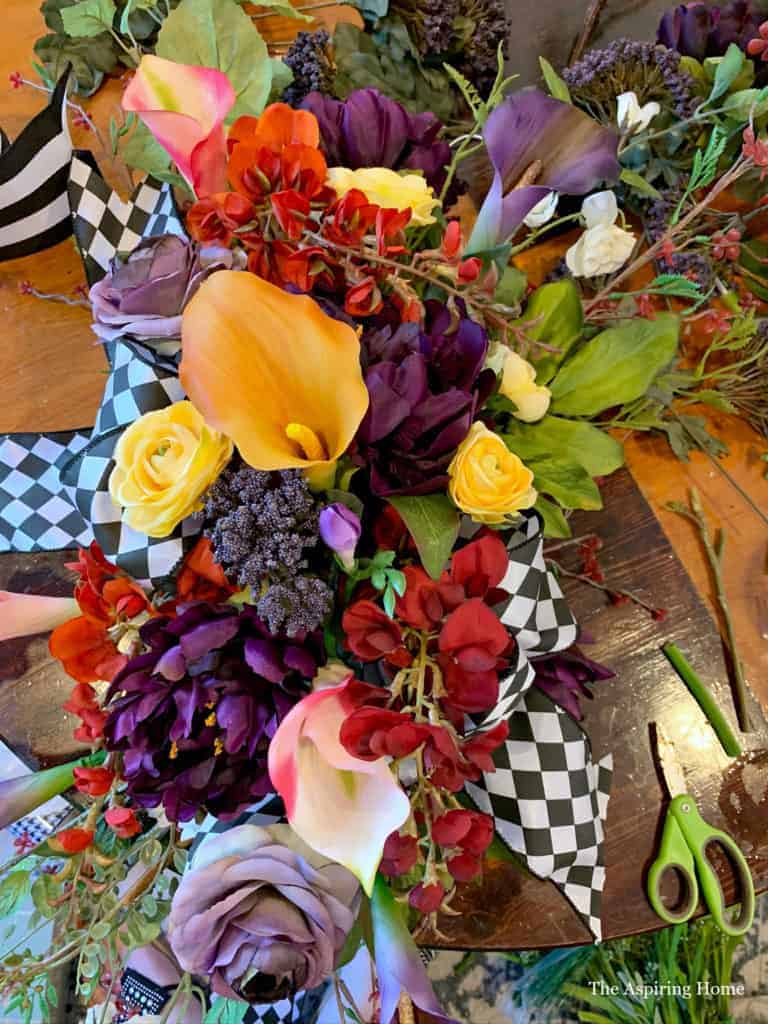
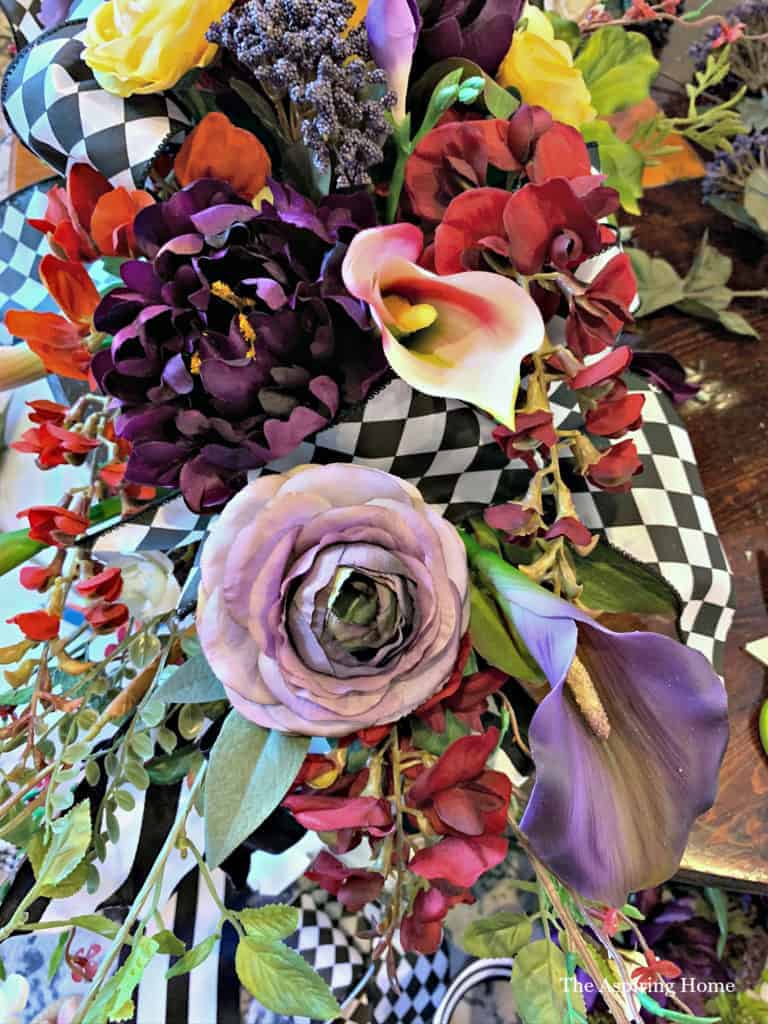
Create a few loopy bows to tuck into your wreath. One at the top corner and one at the bottom corner. Add a few long “tails” at the bottom. To keep the whimsical appeal – use a couple of different patterned ribbons. If you need help on making a bow- I have a super simple way (just click here) to get you comfortable in making them. I keep saying that I need to do a post just on the different ways of creating a bow. Maybe this is the year!
Step 4- Display
Time to display your beautiful Halloween door swag! This wreath can be used on the porch or in your favorite room. You can even add a few crows or spiders or sugar skulls – whatever makes you happy and makes this uniquely yours.
If you like my cute little pumpkins – here’s the tutorial!
Till Later My friends!

