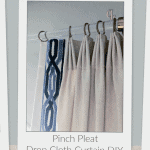
How To Sew Pinch Pleat Drop Cloth Curtains
There are many drop cloth curtain DIY projects out there but this one is a little different. I decided to upgrade them to pinch pleat curtain beauty.
Hey there! Today I am so happy to share with you a neat little budget boosting project – this drop cloth curtain DIY tutorial.
We are upgrading the ol’ painter’s drop cloth by adding pinch pleats with my secret weapon.

What is my secret to making pinch pleat drop cloth curtains?
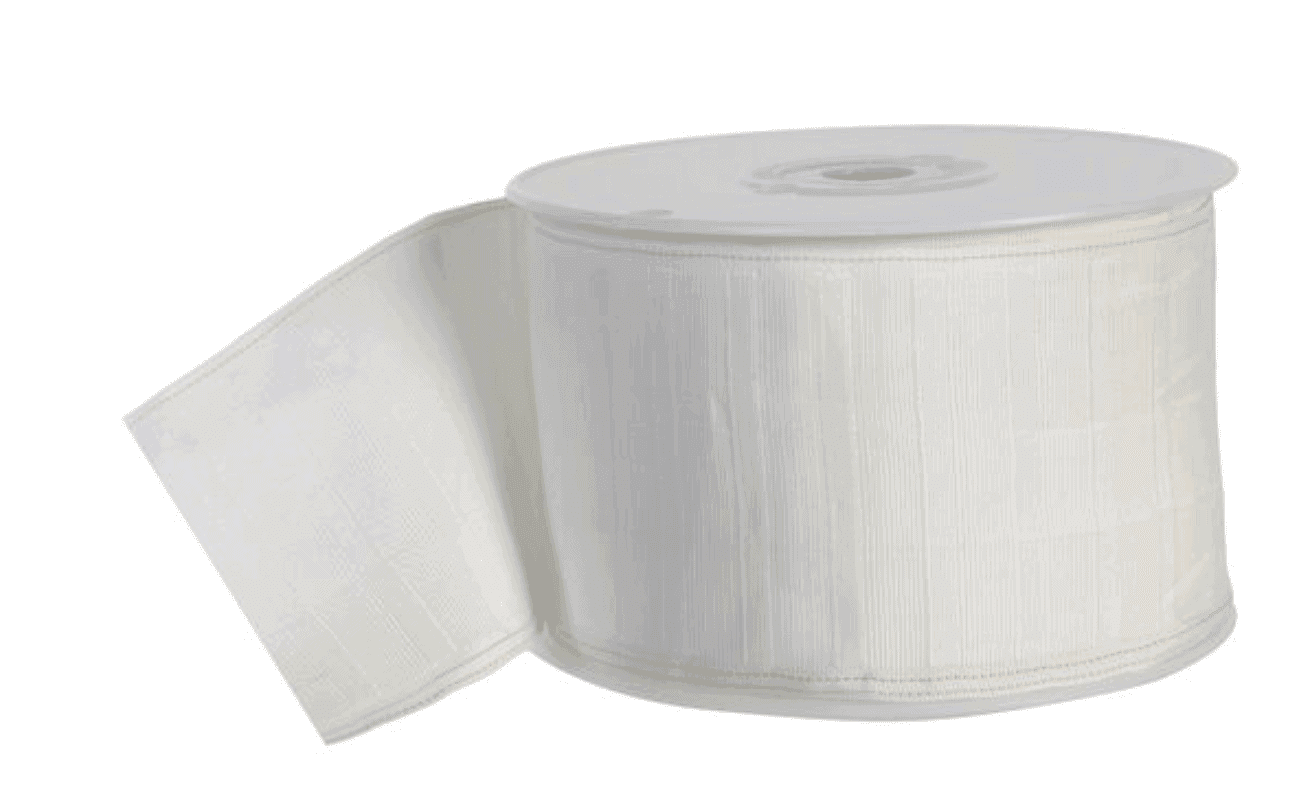
A little thing called pleater tape!
I love to sew and create but I will be the first to tell you that I am not a seamstress and I am mostly self-taught. I also have a little thing I battle in my hands called arthritis.
Very frustrating but I refuse to give in.
The pleater tape makes it easier for me to get the uniform pleats that make curtains look oh so grand.
Where to purchase the best drop cloths to make curtains?
I have found that Harbor Freight has the best price for “no seams” painter’s drop cloths.
I have used their products for many many dropcloth projects and they have been (up to now) consistently a good source.
You will want to wash the drop cloths before using them. I have seen where others have bleached out their drop cloths and the idea intrigues me – you may see that soon!
and…as a side note, I use drop cloths for many projects such as building a huge affordable art canvas!
How do you add the pleater tape to your curtains?
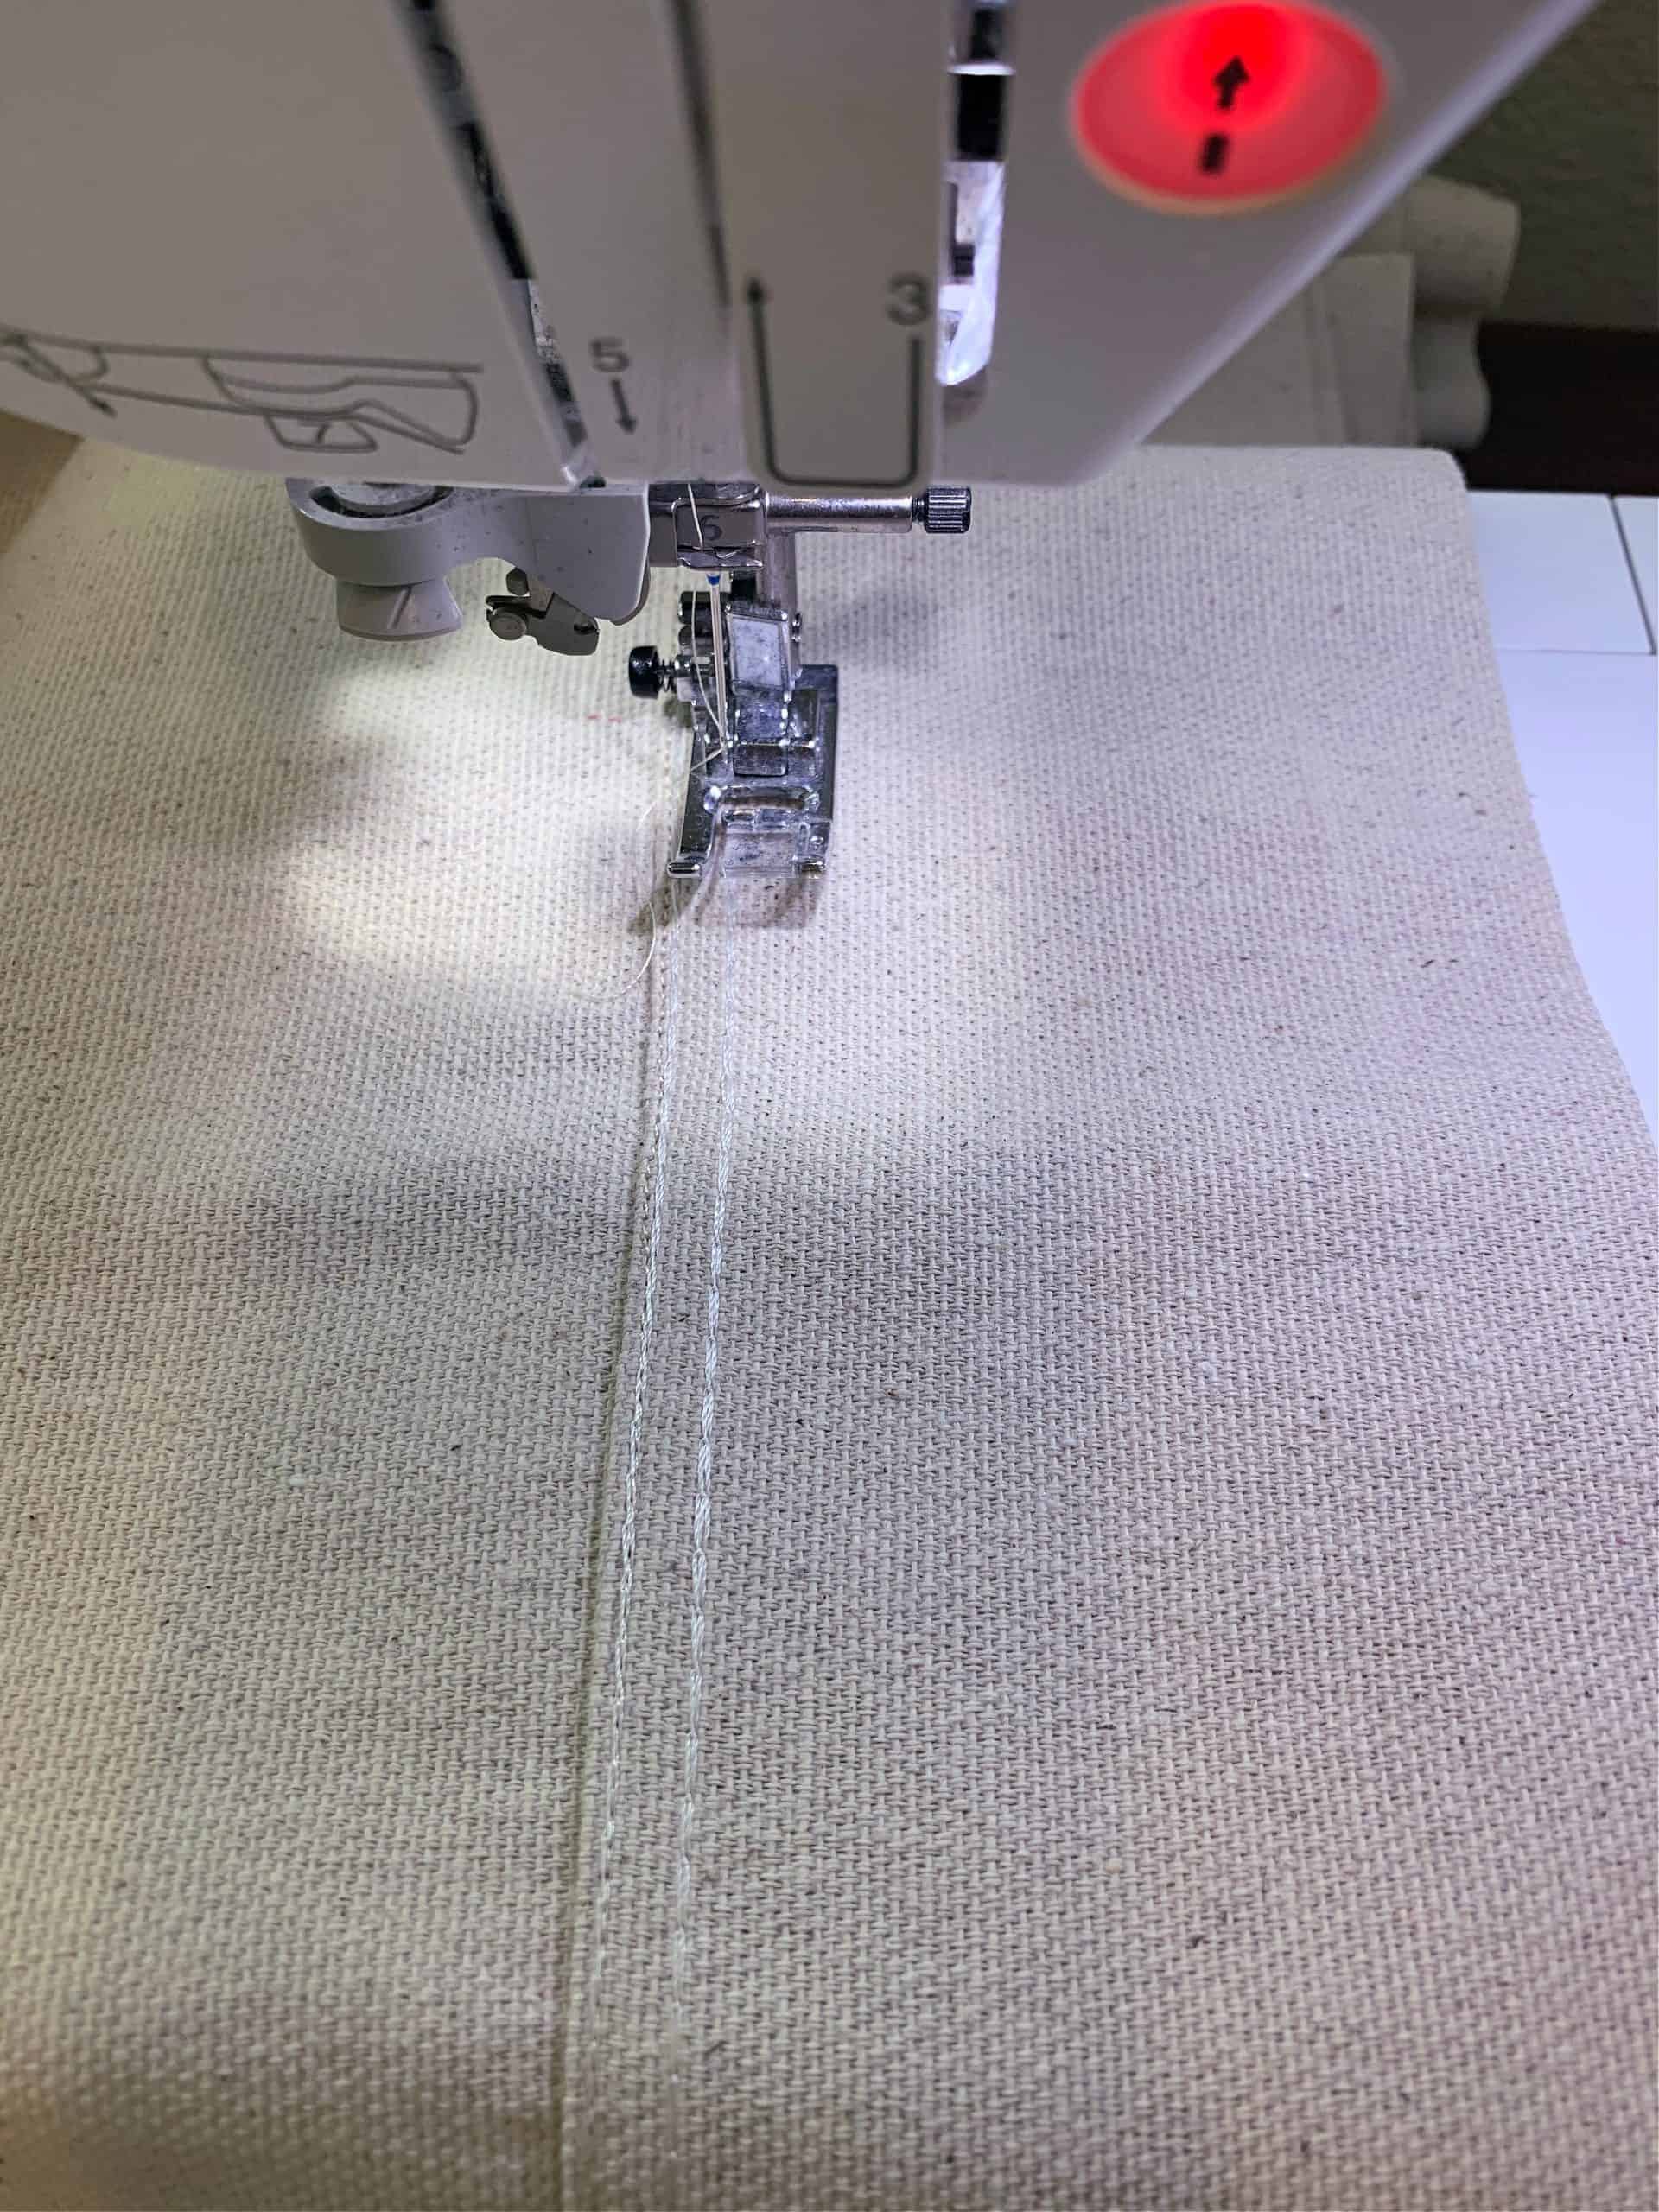
Super simple straight sewing. If you can sew a straight line- you can do this!
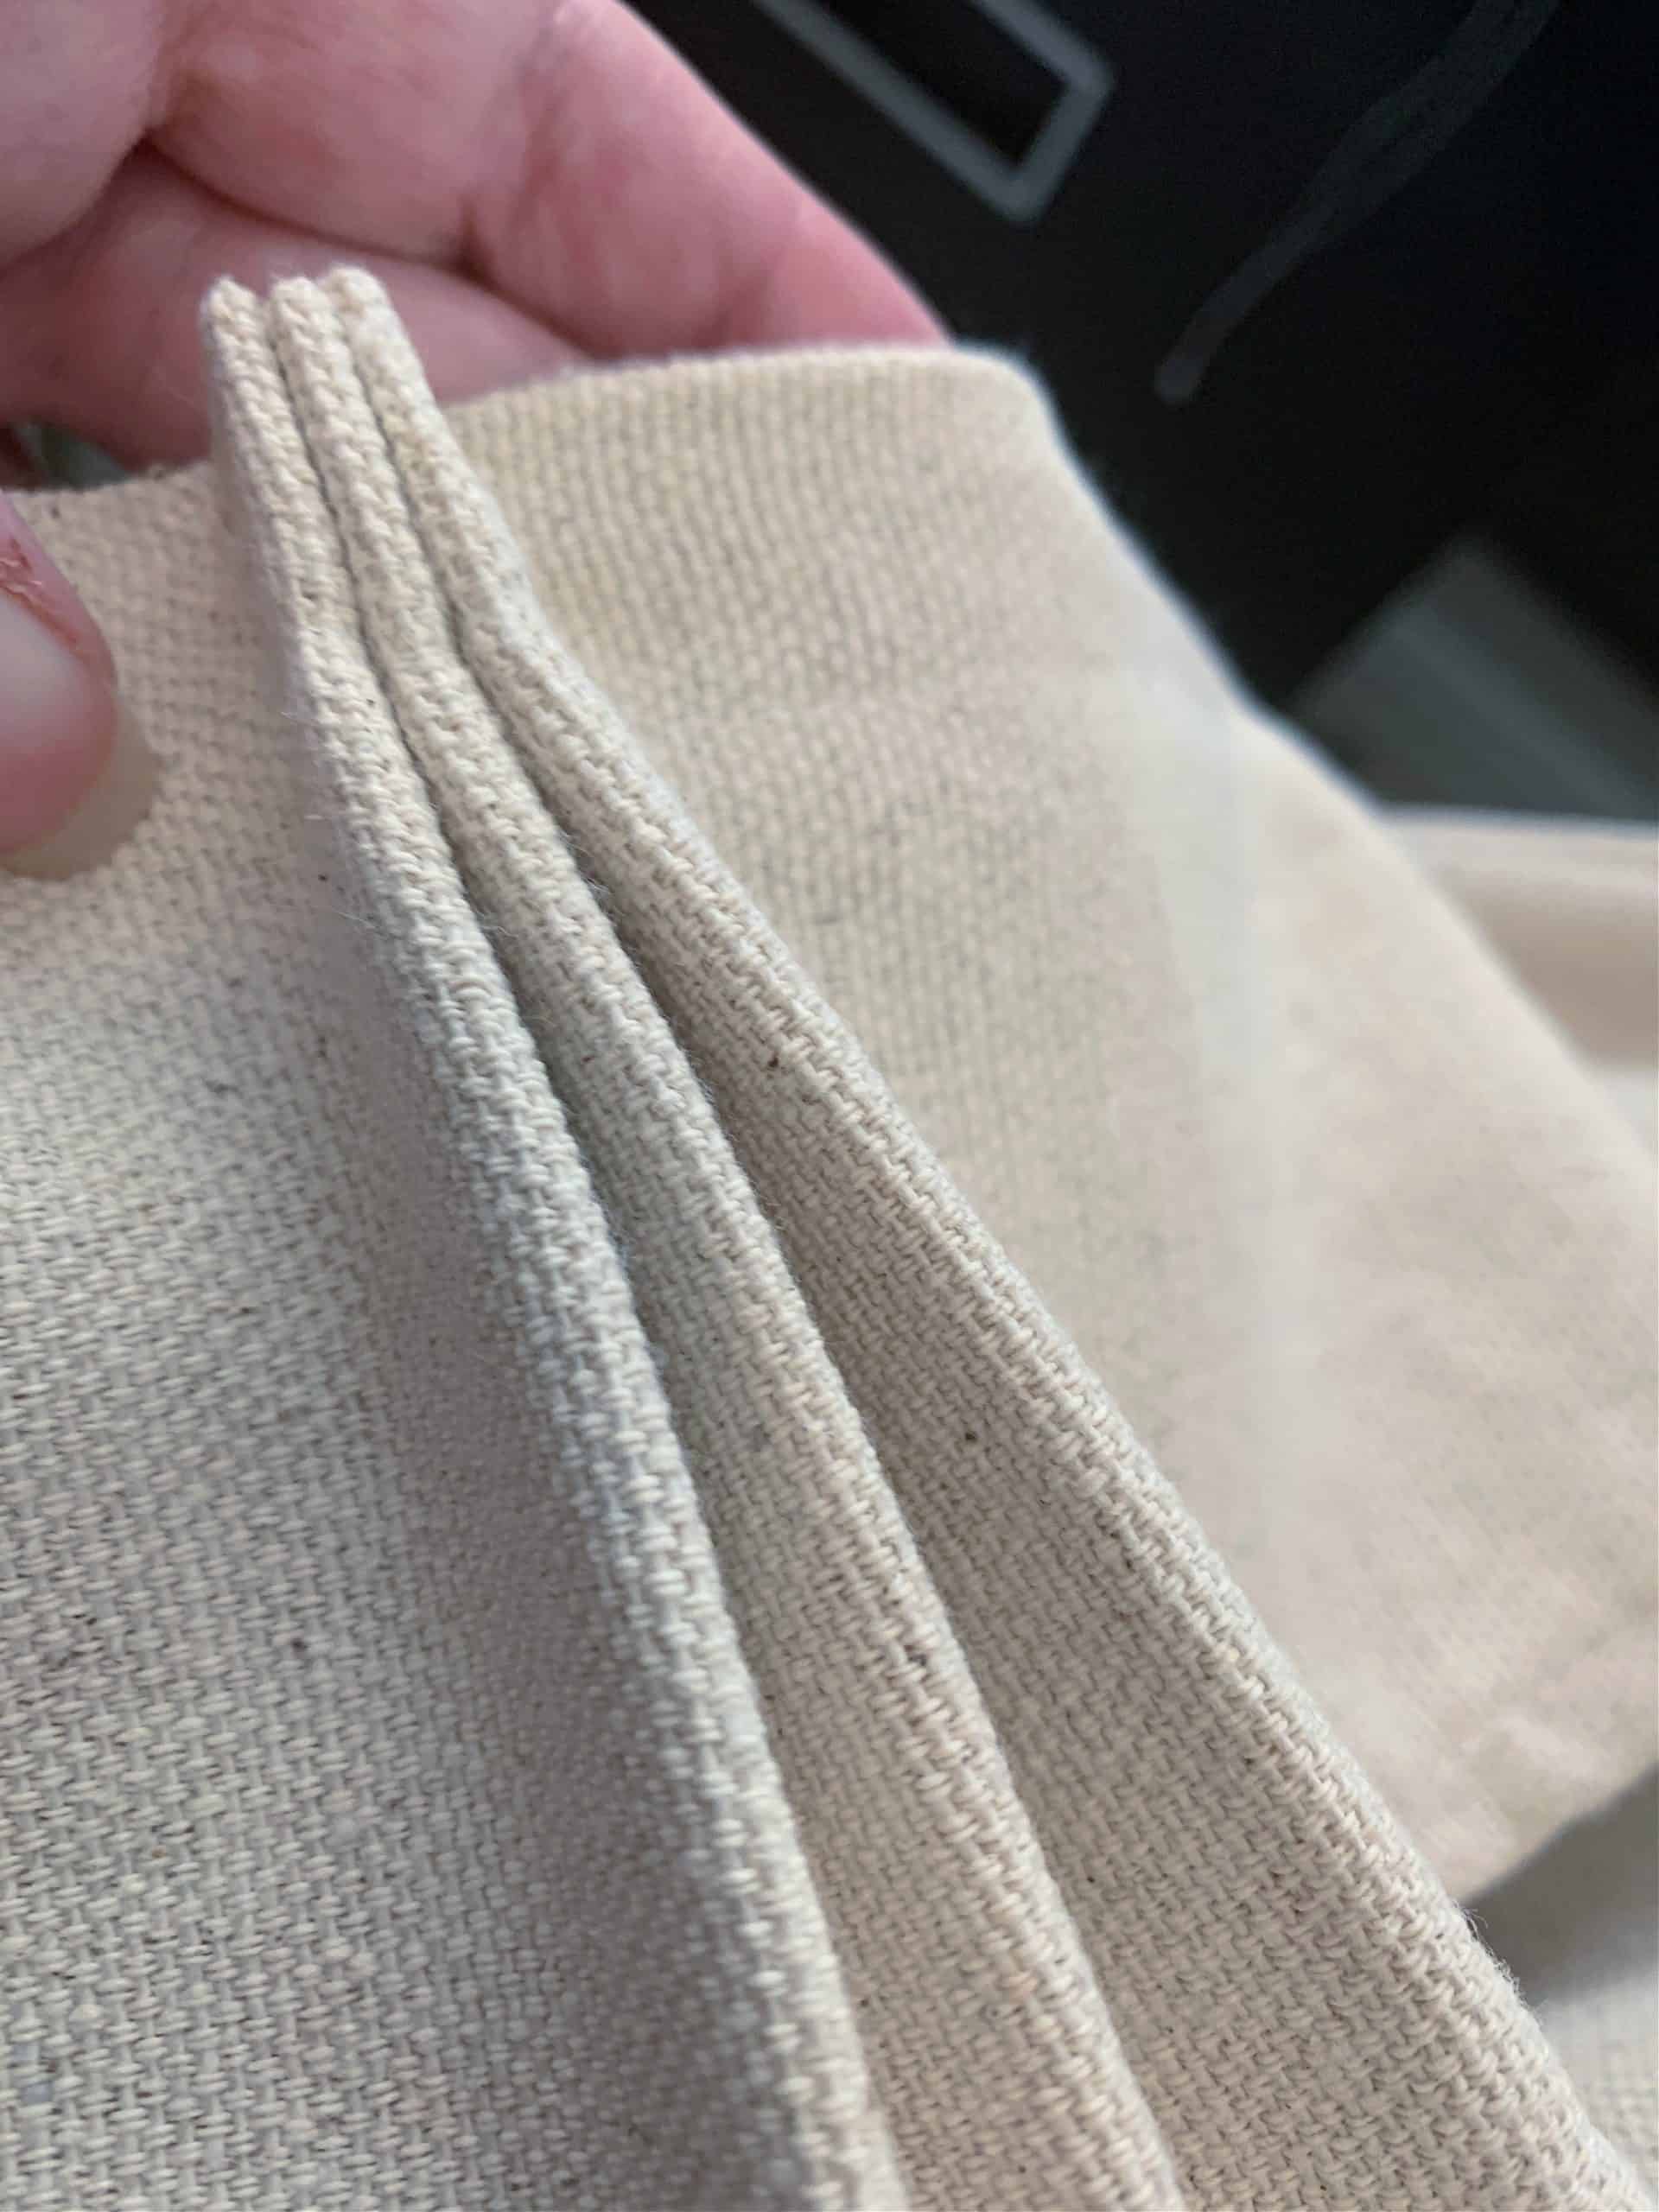
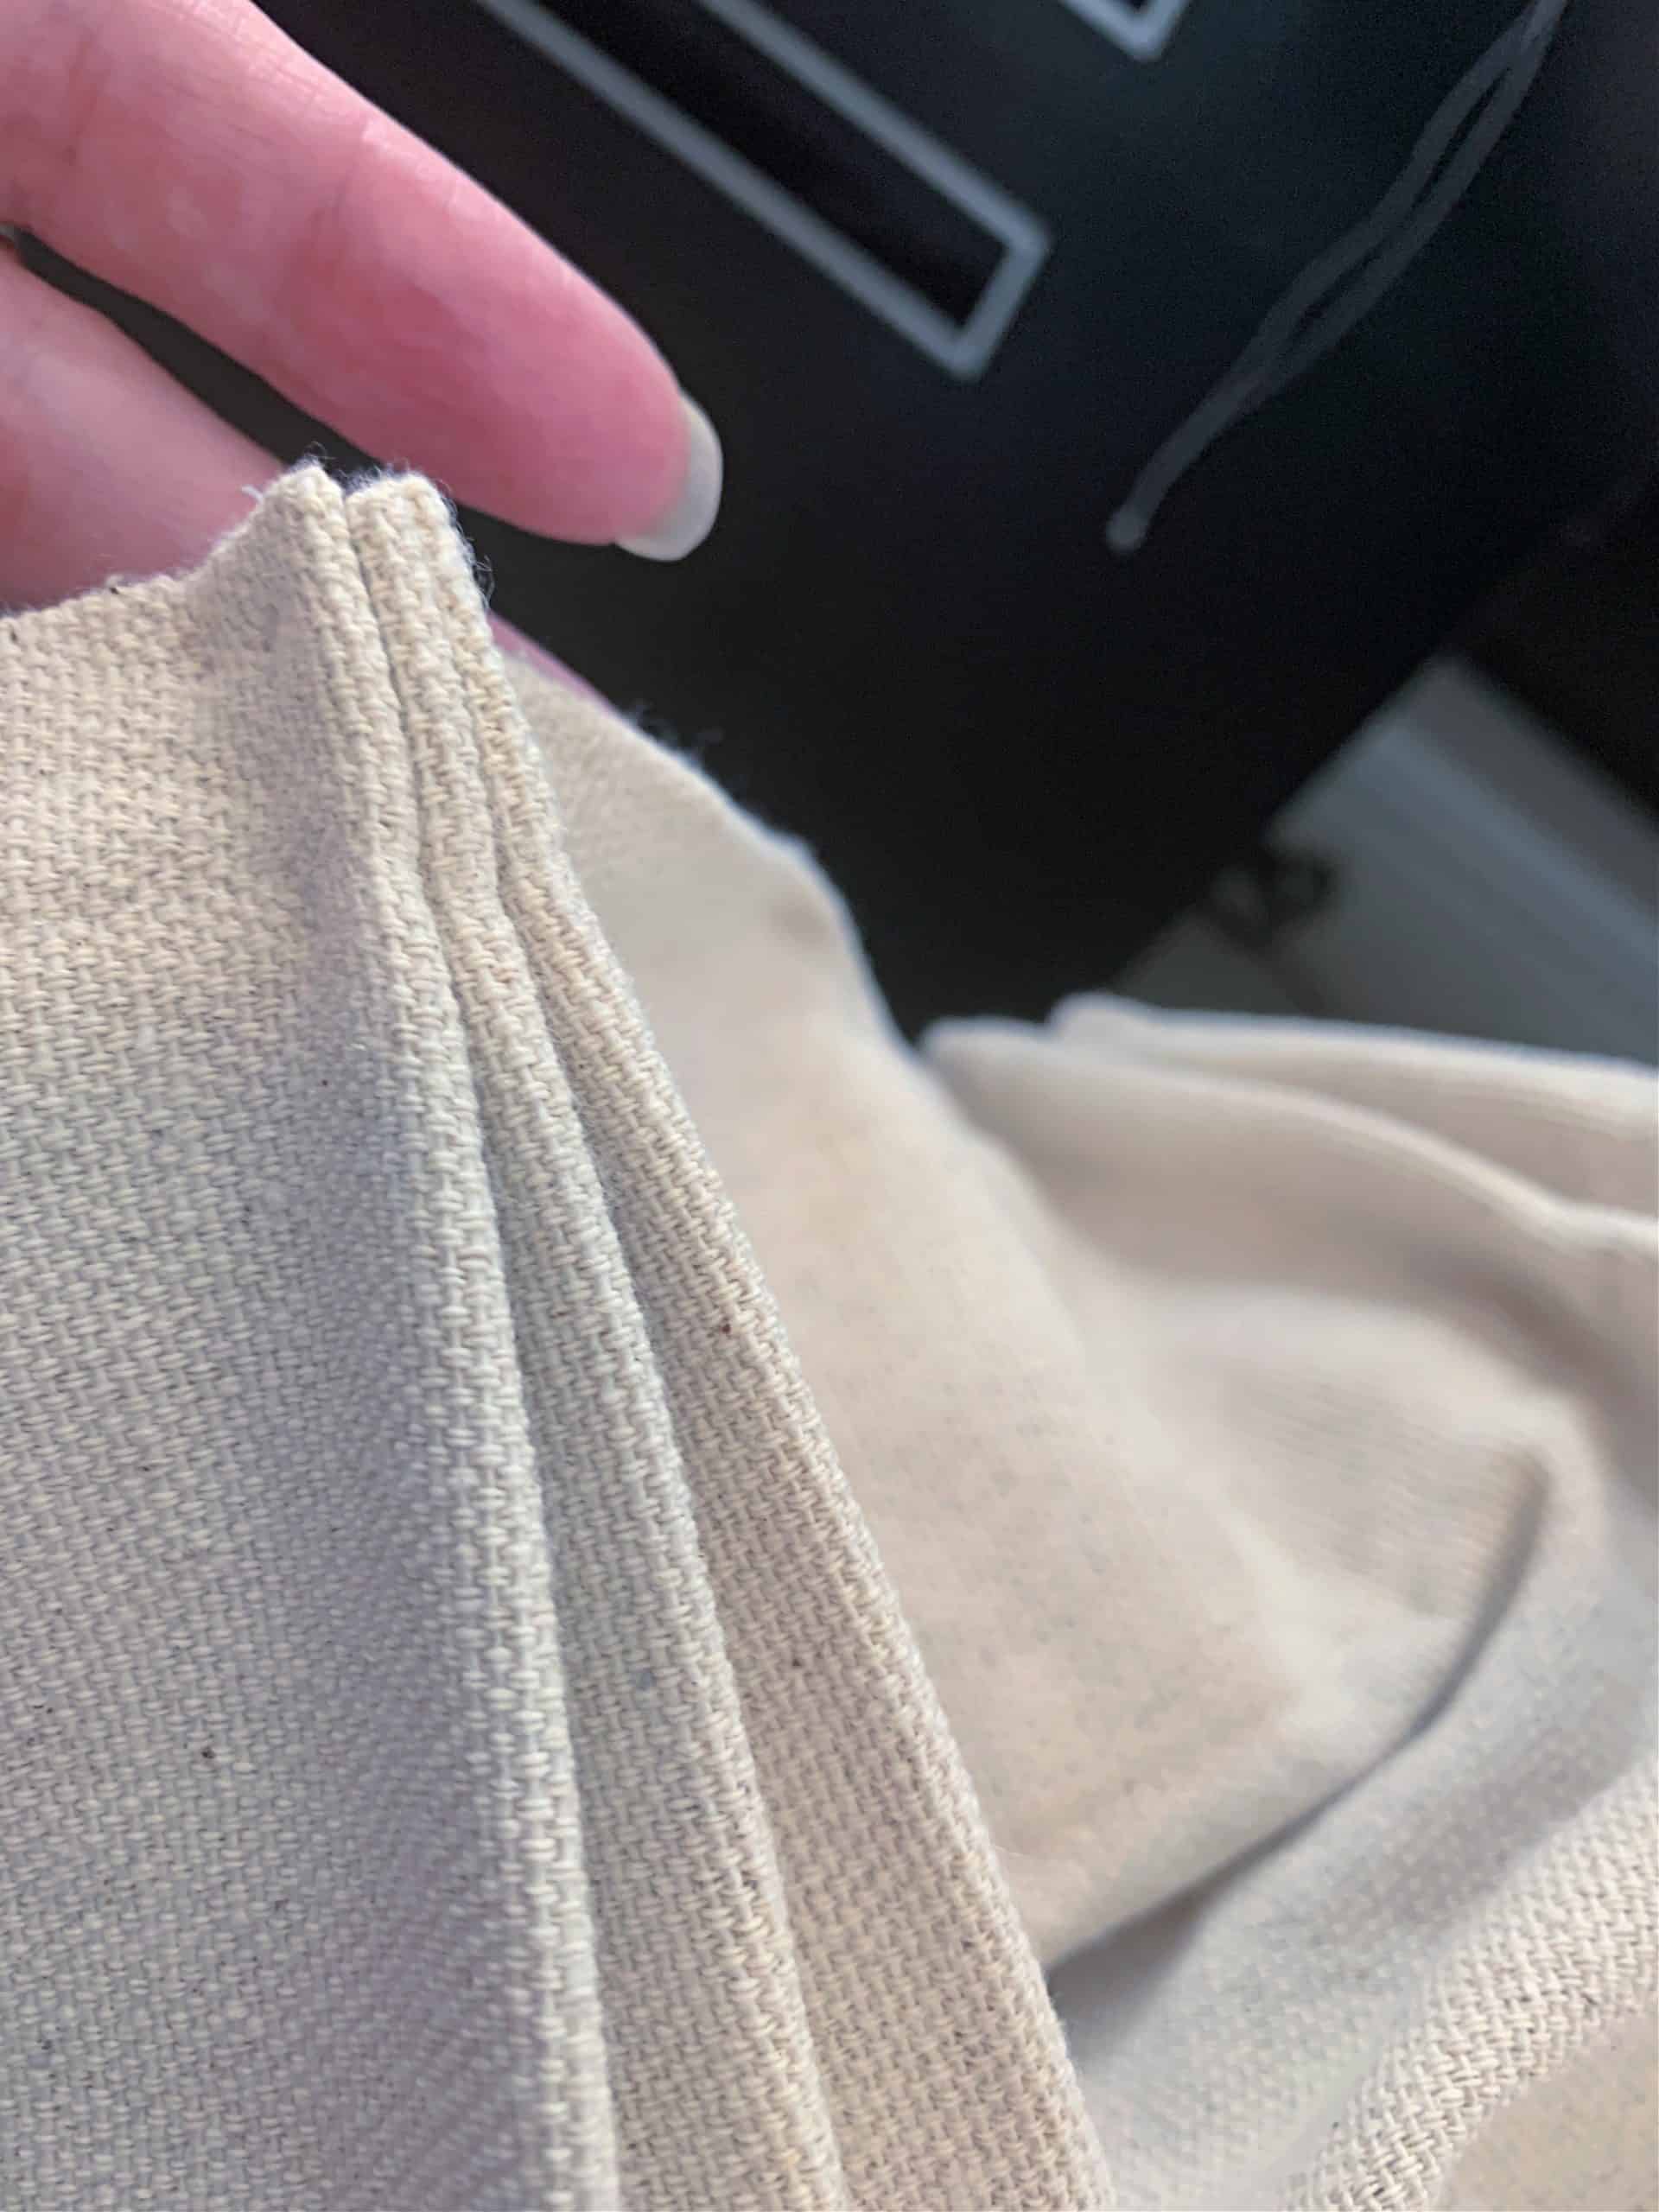
Begin with the side seams, measure, and sew.
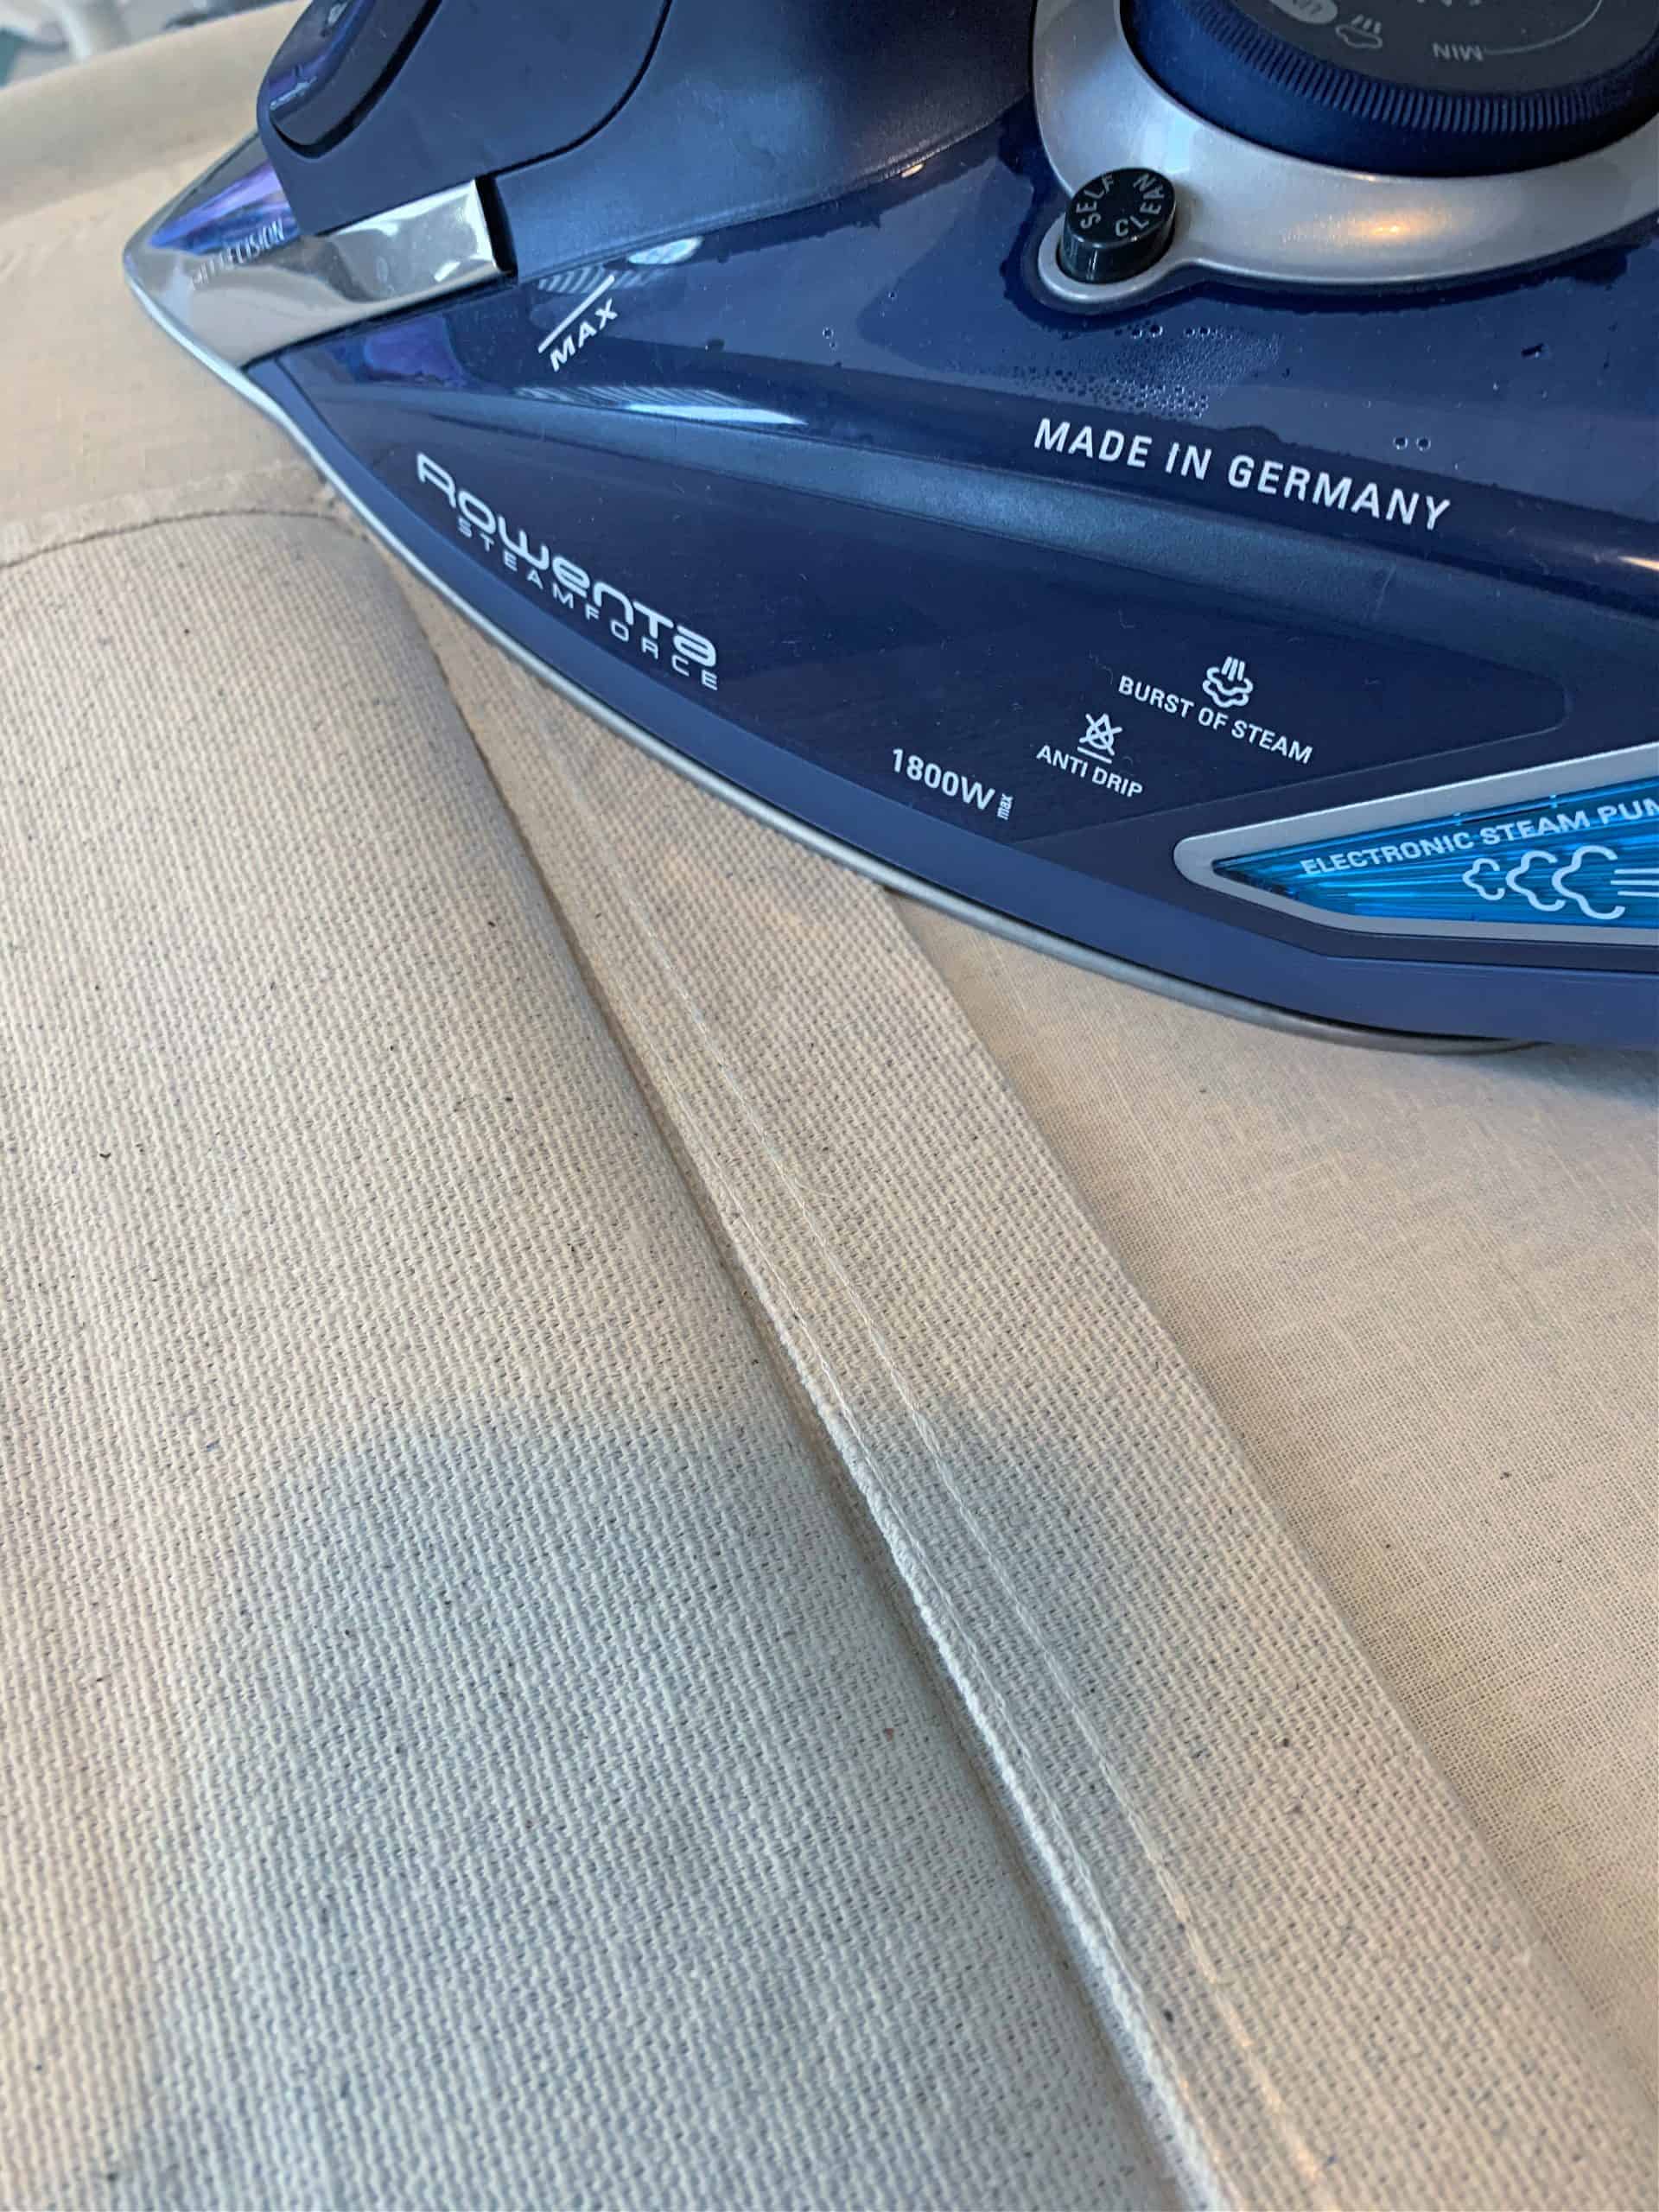
Measure & sew a top hem on your drop cloth slightly wider than your trim tape. *Tip – Iron your hem flat it will make such a difference.
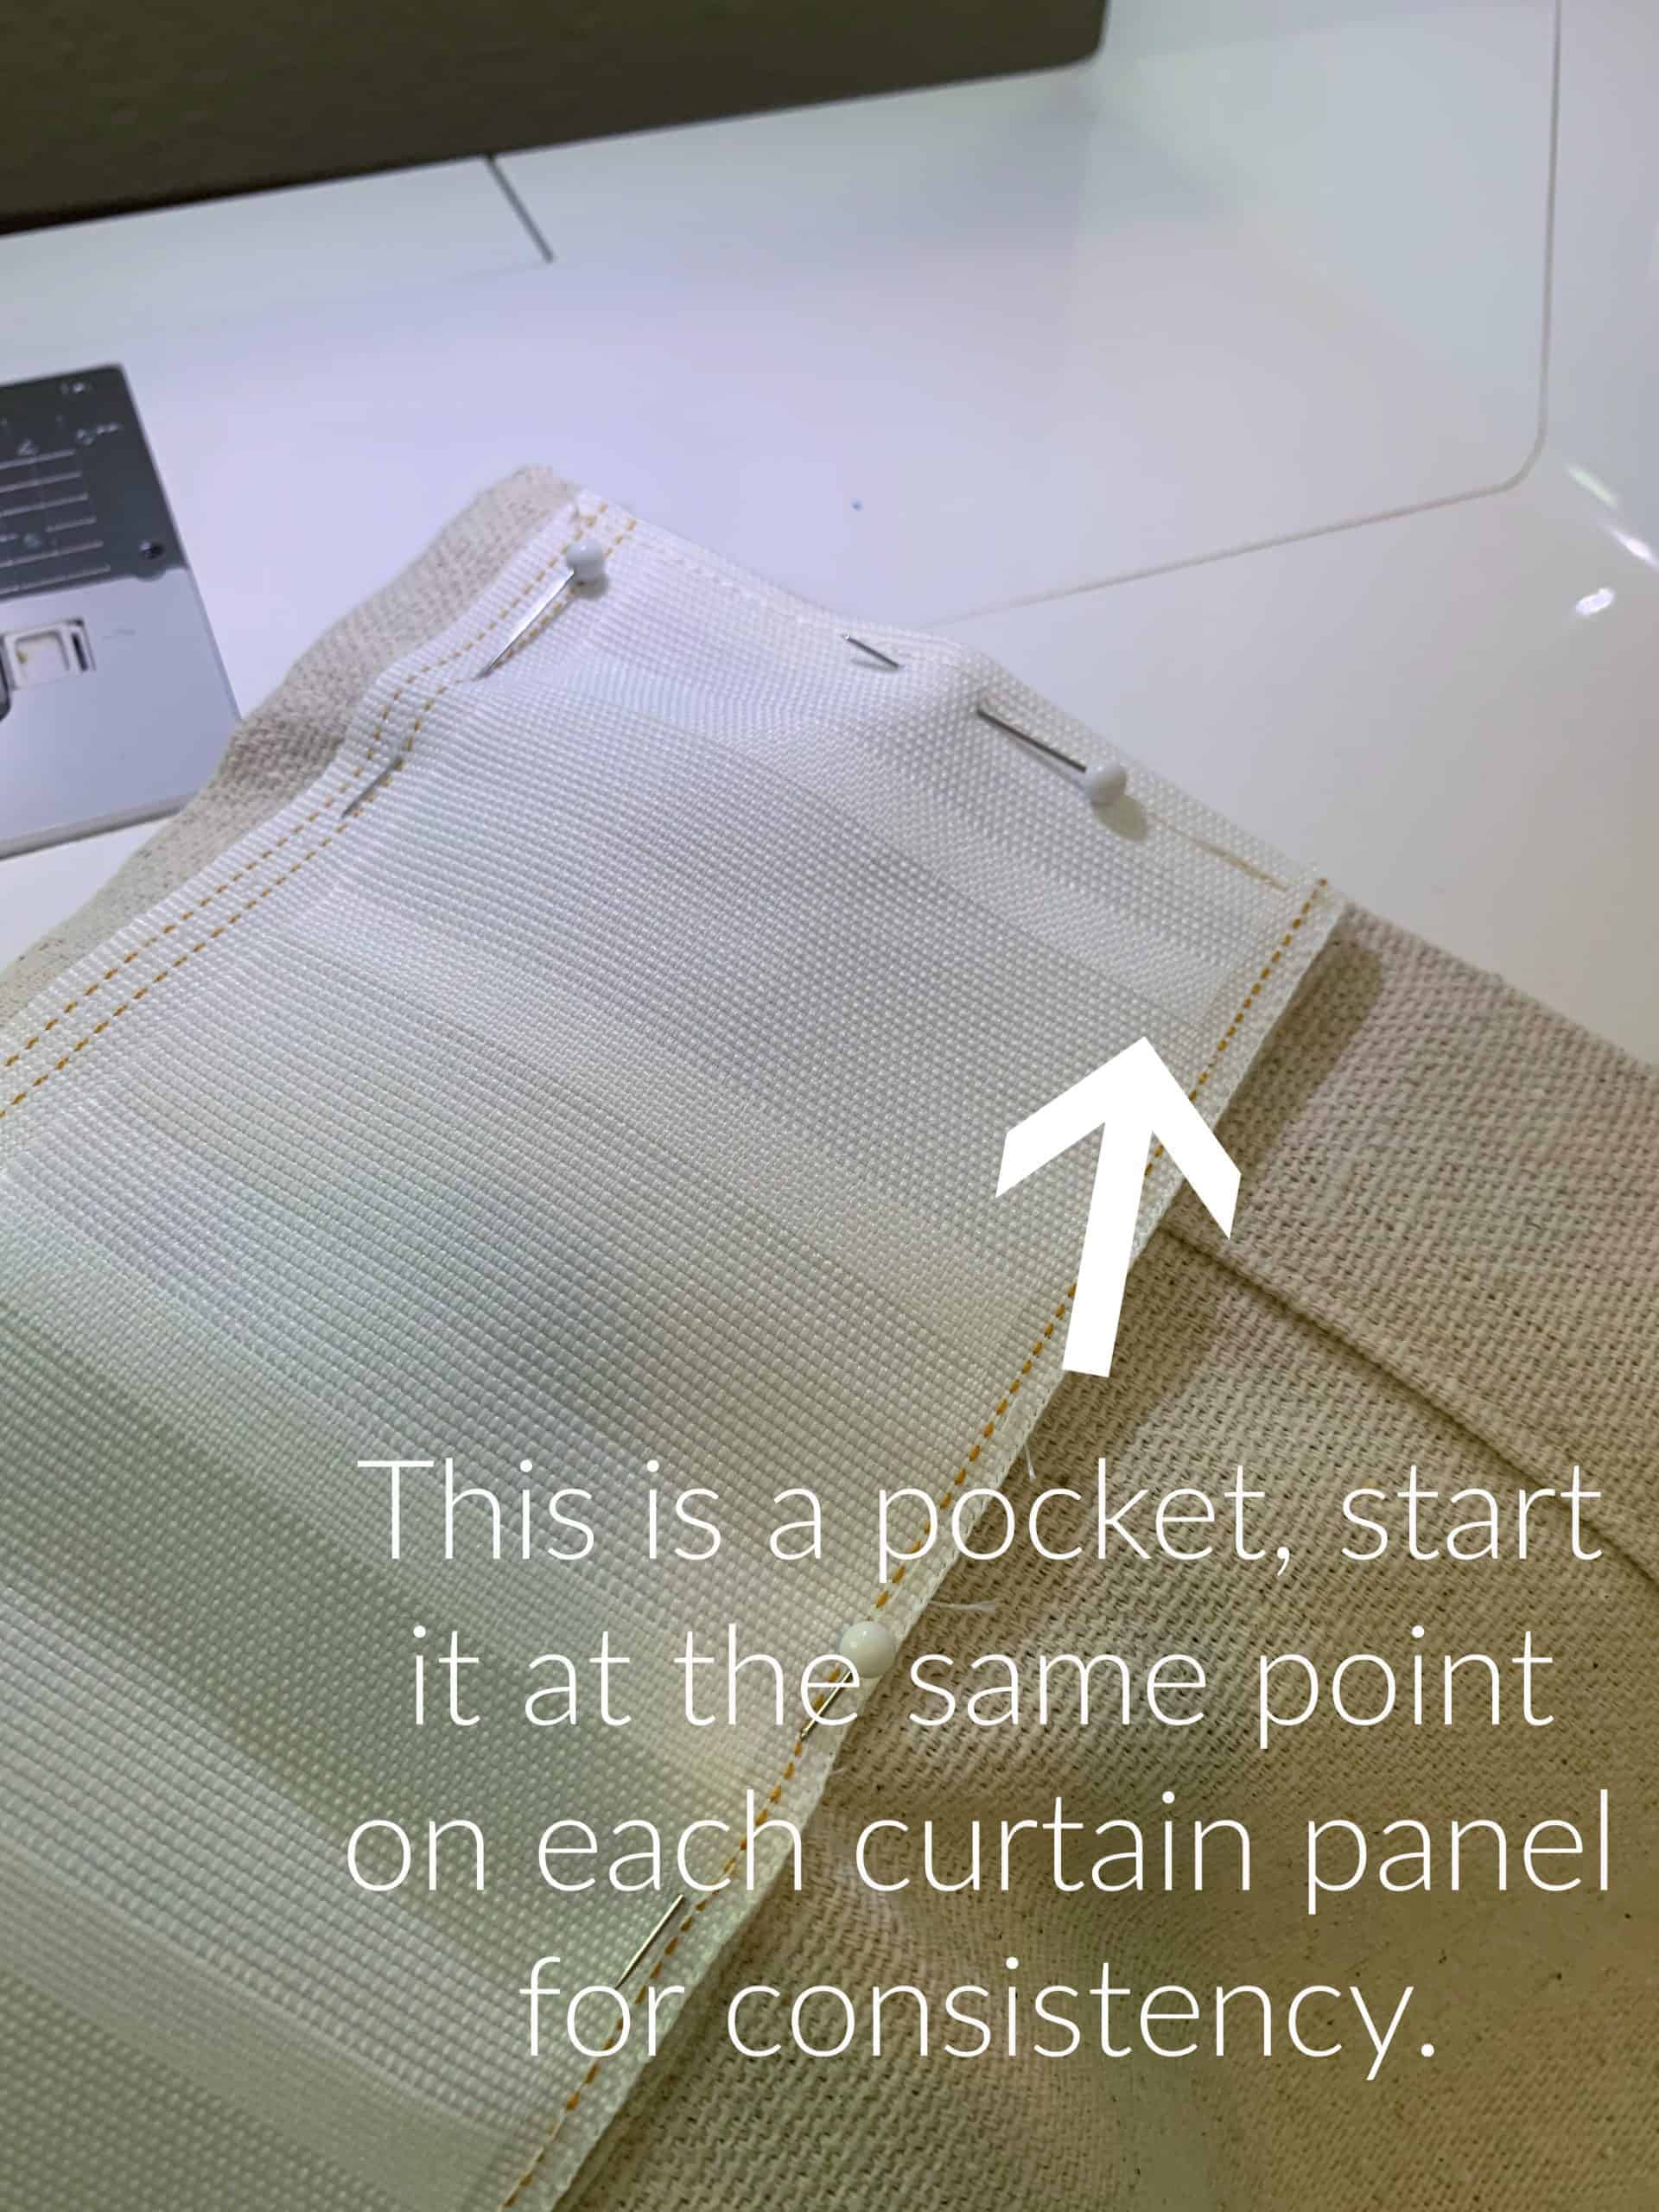
Next, pin the pleater tape to the dropcloth. Be careful to start pleater tape with a little pocket.
To make the style of pleat you see in my finished curtain – flip the tape upside down so the pocket is up at the top and the pleat gathered is at the top and not at the bottom of the tape.
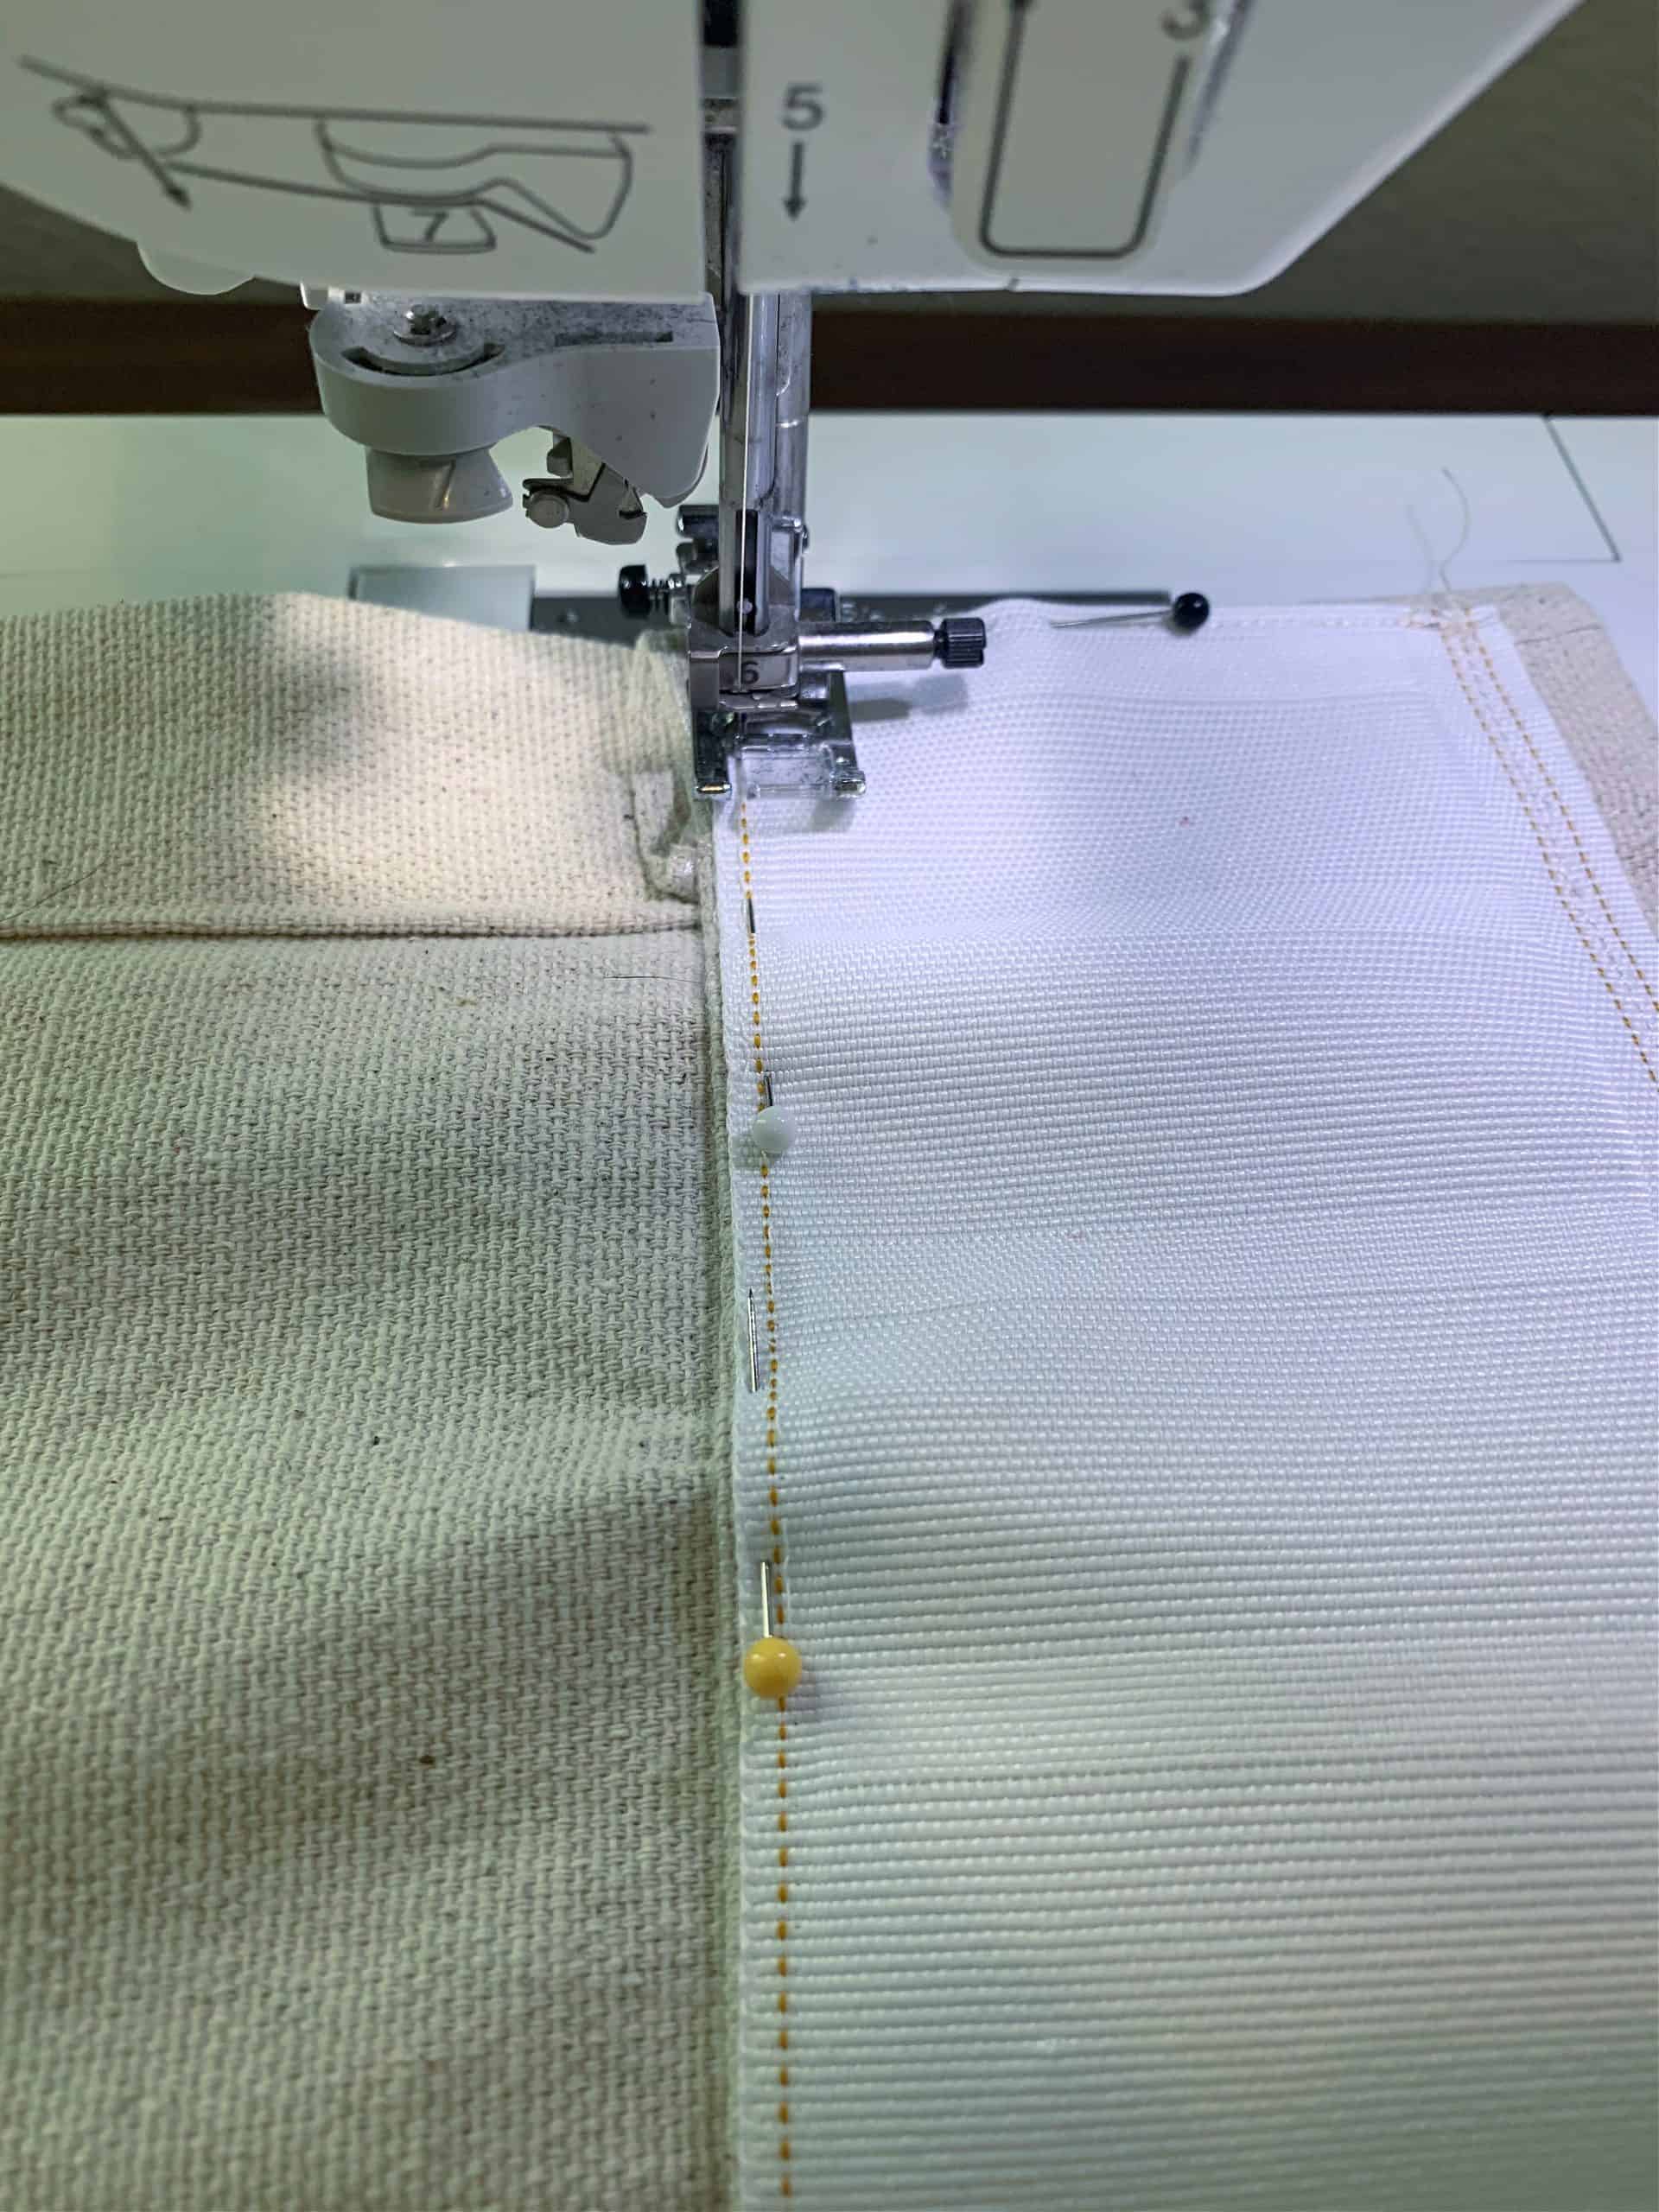
Sew the pleater tape to the curtain.
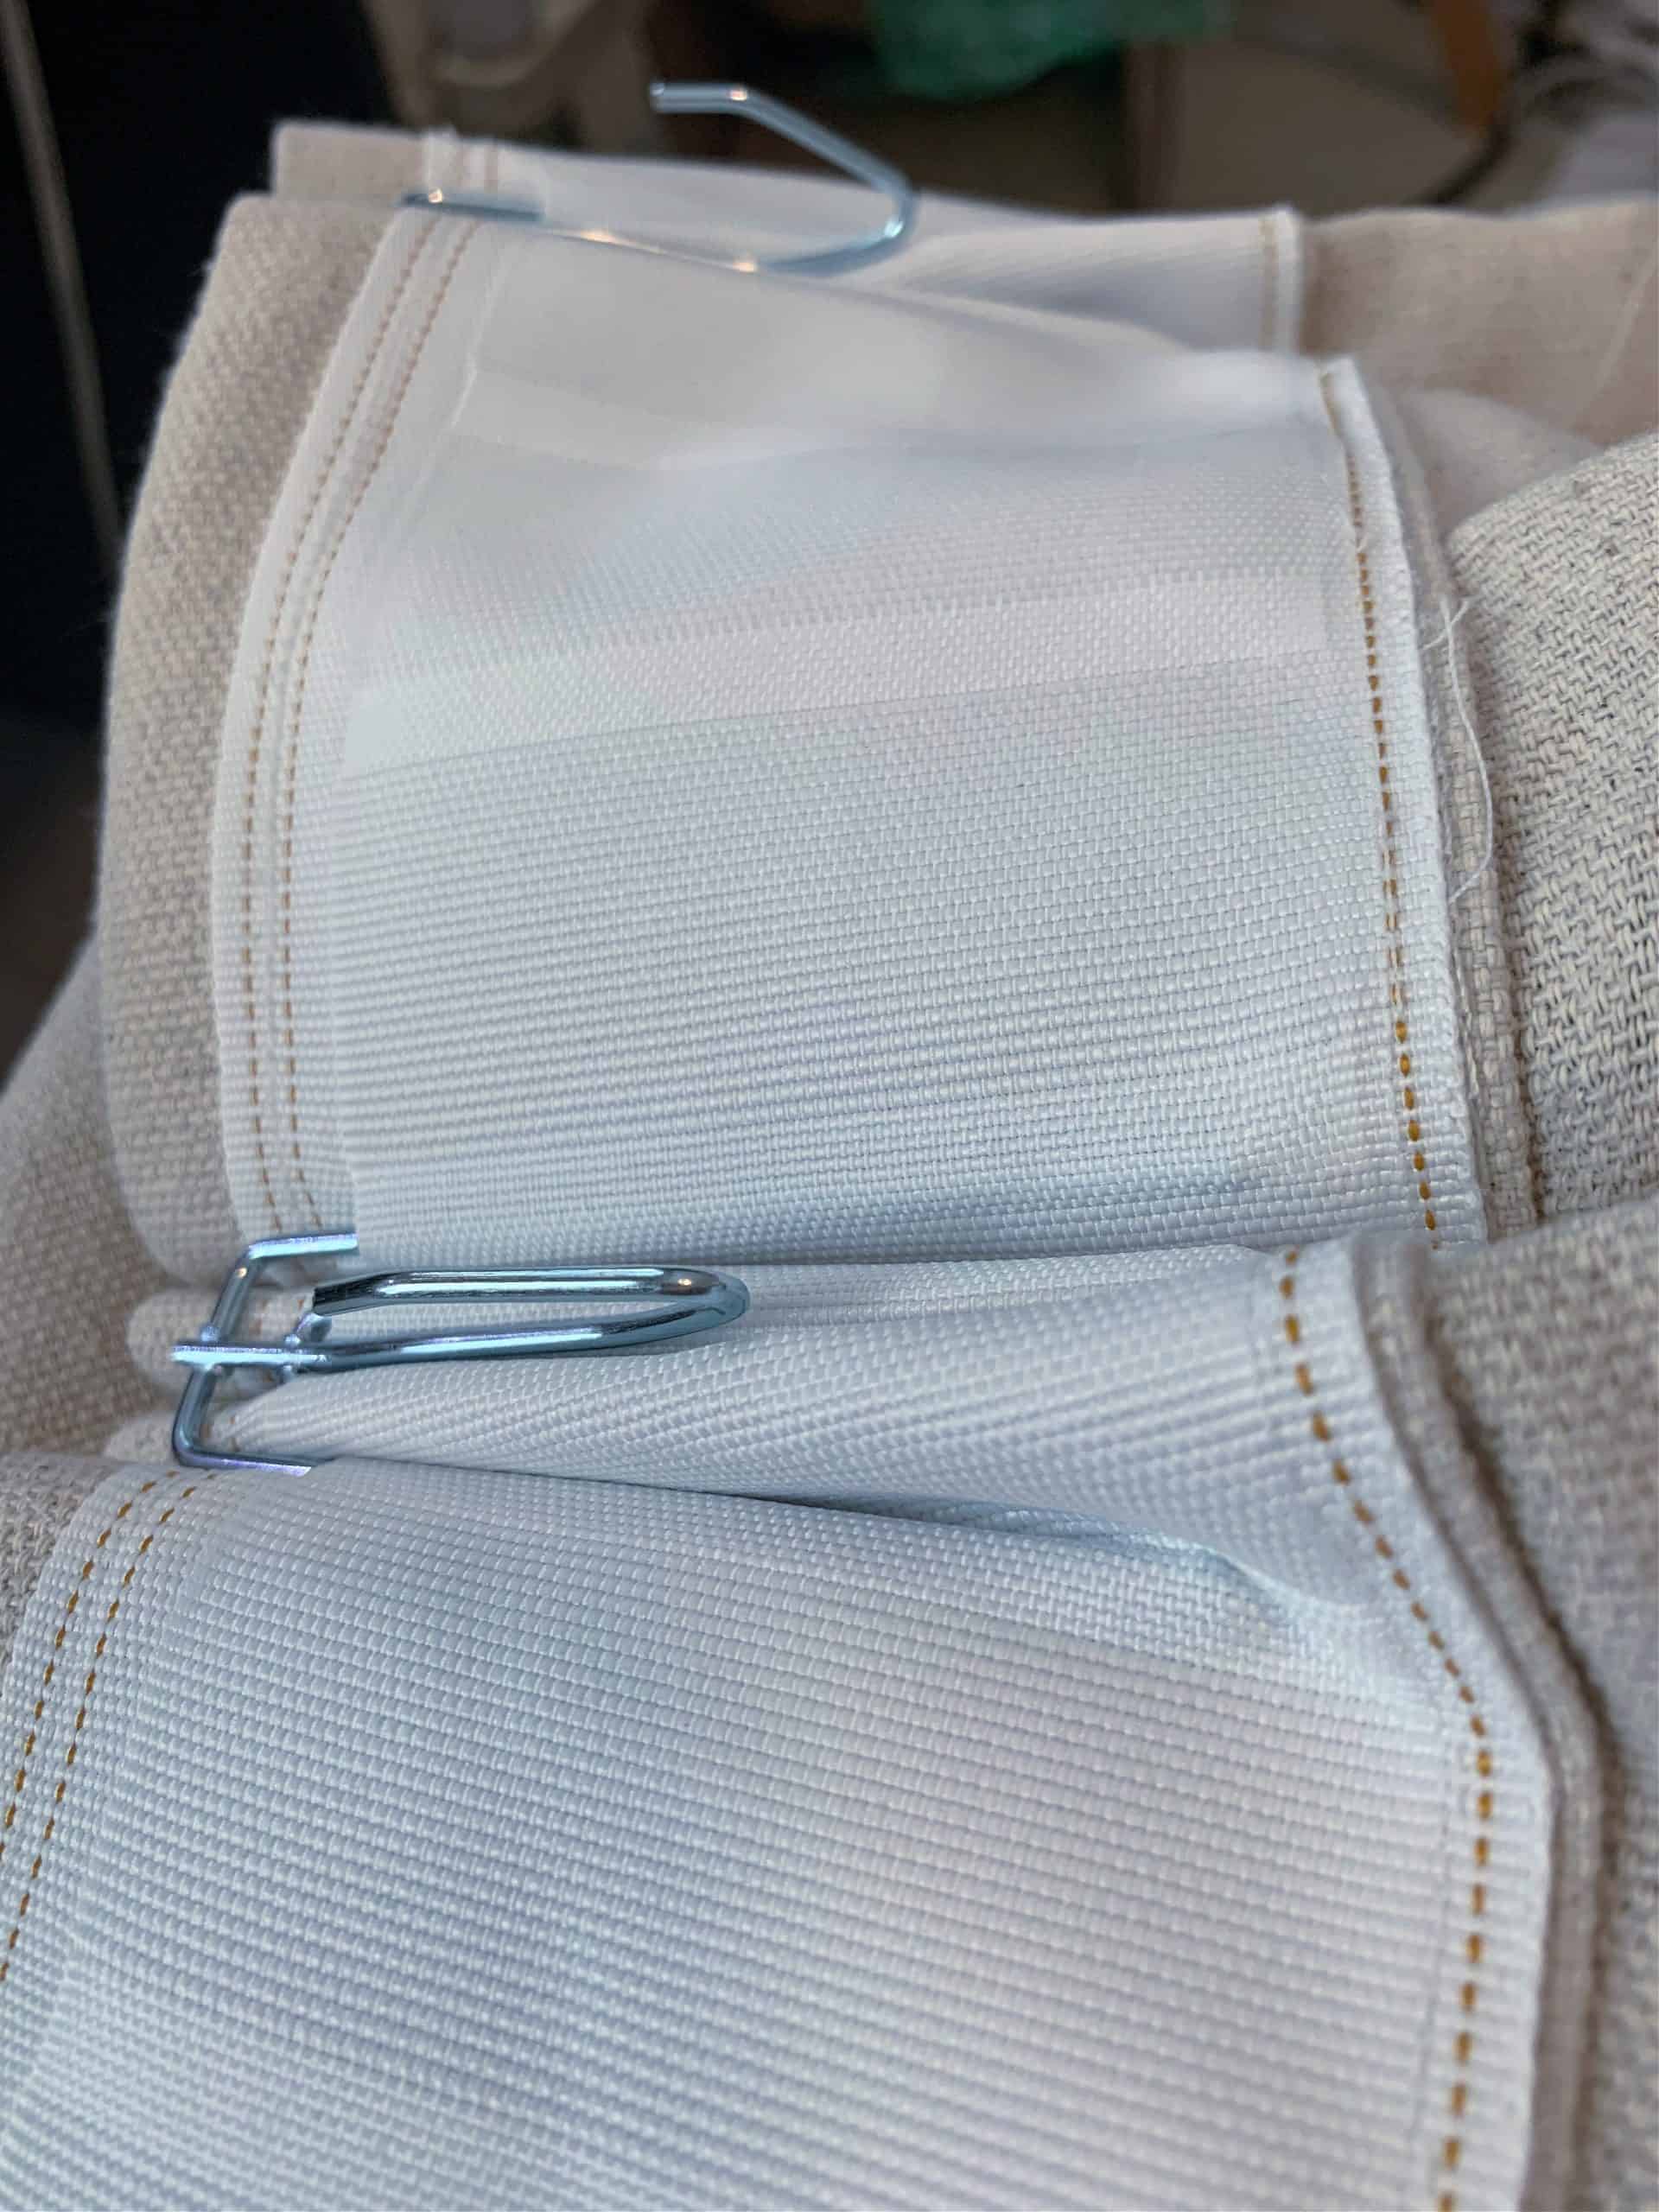
Use pleater hooks to make the pleats –

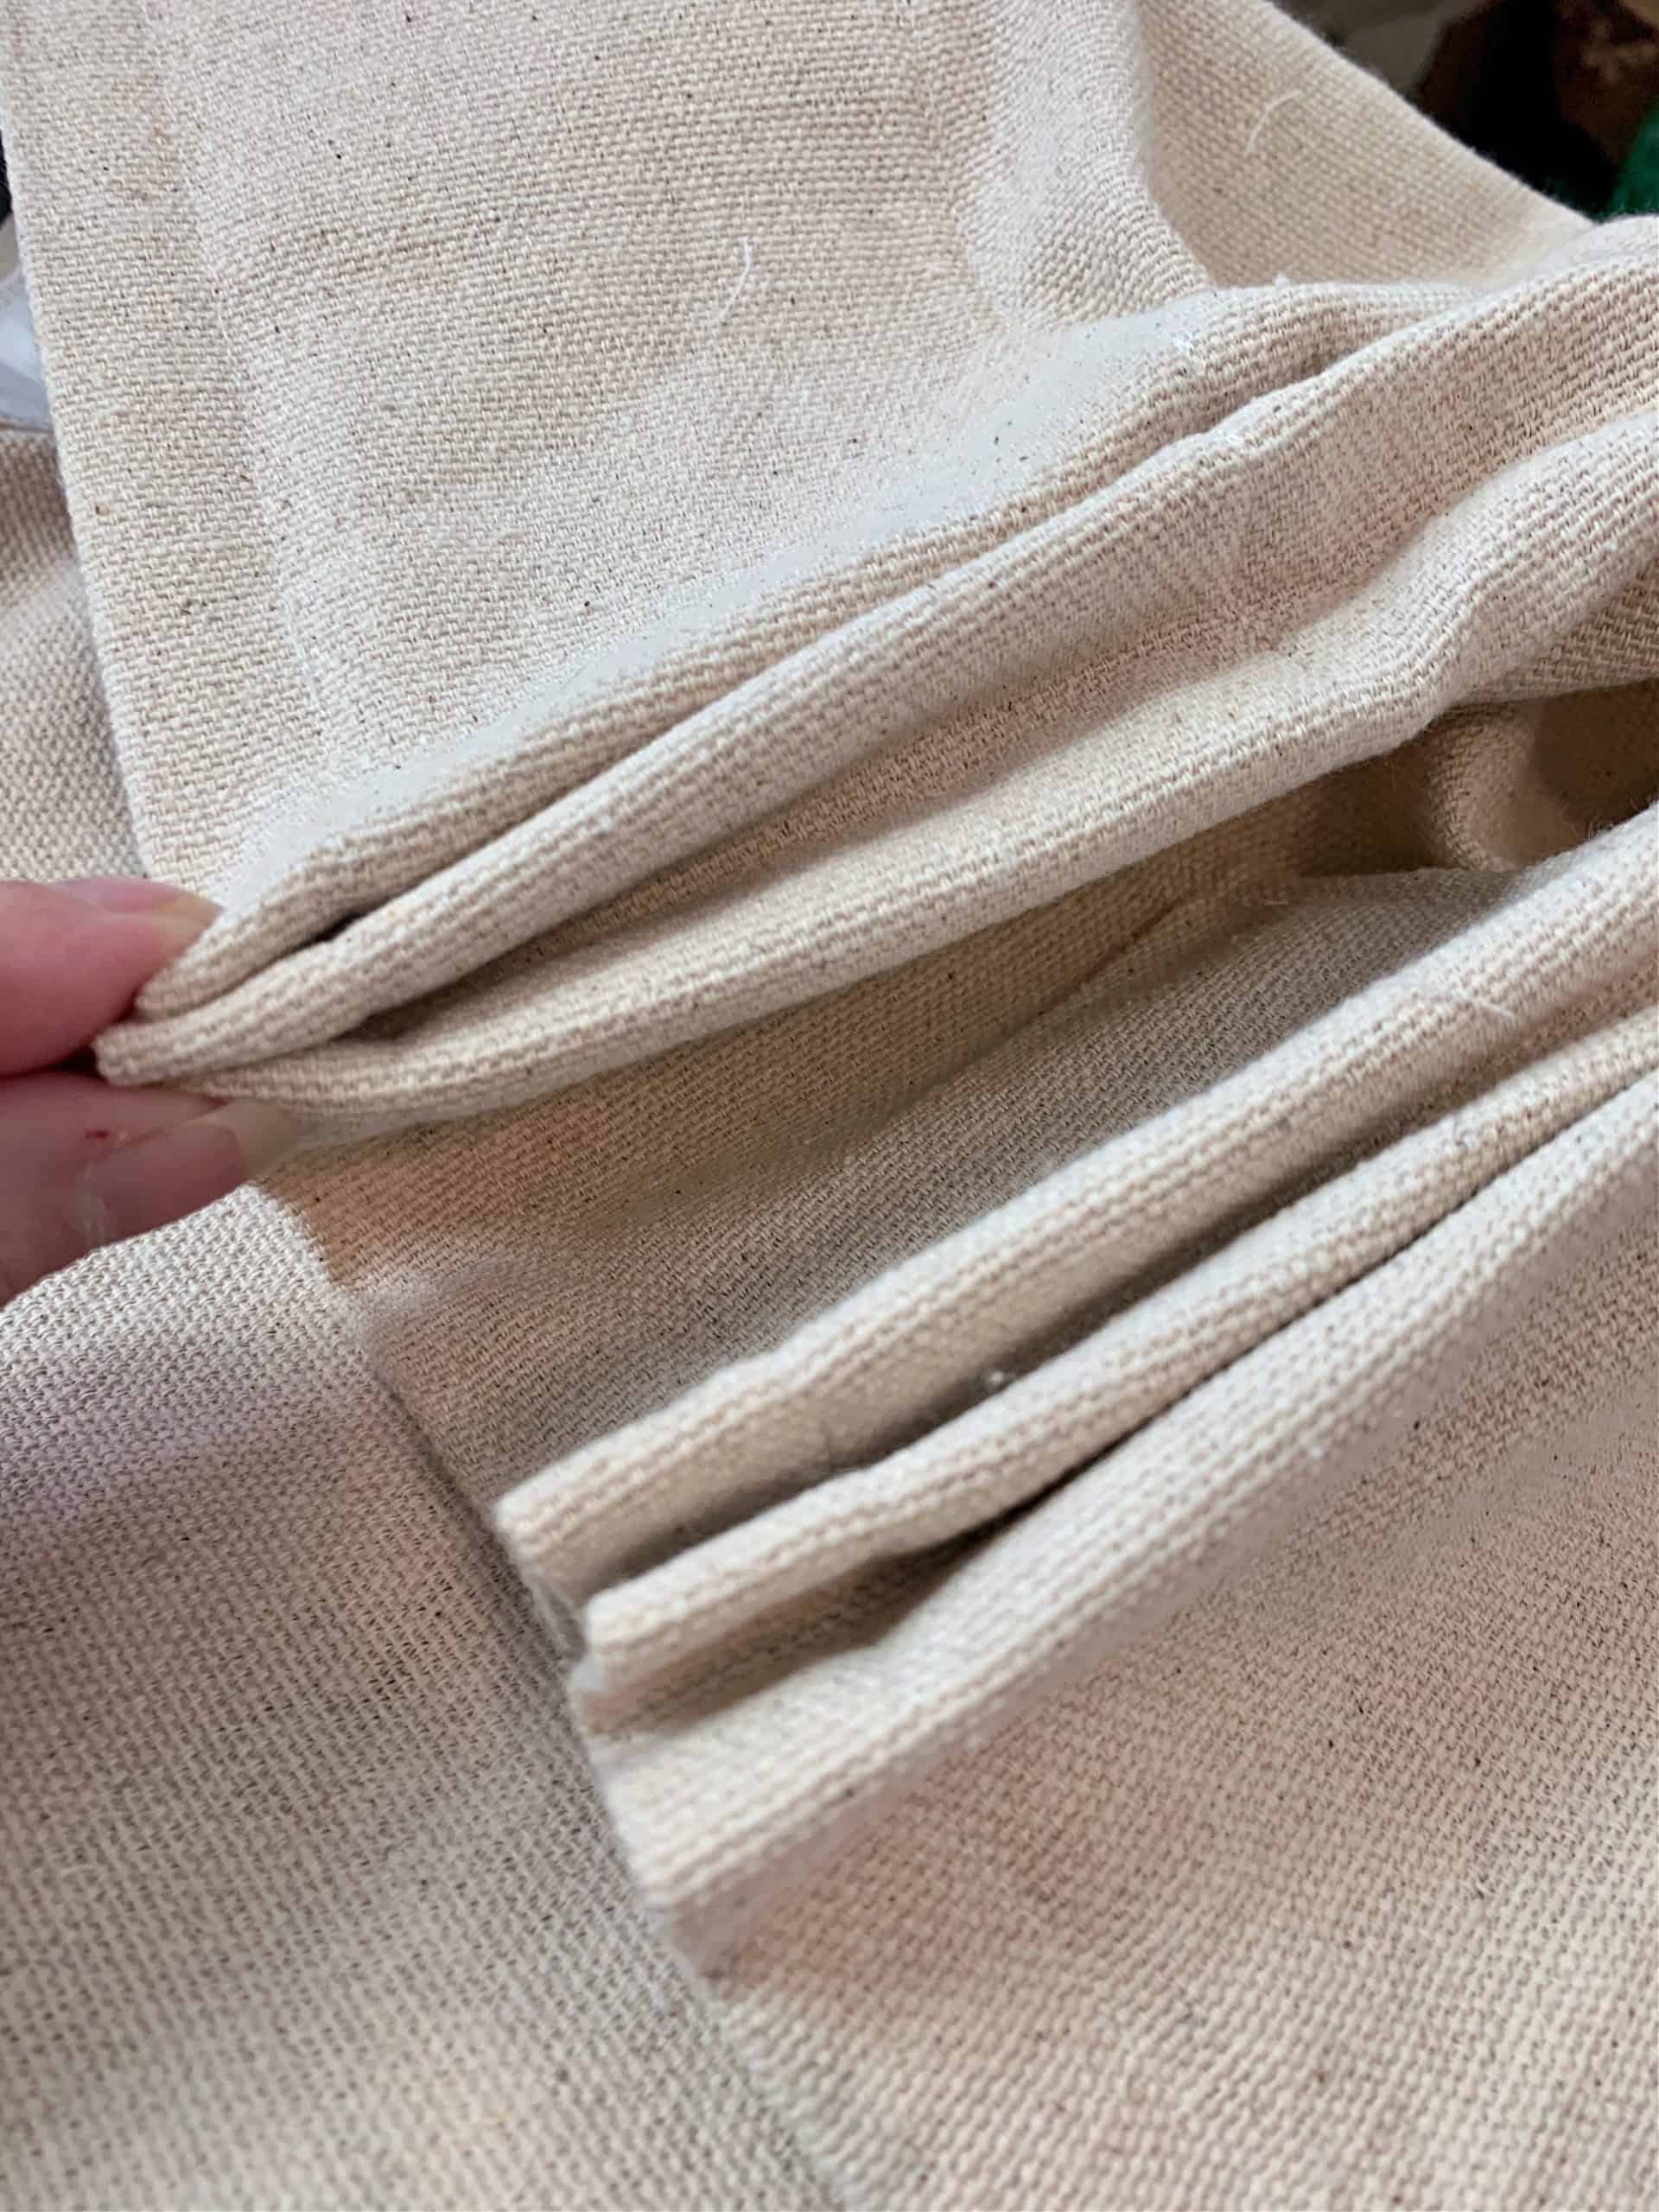
Flip over and even up the pleats.
Secure the pleat with thread and needle. I used upholstery thread.
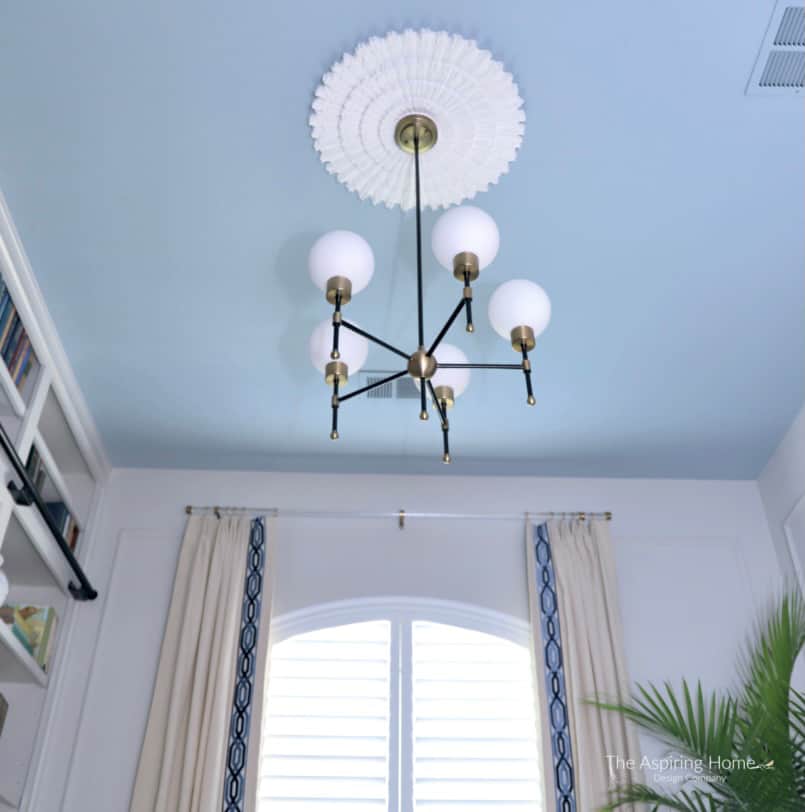
To add a little more pizazz to the drapery, I added this gorgeous trim tape to the curtains. Since I was adding tape to the curtains, I started my pleats to account for it.


I attached the little rings with upholstery thread. If you were to attach the pleater tape in the other direction, the pleater hooks can be used to attach to the rings.
Have you seen this tutorial I created? It’s a great way to use up upholstery fabric or faux leather as curtain rings!
There you go, another drop cloth curtain DIY with a twist!
and if you would like to keep the drop cloth love going, try this really easy fun project, DIY wreath sash from painter’s drop cloth material!
Til Later Friends,