Make This Easy Quick Sew DIY Handbag
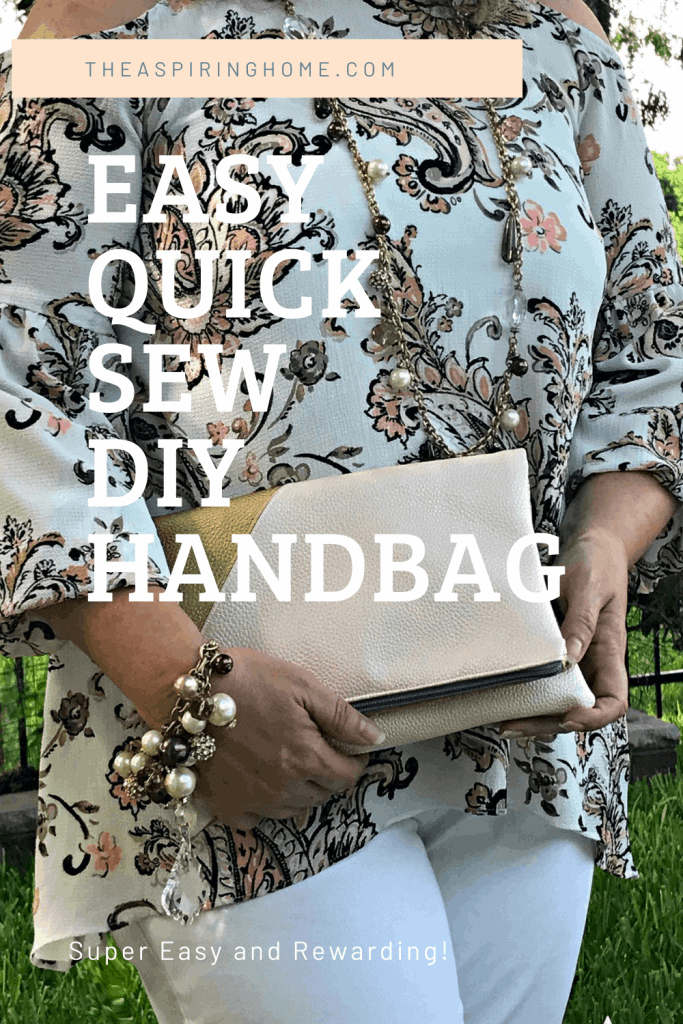
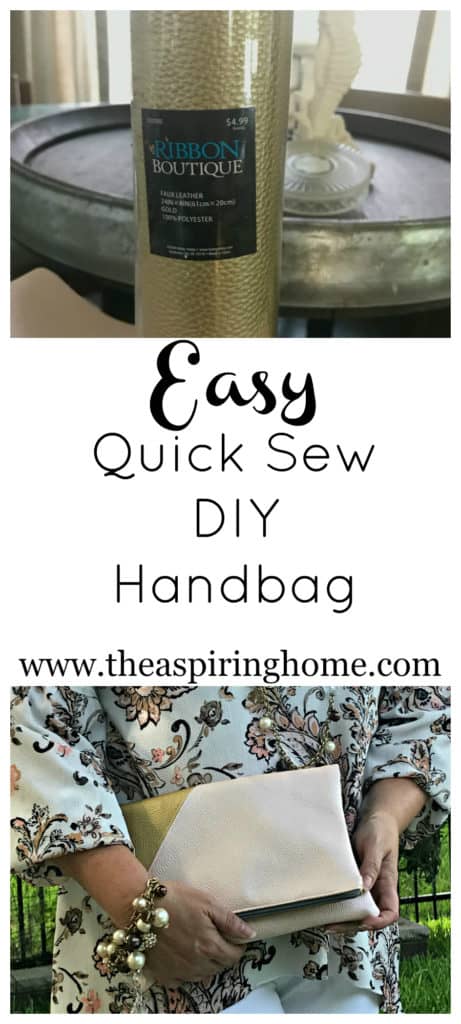
Ready to sew an easy quick sew DIY handbag out of ready-made craft supplies? Here is a clever design using faux leather fabric from the craft store.
Sew a simple clutch with zipper closure. I have a fun project for you today! Lately, I have been seeing some super cute handbags in the stores, everything from beaded to bamboo. I recently had a discussion with a friend who has pretty much traded in her large purse in favor of a smaller bag. If she needs a bigger style bag- she just throws the smaller bag in. I am kinda seeing the beauty in this now that my kids are no longer babies – I don’t require loading half the house when I go out and about.
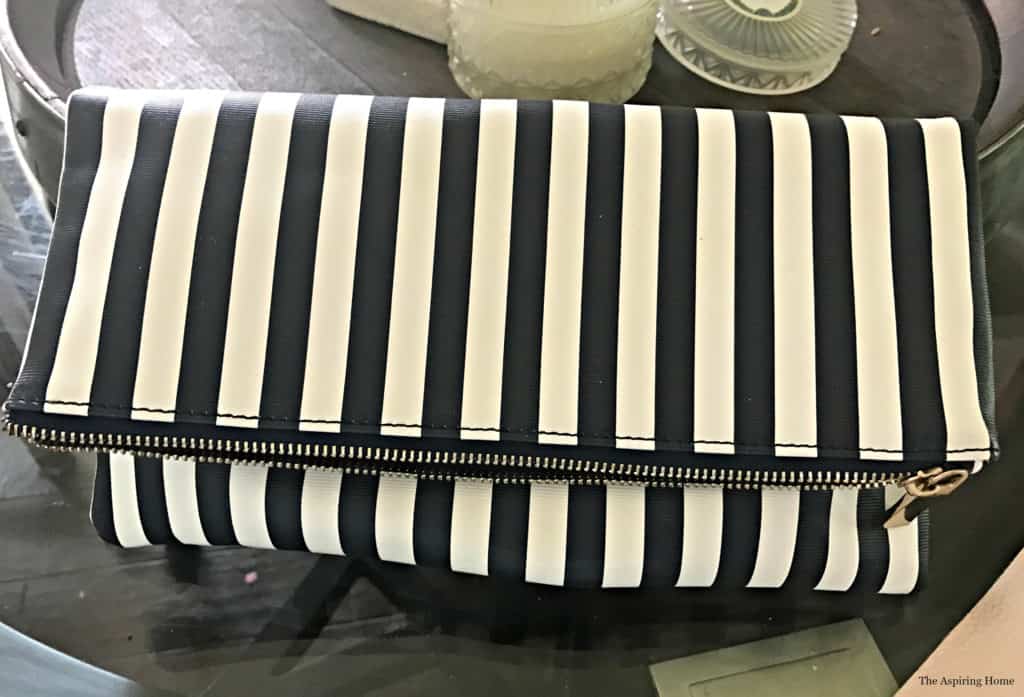
So, I perused my collection of smaller bags and found them lacking. I had one bag that actually worked (I still need a sunglass case, eyeglass case, wallet, keys, phone, etc.). I love this striped number but it doesn’t always “go” with everything, you know what I mean?
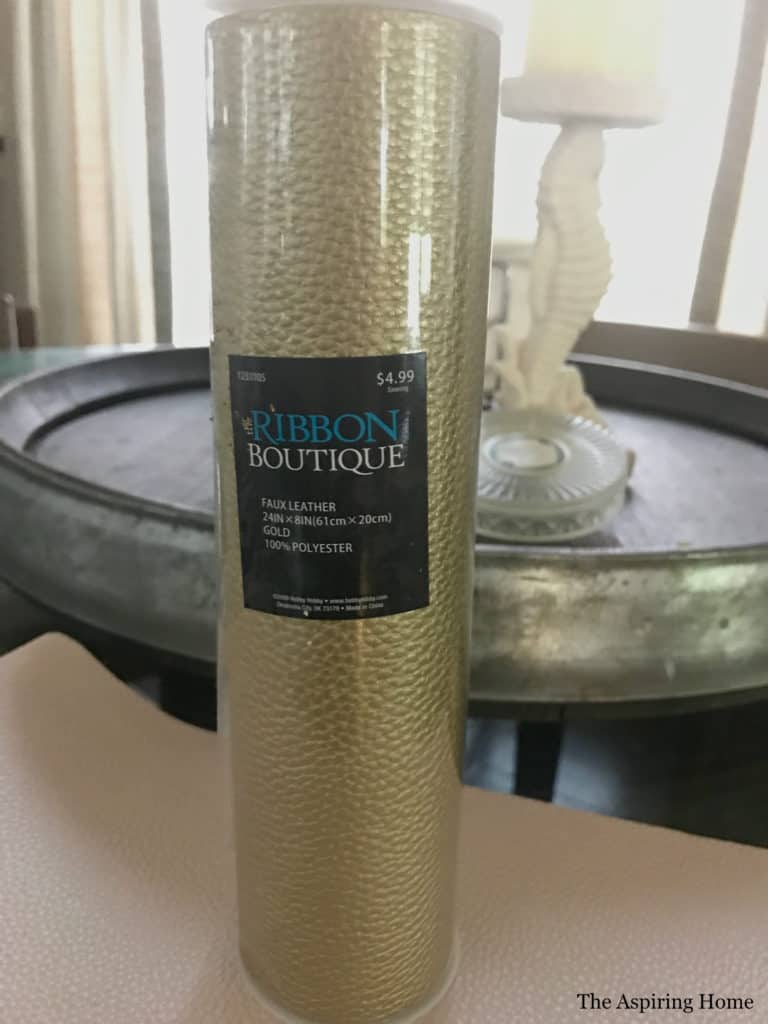
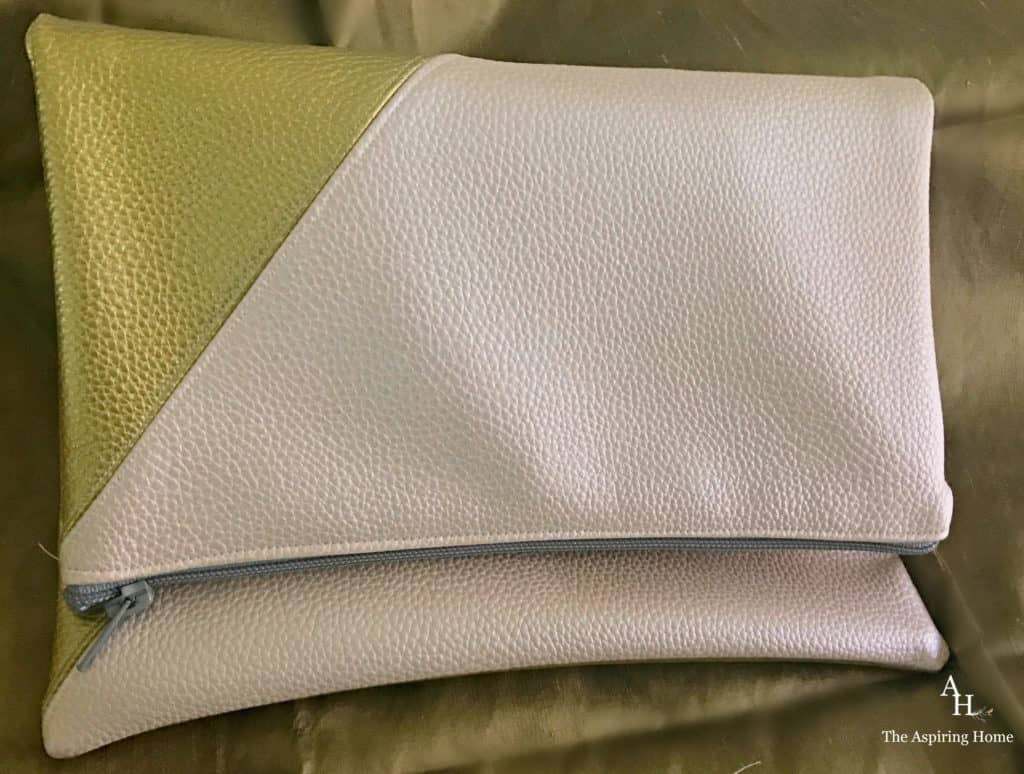
While I was at my local craft store, I stumbled upon this neat little product on the bottom shelf in the ribbon aisle. The faux leather is a relatively new product (at least new to me). The product comes in a ton of colors from gold to sherbet. I chose gold and a pretty pinky blush color for my project.
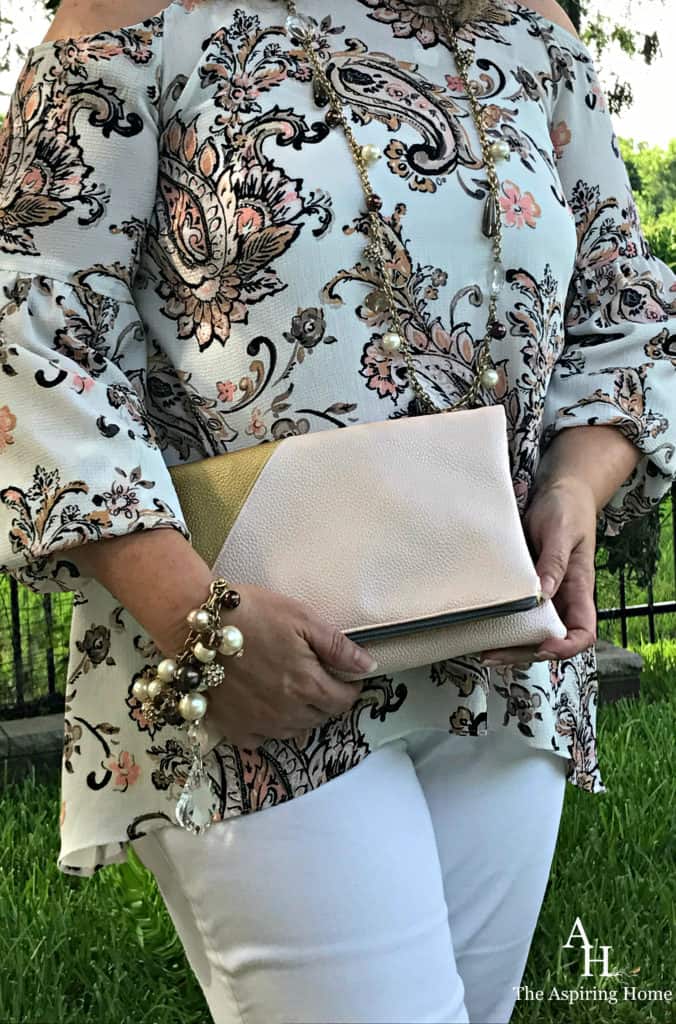
Cute, right?!? Even cuter when I tell you that it costs about $12 to make! This little jewel can be made in an afternoon. Seriously, my friends, this is so very easy!
Let’s get started:
Supplies Needed for a quick sew DIY handbag:
- Two rolls of the faux leather
- One 12 inch zipper (I had a 14- zipper and cut it down) **
- Coordinating thread color
- Sewing machine needles made for faux leather/heavier fabric
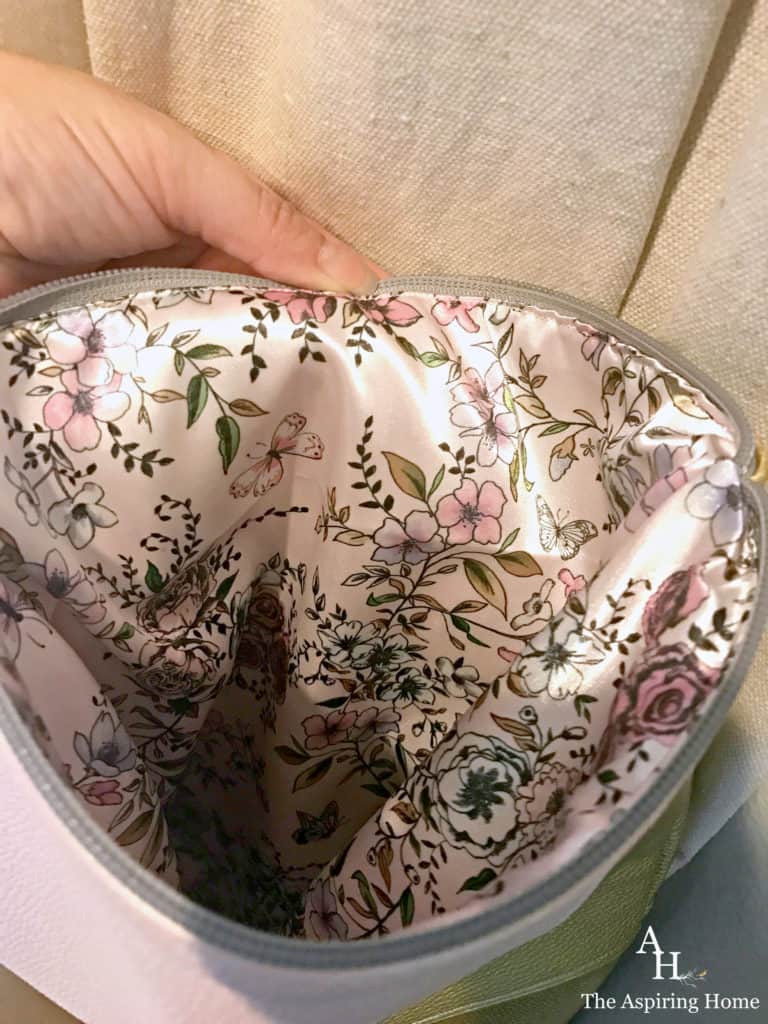
- 1/2 yard of your choice of fabric for the liner
All these items can be found at your local craft store.
Step 1:
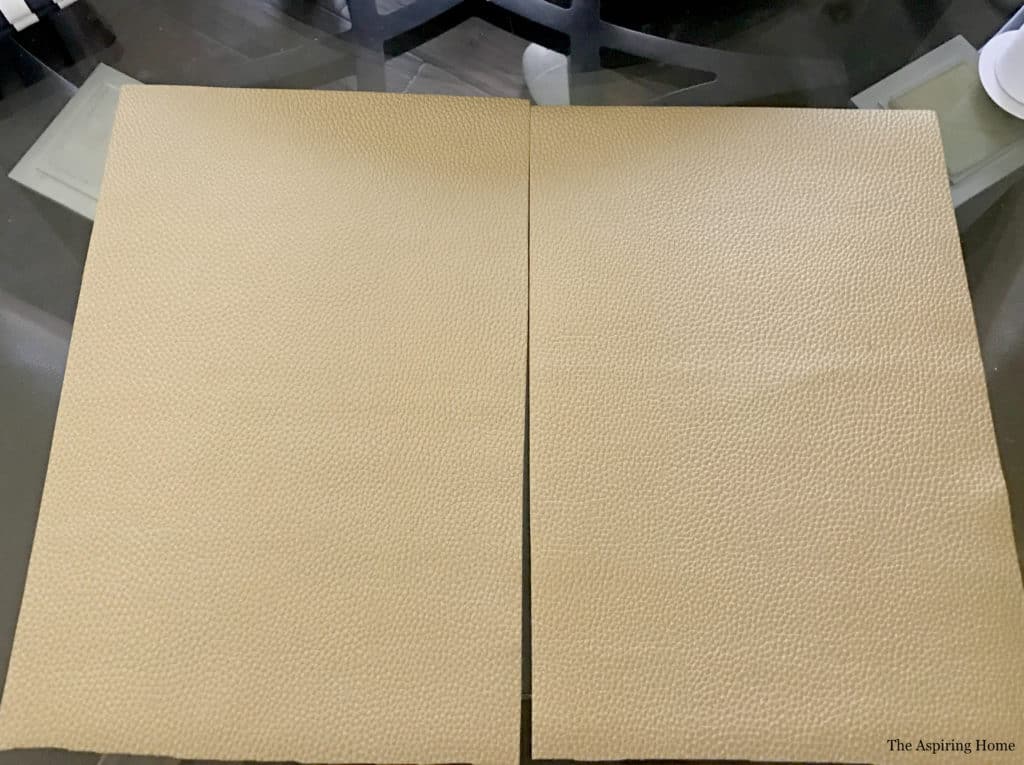
Unroll your faux leather. Find the middle of the fabric and cut. You will have 4 sections.
Step 2:
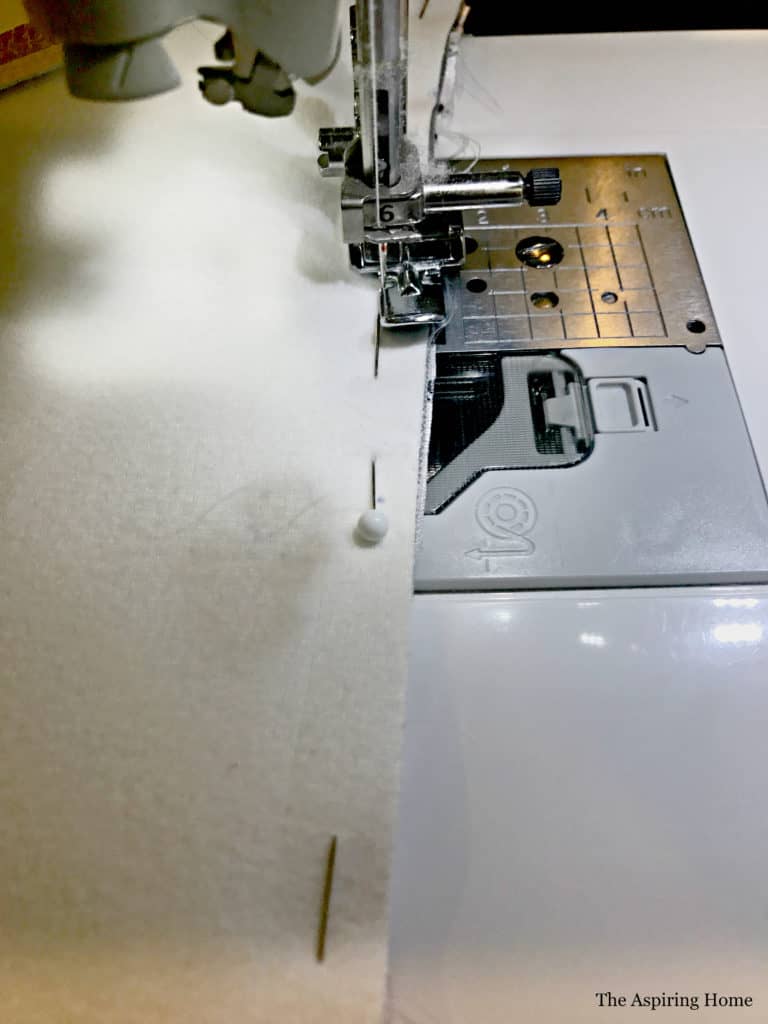
I used 1 roll of faux leather in gold and 1 roll of faux leather in blush. Now that you have cut the 4 sections (step 1), pin the two gold pieces together and sew. Pin and sew the two blush faux leather pieces together.
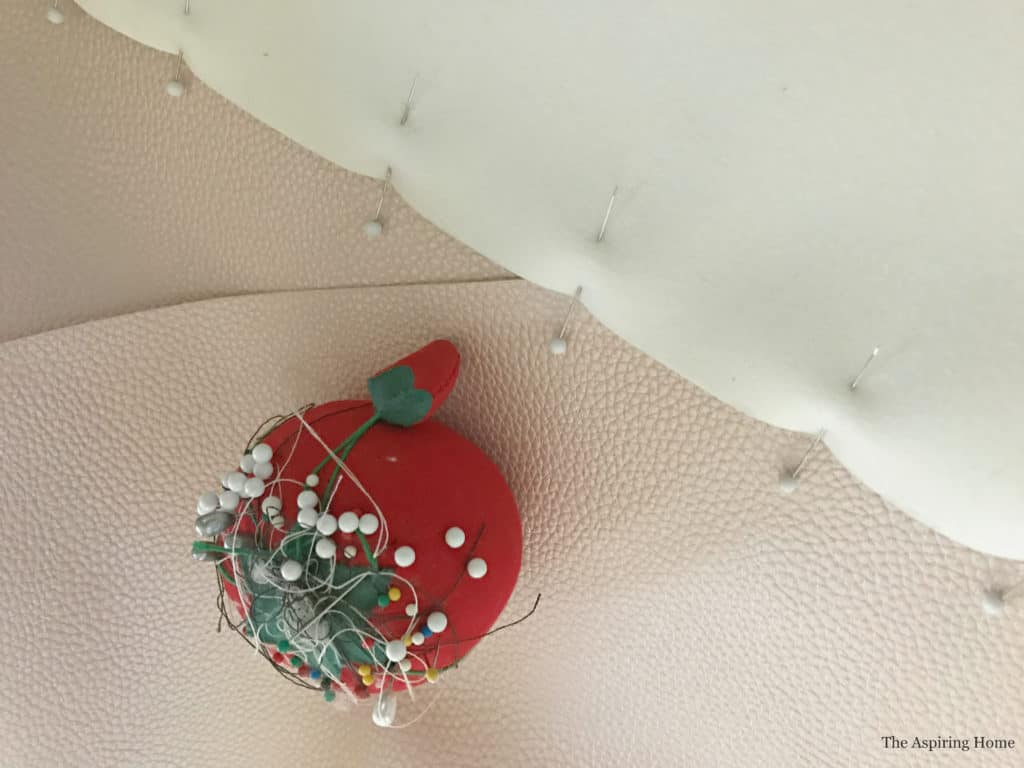
FYI- I tend to pin my projects a bit differently. Most have the pins running horizontally. I just find this easier for me.
Step 3:
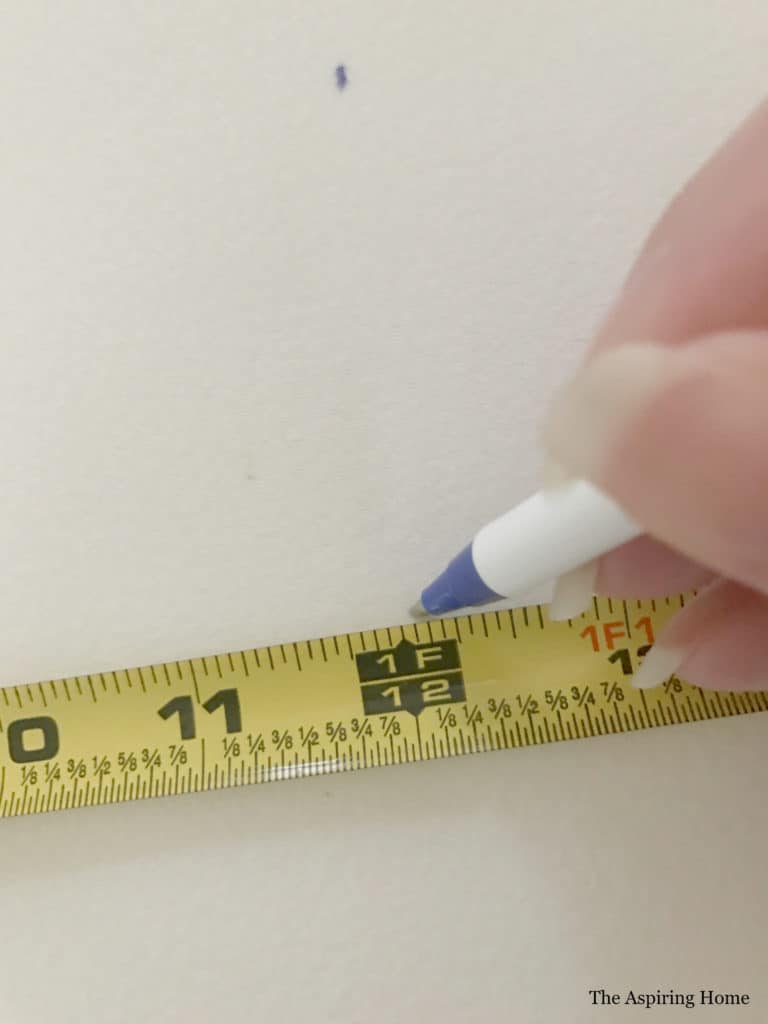
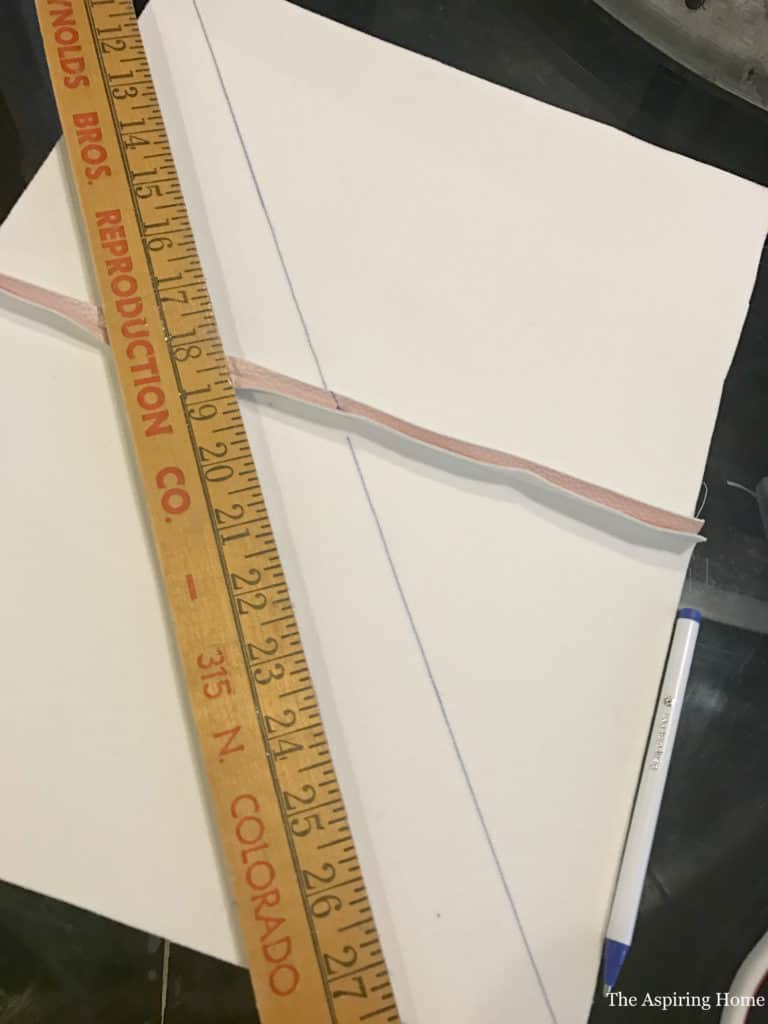
So now, the 4 sections have become two rectangles. You could just have one side blush and one side of your handbag gold, but why? When you could mix it up a bit! Take each rectangle and draw a line on the backside of the faux leather corner to corner. Cut the fabric in half. Precise marking and cutting are very important. My ruler moved a little bit so my line wasn’t perfect, I just adjusted a bit when I began cutting the fabric.
Step 4:
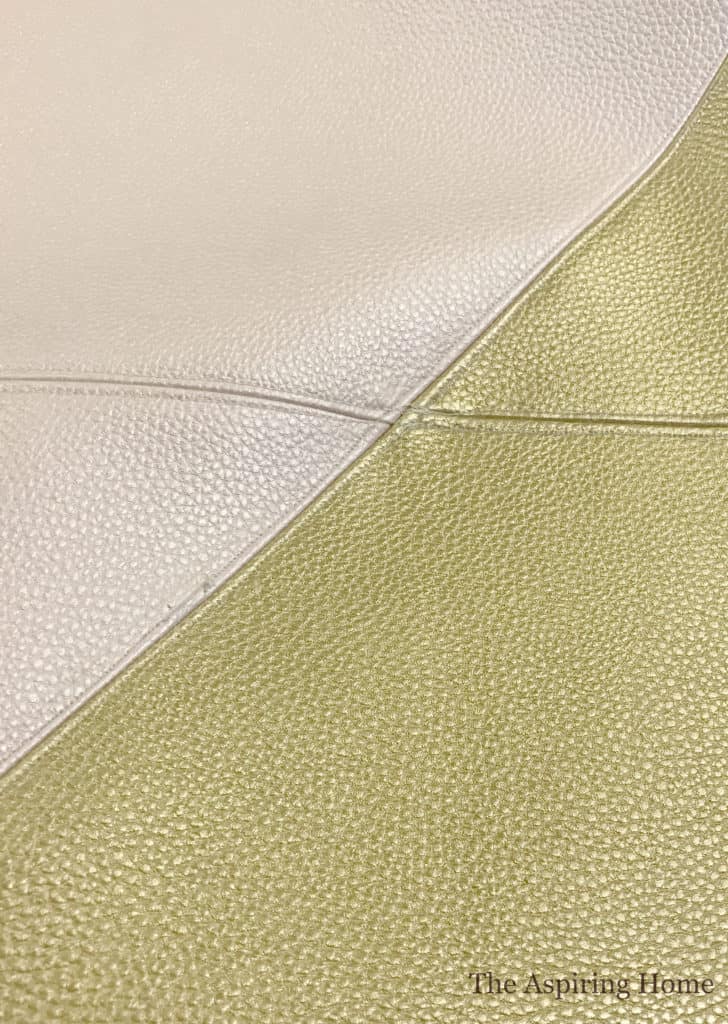
At this point, you should have 4 triangles. Time to mix it up… take a gold and blush triangle and sew together.
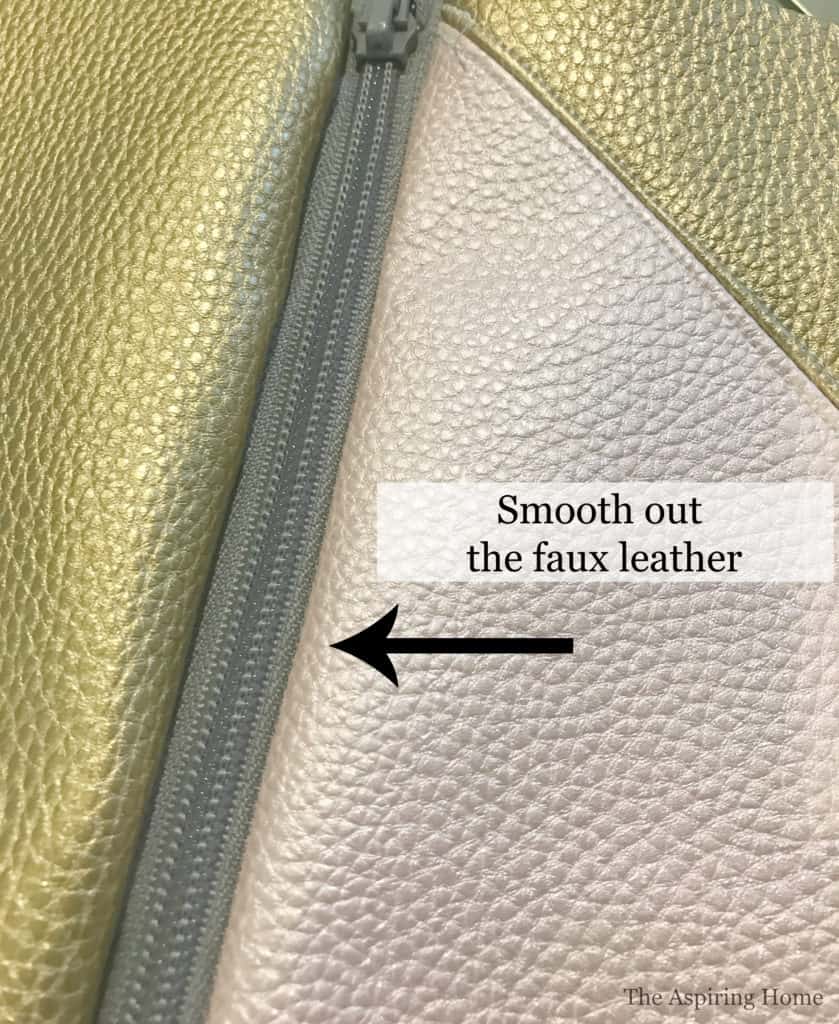
After you have created the 2 color rectangles – sew a stitch on each side of the seam to flatten and create a fun little detail.
Here is the BEST tutorial I could find on creating a bag with a zipper.
Step 5:
Wasn’t that awesome? Okay so now let me take you back to my bag.
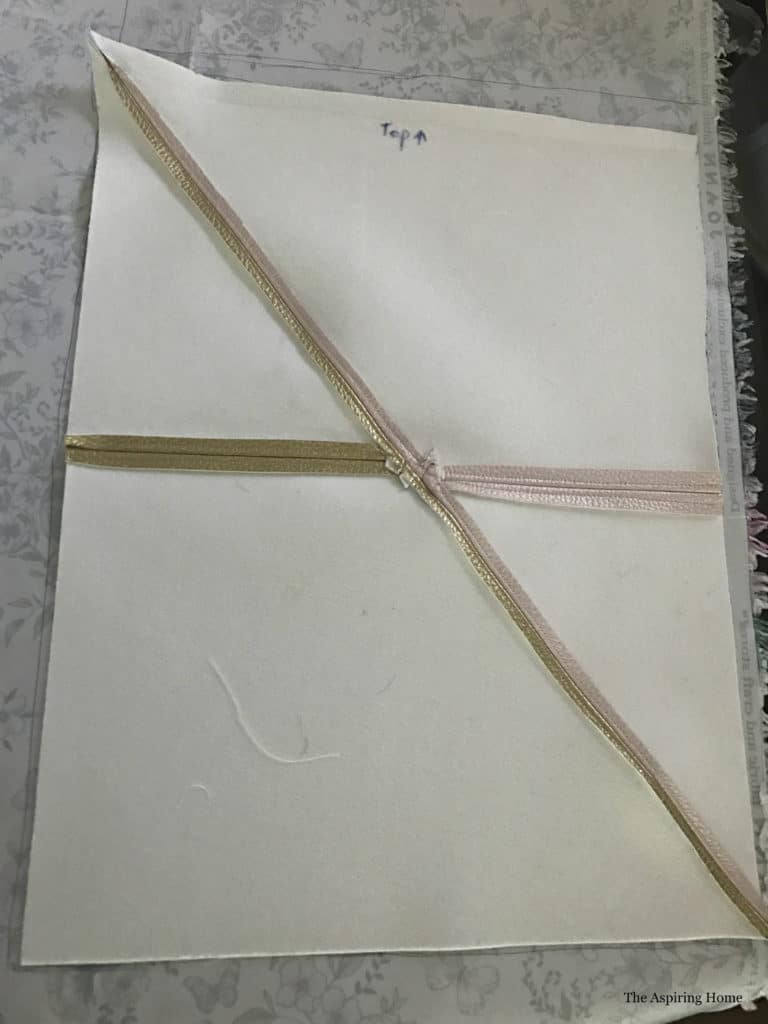
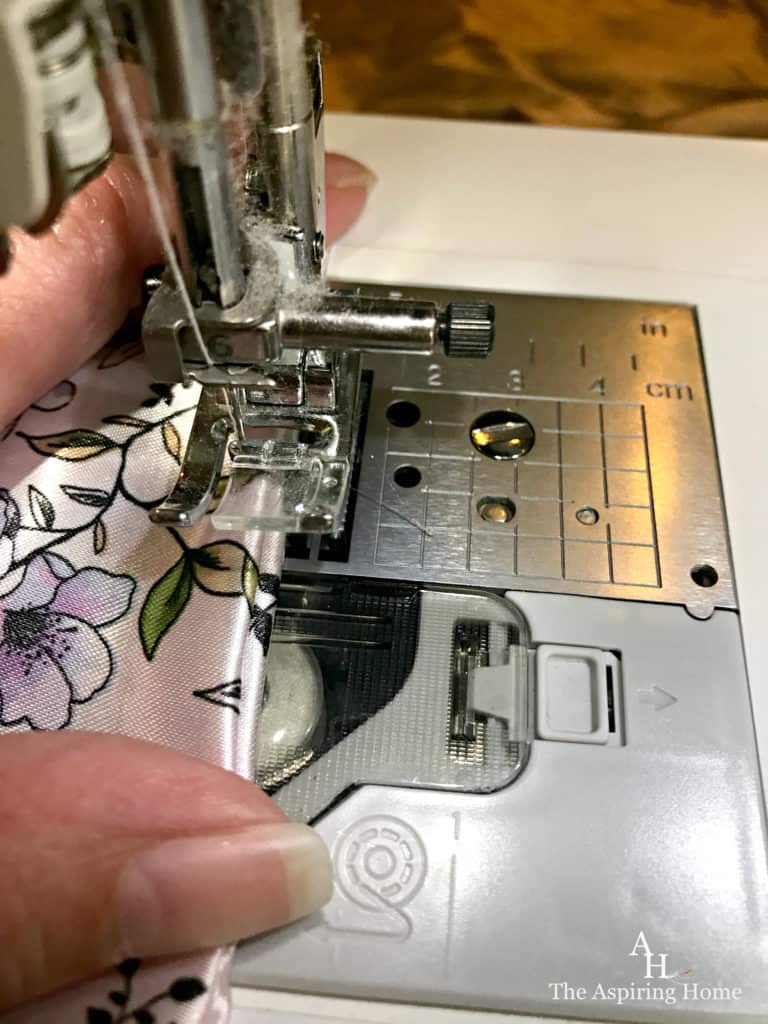
Sew on each side of the zipper to create a flat seam.
Step 6:
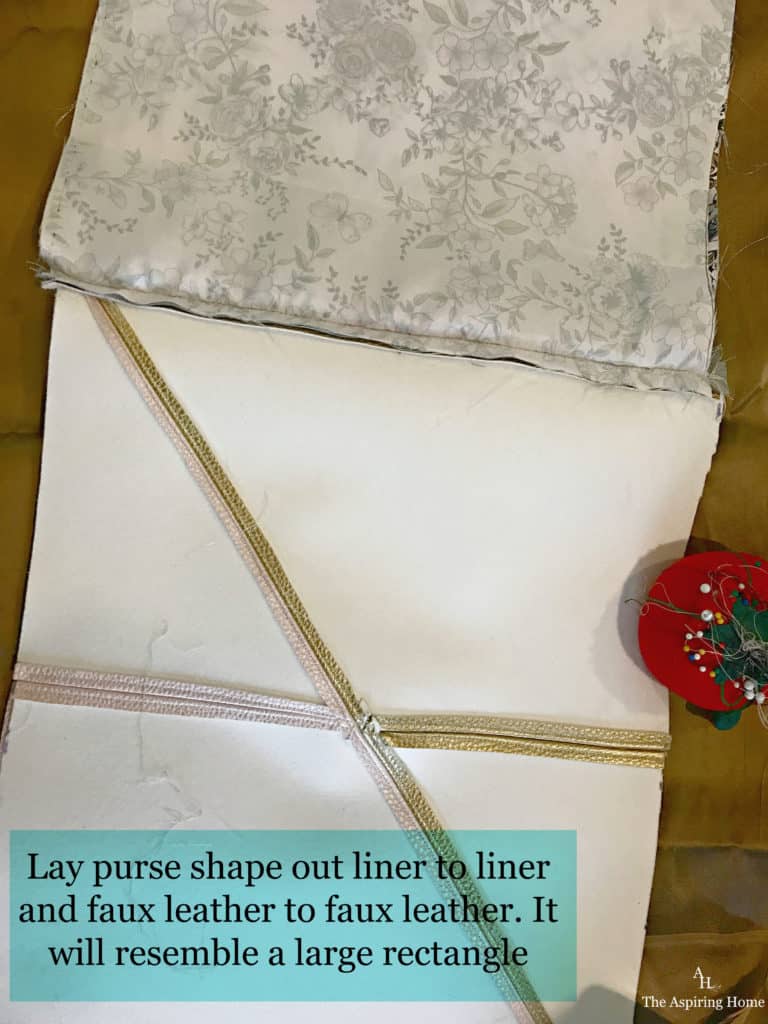
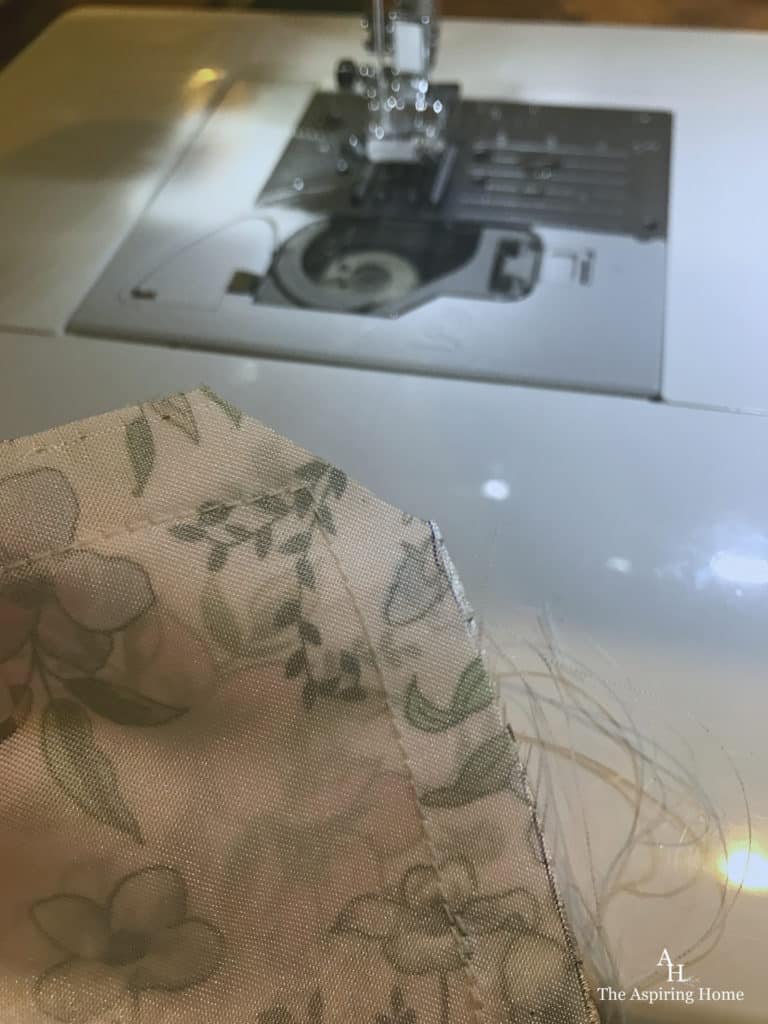
Next, open the zipper before pinning (or you will not be able to turn the bag) Pin and then sew. Leave a fist-size opening in the liner bottom as the video described. Cut the corners tight and the extra zipper (if your zipper is larger than the handbag opening).
Step 8:
Finally, turn the bag inside out. Fold the open end of the lining to close and sew.
Tuck the lining into the handbag….
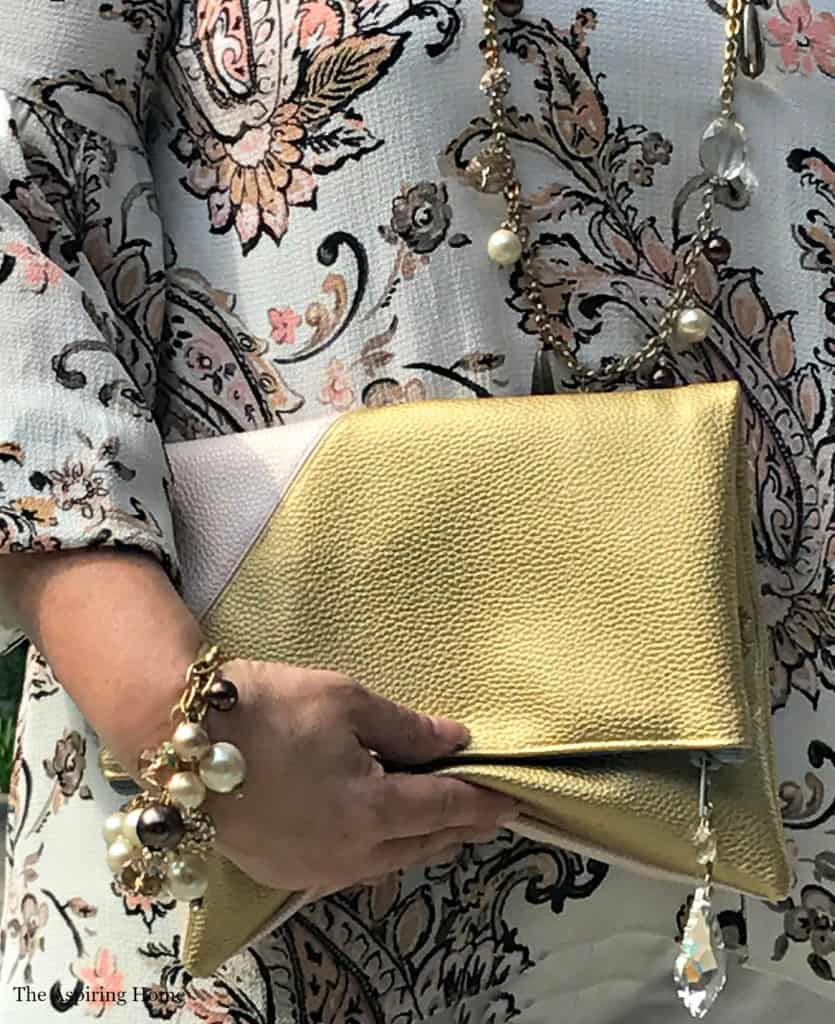
Zip up your new little number and find a fantastic place to go out!
Do you know what is fun about this little handbag?
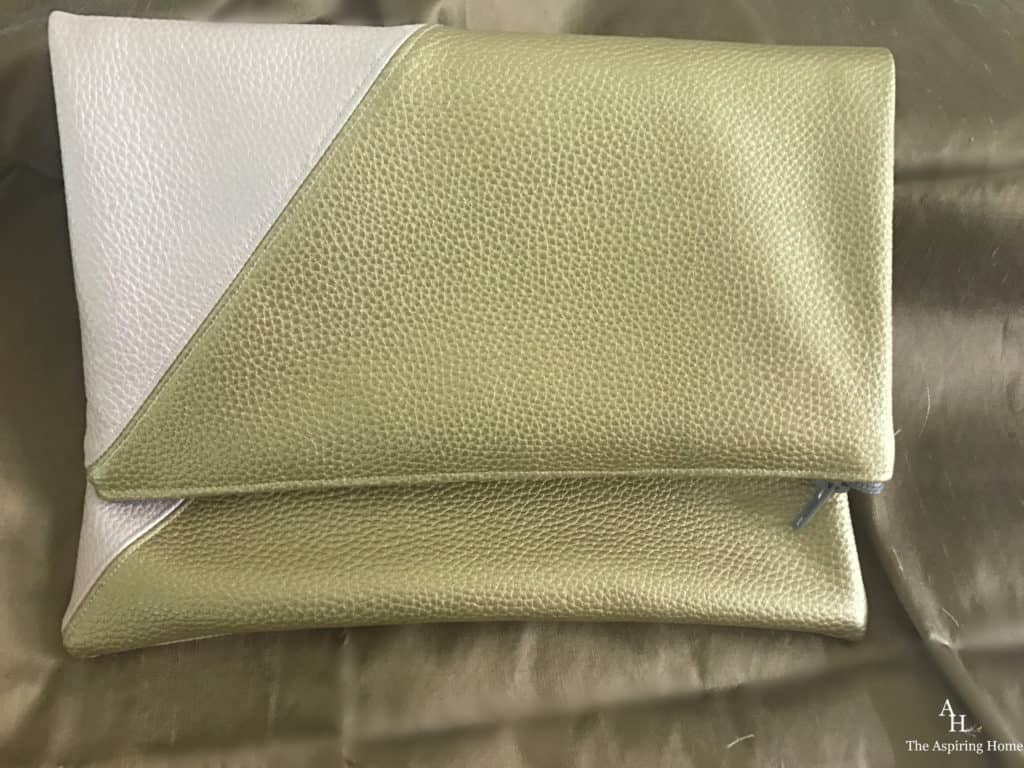
You can flip the flap and switch the main color!
You can add embellishments to the zipper – pom poms, tassels, etc to your DIY Handbag. I chose to add a chandelier crystal.
Super easy and rewarding! This little bag has inspired me to create a few more versions – stay tuned for more sew easy handbag goodness.
Don’t forget to Pin It!
Till Later, Friends!
**Affiliate Link Disclosure: Please note that some of the links above are affiliate links, and at no additional cost to you, I will earn a commission if you decide to make a purchase after clicking through the link. Please understand that I have experienced all of these companies, and I recommend them because they are helpful and useful, not because of the small commissions I make if you decide to buy something through my links. Please do not spend any money on these products unless you feel you need them or that they will help you achieve your goals.

Are you bringing that cute little number to Haven? It looks fantastic…looking forward to seeing it live! Great tutorial!
Hugs, LYnn
Absolutely! Working on another one to bring as well. 🙂 Thank you for the encouraging words and the share on your blog!