DIY Aged Copper Horse Trough Planters
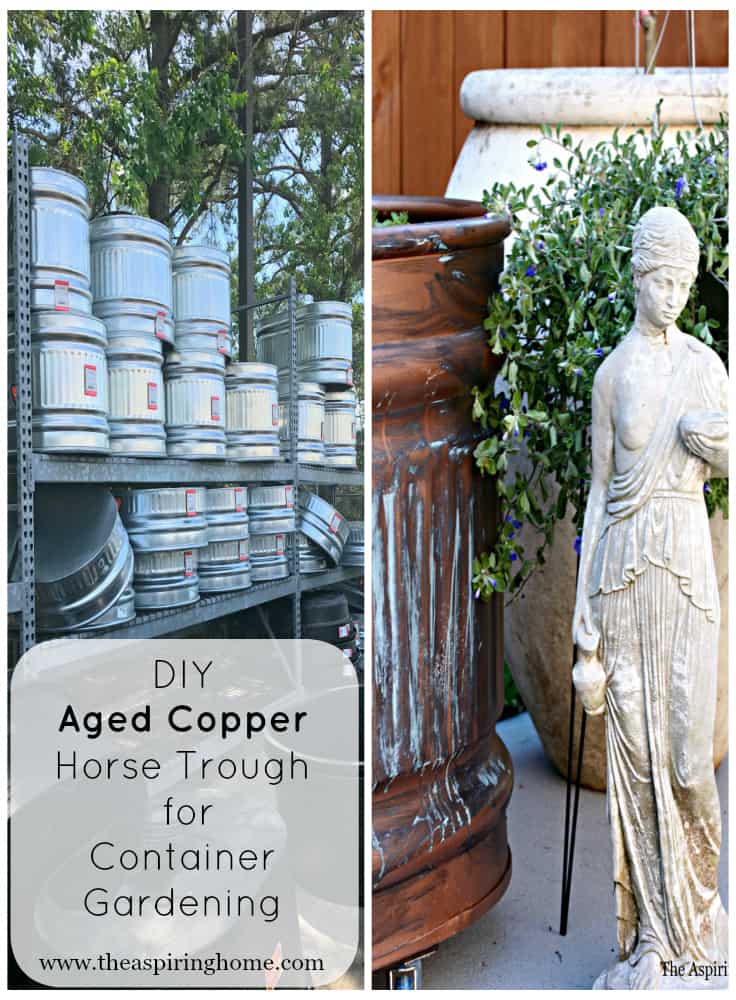
Create a quick and stylish container garden using simple galvanized horse troughs. You will be able to make this DIY aged copper horse trough planter project over the weekend!
Pretty planters for a kitchen garden are easy to make with this tutorial. I have always LOVED gardening, I grew up in an area where home gardens were the norm. Folks are going back to their roots so to speak, and “digging” vegetable gardens again so why not jazz up the containers with this DIY aged copper horse trough planter tutorial?
When we moved to the Houston area, we chose to live in a wonderfully planned community. We had three days to find a home and ended up finding a lovely home. The only downside is the size of the yard. Not a whole lot of room for a “full-on” garden.
Lack of space, of course, is no excuse! Trying to figure out how to make a veggie/herb garden work was a bit tough.
On our first try years ago – I built up landscape stones along the fence and filled the area with good dirt. It worked “OK” but at some point, the roots would come into contact with the gumbo mud and that was all she wrote for my little plants.
When we were dreaming of creating the courtyard space, I knew I had to have a garden… somehow. After a bit of brainstorming and googling- I found this pic on Gardenista.com
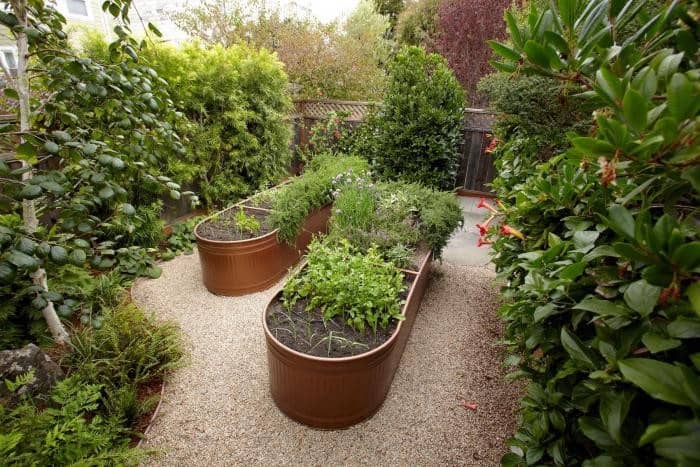
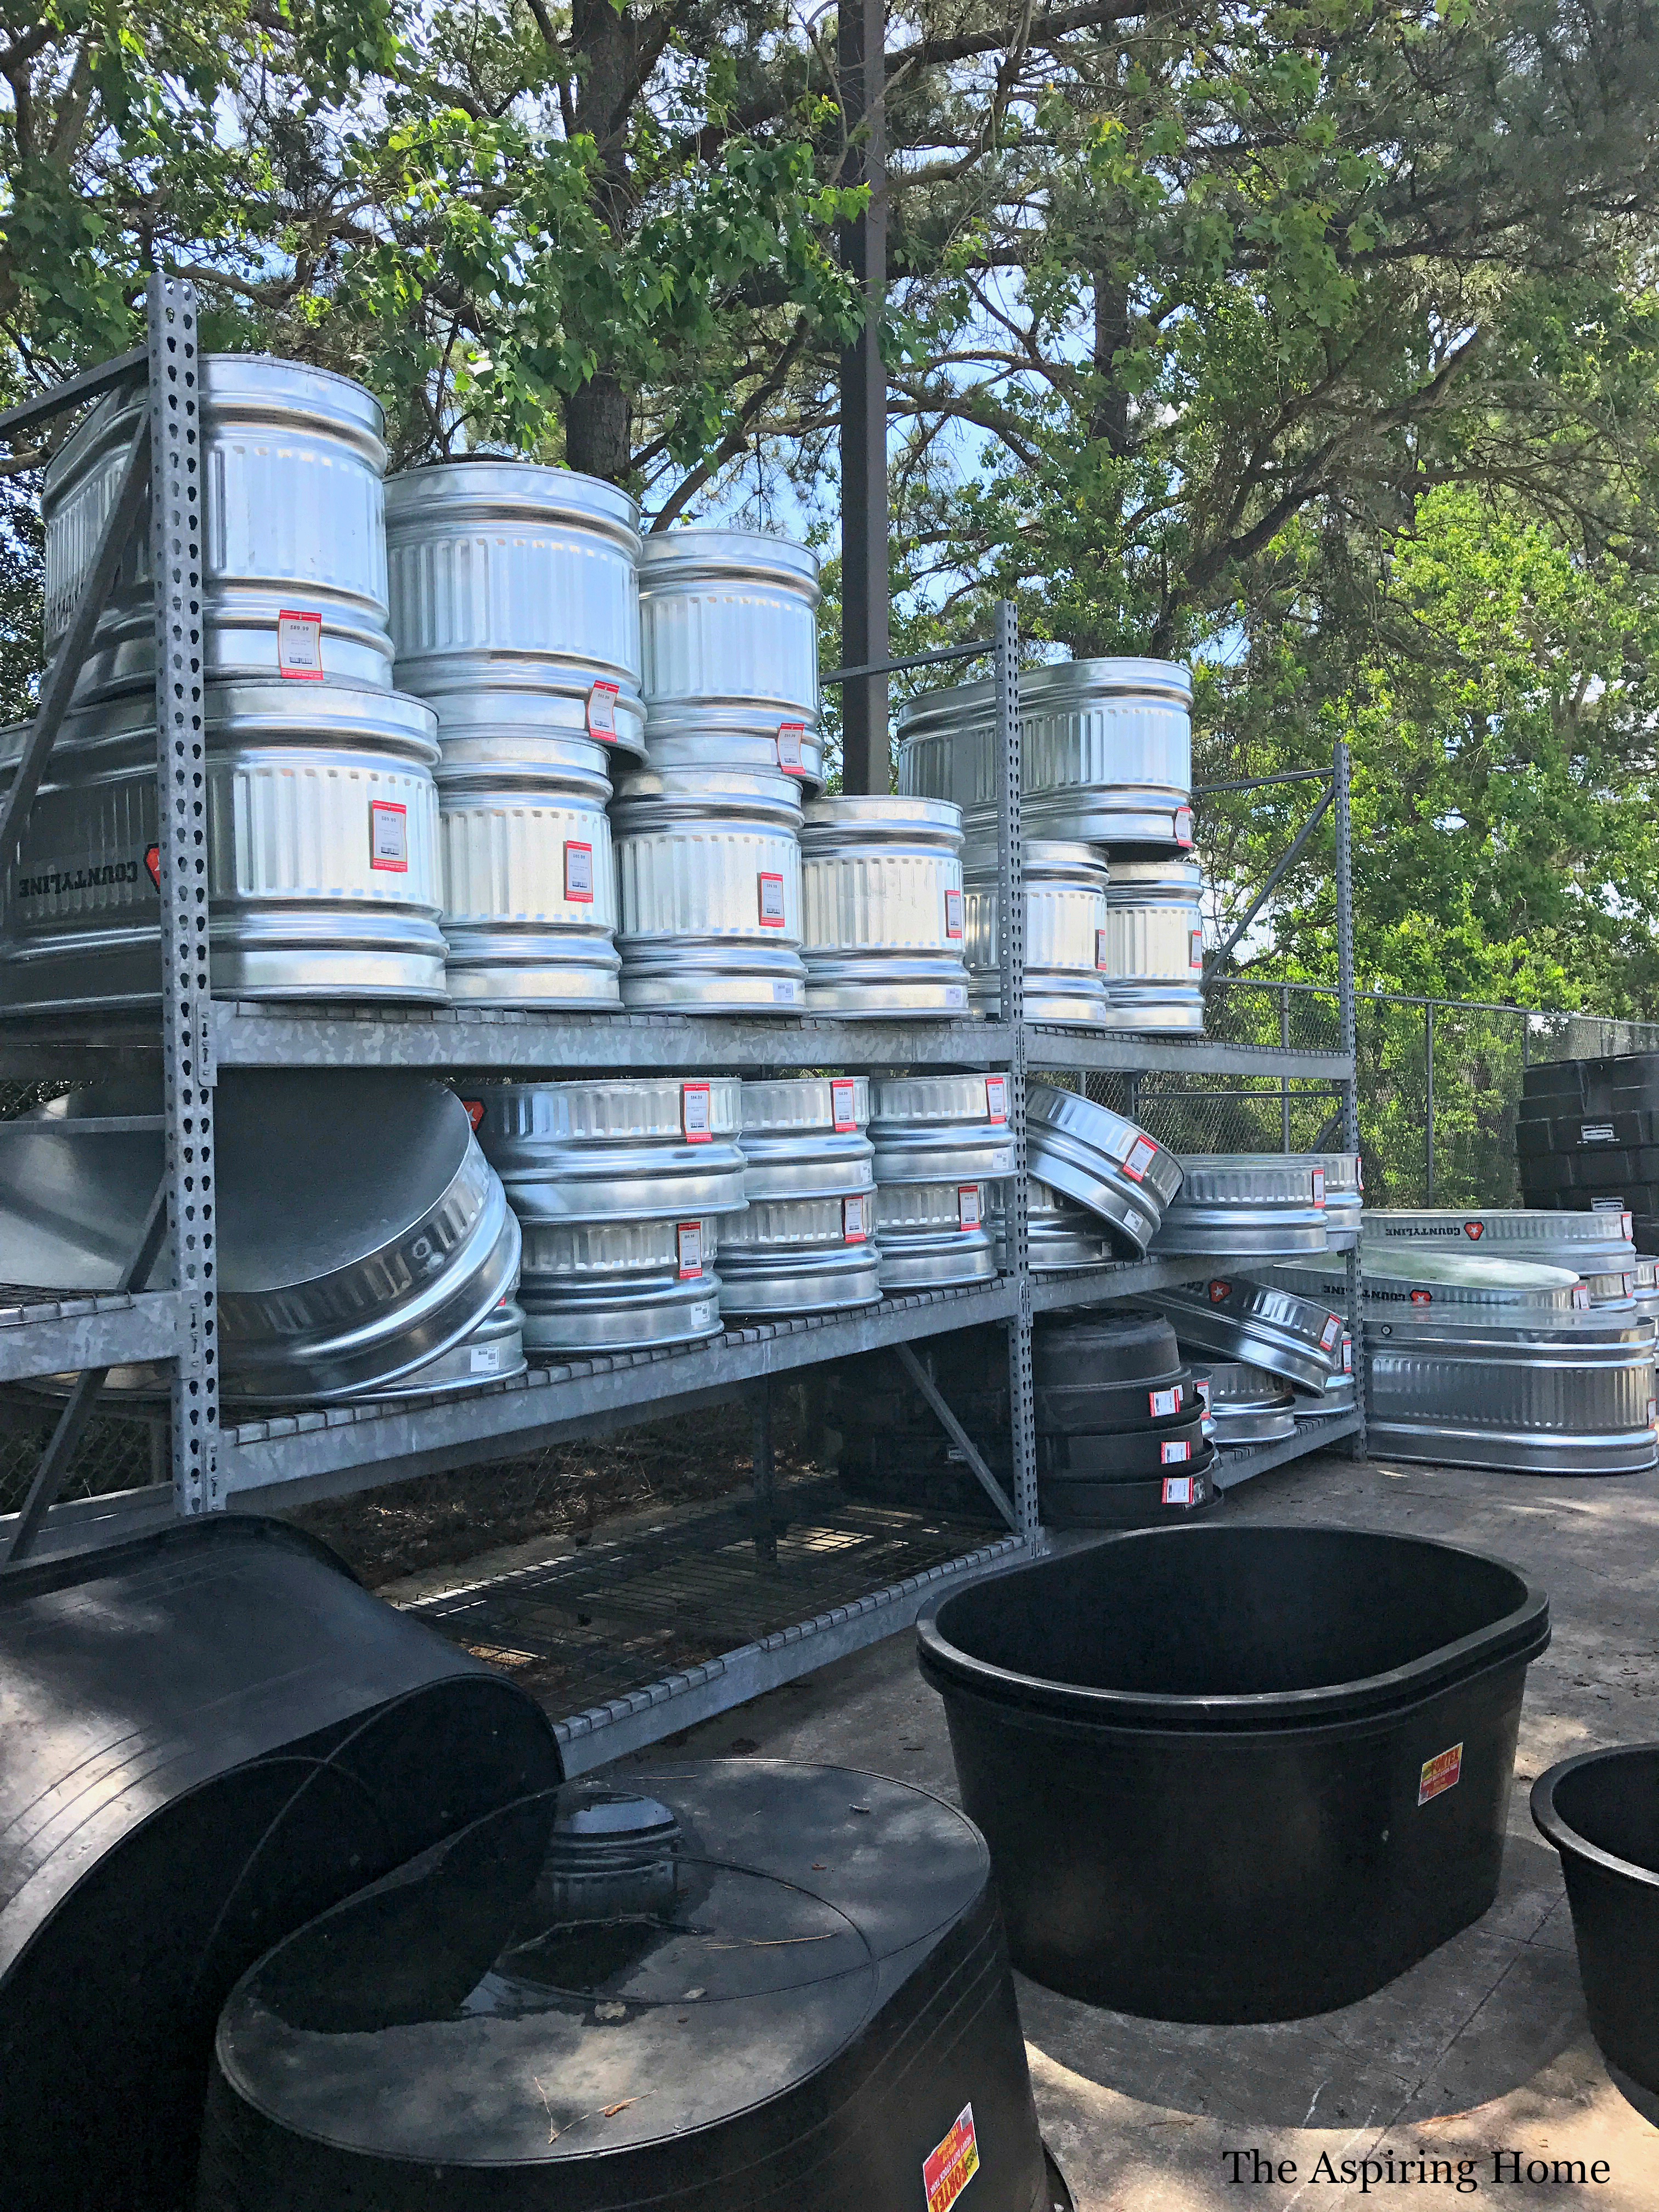
This was it! I could imagine adding troughs as my garden grows over the years. After searching online and around town – the best horse trough price, you may ask? Tractor Supply Co. hands down.
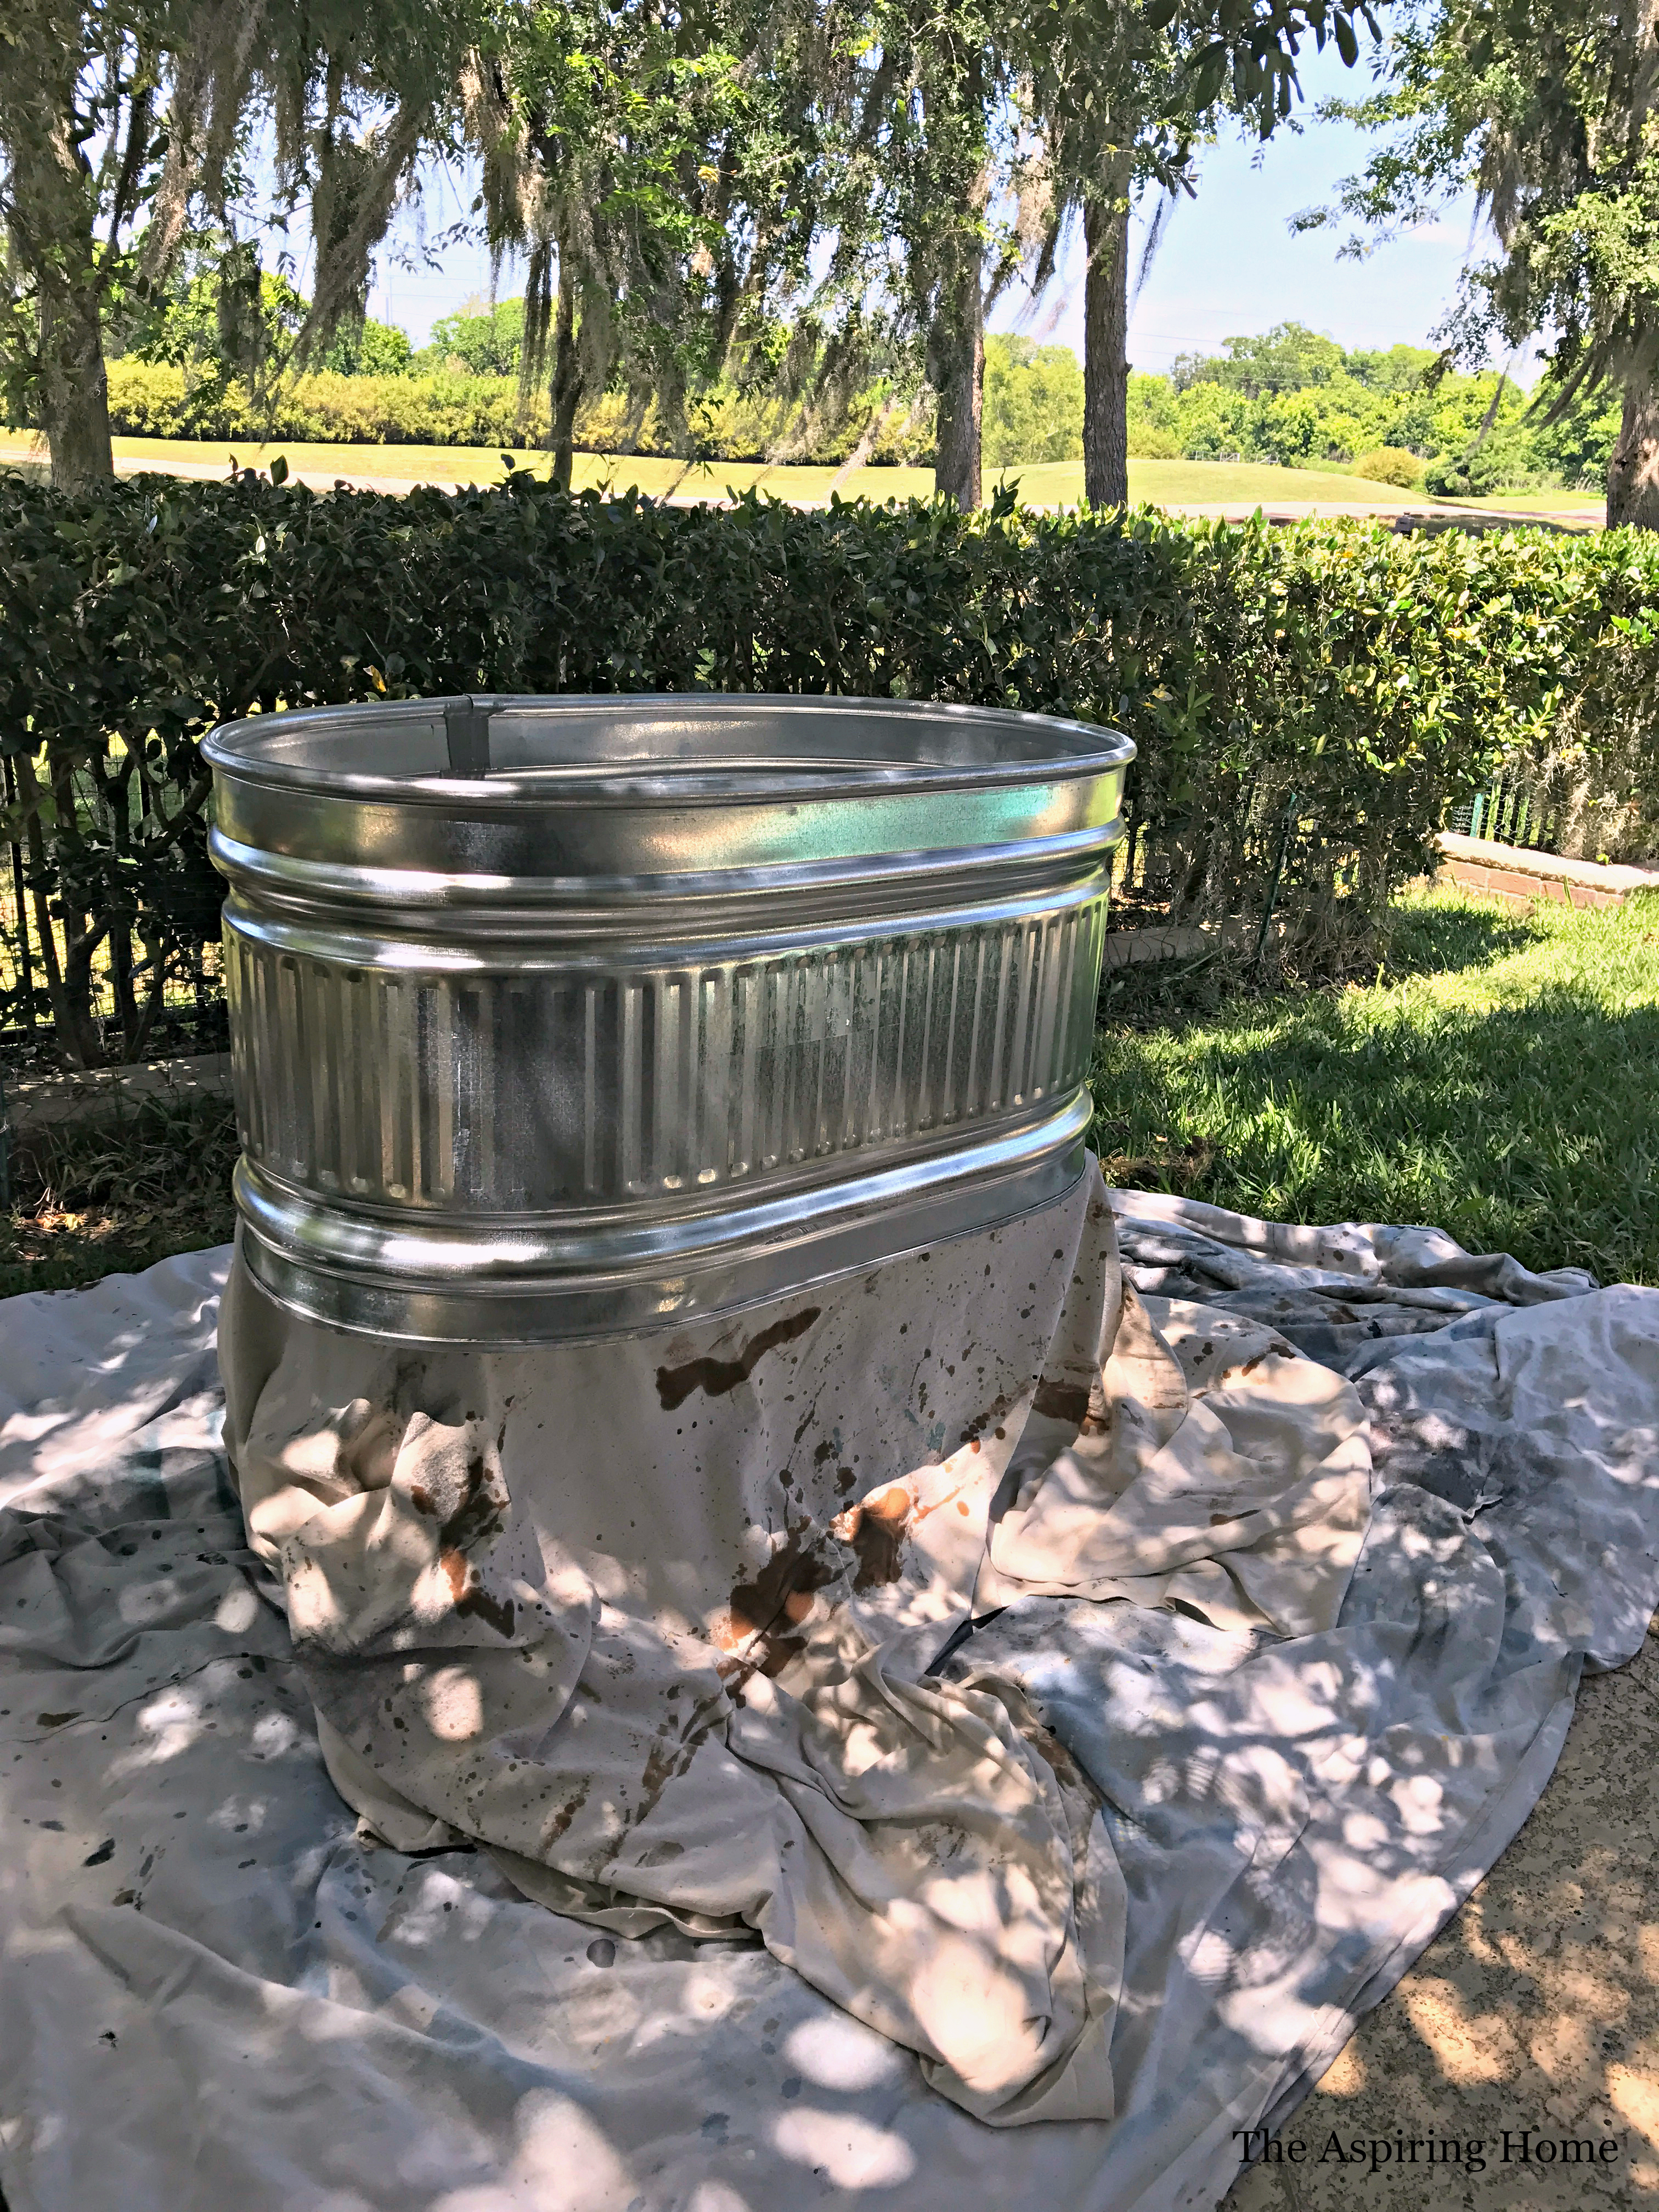
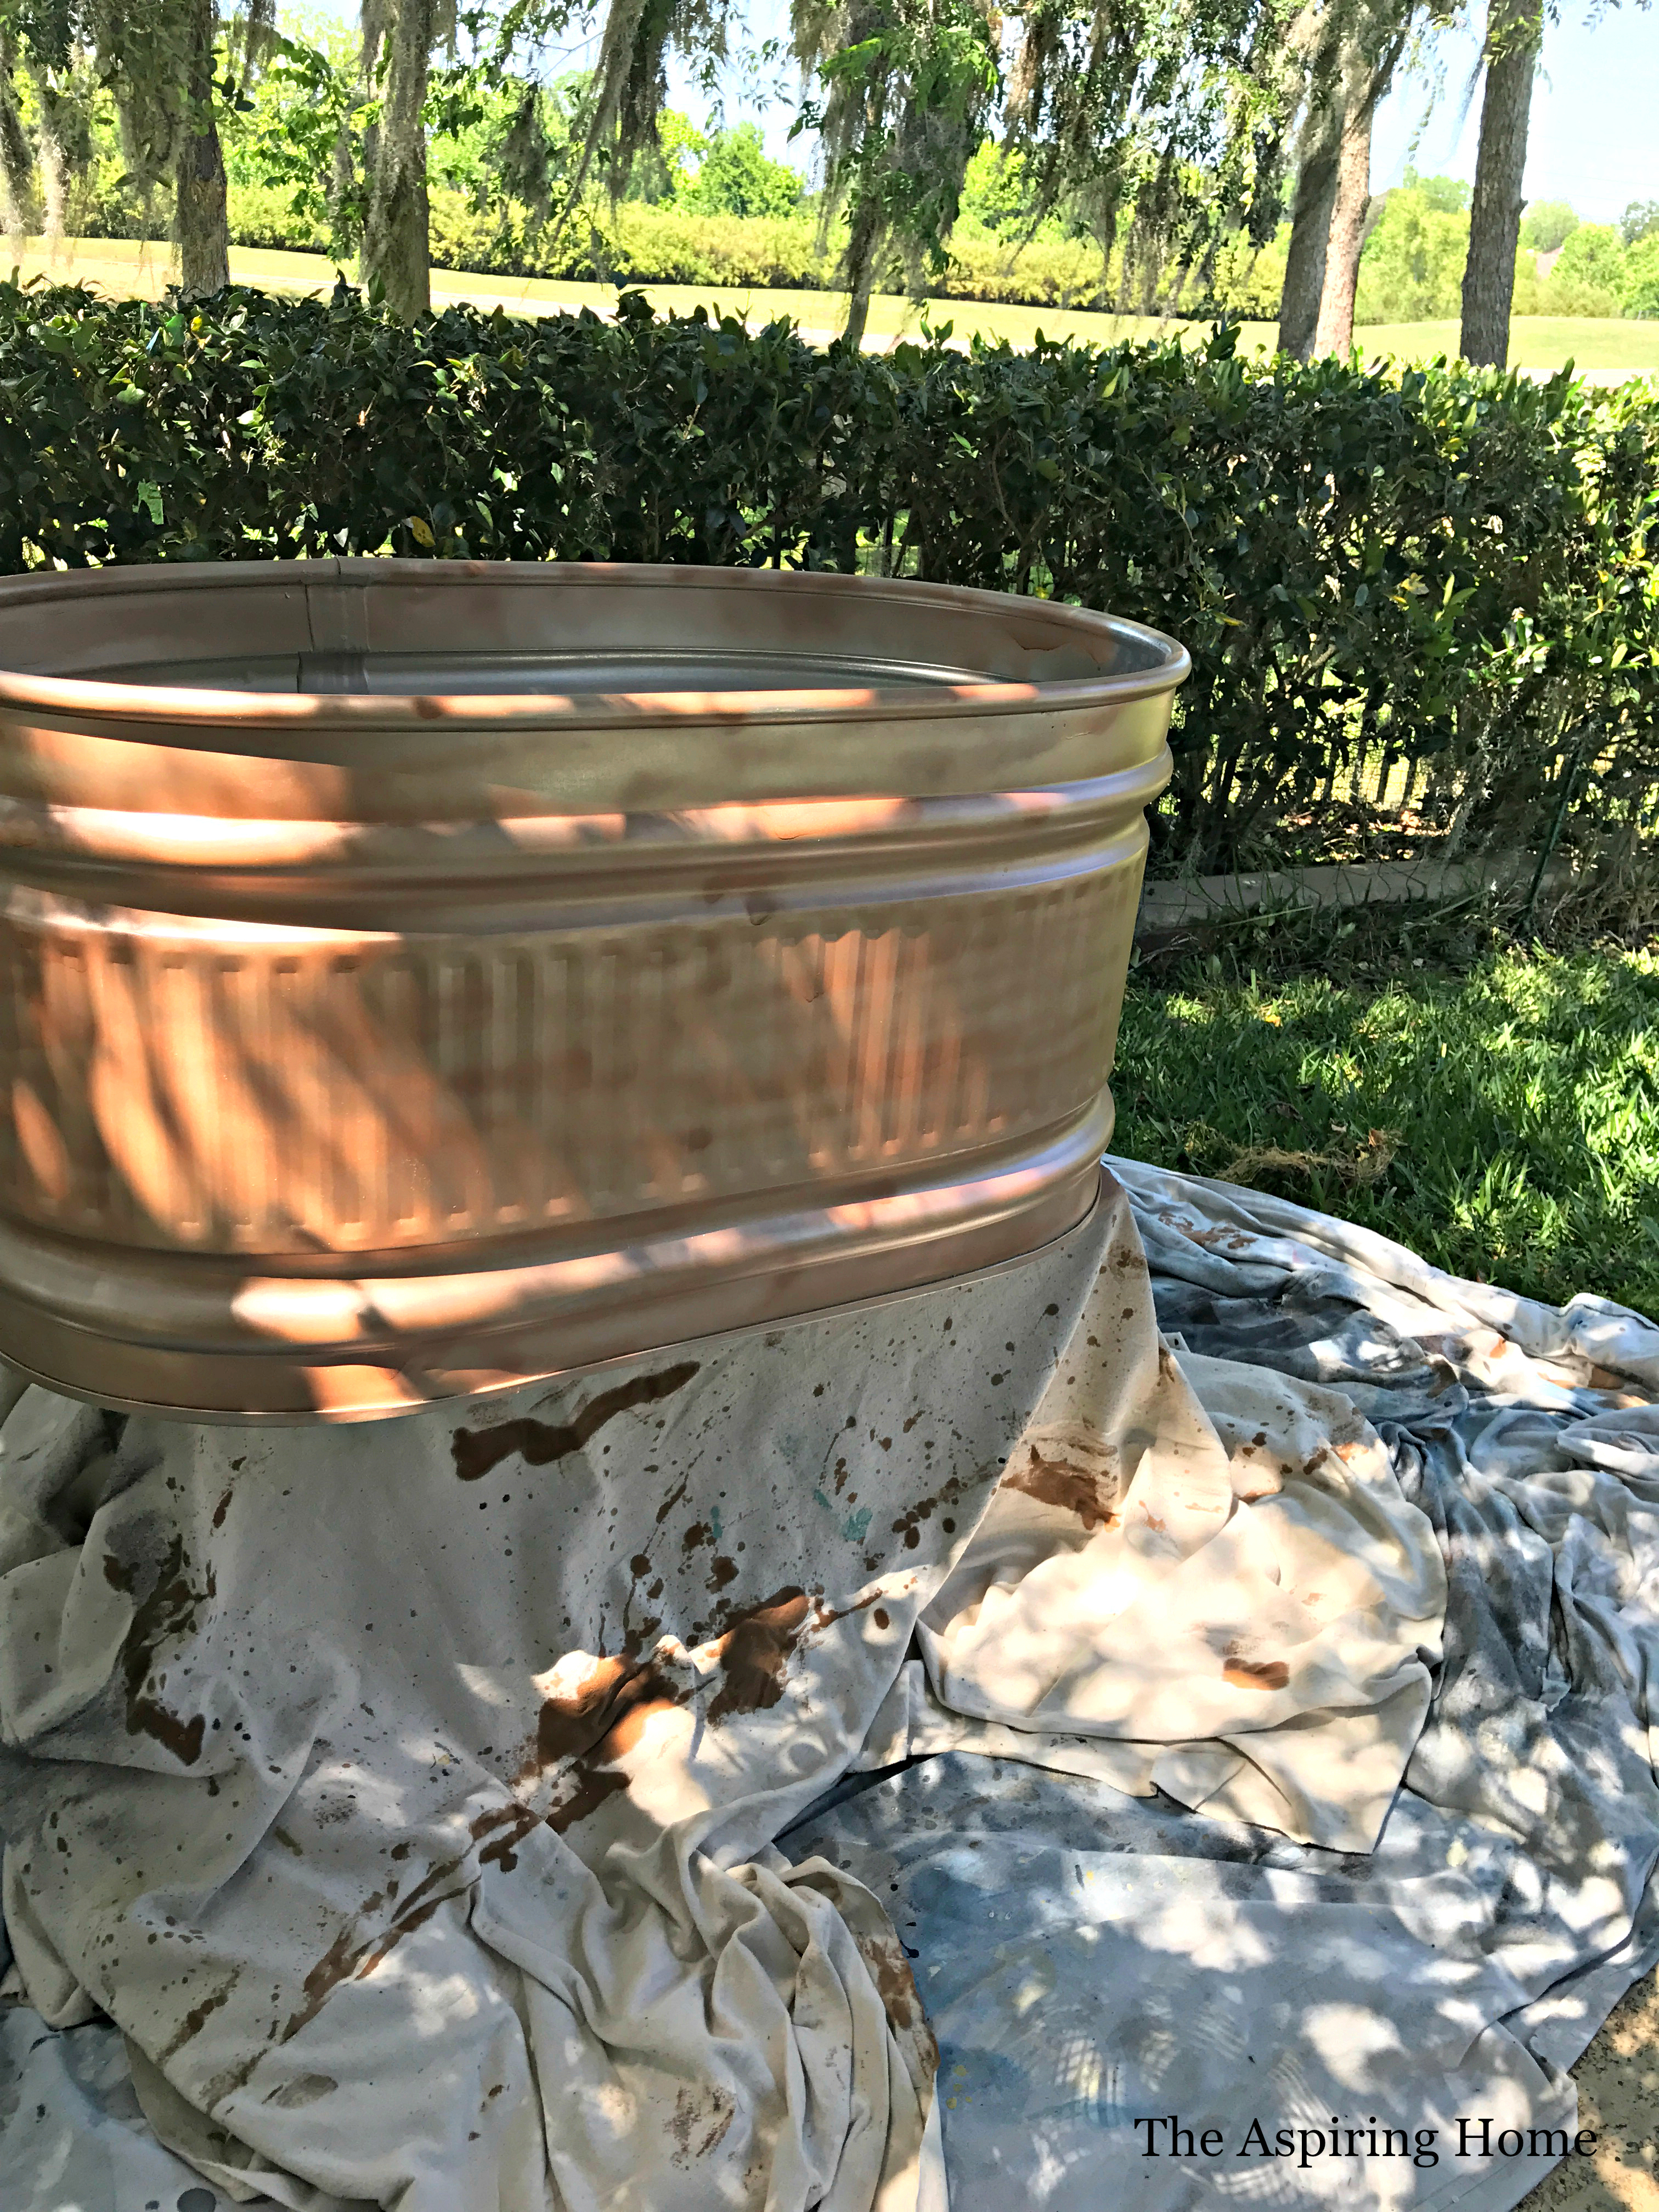
We set the troughs up outside and painted each trough with about 3 coats of copper spray paint. *** I probably should have used a dark primer first but I didn’t.
After the first coat… it took about 2 1/2 cans per trough.
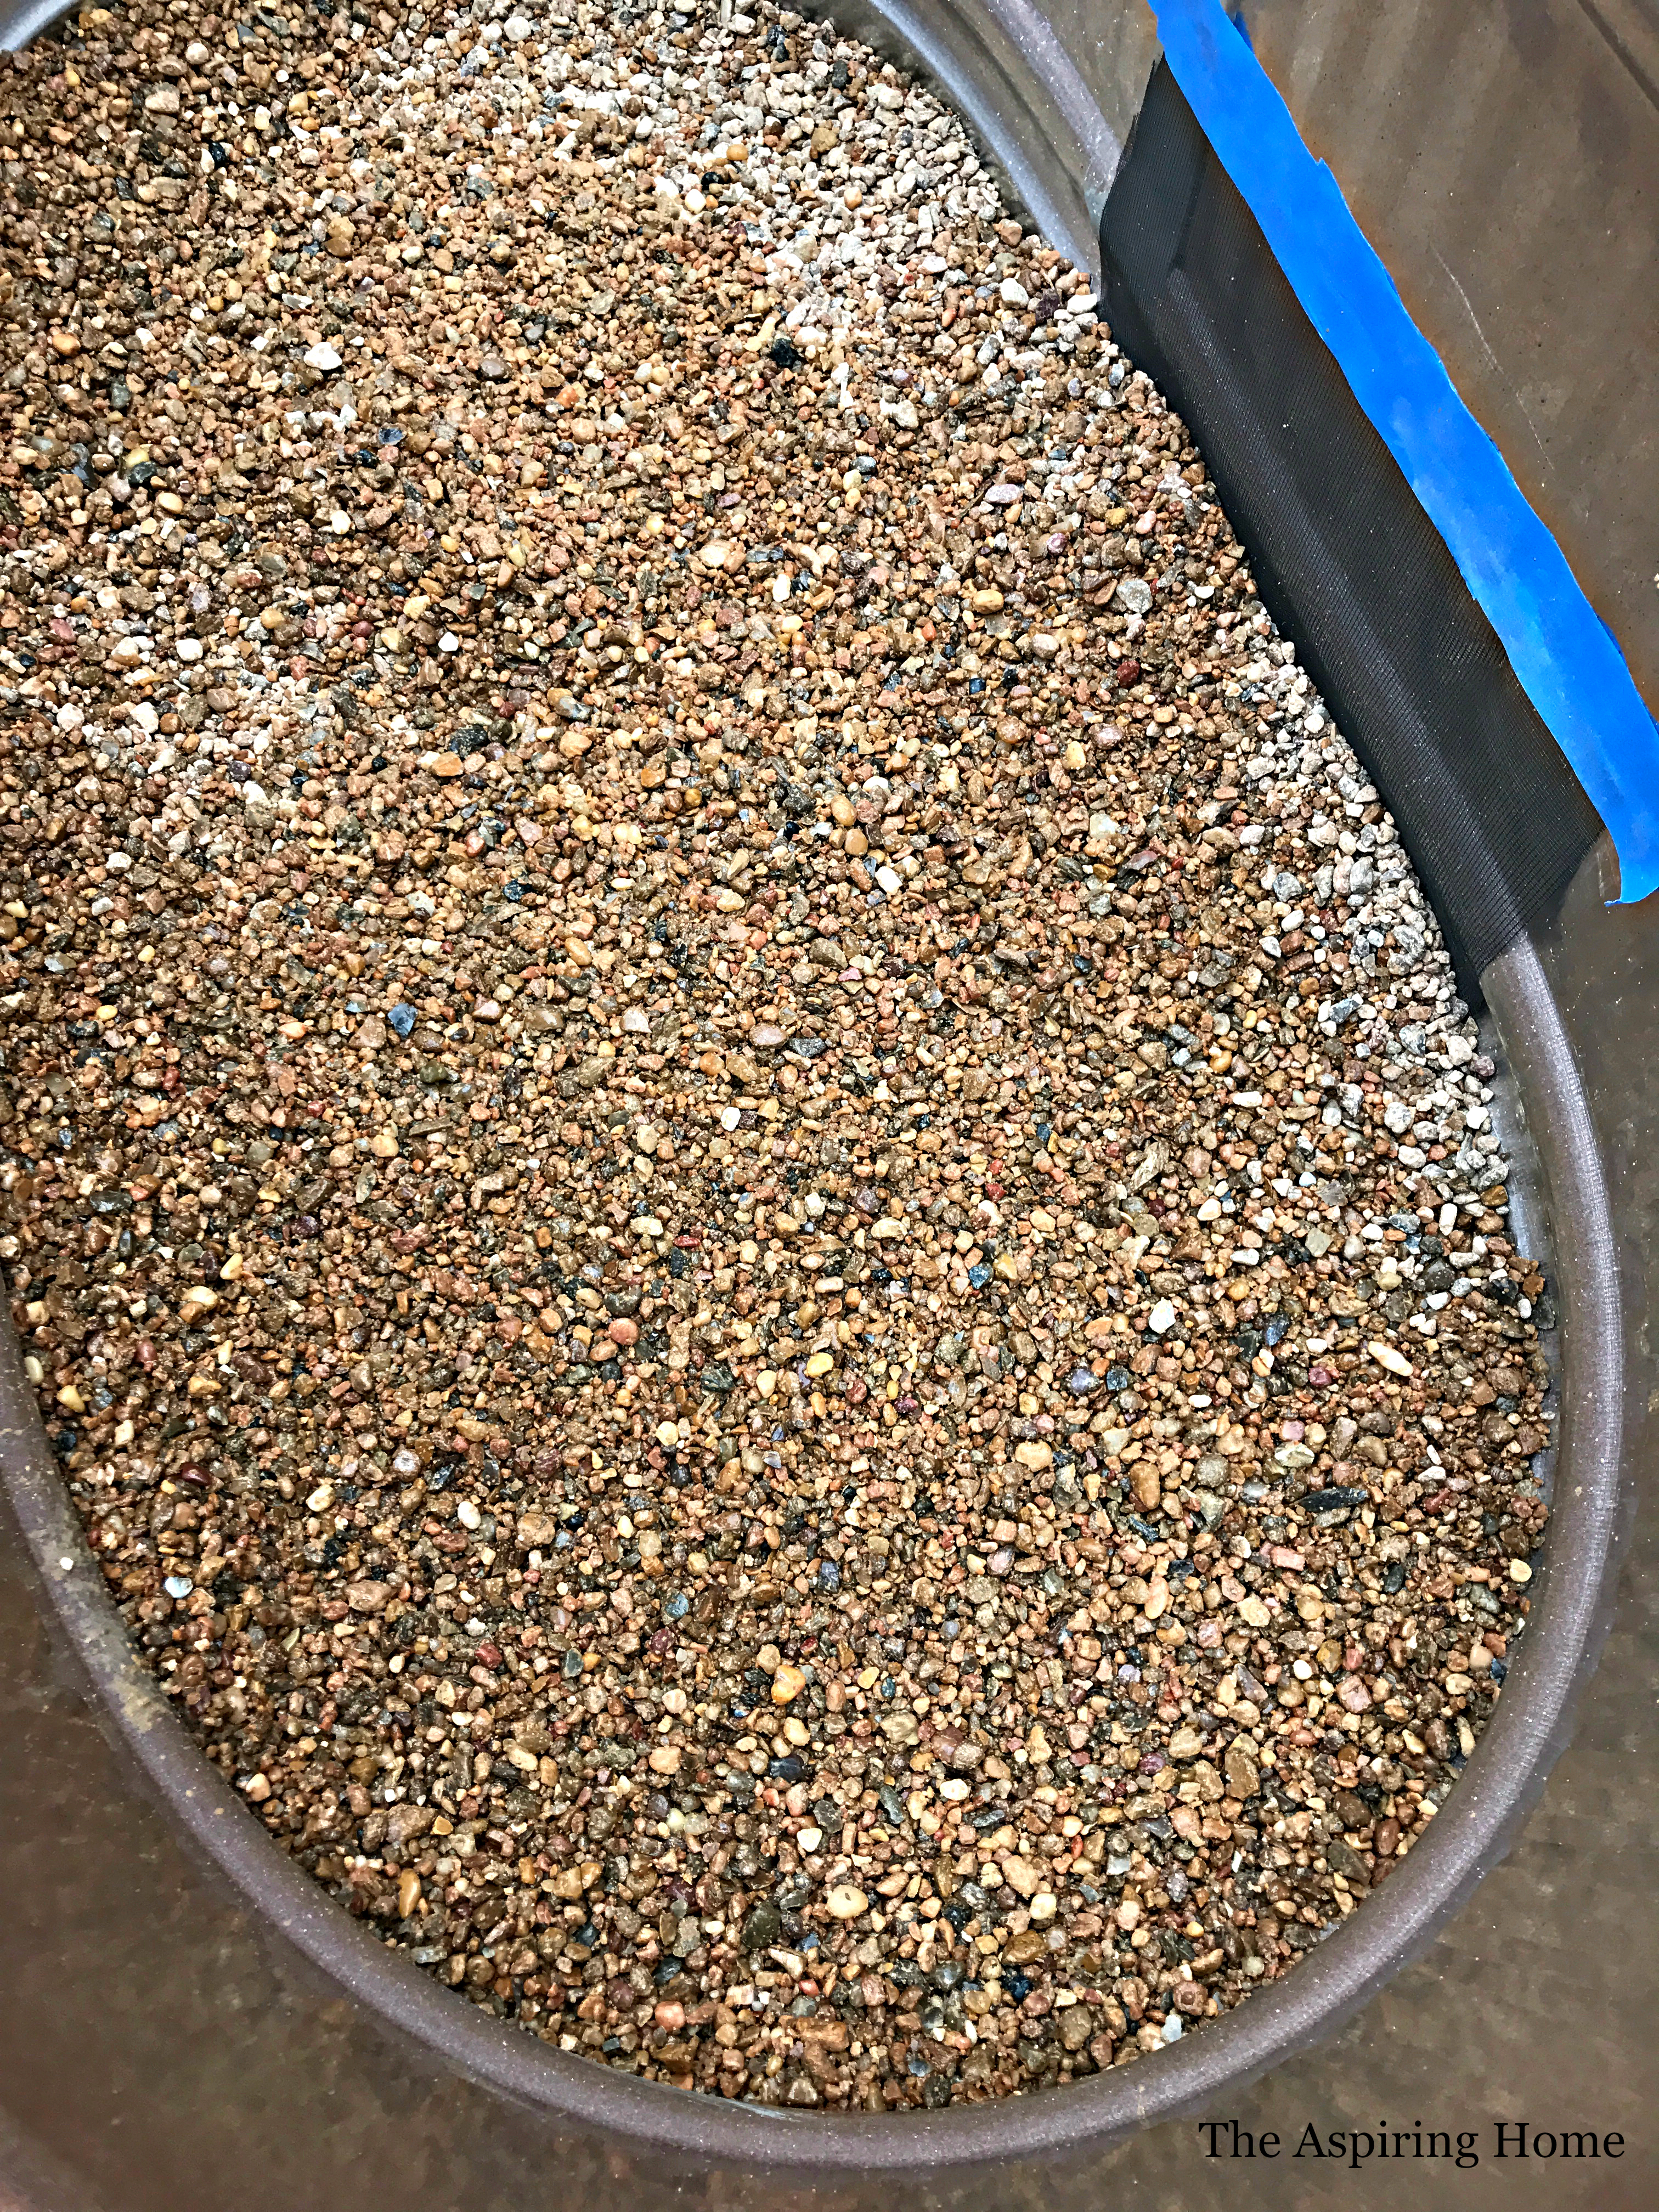
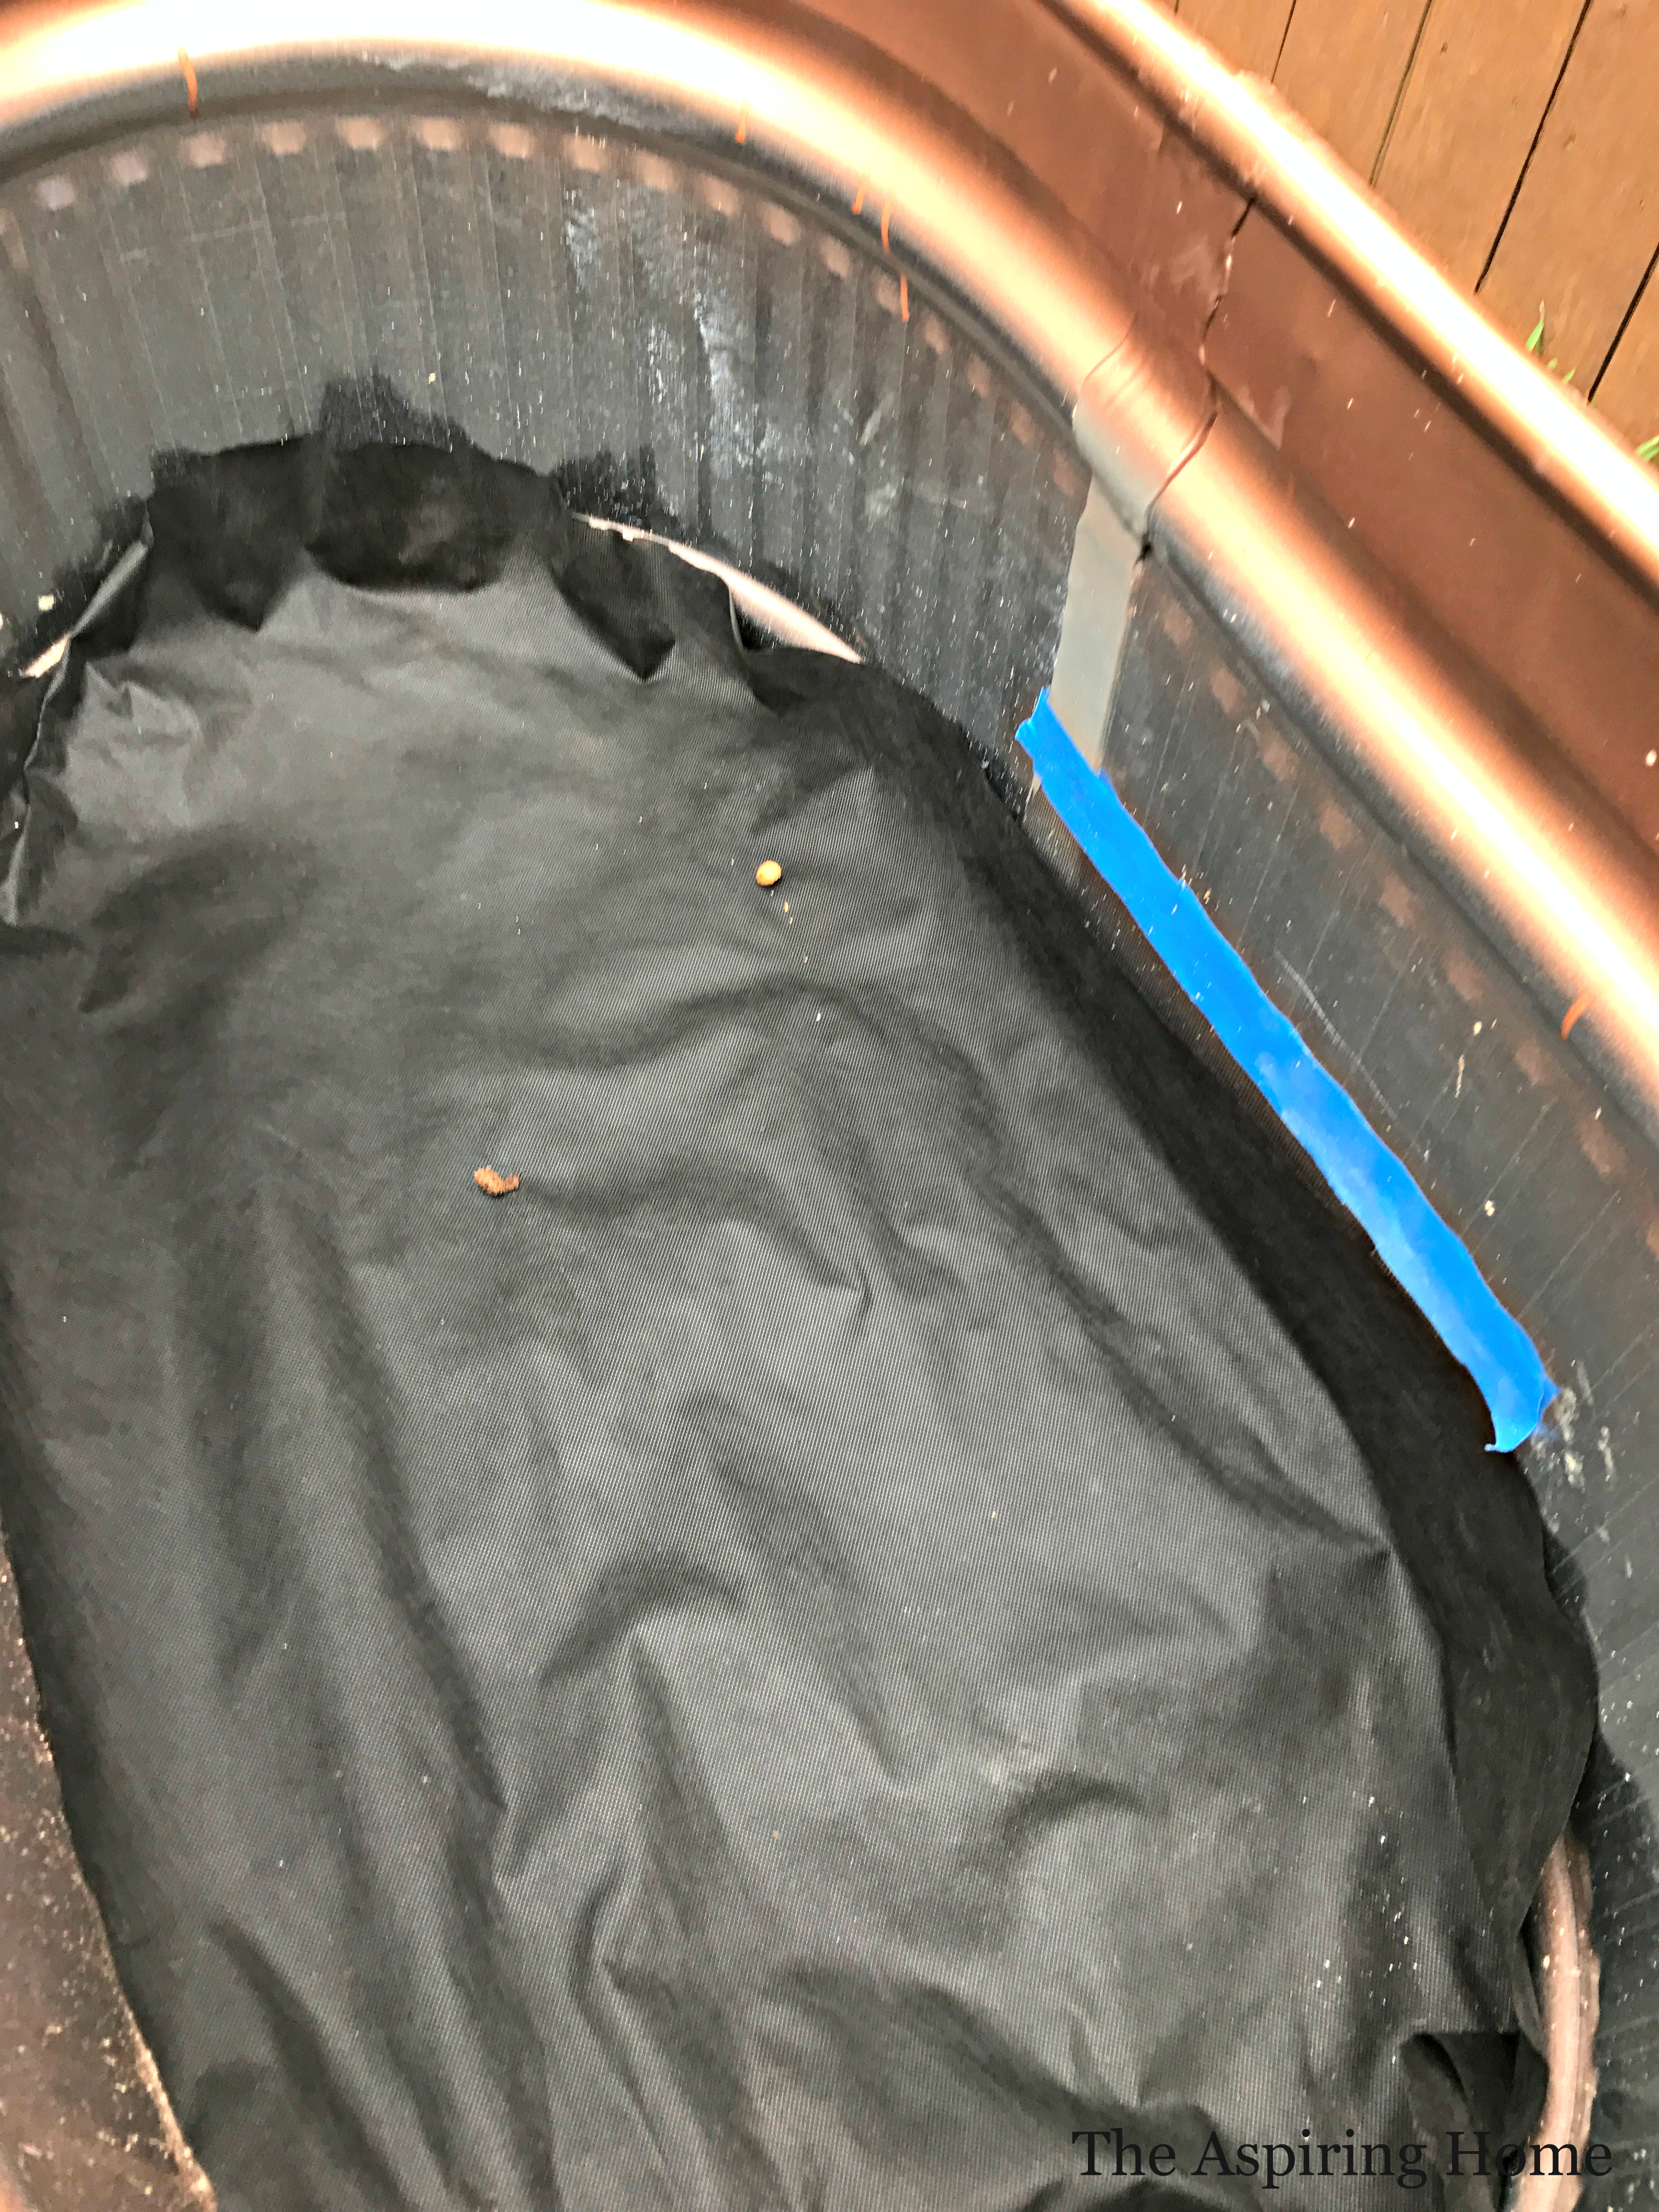
These babies hold a ton! For drainage purposes we took the cap off the back and used weed blocker over the hole to prevent clogging. We then added two bags of small gravel per trough.
I added more weed blocker material over the small pebbles before I added the soil.
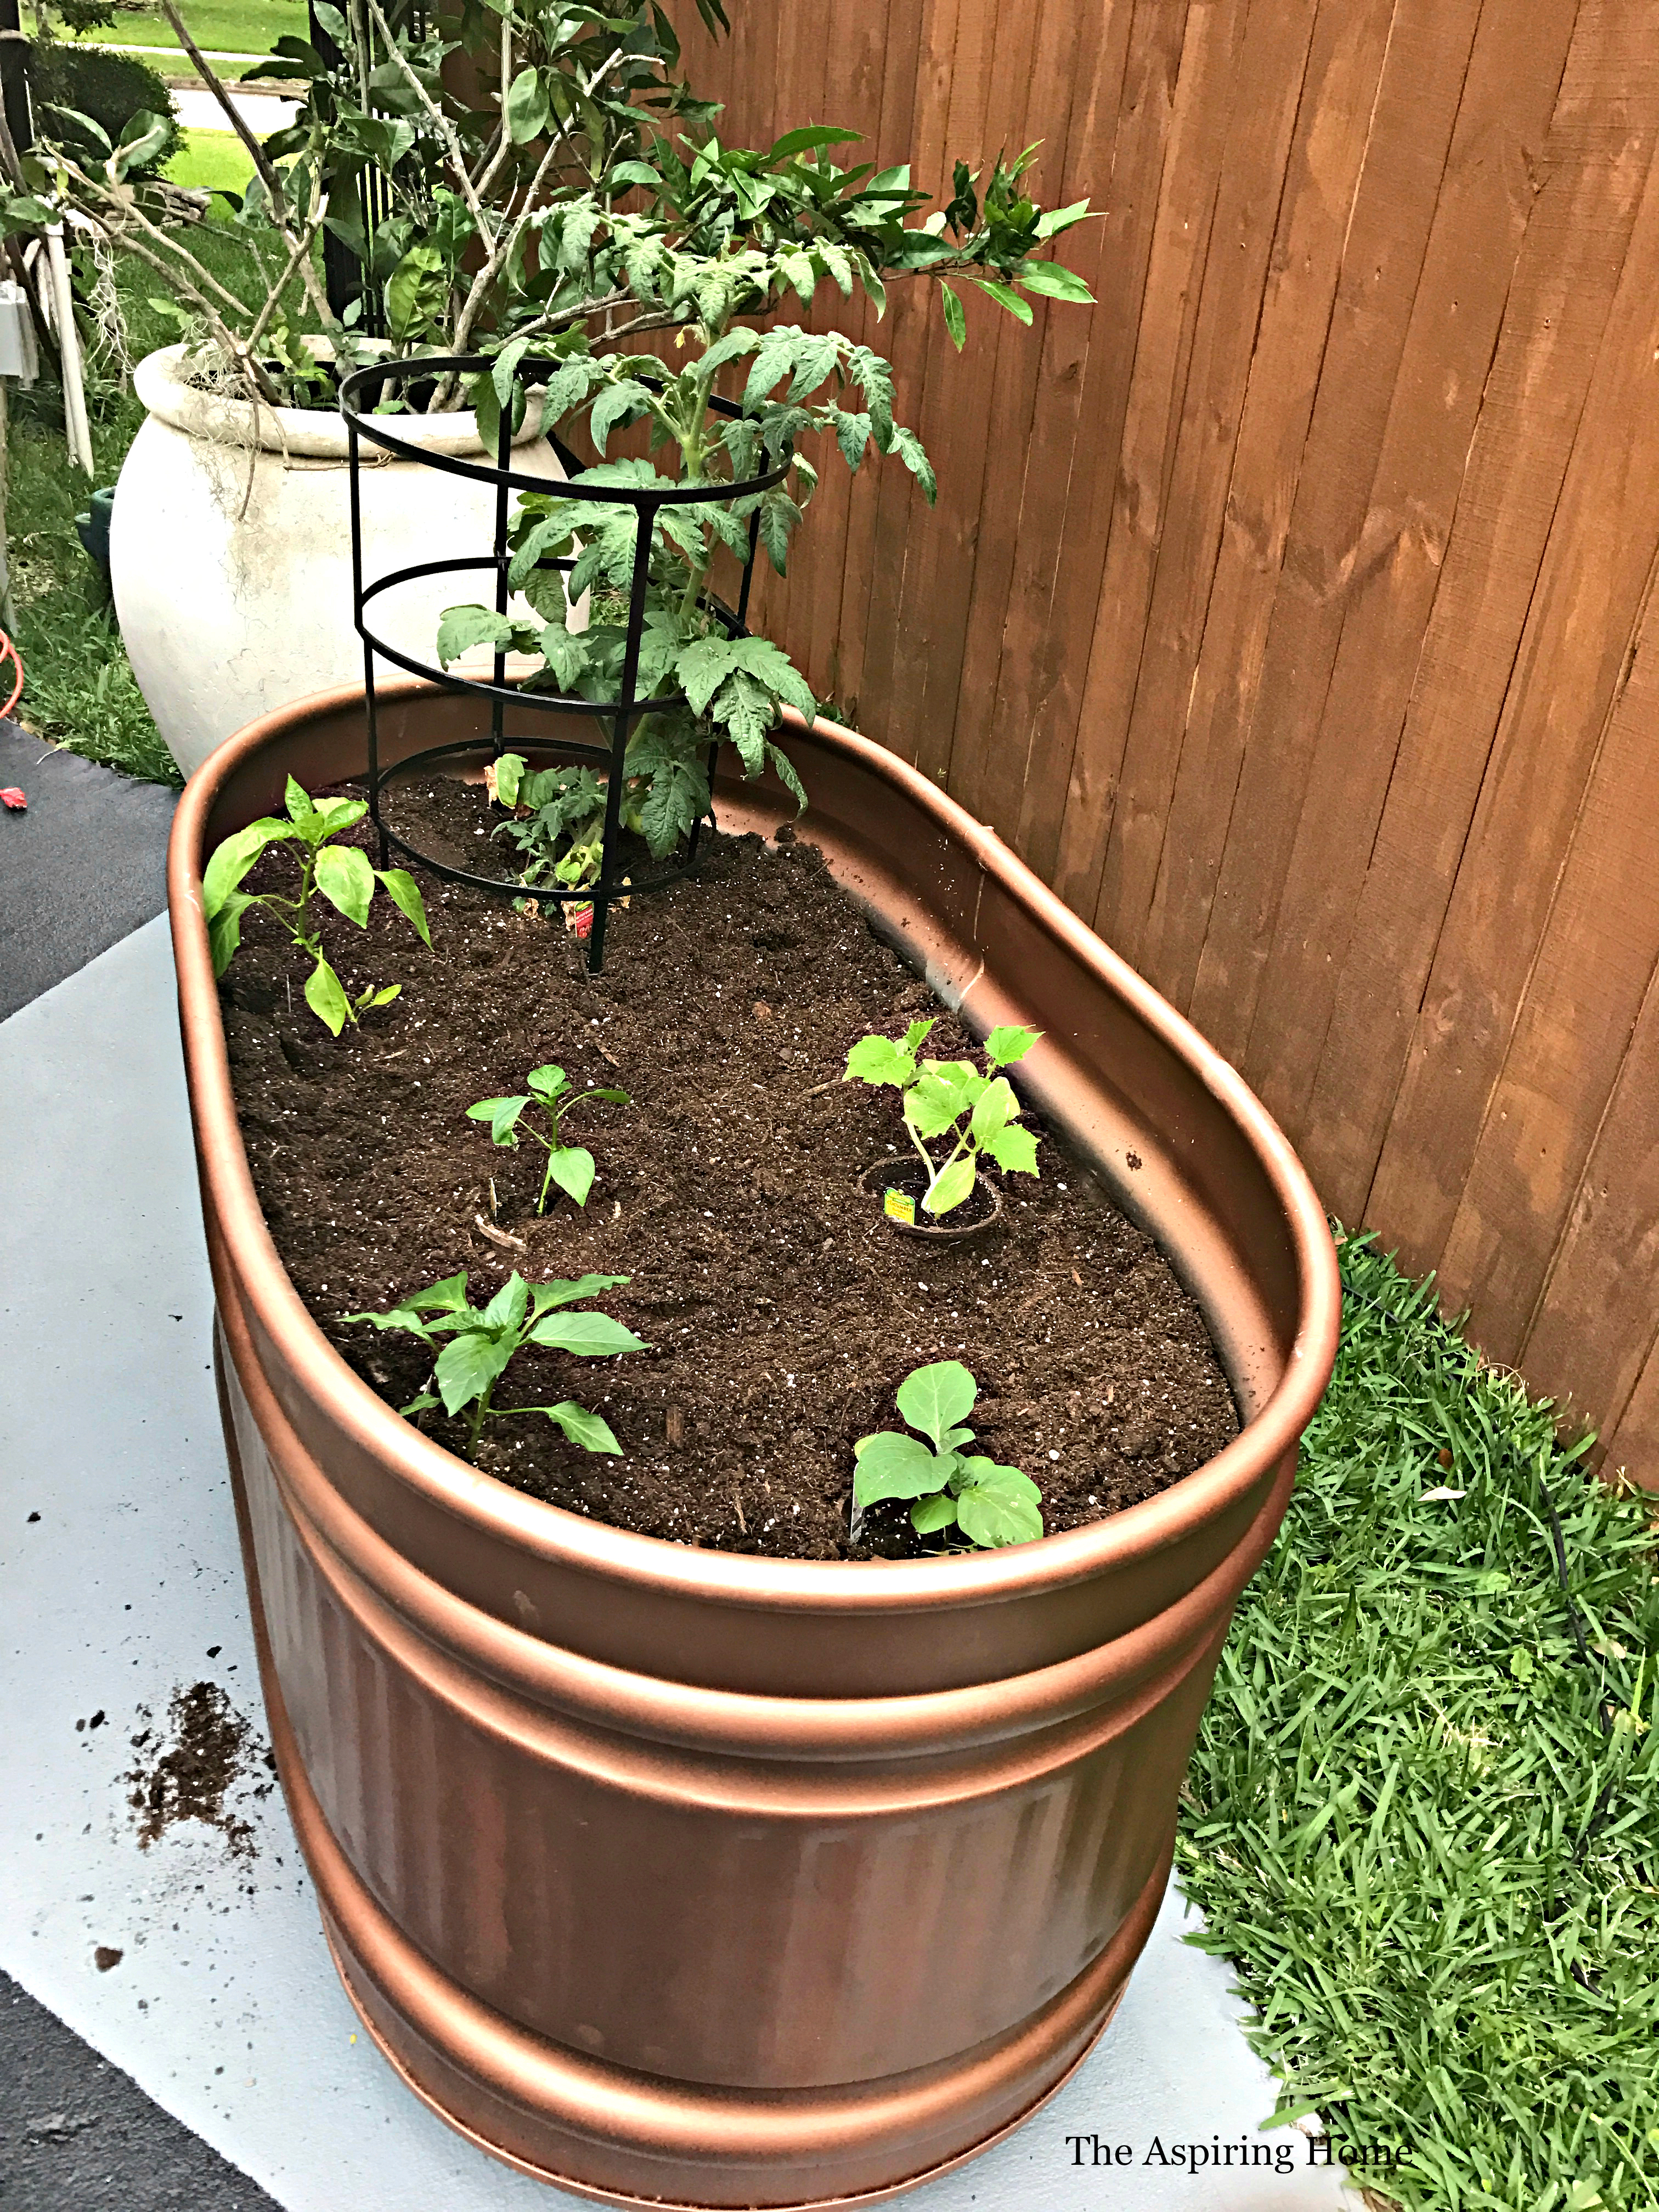
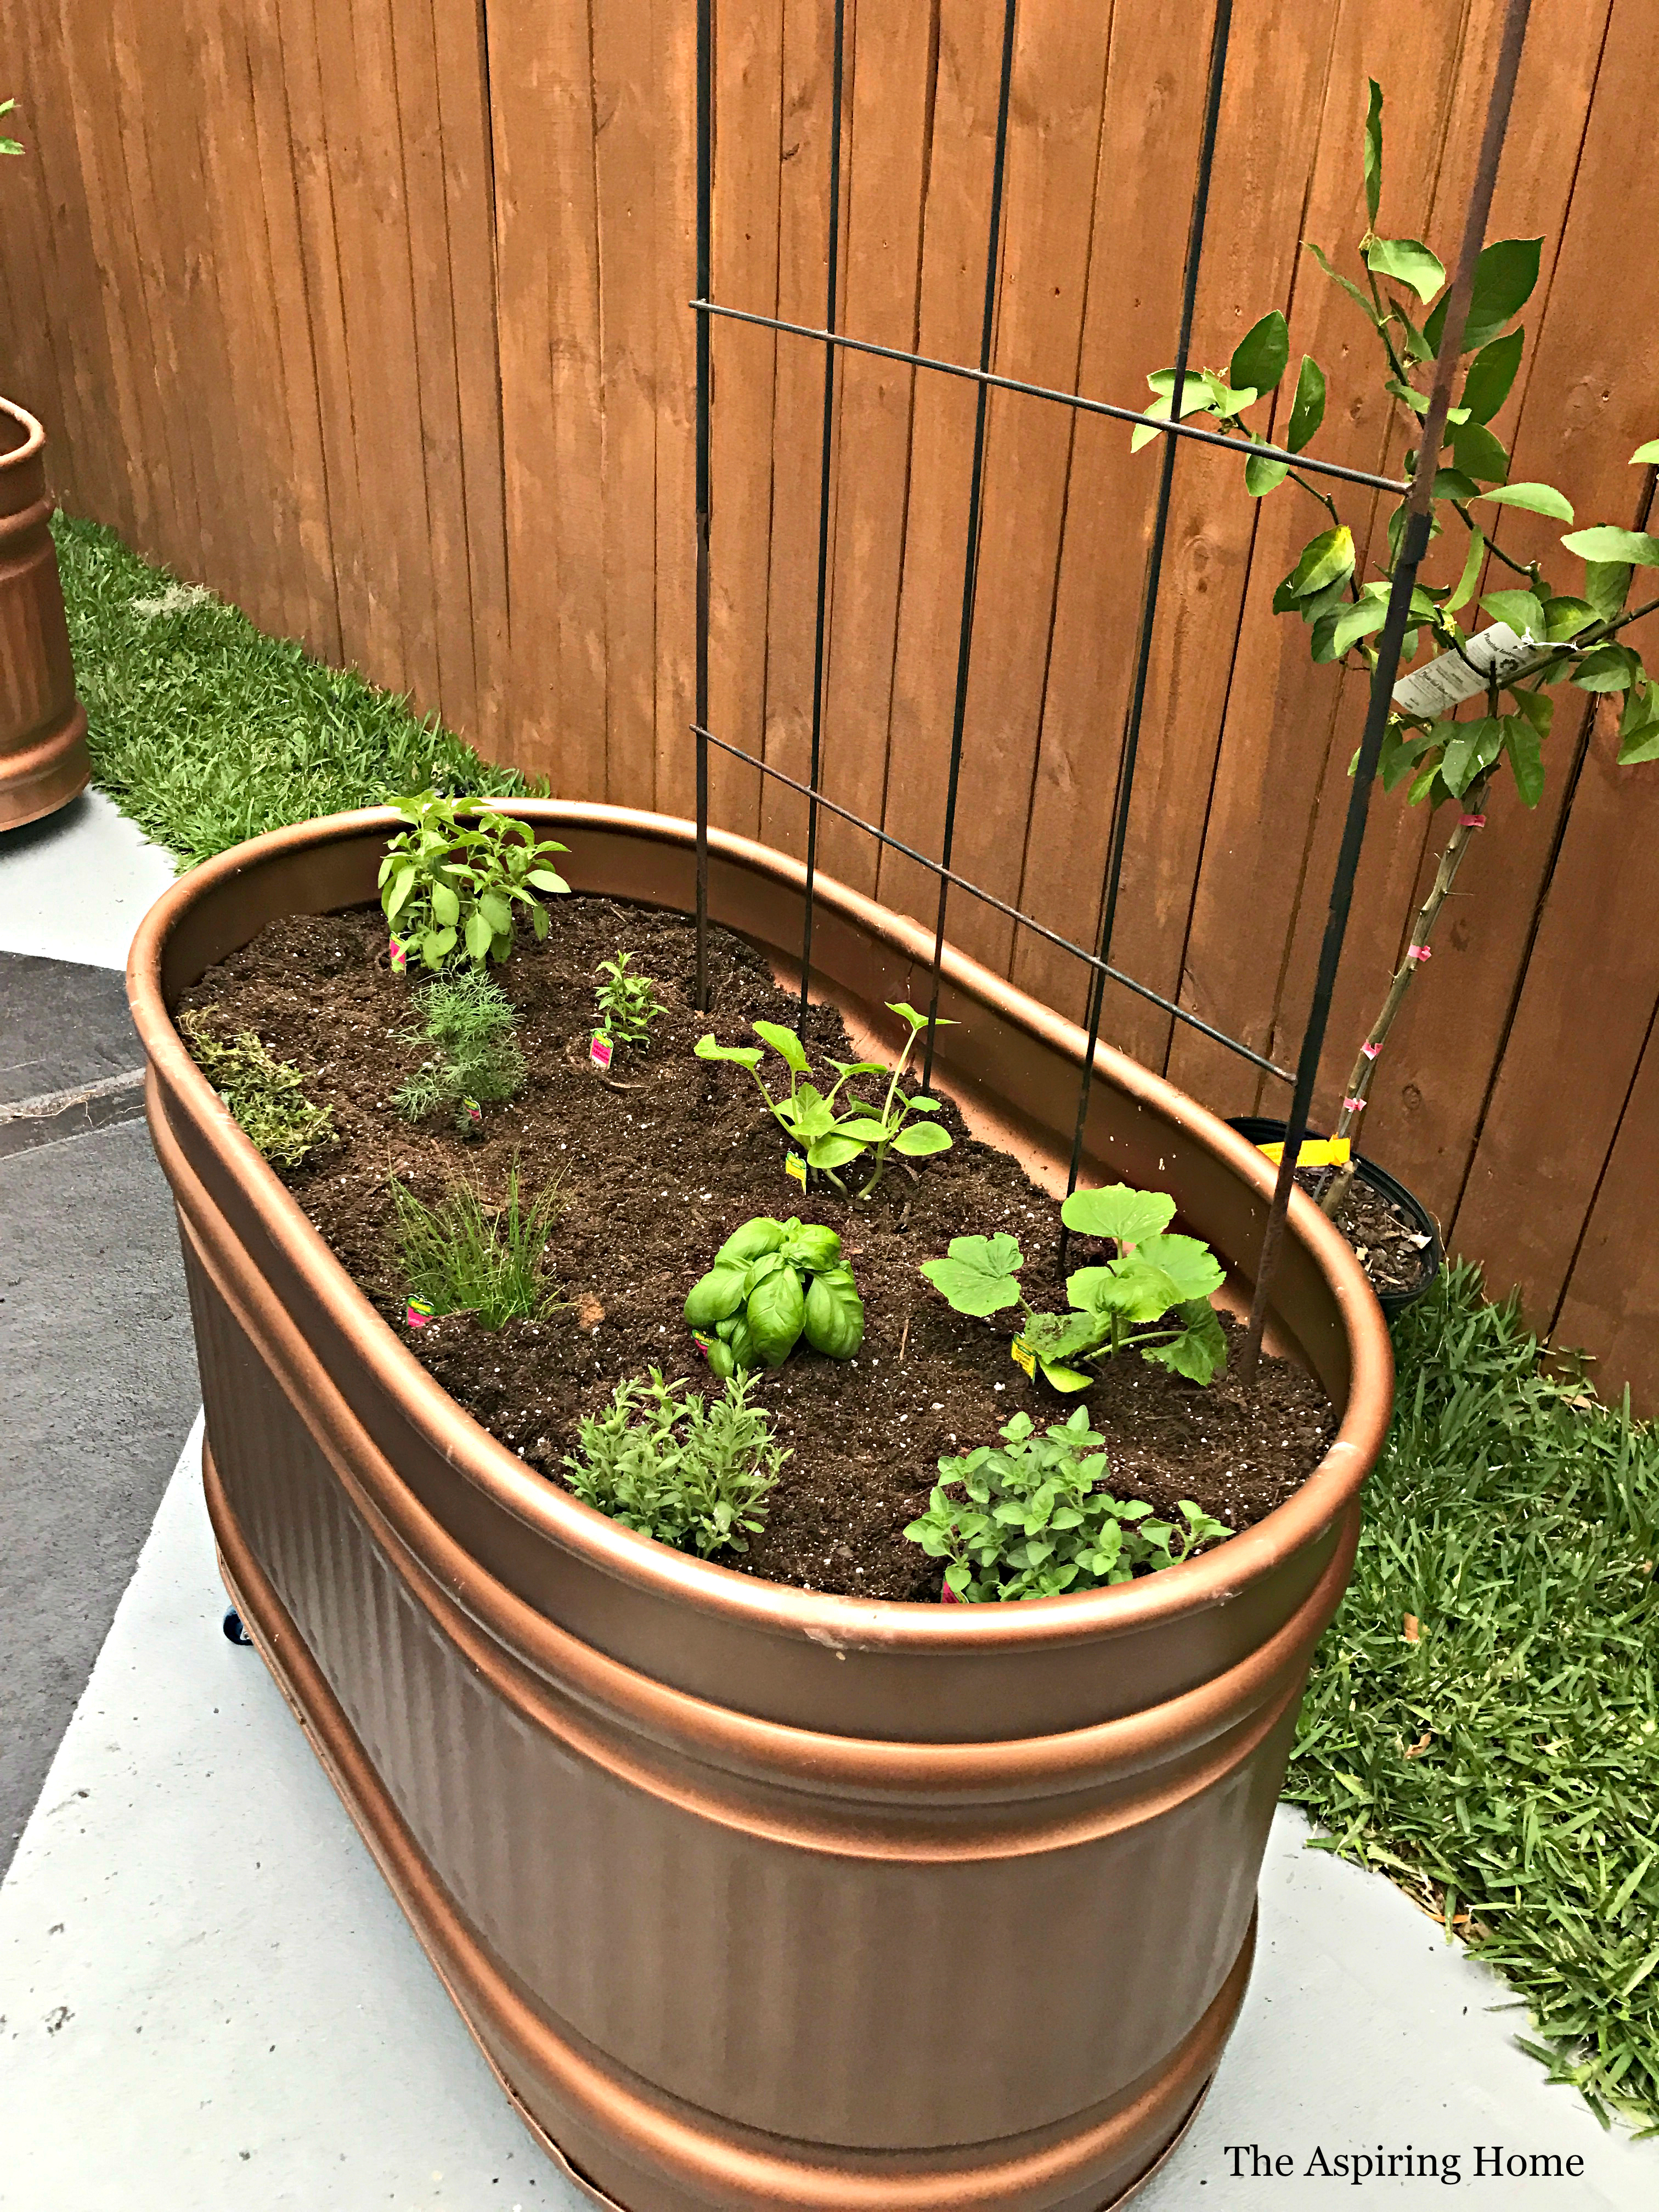
4 bags of soil per trough added and we are ready to plant!
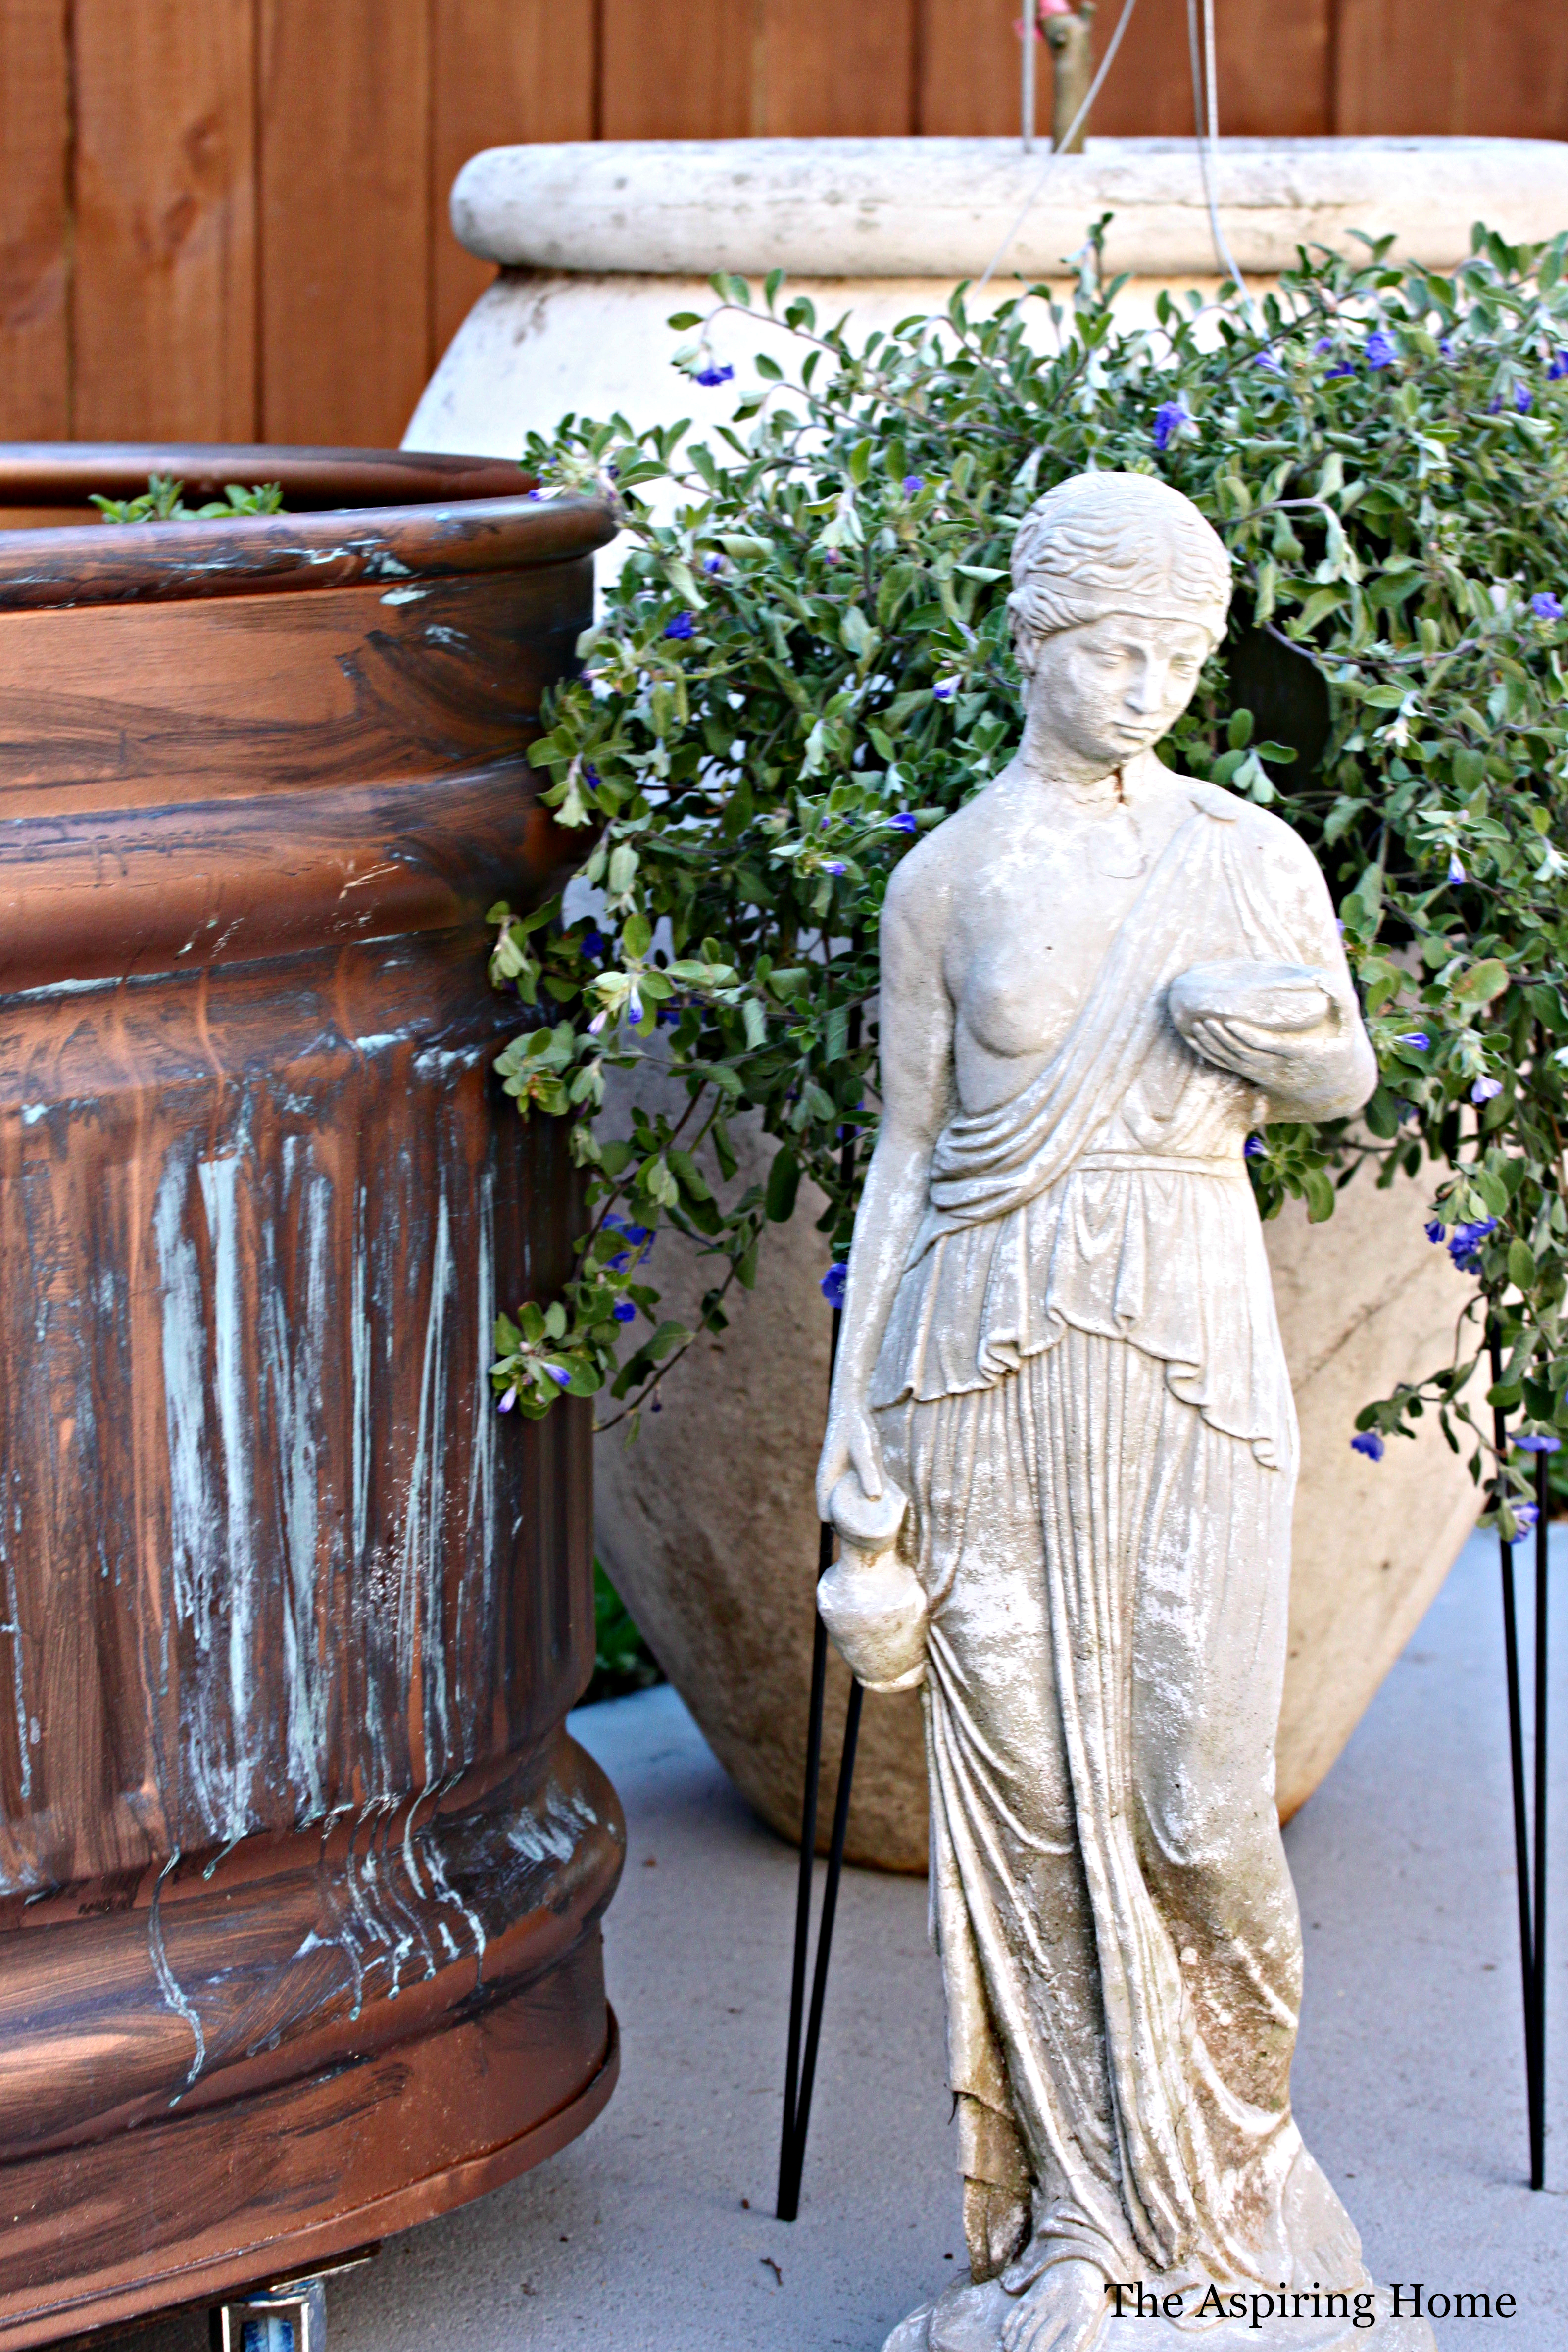
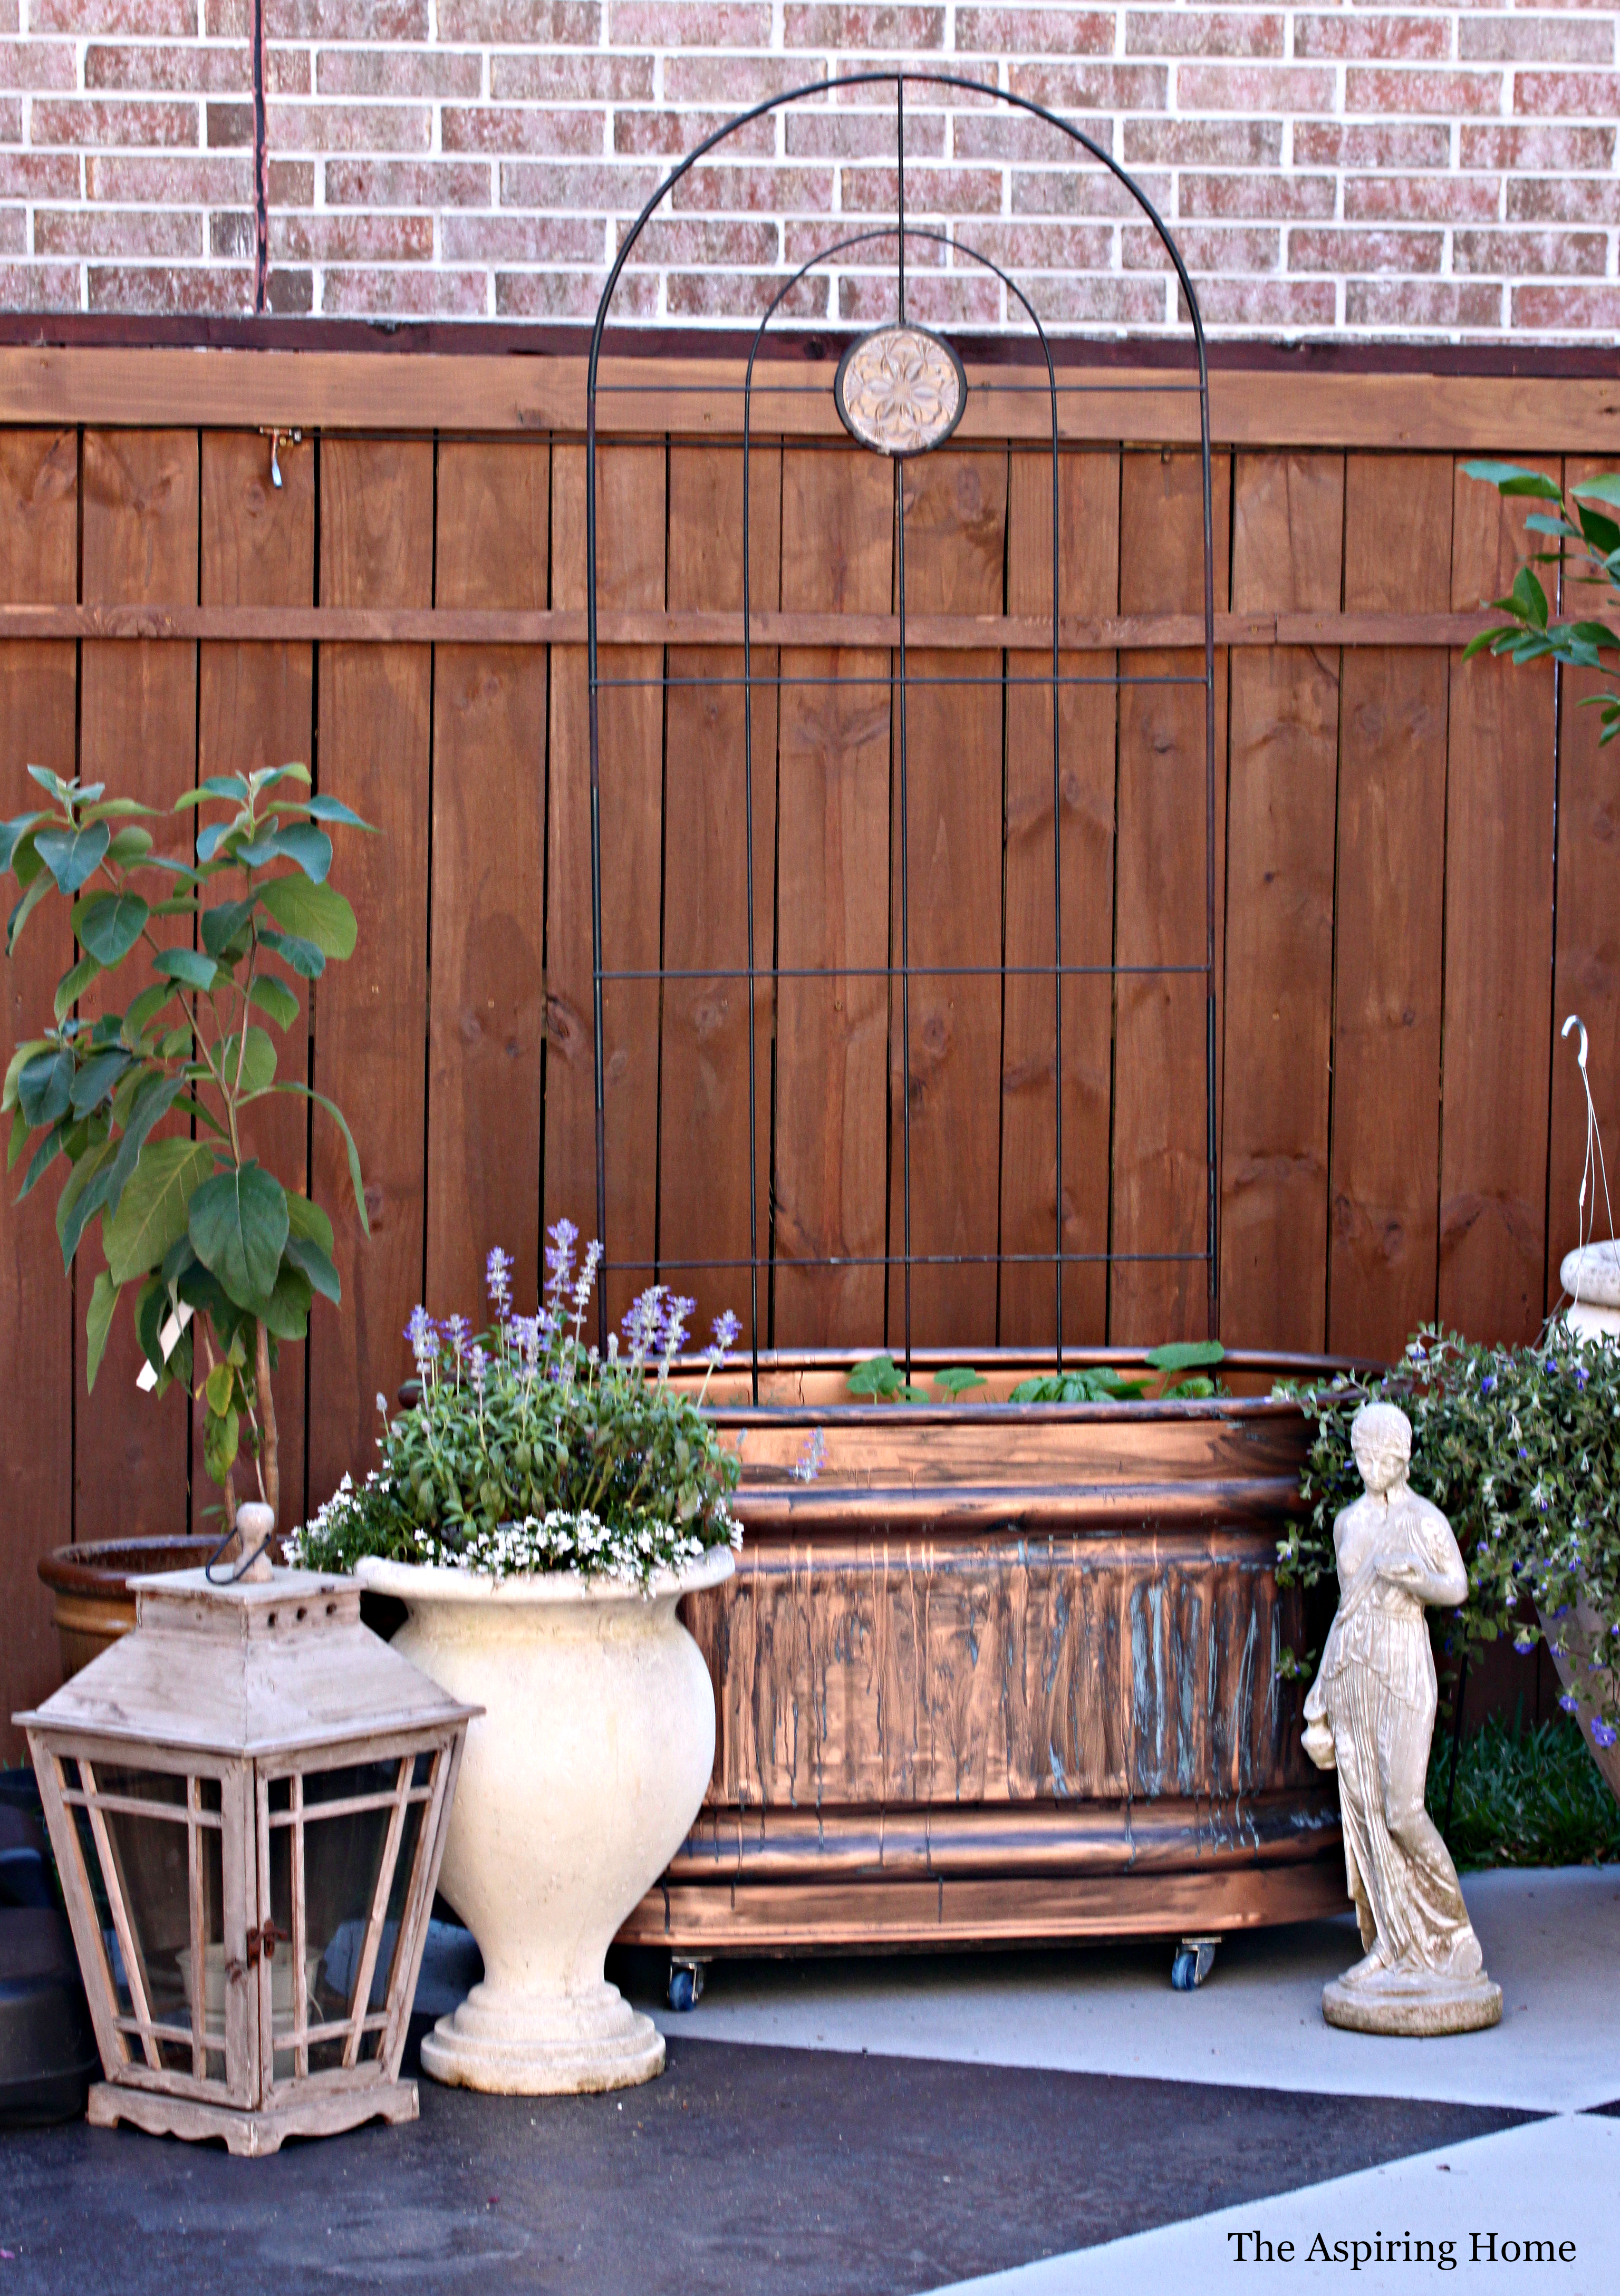
To up the “has this courtyard been here forever?” factor – I aged the copper with this fabulous product. I adore Modern Masters products. I used their gorgeous paint to give my sweet little piano a makeover (you can see it here) and I was excited to try the patina.
Modern Masters Metal Effects Patina **
The product has simple to use instructions and I used one box for both troughs – I didn’t do this on purpose… my Hobby Lobby only had one box left at the time I did the project. I figured if I loved it, I would return and grab another box and add more patina.
Yep, I LOVE it! I simply dragged the dark copper paint all over the troughs then quickly sprayed the patina solution.
The sweetest compliment came from a friend who popped over to see the whole makeover and she thought I bought the troughs at a high end store. Woo Hoo!
You will also notice that the troughs now have wheels! A quick trip to our local Harbor Freight yielded a great wheel selection.
Cut two planks to the size of the container right inside the lip to hide them from view and add two wheels on each plank – kinda like roller skates for your trough.
The garden is growing like crazy and I have already harvested the best tomatoes! I am looking forward to adding to the kitchen garden as time goes by. I will keep you updated!
Supplies Needed:
- Horse Trough
- Copper Spray Paint
- Modern Masters Patina Finish
- Wheels for mobility – optional
‘Til Later Friends,
**Affiliate Link Disclosure: Please note that some of the links above are affiliate links, and at no additional cost to you, I will earn a commission if you decide to make a purchase after clicking through the link. Please understand that I have experienced all of these companies, and I recommend them because they are helpful and useful, not because of the small commissions I make if you decide to buy something through my links. Please do not spend any money on these products unless you feel you need them or that they will help you achieve your goals.

![1451285-0517[5]](https://www.theaspiringhome.com/wp-content/uploads/2017/06/1451285-05175.jpg)




JOY!!! Those planters are gorgeous! You did such a fantastic job on aging them…and that Modern Masters is great stuff.
Well done my friend.
Thank you my friend! I love seeing them out the kitchen window. 🙂
What size troughs did you use?
Hi! The troughs I used were 2ft wide x 4ft long x2ft high – bonus…they are one sale via Tractor Supply co. right now.
Hello Joy,
I’m just seeing your post and coming over from Carol’s The Red Painted Cottage and the Fall Home Tour… Love, love, love your trough planters! I think this is what I need for next year’s tomatoes and a few beans, maybe some winter veggies. I knew when I drove by Tractor Supply today in Denton, TX that I ought to stop! 😉
Thank you for a wonderful, portable garden idea,
Barb 🙂
Thank you Barbara! I am so glad you came over to visit the blog!
You attached the wheels to a plank the size of the trough, how where the planks attached?
Hi! The board was cut to fit right inside the rim. Wheels were attached first then the though was sat on top and then filled with the gravel and dirt. The sheer weight of everything keeps the board in perfect position. Hope this helps!
I love your idea. Small gardens will work for me and the troughs are up off the ground so no bending over for my painful back. Thank you so much for your lovely idea:)
So beautiful and functional – the best type of project! Adding the wheels is such a great help for repositioning as lighting needs may change. Thank you for also including the amounts of soil and gravel, etc. Awesome project!