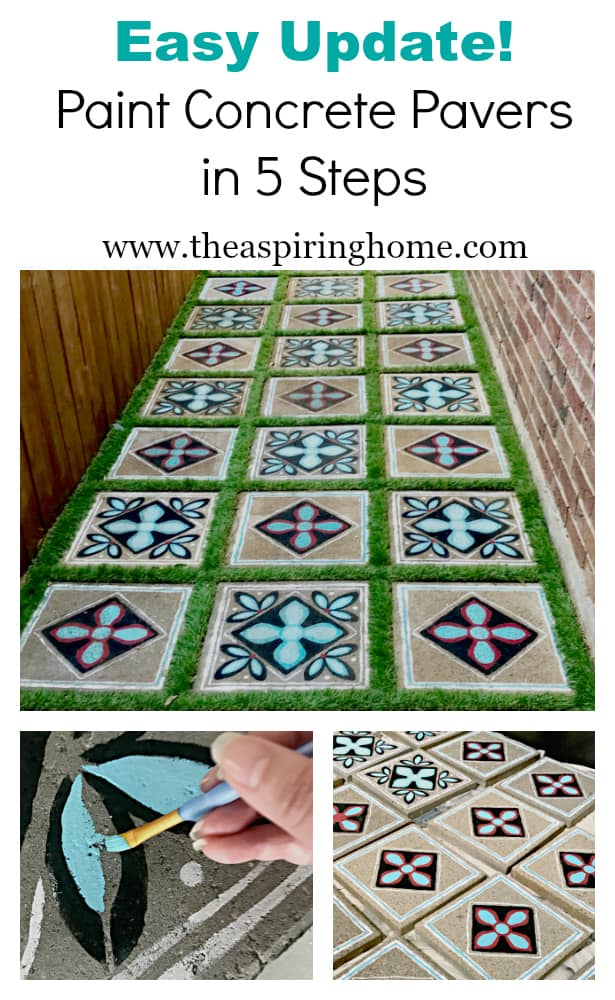
Easy Update! Painting Concrete Pavers in 5 Steps
Need an easy update for your backyard? Painting concrete pavers will add some pizzaz to your outdoor space! A few supplies are all that’s needed to create this fun project.
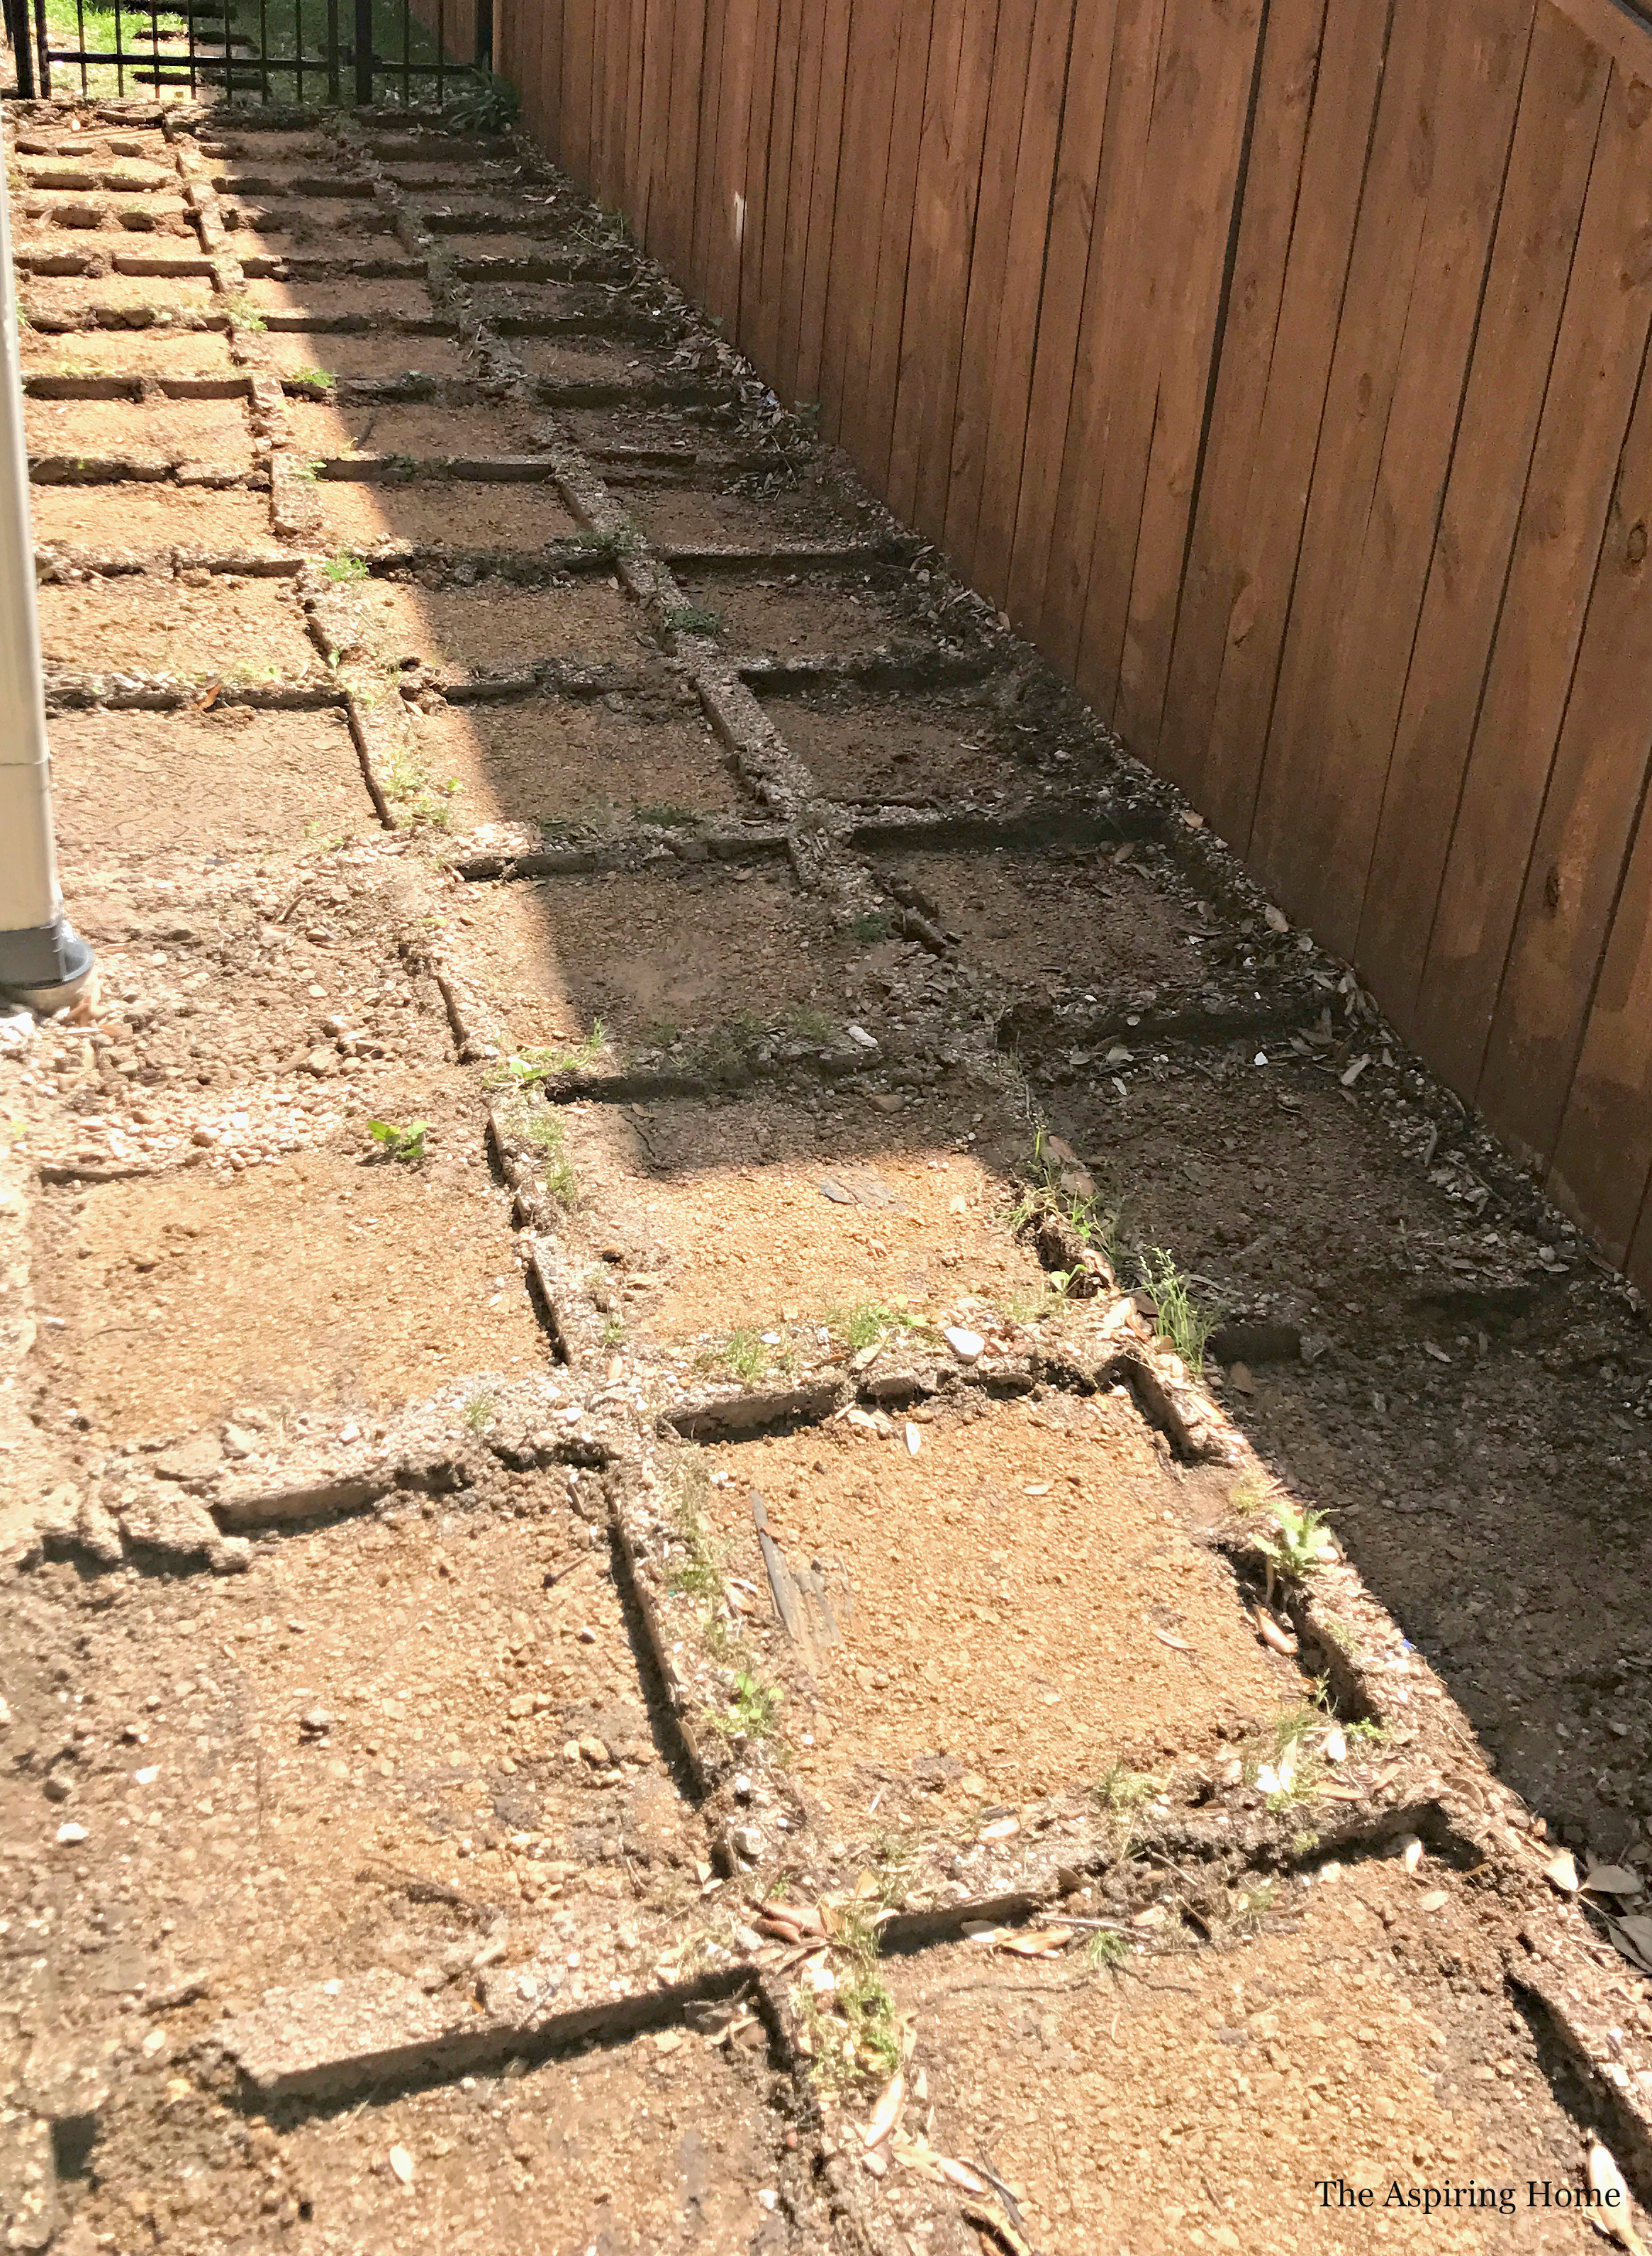
Hey friends, sometimes updating your outdoor space can be super simple. The painted concrete pavers idea came about when I was revamping our backyard for the One Room Challenge. We had a very big project and I looked for ways to creatively keep the costs down. We have a side entrance to the back yard that has always been an eyesore. Practical? Yes. Unwelcoming and generally ugly? Yes. The big problem? The side yard doesn’t have a sprinkler system so sod isn’t an option, but painting concrete pavers is!
This post is sponsored by DecoArt paint and stencils. The project idea, tutorial and opinions are all my own, The Aspiring Home.

Step 1: Gather Supplies
- Concrete Pavers (We already had 45 18×18 inch size)
- DecoArt Americana Acrylic paint – your favorite colors
- Stencil of your choice (I chose 18×18 inch size)
- Variety of brushes ( some like sponge brushes, I like bristle brushes but you do you)
- Outdoor Concrete sealer
- plastic bowls for paint
Step 2: Clean Pavers and Prep Area
If you are purchasing new pavers – this step may be optional. We had 10 years of grime that needed to be power washed off. We set up two 8 ft plastic table to work on the pavers. Cover the tables with butcher paper or painter drop cloths. Our pavers are 50 lbs each, yeah. Whew! I (with hubs help) laid out three pavers per table.
Step 3: Let the Stenciling Begin!
I chose to keep this simple. I found this DecoArt stencil here instead of creating a stencil from scratch which you could totally do. I used handy dandy painter’s tape to secure the stencil to the paver. This worked incredibly well and allowed me to move quickly from paver to paver.
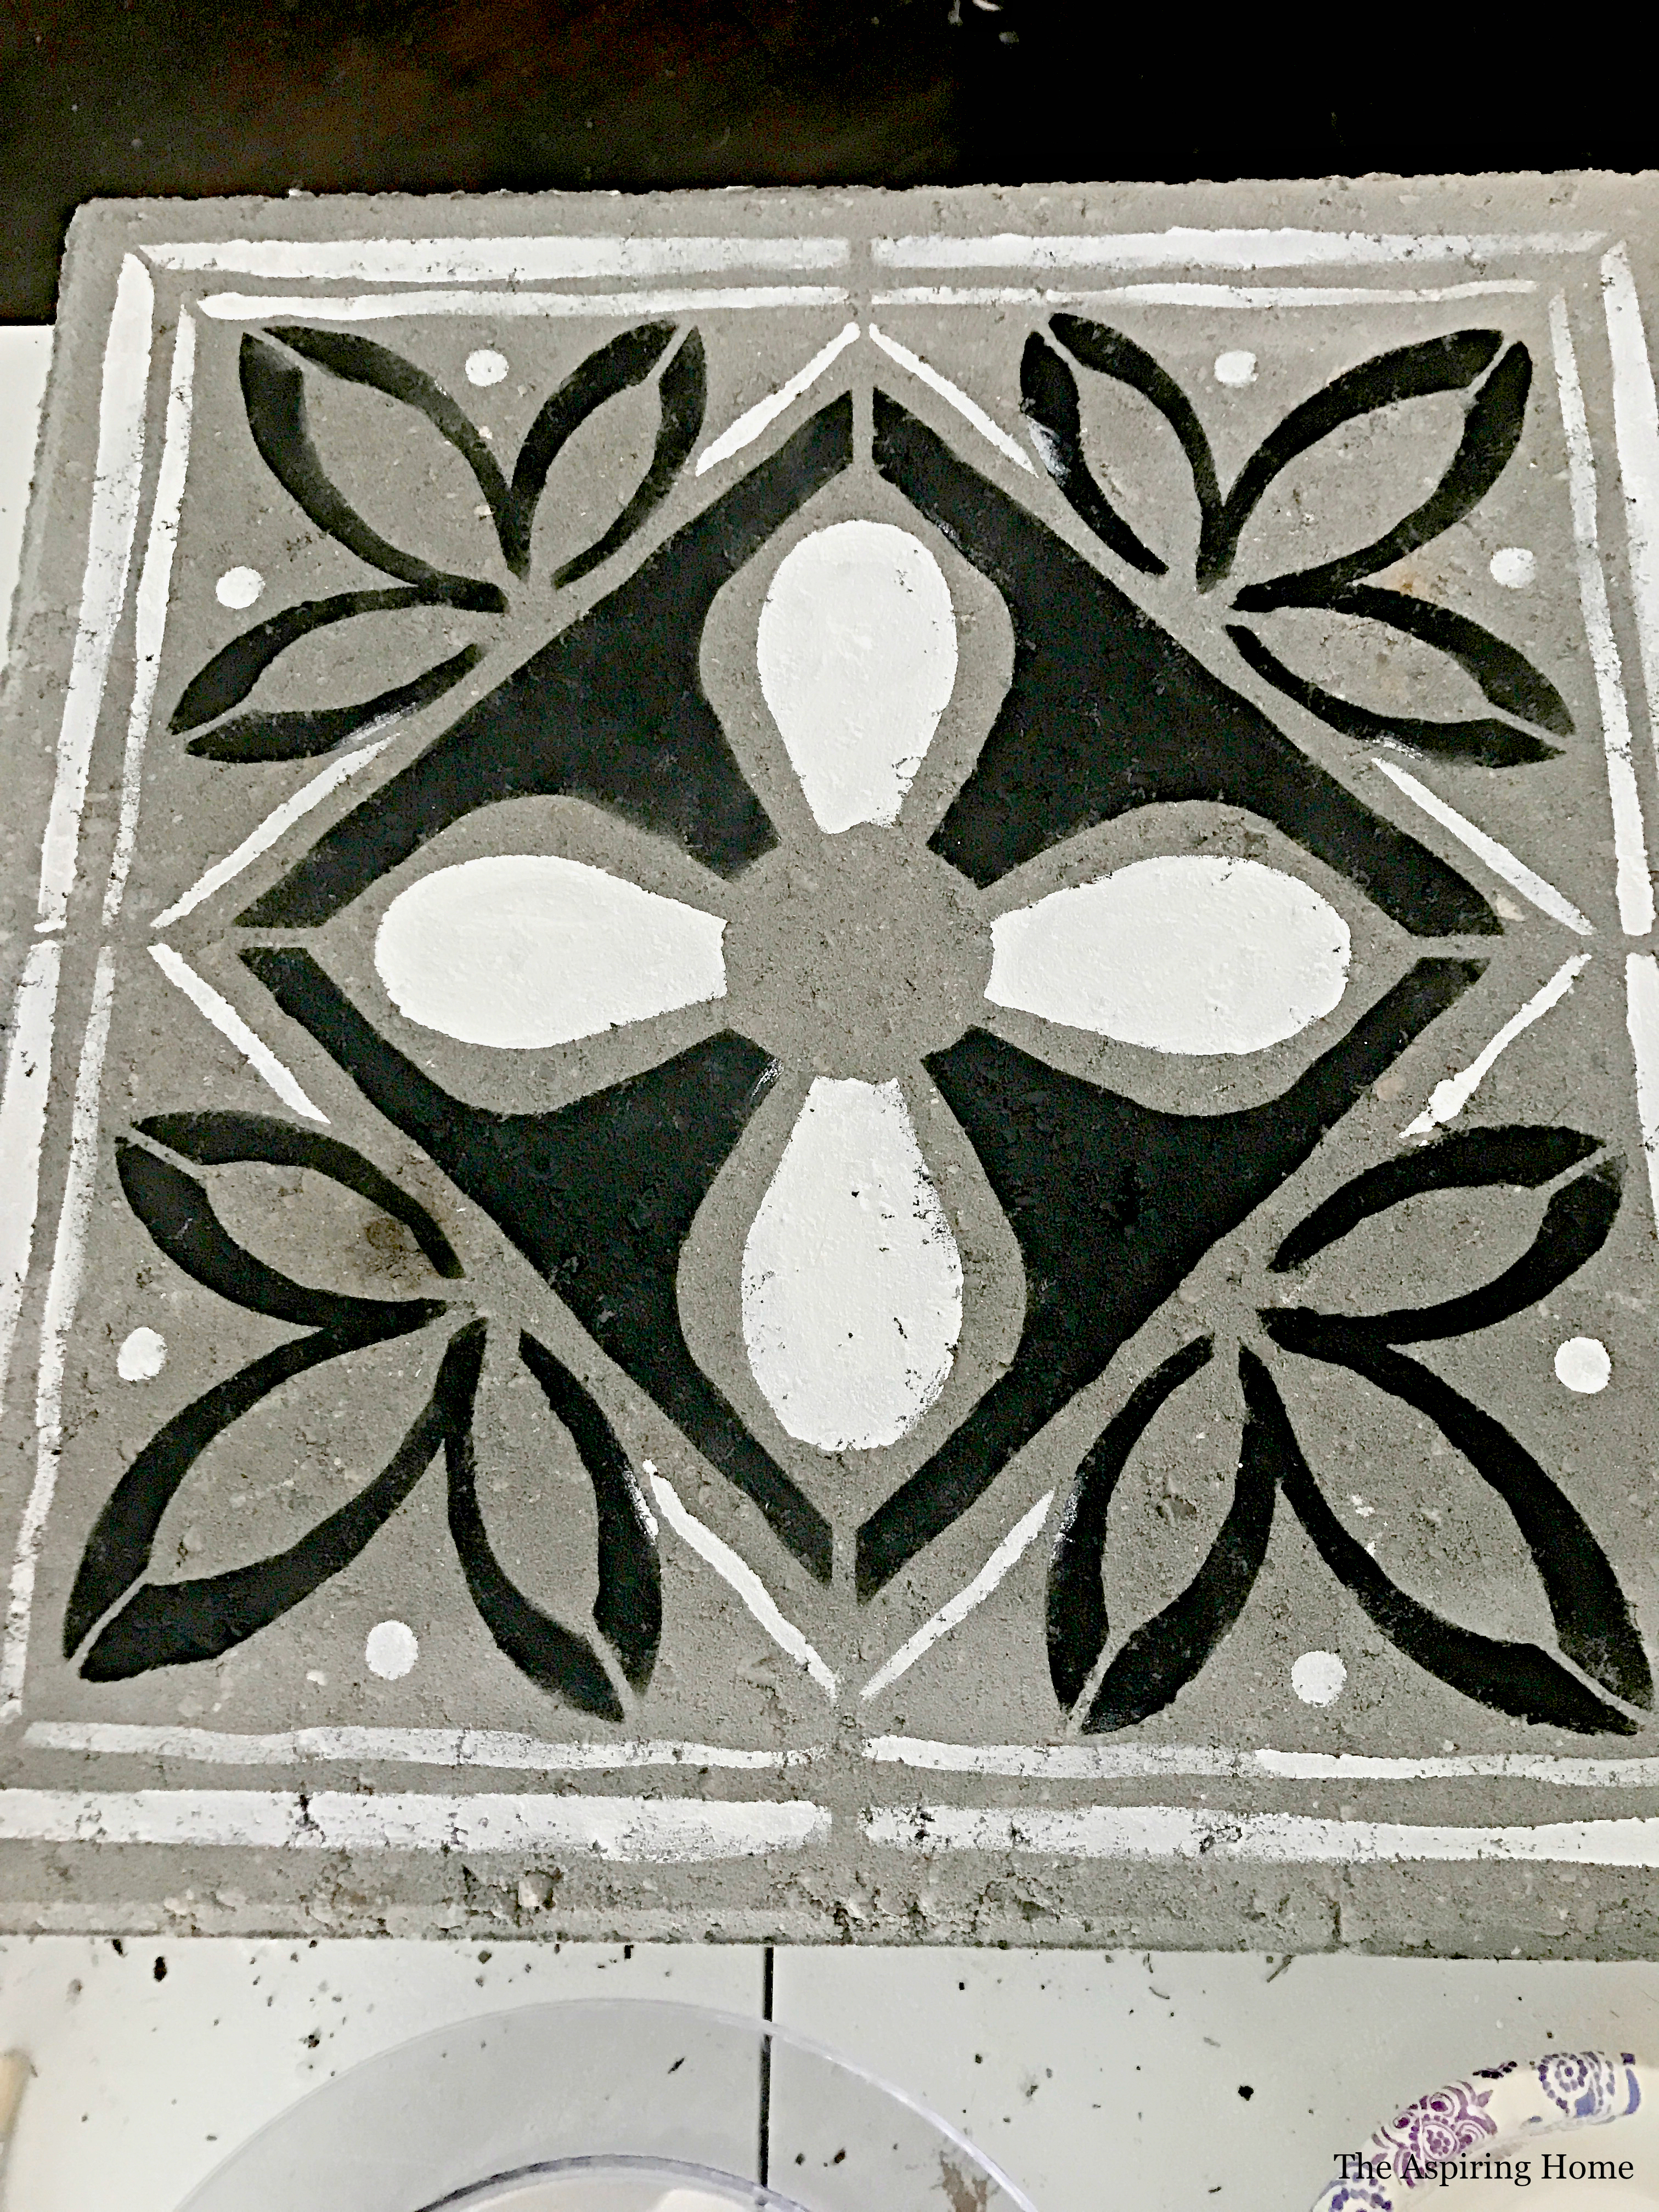

Stenciling concrete pavers is pretty forgiving. I changed my mind on the color scheme from the original try.
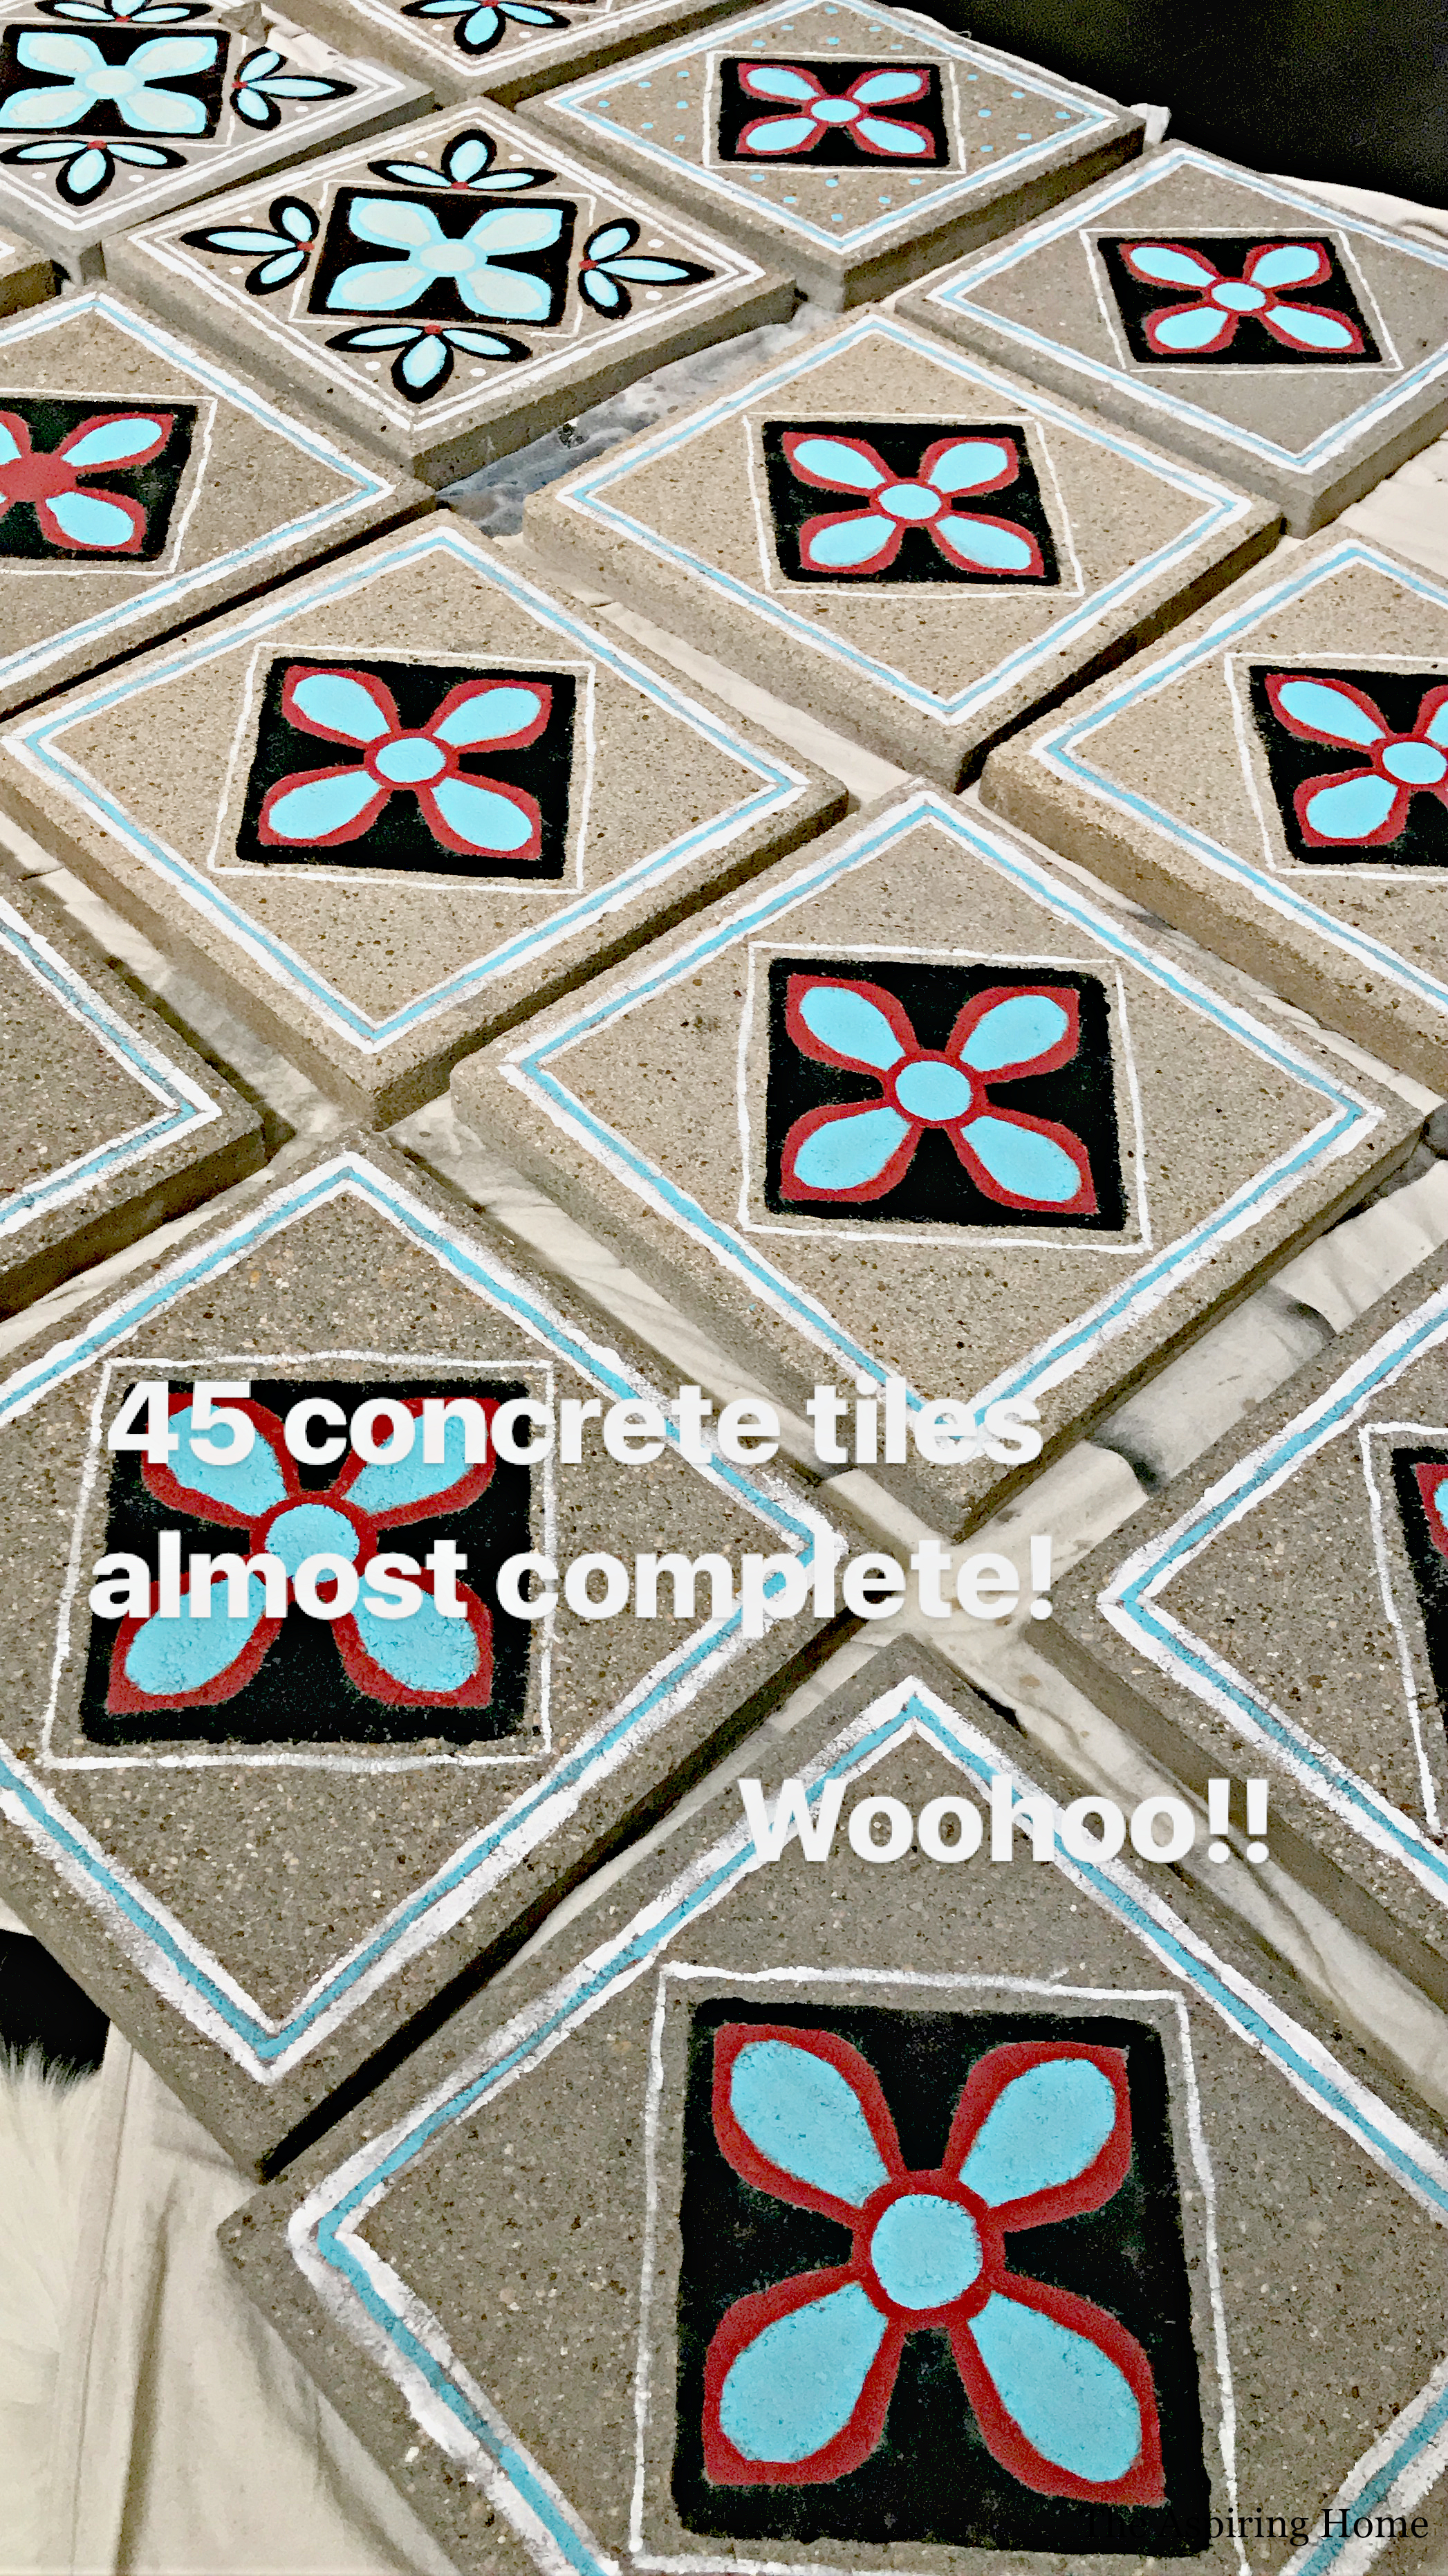
You can get so very creative…or not. When I first dreamed up this little project, I had the grand idea of painting the entire paver in lovely color. I was really wanting the hand painted tile vibe in a major way. But after about 10, I decided 45 pavers with any creative painting will give me the vibe I so desired. 20 pavers in I decided that I could lessen the paint a little more and create a simpler tile look that I could alternate.
I had a ticking timeline staring me in the face and the fact that my living room housed these two large tables of pavers and then the formal housed the finished pieces.
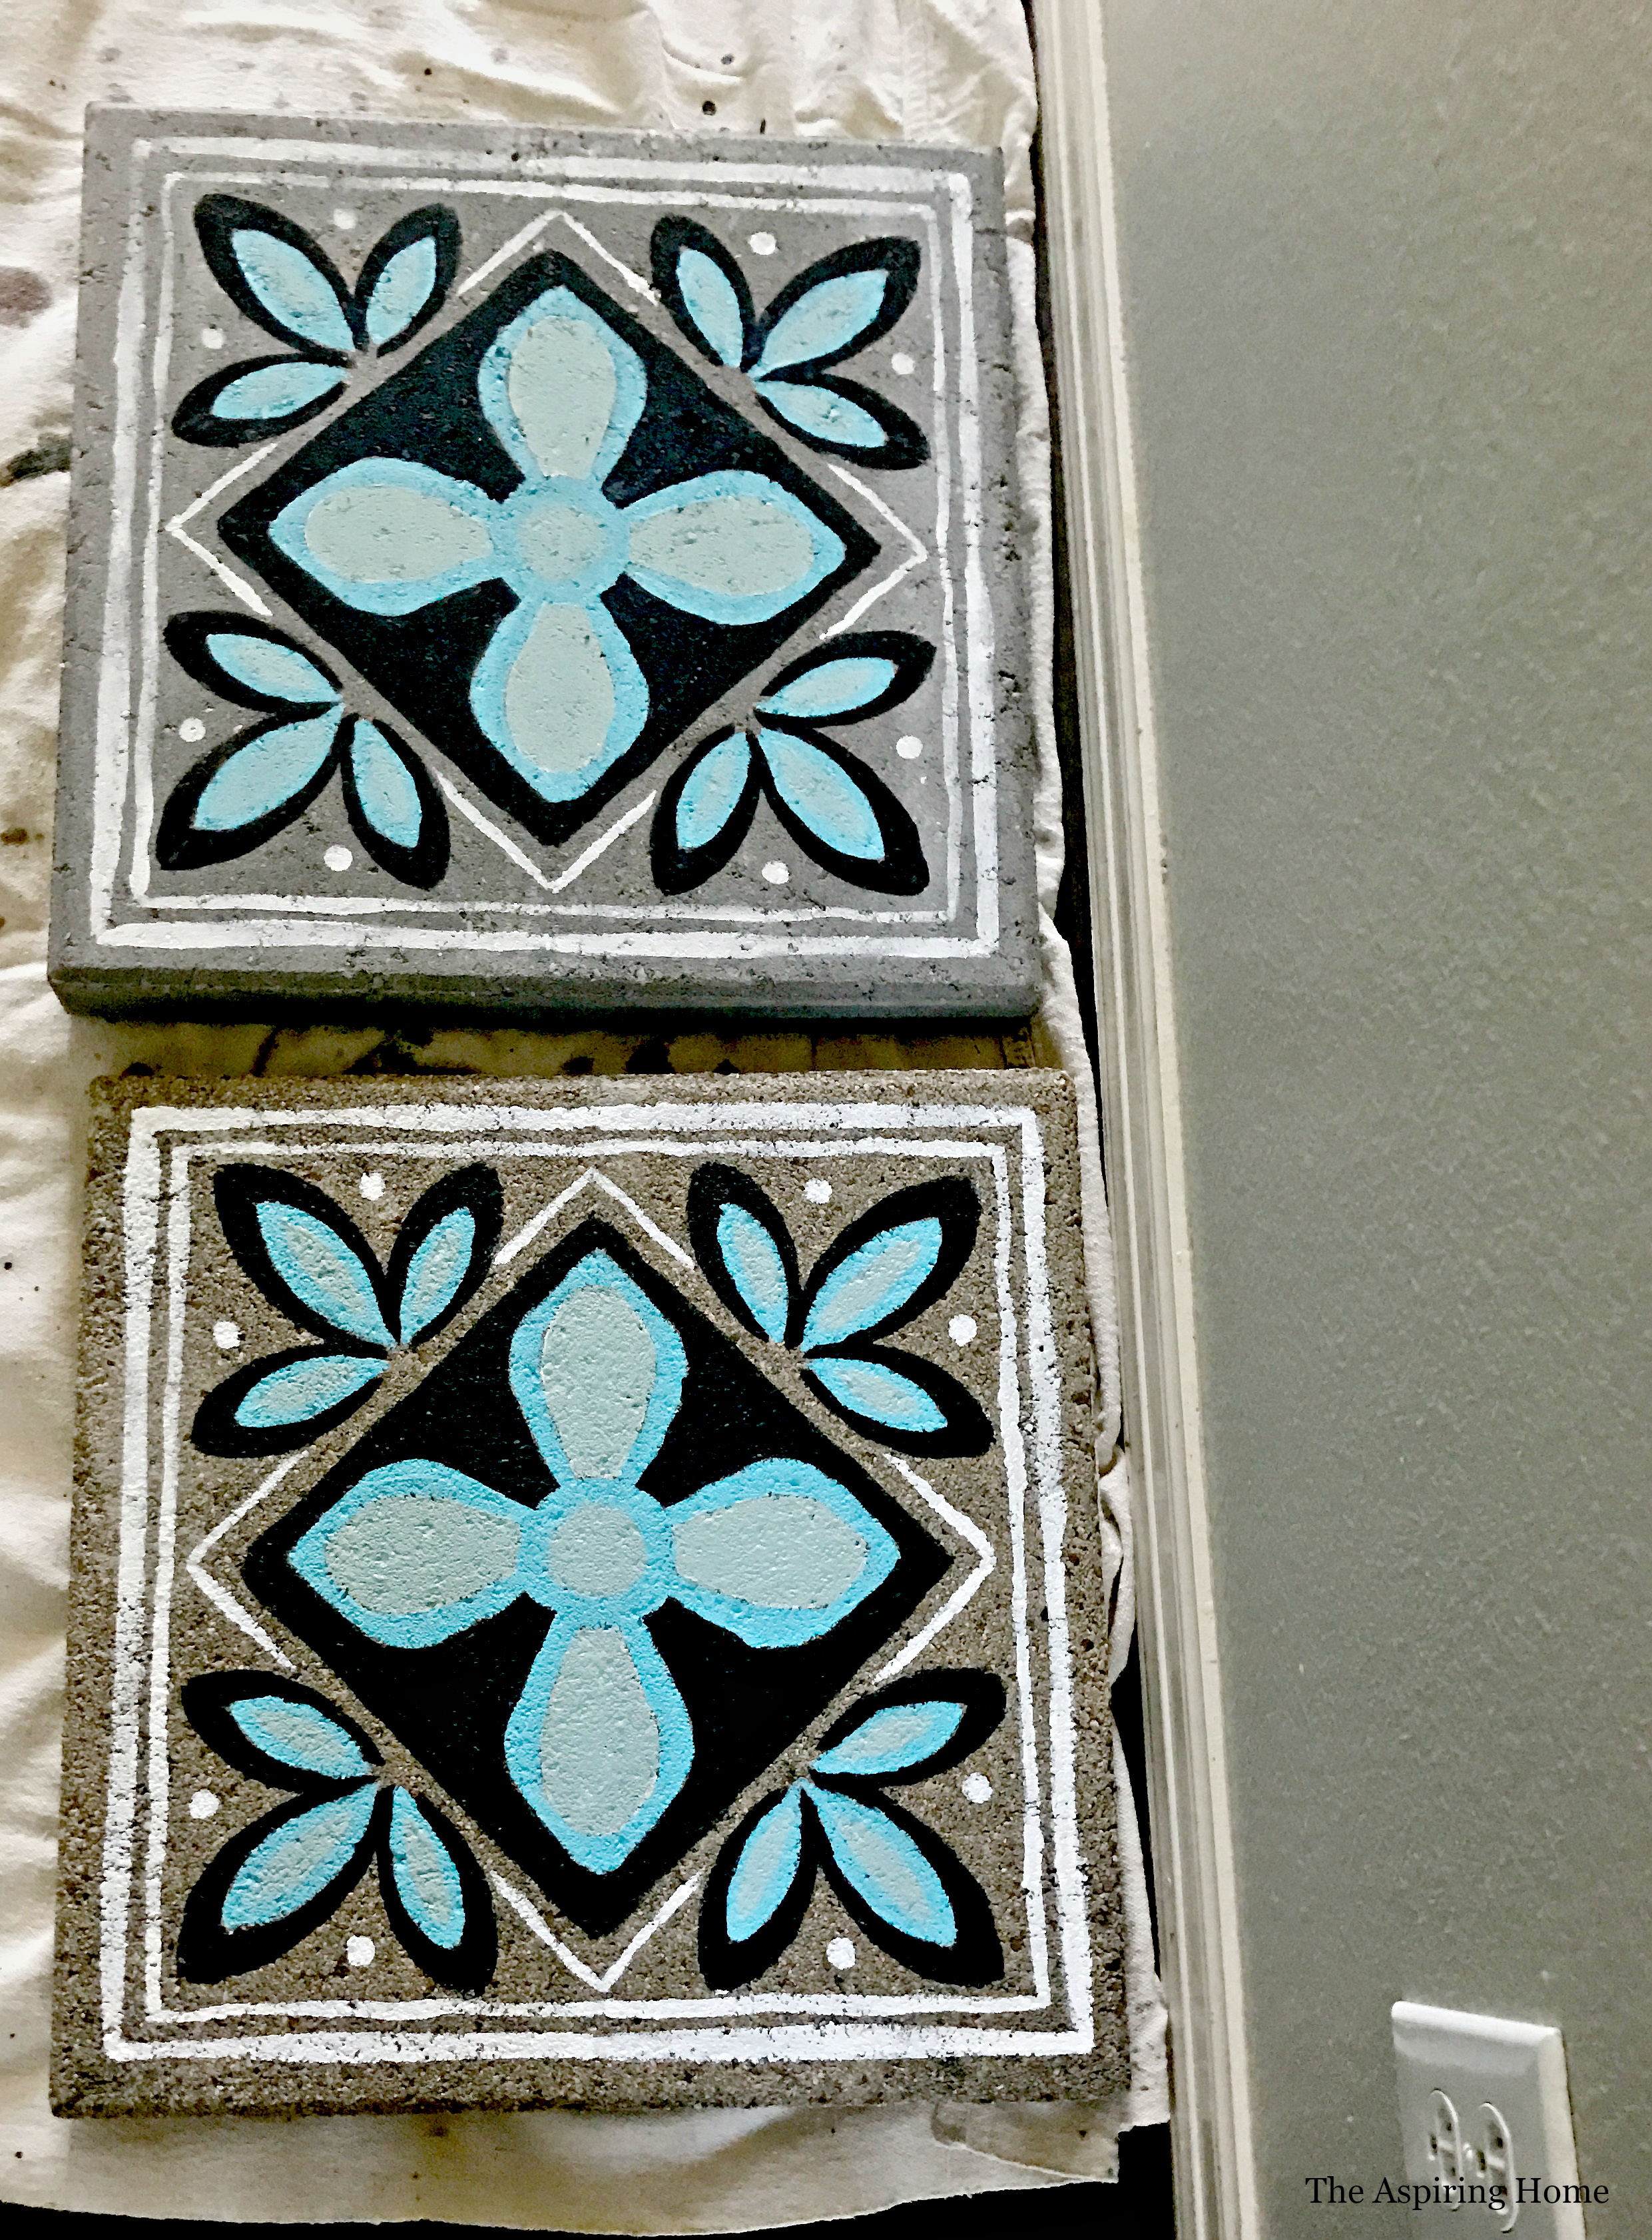
Step 4: Go Rogue a Bit and Allow to Dry
As much as I loved the stencil I picked out – I really wanted the hand-painted look. I completed the “stencil” lines and added little details to make the look more realistic. Before moving your pavers to a drying area- double check that you have “cleaned up” any glaring mistakes or bleed throughs from the stencil.
Step 5: Seal your Artwork
We ended up using Thompson’s Water seal for concrete and wasn’t a huge fan of the long drying time and generally “sticky” feel of the product. The “tacky” wore off eventually but again, time was of the essence. The sealer worked but I am sure there is something better out there and I am researching it.
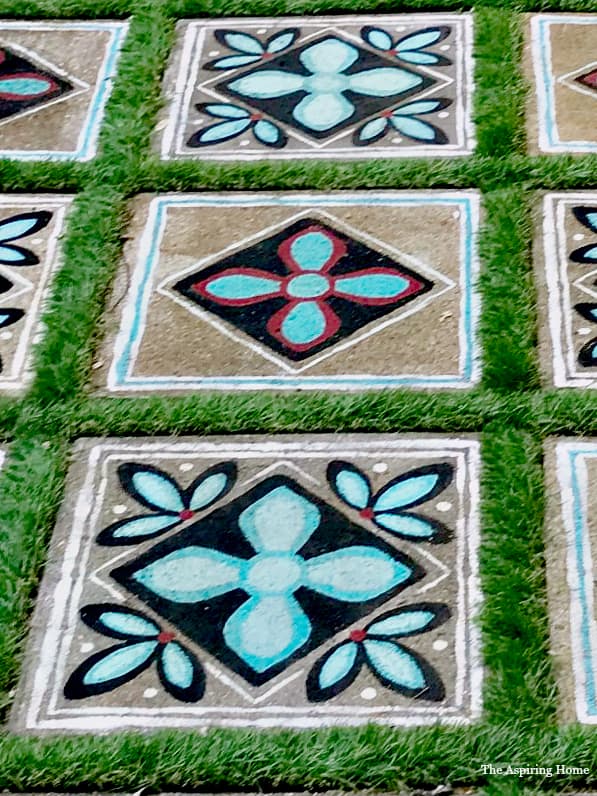
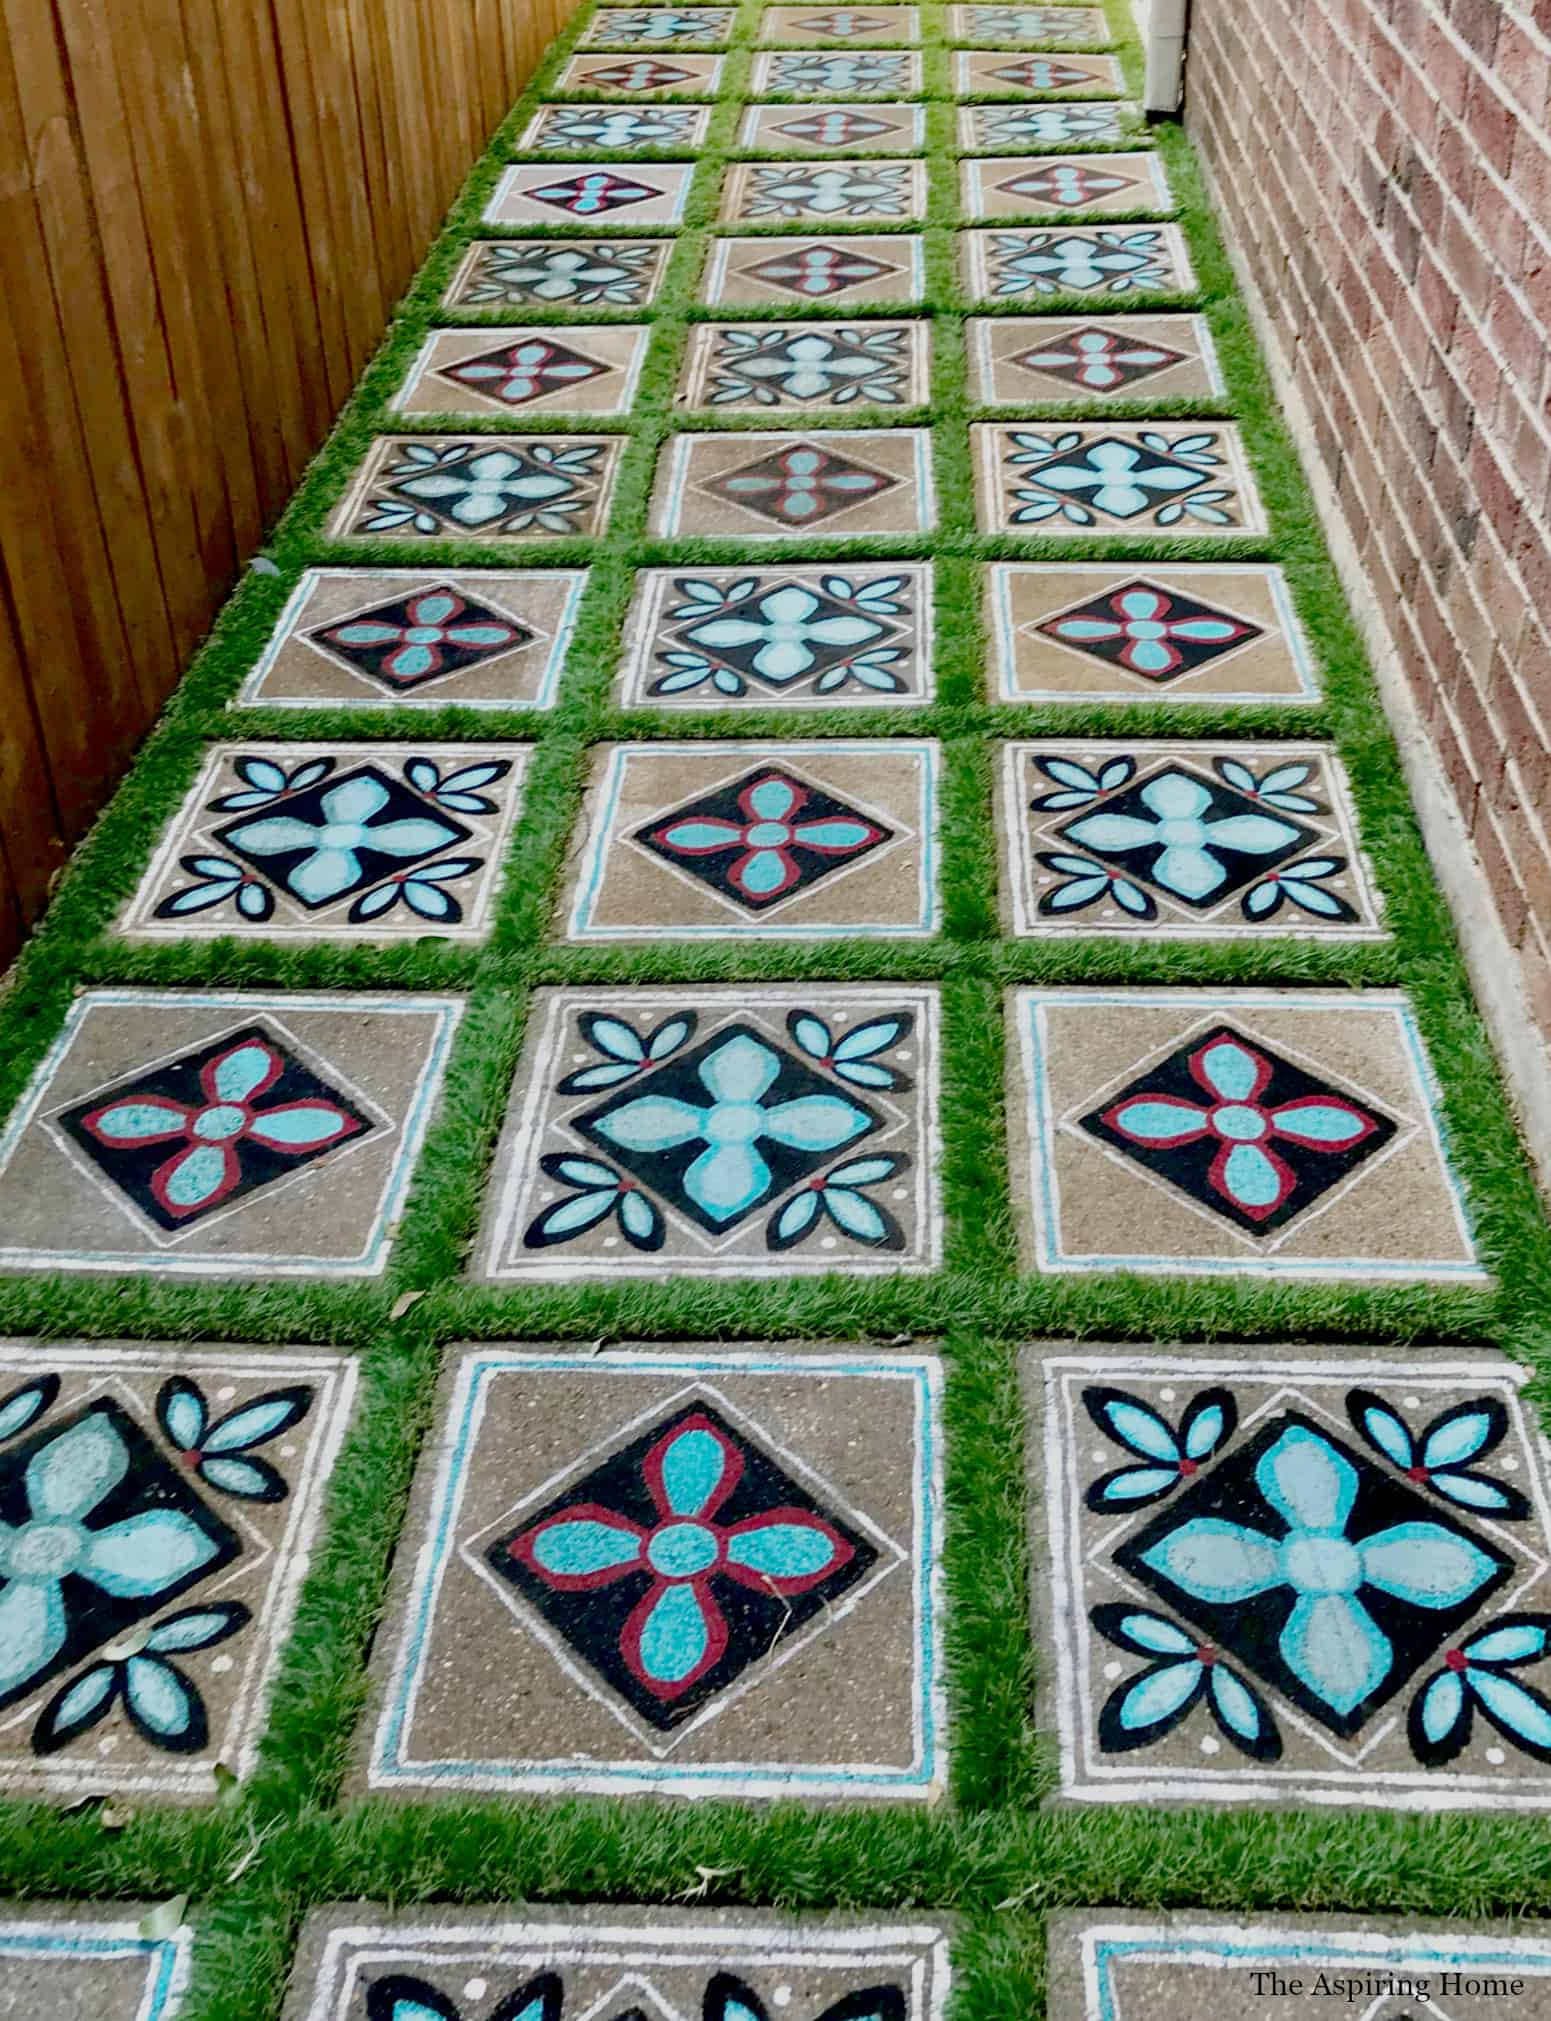
We reinstalled the pavers in their original location but instead of decomposed granite in between – I hit on the brilliant idea of artificial turf and it worked beautifully!
Now the side entrance is welcoming and unique. I still have a few ideas for this area but they will wait when the budget allows.
Till Later My Friends!


**Affiliate Link Disclosure: Please note that some of the links above are affiliate links, and at no additional cost to you, I will earn a commission if you decide to make a purchase after clicking through the link. Please understand that I have experienced all of these companies, and I recommend them because they are helpful and useful, not because of the small commissions I make if you decide to buy something through my links. Please do not spend any money on these products unless you feel you need them or that they will help you achieve your goals.
Joy Maier is the founder and principal designer of The Aspiring Home Interiors, an award-winning studio serving the greater Dallas area and beyond. Blending gracious living with elevated design expertise, Joy creates interiors that feel deeply personal, beautifully refined, and effortlessly livable — from full-home renovations to boutique vacation rentals. Her professional affiliations include ASID (Associate), ART, the Interior Design Society (Professional), NKBA, VRD Collective, and she is a founding member of Designers for Dogs. Since 2012, she has shared design tips and heartfelt stories on The Aspiring Home Blog. Her philosophy is simple: “Design should feel like a deep breath. When we get it right, your home greets you with that exhale every single day.”
This is stunning, I’m now looking round the garden wondering where I can fit this idea in!
I am so happy you like them! It was so rewarding finally seeing them in place!
Love these pavers! Makes me want to do that on the few pavers we have around our yard. Visiting from Happiness Is Homemade party.
I am so happy you like them! They make me smile every time I enter the yard. 🙂
Gorgeous! I think you’re much more patient than I am though…:-)
Hi! I am so glad you like the project… To be honest, my patience did wear thin but it was worth it in the end!
Beautiful! Where did you get the artificial turf, did it come in a roll and you cut out where the tile went?
Hi! I purchased the turf on Amazon and cut it into strips. We used lawn stakes and sand to keep it in place.
Can you explain more about “lawn.stakes and sand” to keep the turf in place? I have a path of large stones and pavers and the weeds between take up all of l my gardening time. I also have zillions of coat hangers that somebody suggested.
LOVE the pavers and will try hard to remember the artificial turf idea! Nothing I’ve tried keeps out weeds here in Gulf Coast TX, and weed fabric actually makes them worse (weeds eventually poke through while root system grows happily underneath; pulling simply snaps off tops) That’s a look to be proud of!
Can you explain how to use “lawn stakes and sand” to anchor the Astro turf? I am desperate to stop spending my life pulling weeds in my walkway.
Please. explain how to use “garden stakes and sand” to keep the turf in place. I need it badly for my yard. Does it get frayed or faded?
Thank you.
Hi, the garden stakes strattled the artifial turf strips – pushed down and out of sight. The pavers and turf were laid on a decomposed granite foundation. Use fine sand brushed into to turf to keep grass weighted down evenly. The turf I bought has a high UV protection and has not frayed or changed color, so far. Hope this helps.
Hi, where do you buy 18 x 18 stencils? I have 52 to do and I’m finding it hard to find them so that the patterns do not repeat easily.
Any advice or guidance is much appreciated.
Jodi
Hi! I found the stencils on Amazon.
The blog post provides a simple, step-by-step guide for painting concrete pavers, offering tips on preparation, painting techniques, and finishing touches to achieve a refreshed look.