How to Stretch Canvas Artwork in 6 Simple Steps
I have always fancied gallery walls filled with frameless canvas paintings. Having a gallery wall can get pricey, unless you how to stretch canvas artwork yourself!
I have always fancied gallery walls filled with frameless canvas paintings. I came up with an idea to incorporate a gallery wall into our master bedroom design. To save on the labor costs I learned to stretch the canvas art and it’s a snap. Follow these simple instructions I will show you how to stretch canvas artwork yourself!
A few years ago my family and I experienced the beauty of Hawaii for the first time.
I fell in LOVE. “Head over Heels, can not stop thinking about you and when I do – I smile kinda love” with Maui.
On the last full day of our trip, we went shopping around the town of Lahaina. While strolling down the sidewalks – I stumbled into Lahaina Printsellers.
Oh my goodness gracious! Beautiful prints covered the walls – everything from maps to 1930’s replica artwork. I was stoked.
After combing through various prints I grabbed the ones that immediately caught my eye- I didn’t care if the color combos worked or not- I just went for what made me happy.
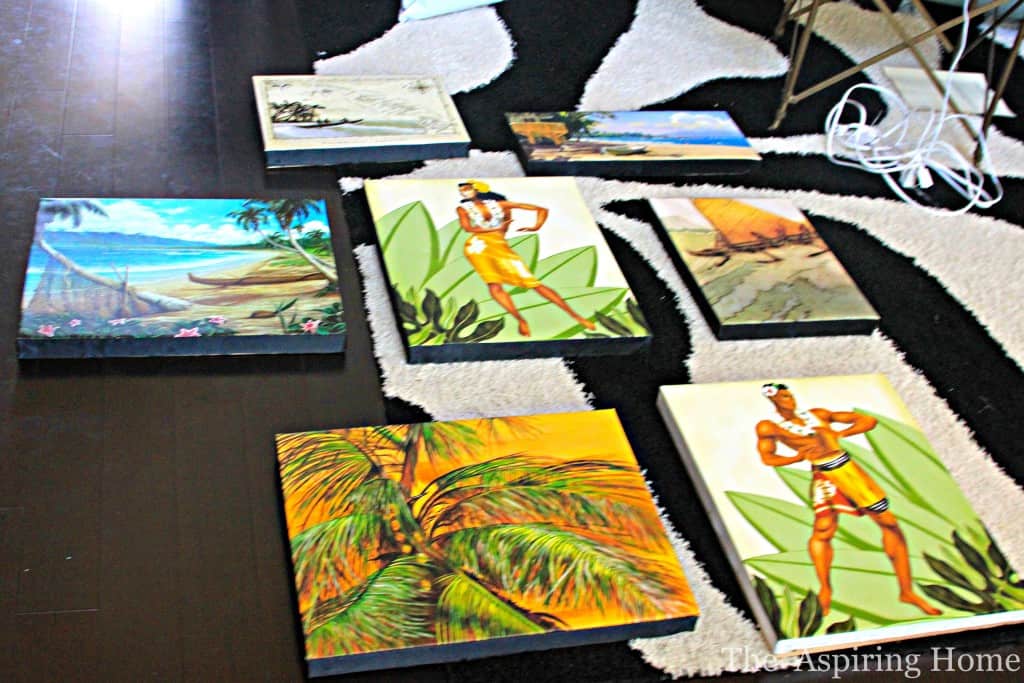
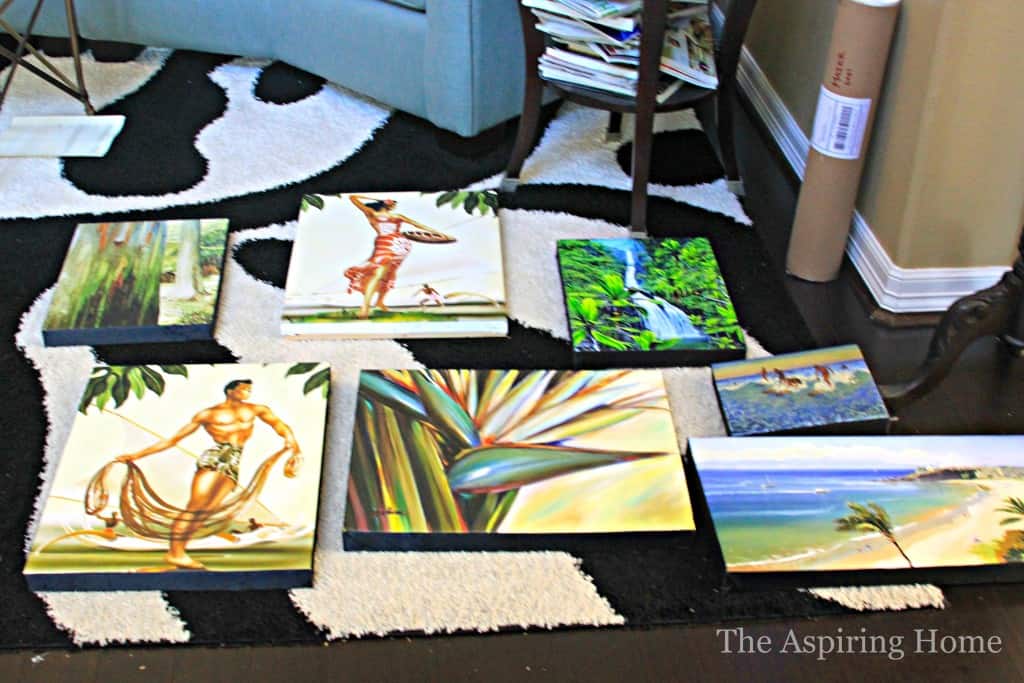
As I was contemplating how I would carry these lovelies home- the sales clerk offered the opportunity to have them shipped. Well, if that was the case… let me grab a few more.
Having to say Aloha to my new-found love was tough and I eagerly awaited my prints on the mainland. It was a happy day when they arrived two weeks later!
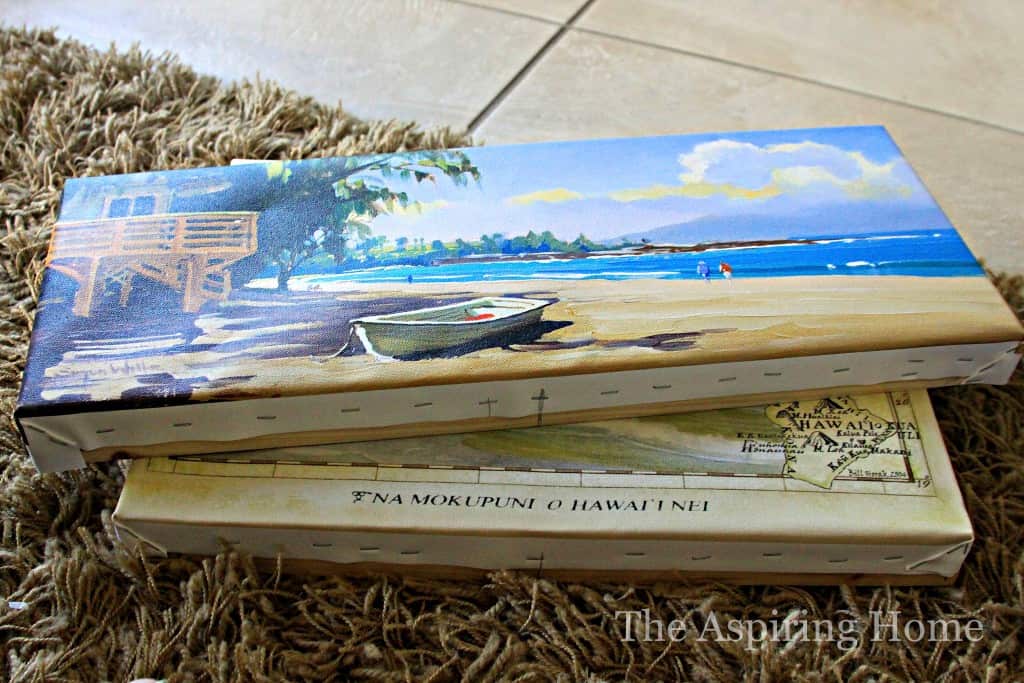
After unrolling the canvas artworks I started taking measurements for stretcher frames.
I wanted the stretcher frames to be on the thicker side since I was going sans traditional frame. Problem- This would mean that my canvas would not stretch all the way around. No worries- we can hide fix that!
How to stretch canvas artwork
Let’s get started:
Supplies:
- Canvas art prints
- Stapler
- Tape Measure
- Pencil
- Glue Gun
- Ribbon (the thickness of your stretcher frame)
- Canvas stretcher frames – if your print measures 8×10 (do not count the white outer edges- just the artwork) then you will buy stretcher frames that are 8×10. (you can purchase here)
Step 1:
Measure and mark the center of the canvas piece, making sure to mark on the white edge. Do this on all four sides of the canvas.
Step 2:
Assemble the canvas stretcher frames.
Step 3:
Measure and mark the center of each stretcher frame. Do this on all four sides
Step 4:
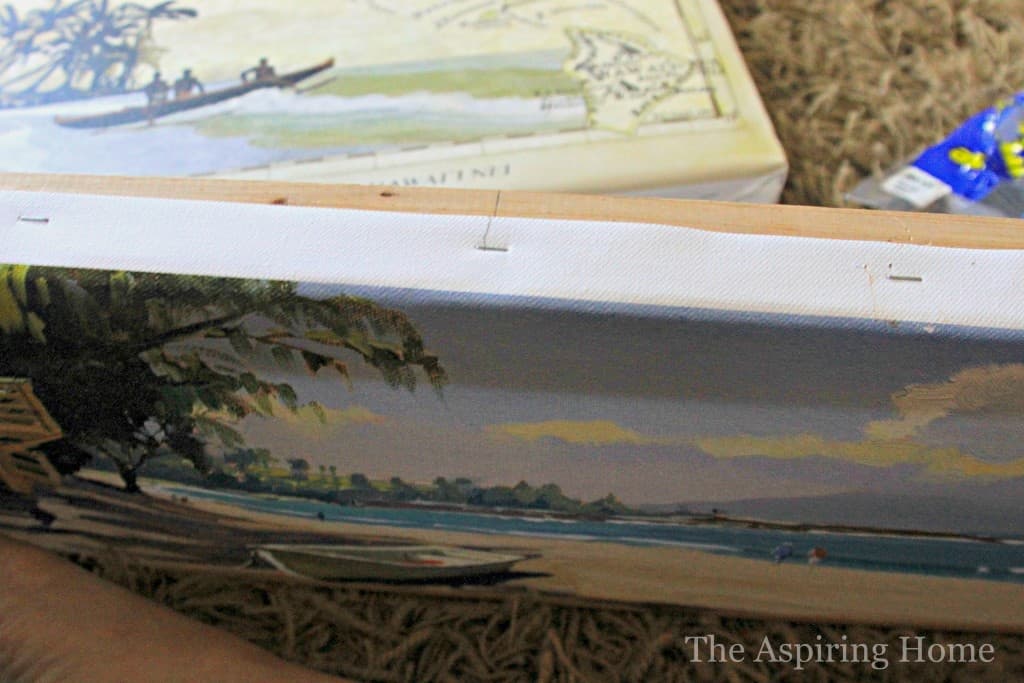
Find the center mark of the canvas and the center mark of the canvas – line up and staple. After stapling the middle of the first side- go directly to the opposite side and line up your marks and staple while pulling the canvas taut (don’t get too heavy-handed here).
Continue these steps on all four sides.
Step 5:
Corners- simply fold corner to one side and smooth down. Staple.
Step 6:
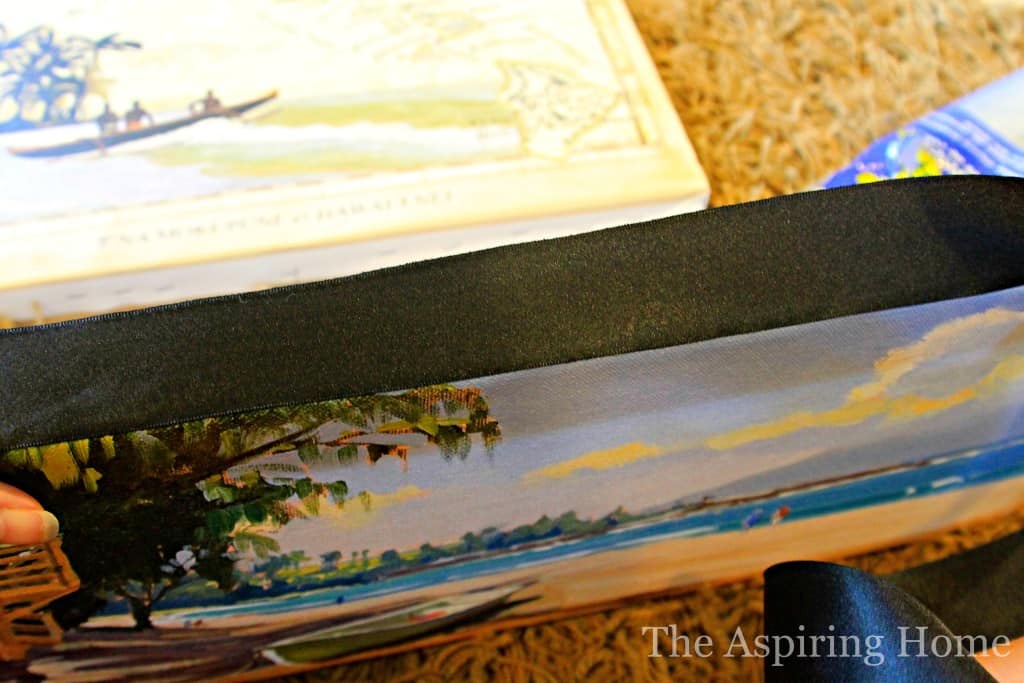
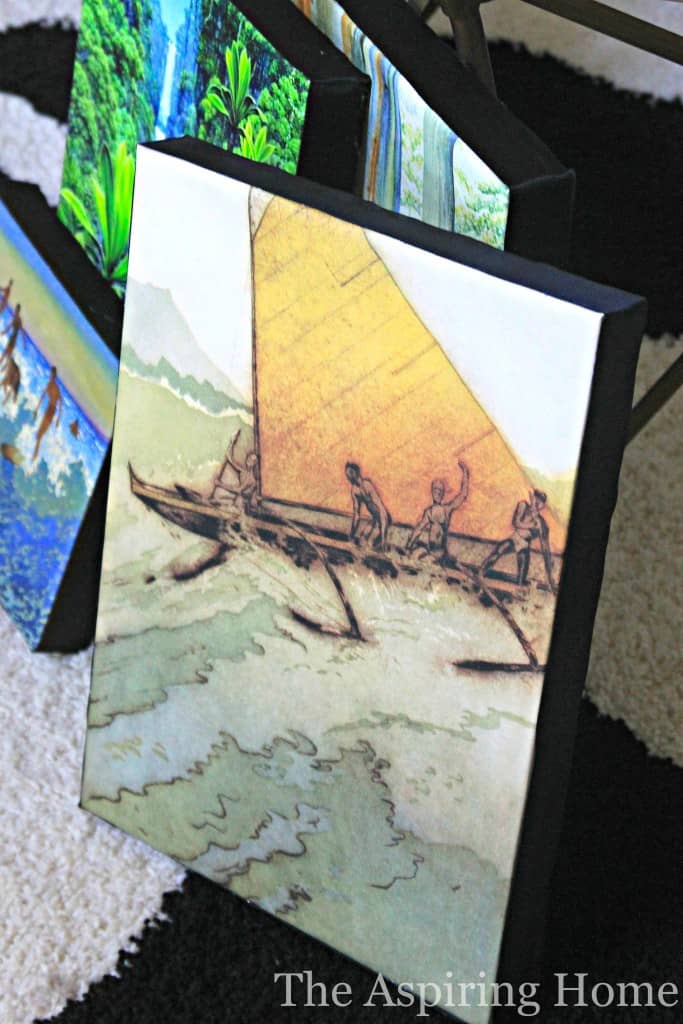
Alrighty, now that our canvas is attached to the stretcher frames, we need to cover up the edges for a clean look. How? Well, we pull out the ol’ glue gun and grab our ribbon! TIP: lightly add hot glue to stretcher frame area and smooth ribbon as you go. This will help prevent the dreaded “hot glue bumps”.
Make sure you start your ribbon edge on the bottom of the canvas – 1/4 from the edge and overlap the end of the ribbon slightly.
The ribbon really makes a difference if you are wanting to use a thicker stretcher.
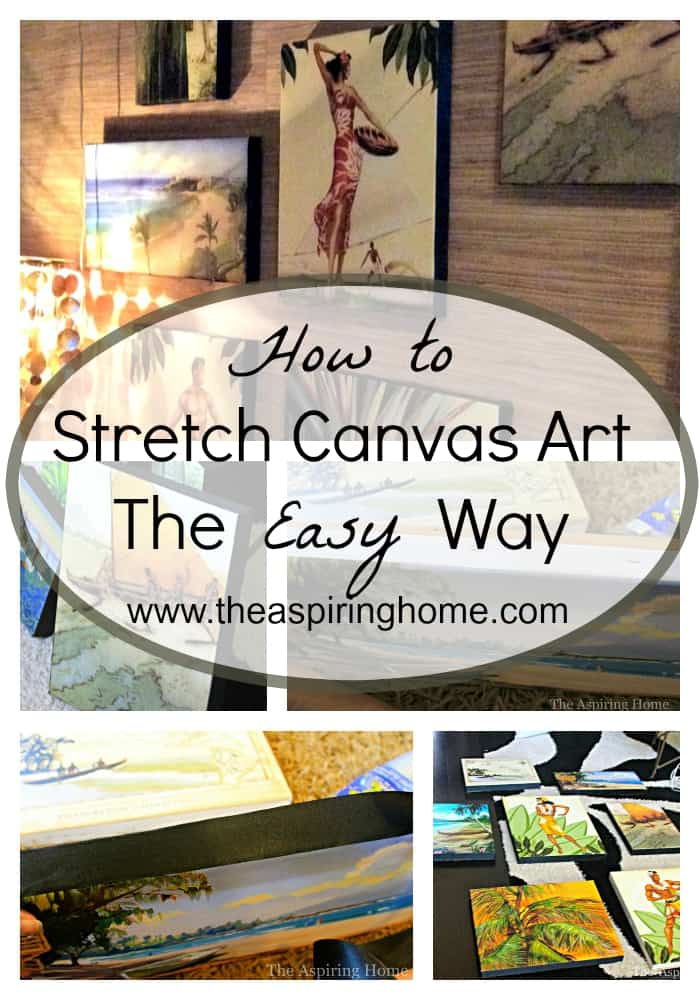
Not too shabby right?!? Here’s the gallery wall-
Please forgive the photo…batteries dead in the good camera… iPad in a pinch. You know how that goes.
Oh by the way- Lahaina Printsellers is having a sale (check it out here) and if you would like a really neat accent wall idea for your new prints, I’ve got you.
That’s it for today, my friends. Before I go I just want to say- PLEASE don’t let the day go by without letting the people around you know how you care.
Share why you are glad they are in your life. Today in our community we lost a precious friend, a light in this world. Someone whose fighting spirit, beautiful smile, and infectious laugh will always be remembered. Thank you, Twana for being you.
linking up with:







Joy, the ribbon is a great idea. I have a couple of large canvases that I want to stretch; I’ve never stretched canvas before. I’m impressed how you solved your problem. I saw your link at Pamela’s Treasure Hunt Thursday.
Thank you! So happy I could help. Good Luck on your canvases!
Great idea! I hope to visit Hawaii one day….ahhhh it looks so relaxing!
I hope you can go to Hawaii! It will knock you off your feet- hammock style. HA!
Joy, these are so beautiful! I’ve always wanted to know how to do this but I thought you had to send them off to the printer shop or something. I didn’t realize it was so easy. I’ve been thinking about creating a gallery wall myself so I can’t wait to get started now. Thanks so much for linking up to the Something to Talk About link party. We’re so happy to have you! Coco PS: Sending you hugs and prayers. Twana sounds like an amazing person and I’m sorry for your loss.
Thank you CoCo for stopping in! I am so excited for you to try the canvas idea! Thank you for the kind words about my friend- truly a jewel- our community will be the less without her here but she suffers no more.
I’ve never tried stretching my own. Thanks for sharing these great tips with Share Your Cup.
hugs,
Jann
I love these prints on the grass cloth wall. Great job! Thanks for linking to Your Inspired Design.
Great tip! Thanks for sharing at Merry Monday, hope to see you again next week!