Easy DIY French Memo Board For Organization
Organization is a beautiful thing, especially when it comes in the form of this easy DIY French memo board!
Greetings!
I have REALLY come to appreciate this little item called a French memo board. Sometimes having an area of “No -commitment” is wonderful. Memo boards allow you to tuck whatever memory or photo strikes your fancy at the time. It’s like having a ever changing scrapbook for all the world to see.
A french memo board is a perfect accessory for the dorm room if you are like me and sending another kiddo off to college (where did the time go?!?).
This memo board came about as I was sitting in a hotel room in my oldest daughter’s college town…. I got ancy and needed to create something.
Something I could leave with her useful for her. So… with that being said- forgive the not so wonderful photos, pretty please.
Ok, here we go!
Supplies:
- Art Canvas – pick the size you want
- Chipboard letters – go big or small- up to you
- finger nail polish- your choice of color
- fabric to cover canvas- what ever strikes your fancy or coordinates with your college student’s dorm
- Ribbon- to create the criss cross pattern to hold beloved objects and photos
- Thumb tacks- to secure the ribbon to the canvas
- Small charms- to add a little zip to the thumb tacks
- Hot glue gun and glue sticks
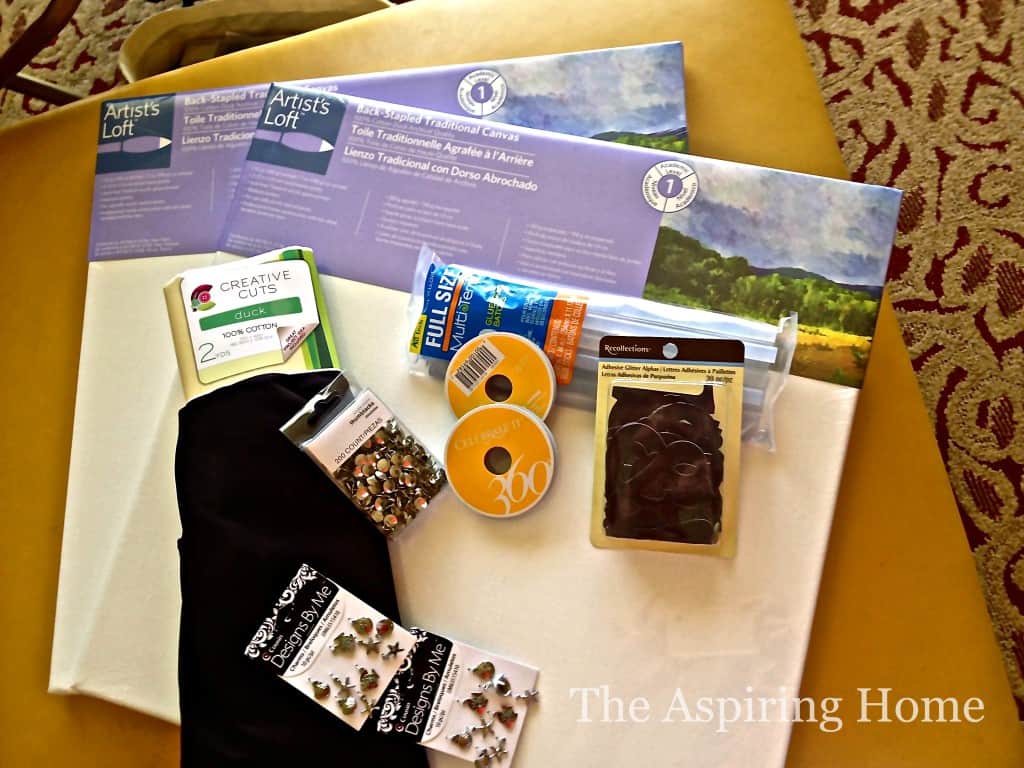
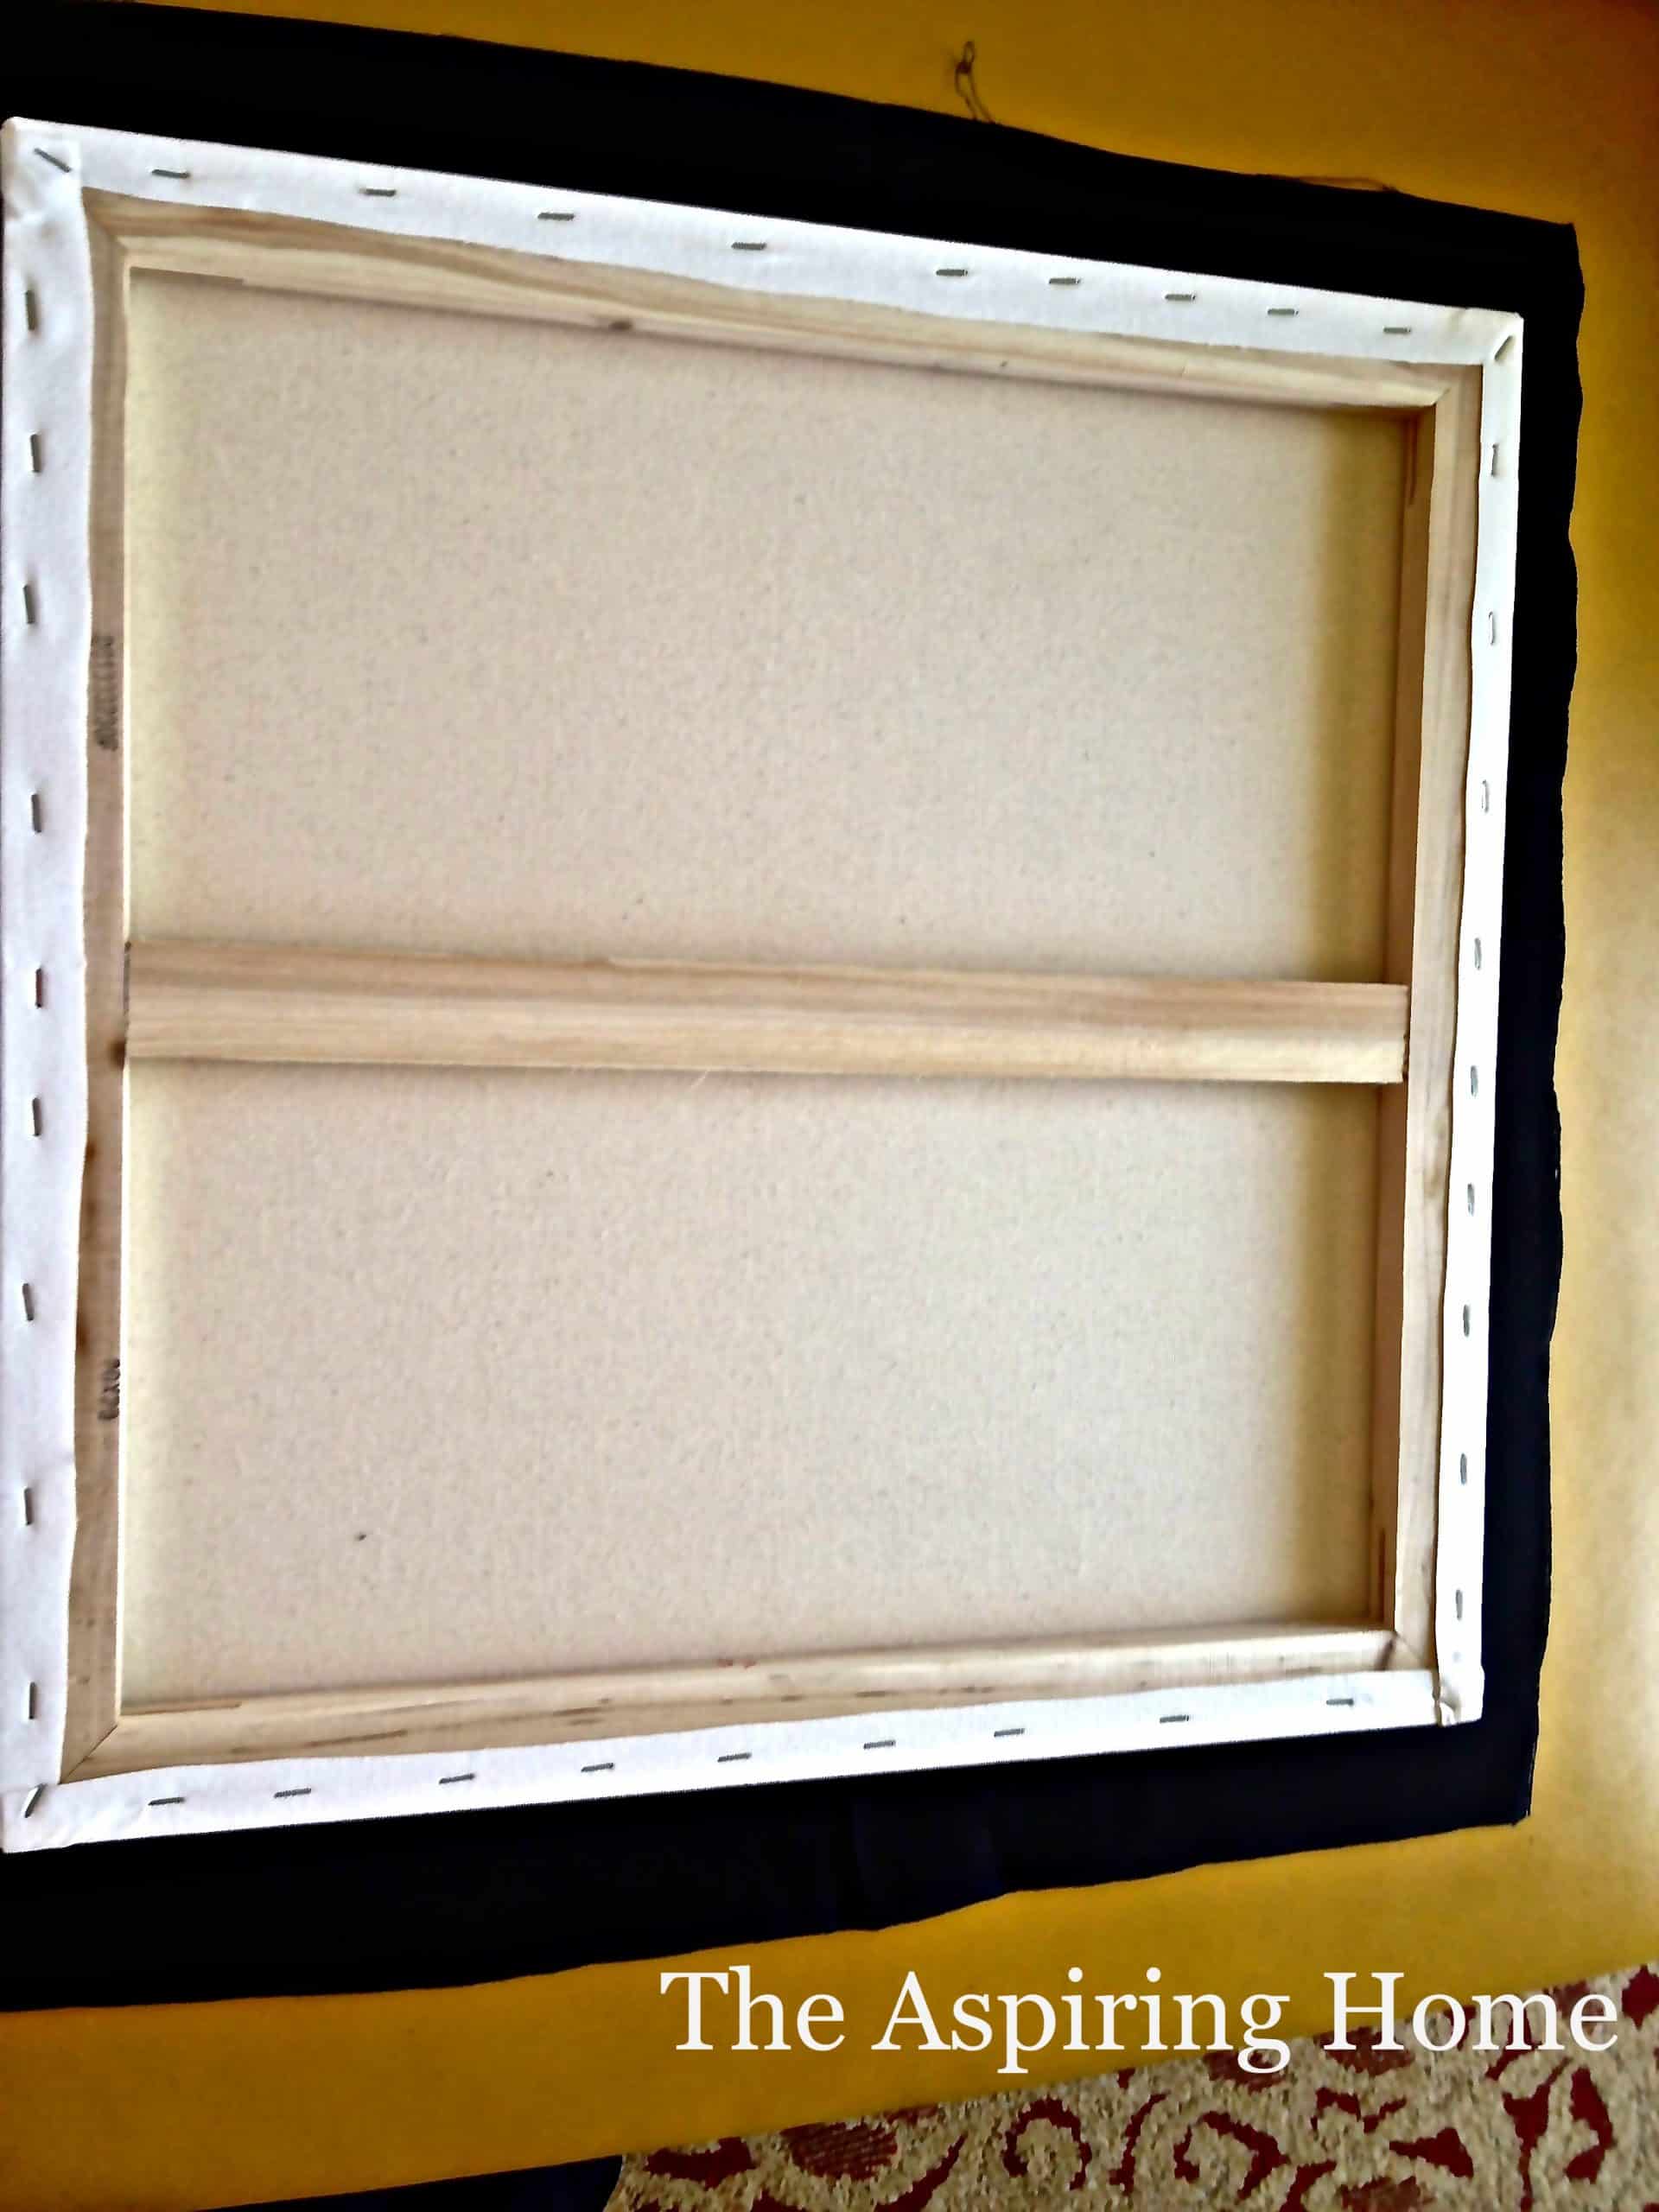
Step 1. Hot glue fabric on to canvas
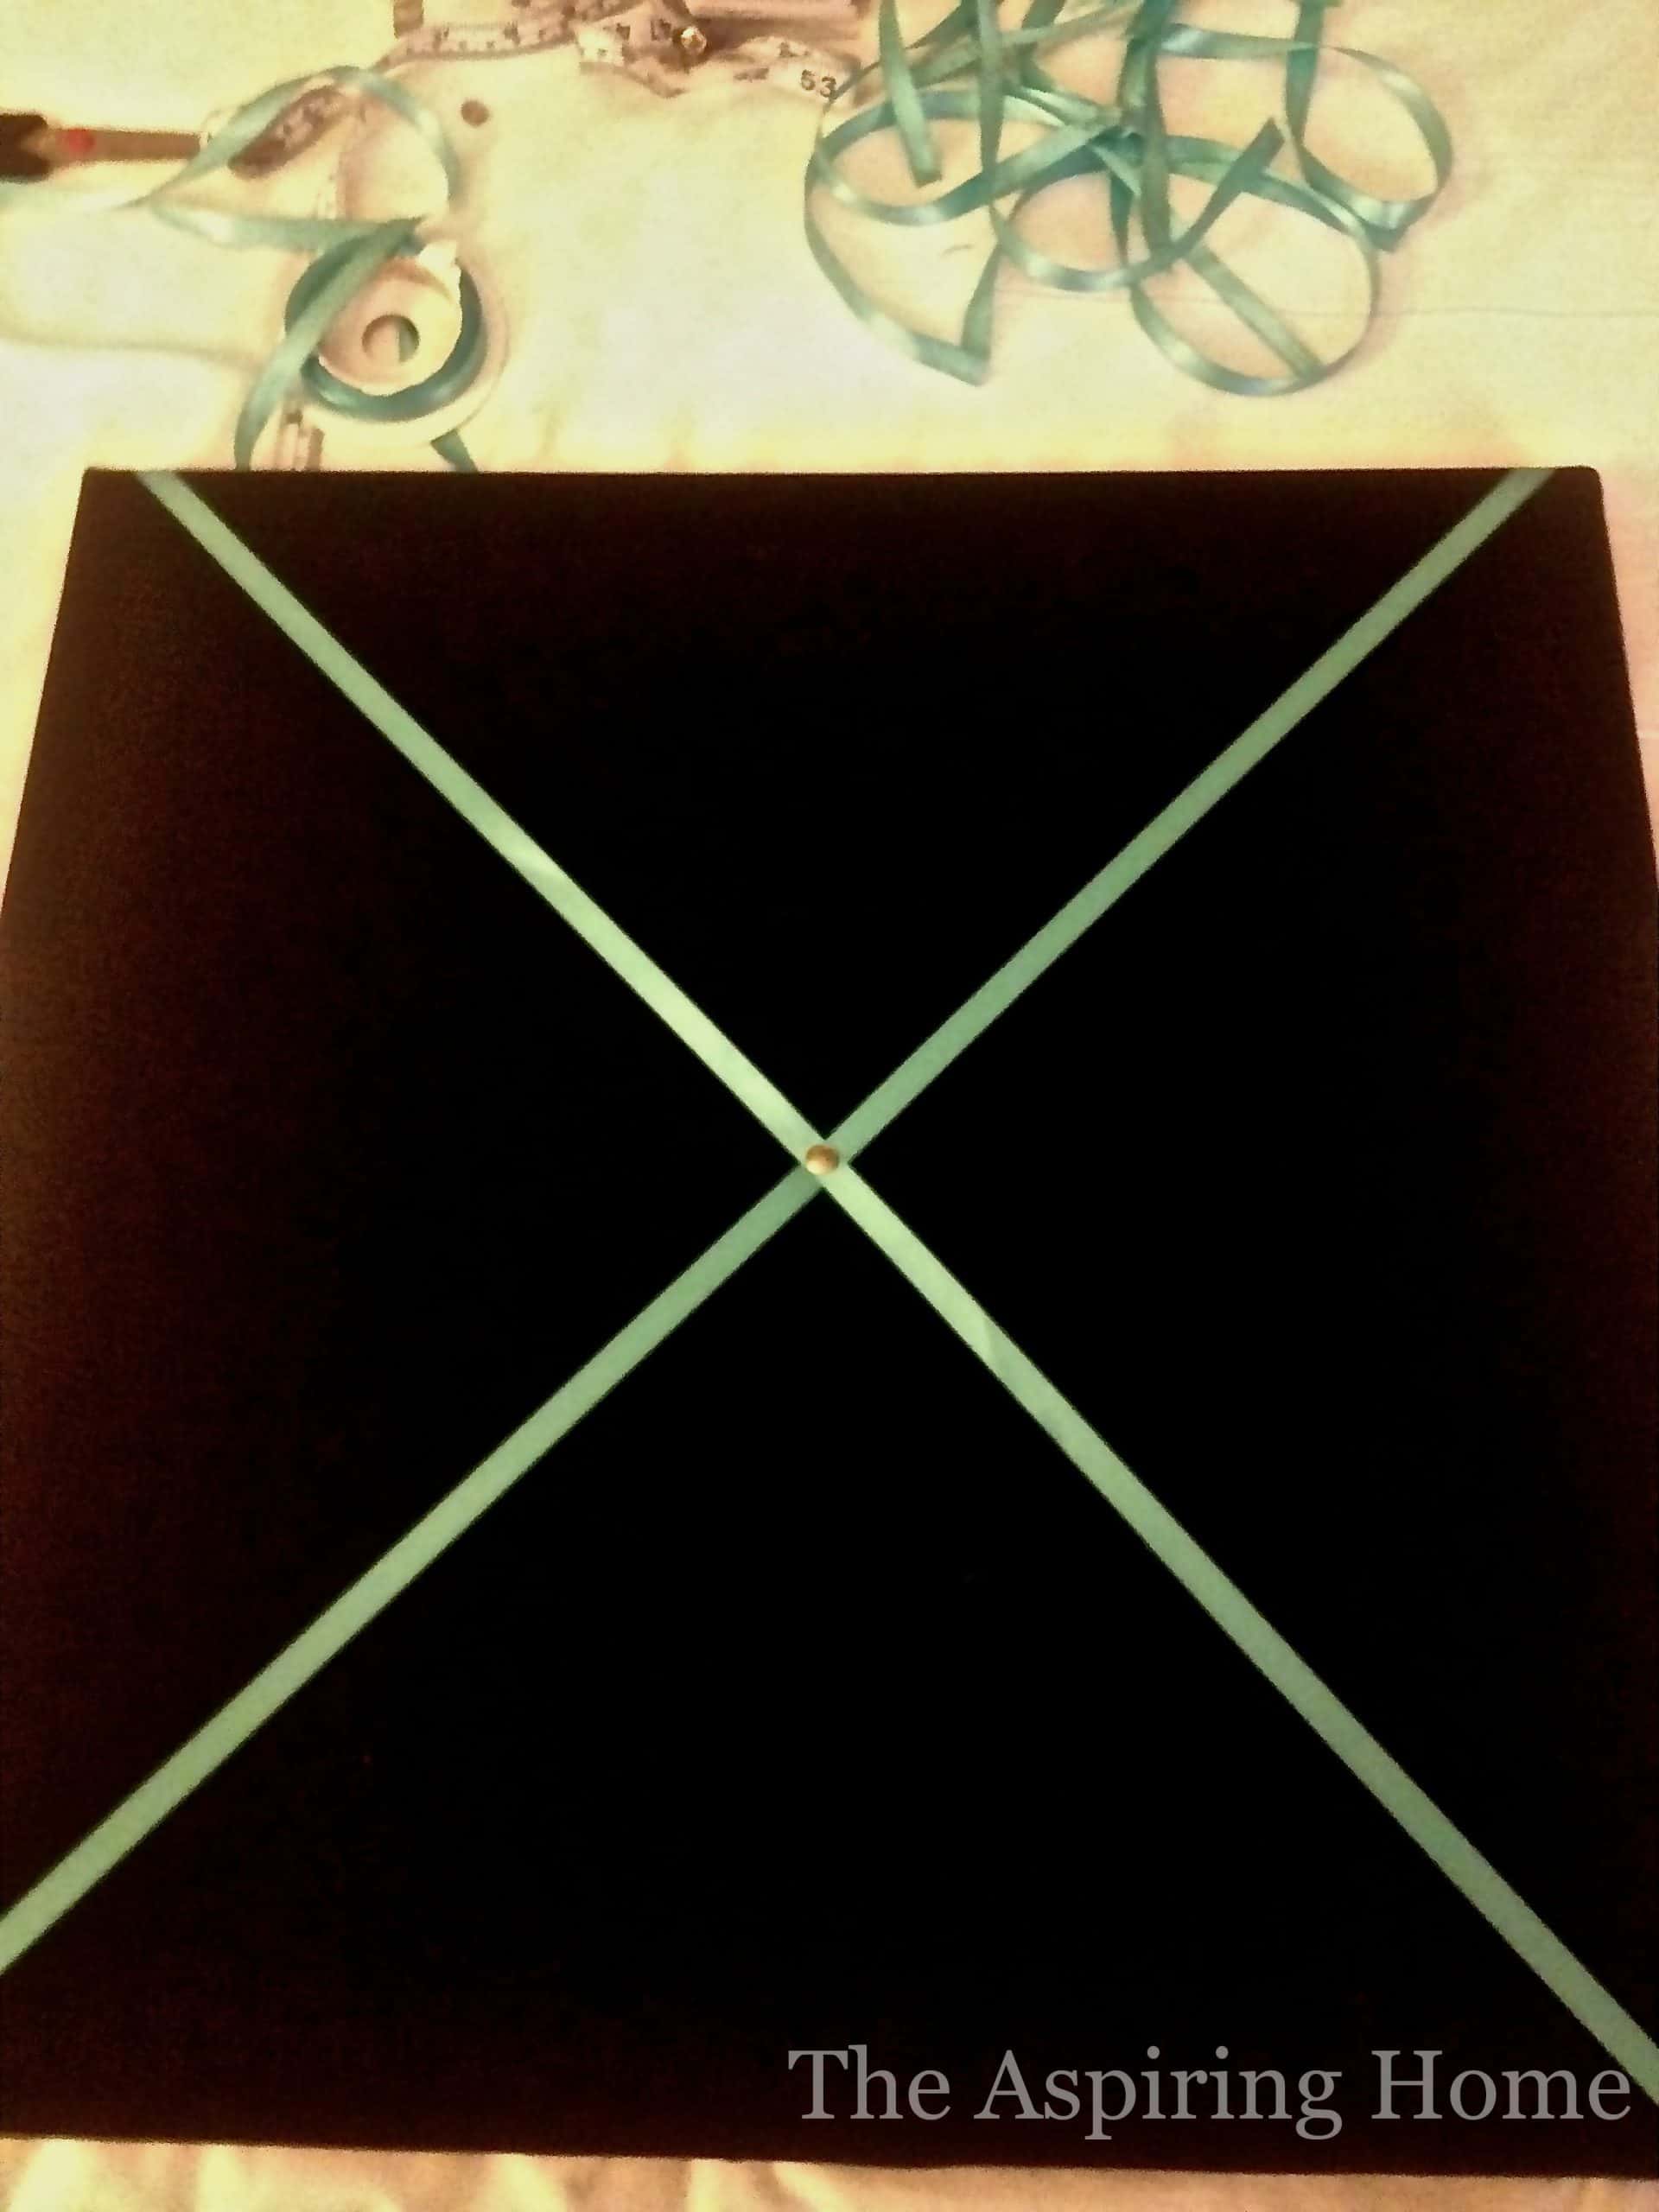
Step 2. Add narrow ribbon
Create an “X” pattern with your small ribbon and secure it with the thumbtack on the back side of canvas.
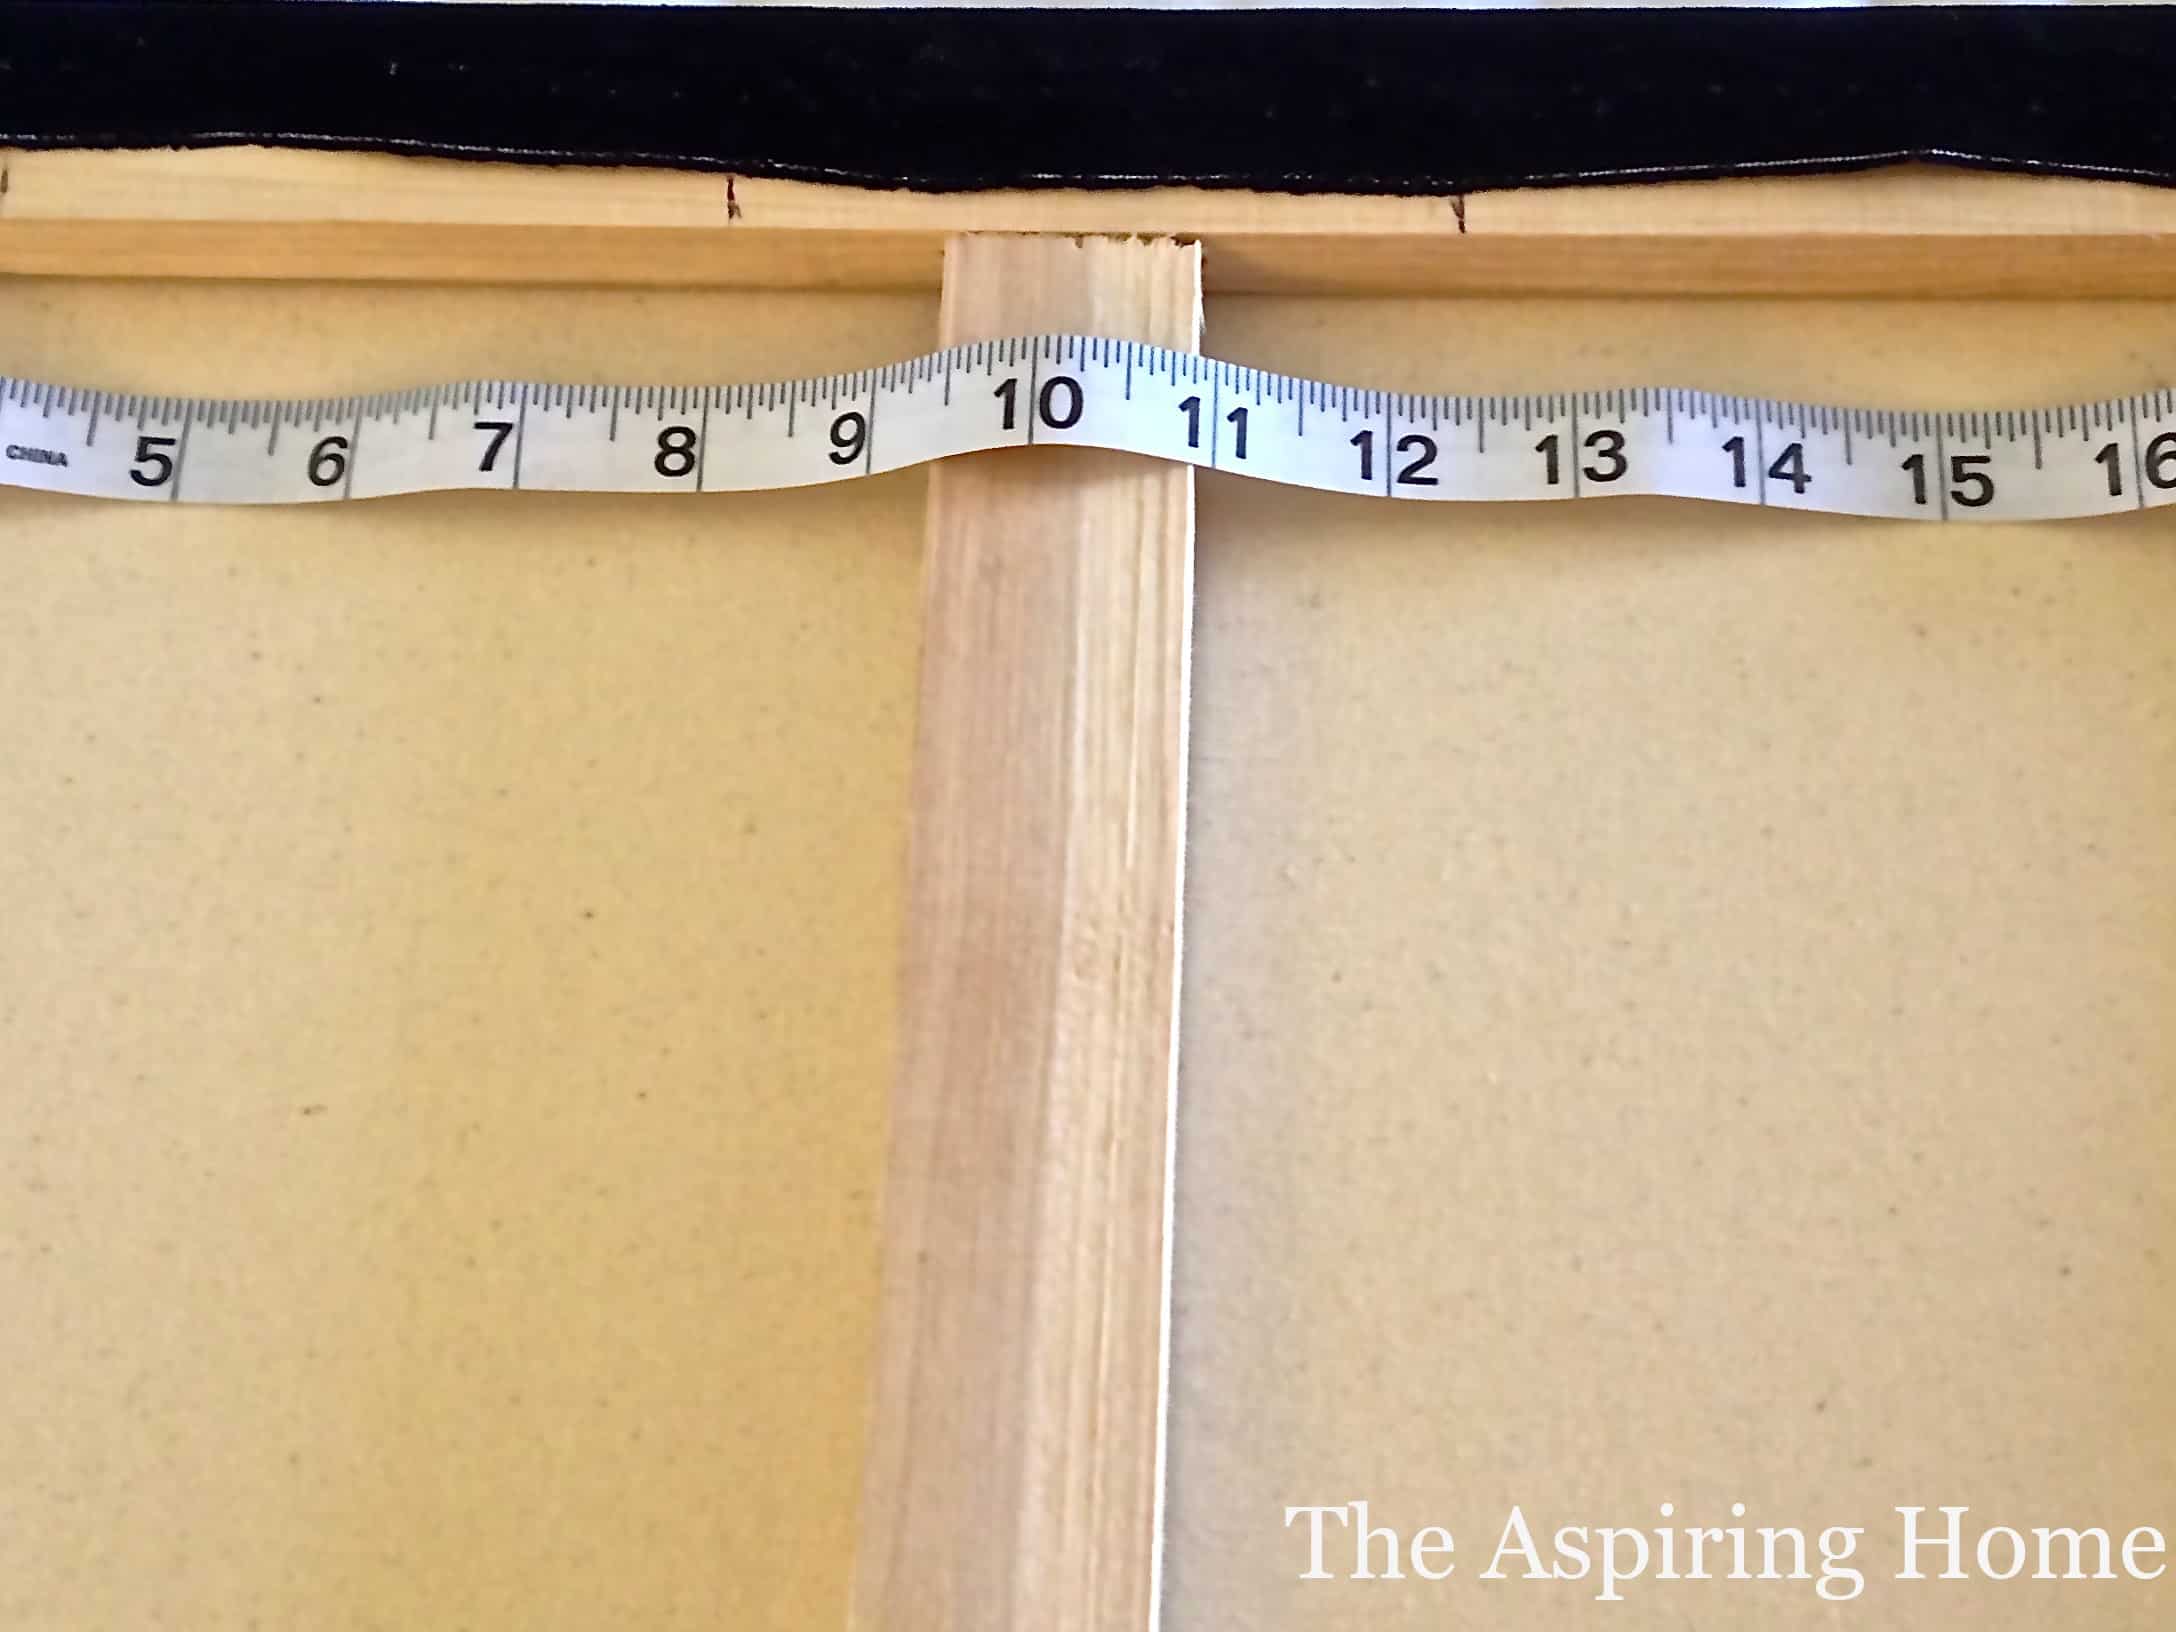
Step 3. Mark the center
Find the center of your canvas (hint: the middle will probably be right at your canvas support bar)
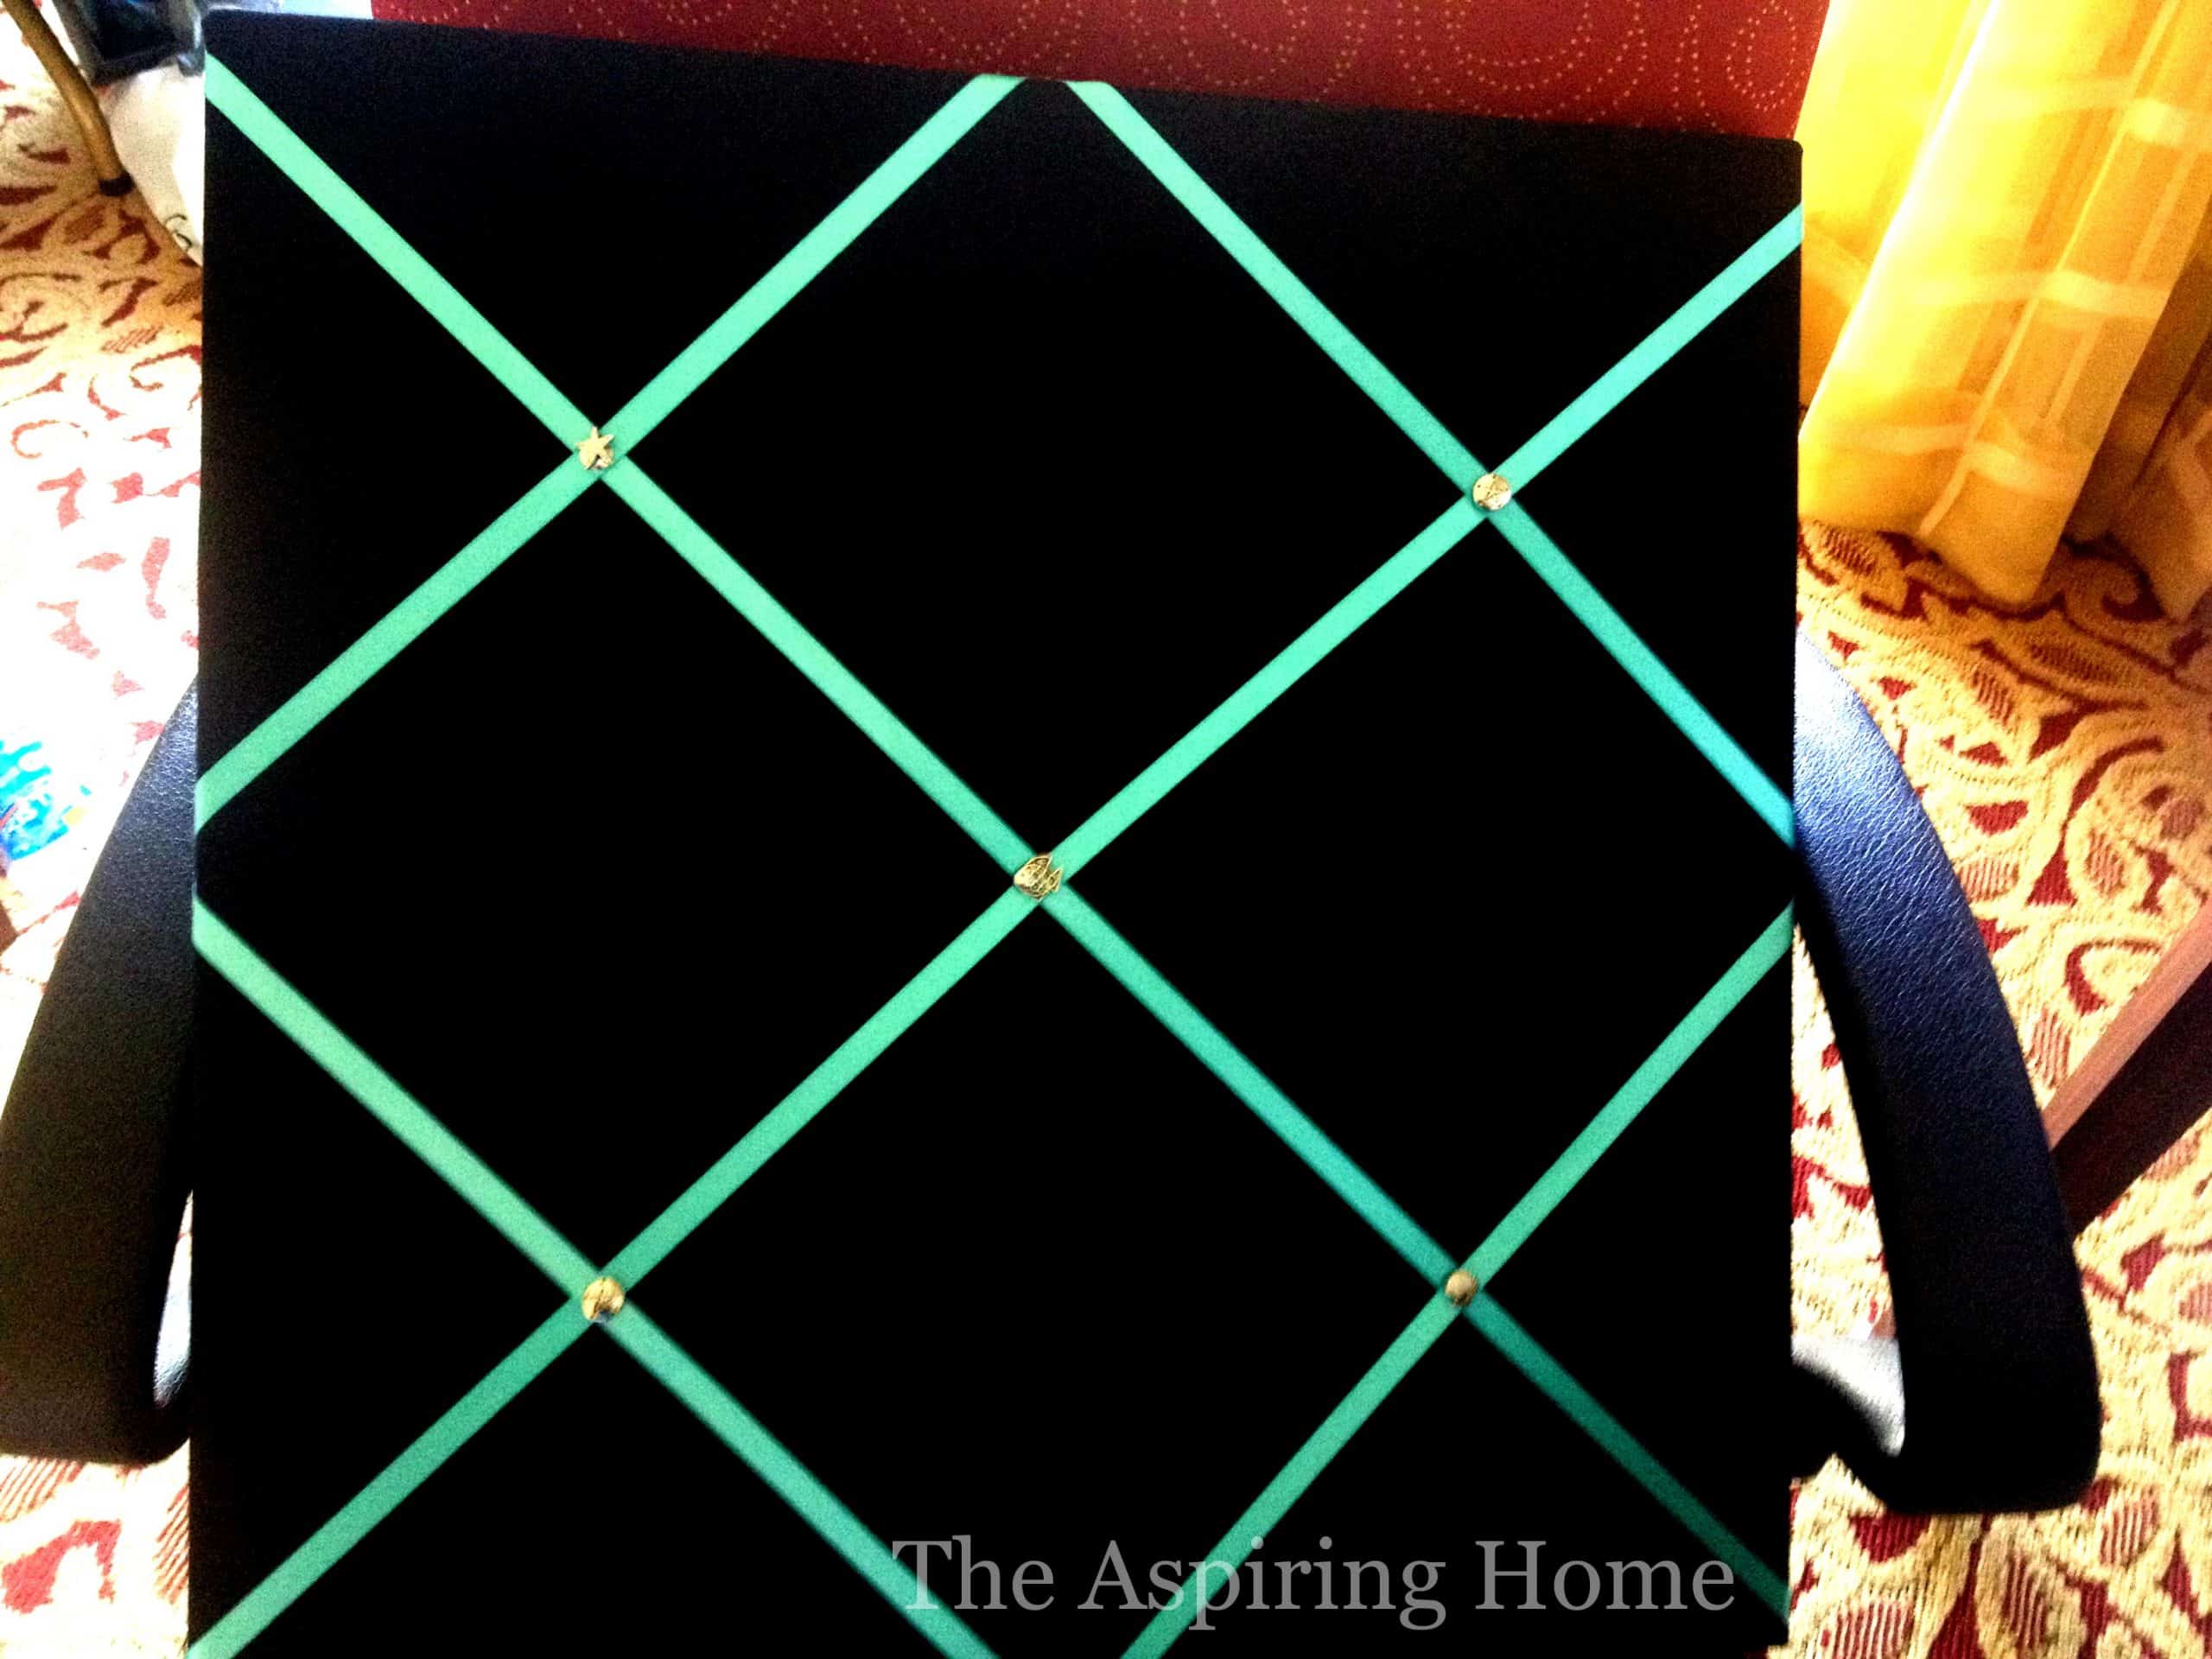
Step 4. Begin adding more ribbon
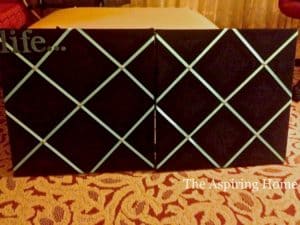
Ok, you are now going to create a diamond pattern with your ribbon… Use your center marks as a guide on where to attach.
Step 5. Make it charming!
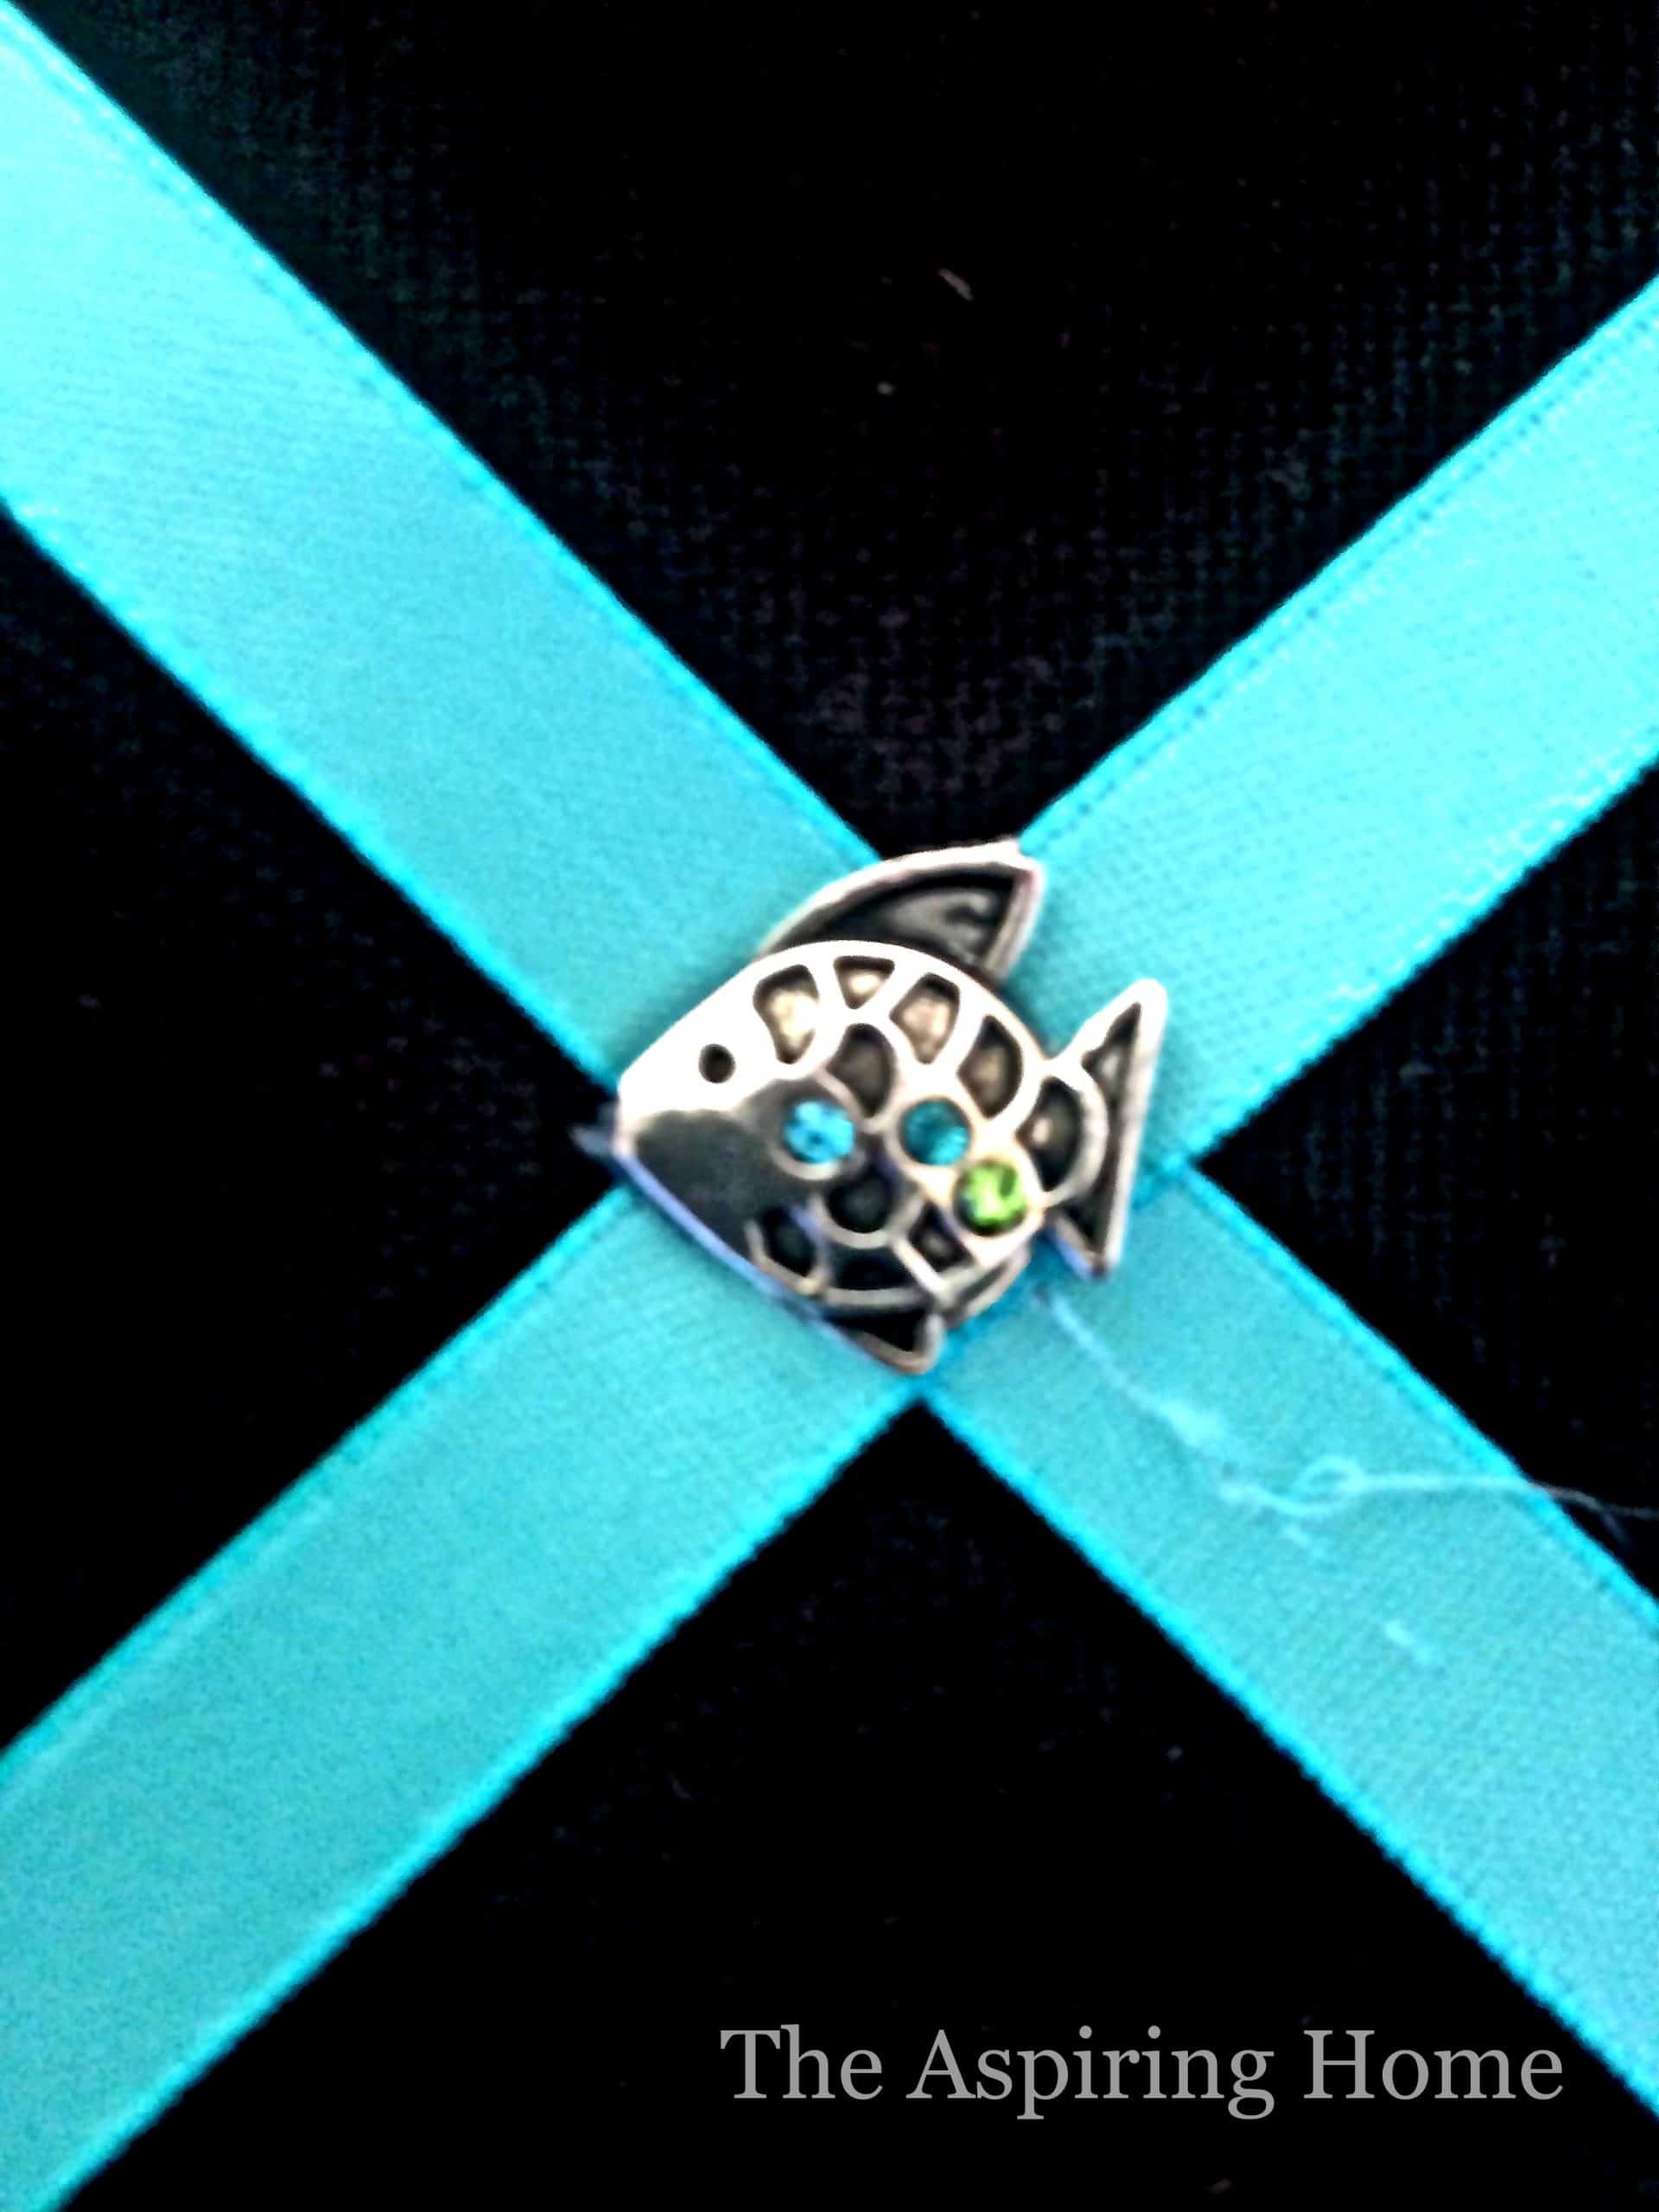
Now to add the pretties… add a little charm at each of the areas where the ribbon crosses.
Start with using a thumbtack. Push thumbtack through the canvas and use needle nose pliers to turn the sharp end towards the canvas.
Next cut the little metal loop off your charms. Hot glue charms onto the thumbtack head.
Step 6. Label your french memo board
Now, you are welcome to stop here and call it good BUT how fun would it be to add some groovy chipboard letters?
and… while you are at it…
wouldn’t it be great to paint said chipboard letters with… finger nail polish. Seriously, it’s an enamel, the colors are so fun and you can buy small quantities. WIN/WIN situation folks!
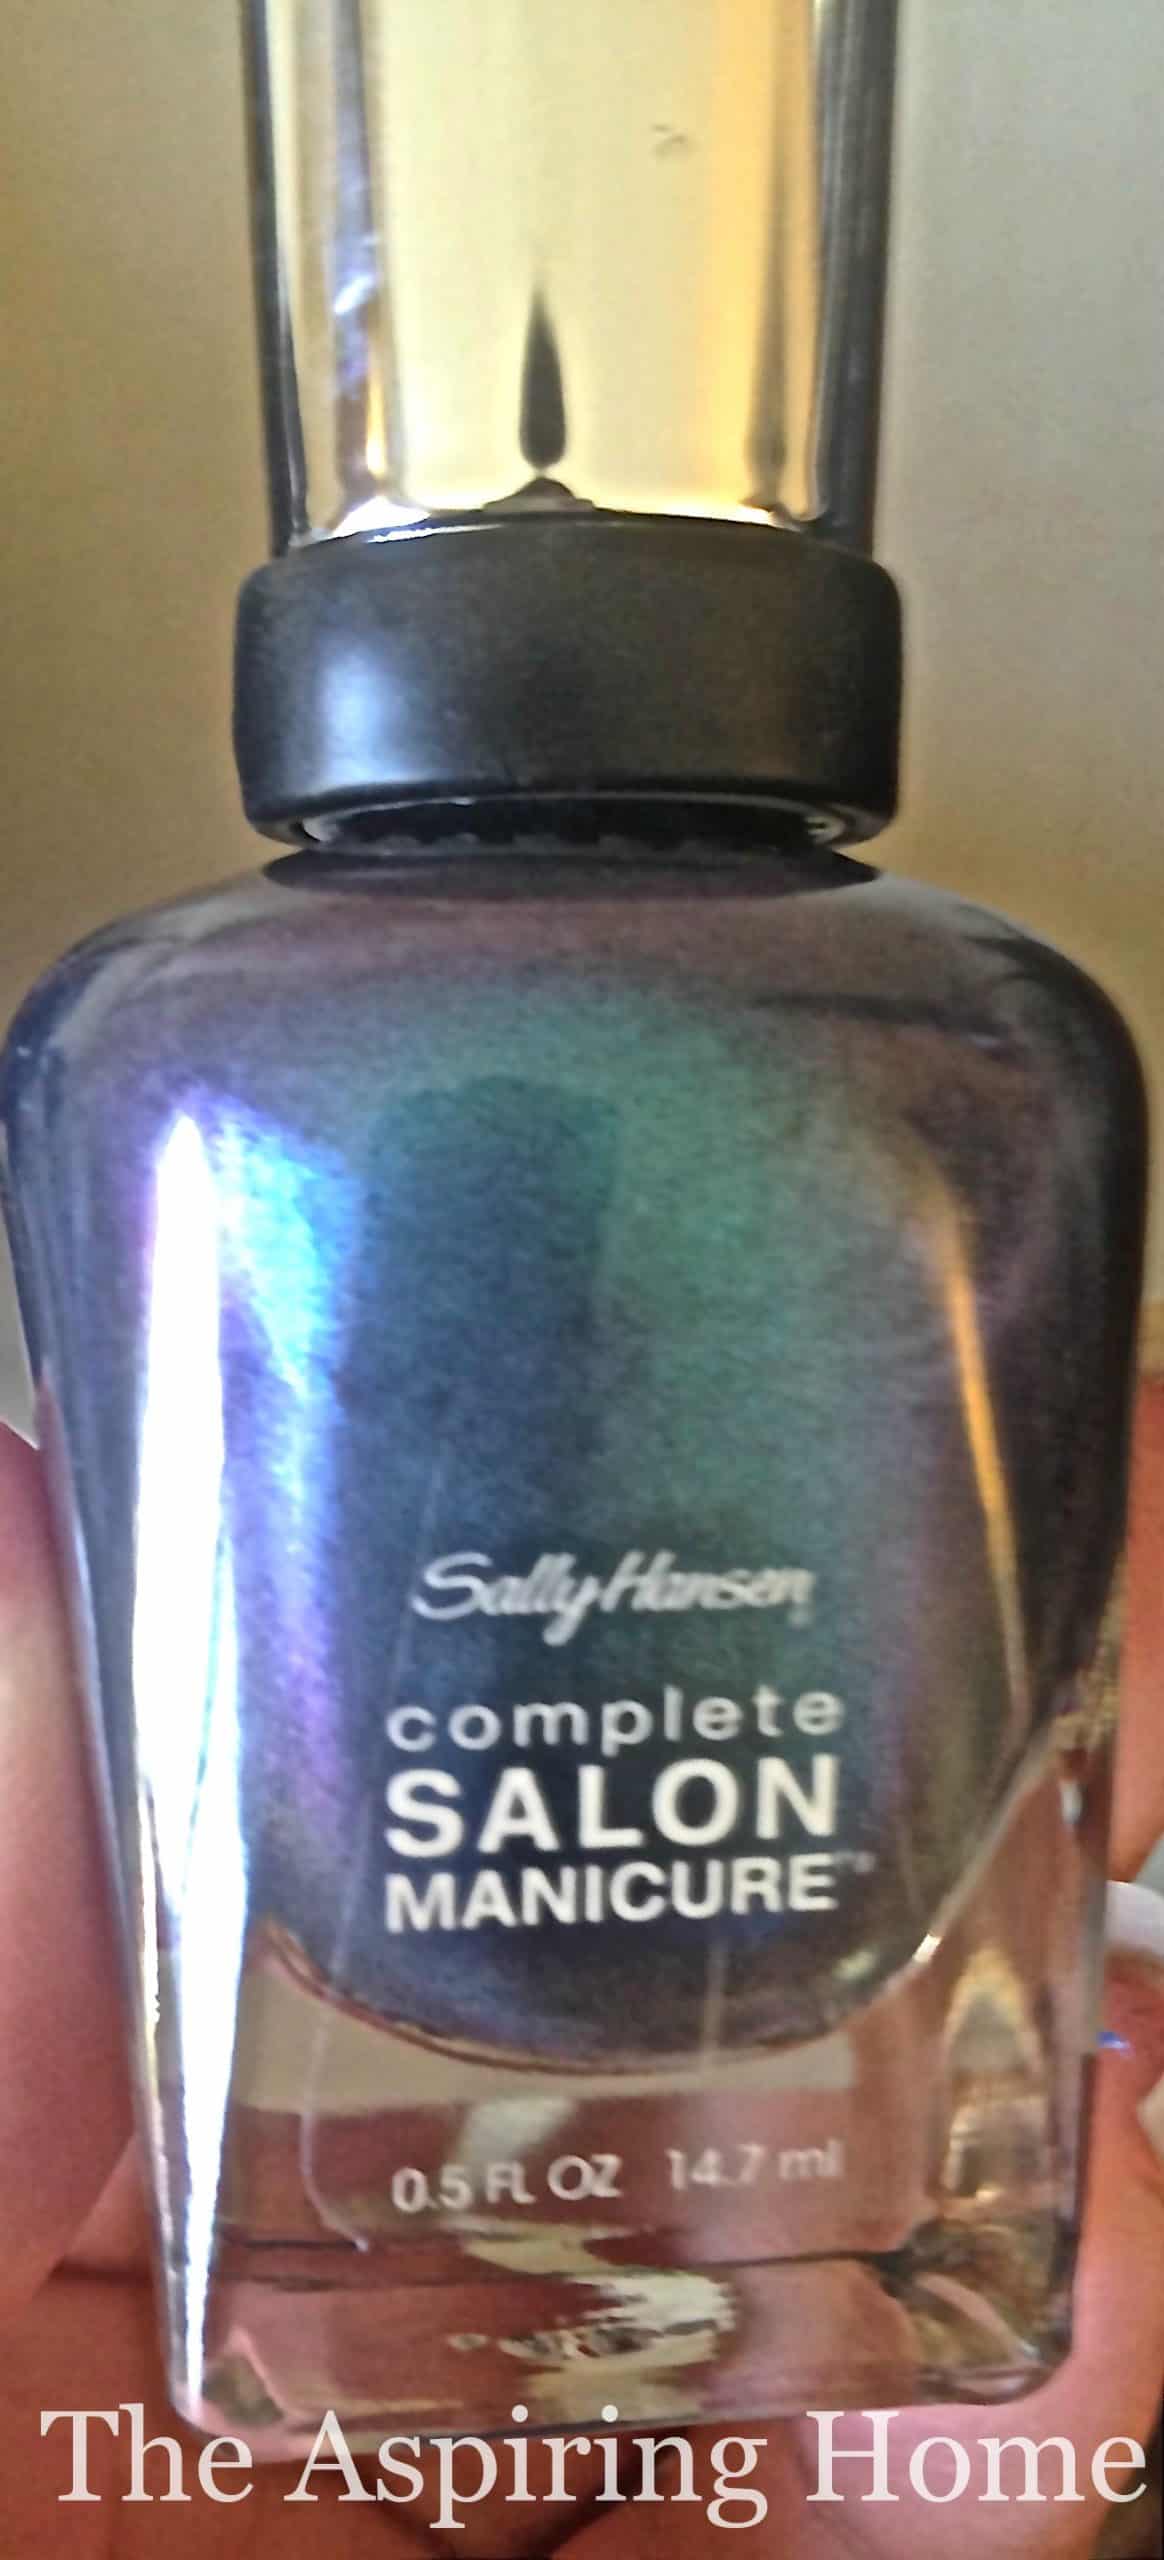
Step 7. Hot glue
Grab your handy dandy glue gun and add your letters. Don’t forget to inspect for the hot glue stringy mess!
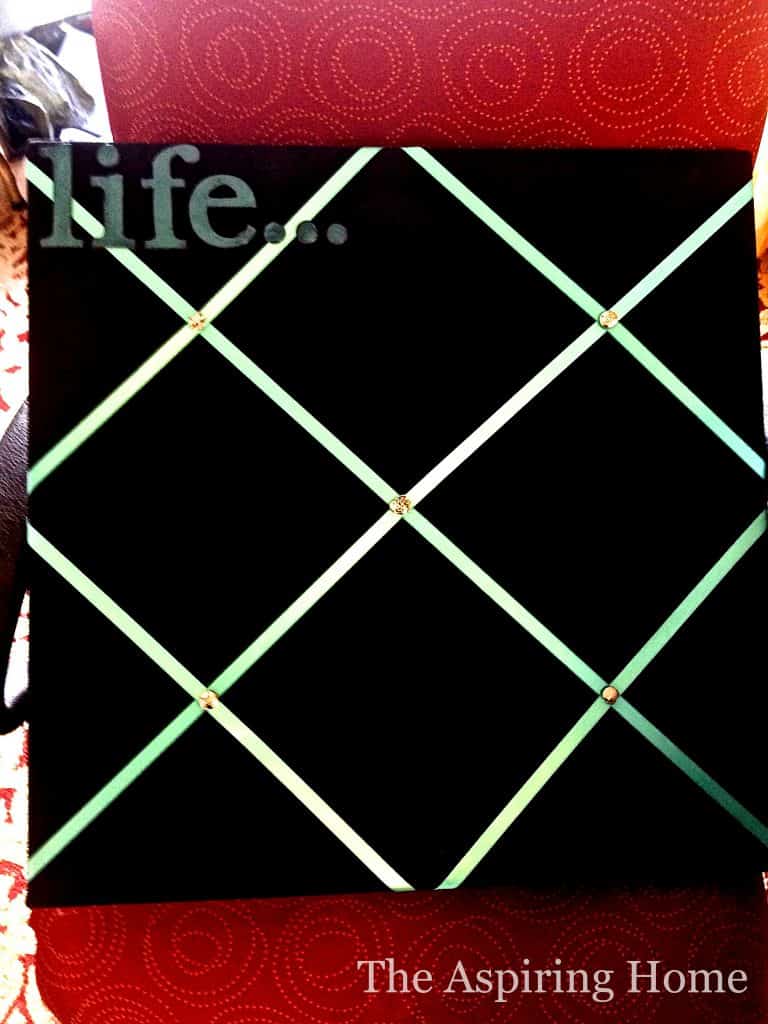
That’s it! All that is left is to add your favorite photos.
Enjoy! Like I said in the beginning of this kinda long post…What a great dorm room project!
You can add saw tooth hangers on the back and use the command hooks with the little nail addition (I have only been able to find these hooks at JoAnn’s Fabric store) or use the heavy duty velcro strips.
How cool would these be stacked three across and three down? Talk about a statement these DIY french memo boards will make in a small dorm room!
Until later, keep creating home, friends!




bookmarked!!, I really like your web site!