How to Wrap Gifts Beautifully
There is something magical about a gorgeously wrapped present. It makes giving even more fun and I can show you how to wrap gifts beautifully.
I am sharing all the details on how to wrap gifts beautifully. If you have ever found yourself struggling with pretty packaging, today’s post is for you!
Welcome to the 5th annual 12 Days of Holiday Ideas event, hosted by Shirley of Intelligent Domestications and Erlene of My Pinterventures Between Nov. 11th and December 6th there will be hundreds of new ideas shared by over 55 Co-host bloggers! On Day 2, we are talking all about Survival Guides. Over the years, I have been asked to share my tips and secrets on how I wrap. Today is the day I will share all my tips and secrets on how to wrap gifts beautifully.
Go here to see our kick-off collection of Holiday ideas as well as all of this year’s talented participating DIY and Foodie Blogs. Download this year’s November and December calendars with all of the topics and dates so you can make plans to watch for ideas!
We are hosting a BIG GIVEAWAY from our Sponsors this year! Be sure to scroll all the way down for more information and to enter to win!
How to Wrap a Gifts Beautifully
What paper should I use?
Ah, the paper. If you can, try to go for a paper that has a medium thickness. Too thin – it tears easily wihen you crease the end to create nice folds. Took thick it can make the wrapping look bulky. Half the stress comes from buying the wrong paper. Where do I find paper? Well, consistently I have purchased from Hobby Lobby and from Target.
What tape do I use?
Well, my answer? Scotch Gift wrap tape. I have used every tape there is – trust me. Yes, I have used doubled sided tape, for me, it costs too much and I like a tape that allows me to reposition it a little. Scotch gift wrap tape has a satin finish and “hides” better (in my opnion), like a good girdle or pair of spanx.. it’s necessary but you don’t want everyone to know it’s there. HA!
What ribbon should I use?
Any dang ribbon you want. How do you like that answer? Seriously, I am going to show you 2 styles of bows created 4 different ways. I will explain which bow allows for wired and unwired ribbon.
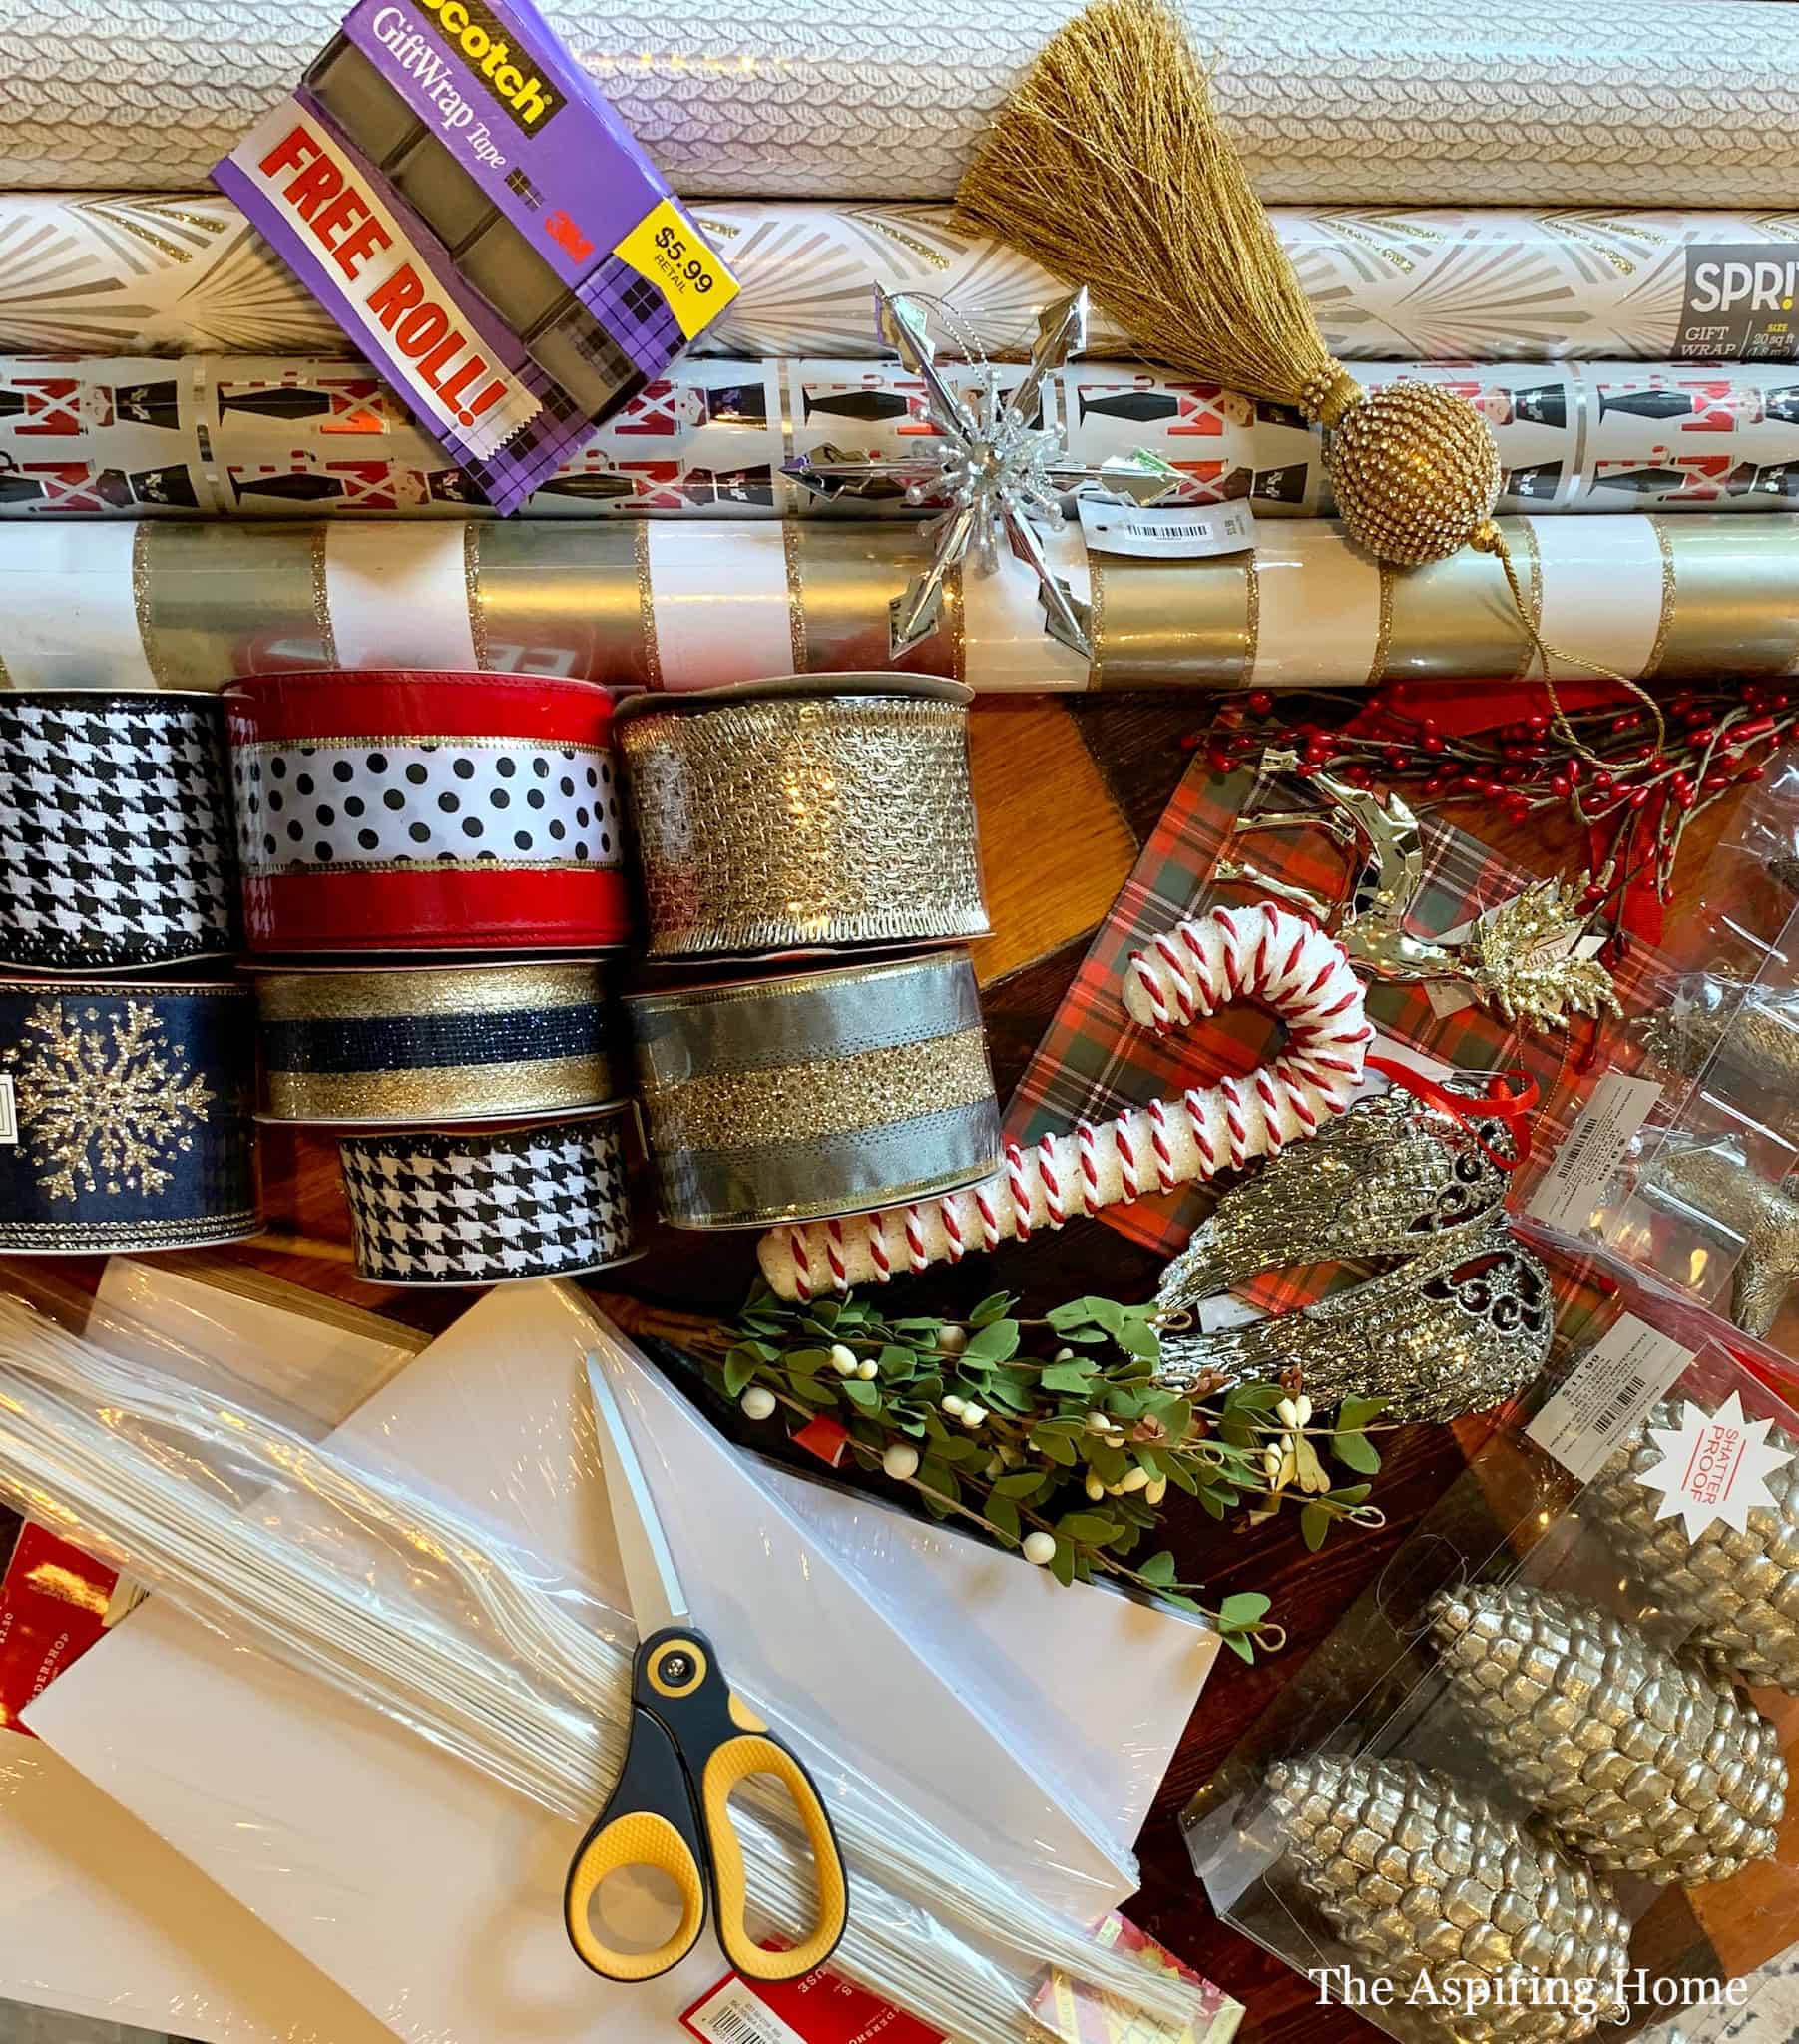
Alright, now we have those questions out of the way. Here are a few more things you will need.
- Scissors
- 32 gage thread covered floral wire
- Cute ornaments – you can buy in bulk or individually choose per gift
Step by Step Instructions on How to Wrap Gifts Beautifully…
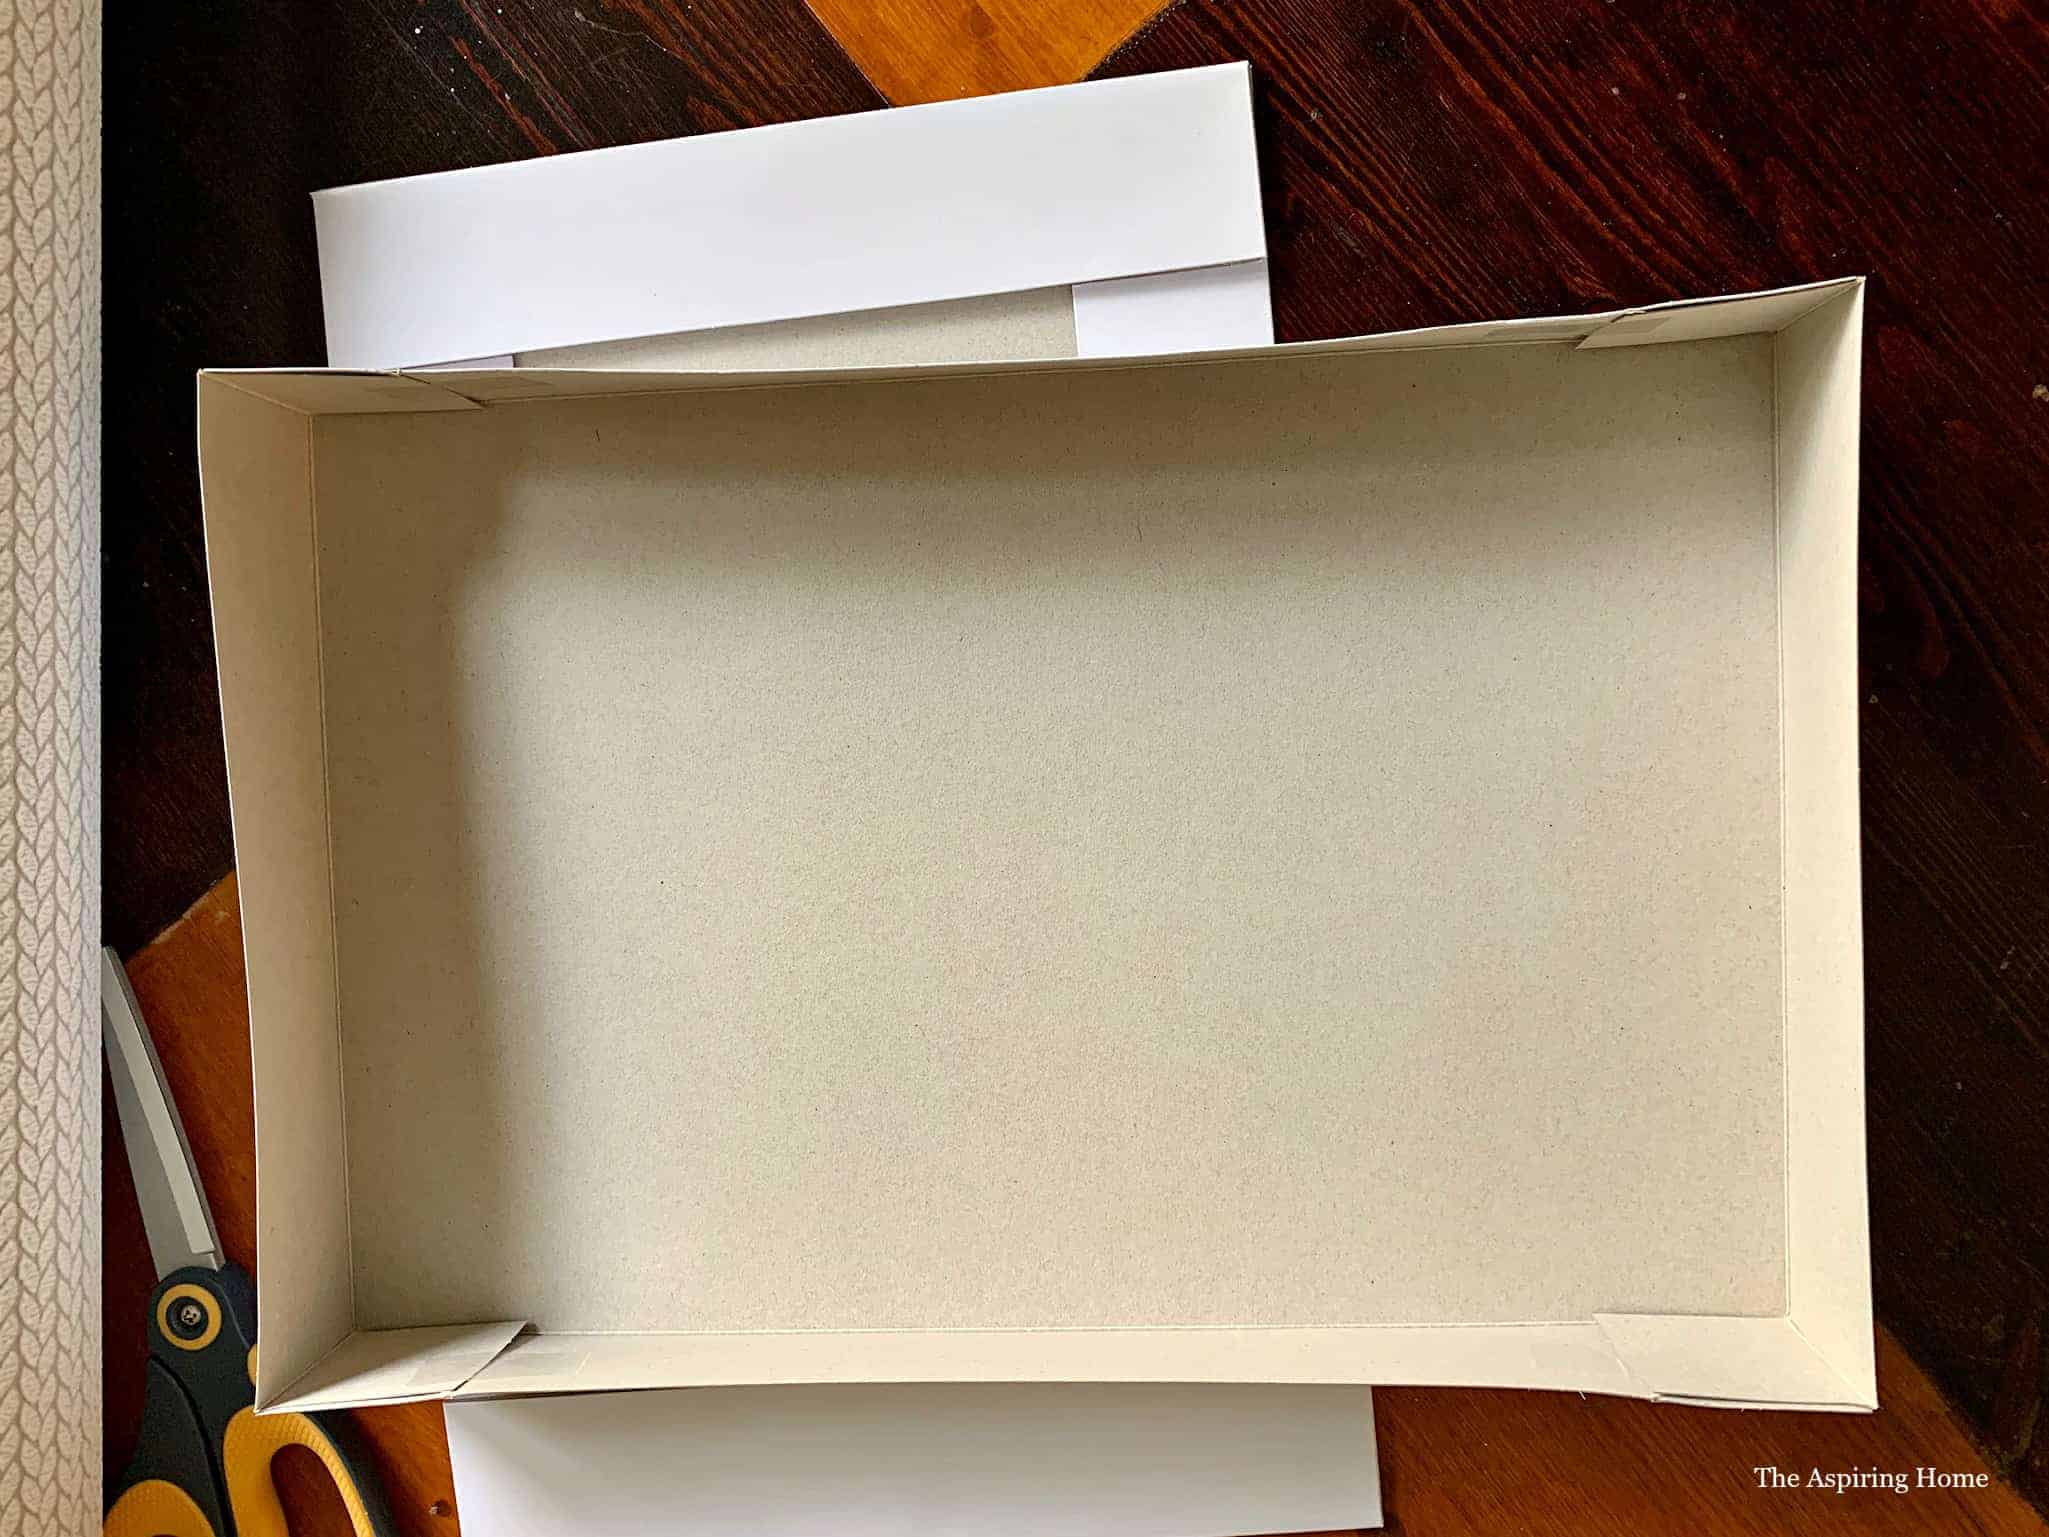
Step 1: Deal with the box
Ok, now I have talked to many folks who jumped on the gift bag wagon only because of sheer frustration with wrapping. Here’s another little secret, tape the inside corners of the gift box. The tape will help the box stay rigid and make wrapping easier. It’s crazy simple but it makes a HUGE difference.

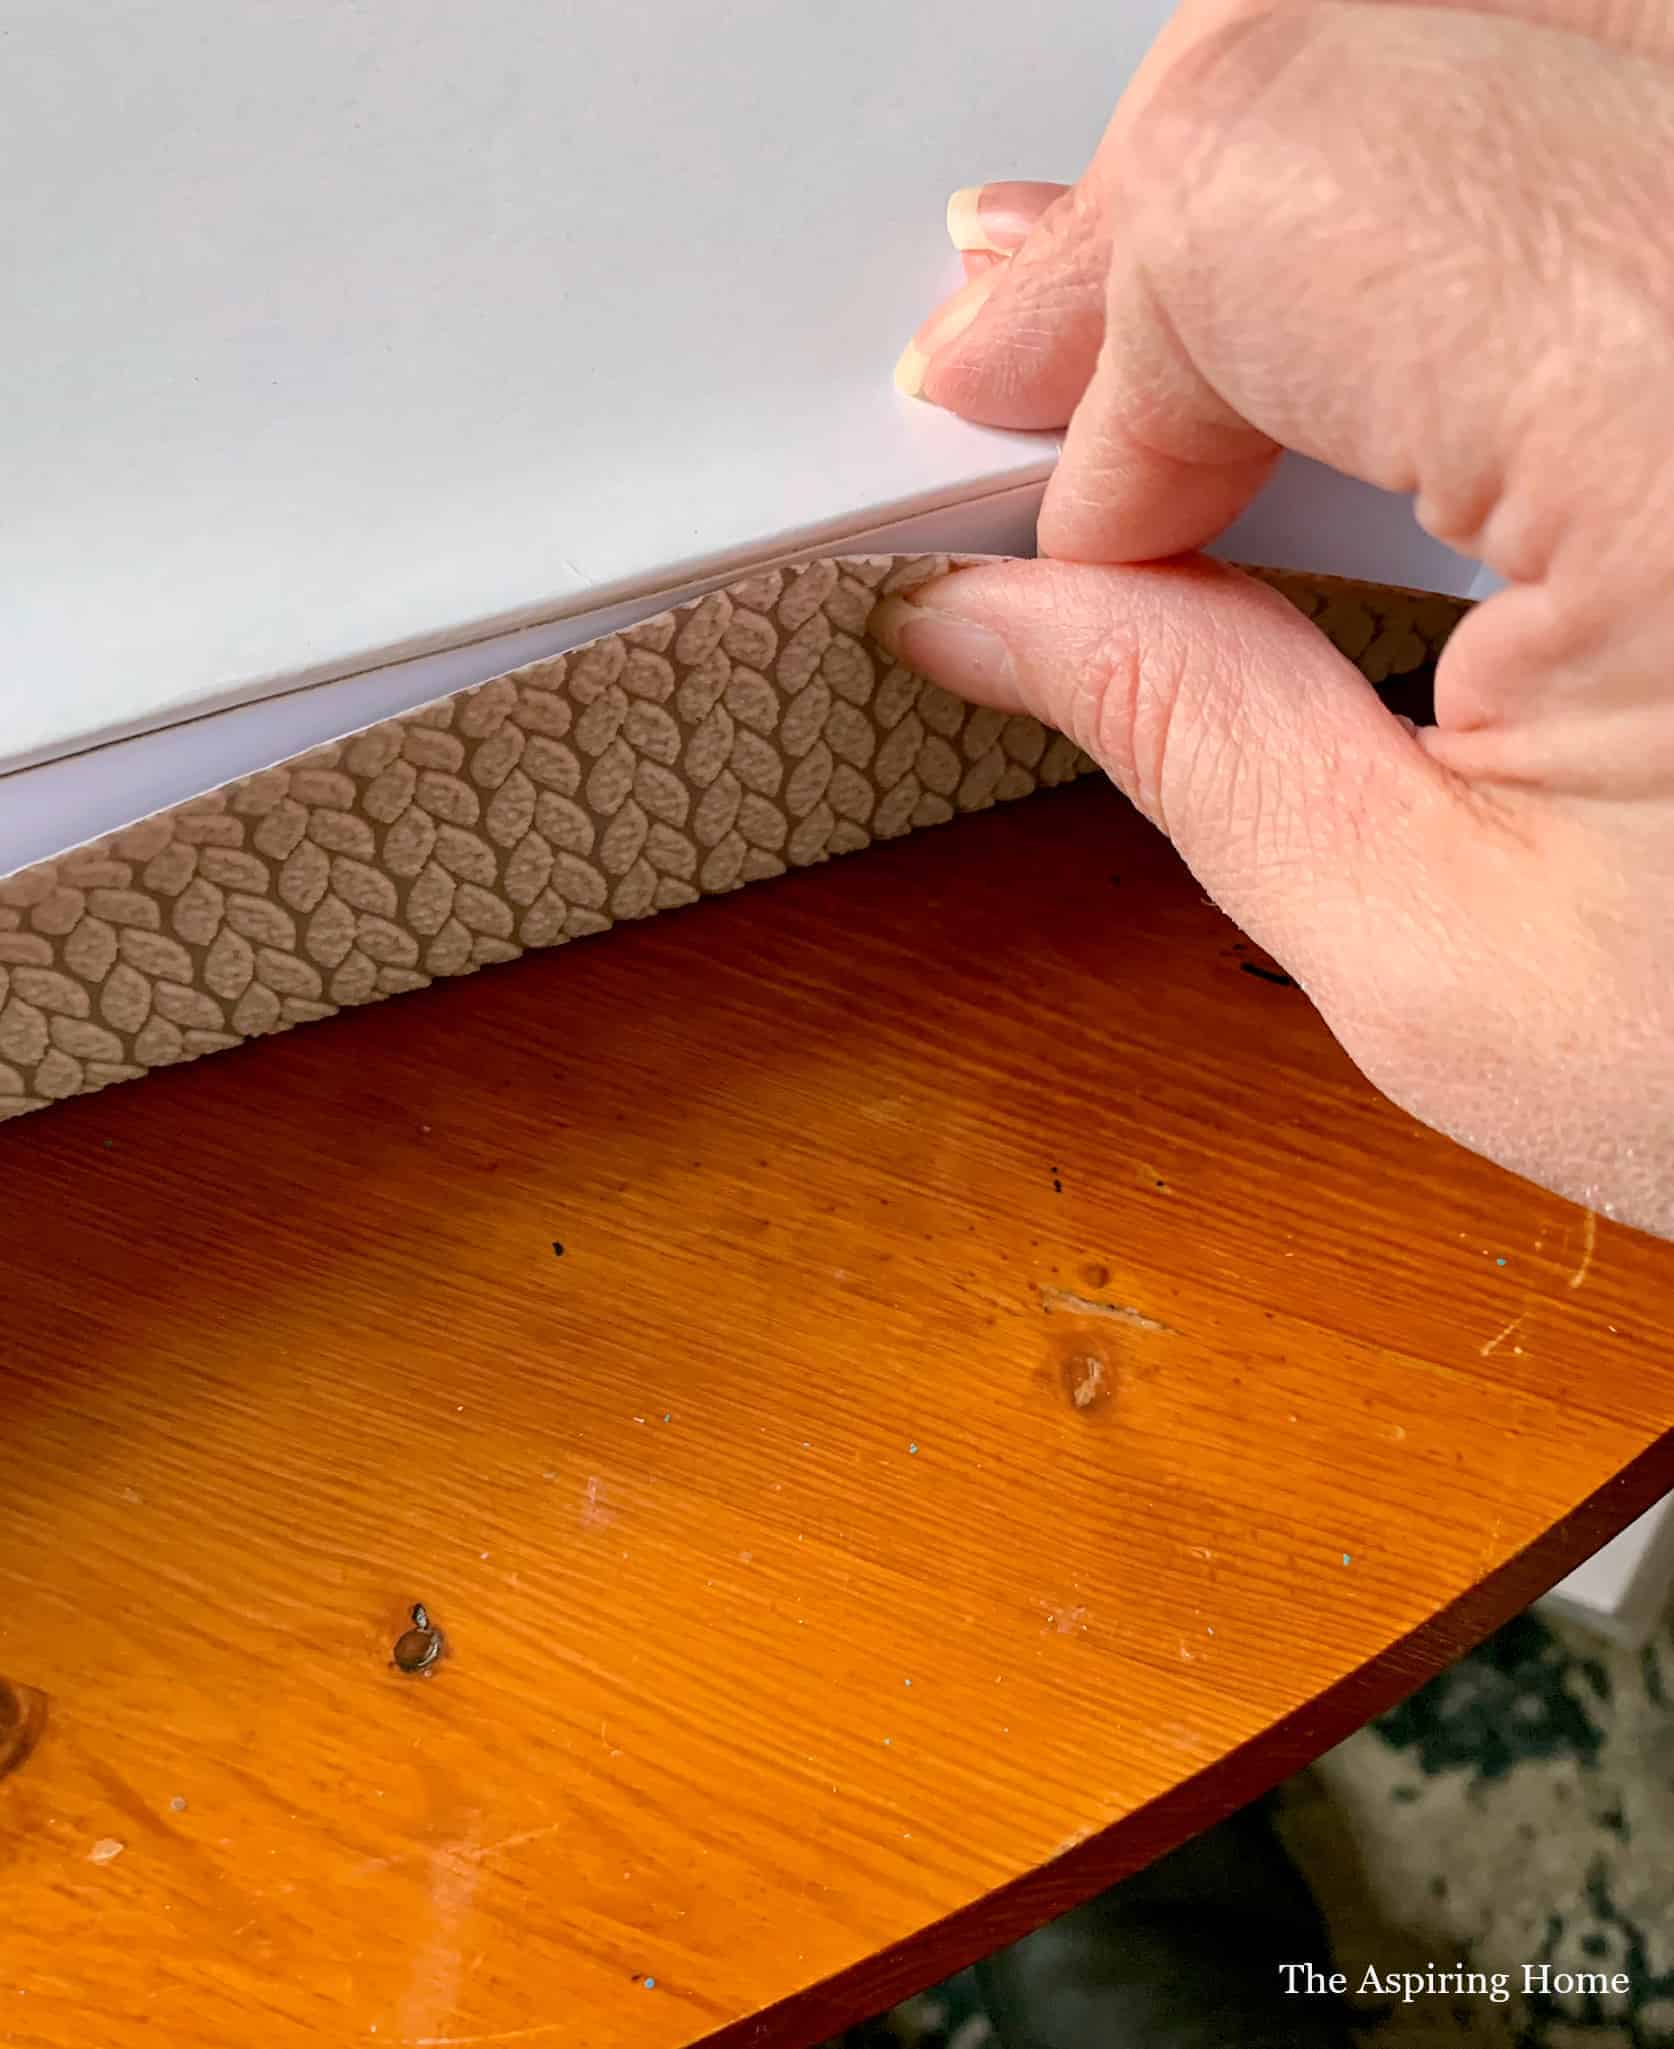
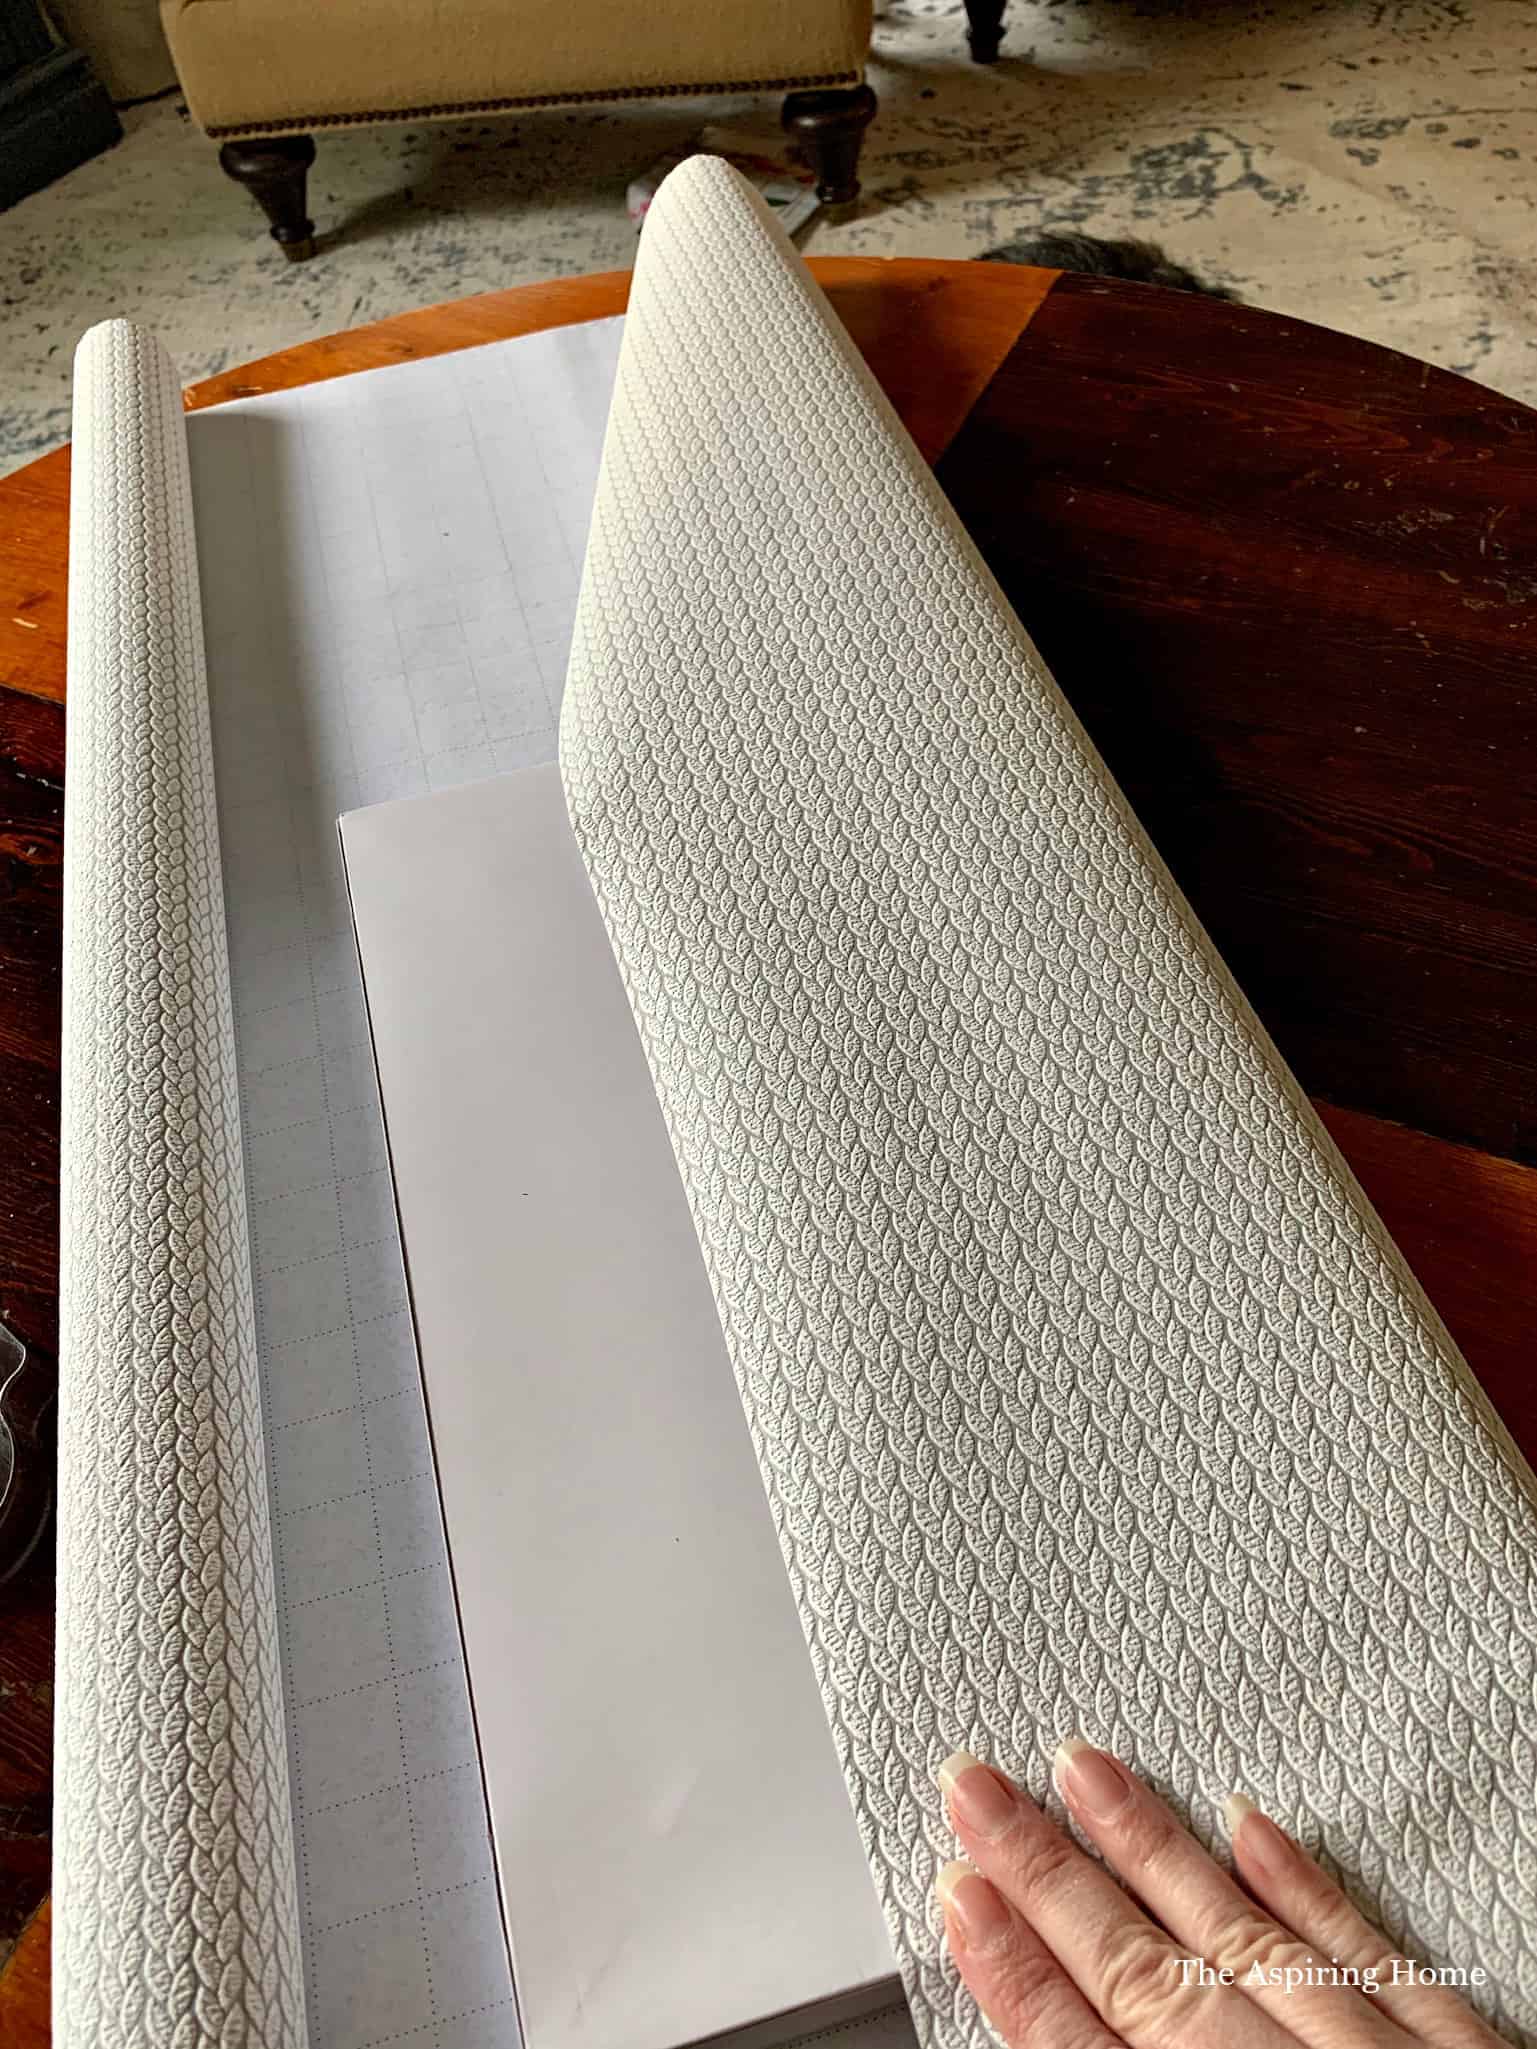
Step 2: Cut the paper
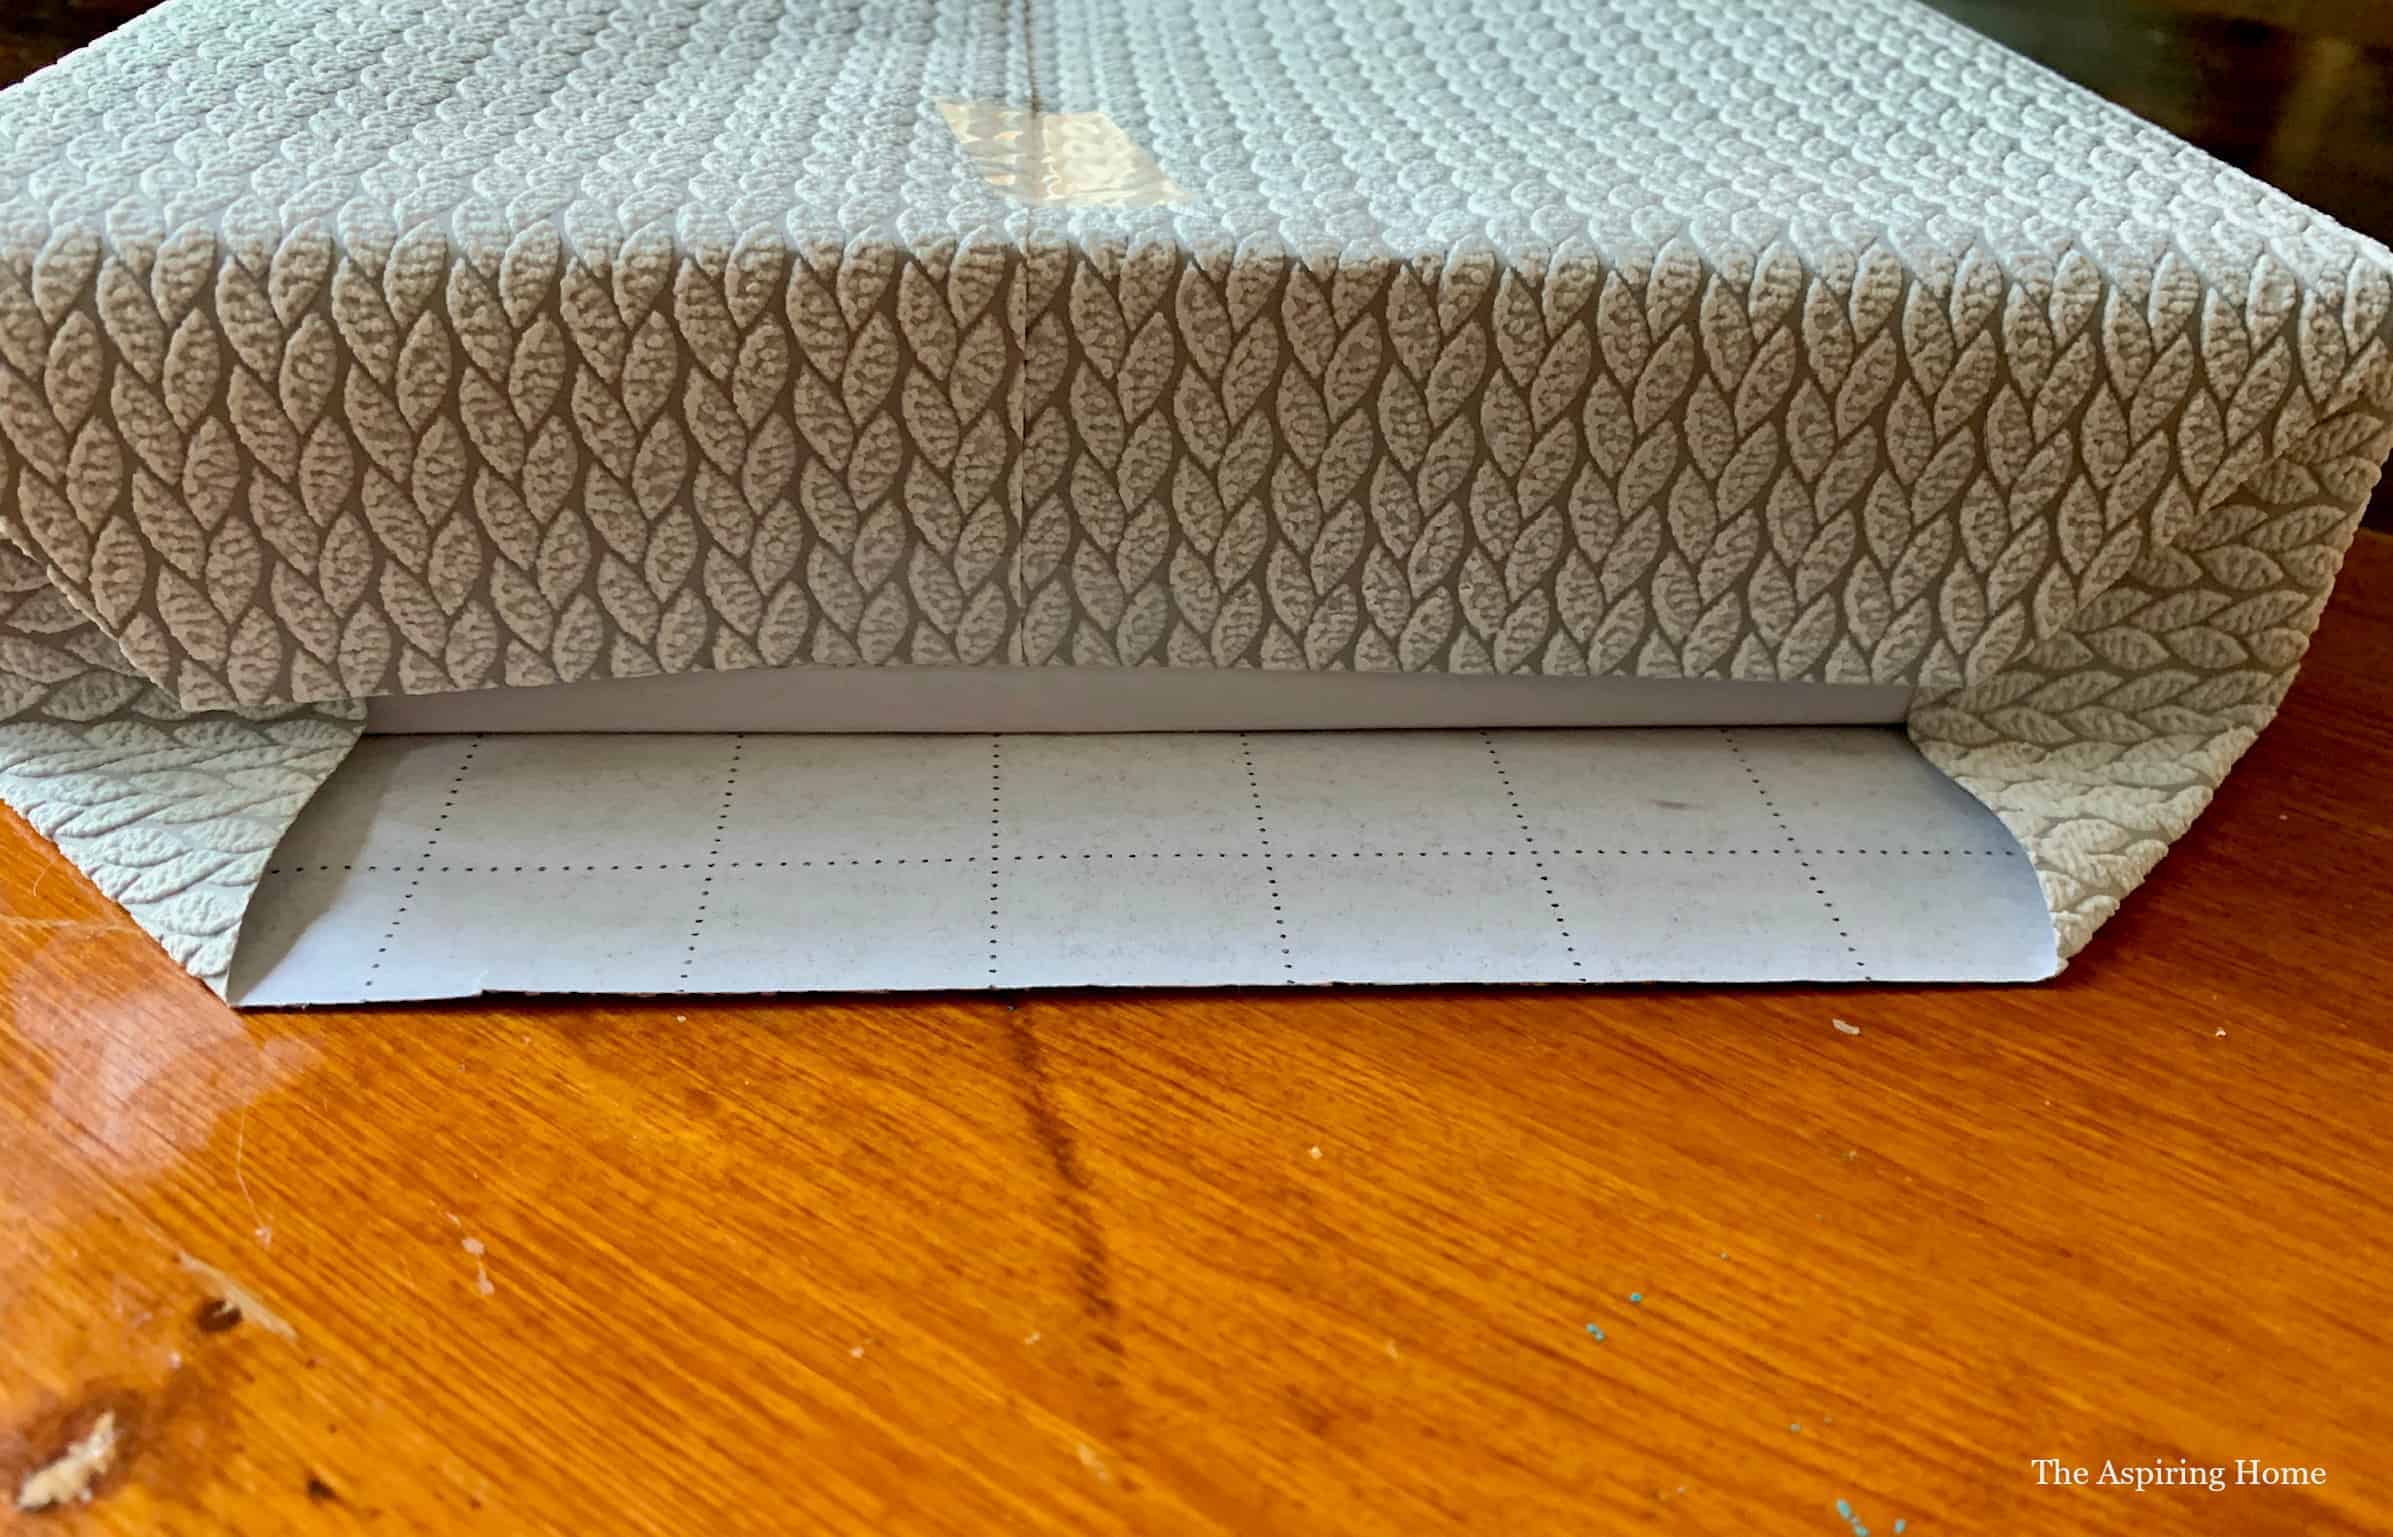
Measuring is easy if you buy paper with a grid backing. Begin by measuring the end. Gently pull the paper up until it reaches the top edge evenly. Lay back down and count the squares. For me, it equated to about 1 3/4 squares. This will be the same measurement for the other end ( I know, “duh” but I thought I would throw it out there).
Next take the end of the role and lay it across the box until about 2/3 of the box is covered. Use a small piece of tape to secure. Now take the other end and lay it over the taped end. Allow for a little overage (this helps if your cutting skills are lacking. You can easily fold the jagged end a little to mimic a smooth edge). Cut off the roll.
Step 3: Taping and Folding
Here’s where the magic happens. Remember we have taped the first part 2/3 across the box? Arlight, now we are going to take the other 1/3 and tape it in three spots. This will keep paper lying flat.

On the ends of the package – fold in and lightly press to create a crease. Fold the top down and tape to secure. Fold the bottom up and tape in the middle and on each corner.
That is it! Allow a little patience on the first few. Before long, you will be able to wrap 20 a night!

Make a Gorgeous Bow!
If you can make a loop and pinch the middle, you can make these bows! Again, show yourself a little grace in the beginning. It can feel cumbersome holding the loops while you secure but practice WILL make perfect!
Bow Number 1
This bow mixes a couple of ribbon styles. Frist create a loop and pinch the middle. Use tape to secure. Make another one. Secure the first loopand second loop together with more tape. Make a third pinch loop. You guessed it, secure it to the other two with tape.
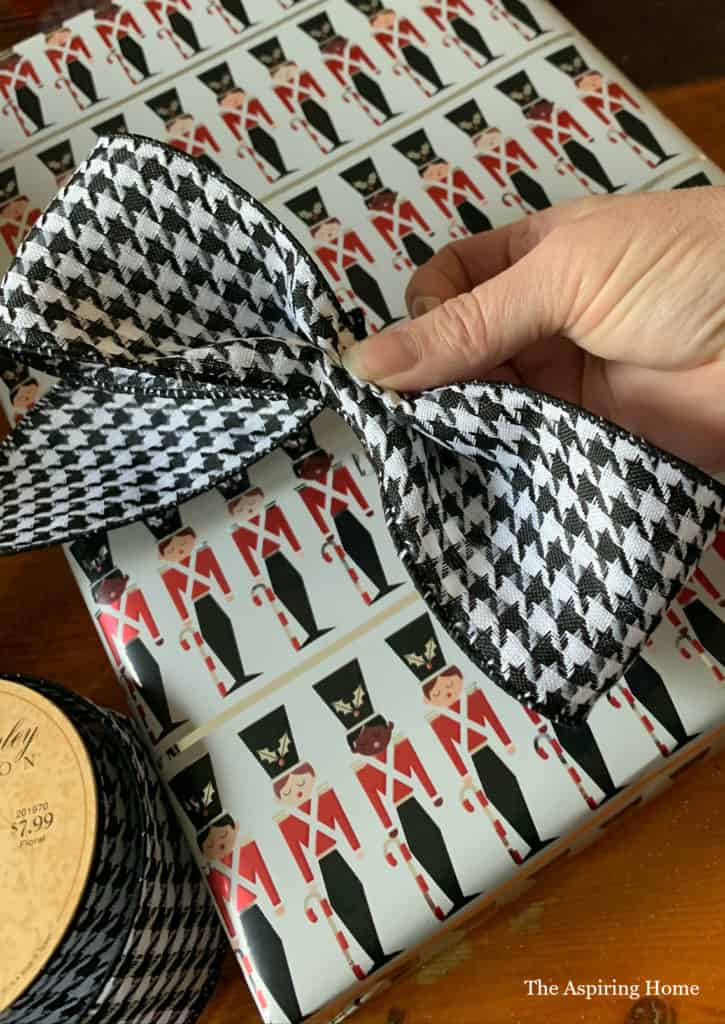
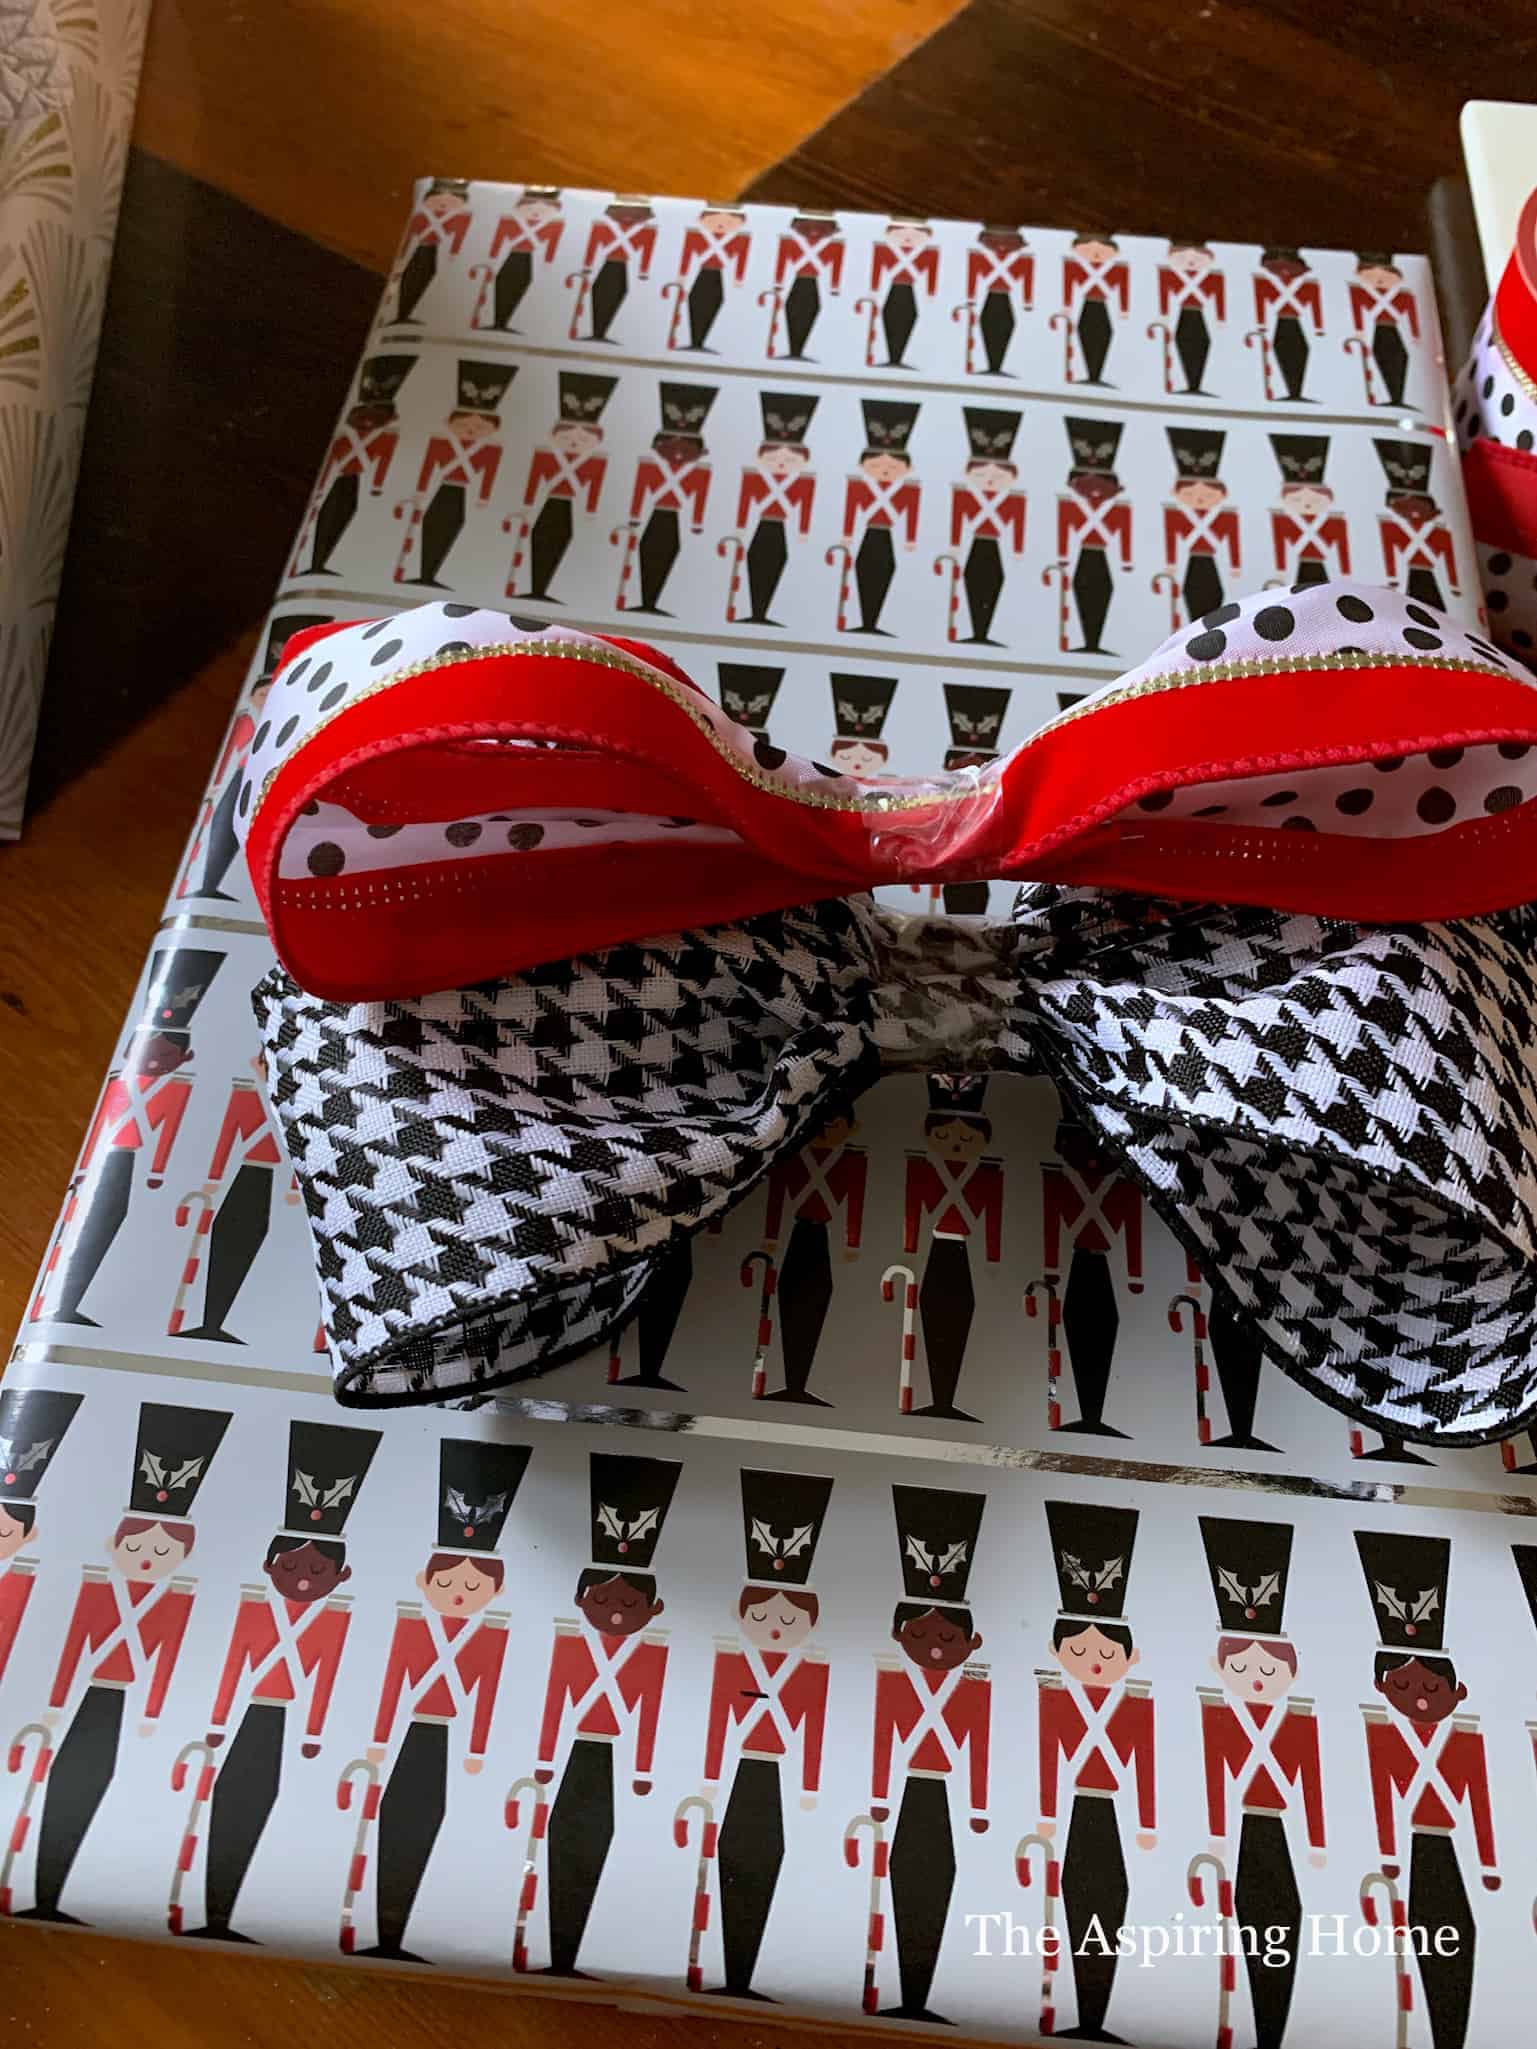
Take a length of ribbon long enough to create the bow’s “tails” plus a little to wrap around your pinched loops.
Place the loop grouping on top of the tails. Tie the tails around the loops.
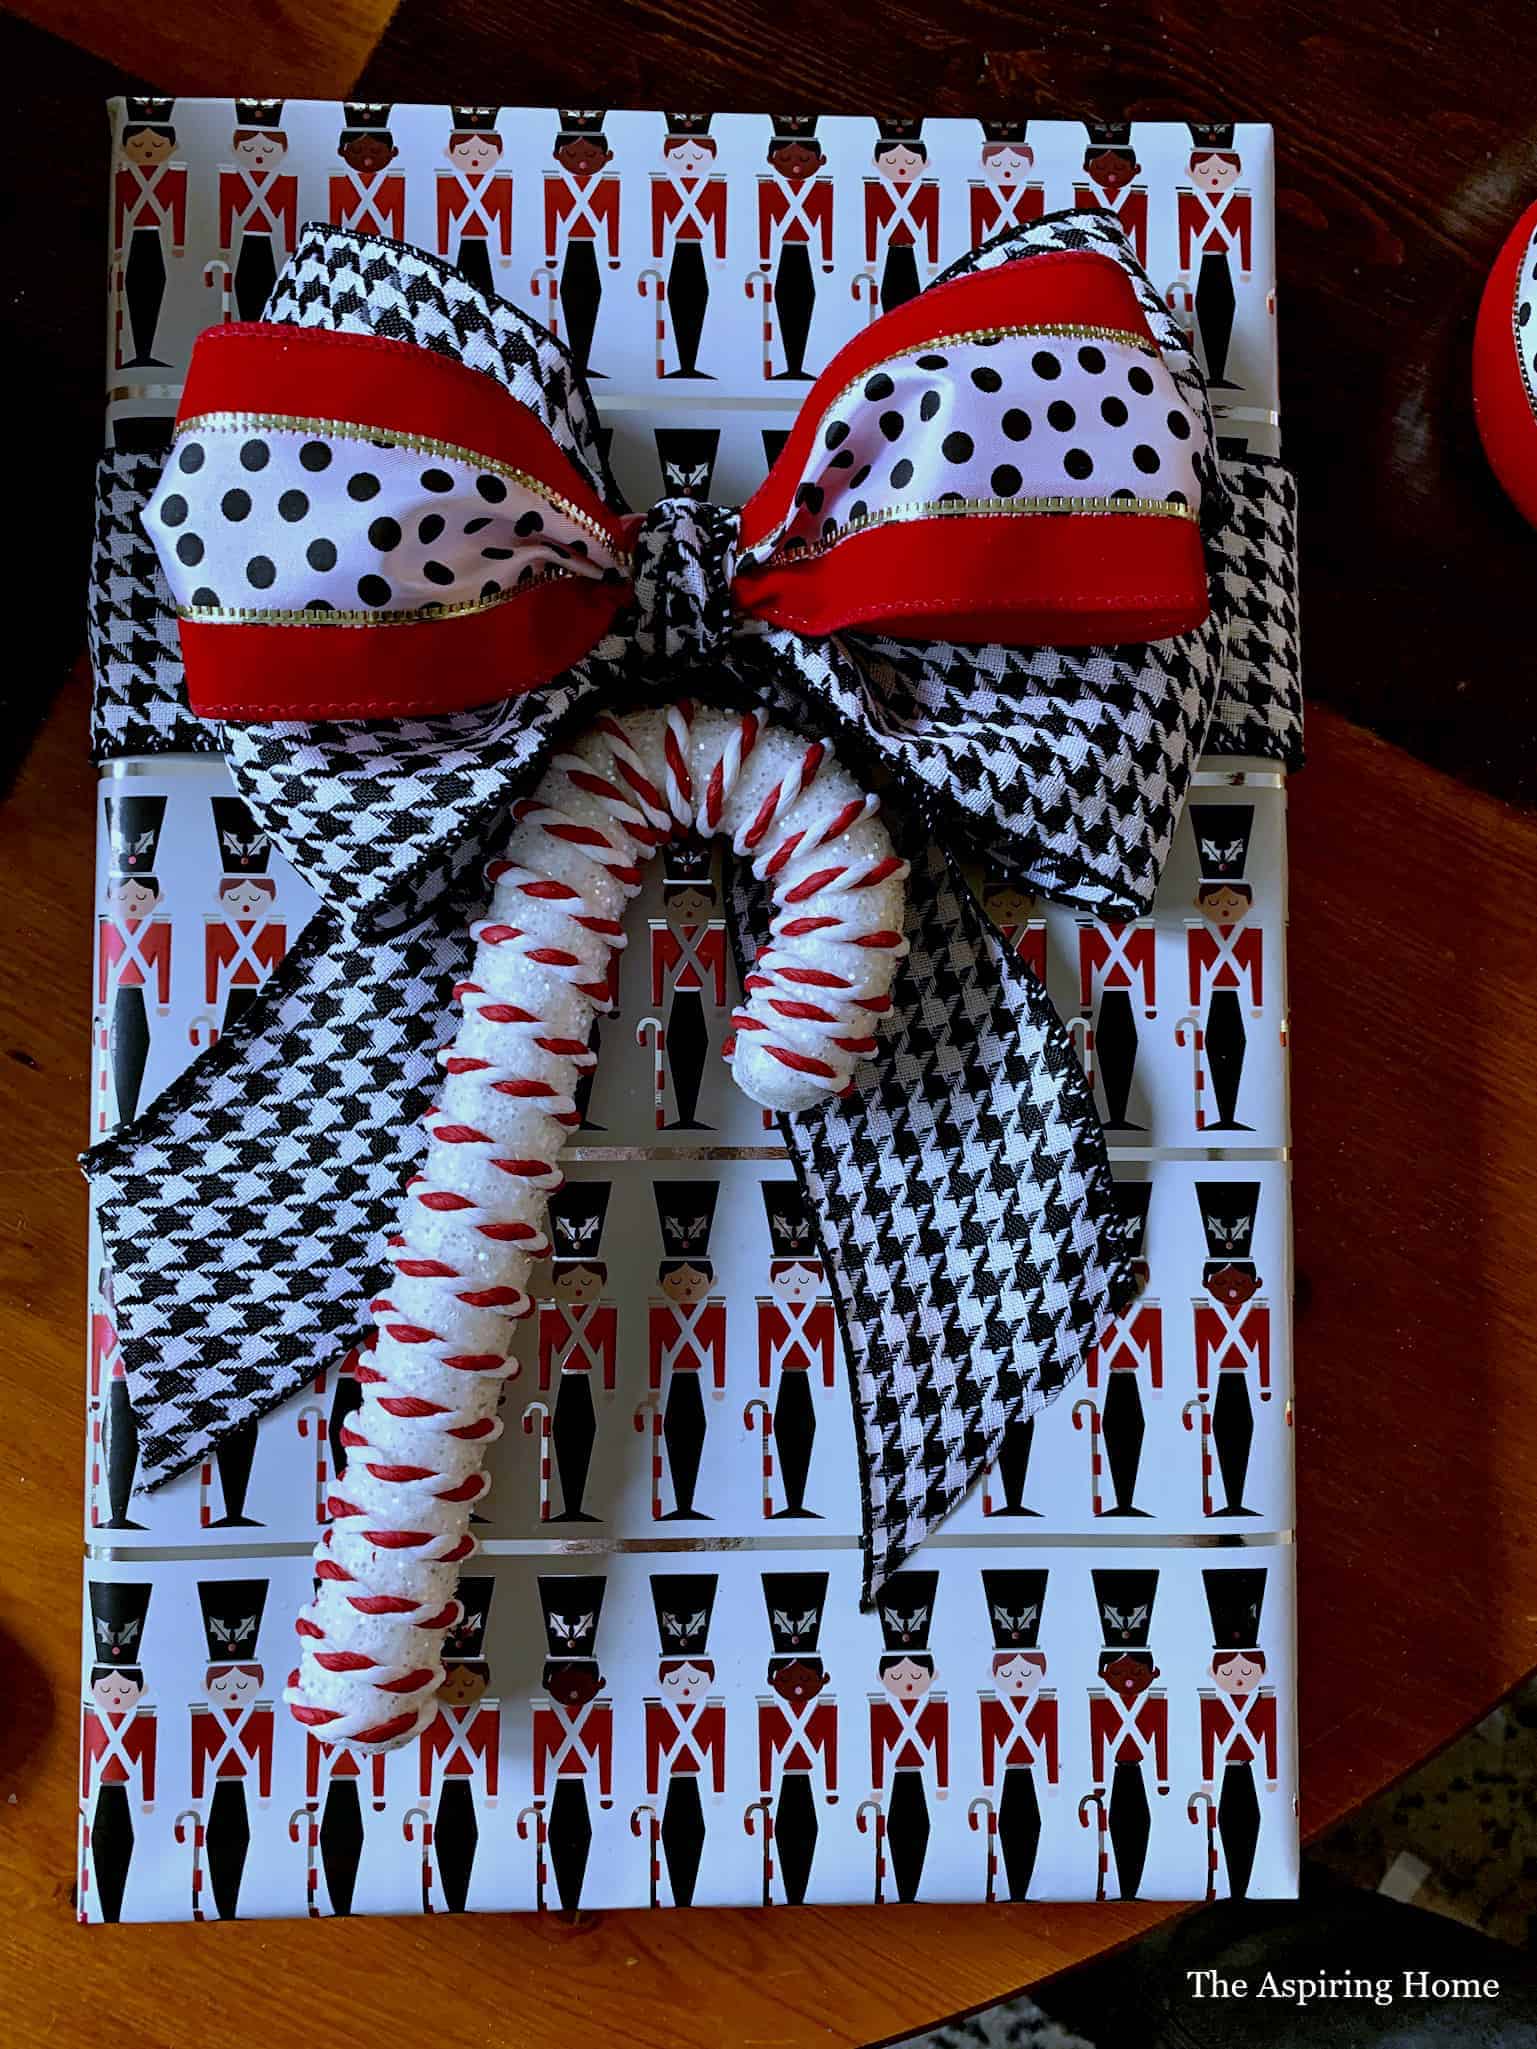
Add a cute little ornament, of course, this is totally optional. The bow is gorgeous with or without. I chose a candy cane to play off the cute toy soldier wrapping paper.
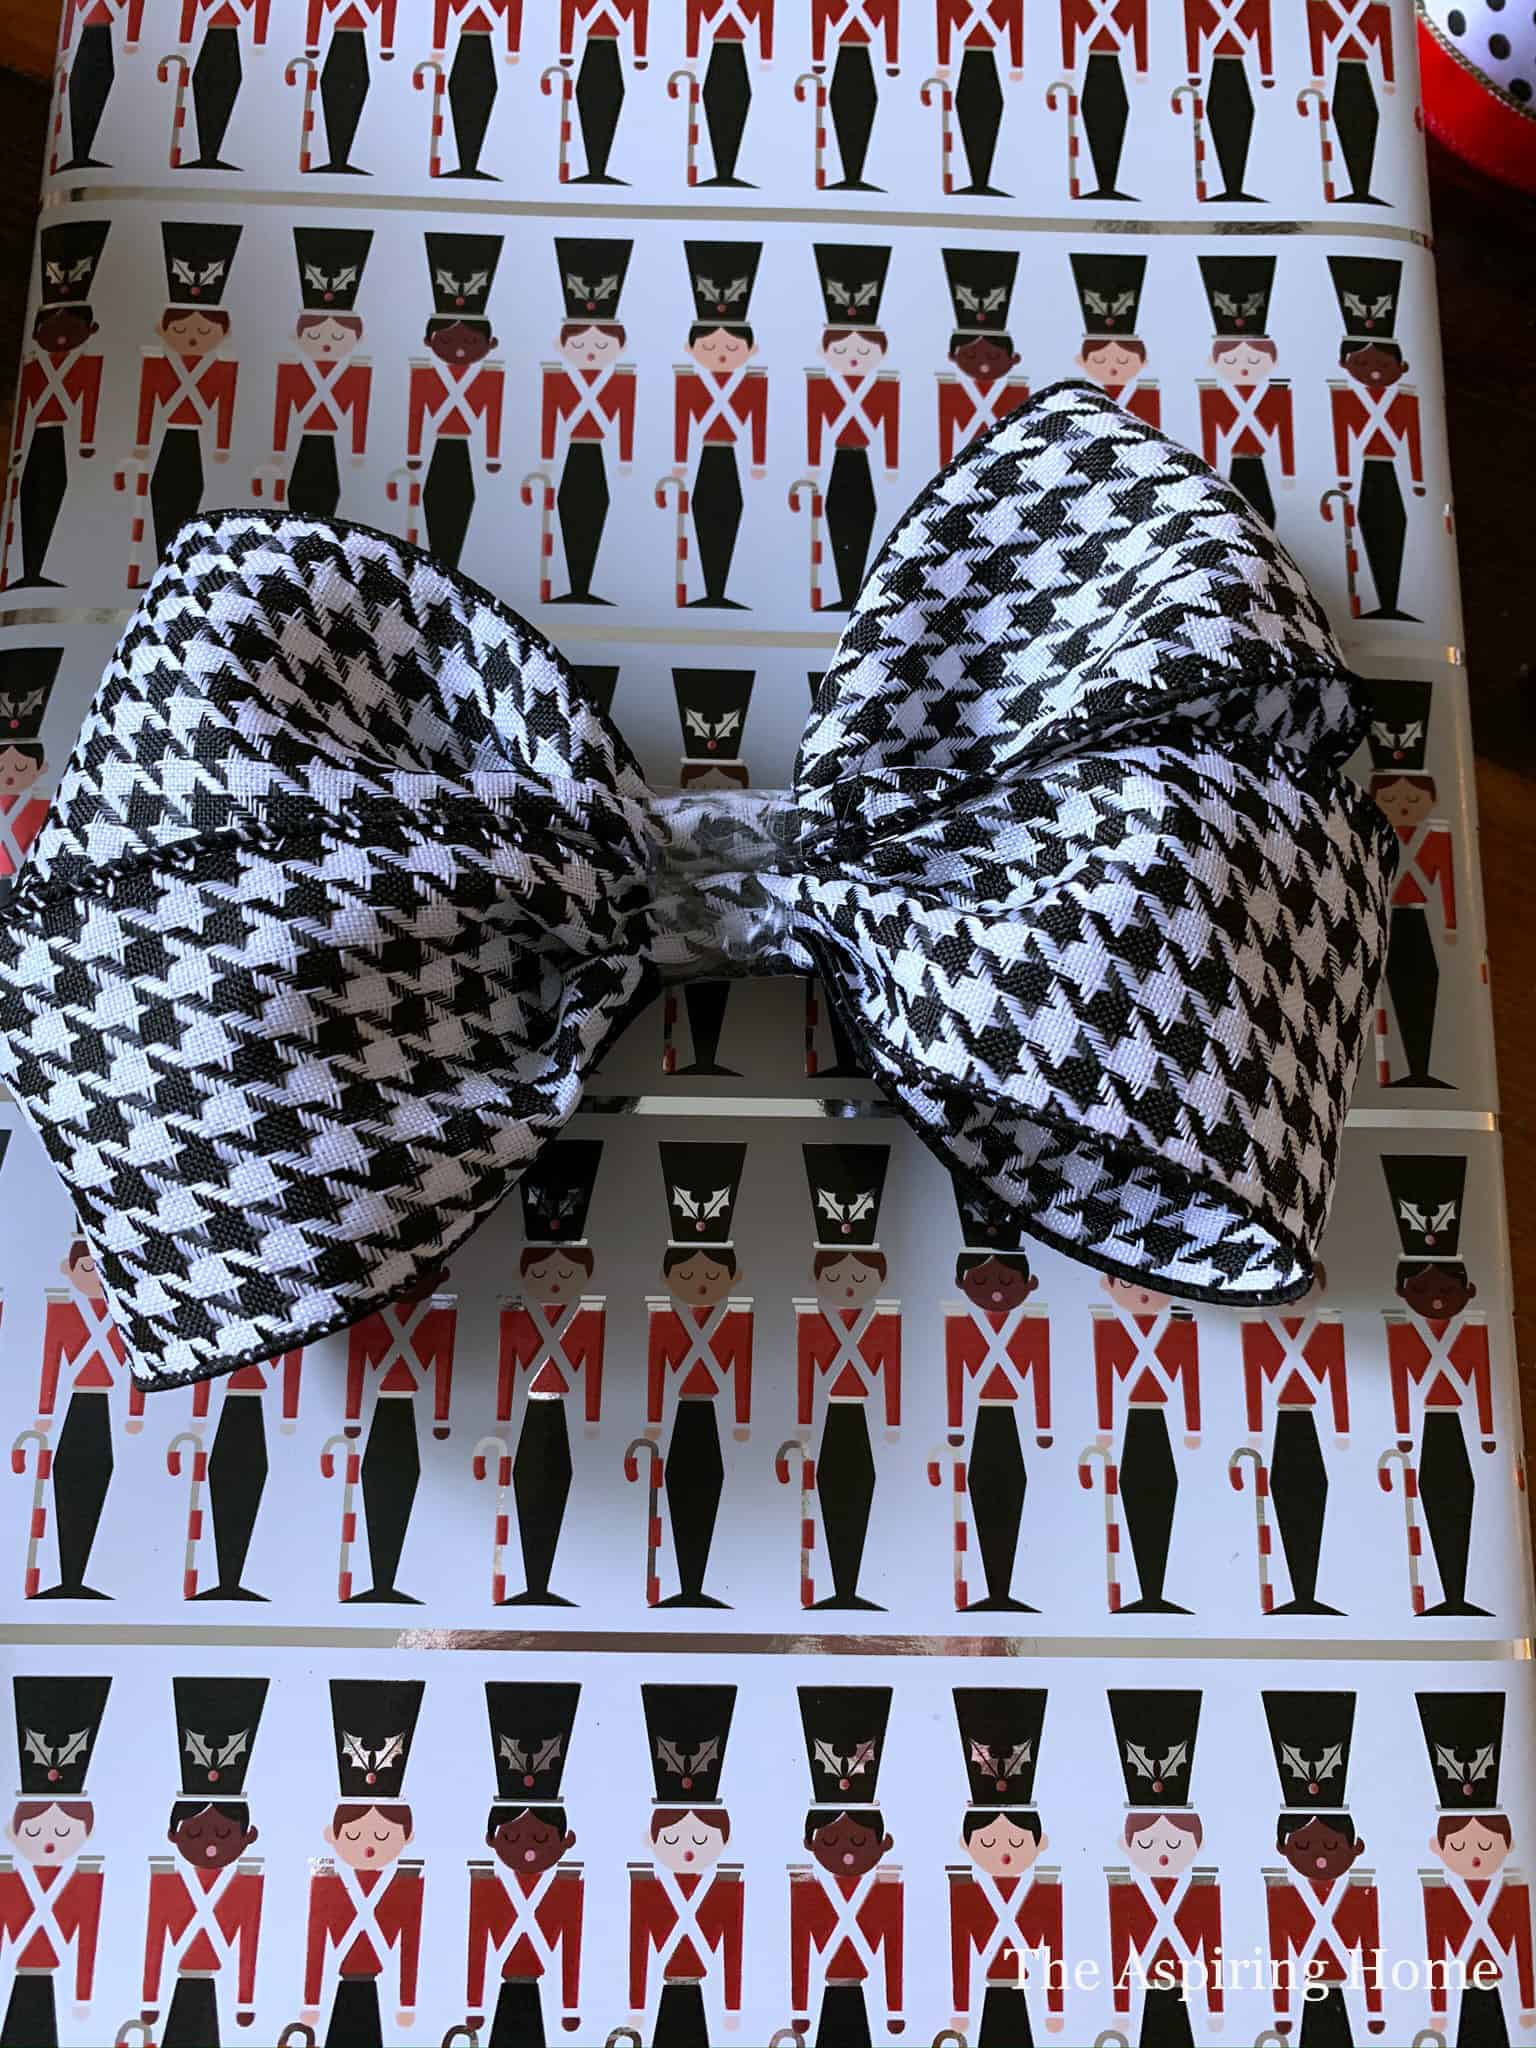
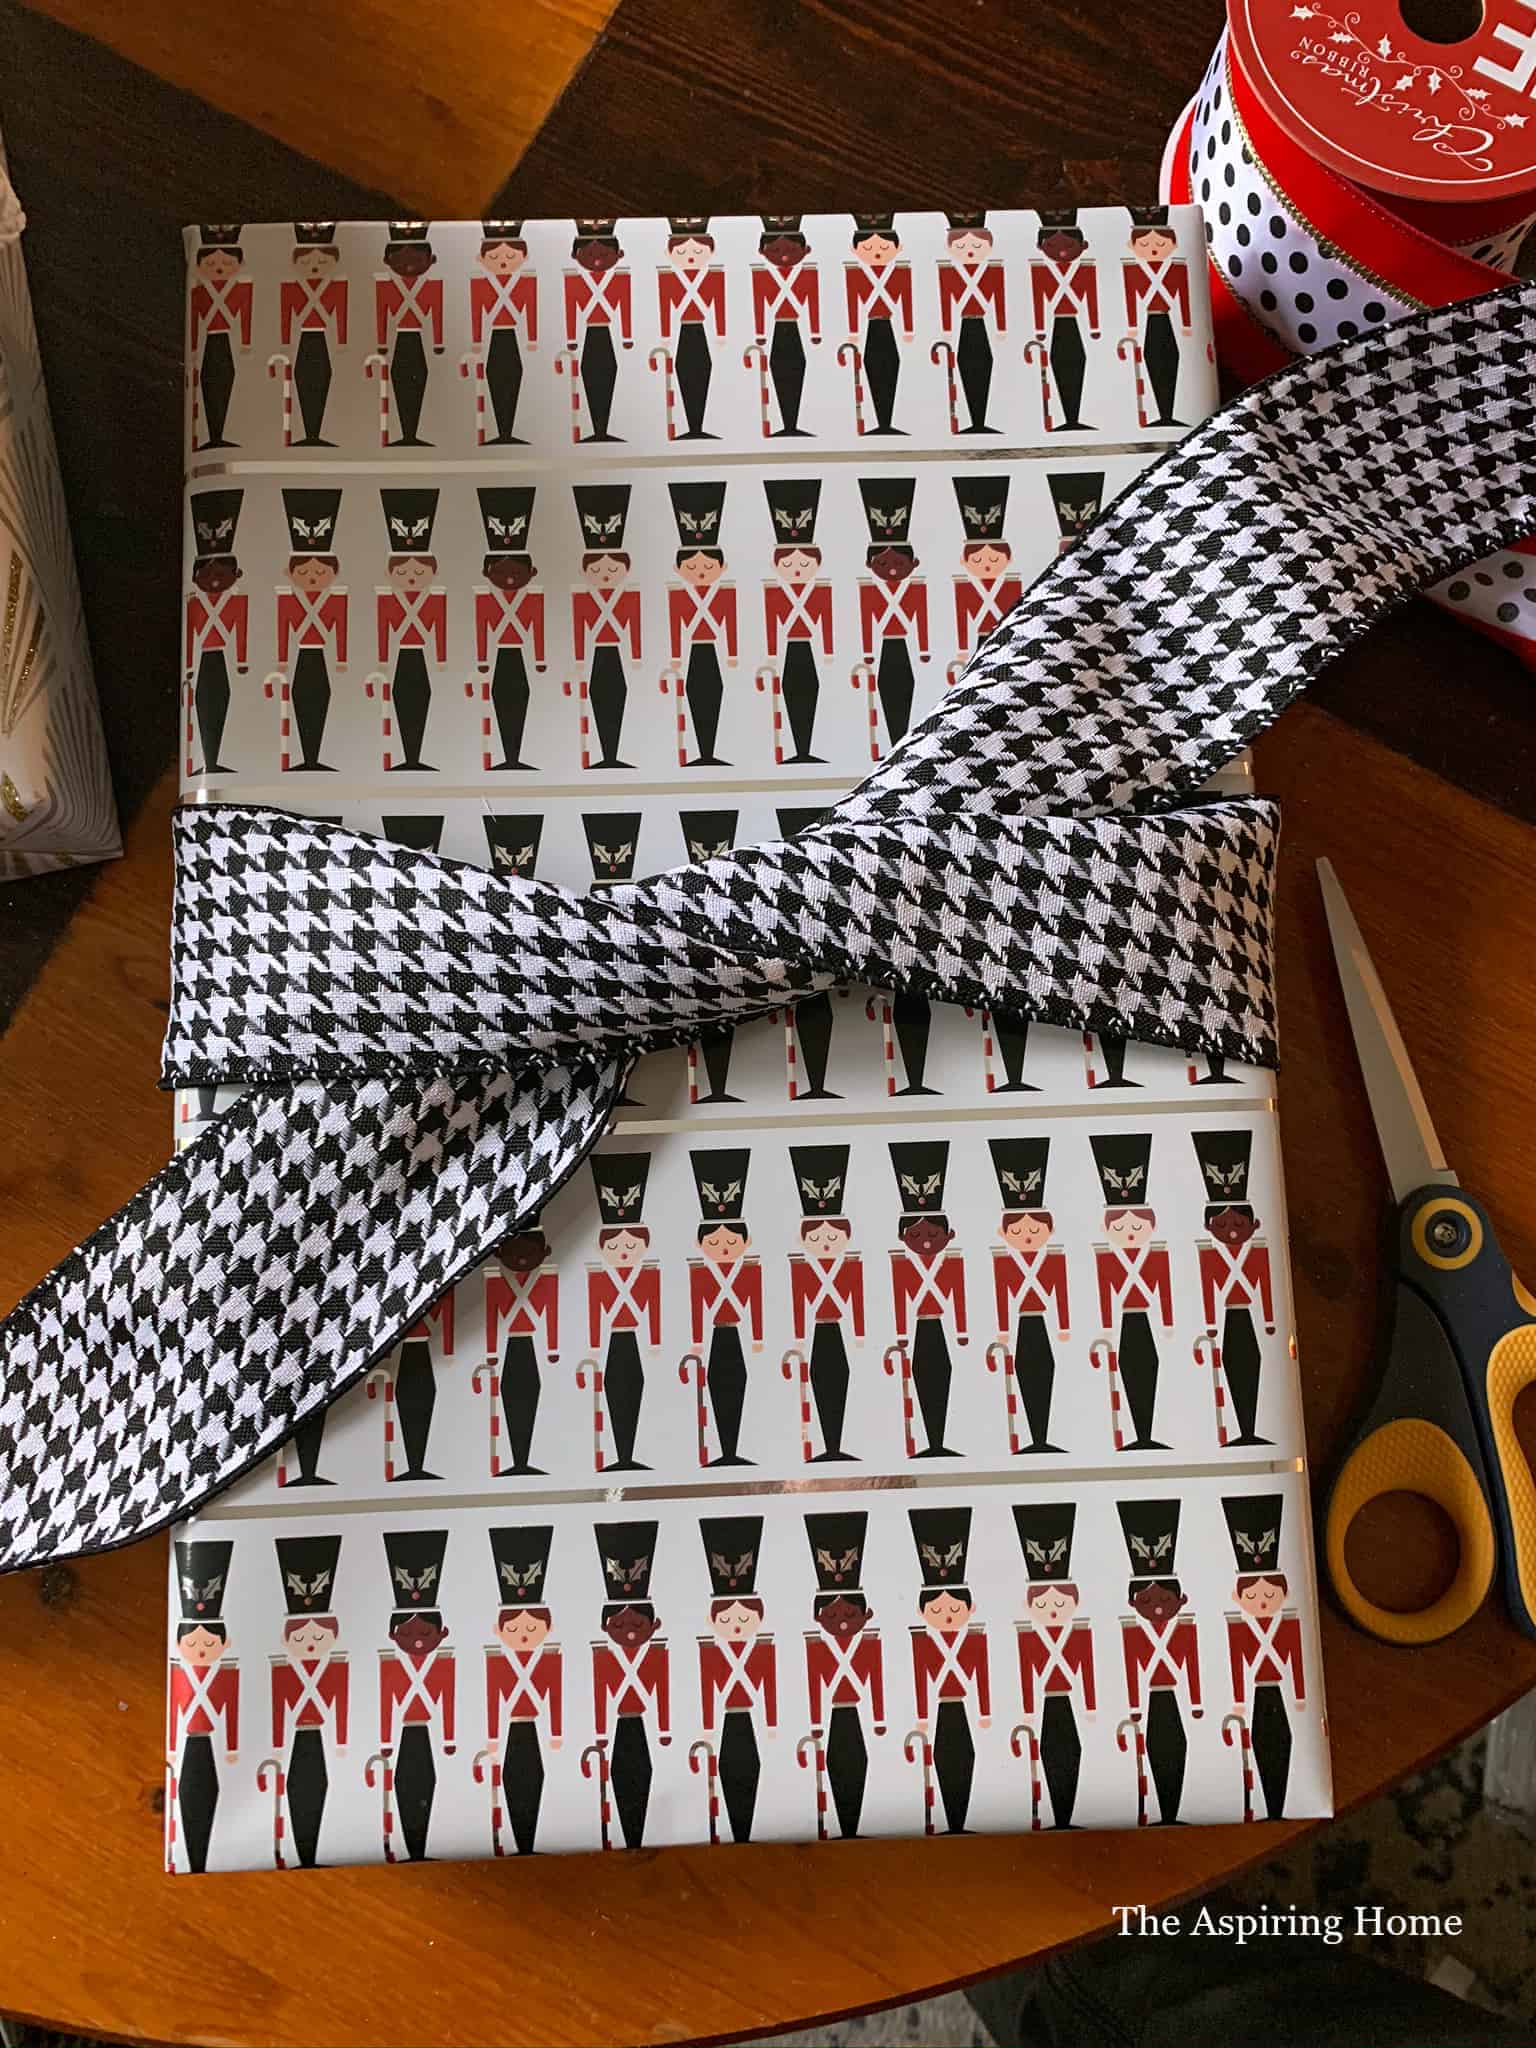
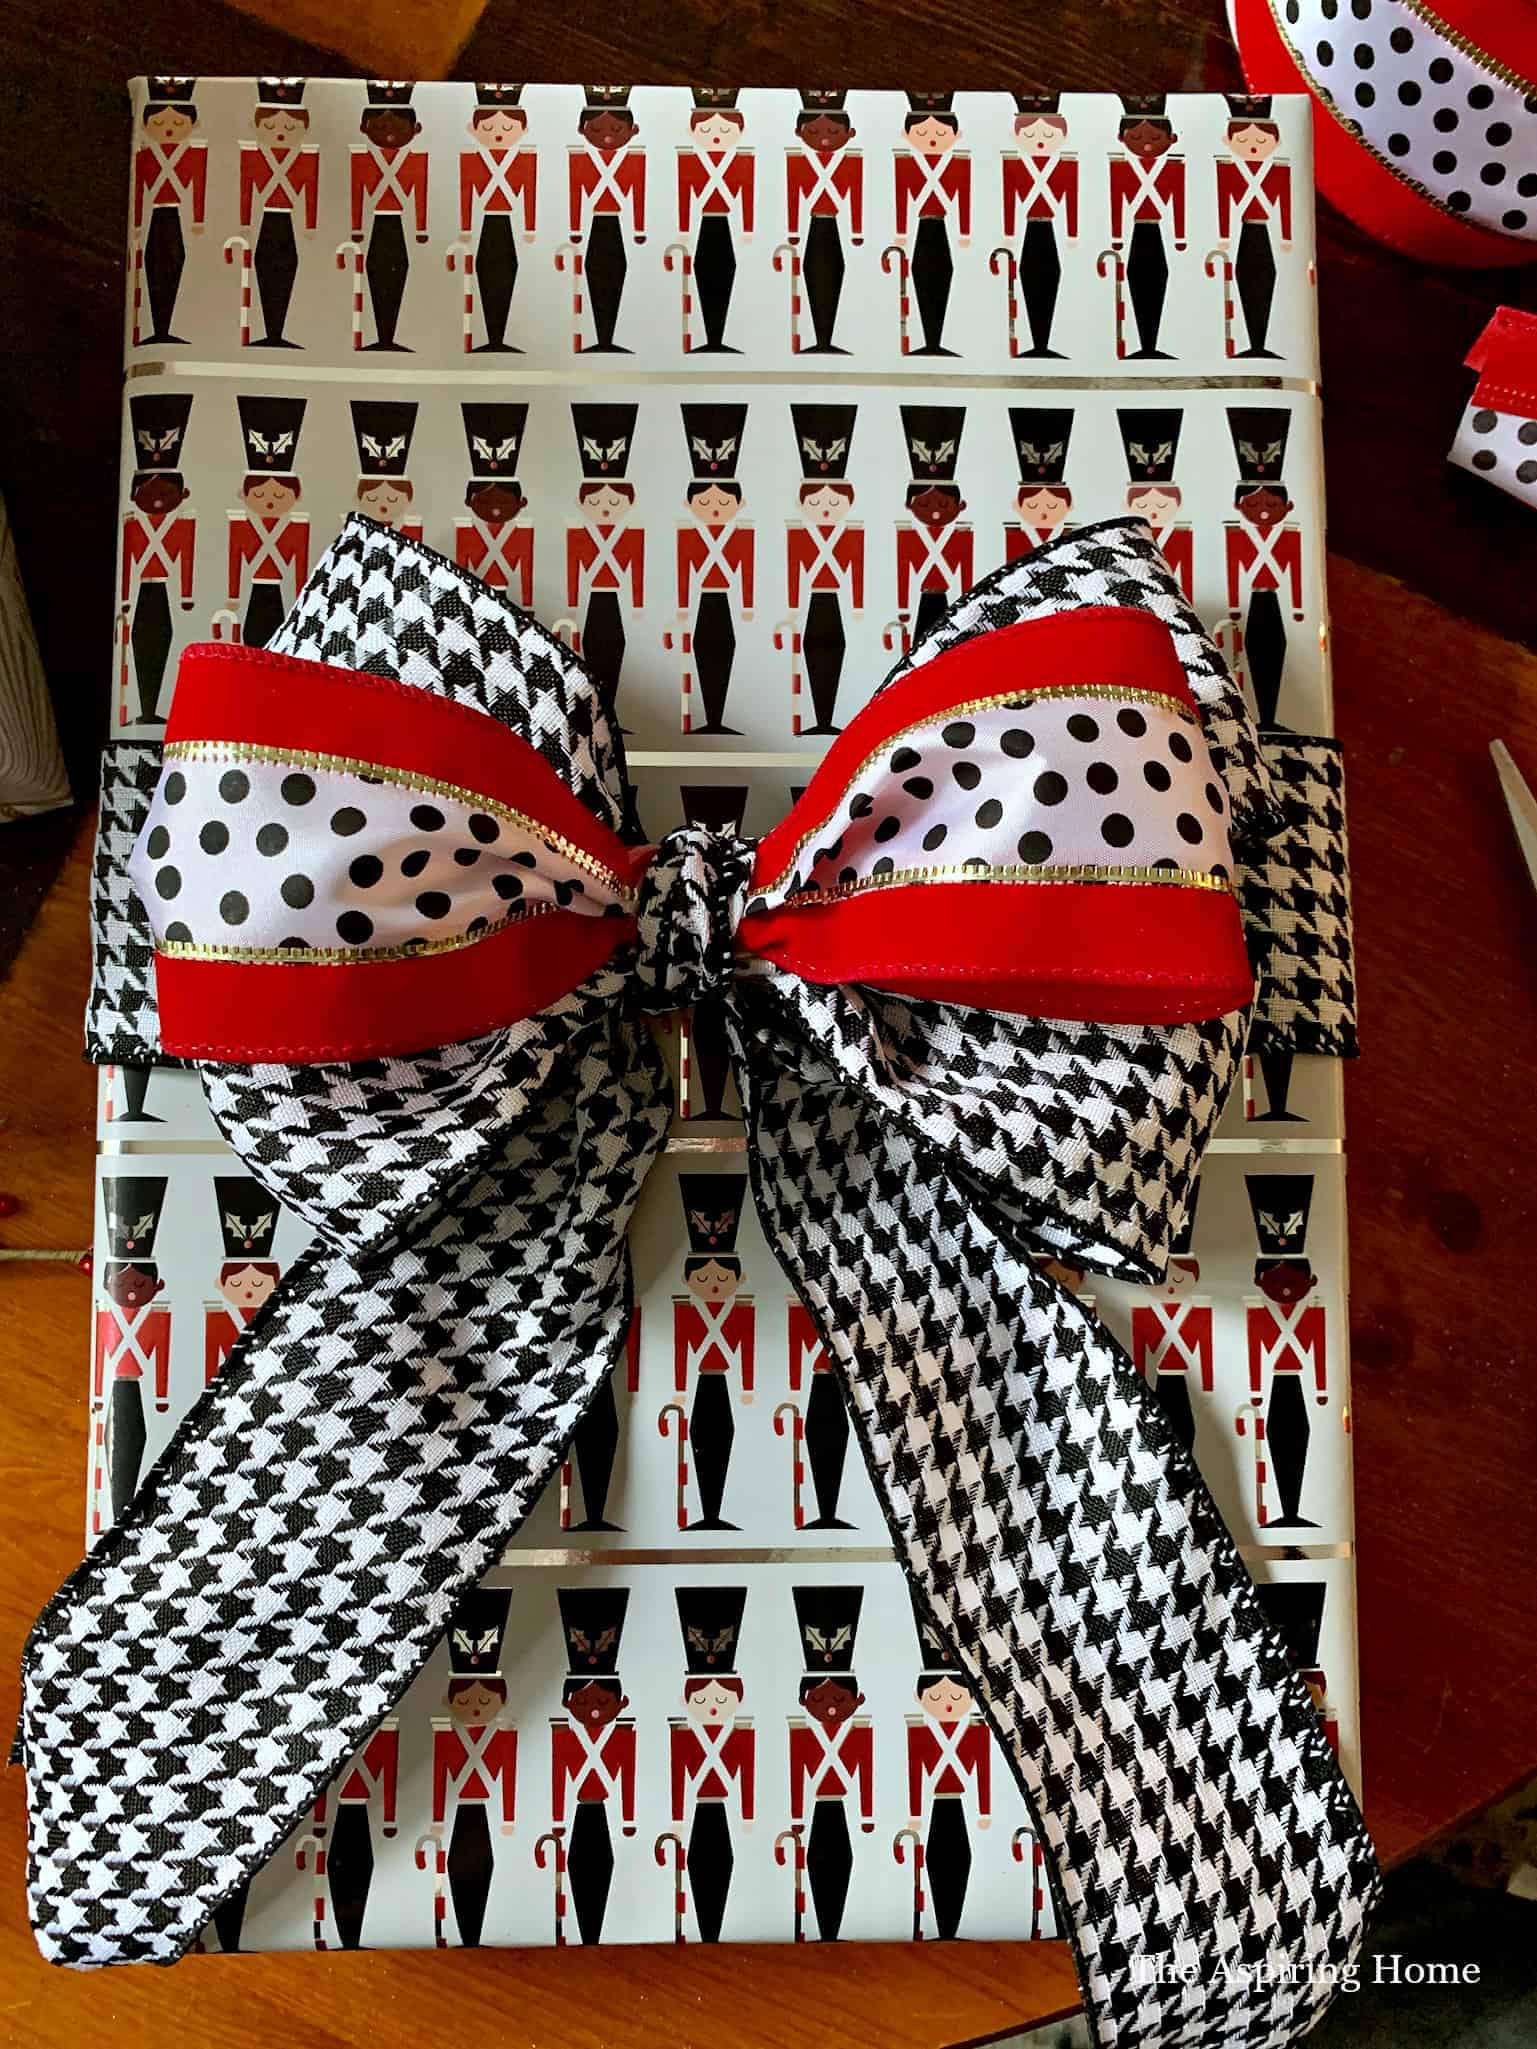
Bow Number 2
This combo is basically the same instructions as bow number 1. However, I kept it simple. I just used one type of ribbon and two loops.
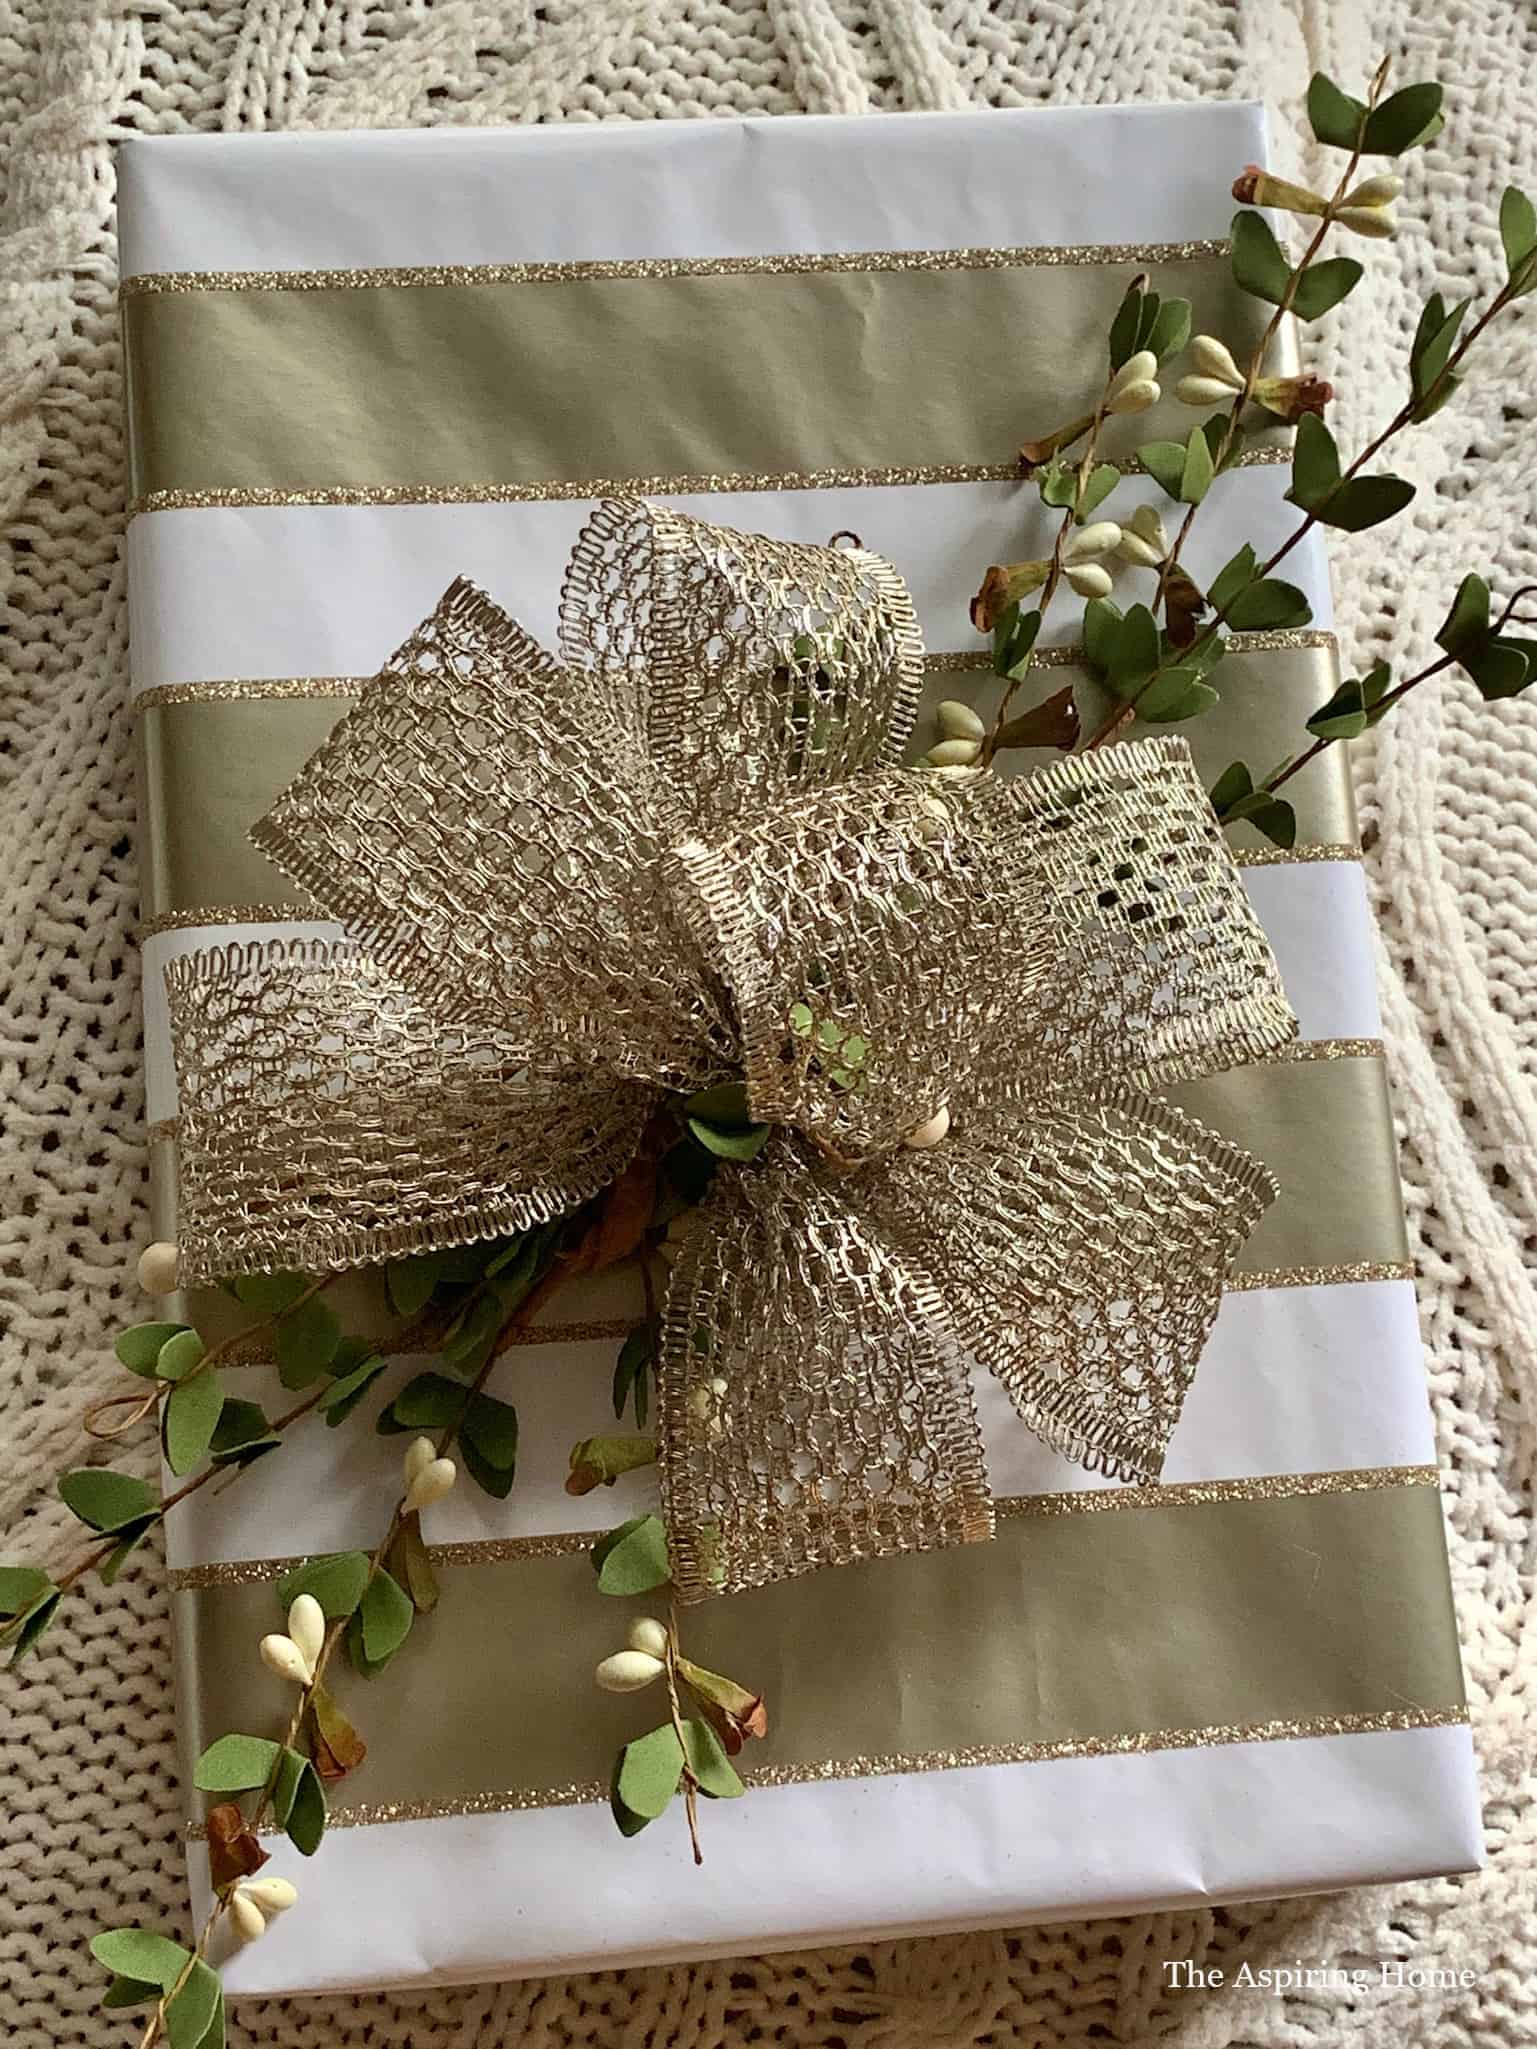
Bow Number 3
This bow is a more traditional style bow. Start with a small loop. Then add a loop on each side that is slightly bigger. Pinch as you go. For the next few loops you are going to want to twist the ribbon then make a loop. Continue holding the ribbon loops between your thumb and middle finger,
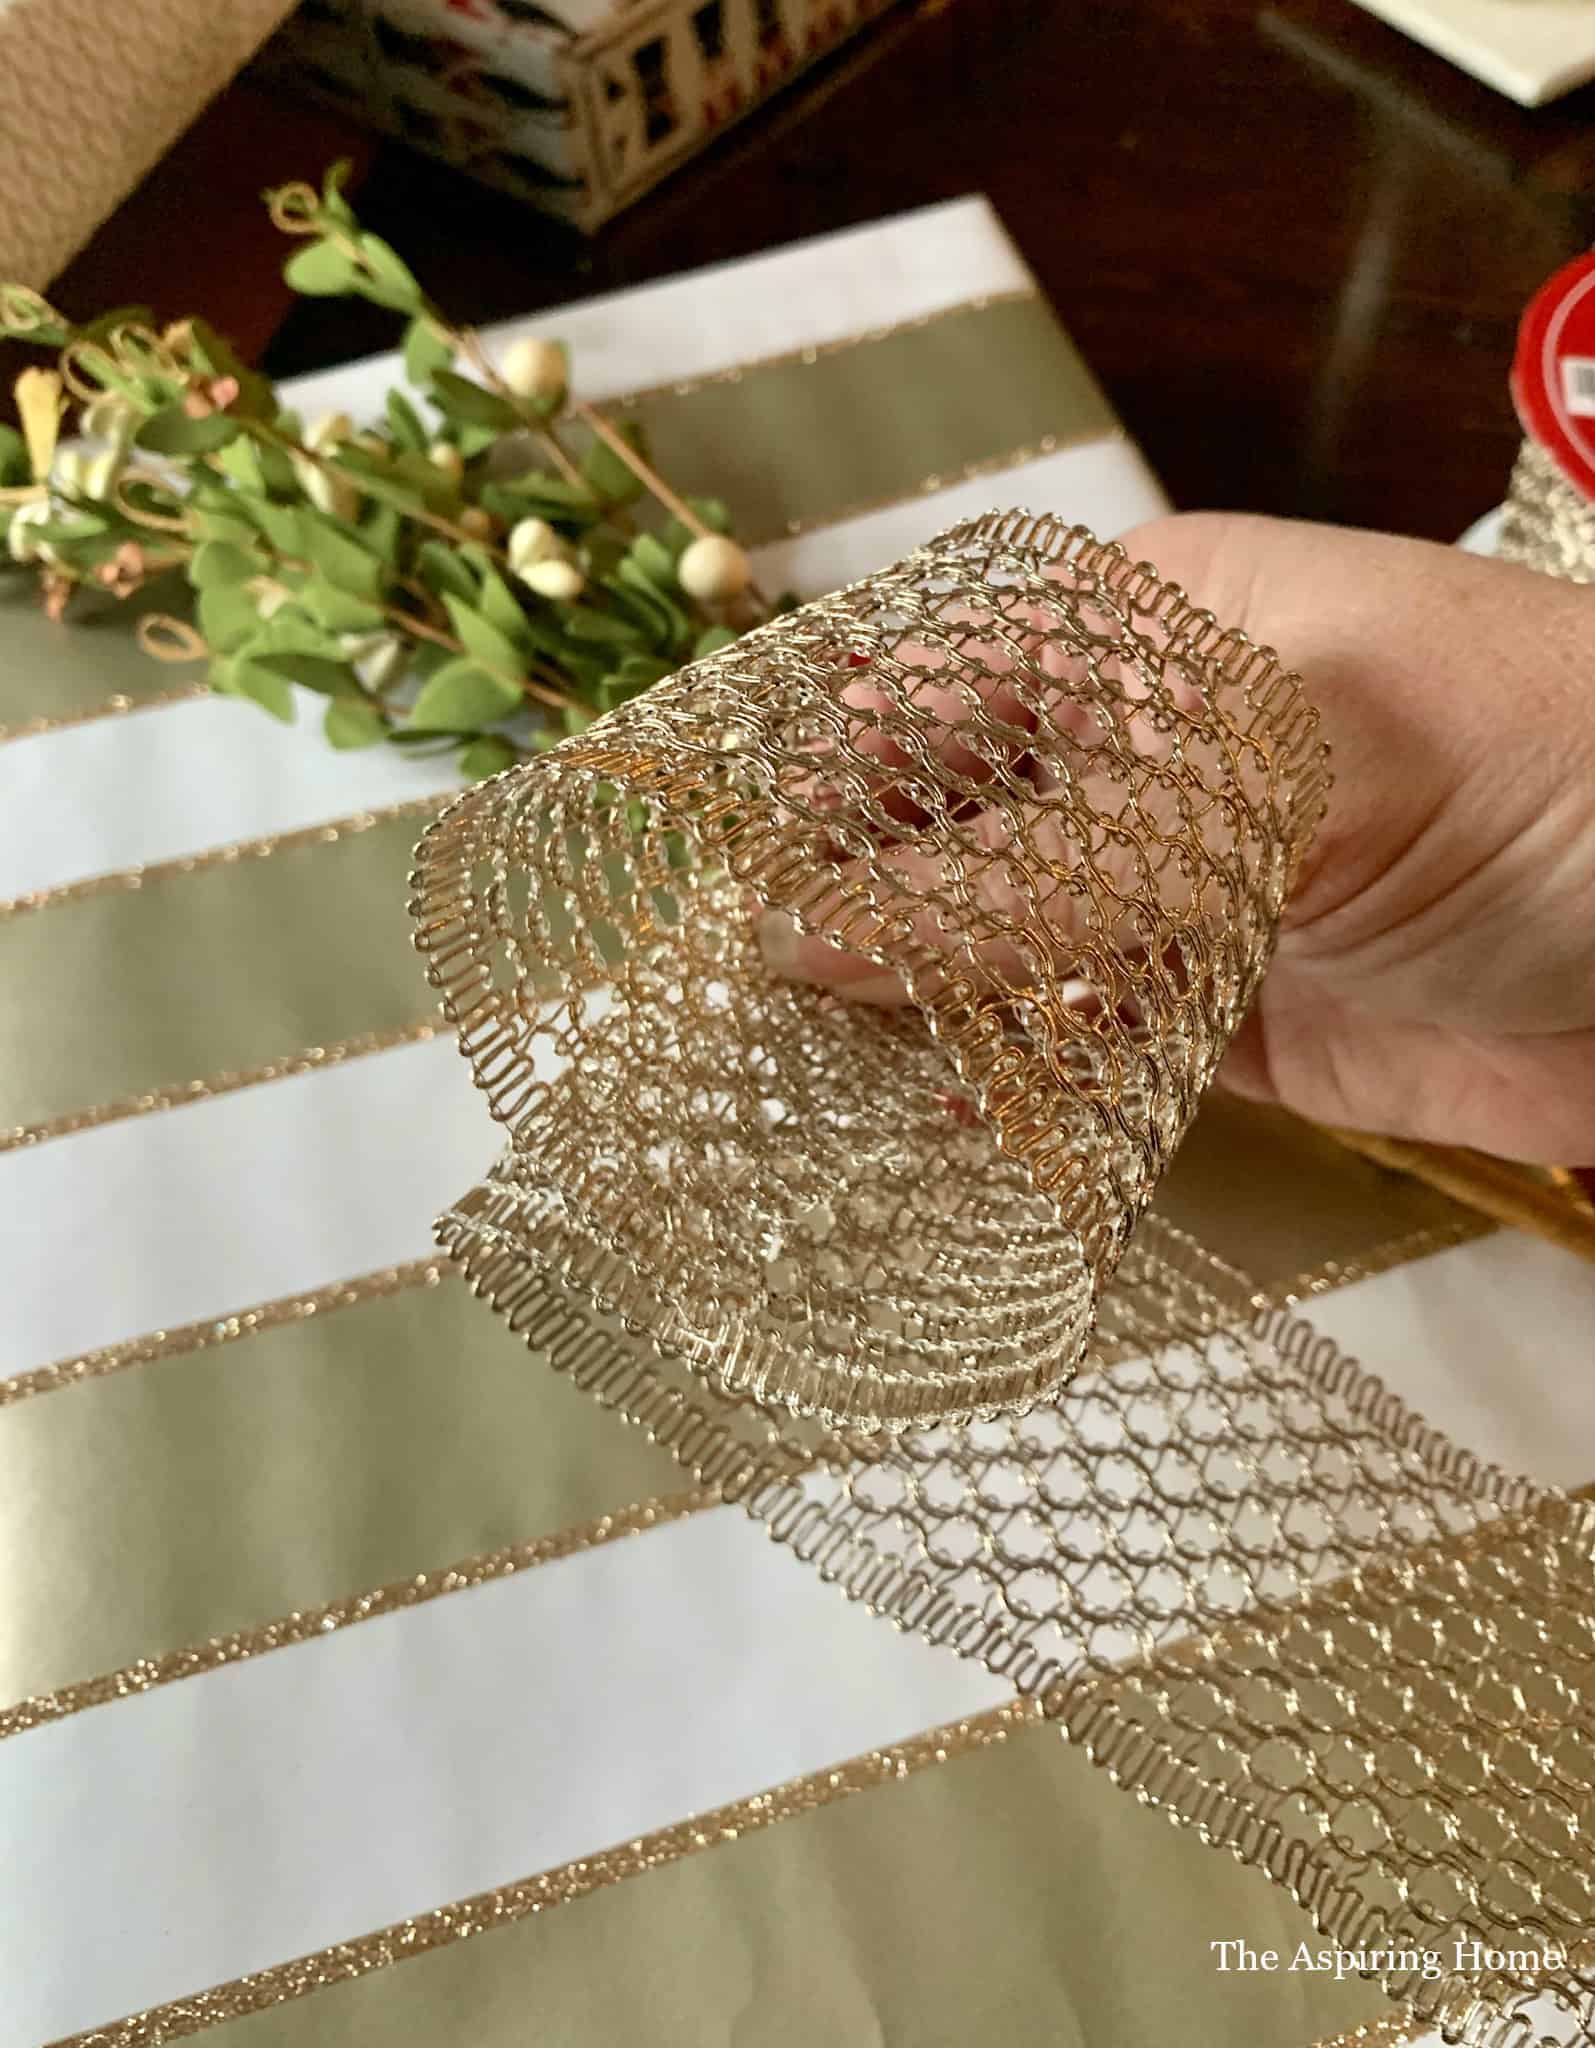
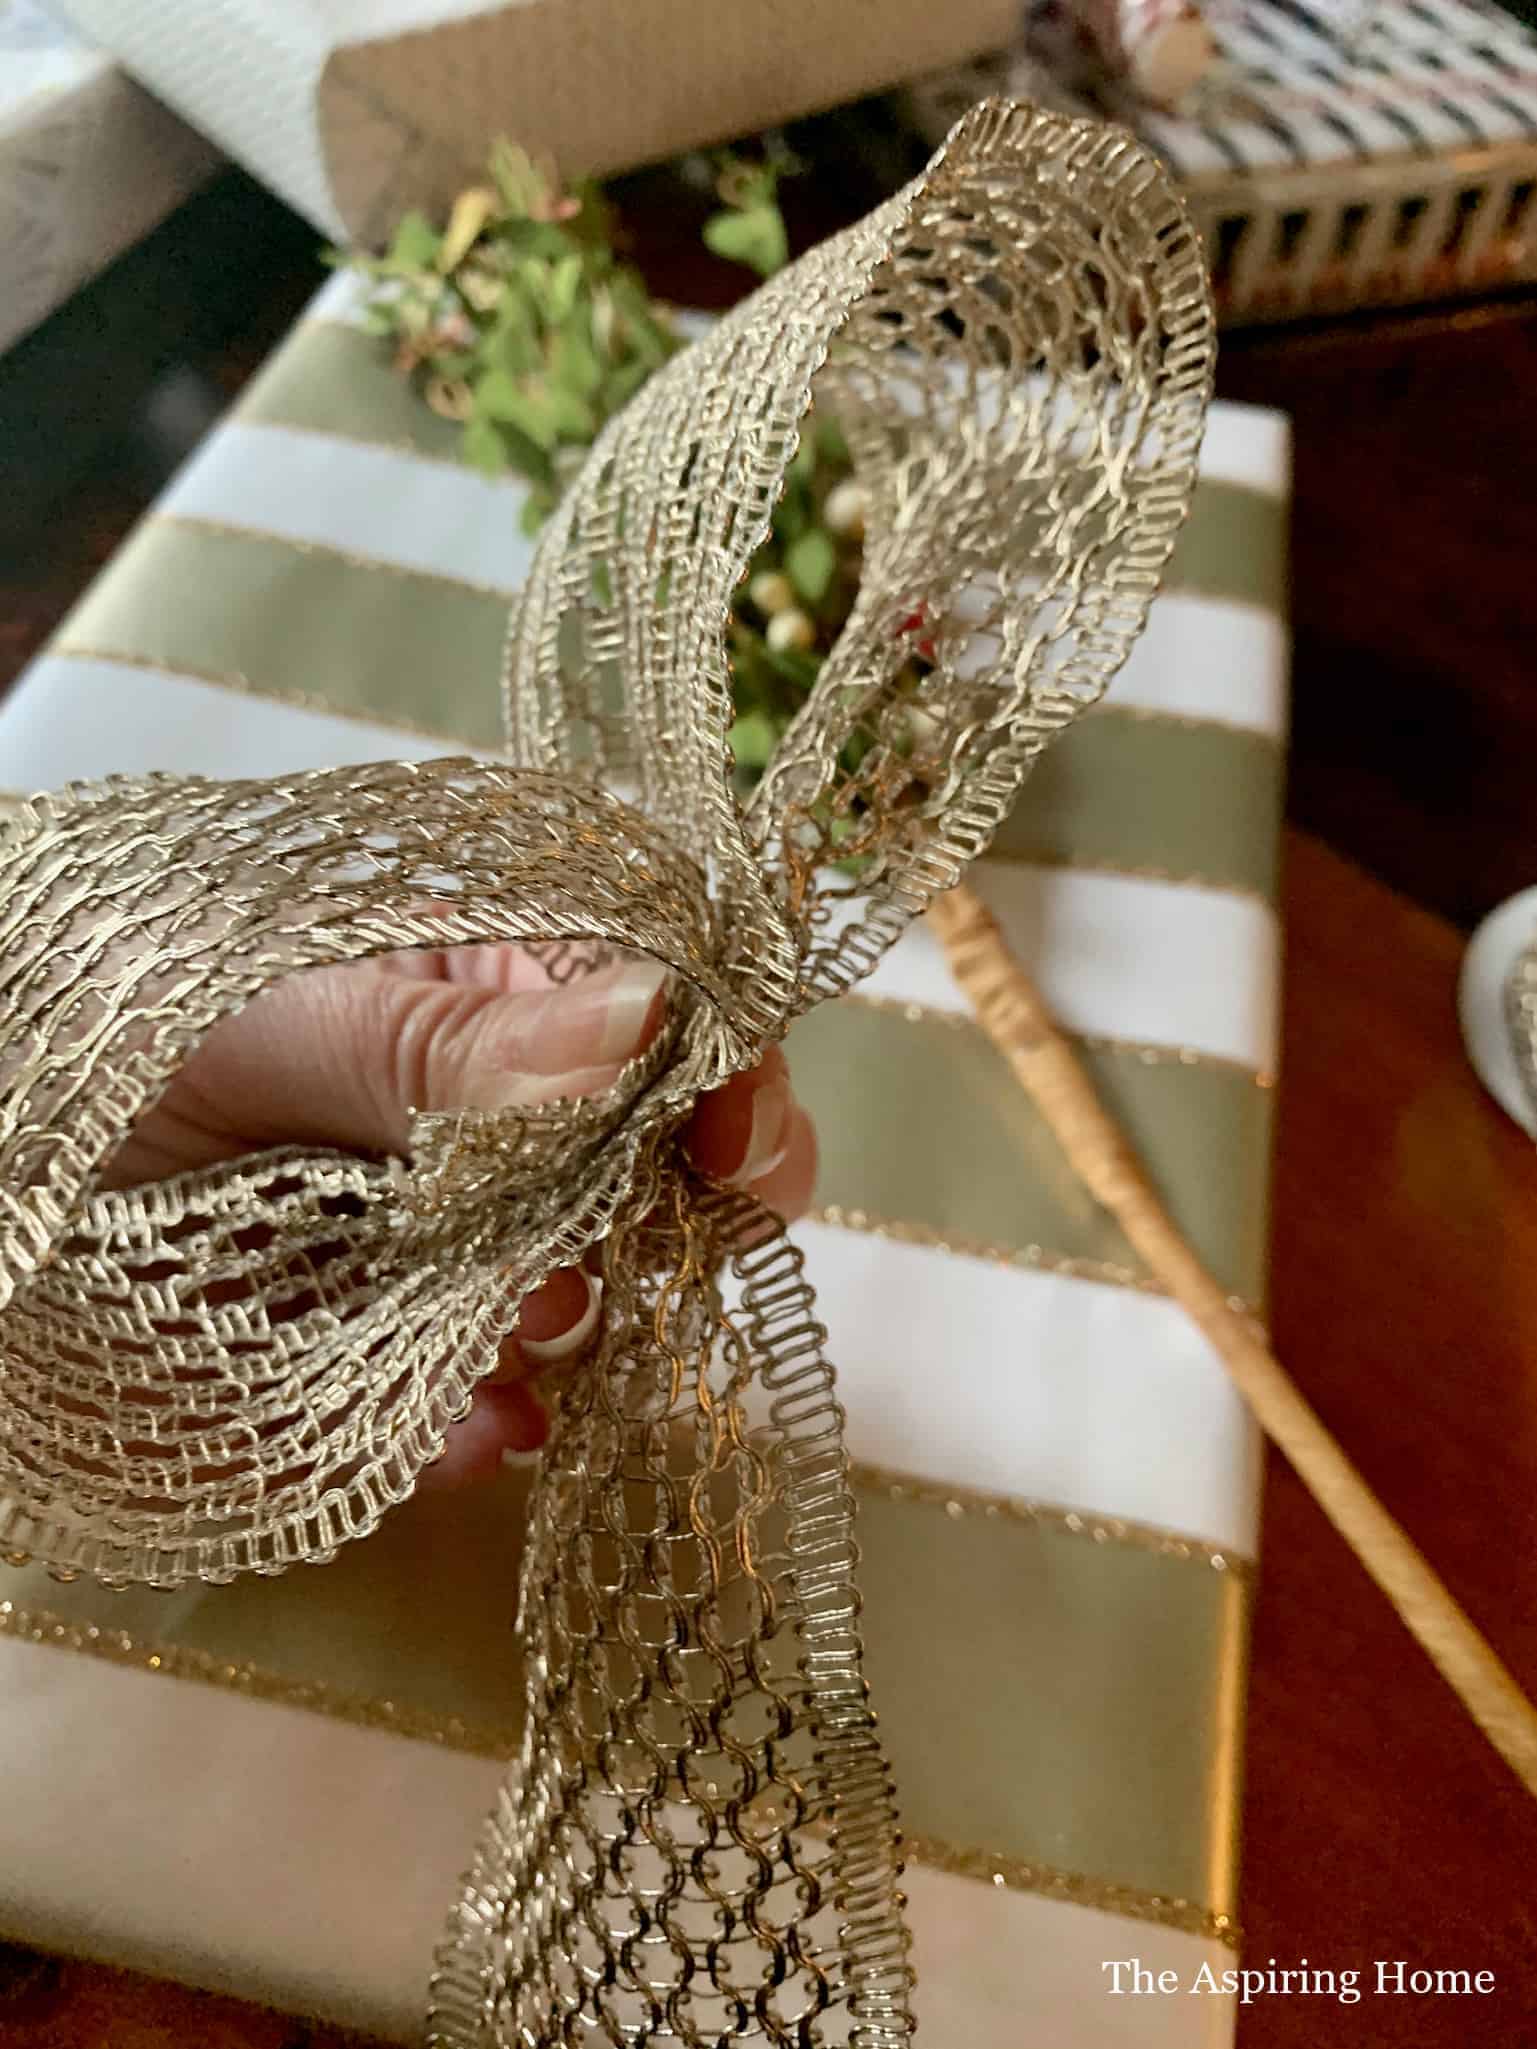
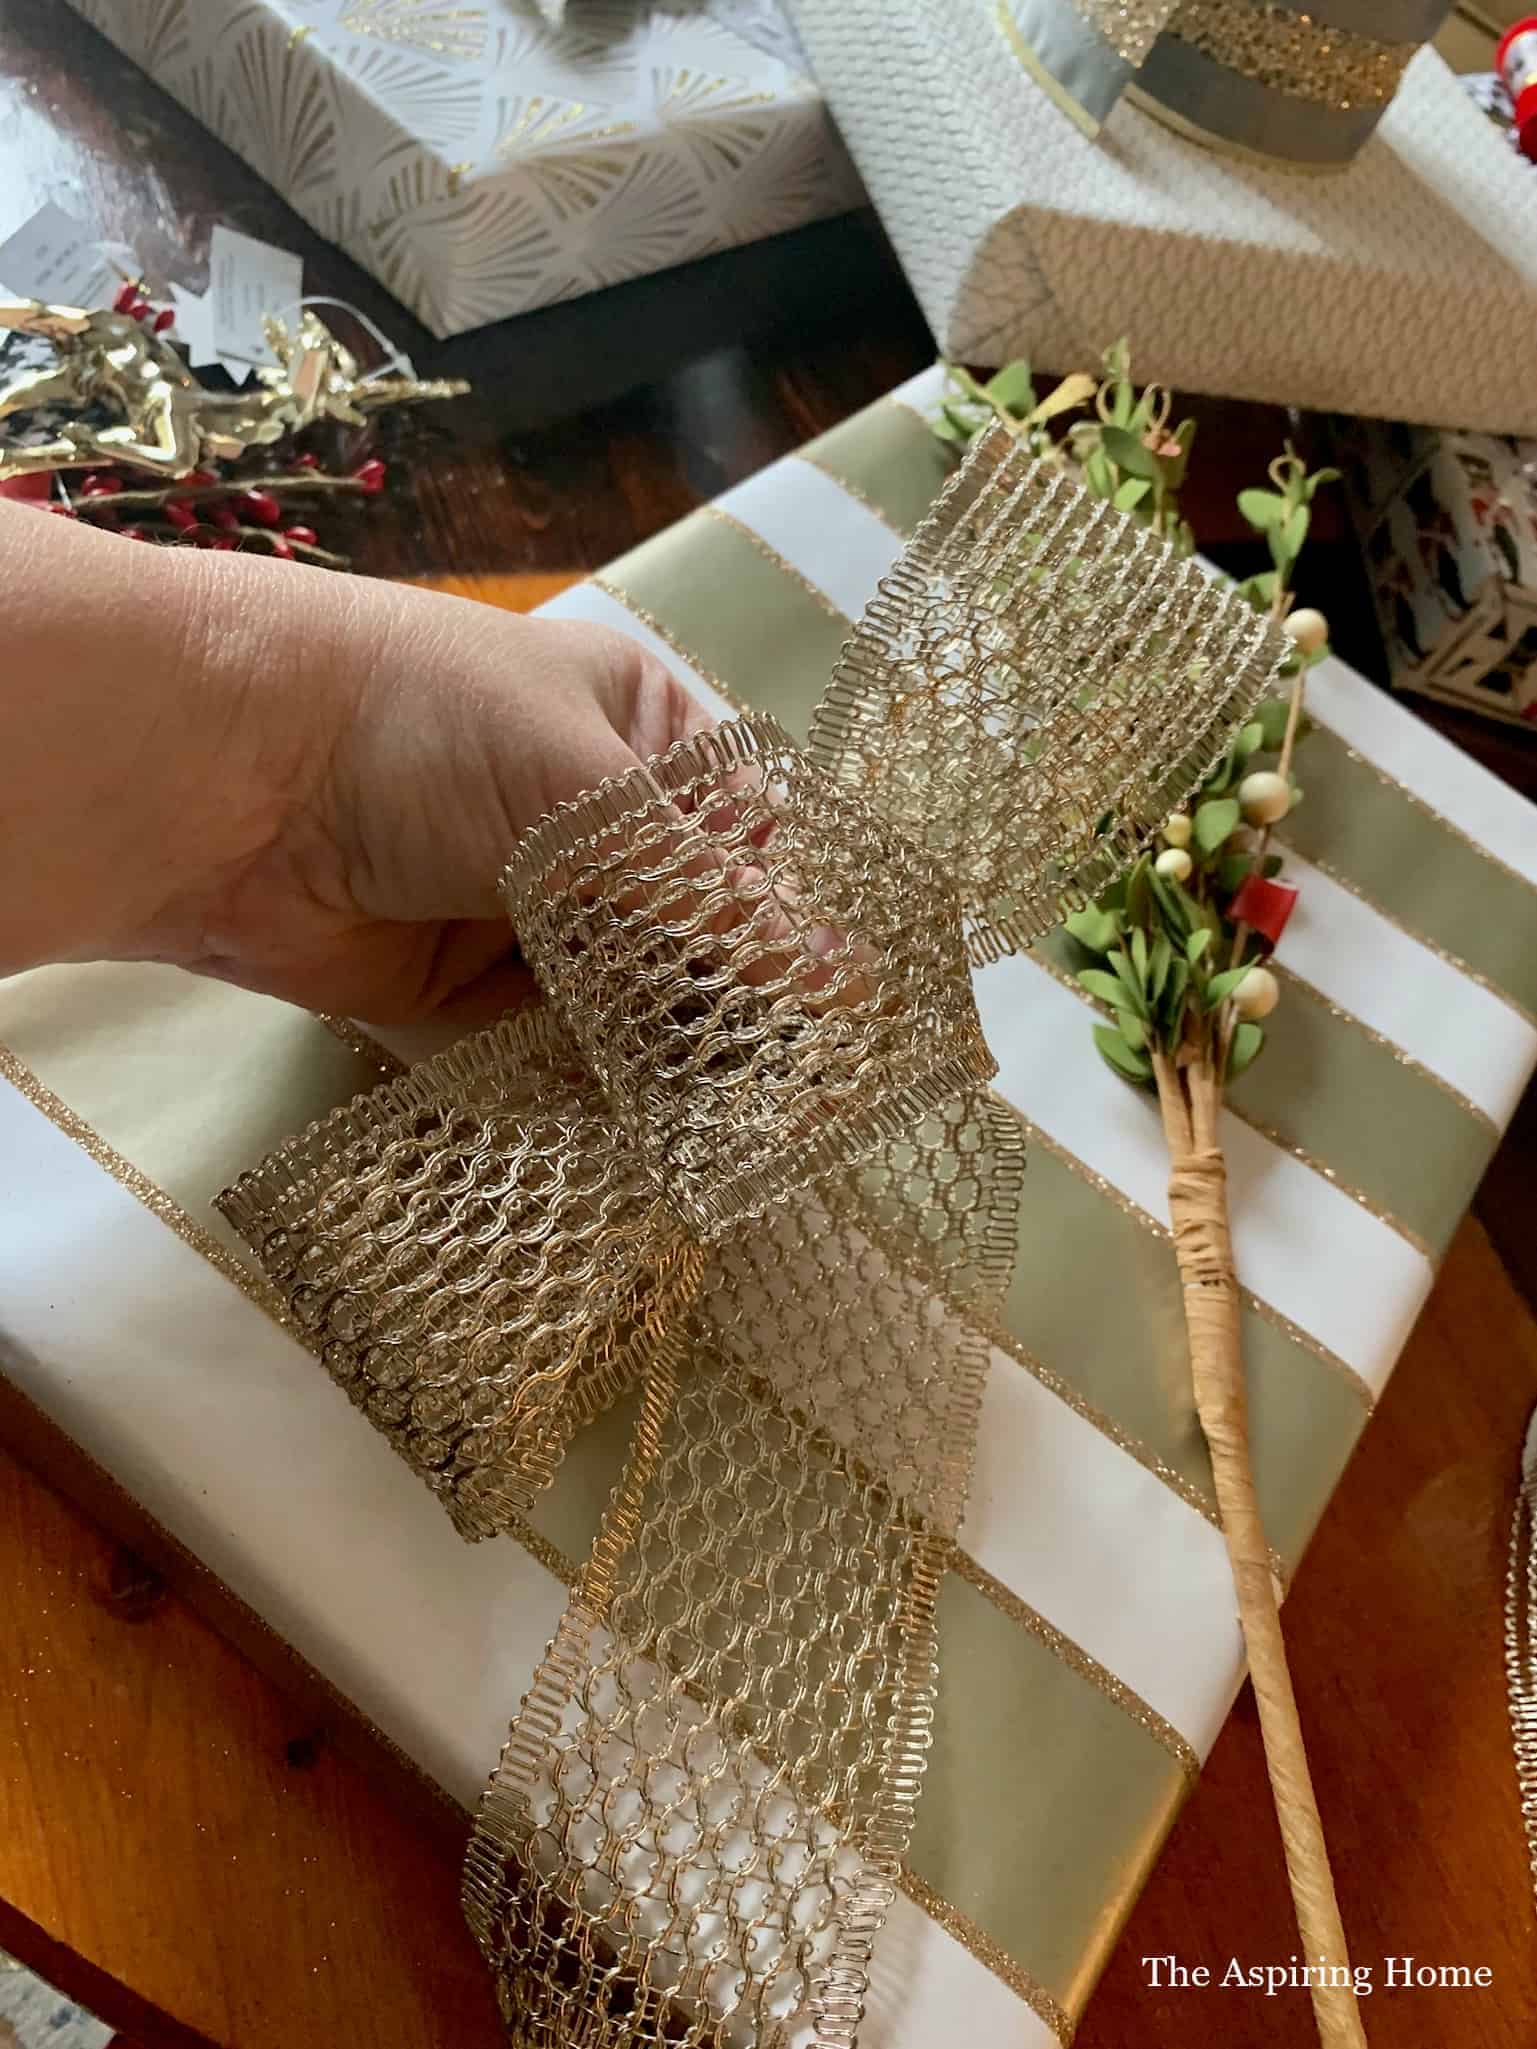
Make sure you do loops in odds. This will help guarantee a “middle” loop for your bow. Secure the loops with cloth covered floral wire.

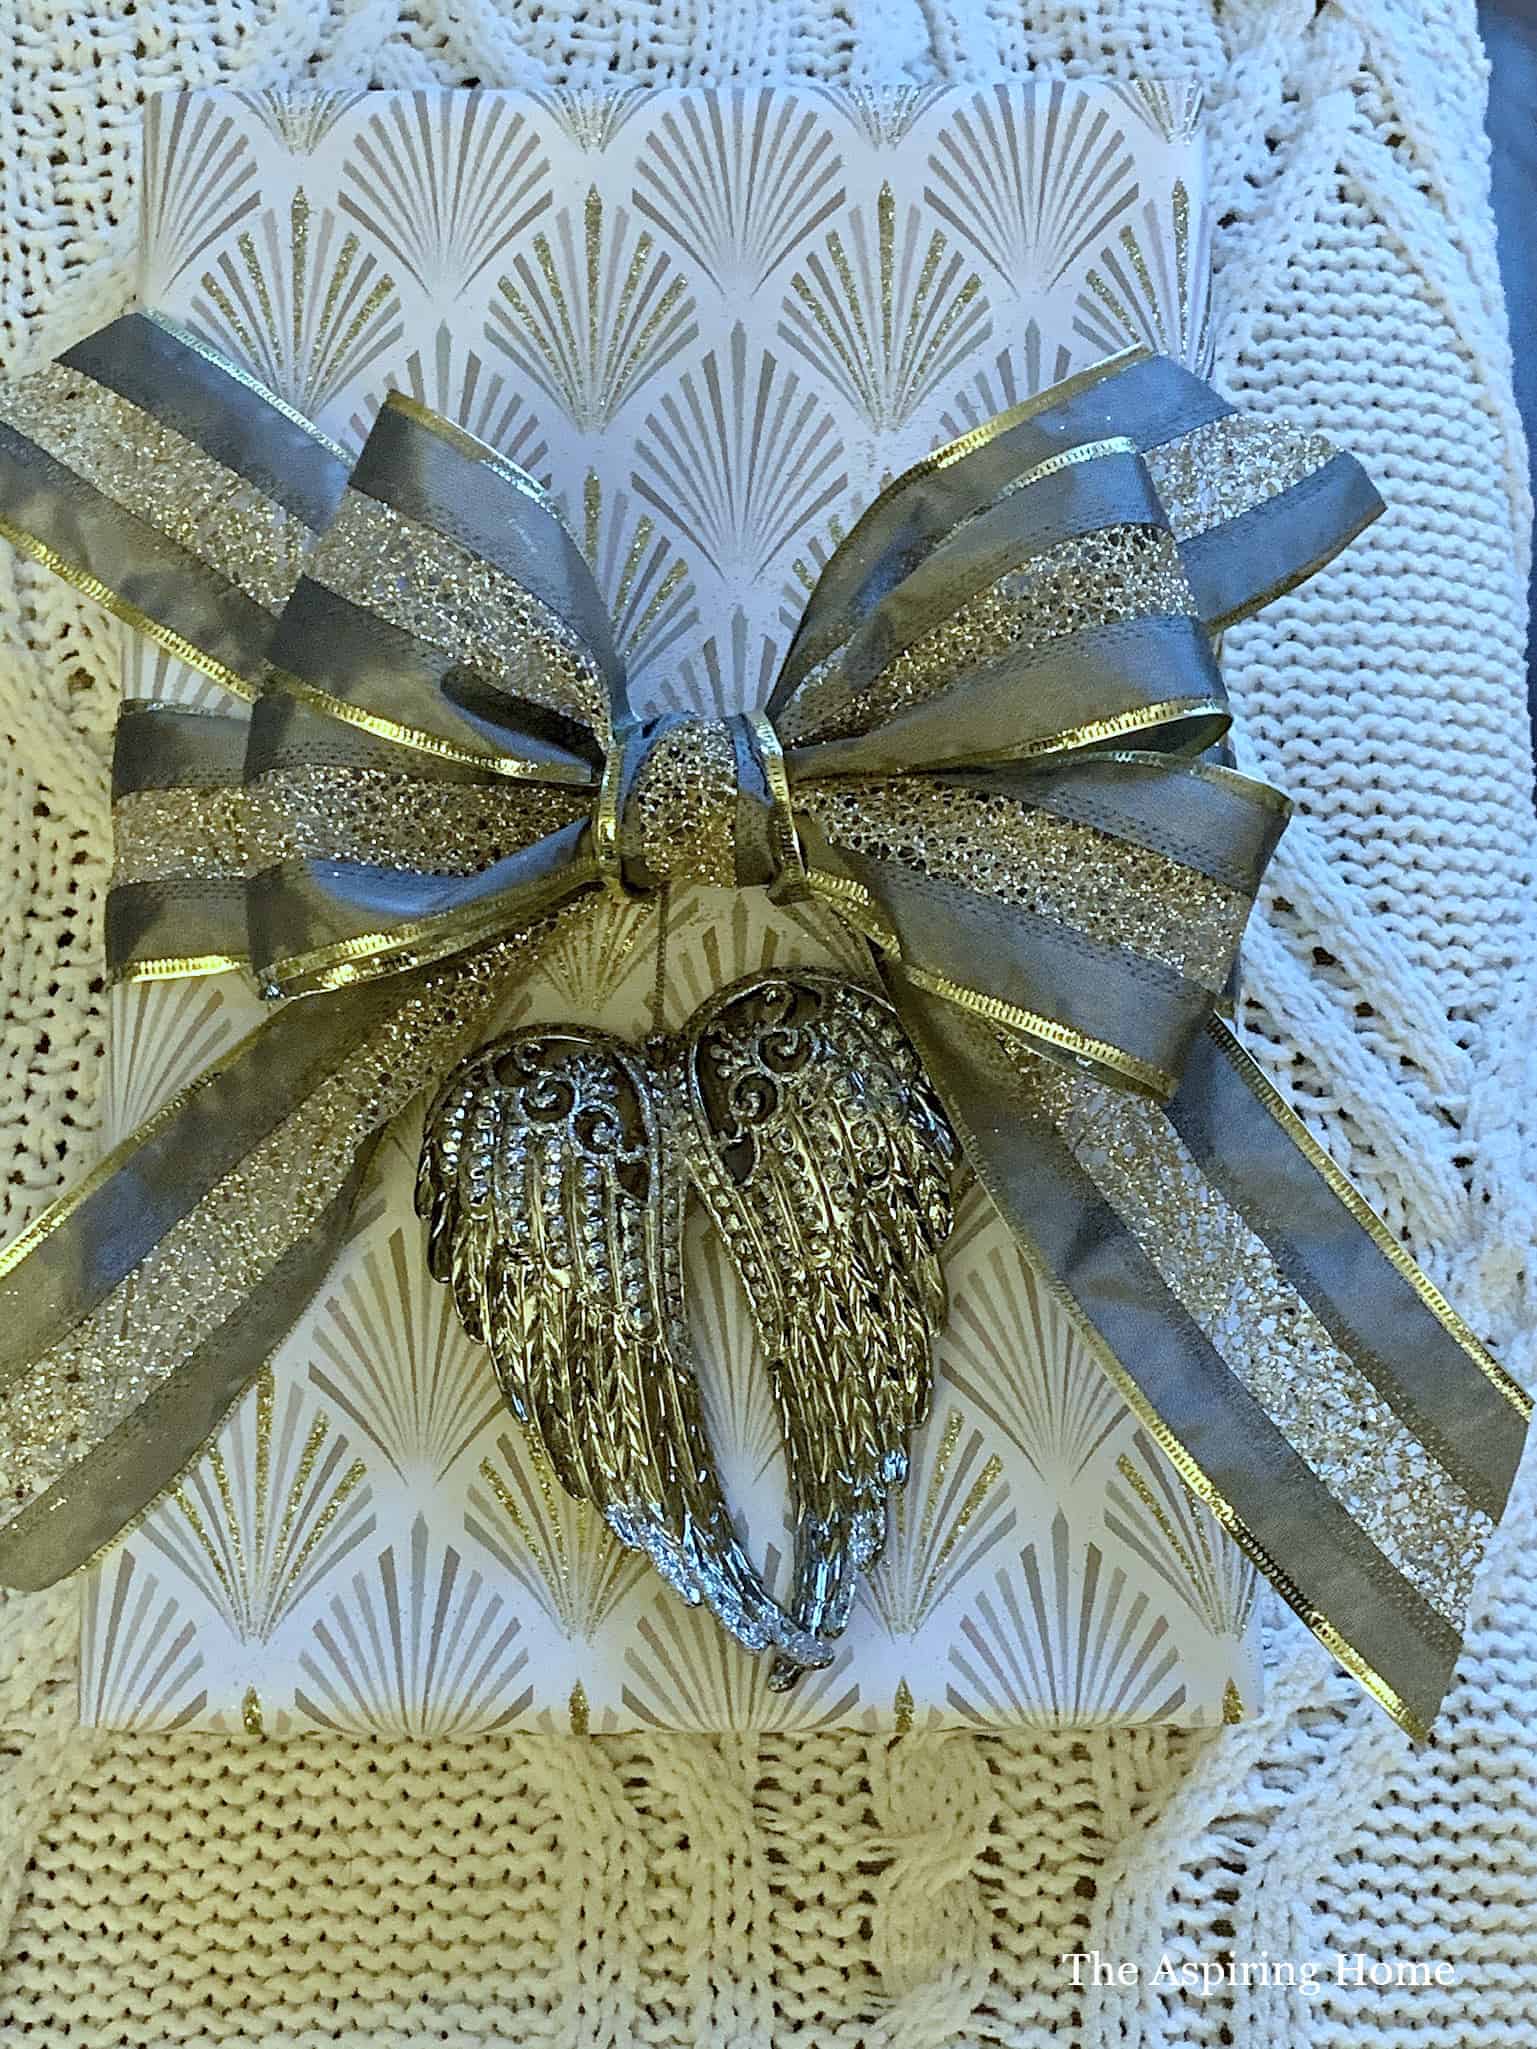
I added a little greenery to the package and secured it with tape. I then taped my bow to the package by using the floral wire. Finally I bent a little branch around the middle for added security.
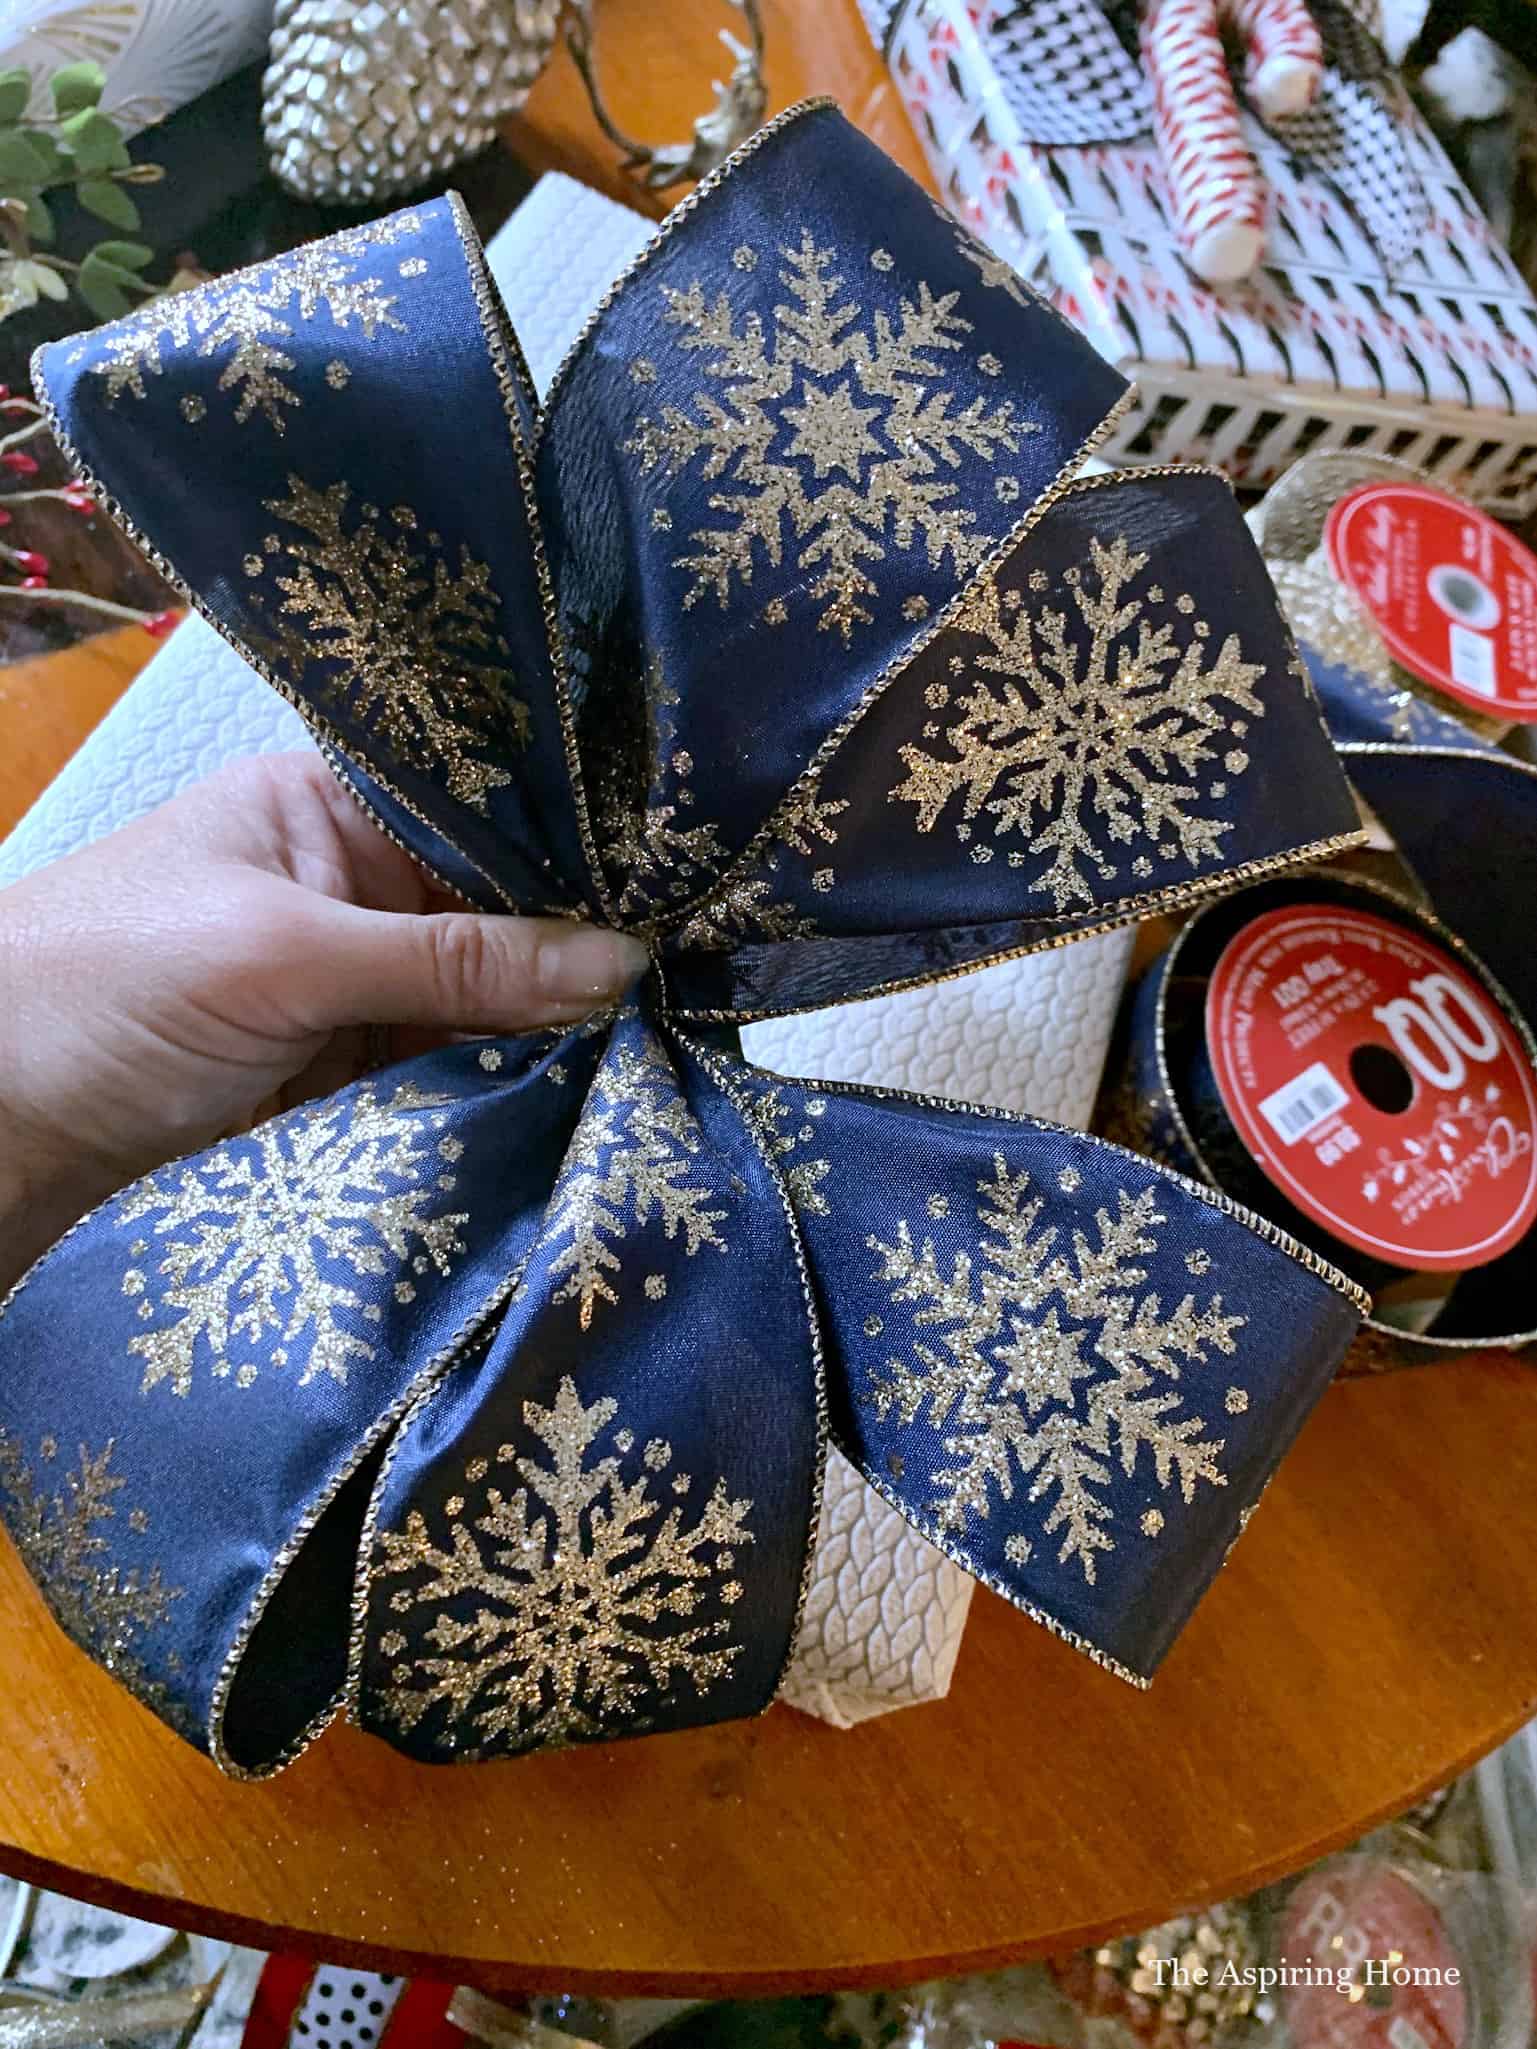
Bow Number 4
This is the big brother to bow number 3. Like, the brother who happens to be a linebacker for your favorite football team. This bow starts with a loopy bottom layer. This layer will have 6 loops all the same size. Secure with floral wire.
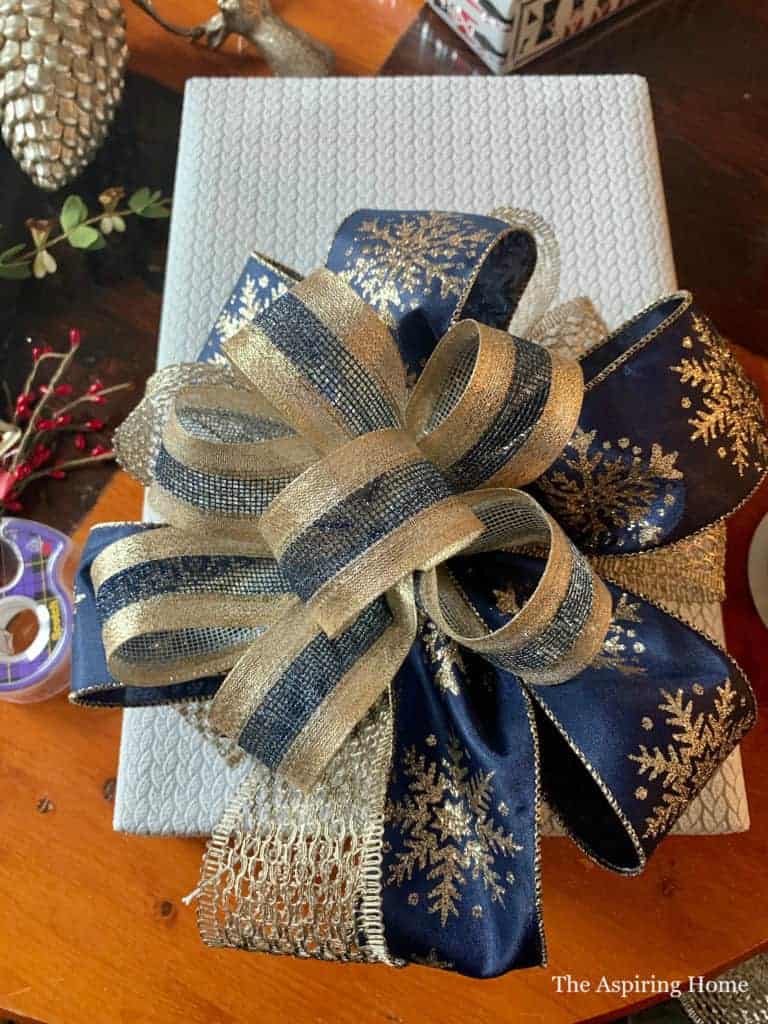
The second layer is another loopy layer that happens to be slightly bigger than the first layer. The third and final loopy layer you will need a more narrow ribbon. This layer will be the bow’s crowning glory.
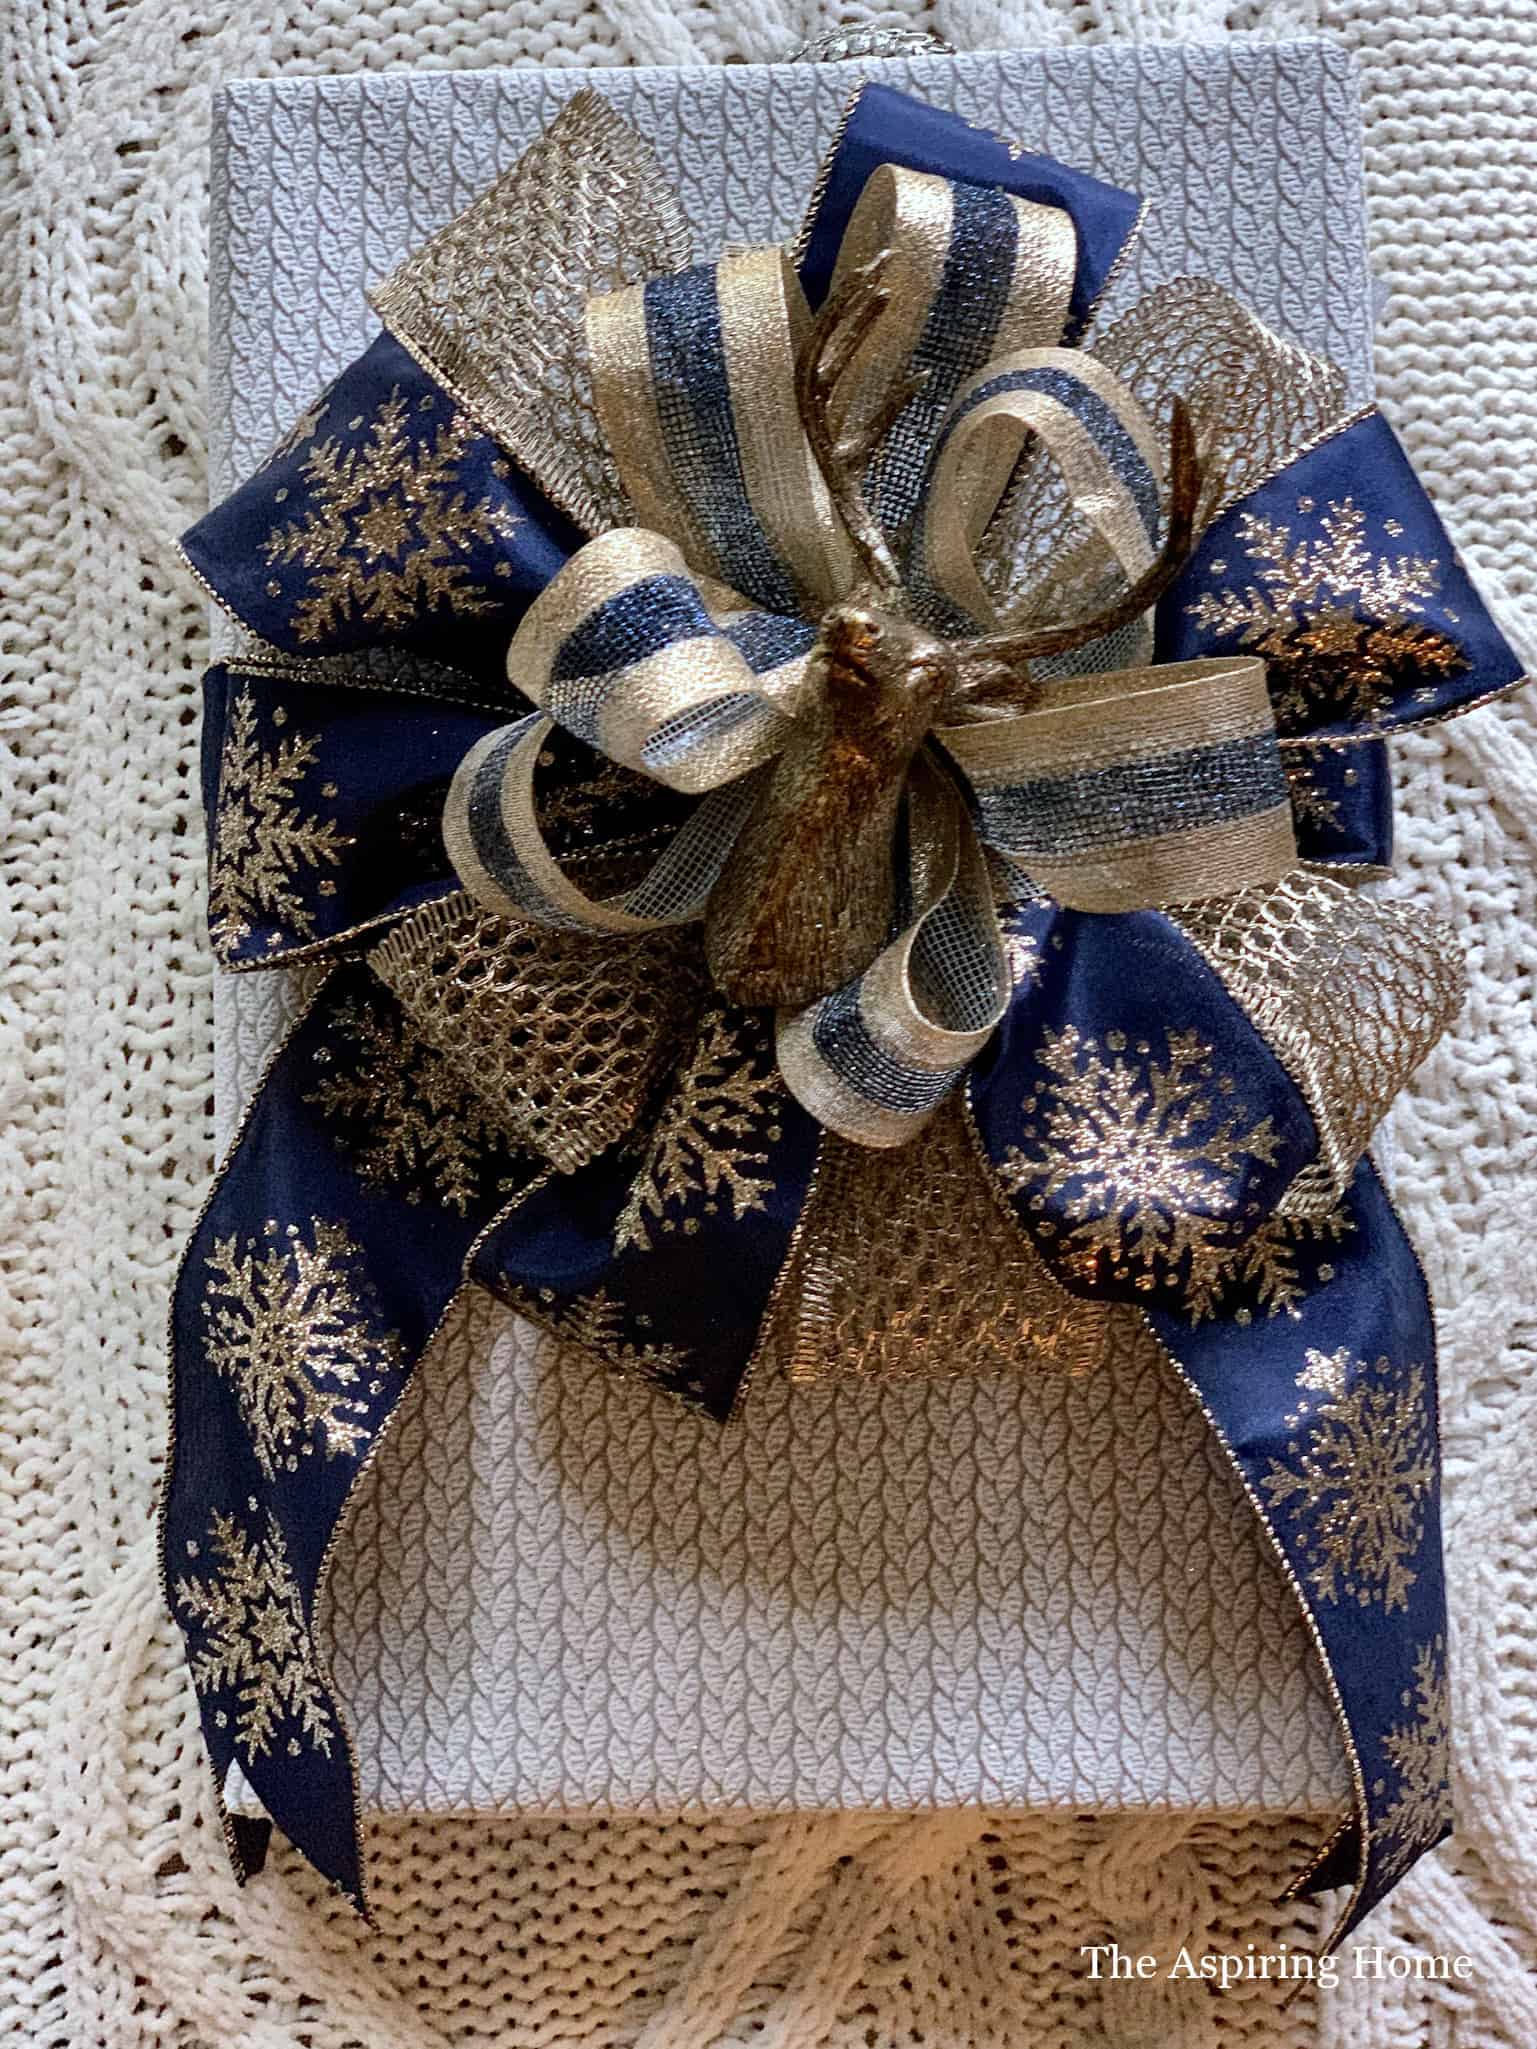
Tie ribbon around your present and knot. Tie the bow to the knot with the floral wire.
Because of this bow’s size, I chose to add a smaller ornament to the middle.
Here’s my Biggest HINT ever for wrapping the most beautiful gifts…
I leave you with my biggest hint for happy gift giving…. Wrap your gifts in Love. Give your gifts in Love. Release any hurt or frustration with life, your surroundings, with others before you begin to cut the paper. Play joyous music and think about the person you are wrapping the gift for. Pray for them as you fold and tape the paper. Find forgiveness for them as you tie the bow. Think well wishes for them as you write their name on the gift tag. I notice a HUGE difference when I choose to wrap this way as opposed to just wrapping as fast as possible because I am tired, beyond stretched and stressed. Gift giving becomes a precious event instead of a chore.
A lot of effort goes into making things beautiful and not everyone will appreciate your efforts. That’s OK. You don’t do it for the accolades or the praises… you create beautiful things and you give of yourself because it is in your heart to do so.
Much love to you as you begin preparing for The Most Wonderful Time of the Year!
Till Later,
MEET OUR SPONSORS who have generously donated fabulous prizes for the Big Christmas Giveaway!
DecoArt winner will receive a prize package valued at $100!
Dixie Crystals/Imperial Sugar winner will receive a Keurig Coffee Maker valued at $100!
Oriental Trading winner will receive an OrientalTrading.com gift card valued at $200!
Cabot Cheese winner will receive a gift basket of Cabot products valued at $75!
Burlap Fabric winner will receive a prize pack of products valued at $50!
It’s Home To You winner will receive one wooden Santa sign valued at $65
Giveaway begins Nov. 8, 2019, and ends Dec. 6, 2019. Winners will be notified by December 13, 2019. Sponsors will ship each prize to the winner. There will be a total of six winners, one for each prize. Drawing is by random selection using the Rafflecopter widget.
Must be 18 to win. Open to U.S. residents only. Terms & Conditions
Joy Maier is the founder and principal designer of The Aspiring Home Interiors, an award-winning studio serving the greater Dallas area and beyond. Blending gracious living with elevated design expertise, Joy creates interiors that feel deeply personal, beautifully refined, and effortlessly livable — from full-home renovations to boutique vacation rentals. Her professional affiliations include ASID (Associate), ART, the Interior Design Society (Professional), NKBA, VRD Collective, and she is a founding member of Designers for Dogs. Since 2012, she has shared design tips and heartfelt stories on The Aspiring Home Blog. Her philosophy is simple: “Design should feel like a deep breath. When we get it right, your home greets you with that exhale every single day.”
Your gift-wrapping skills are so impressive! My oldest daughter always has the best-wrapped Christmas gifts. I always notice the little details.
Thank you! I agree, details make all the difference. 🙂
Your gifts look beautiful! I really need to start stocking up on some tape. It just goes so fast.
Thank you! Yes! It does take a lot of tape. 🙂