How to Stain Paint-Grade Lumber
This quick DIY will save on the budget. Learn how to stain paint-grade lumber for this beautiful laundry room update.
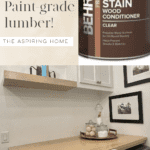
Hey there! Let’s talk how to stretch the budget during a room makeover, the laundry room in this case. We started out with a basic blank room ready for beauty. The majority of the budget had to go into the built-in cabinetry and countertop. So, my answer to finishing the room? Paint-grade lumber. How to stain paint-grade lumber is the tutorial for today.
Click this link to see how gorgeous the laundry room turned out!

This post contains affiliate links. This means if you choose to purchase a product, I may receive a small commission at no additional charge to you.
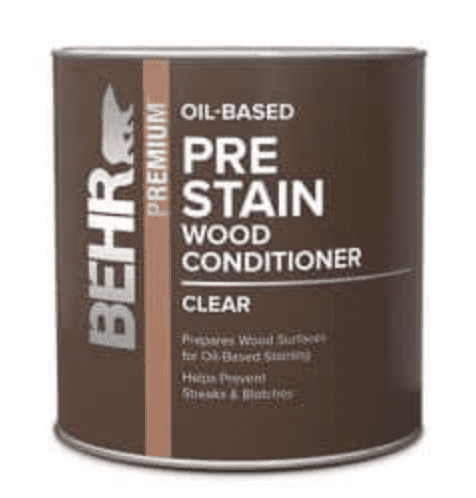
Step 1: Why Use a wood conditioner?
A wood conditioner will help the wood accept the stain evenly. This is very important whether you are using a paint-grade or a fine “stain worthy” wood specimen.
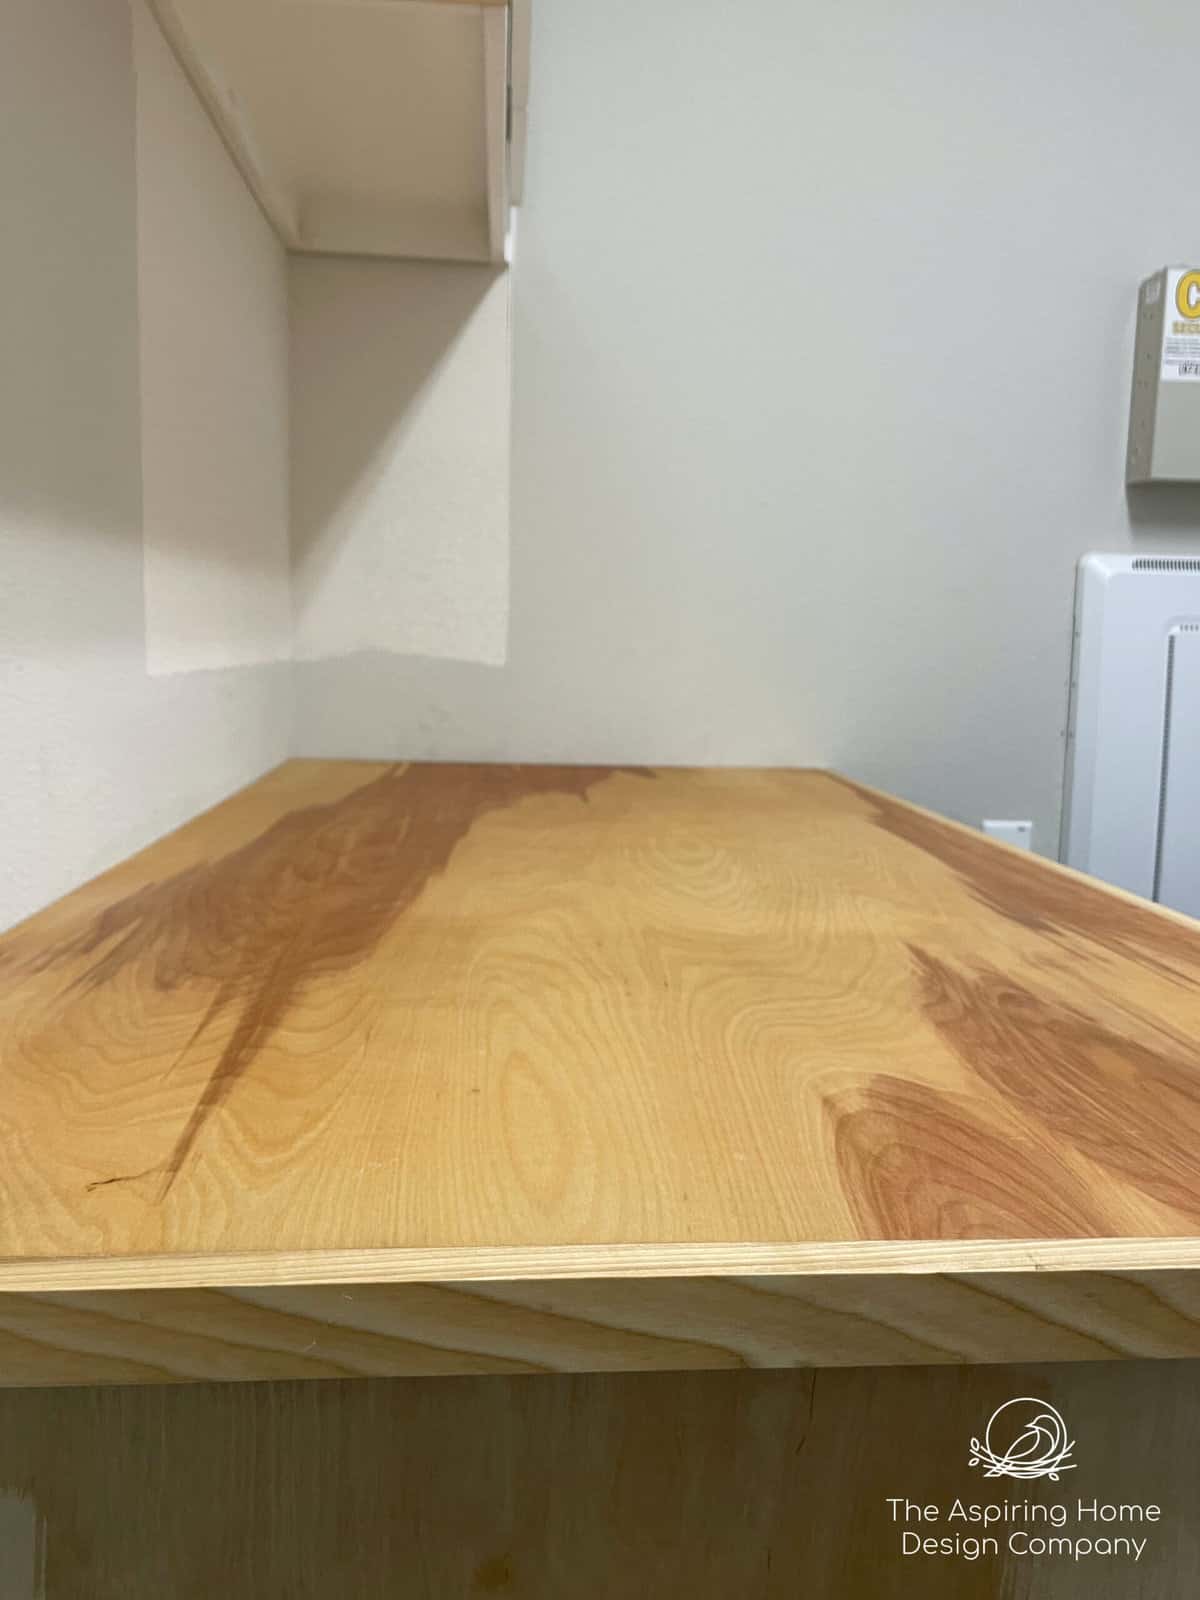
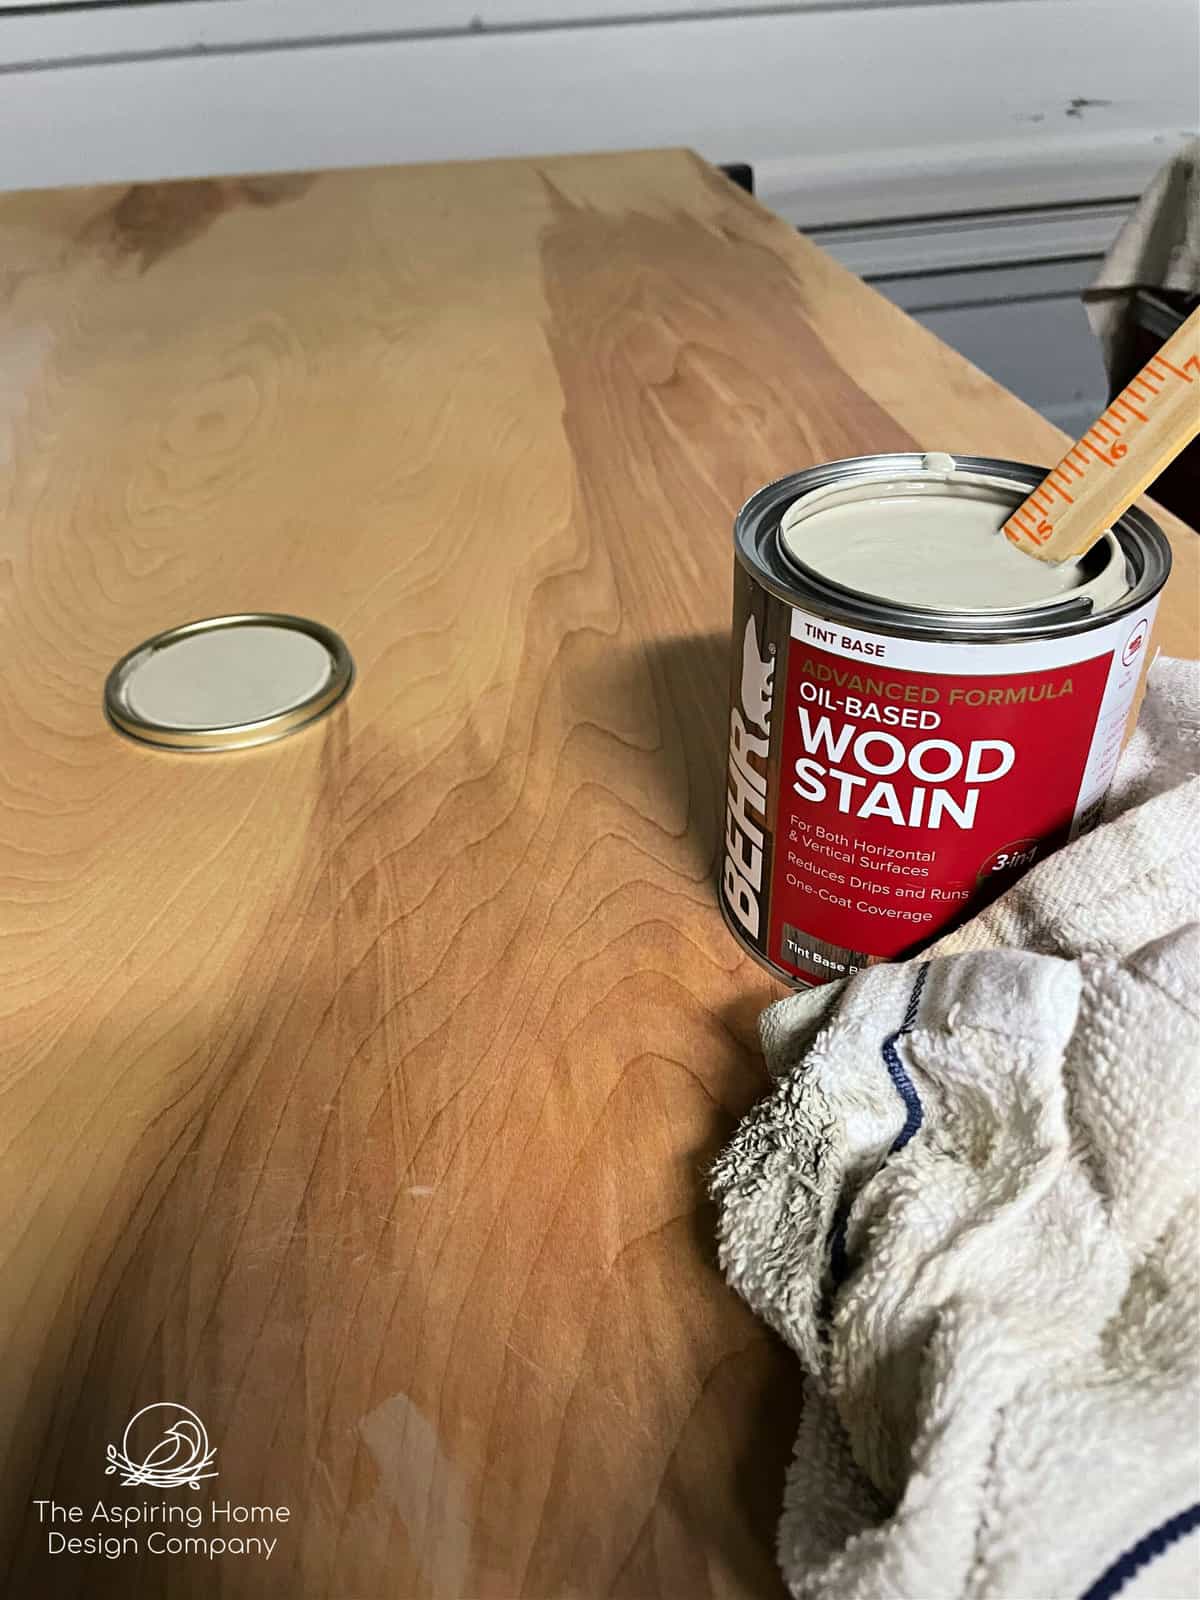
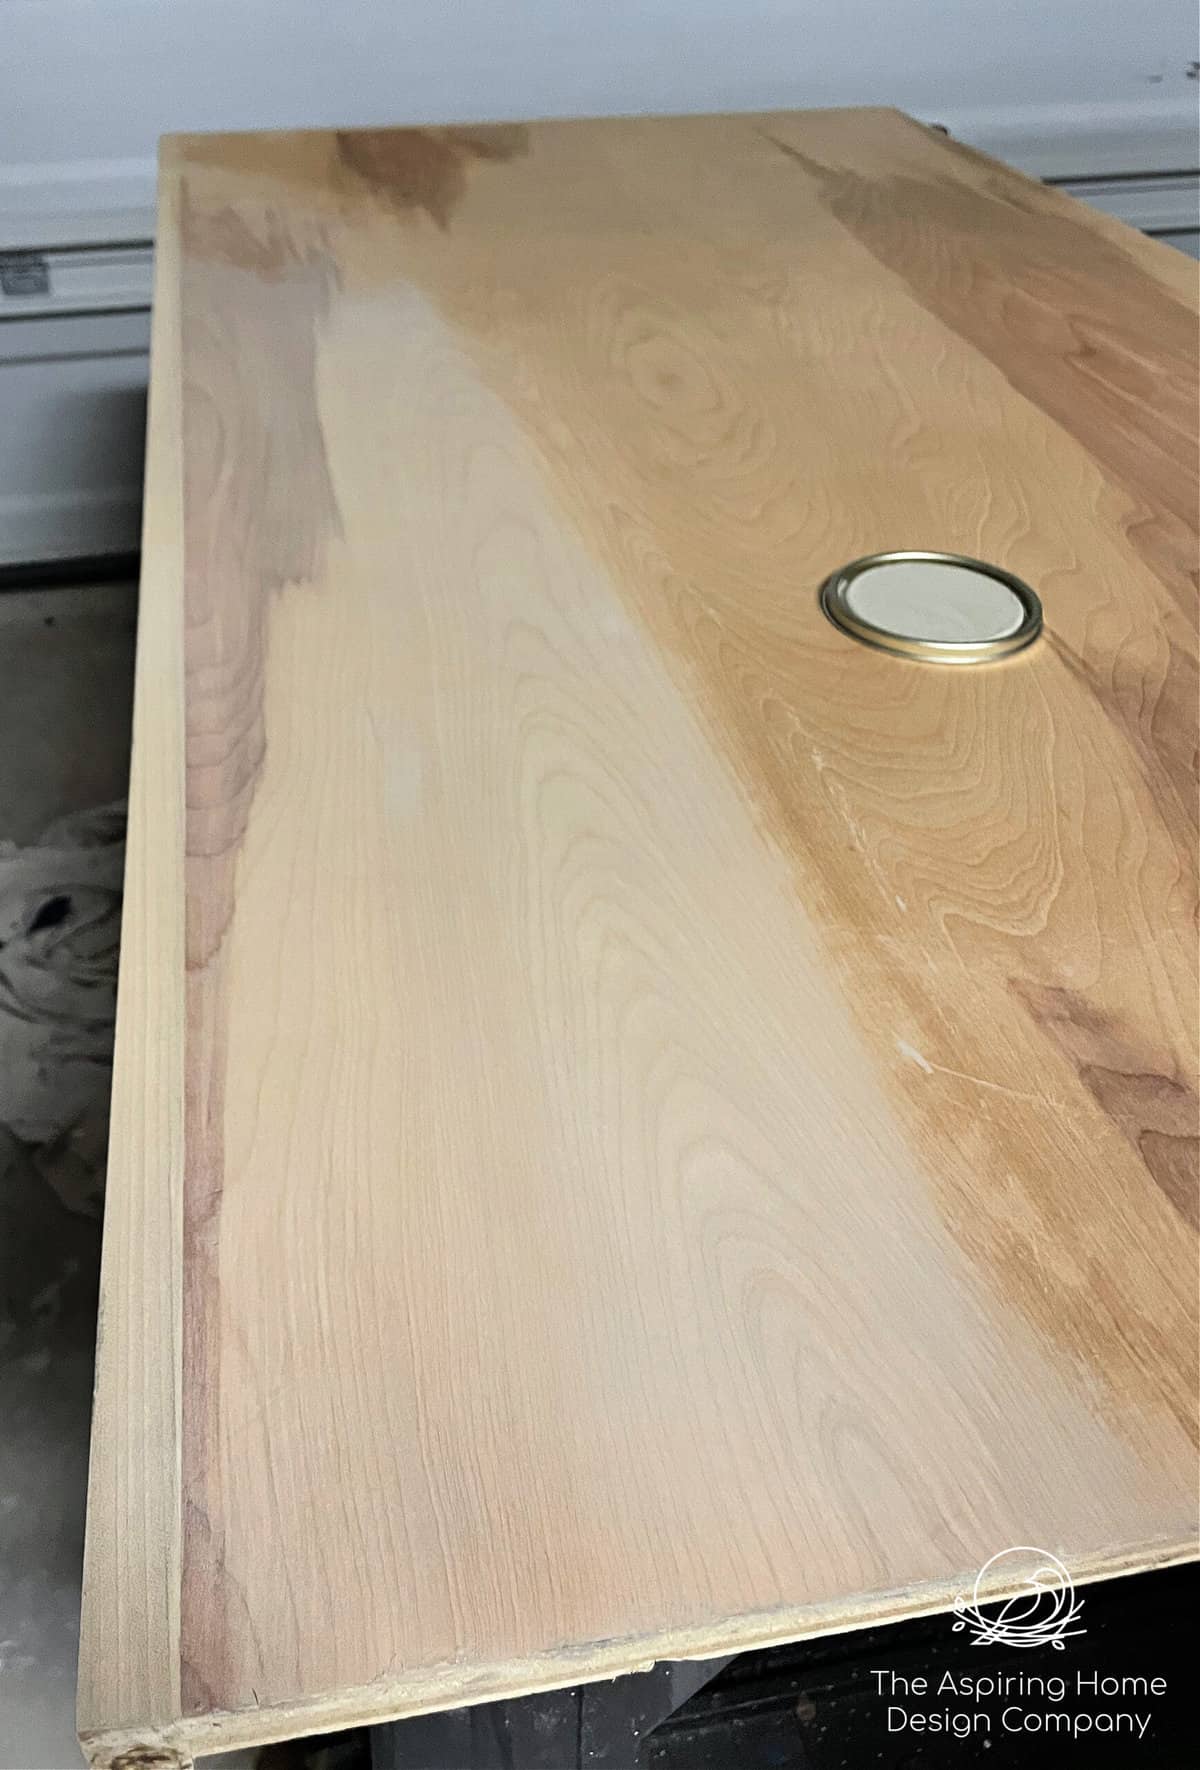
Step 2: Apply Stain
Here’s where the magic happens – choose a stain that has a slight color to it. I chose a stain with a creamy-gray color. Behr has over 60 semi-transparent colors to choose from, here are a few:
We painted on the semi-transparent stain (Chatham Fog) and allowed it to “sit” for about 10 min. Then we wiped it off and repeated the process one more time.
I really fell in love with the funky heavy grain and one of the big reasons I wanted to at least try the stain the route.
Step 3: Seal your beautiful stain
Apply a couple of coats of a non-yellowing poly in a matte finish to protect your beautiful stain color.


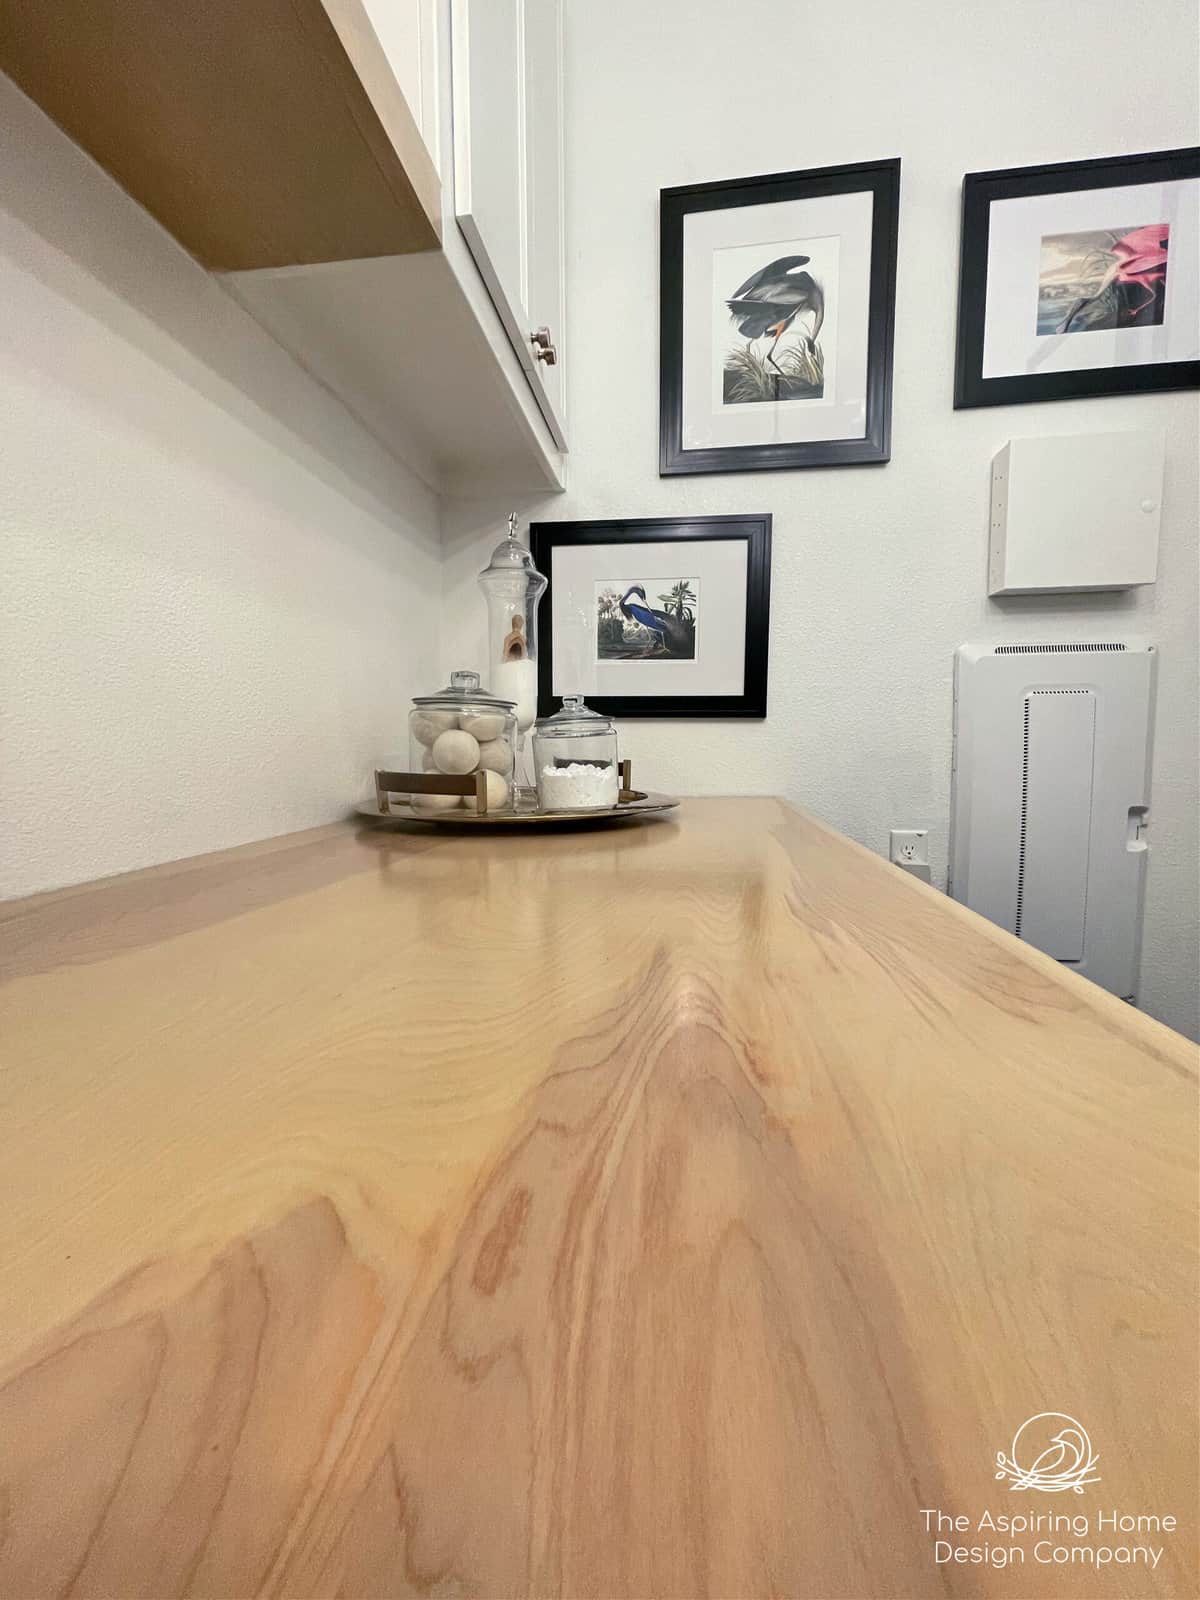
Look at that pretty grain! I love how the Chatham Fog creates a soft pink hue – that pairs perfectly with the Audubon prints.
So there you have it – “How to stain paint-grade lumber”
the big hints to stain paint-grade lumber:
- Sand your plywood lightly and use a tack rag to pull off any residue.
- Do a final sanding with a paper bag to create a smooth finish.
- Use a wood conditioner – make sure the wood conditioner is oil based if you are applying an oil based stain like I did.
- Choose a semi-transparent color with with a hint of paint in it.
- In between stain coats and poly coats – allow to dry.
- After the first coat of poly dries, take a paper bag and lightly sand the poly. The second coat will feel like silk once dried.
Keep creating home my friends!

Joy Maier is the founder and principal designer of The Aspiring Home Interiors, an award-winning studio serving the greater Dallas area and beyond. Blending gracious living with elevated design expertise, Joy creates interiors that feel deeply personal, beautifully refined, and effortlessly livable — from full-home renovations to boutique vacation rentals. Her professional affiliations include ASID (Associate), ART, the Interior Design Society (Professional), NKBA, VRD Collective, and she is a founding member of Designers for Dogs. Since 2012, she has shared design tips and heartfelt stories on The Aspiring Home Blog. Her philosophy is simple: “Design should feel like a deep breath. When we get it right, your home greets you with that exhale every single day.”