Chicken Wire Memo Boards Using Picture Frames
Clearance frames can be your best friend for organizing your thoughts! A little chicken wire and chalk paint are the keys to this transformation!
I love a good memo board and this one is no exception. I found three picture frames in my favorite section of Hobby Lobby, the clearance aisle. Poor things, kinda belong there, and judging by their price, they have been there for a long time. So let’s get to this easy tutorial creating chicken wire memo boards using picture frames.

Supplies:
- Picture frame (not plastic – we will be stapling the chicken wire)
- Chicken wire
- Staple Gun
- Staples
- Paint – I used chalk paint
- Stencil, letter stickers, or Cricut machine
- Paintbrush
- Small clothespins
- Washi tape
- Wire cutters
The supply list contains affiliate links. I earn a small commission on these items but it will not affect your cost. Read my full disclosure policy HERE.
You can also visit my Amazon Storefront (just click here) for items on this list.
Step 1:
Remove glass and backing from your frame if necessary, mine was open already. Paint the frame in your favorite color. My choice? Gray chalk paint to cover up the original sad red paint and black lace stencil application (yikes! pictures just do not do it justice).

Step 2:
Next, measure the frame opening and carefully cut the chicken wire slightly bigger than the frame opening.
Great price, right? By the way, focus on the chicken wire being “slightly bigger” than the frame opening and NOT on where I initially stapled the wire. I will explain more of my snafu in step @.
Step 3:
Then, flip the frame so the back is facing up. Carefully bend the chicken wire even with the inside lip of the frame. Please refrain from taking the easier road and stapling the chicken wire flat across the back. I did that originally and it doesn’t allow for easy message clipping. Staple the chicken wire to the inside frame lip.

Step 4:
Now, we add lettering. This is an optional step but it does add a bit of fun and if you are doing more than one chicken wire memo boards, it creates more organizational options (labels are our friends).
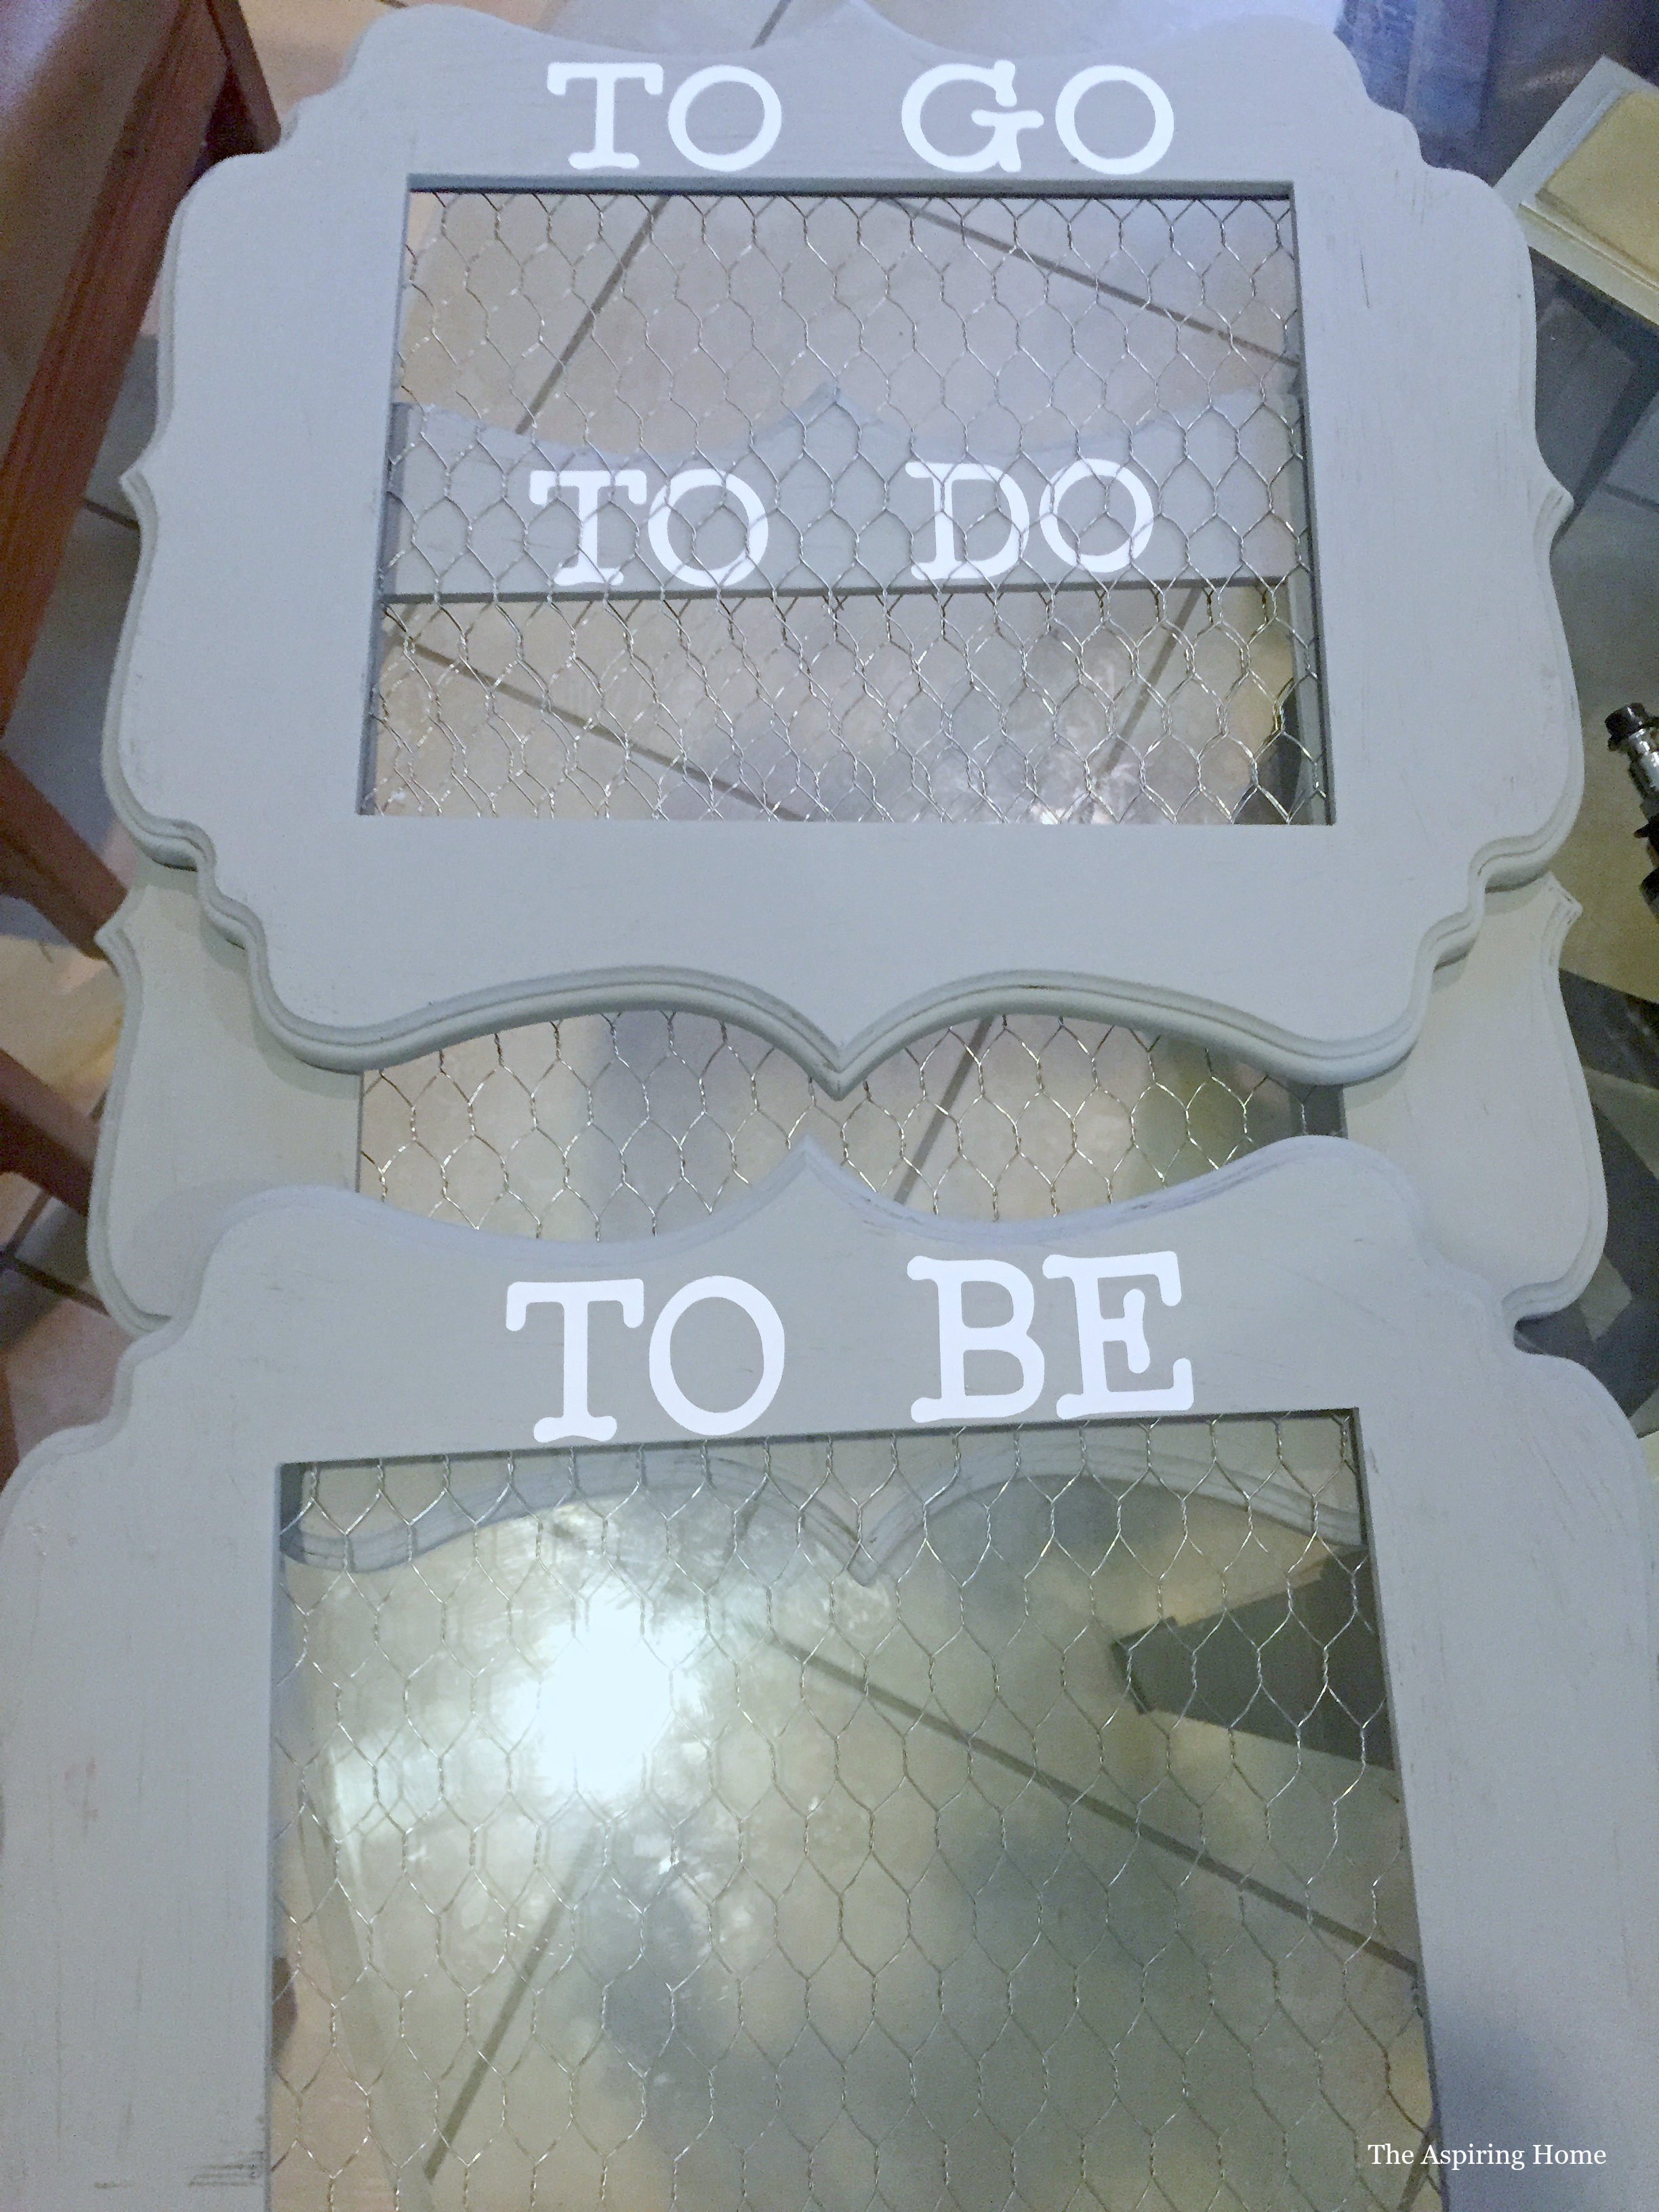
I decided to break out my “now” old tech Cricut machine and make simple letter labels. These memo boards are for my daughter’s college room. I decided to label them, “To Do, “To Go”, “To Be”.
To Go – appointments, class schedules, events, To Do– house chores, homework, extra-curricular activities, To Be – goals, dreams, thoughts
Step 5:
Add the small clothespins. I decided to make the clothespins “fancy” by adding a little washi tape.

The nice thing about picture frames? The majority are already set up for easy quick hanging! I clipped a few clothespins to each frame so they are ready to hold all the valuable info for quick glances and reminders. You could even do a frame for each day, talk about organizing your week!

‘Til Later my friends, stay organized, happy, and full of positive goals!

Here are a few other projects you might like:
O Christmas Tree, O Christmas Tree, you are made of clothespins!
Joy Maier is the founder and principal designer of The Aspiring Home Interiors, an award-winning studio serving the greater Dallas area and beyond. Blending gracious living with elevated design expertise, Joy creates interiors that feel deeply personal, beautifully refined, and effortlessly livable — from full-home renovations to boutique vacation rentals. Her professional affiliations include ASID (Associate), ART, the Interior Design Society (Professional), NKBA, VRD Collective, and she is a founding member of Designers for Dogs. Since 2012, she has shared design tips and heartfelt stories on The Aspiring Home Blog. Her philosophy is simple: “Design should feel like a deep breath. When we get it right, your home greets you with that exhale every single day.”