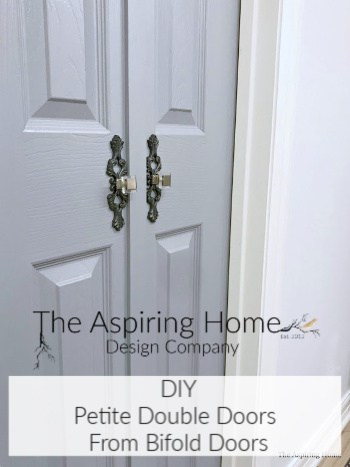
DIY Petite Double Doors From Bifold Doors
Easily solve a bathroom door issue by creating DIY petite double doors from bifold doors with this quick tutorial!
Sometimes, when revamping a space, it takes more than paint and tile choice. It takes creative problem-solving. I have found this to be true whether I am dealing with old or new construction. Case in point, this project. Read more on how the DIY petite double doors from the bifold doors tutorial solved my issue and created much-needed character.
When I sat down to pull the design together for the girls’ shared bath, I wrote down everything I did not like about the space. Under each “dislike” I wrote why I didn’t like it.
Then under that space, I wrote how or what would make the negative function better.
This is the same approach I take with clients when I am working on projects outside of my own. It has never failed.
Here is the thought process for the toilet/shower door dilemma:
Room:
Girls Shared Bathroom
Negatives:
The toilet/shower door
Swings wide into the tub area which makes it difficult to enter and exit the area.
Nothing can be hung behind the door aka a towel rack due to the expansive swing area needed.
Positives:
If a smaller door could be used, it would provide more room for the person in the shower area and it would allow for a towel rack to be placed.
Goal:
Minimizing the door without sacrificing privacy when needed.
Solution:
Rework bifold doors to create petite double doors.
TADA! We have an avenue to turn the negative into a positive!
Bifold doors are relatively inexpensive when compared to changing the size of the door frame or reconfiguring a wall to install a pocket door.
They can be easily converted into petite french doors.
Here’s how we created DIY Petite double Doors From Bifold Doors –
Supplies:
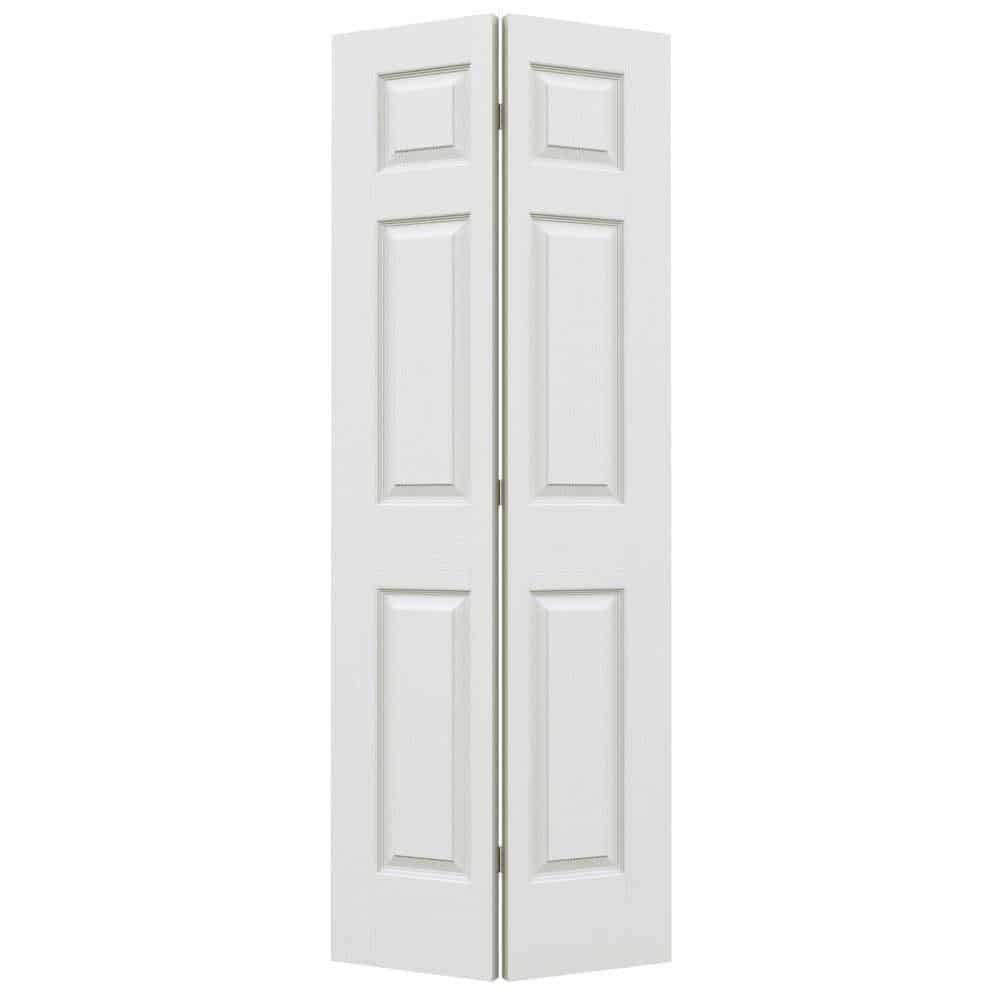
- Basic Bifold doors – primed if you are painting
- Two sets of hinges (one set for each small door)
- Four knobs
- Ball catch latch hardware to allow the door to shut securely
- 1in x2in x1/4in plank
- Paint or Stain
This project is really quite easy. I did not take pictures of the process because we were in a time crunch during the Jeffrey Court Tile challenge.
I will include a few links to tutorials in each step to help you. I have a feeling that I may be repeating this process soon so I will update pictures at that time.
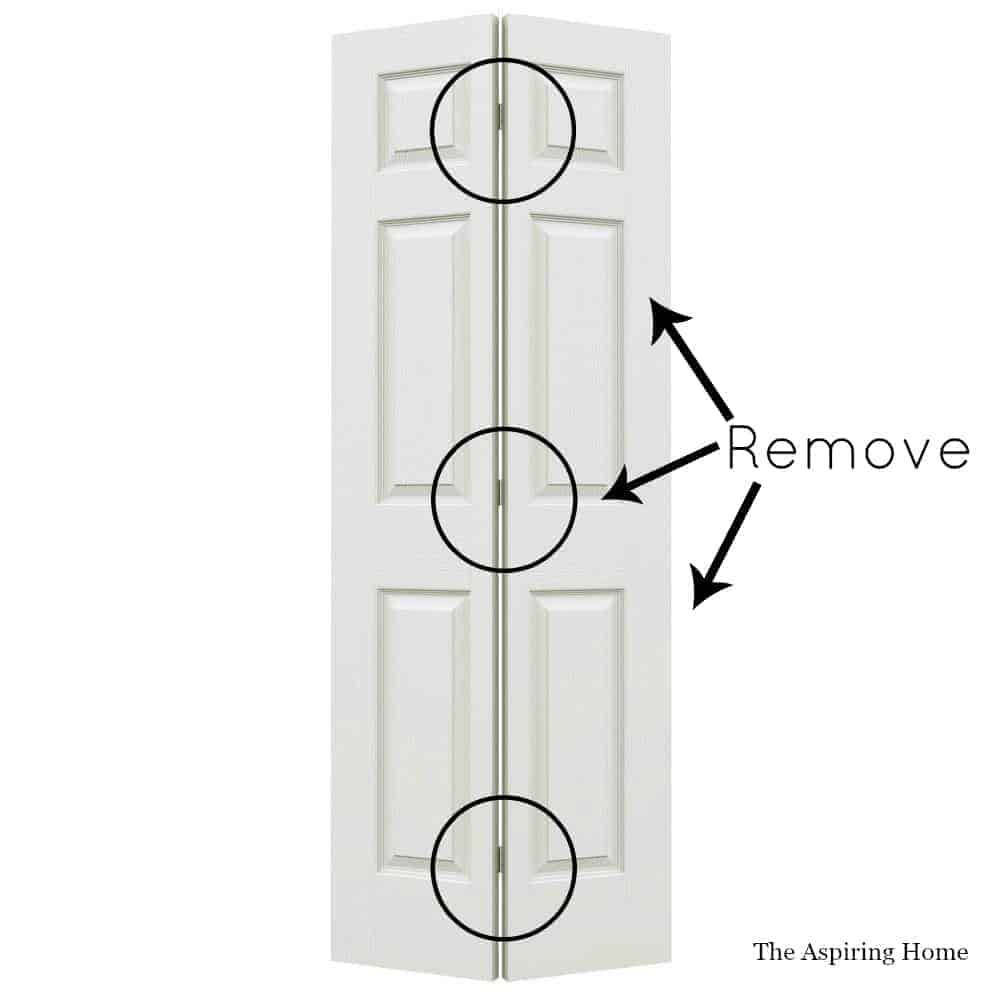
Step 1: Remove hinges
Take the bifold doors apart by removing the original hinges.
Step 2: Sand
Knock off the “burrs” or rough edges of the bifold doors with fine-grade sandpaper. If you are using stain grade doors – you will want to follow the steps needed to create a smooth evenly stained surface.
Minwax has a great link to help ensure your doors look beautiful, click here for the link.
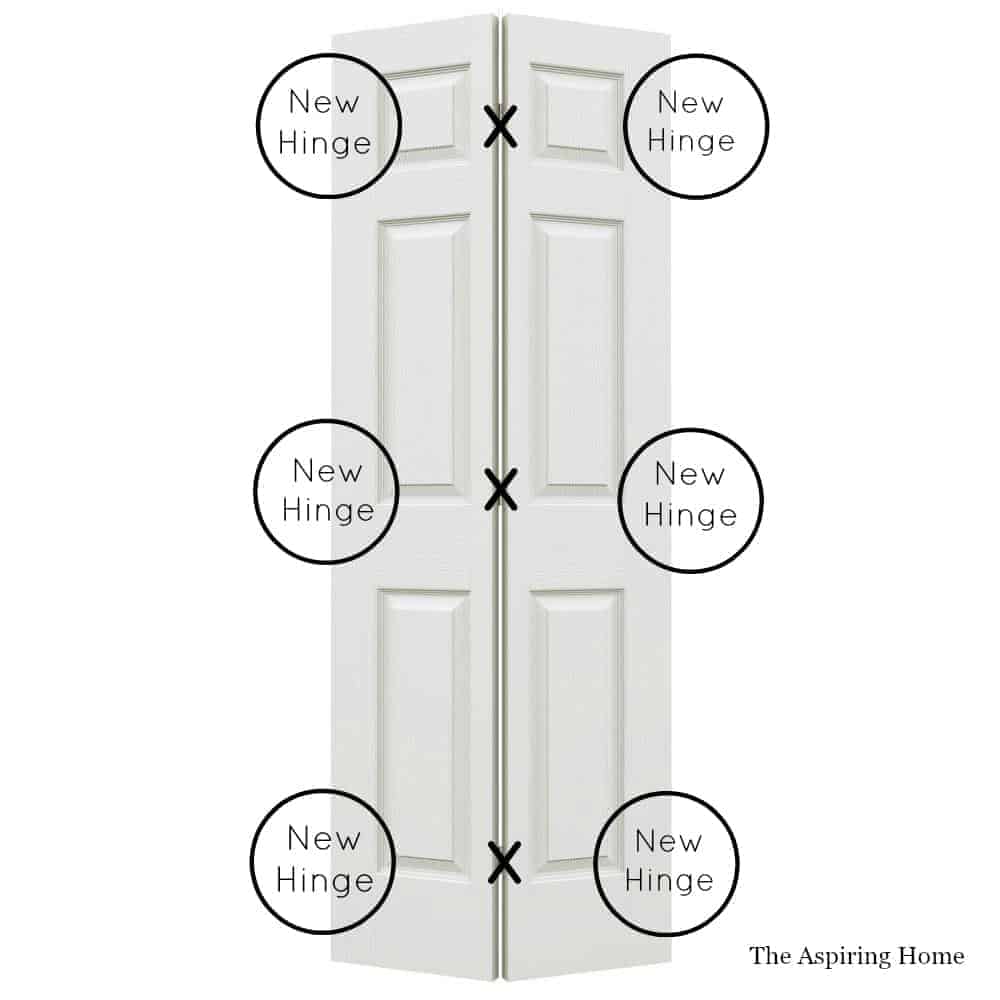
Step 3: Use wood filler
Use wood filler or spackle to fill in the old hinge areas. Sand smooth. Install hinges on the opposite side(s) of the doors.
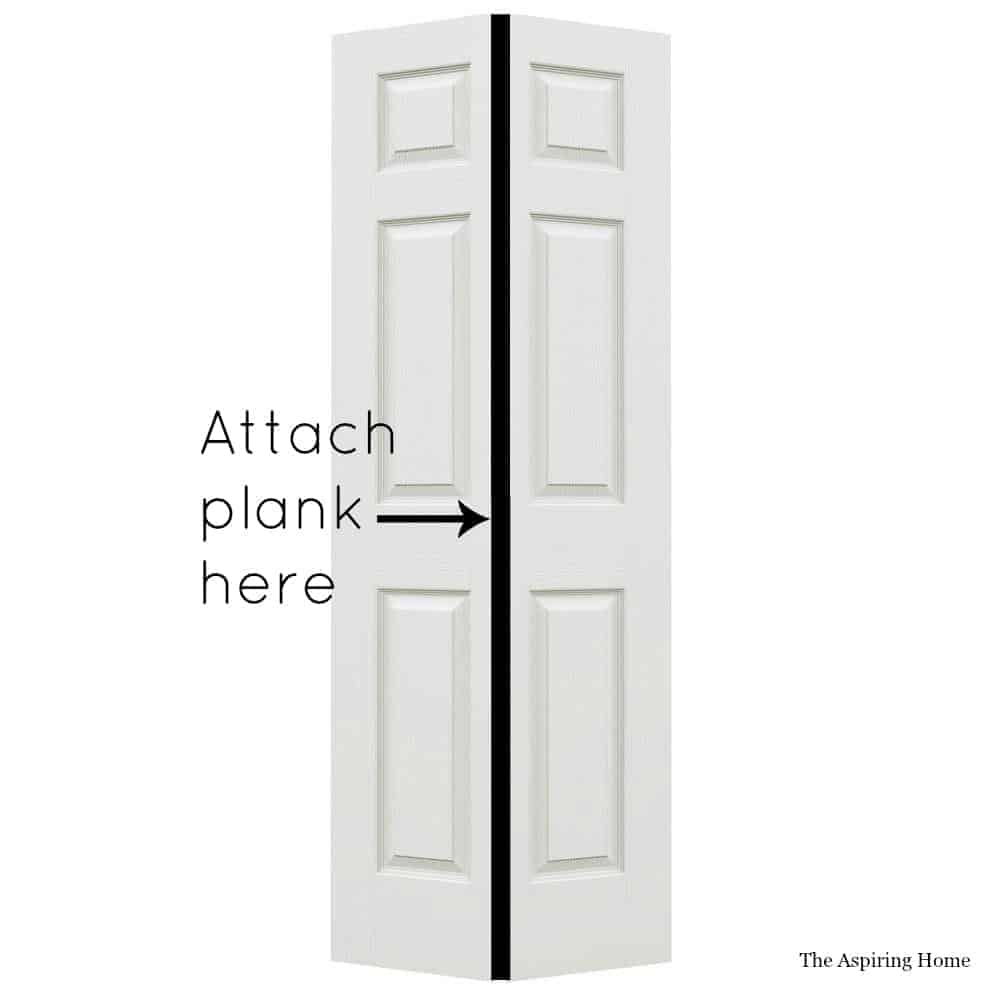
Step 4: Add a plank spacer
Add the 1in x 2in x 1/4 in plank to close the gap created by separating the two doors. Otherwise, the whole privacy part is null.
Attach the plank to the left side if facing the door, like this diagram. Hang the doors. Here is a tutorial for hanging double doors.
Step 5: Make it stop
Install ball catch latch at the top. Here is a tutorial to help you with the installation.
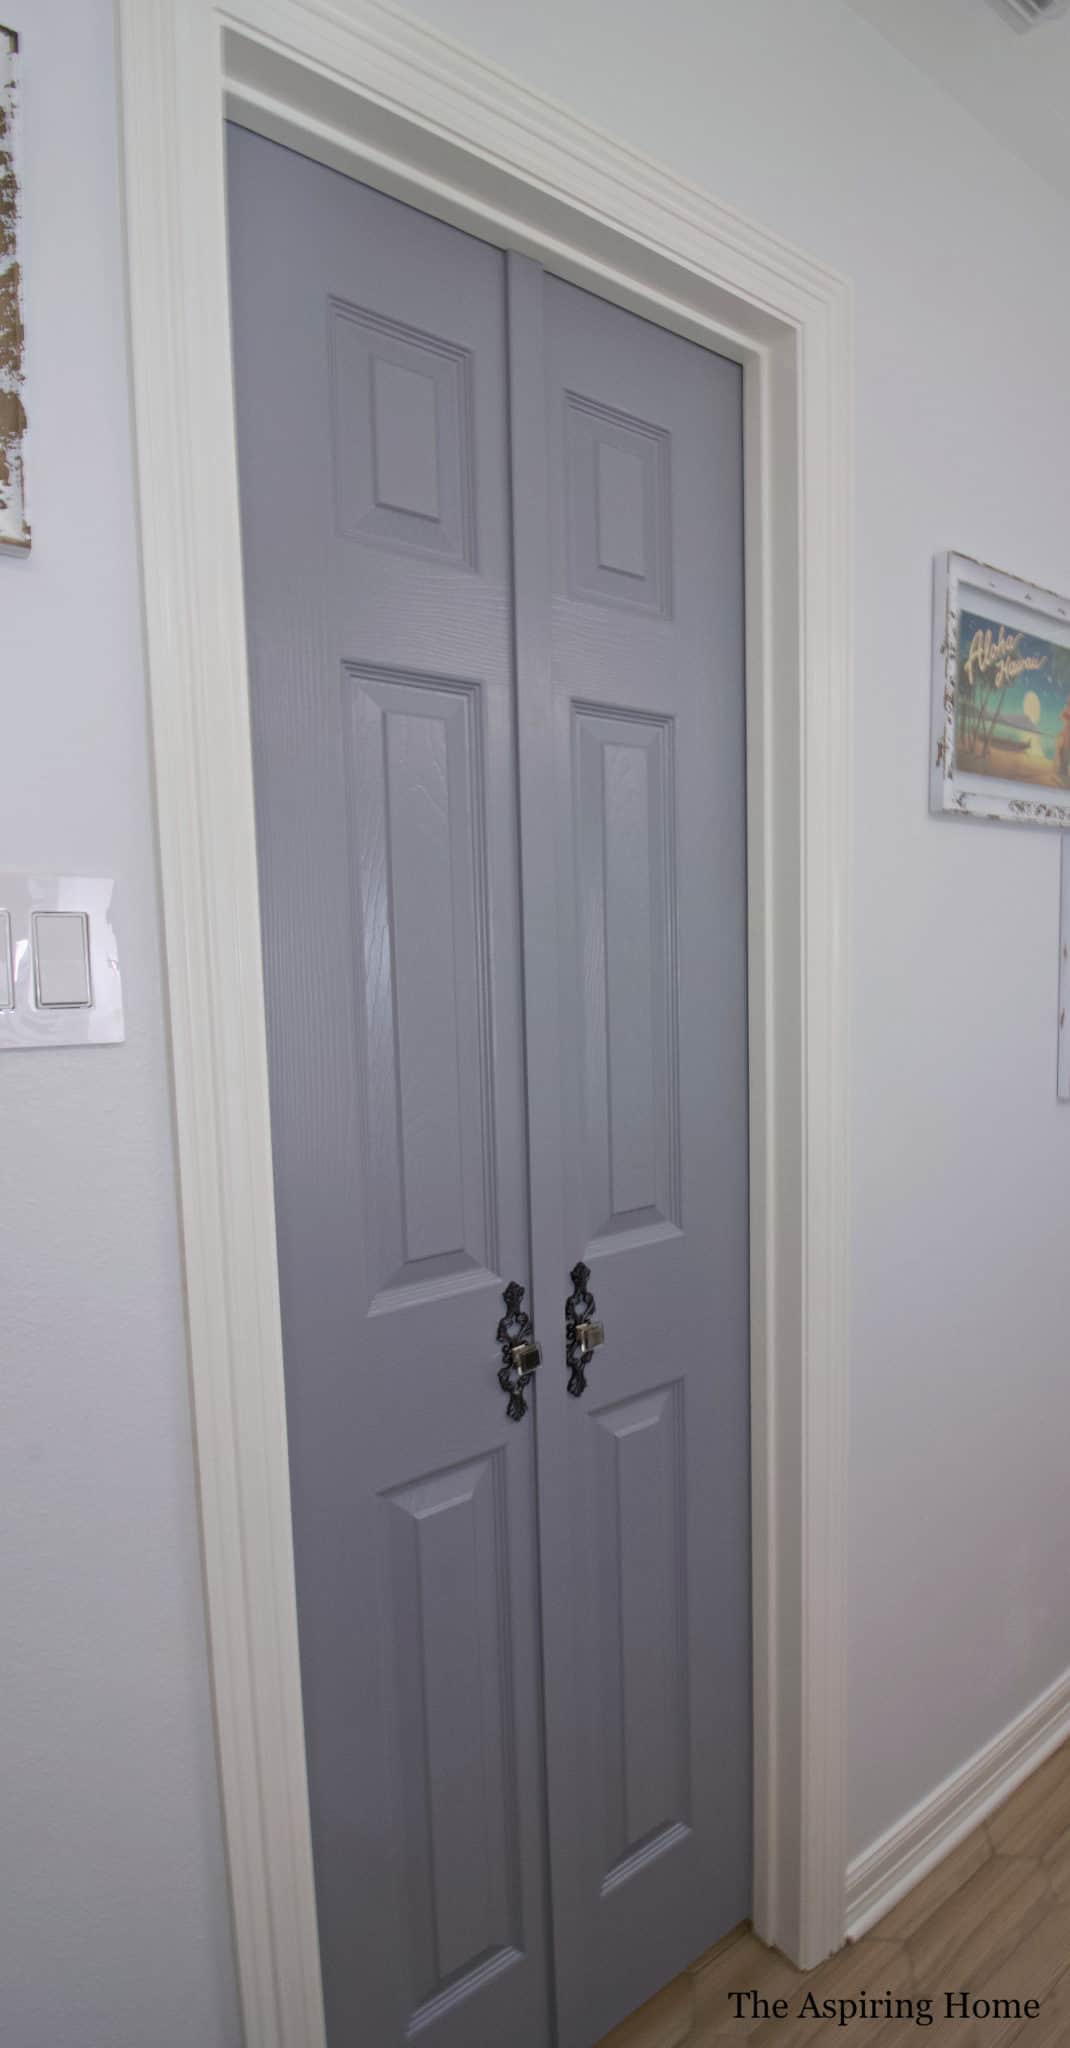
Step 6: Paint your new double doors
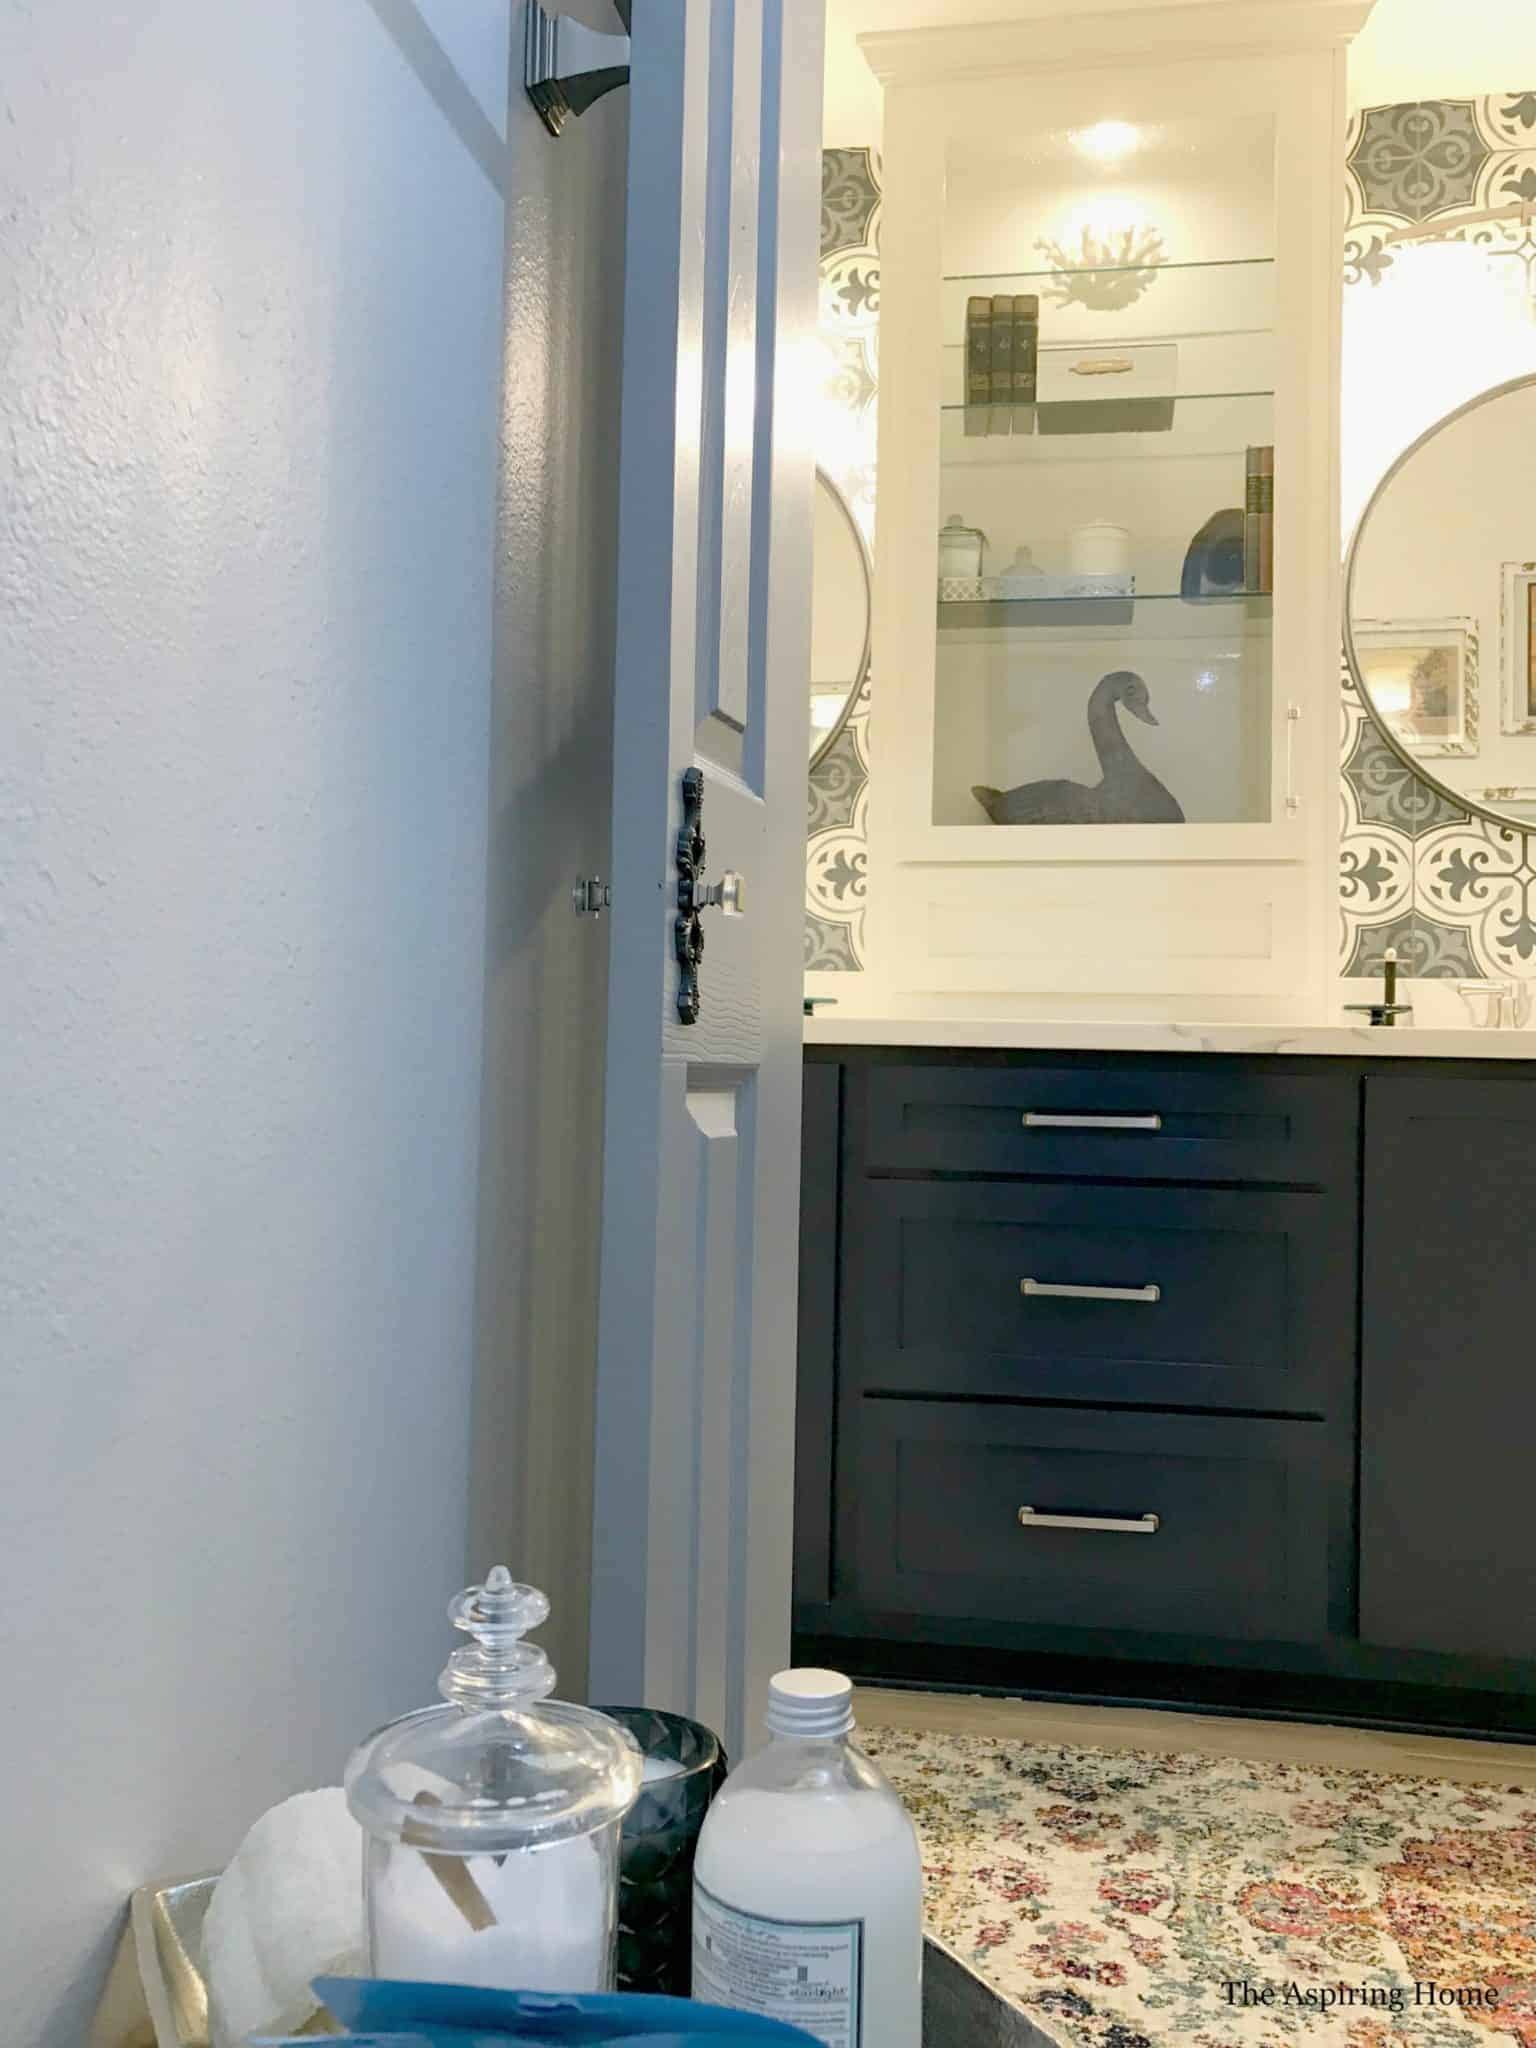
I chose Sherwin Williams Dust Blu in a satin finish.
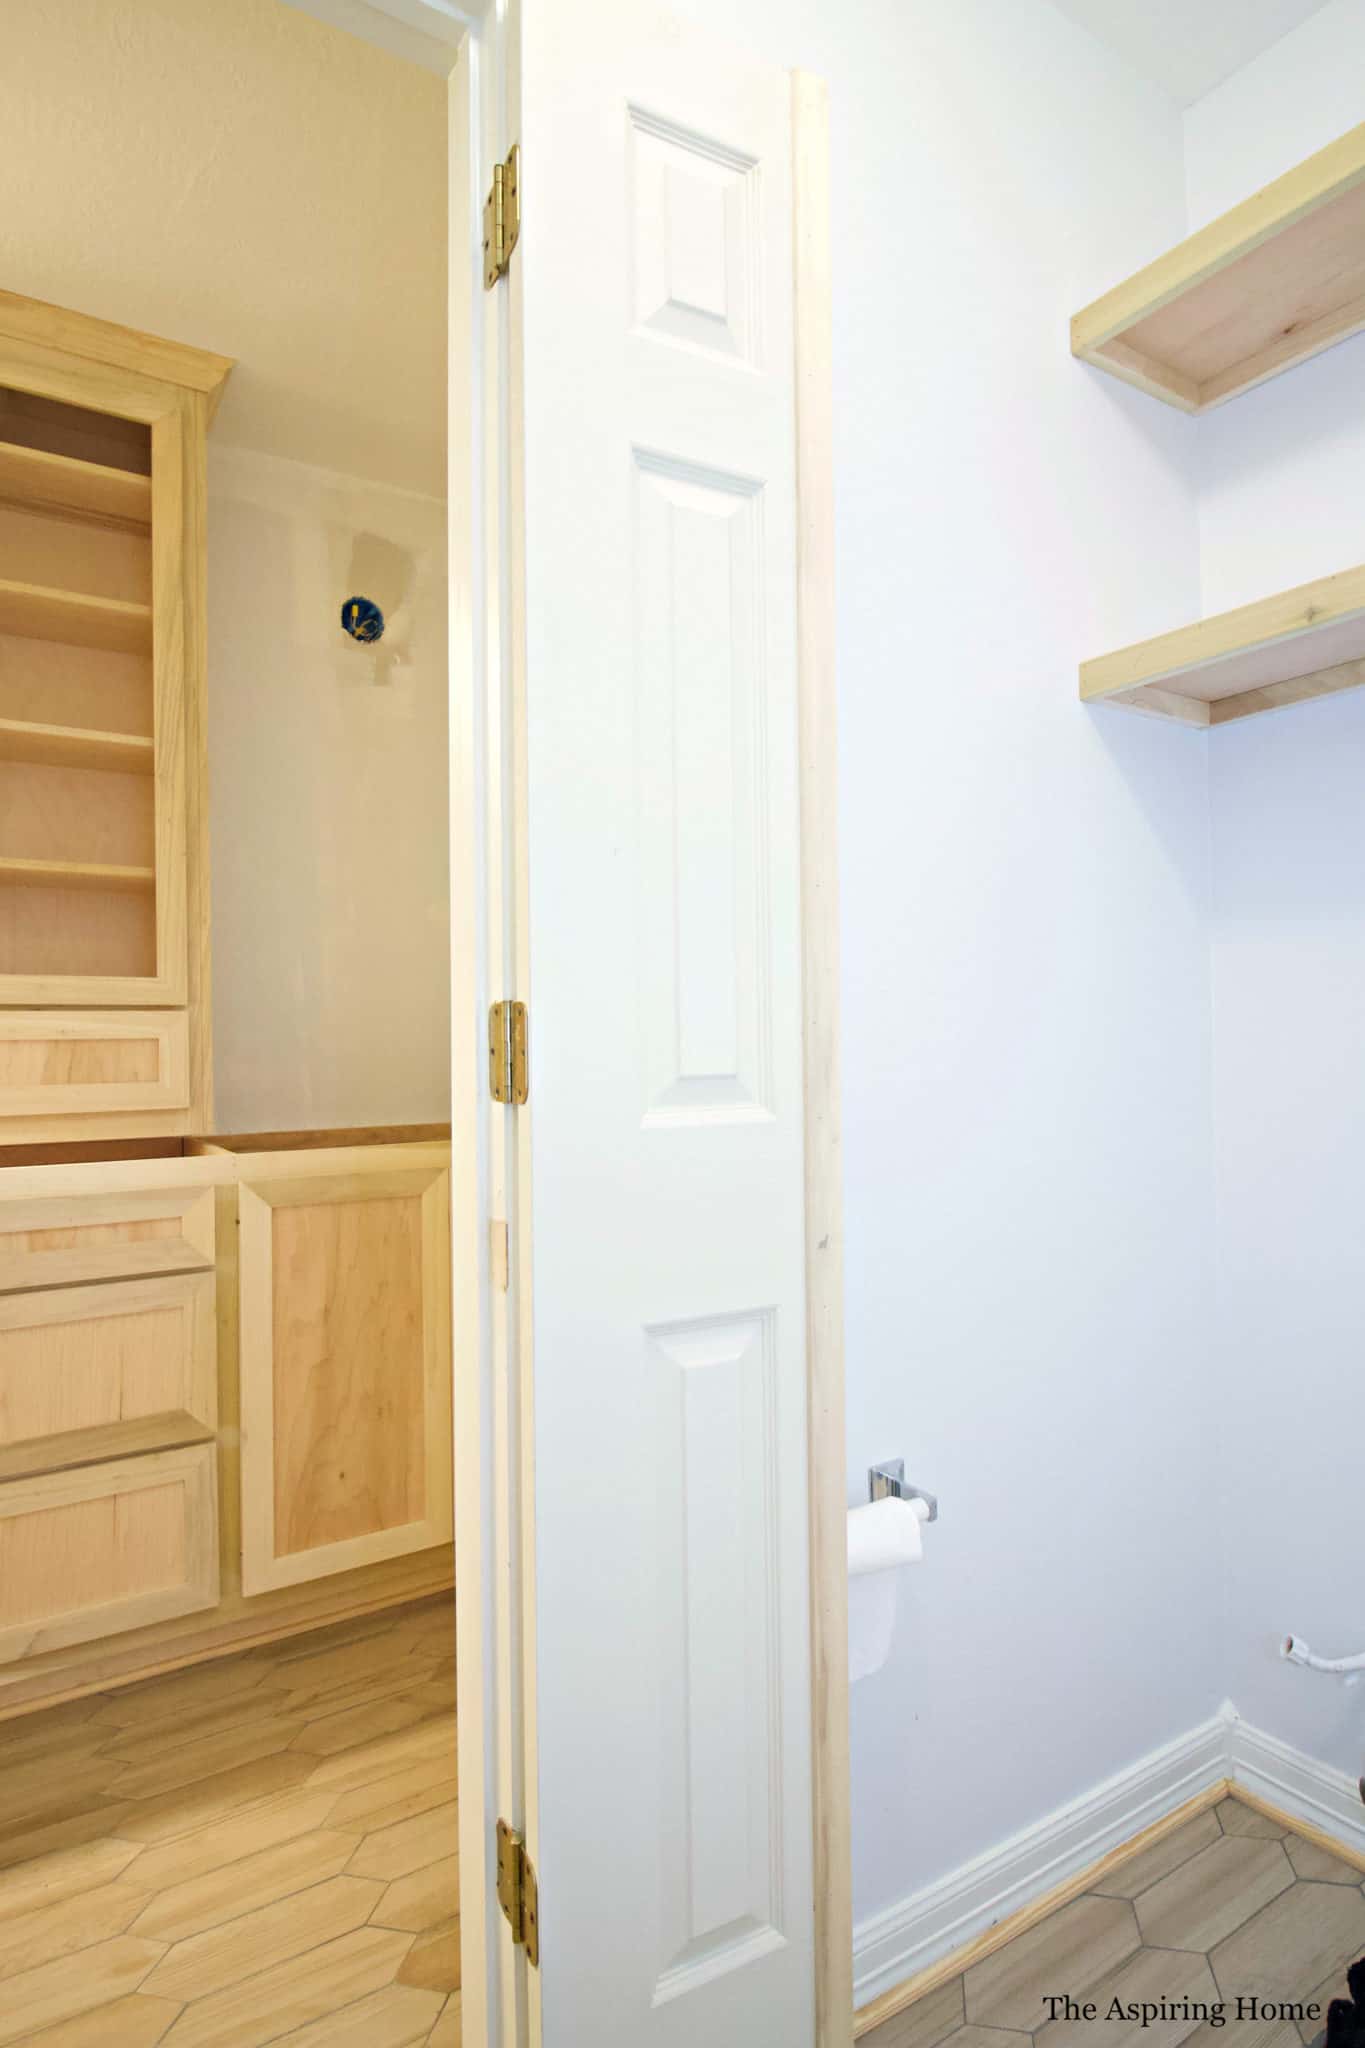
I painted the hinge on the double door side the Dust Blue and the hinge on the door casing the color of the trim. *Always paint with the grain of the wood or faux wood.

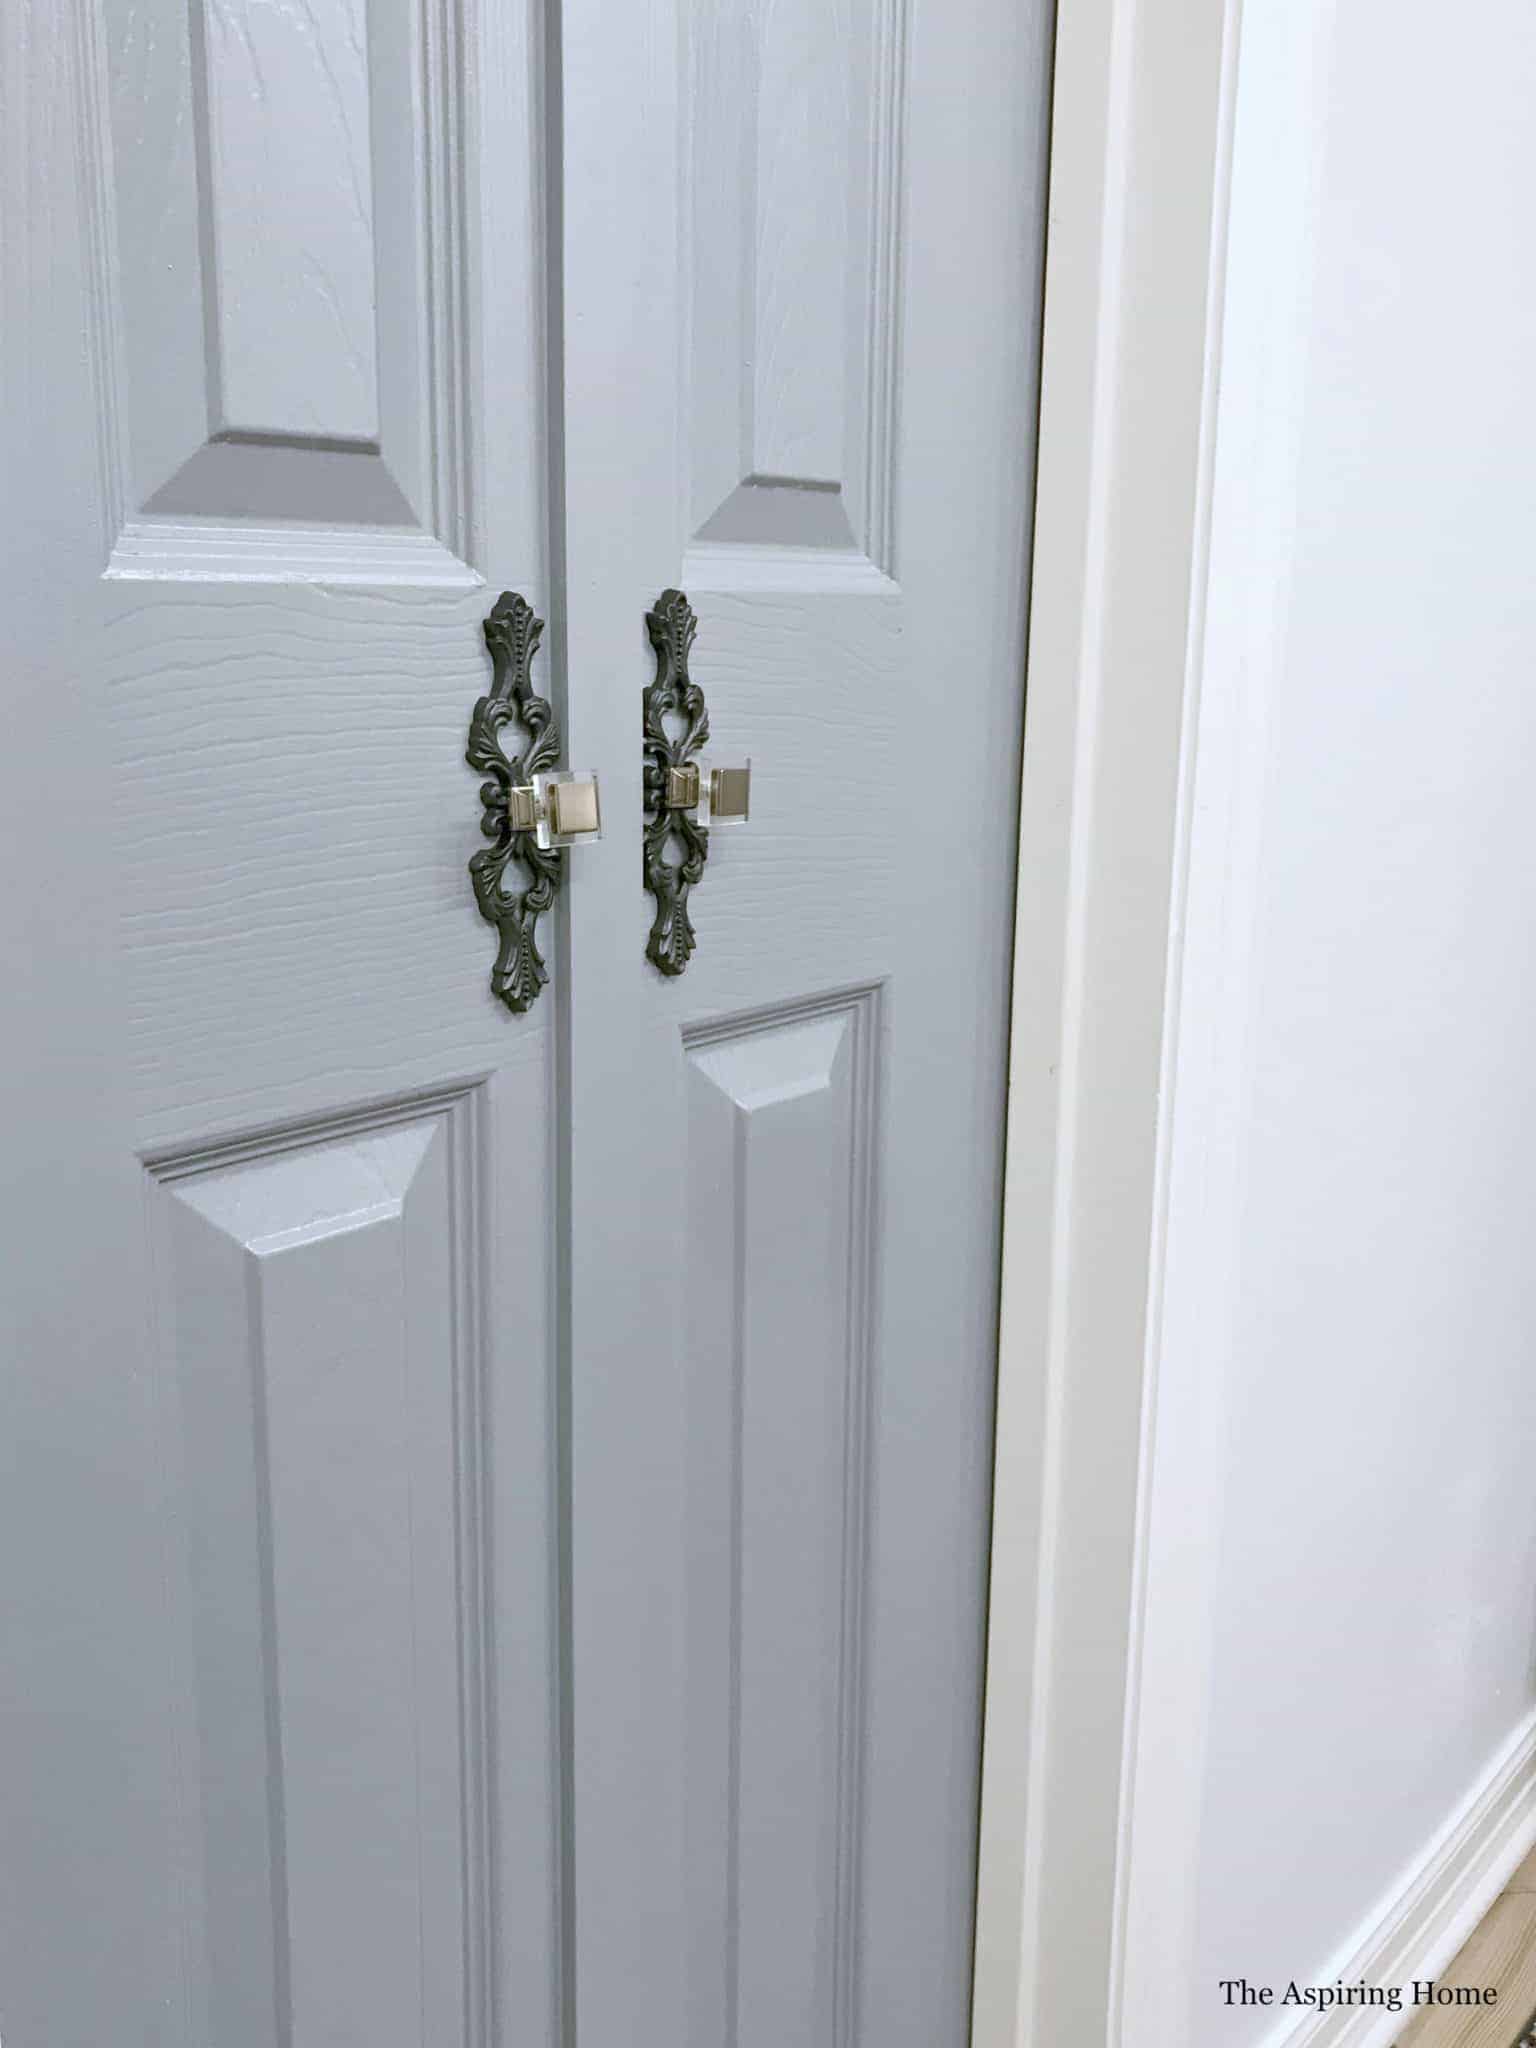
Step 7: Install the knobs
I fell in love with a particular Liberty Hardware knob but it felt a little small on the double doors.
I added a backplate from a knob set I purchased at Hobby Lobby, I just love the mix!
To create the double knob for the doors – use a piece of “all thread” metal cut to size (add the thickness of the door to the depth of the knob interior).

That’s it! Problem solved!
This bathroom project has so many great projects and I will be sharing more.
My apologies for the photos- this bathroom is VERY awkward and small – getting gorgeous photos of the entire room(s) is impossible. But trust me, it functions so much better than it did!
Read about my latest design makeover on a budget here!
Until later friends, , 
This is a brilliant idea friend!
Love this project so much!
happy day!
karianne
Thank you! It has made such a difference. ?
Did the plank spacer make it so you can only open one door at a time? I have a 30” bifold I would like to convert and put in a 32” door opening.
Yes it did make it possible to only open 1 door at a time.