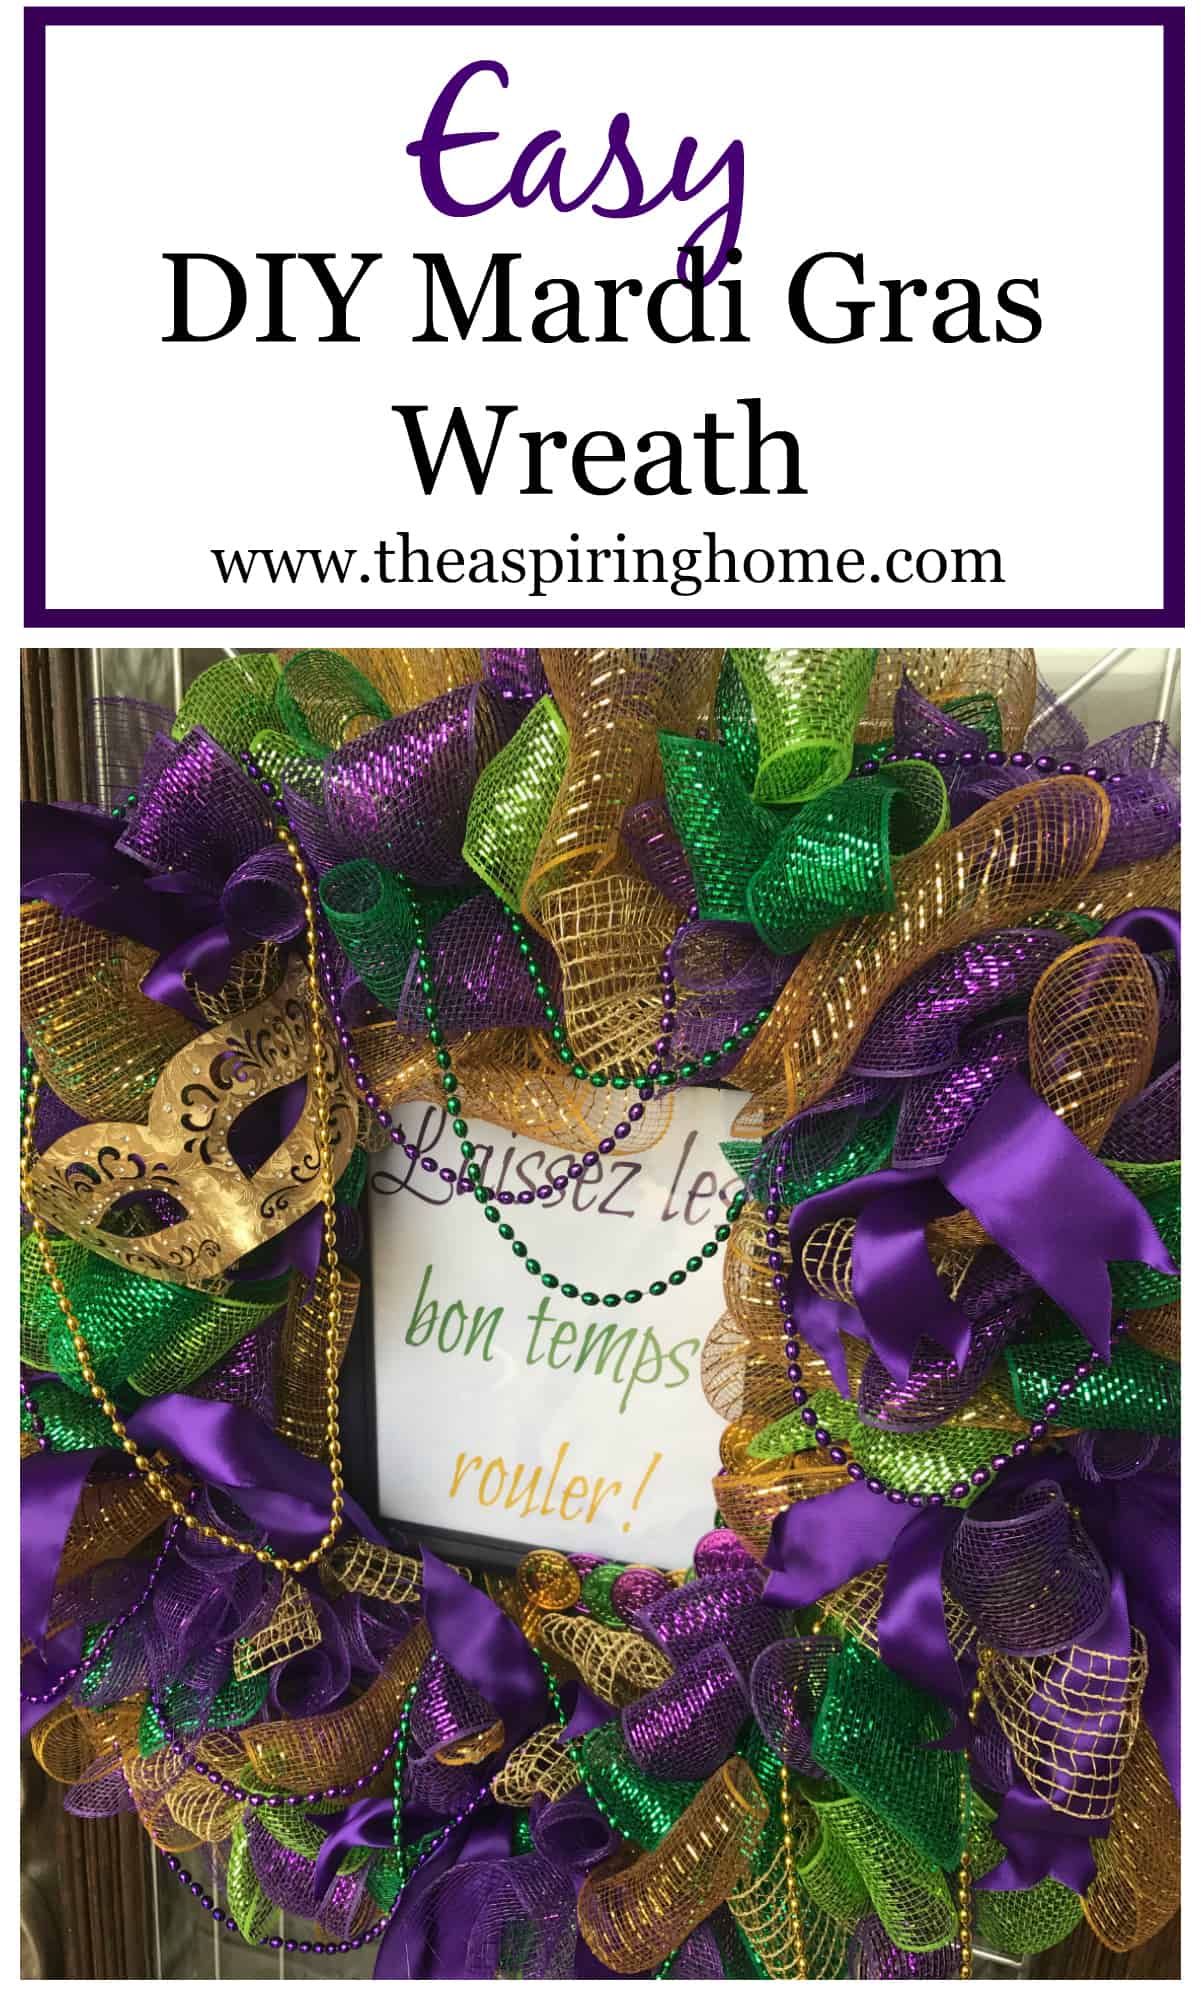
Easy Mesh DIY Mardi Gras Wreath
Make an easy fun DIY Mardi Gras wreath with just a few supplies! Laissez les bon temps rouler!
Hello Friends! Sometimes I miss the place where I grew up, especially around this time of year when the pull of good gumbo, shiny beads, and sweet melodic sounds take over the senses. It’s Mardi Gras time back home. Friends celebrate with balls and pageantry, Kings and Queens are crowned and a colorful sweet delight is offered at every dedicated cafe.
I keep promising myself that I will return home to celebrate with friends and family but life kinda gets in the way and another year passes by. This year I decided to try my hand at making a mesh wreath in honor of the season… The Mardi Gras season.
Making this little beauty was a lot of fun and simple to do. Mesh wreaths have such whimsy and I have seen some gorgeous ones. In fact, one of my sweet local friends makes the most lovely mesh wreaths.
This tutorial is for those of you itching to try to make one yourselves…in a few hours.
CONFESSION… This is my very first mesh wreath! So, if I am saying it is easy, trust me friends. 🙂
Ready to get started?
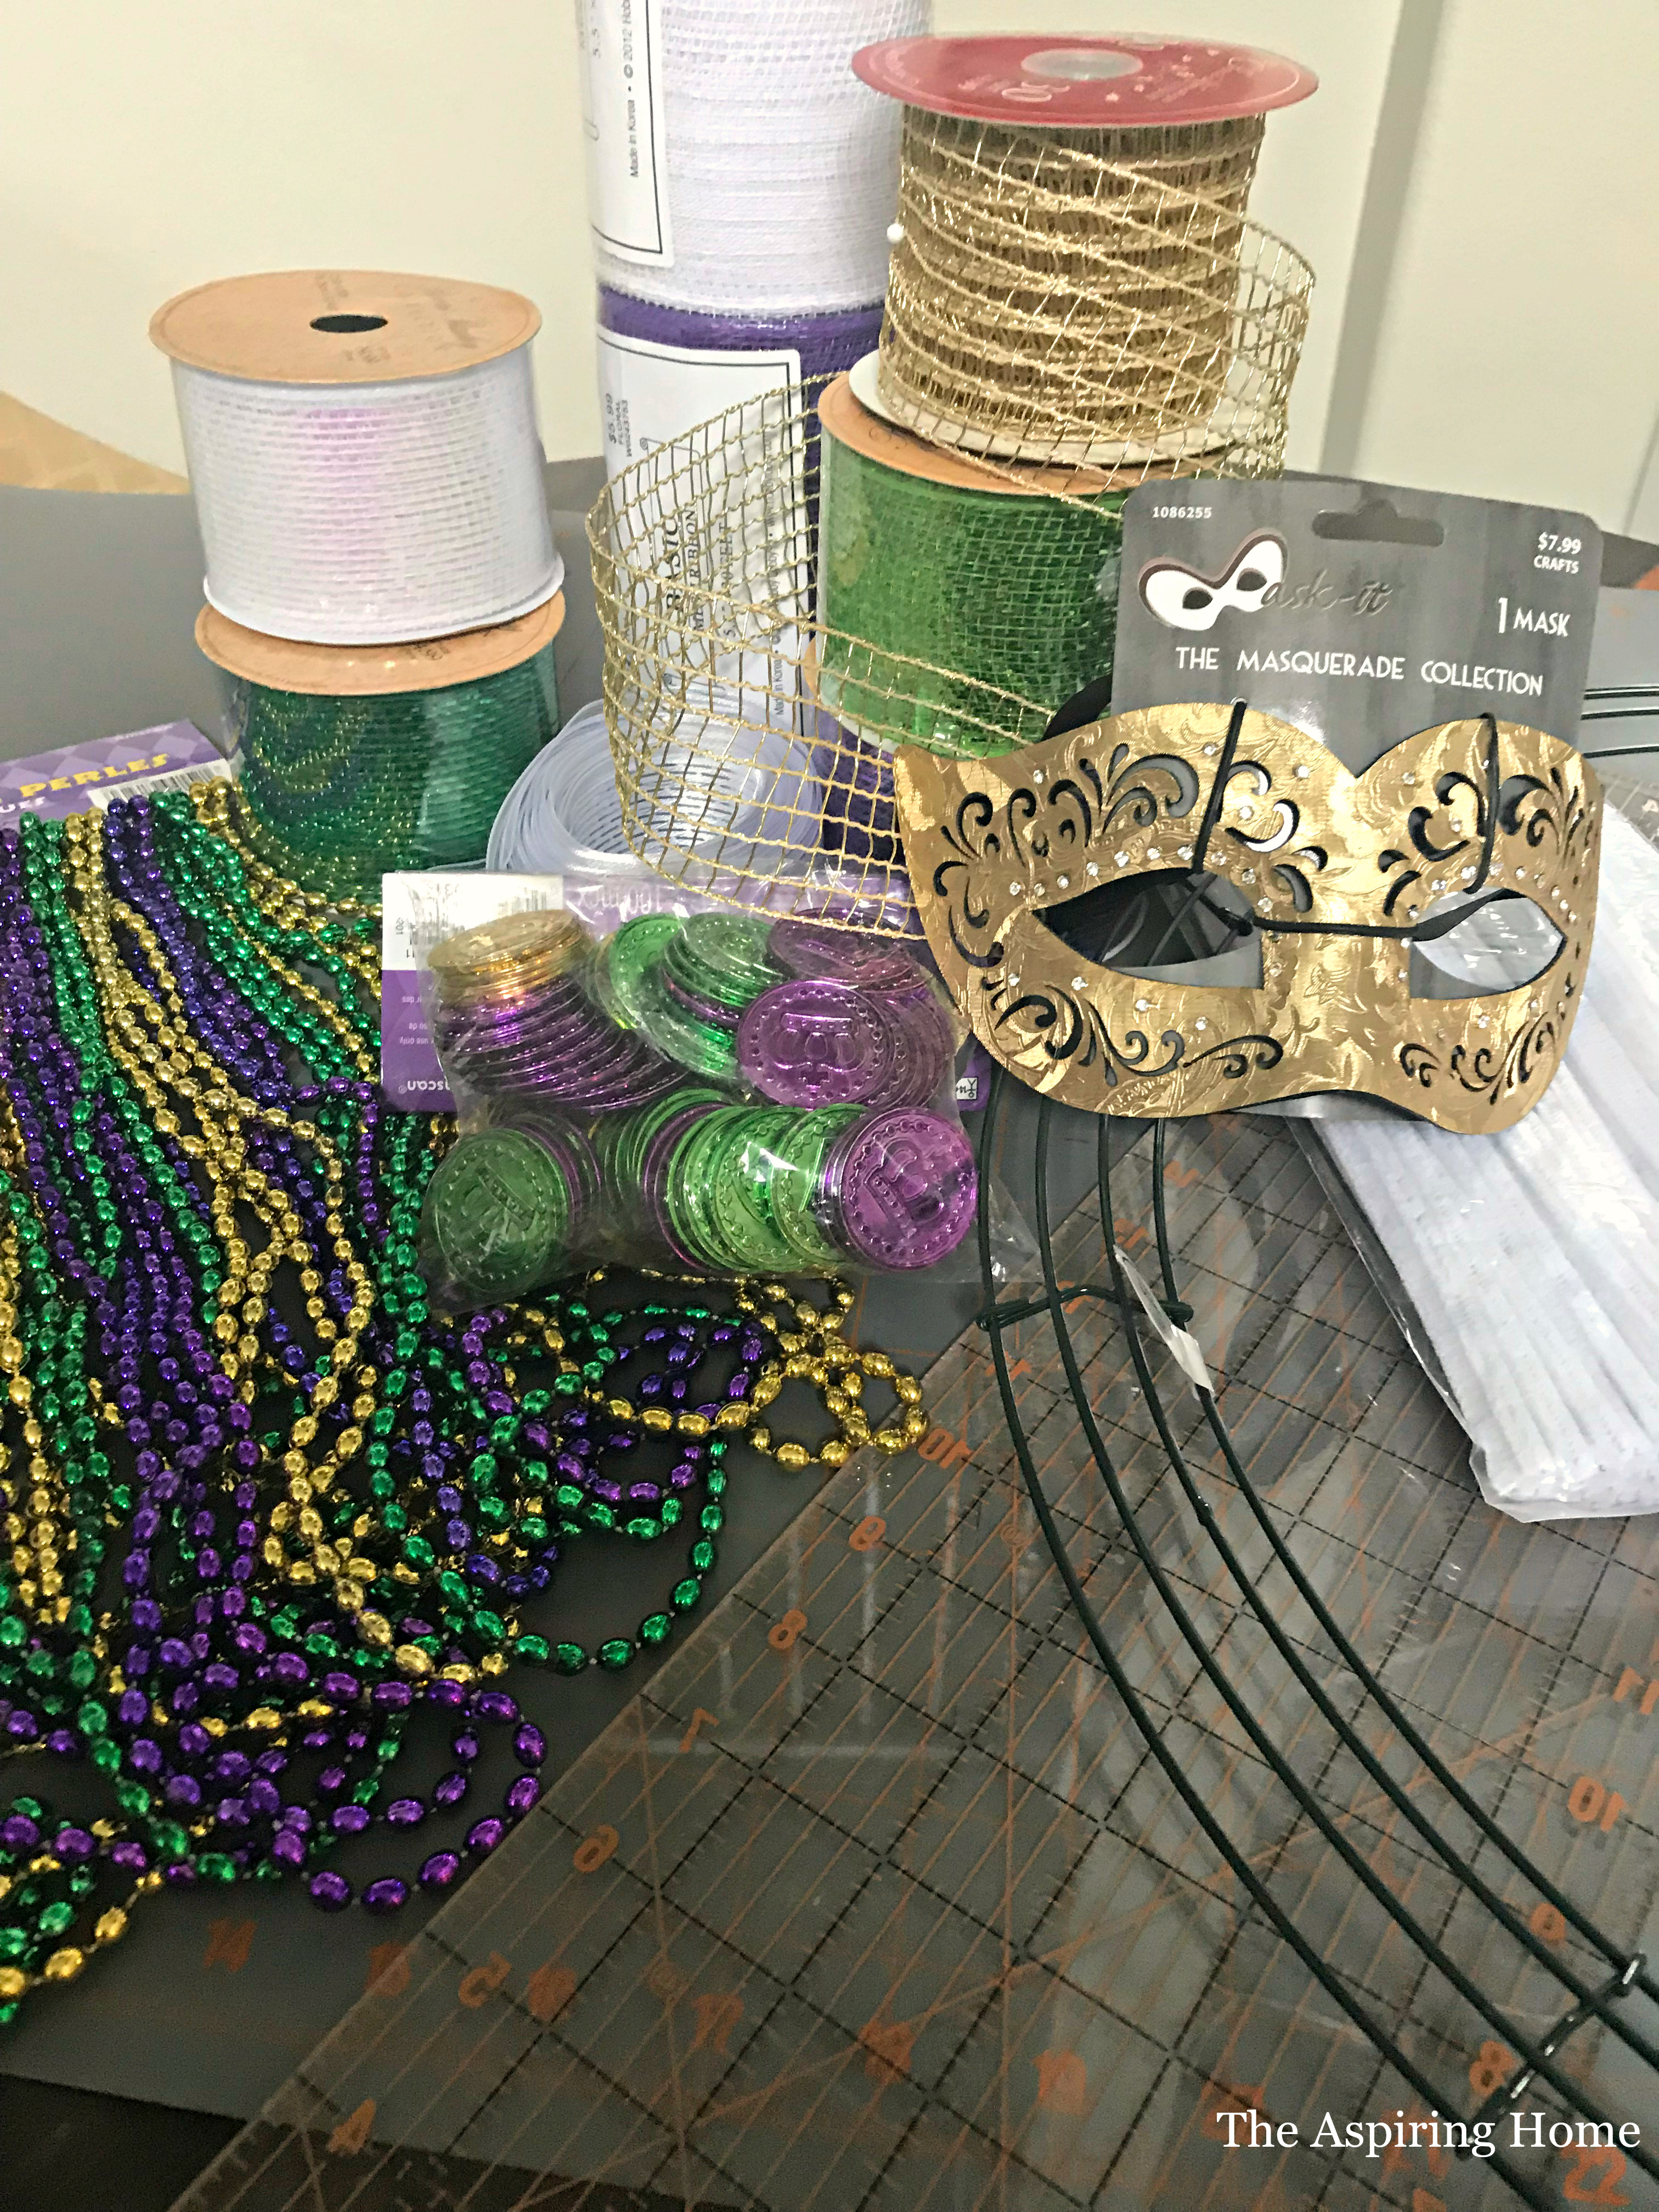
What you will need:
Supplies:
- 1 wire wreath form
- Several rolls of mesh ribbon in varying sizes ( I used about 5)
- Satin ribbon
- Picture frame (I used a 8×10)
- Masquerade mask
- Mardi Gras beads
- Scissors
- Pipe Cleaners
- Hot glue gun
- Hot glue
Step 1:
Gather your supplies. Cut ribbon to desired length. I chose to cut my ribbon in 8 inch and 20 inch lengths. You can use scissors easily, I chose a self healing mat and rotary cutter to make the work a little quicker.
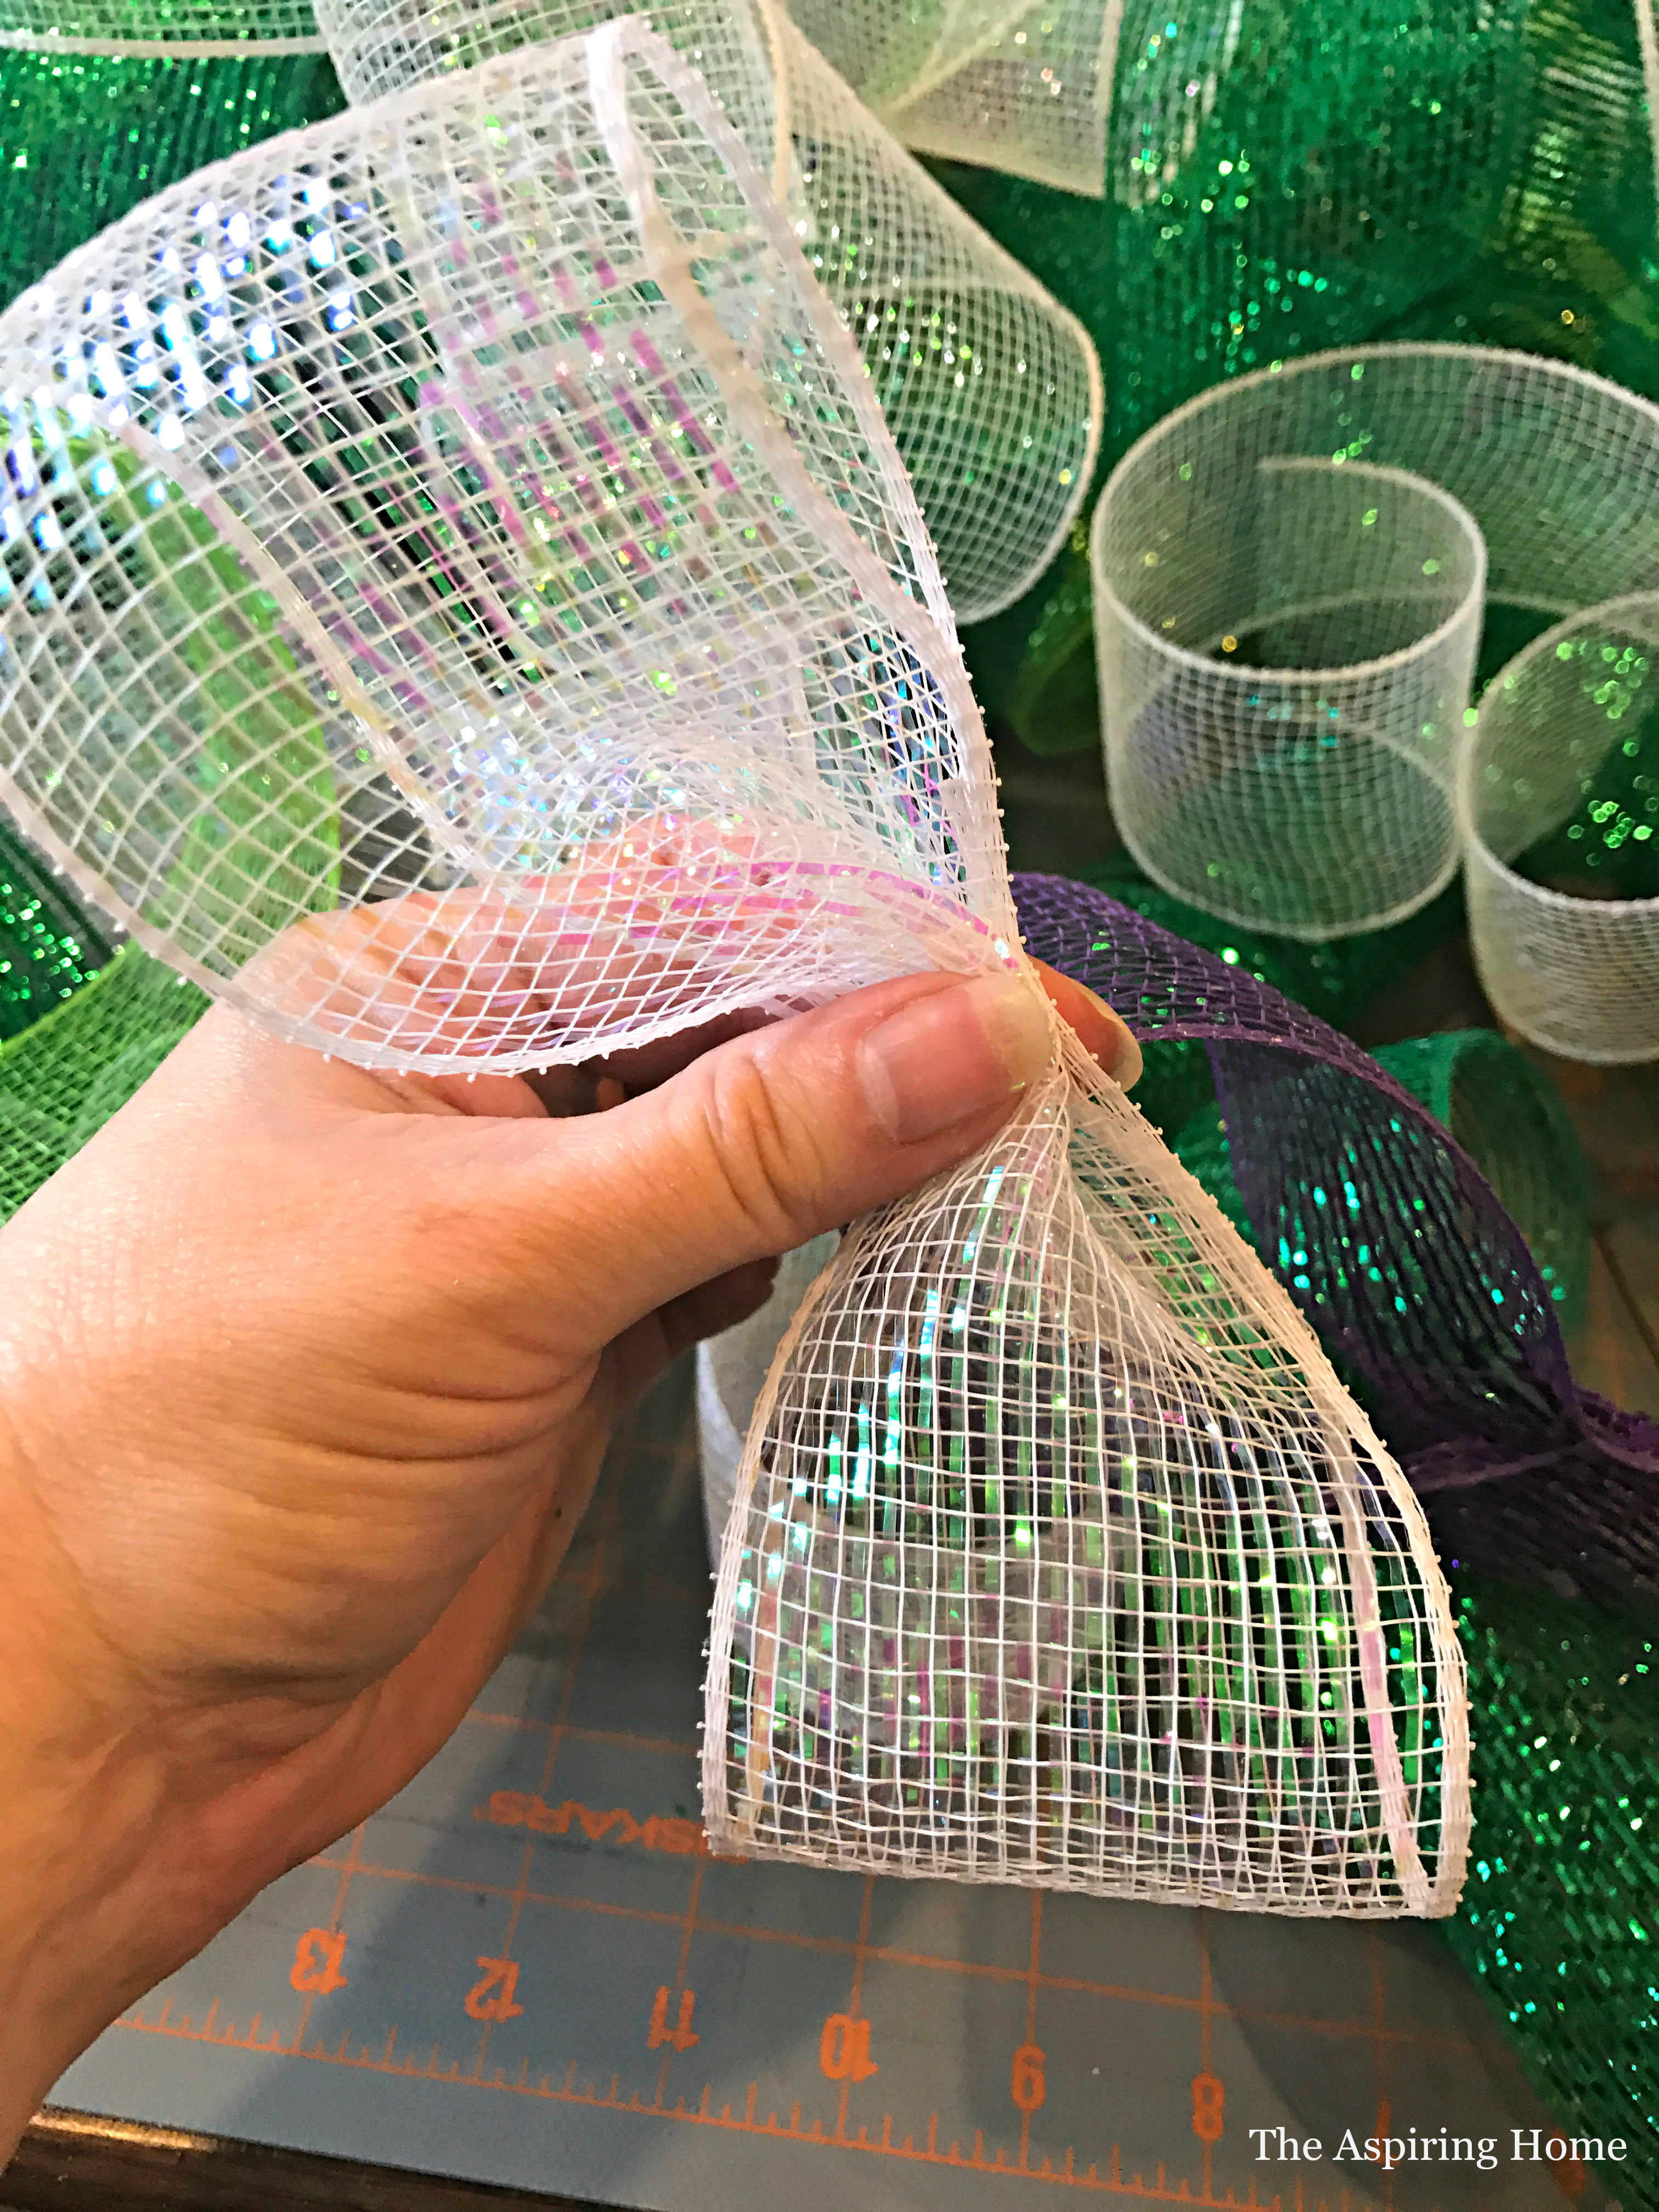
Note** You will see white mesh but after trying it, I wasn’t loving it so out it went and in came gold mesh.
Step 2:
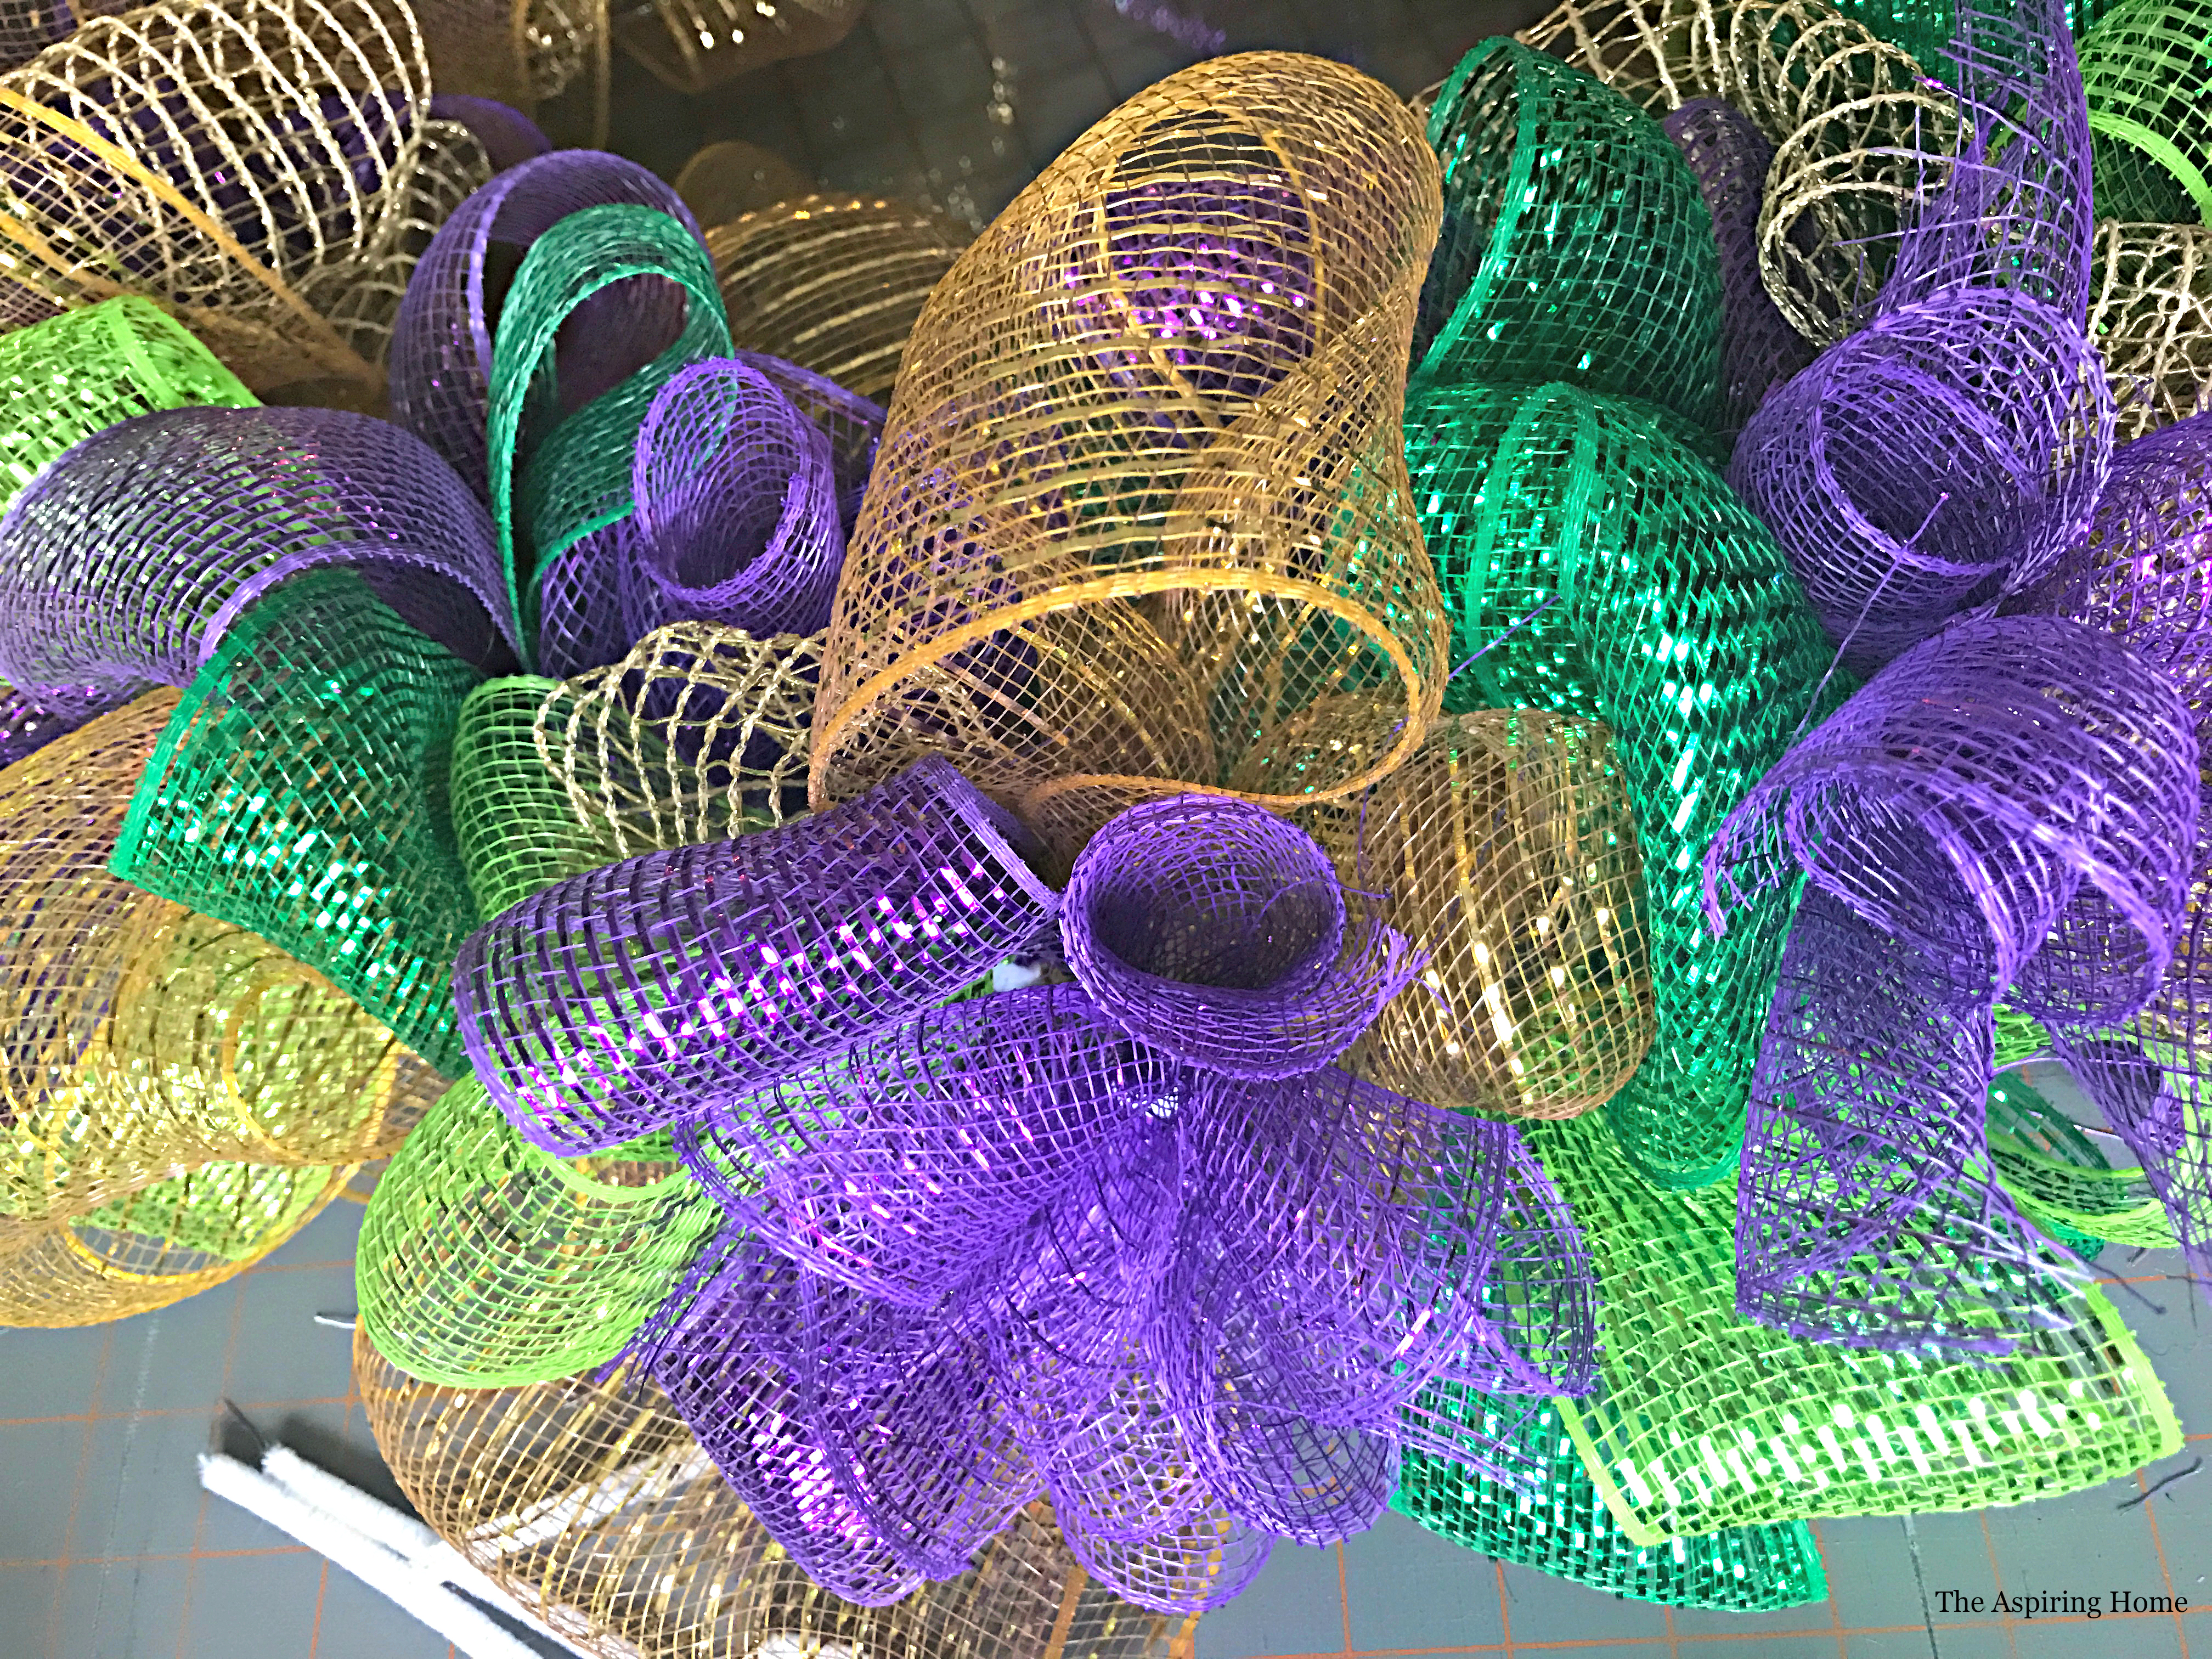
Create loops and “flowers”
Loops-
Fold the 20 inch length to the center point of the ribbon. Pinch in the middle. Stack 3 loops together. Create a “X” pattern then lay one in the middle. Secure with a pipe cleaner (I used 1/2 pieces of pipe cleaner for the loops and the full length for the flowers).
Flowers-
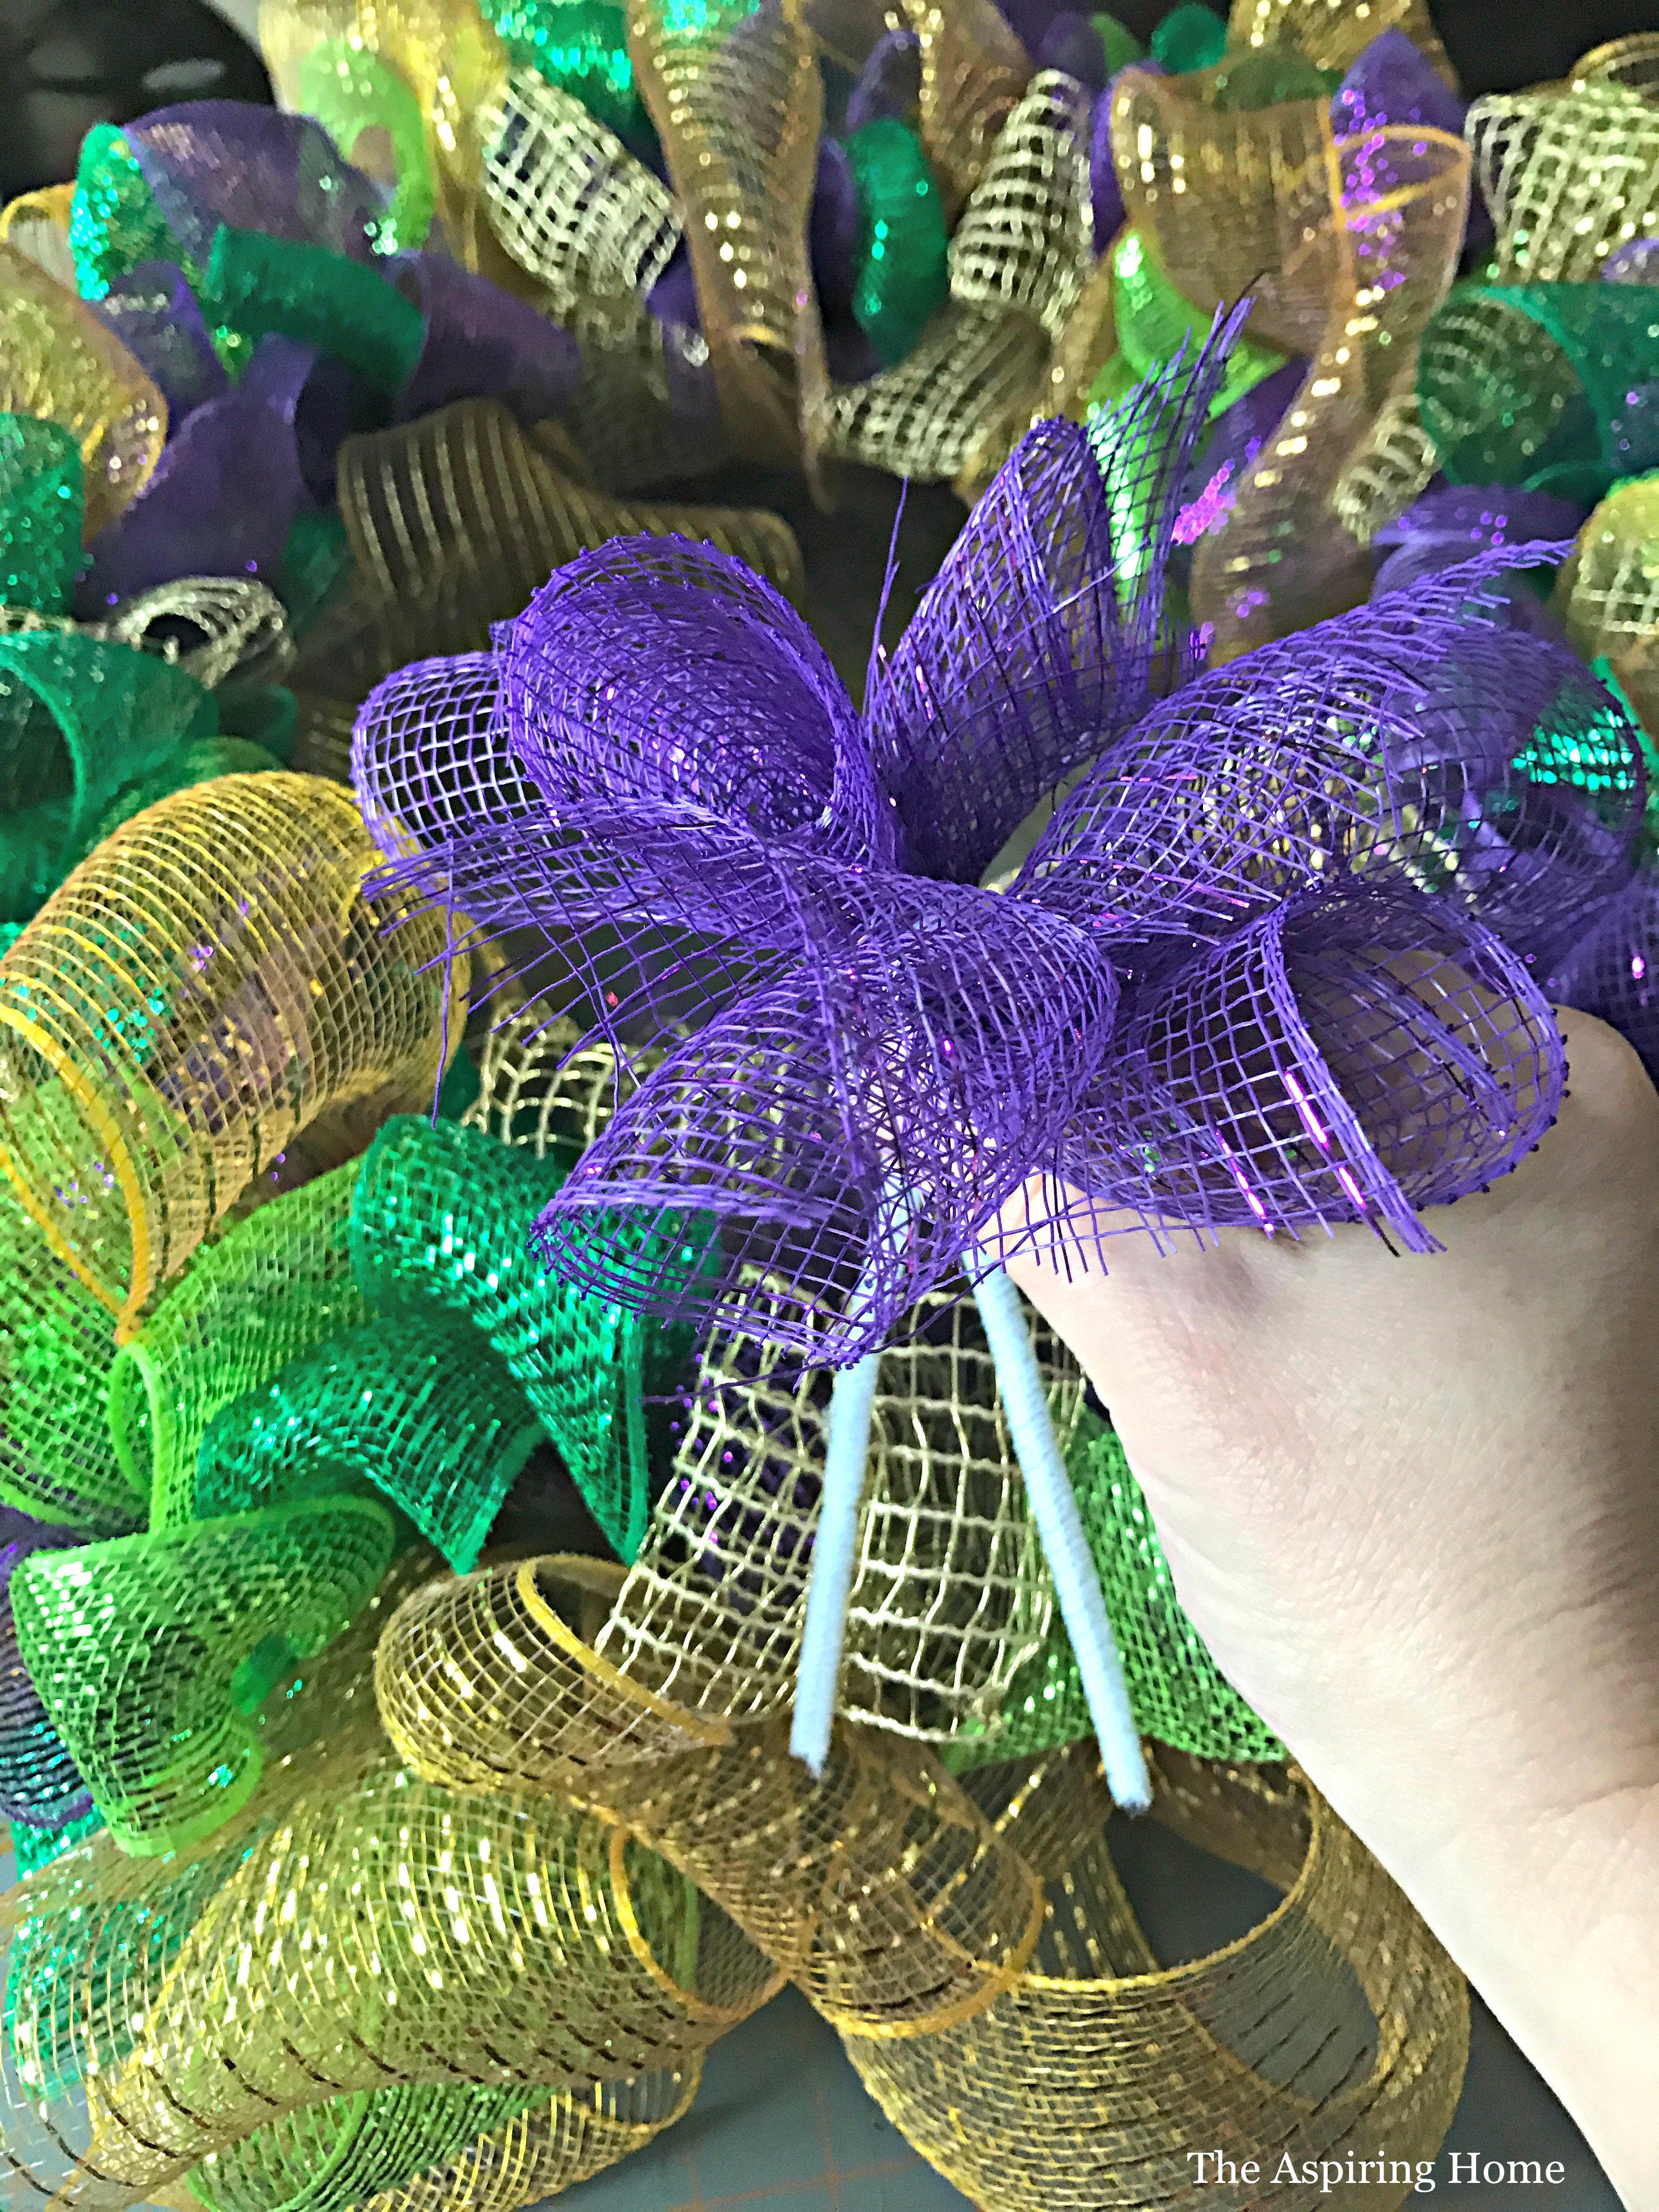
Roll the 8 inch length ribbon pieces. Pinch in center. Stack three rolled ribbon lengths together. Secure with a pipe cleaner.
Step 3:
Create Ribbon tails
Cut sections of ribbon in 10 inch lengths. “Fish tail” the ends. You can see my easy tutorial here. Stack three ribbon sections together. Two to create an “X” pattern and one to lay down the middle. Secure with a pipe cleaner.
Step 4:
Attach ribbon loops and flowers to wreath wire wreath form.
First add the loops. Alternate between the outer, lower, and middle rim. The more loops – the fuller the wreath.
Second add flowers. Attach these in the same manner but allow them to “float” more on top of the mesh loops to help fill in any gaps.
Step 5:
Add Ribbon Tails
I used two rolls of satin wire ribbon which yielded 6 three ribbon bundles. Tuck throughout wreath.
Step 6:
Add the fun extras
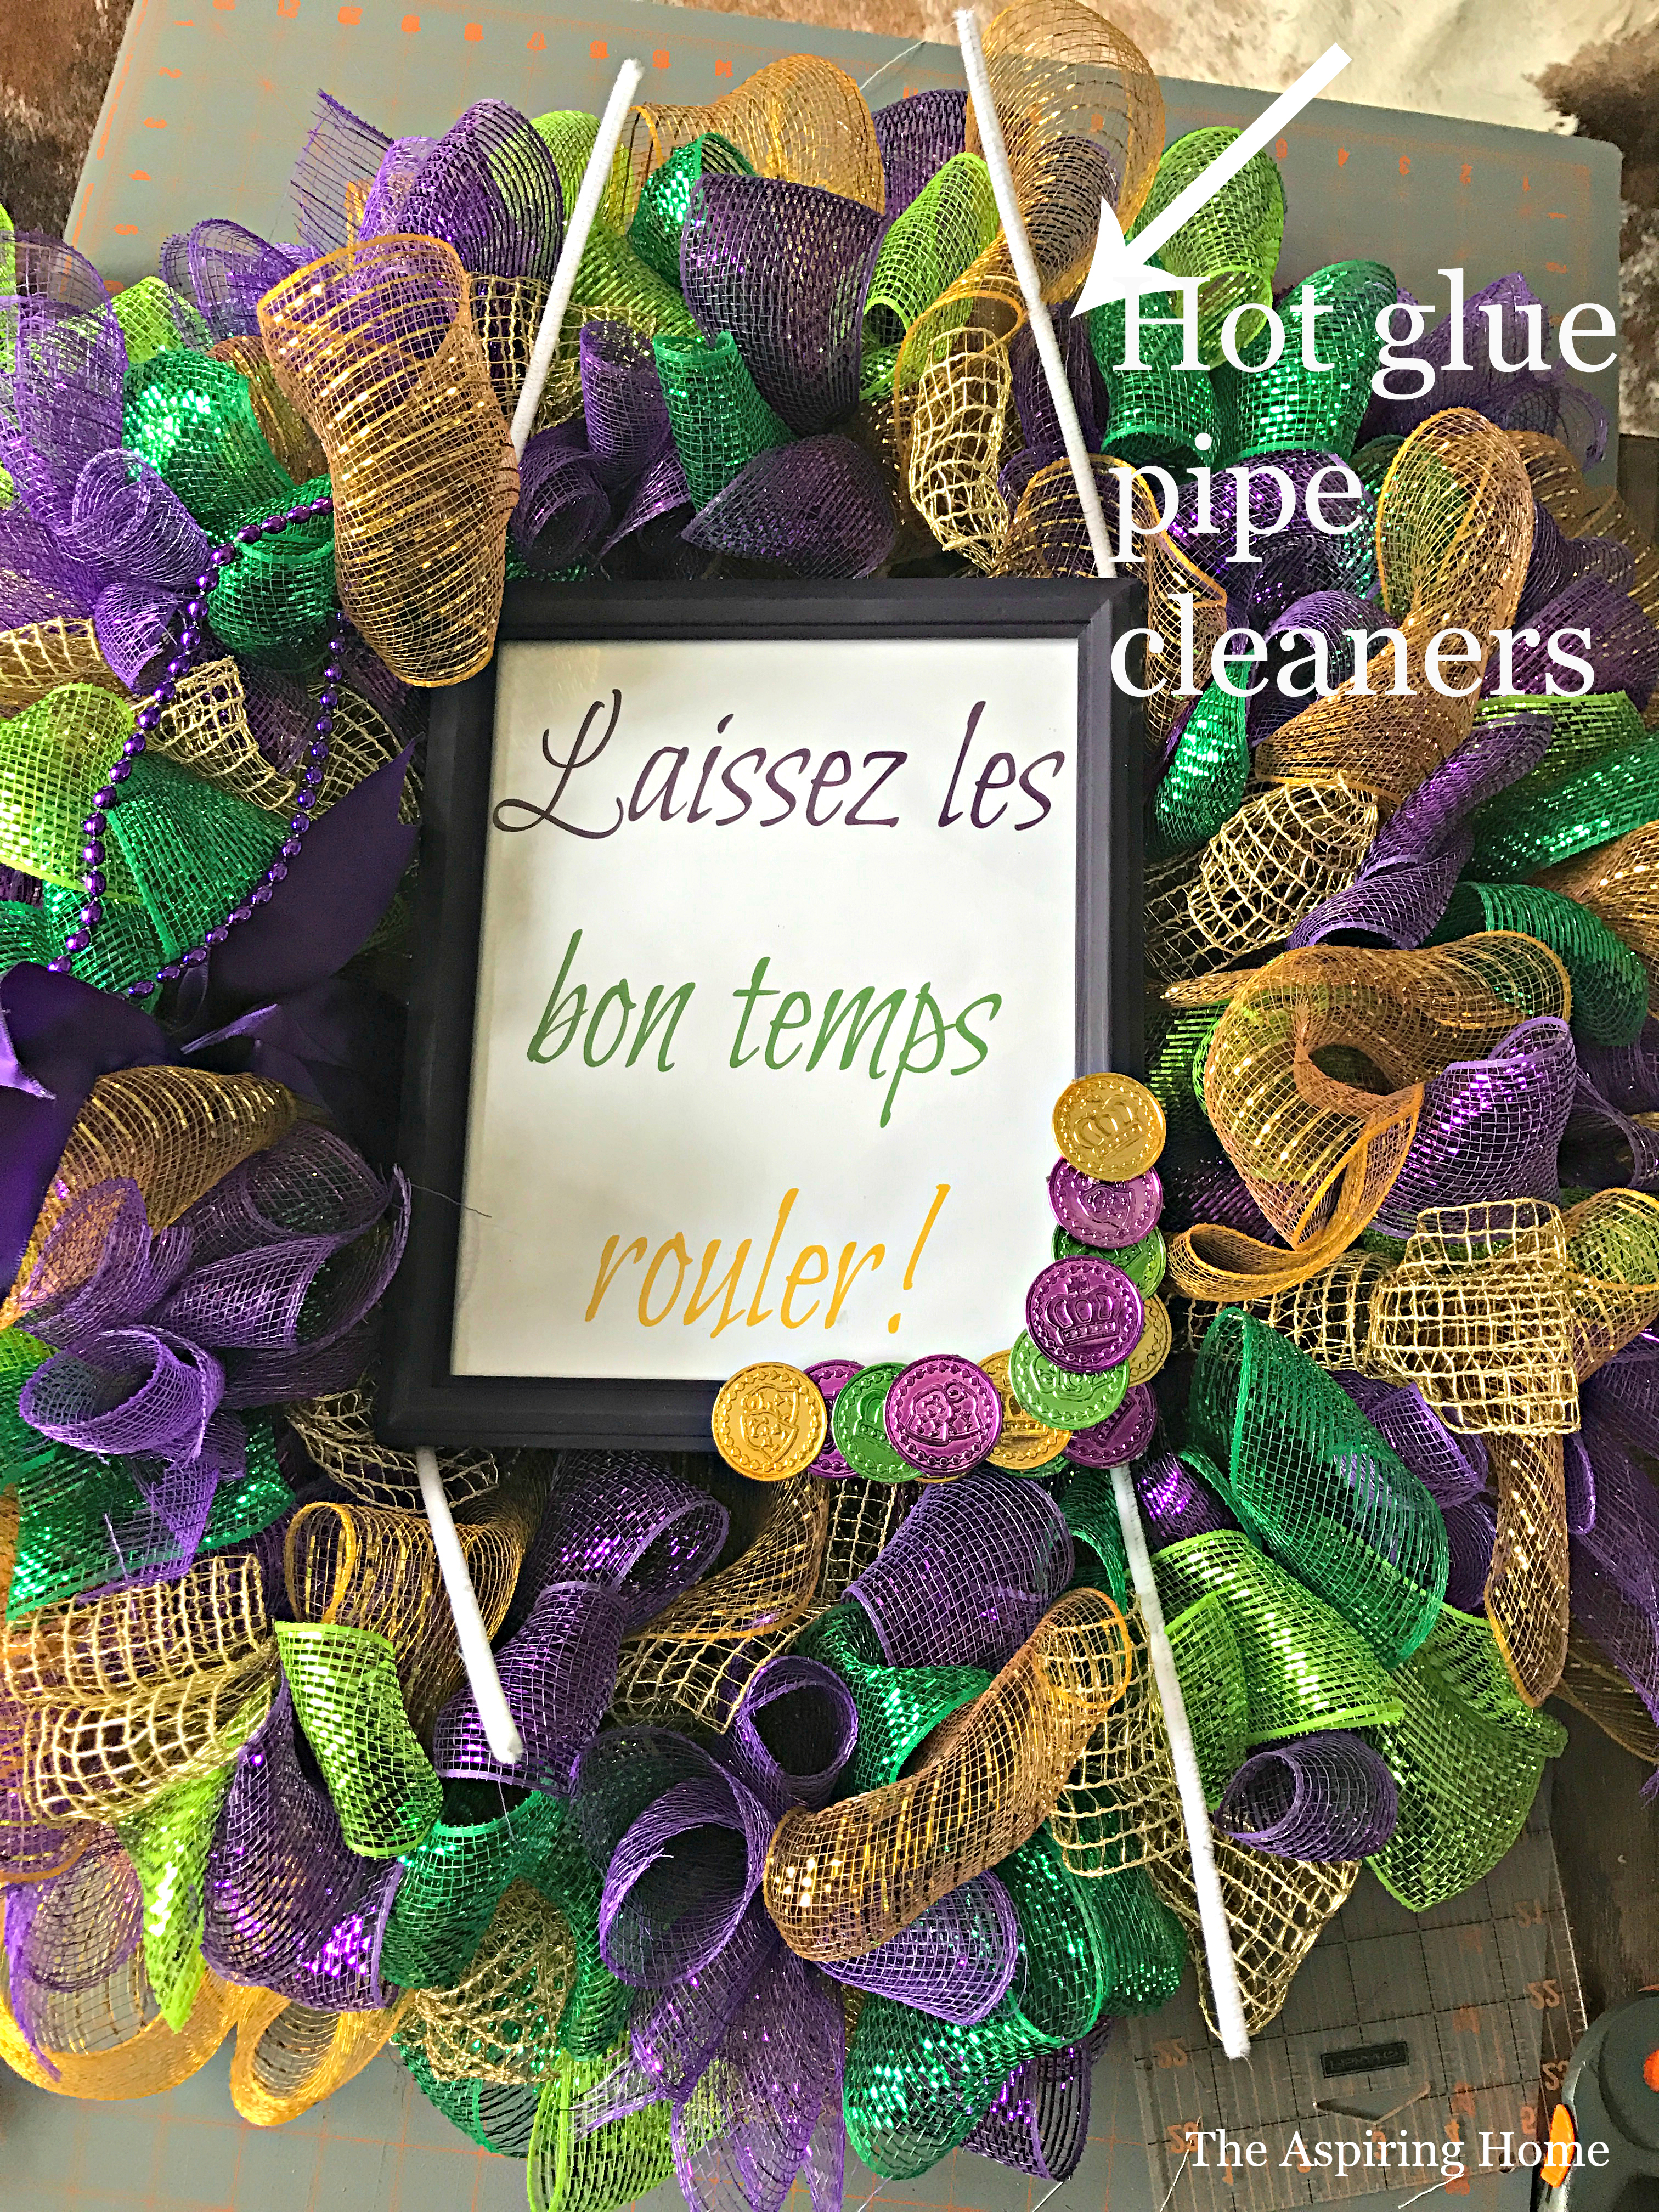
The frame –
I had a 8×10 old frame on hand and just painted in purple. I then printed off this document I created and added it to the frame. To jazz up the frame a bit more, I added doubloons to one corner using my handy dandy hot glue gun.
**DOWNLOAD the free printable here!**
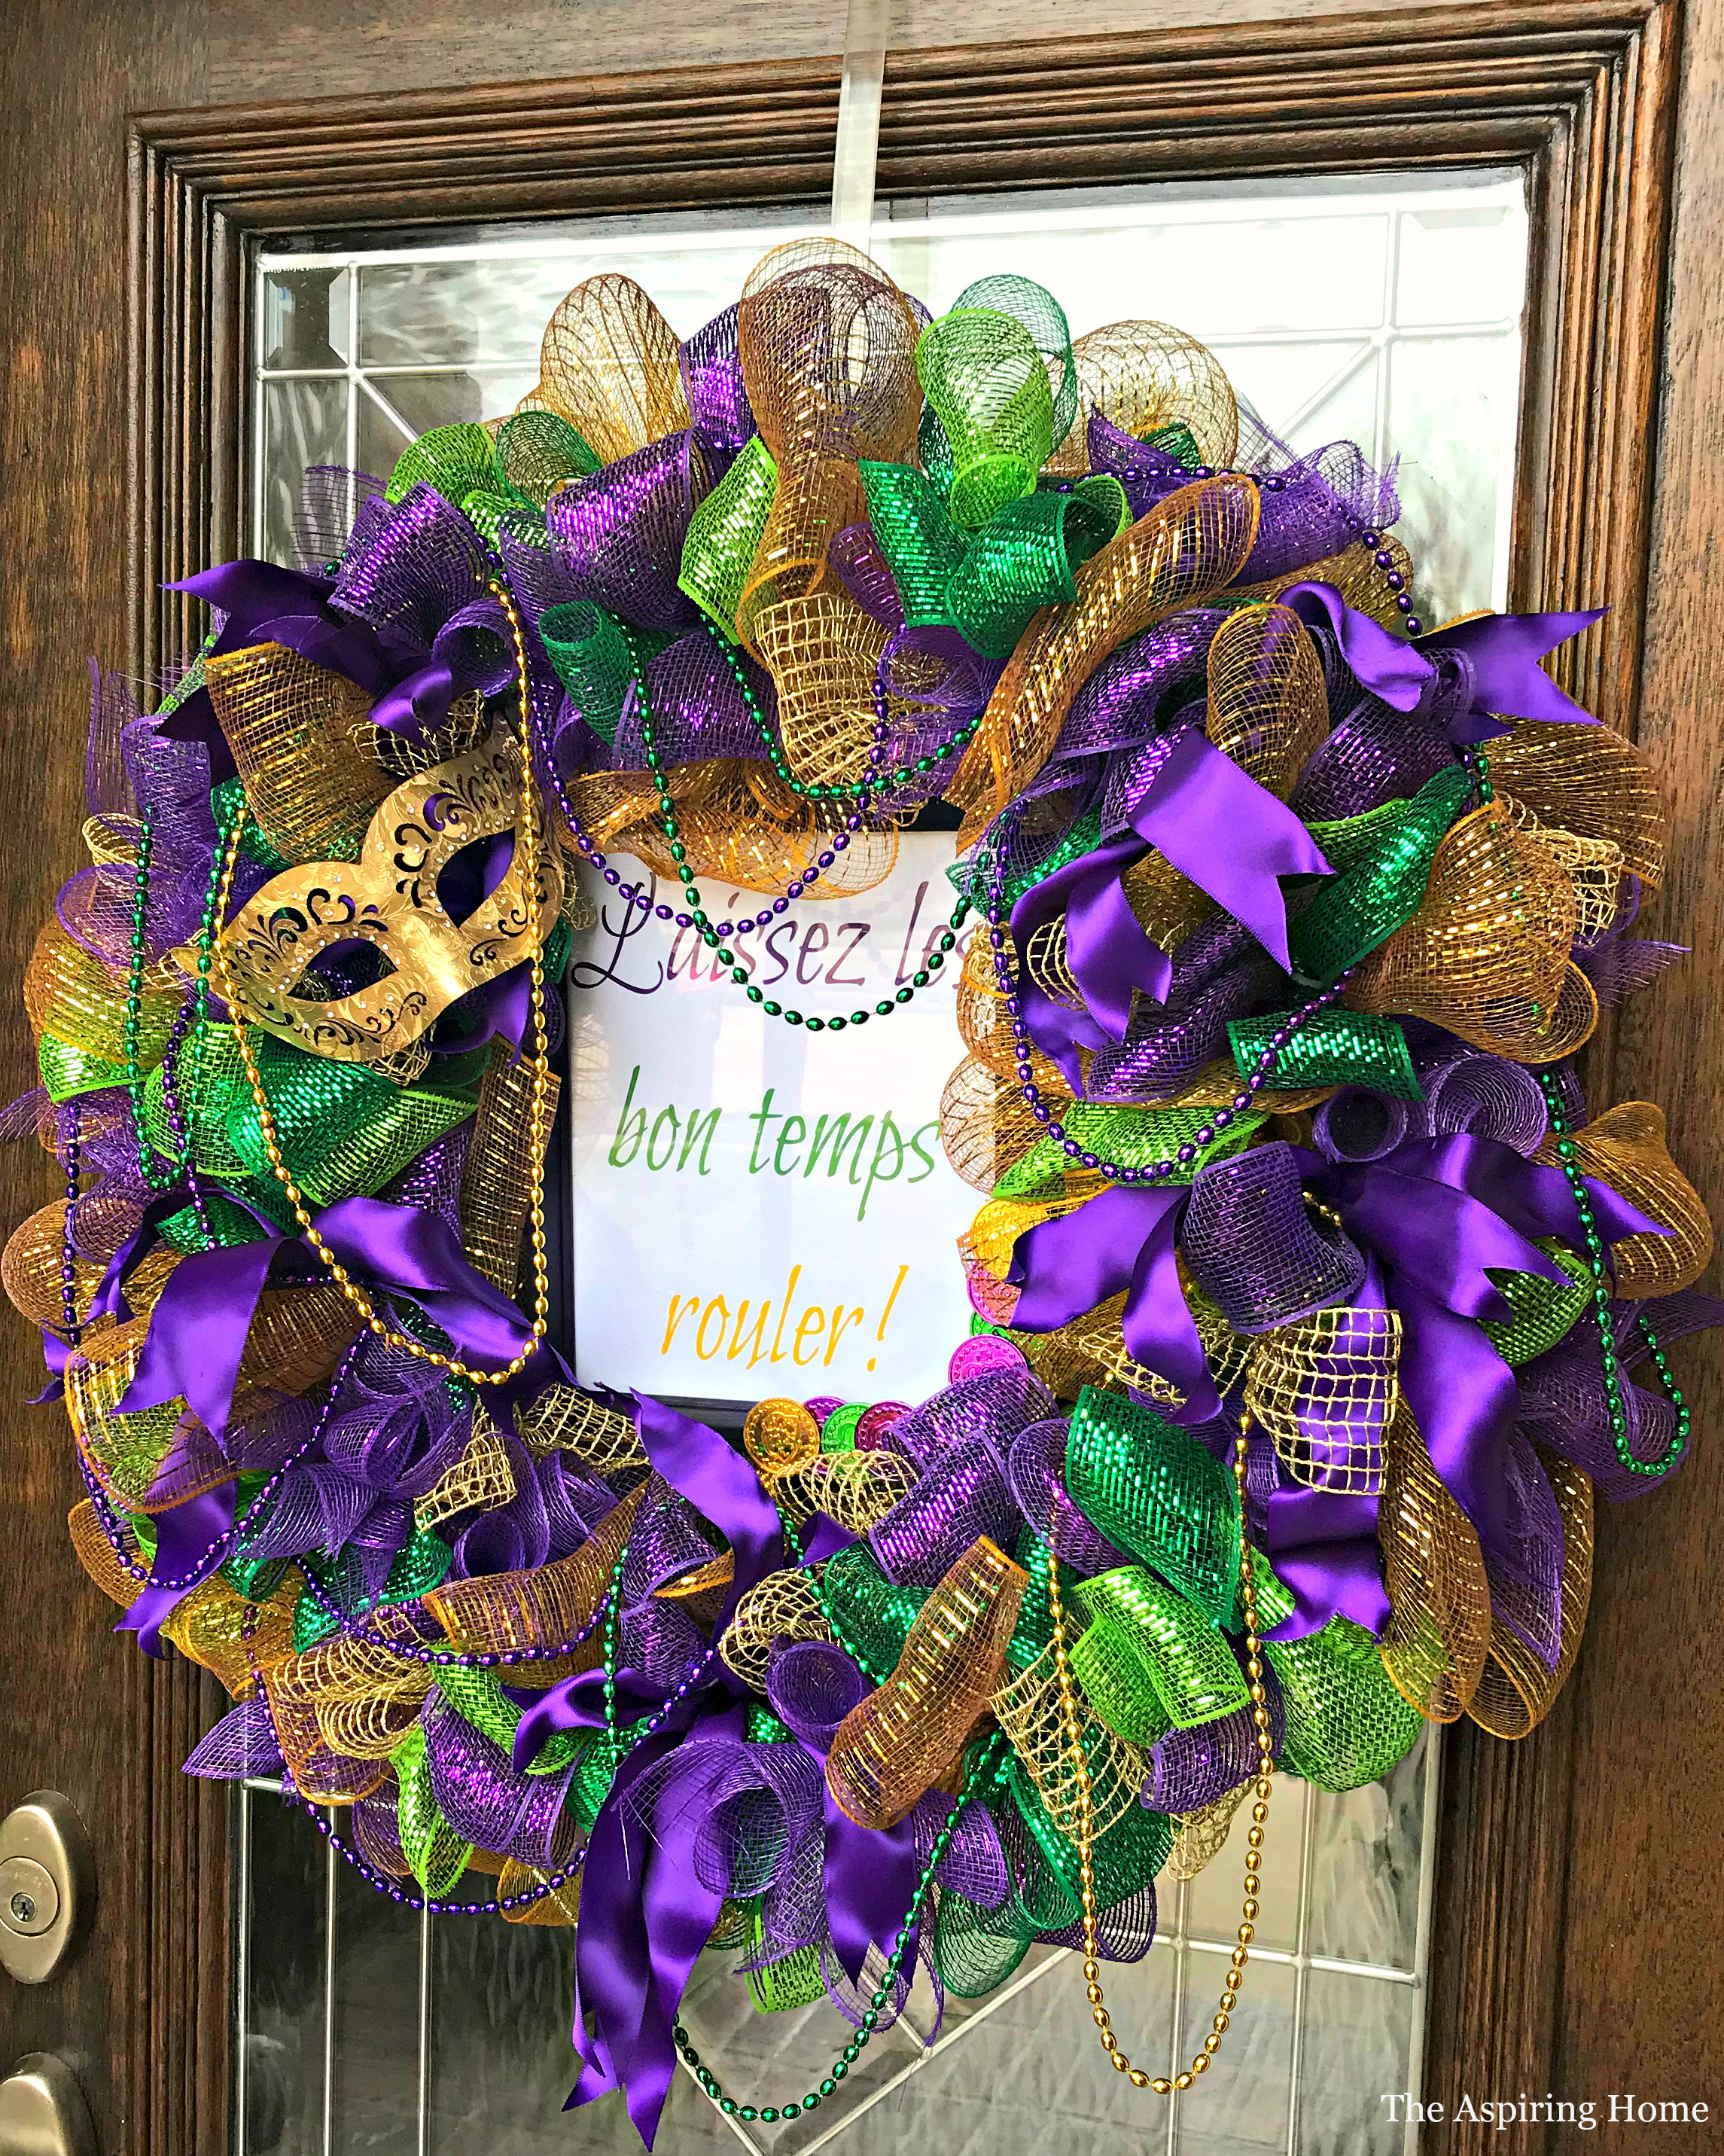
I added the mask to the side but you can tuck it where you like.
Tuck in beads until you are happy with the look. No rhyme or reason – have fun with it!
Step 7:
Hang it up!
Enjoy your little bit of Mardi Gras! See? That wasn’t too hard to create!
Let The Good Times Roll!
Till Later,

