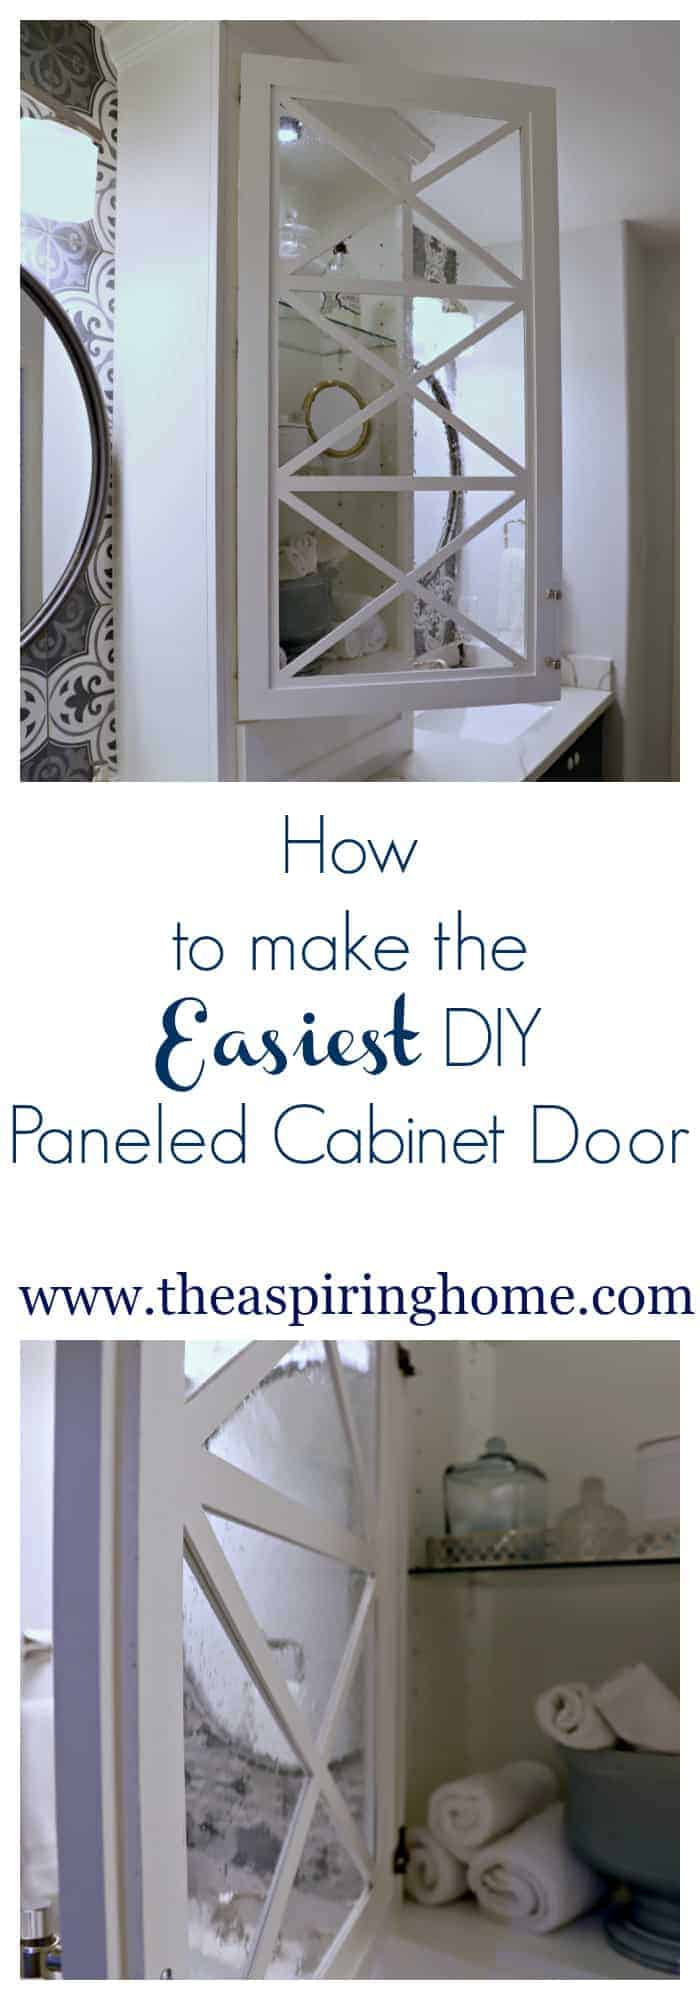
Make the Easiest DIY Paneled Glass Cabinet Door
Paneled glass doors make a beautiful statement to cabinetry but they can be a difficult project to take on. Are you ready to make the easiest DIY paneled glass cabinet door? Read on.
I love beautiful cabinetry – the details are everything. I have such a high regard for old world craftsmanship. The years it took to hone the skills, it was an art form that the average person could own in some form or fashion. Recreating gorgeous detail can not only get expensive but difficult to reproduce. Difficult until now, thanks to O’verlays products. Let me show you how to make the easiest DIY paneled glass cabinet door, ever.

This post is sponsored by O’verlays products. I received the product to try but the tutorial and thoughts about this jewel of a product are my own. I will never share or encourage you to try a product that I do not completely support and would use in my own home.
Supplies:
- O’verlays product of your choice
- Duck bill scissors
- Pencil
- Measuring tape
- Low grit sandpaper
- Paint of your choice
- Paintable caulk
- Double sided tape or for more permanent solution use a clear silicone adhesive.
Step 1:
Choose your favorite O’verlays product from their website or if you are like me and needed a custom option – you can do that too! The website is super simple to navigate and the owners are quick to respond. At the time the cabinet door had not been built, so measurements were rough but close. If I had the door built- I could have easily popped the panels in and skipped a few steps.
Click here to head over to the O’verlays website.
Step 2:
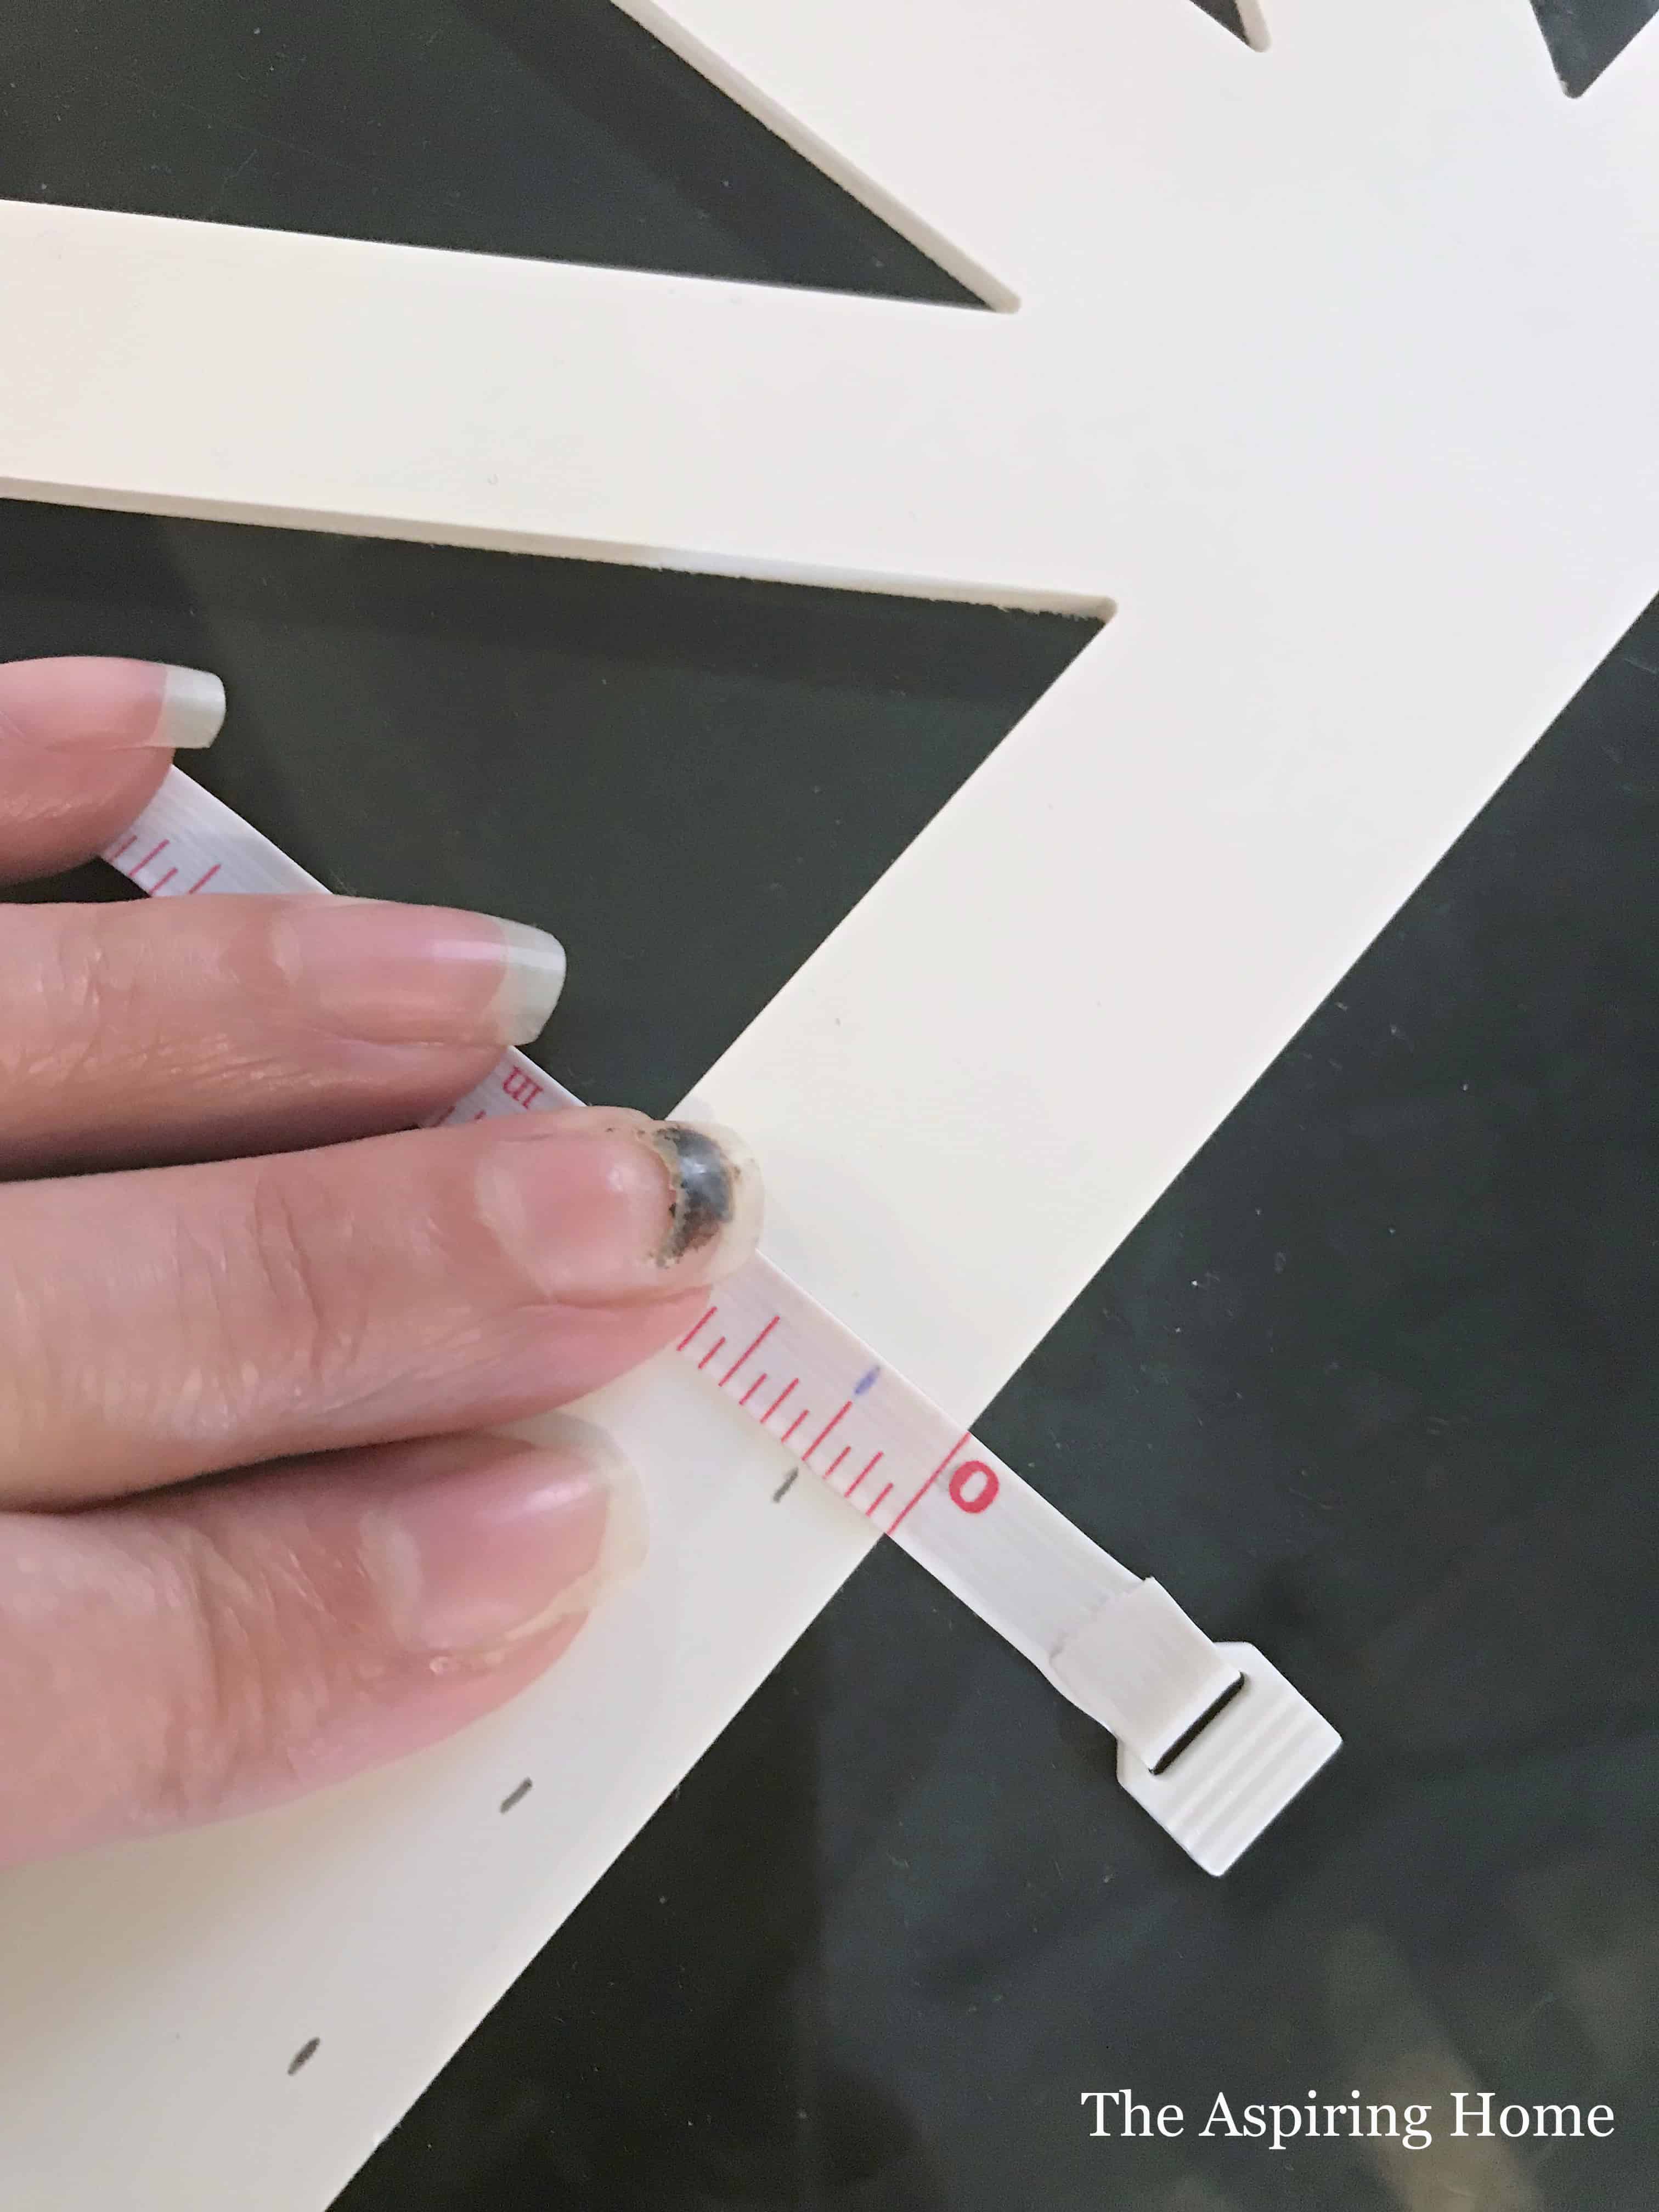
Once your chosen product arrives check measurements. I was off a bit on my measurements because the cabinet door was just a drawing at the time of my order. Thankfully customizing the product is not an issue. I measured my O’verlays panel and I measured the cabinet door. The front of the door was smaller than the backside so… each panel had to be customized a little more. Not a problem.
I just subtracted the cabinet door width measurement from the O’verlays panel measurement and made note. Then I subtracted the cabinet door height from the O’verlays panel height and made note. I split each of these numbers in half and that is the amount I took off of each side of the O’verlays “front side” panel. Repeat this on the backside panel.
Step 3:
Carefully begin cutting the “frontside” panel. Take your time and invest in a pair of the duck bill scissors. I tried other heavy duty scissors but they were incredibly difficult to use and cut a straight line. Repeat this on the “backside” panel.

Step 4:
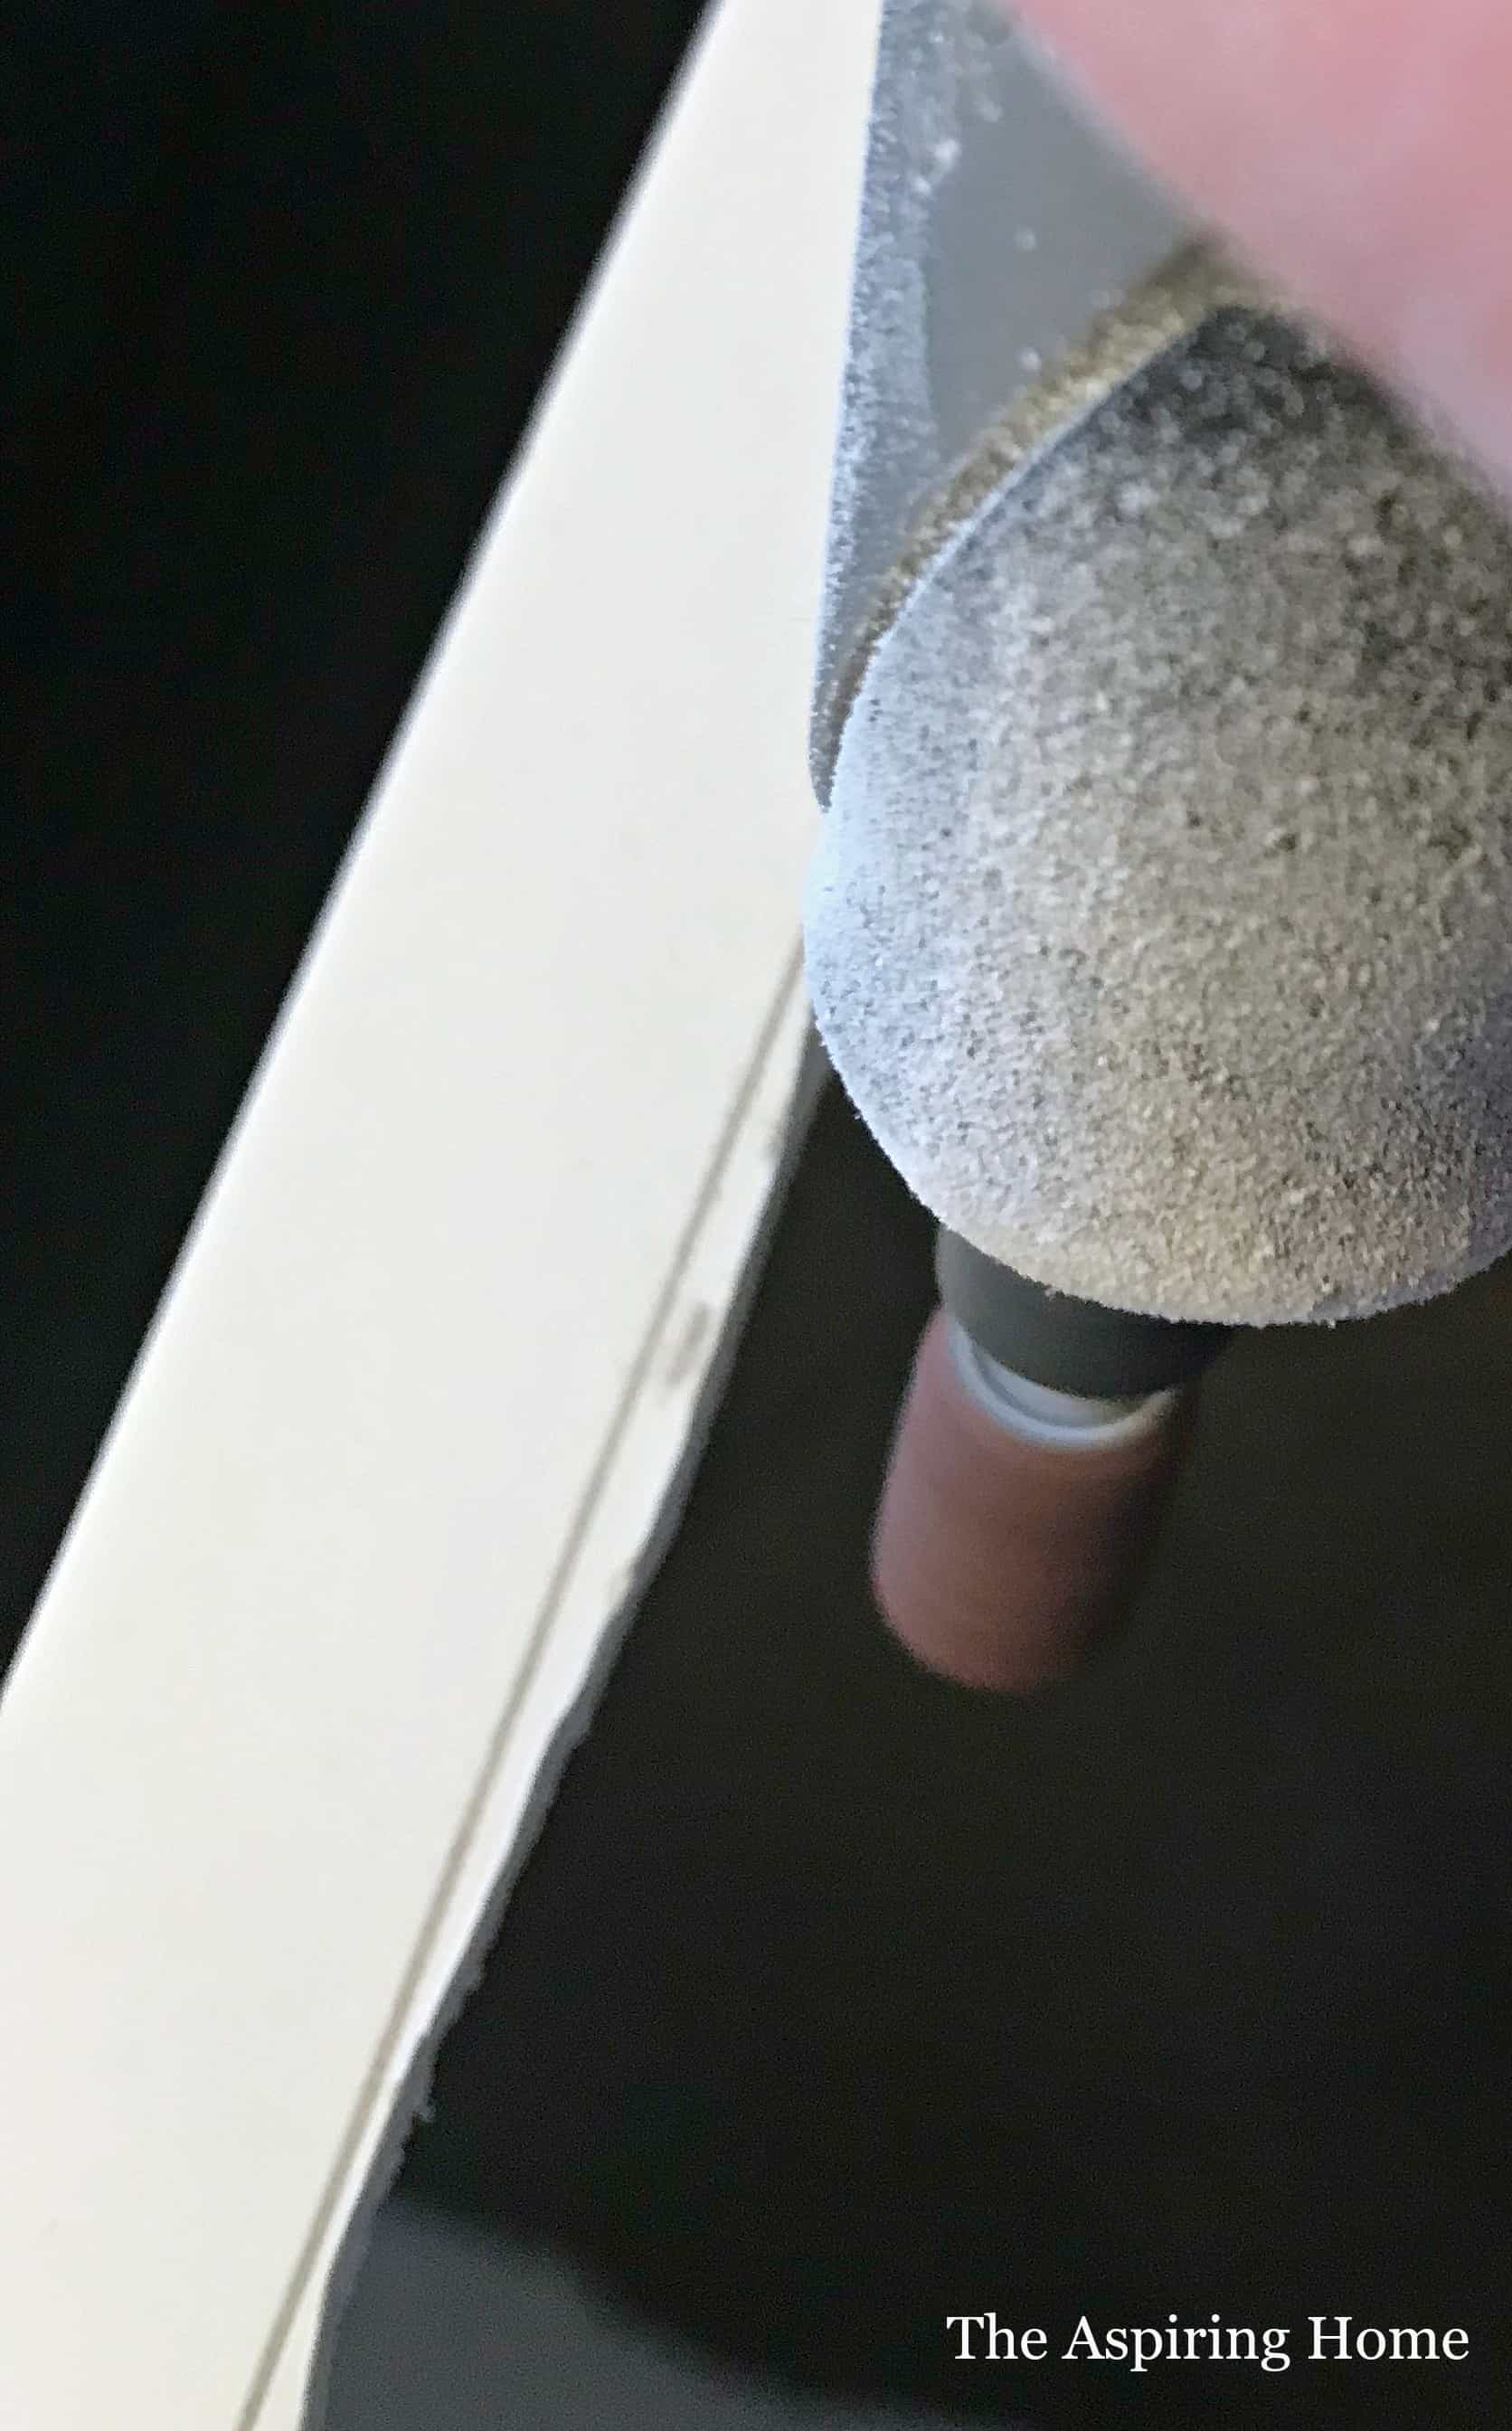
I dry fitted the product and needed to take a little more off for a more exact fit. Dremel’s Stylo made it quick and painless. I used the sand paper tool that comes with the the Stylo and it was the perfect tool.
*Please wear eye protection and a face mask while using the sanding tool. Once the panel fit just right- I used a low grit sandpaper to polish the edges a bit.
Paint your panels with the color of choice.
Step 5:
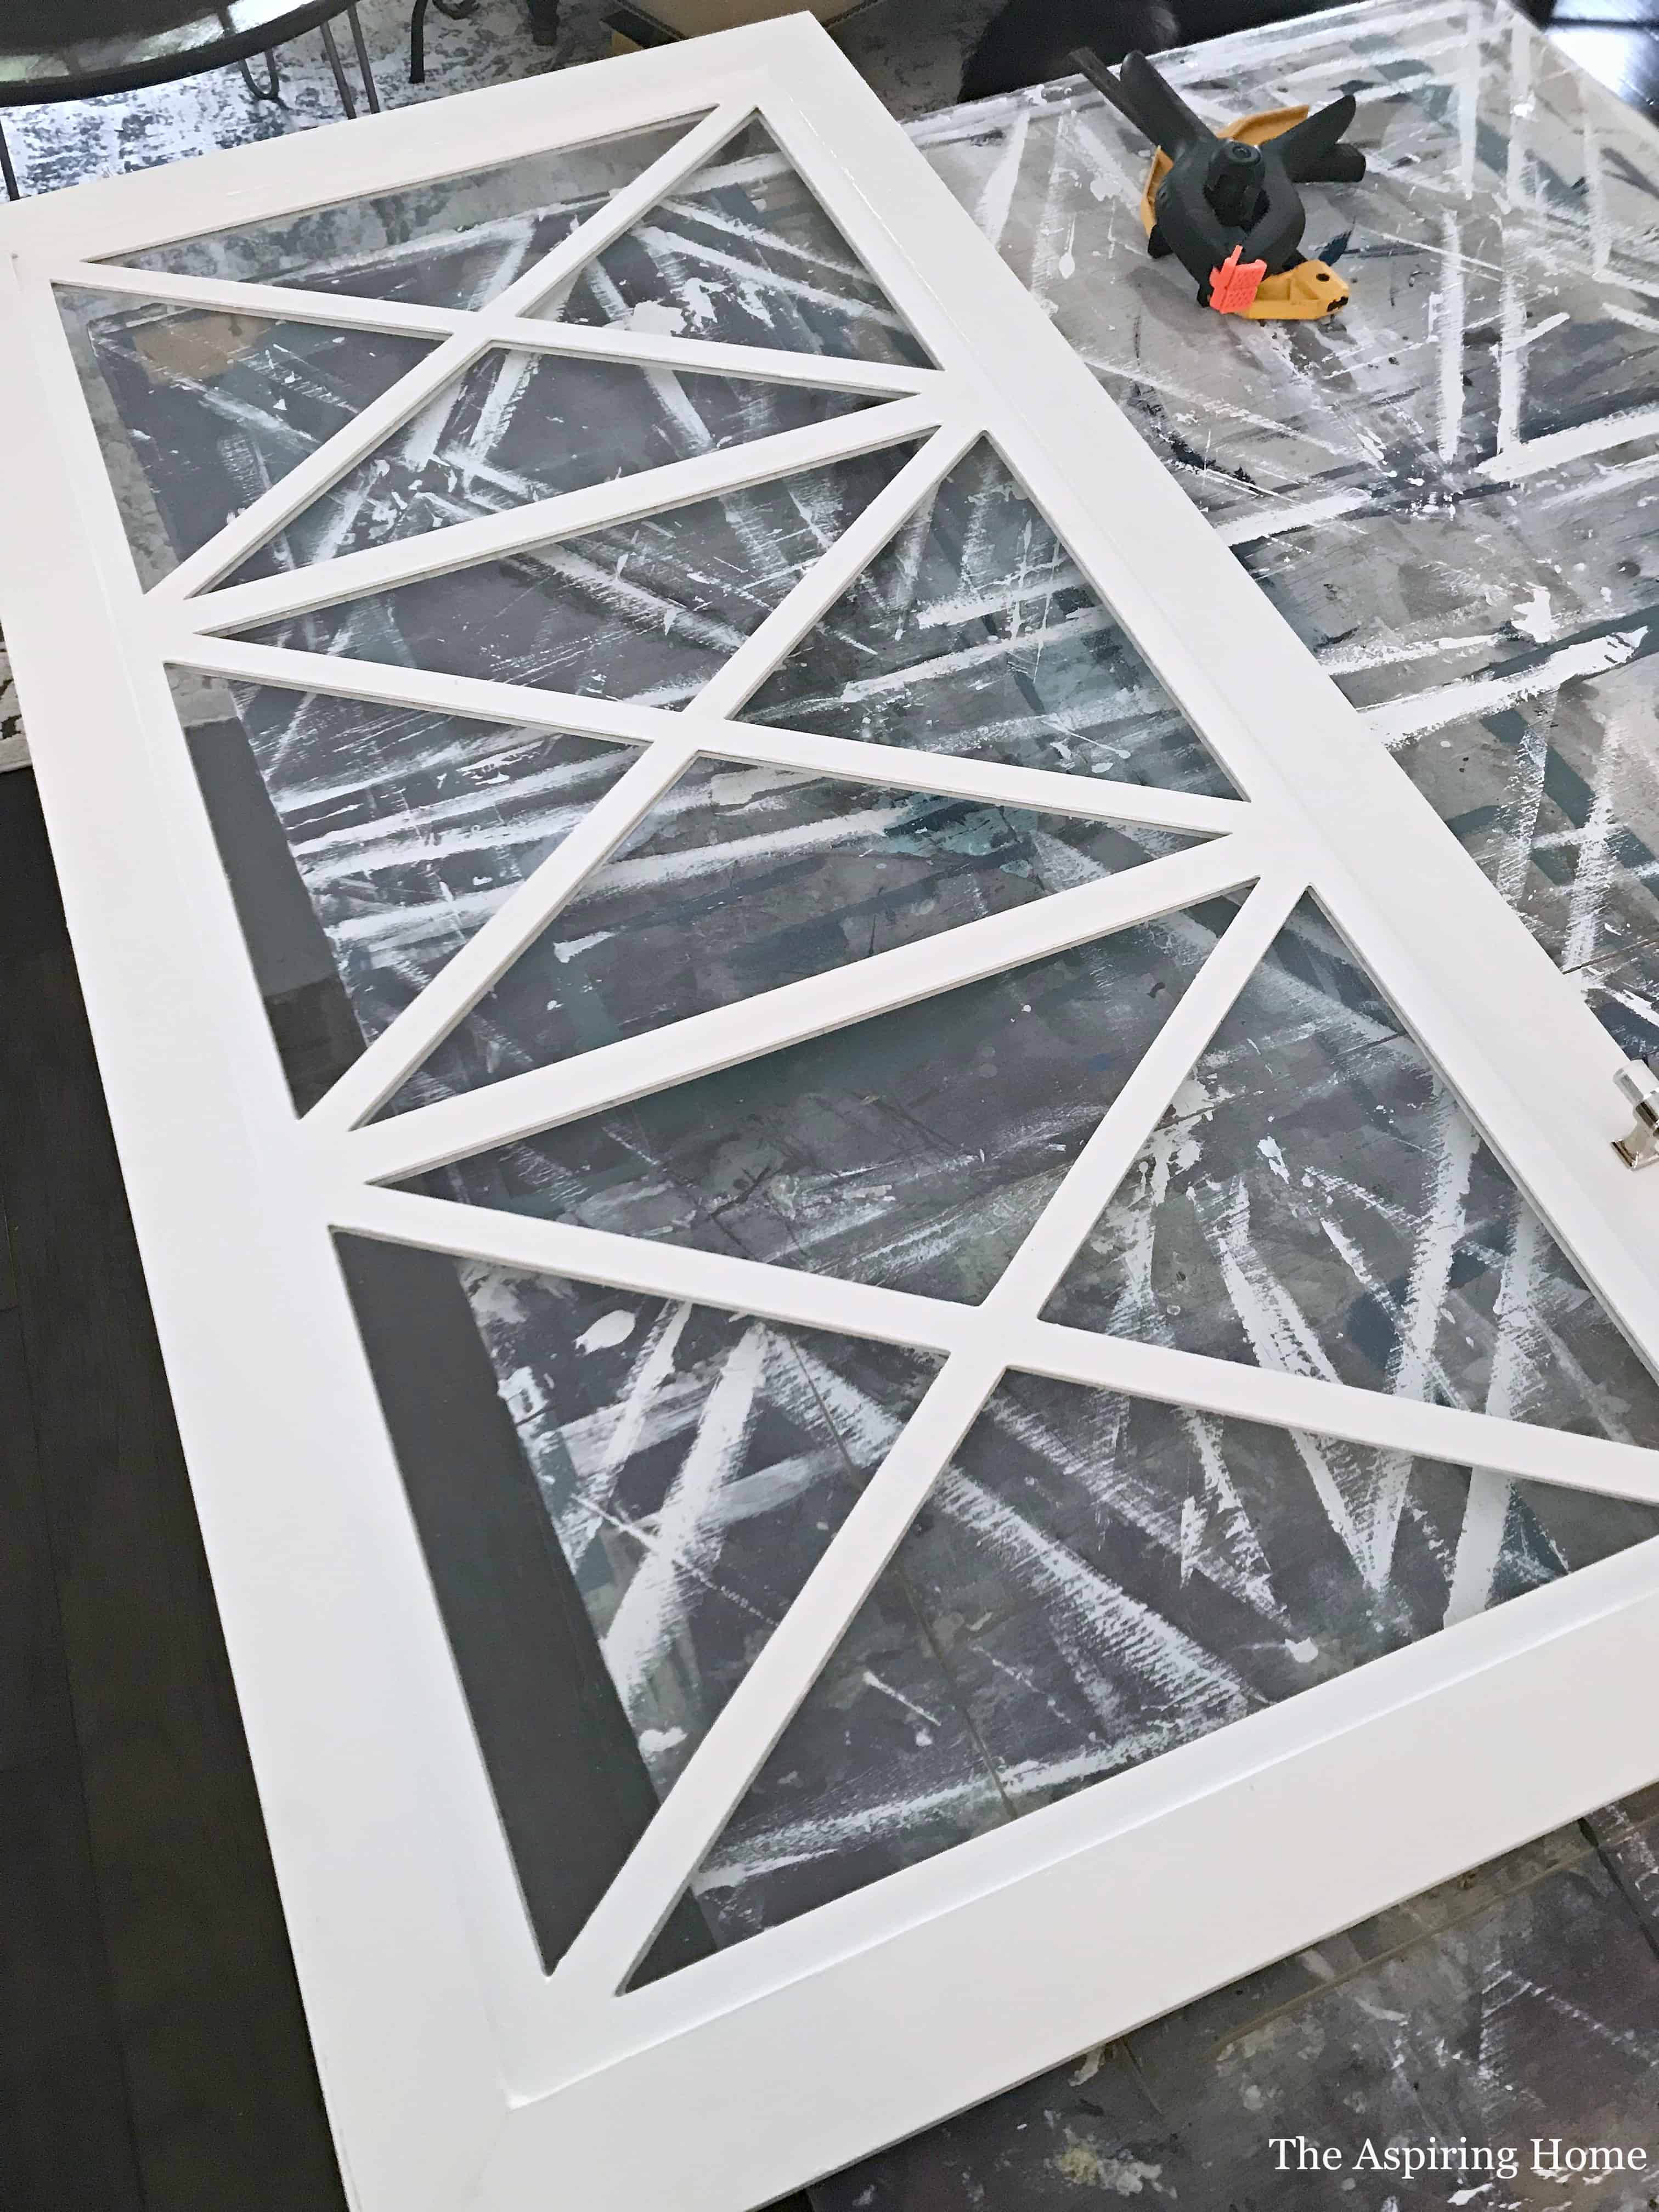
Add double sided tape or clear silicone adhesive to the backside of each panel. I chose to use double sided tape because I wanted to make this temporary-ish. Carefully lay the panels one at time. Press into place.

Step 6:
To get a finished look, we added paintable caulk.
Step 7:
Intall your gorgeous paneled cabinet door! Don’t you just love how using two O’verlays panels created the paneled effect? I know this little added detail makes me grin big.

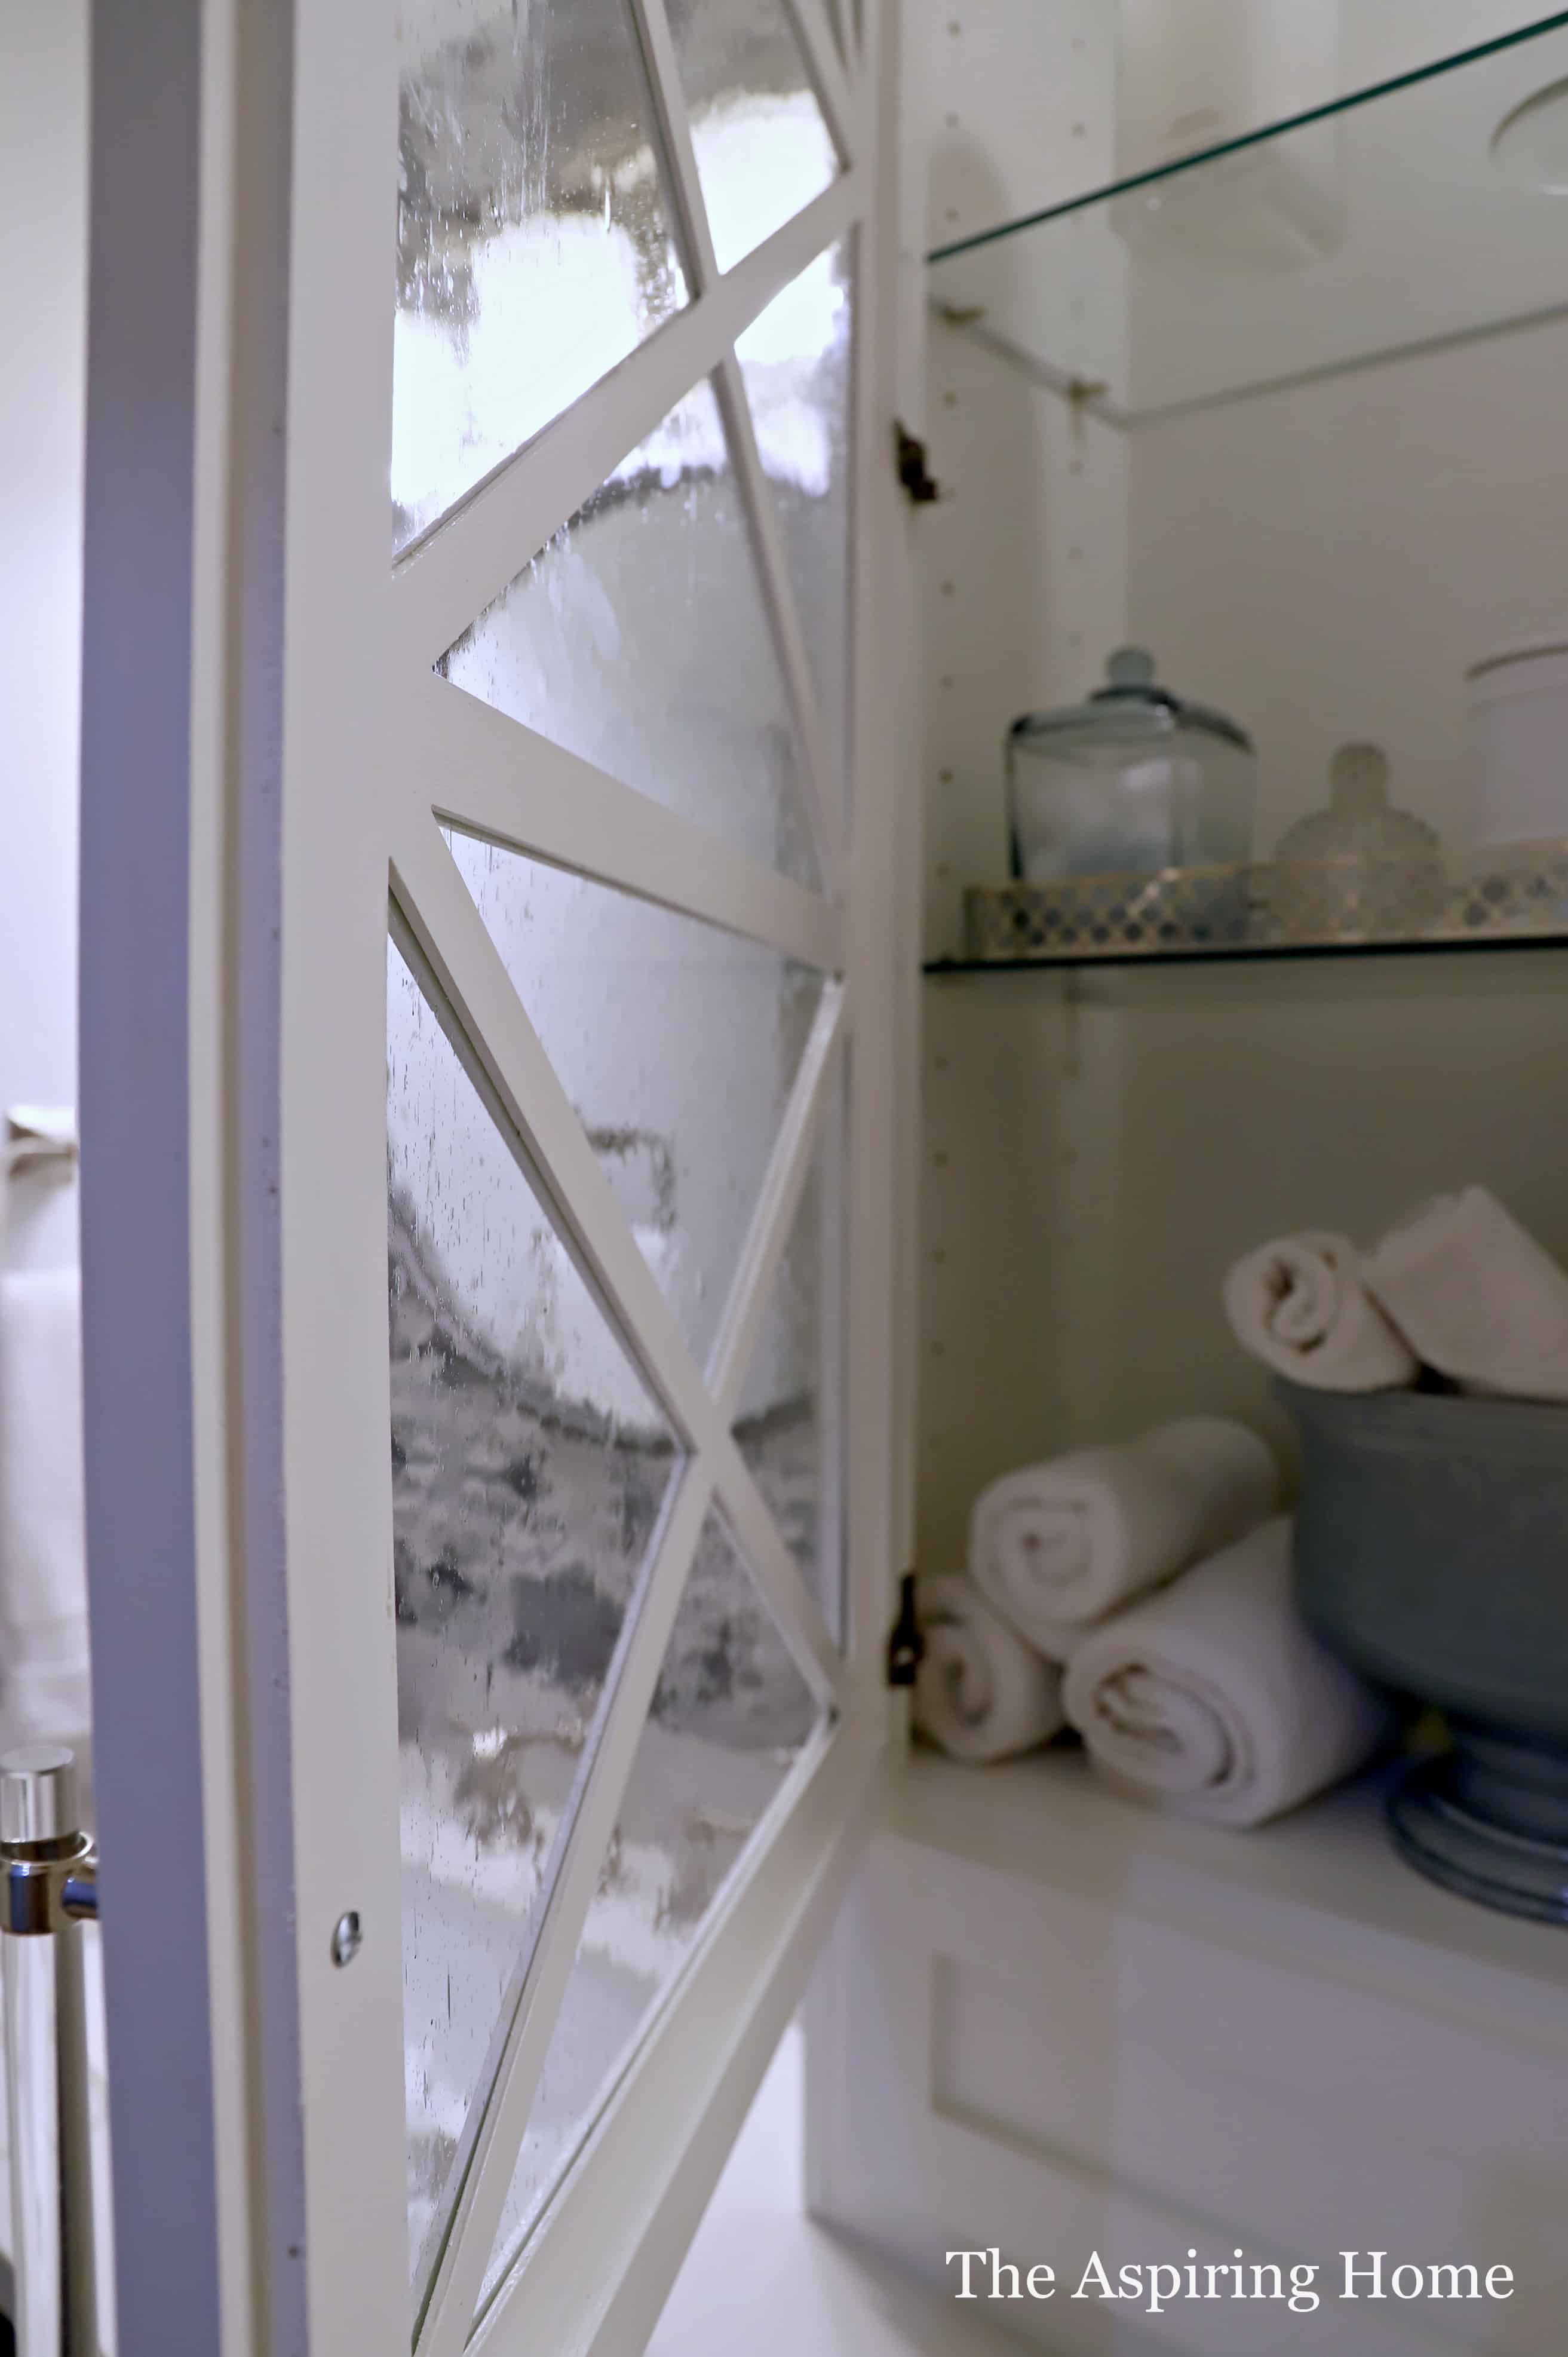
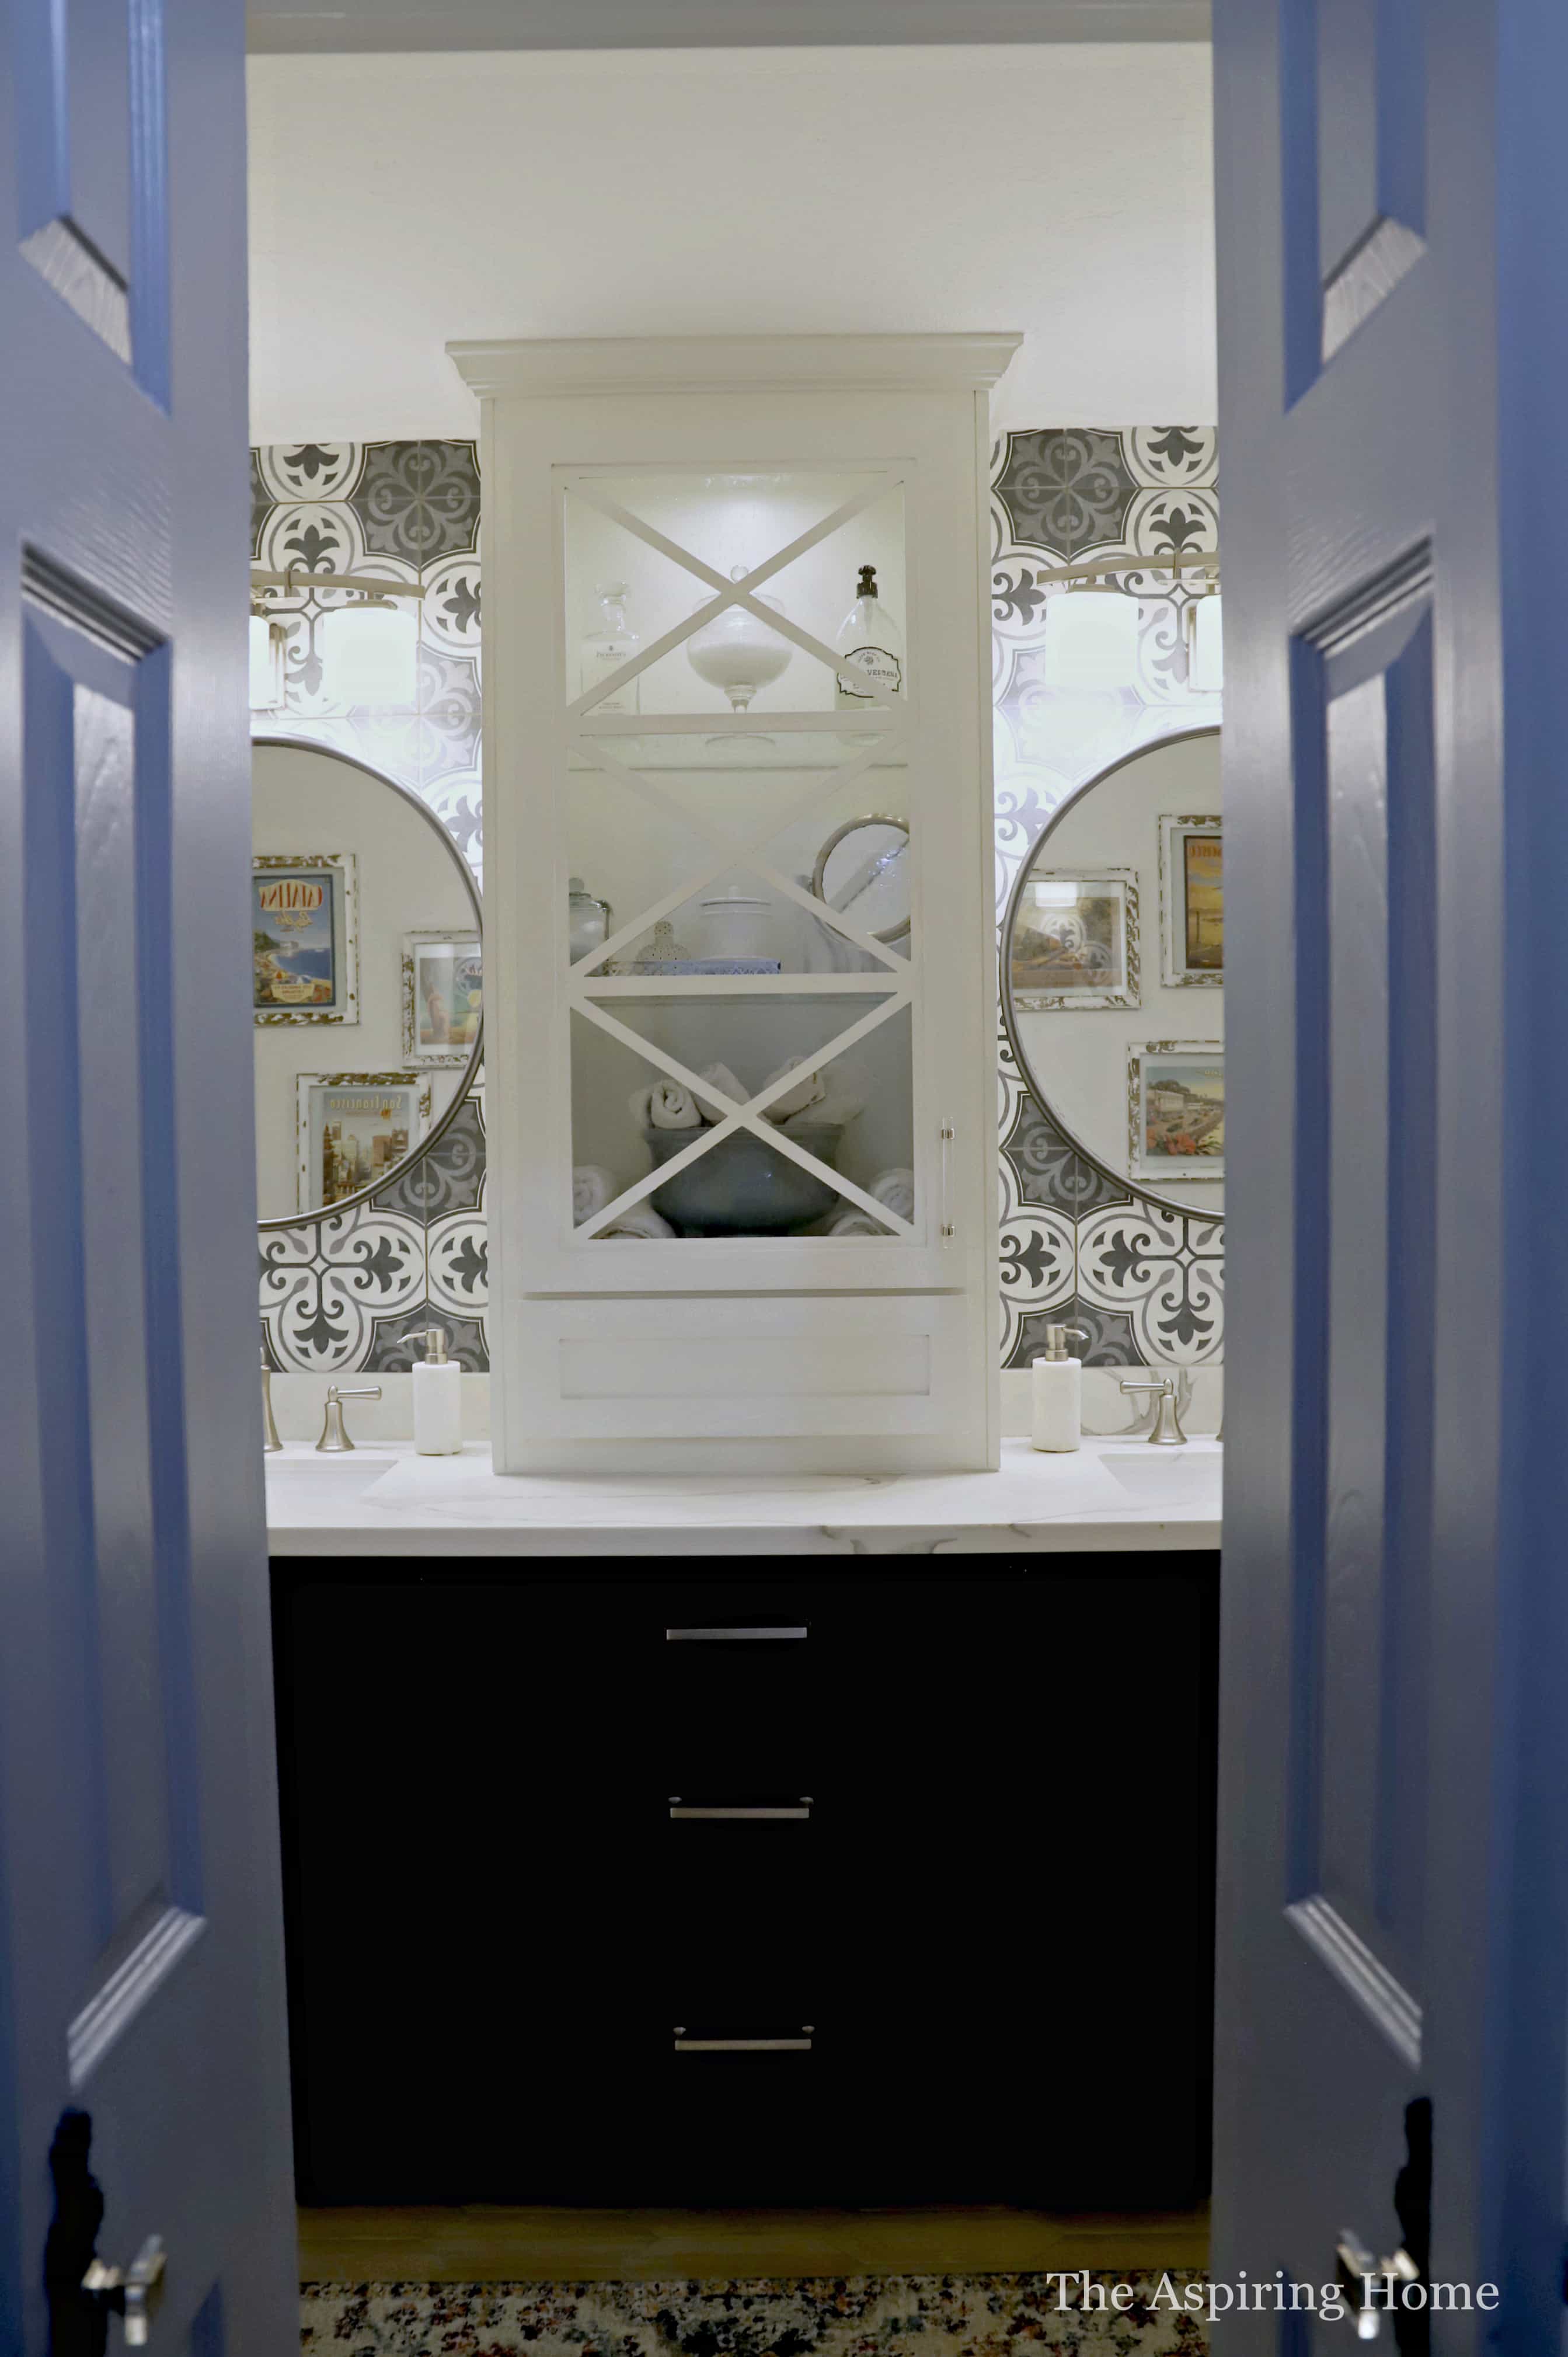
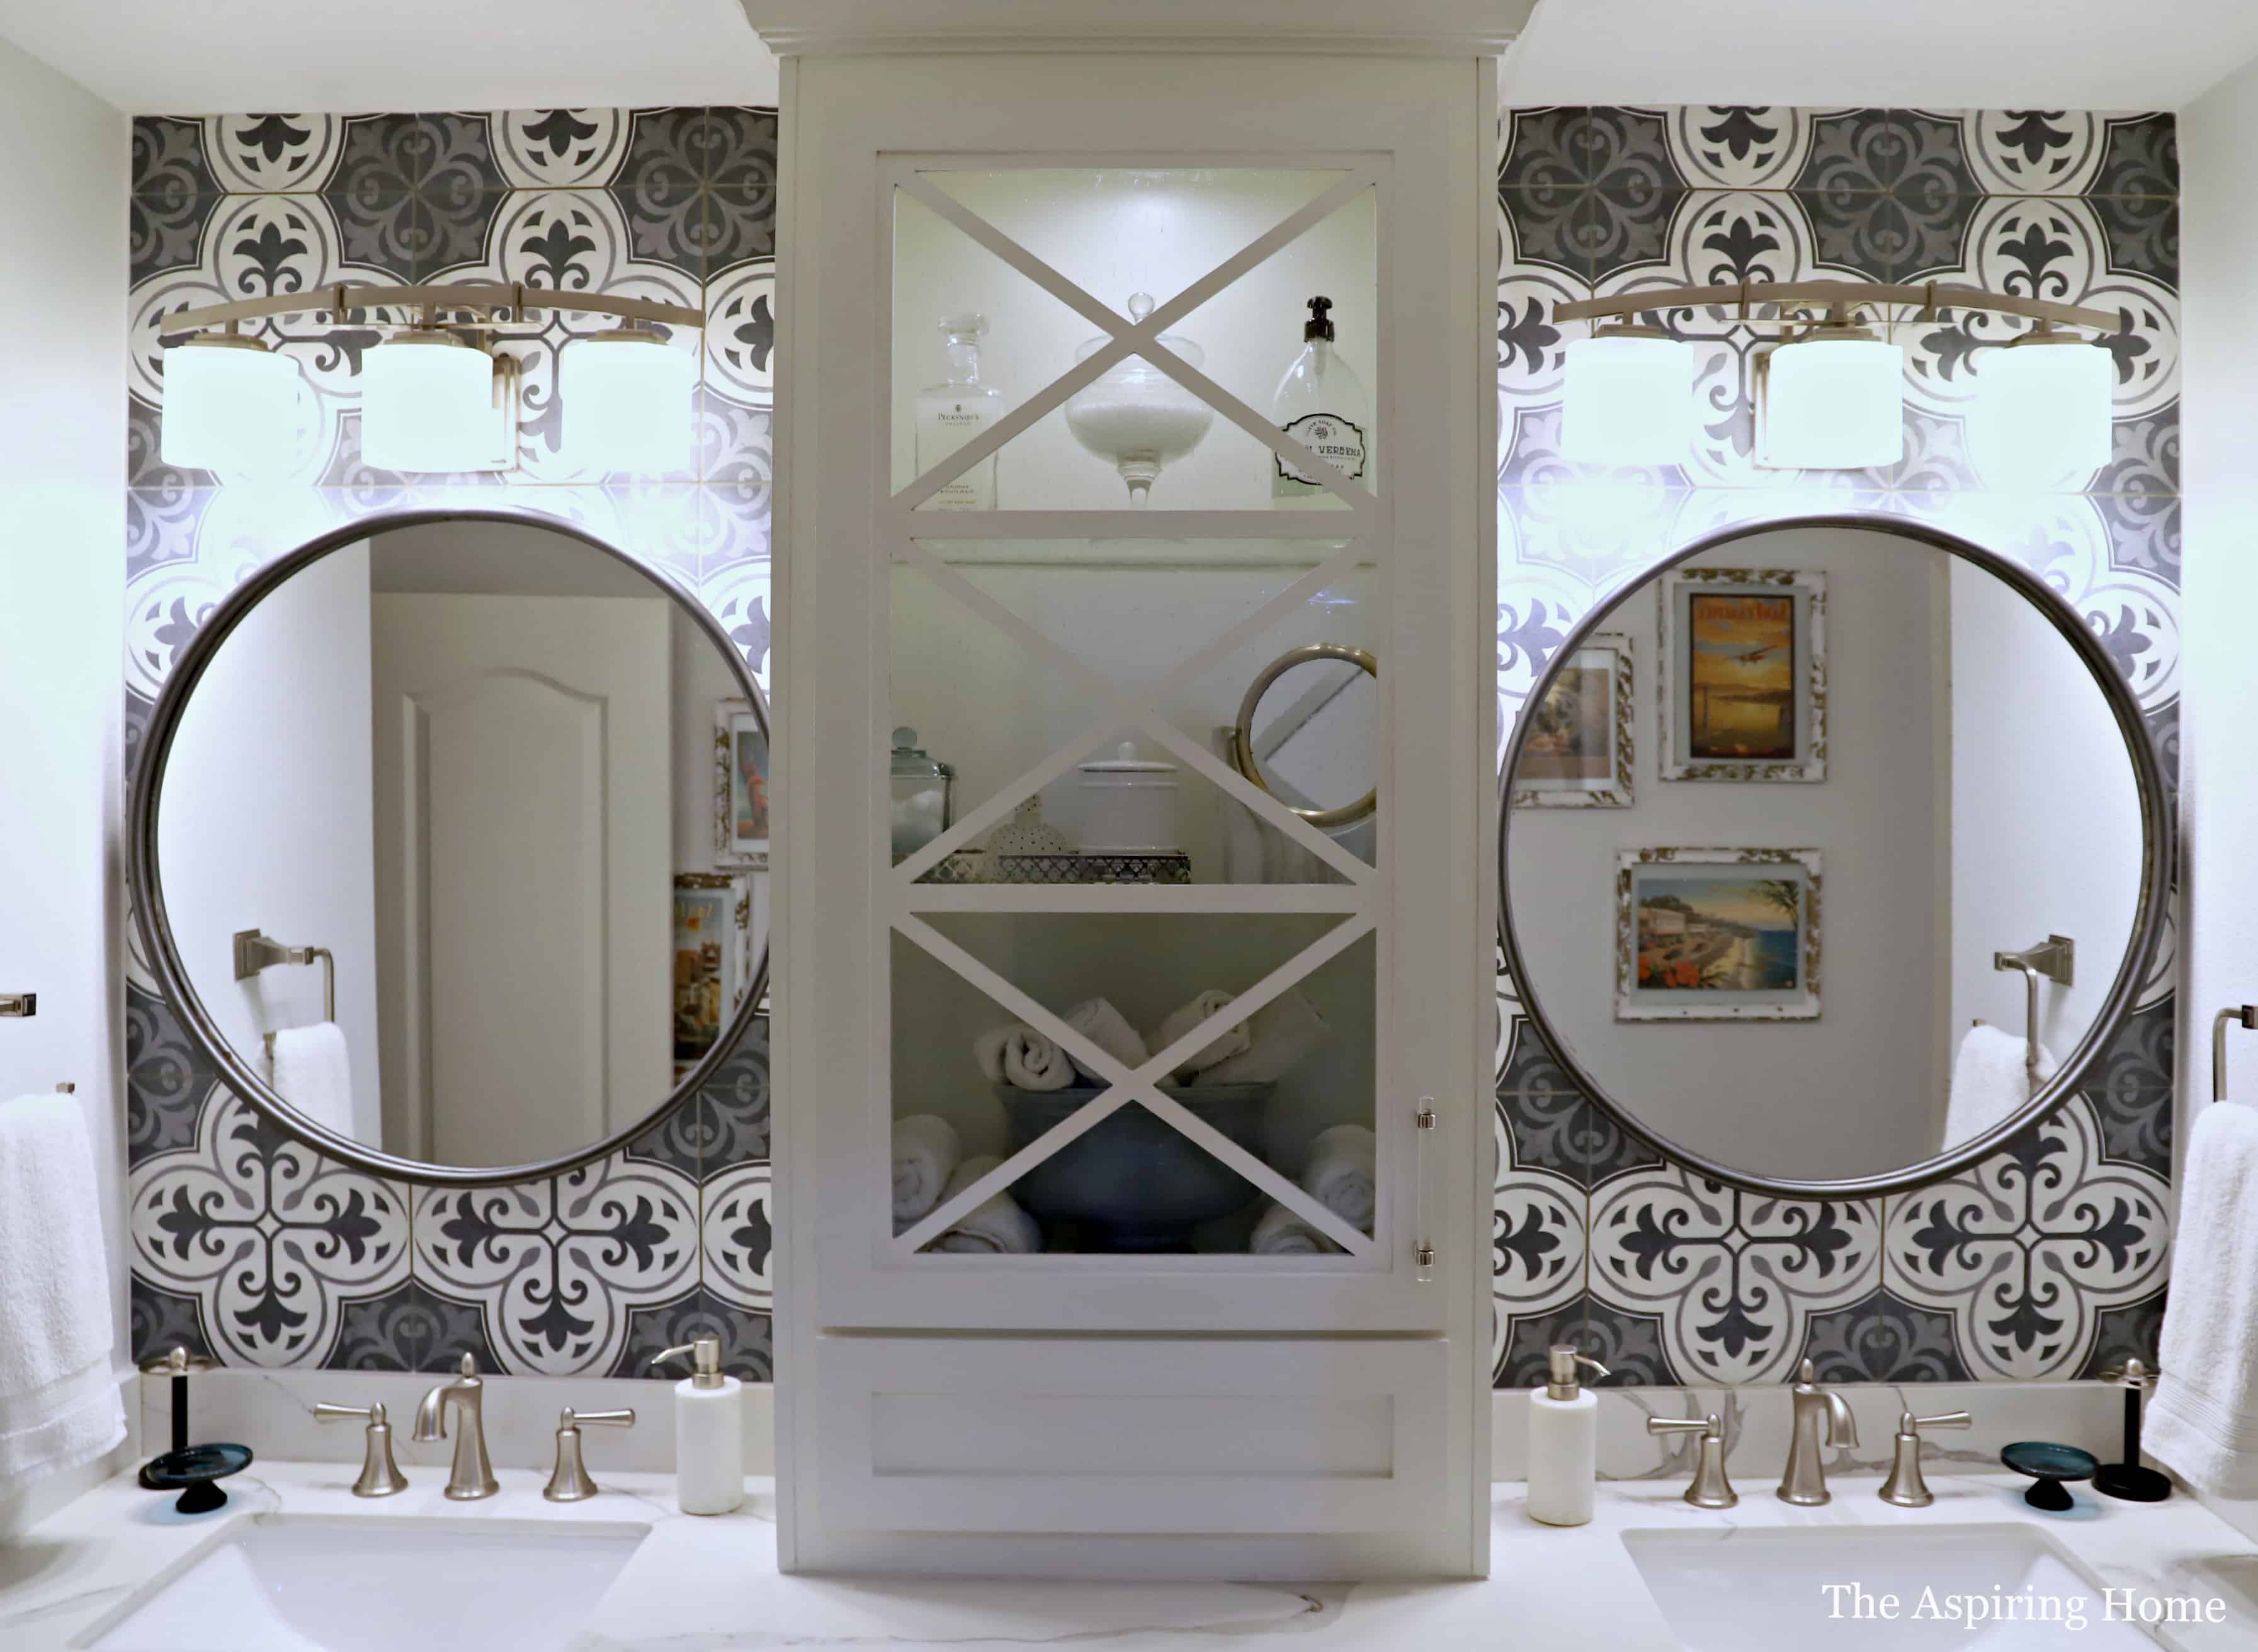
I am a firm believer in the old adage “Where there is a will, there is a way”. Finding the company O’verlays became my way to a beautiful detailed cabinet to polish off my redesigned gorgeous bathroom. I hope you will give them a try!

Quick Shop:
You may also like: