Fall Door Swag – Easy Tutorial
Creating a fall door swag is easy with my simple process. You will have one on your door in no time!
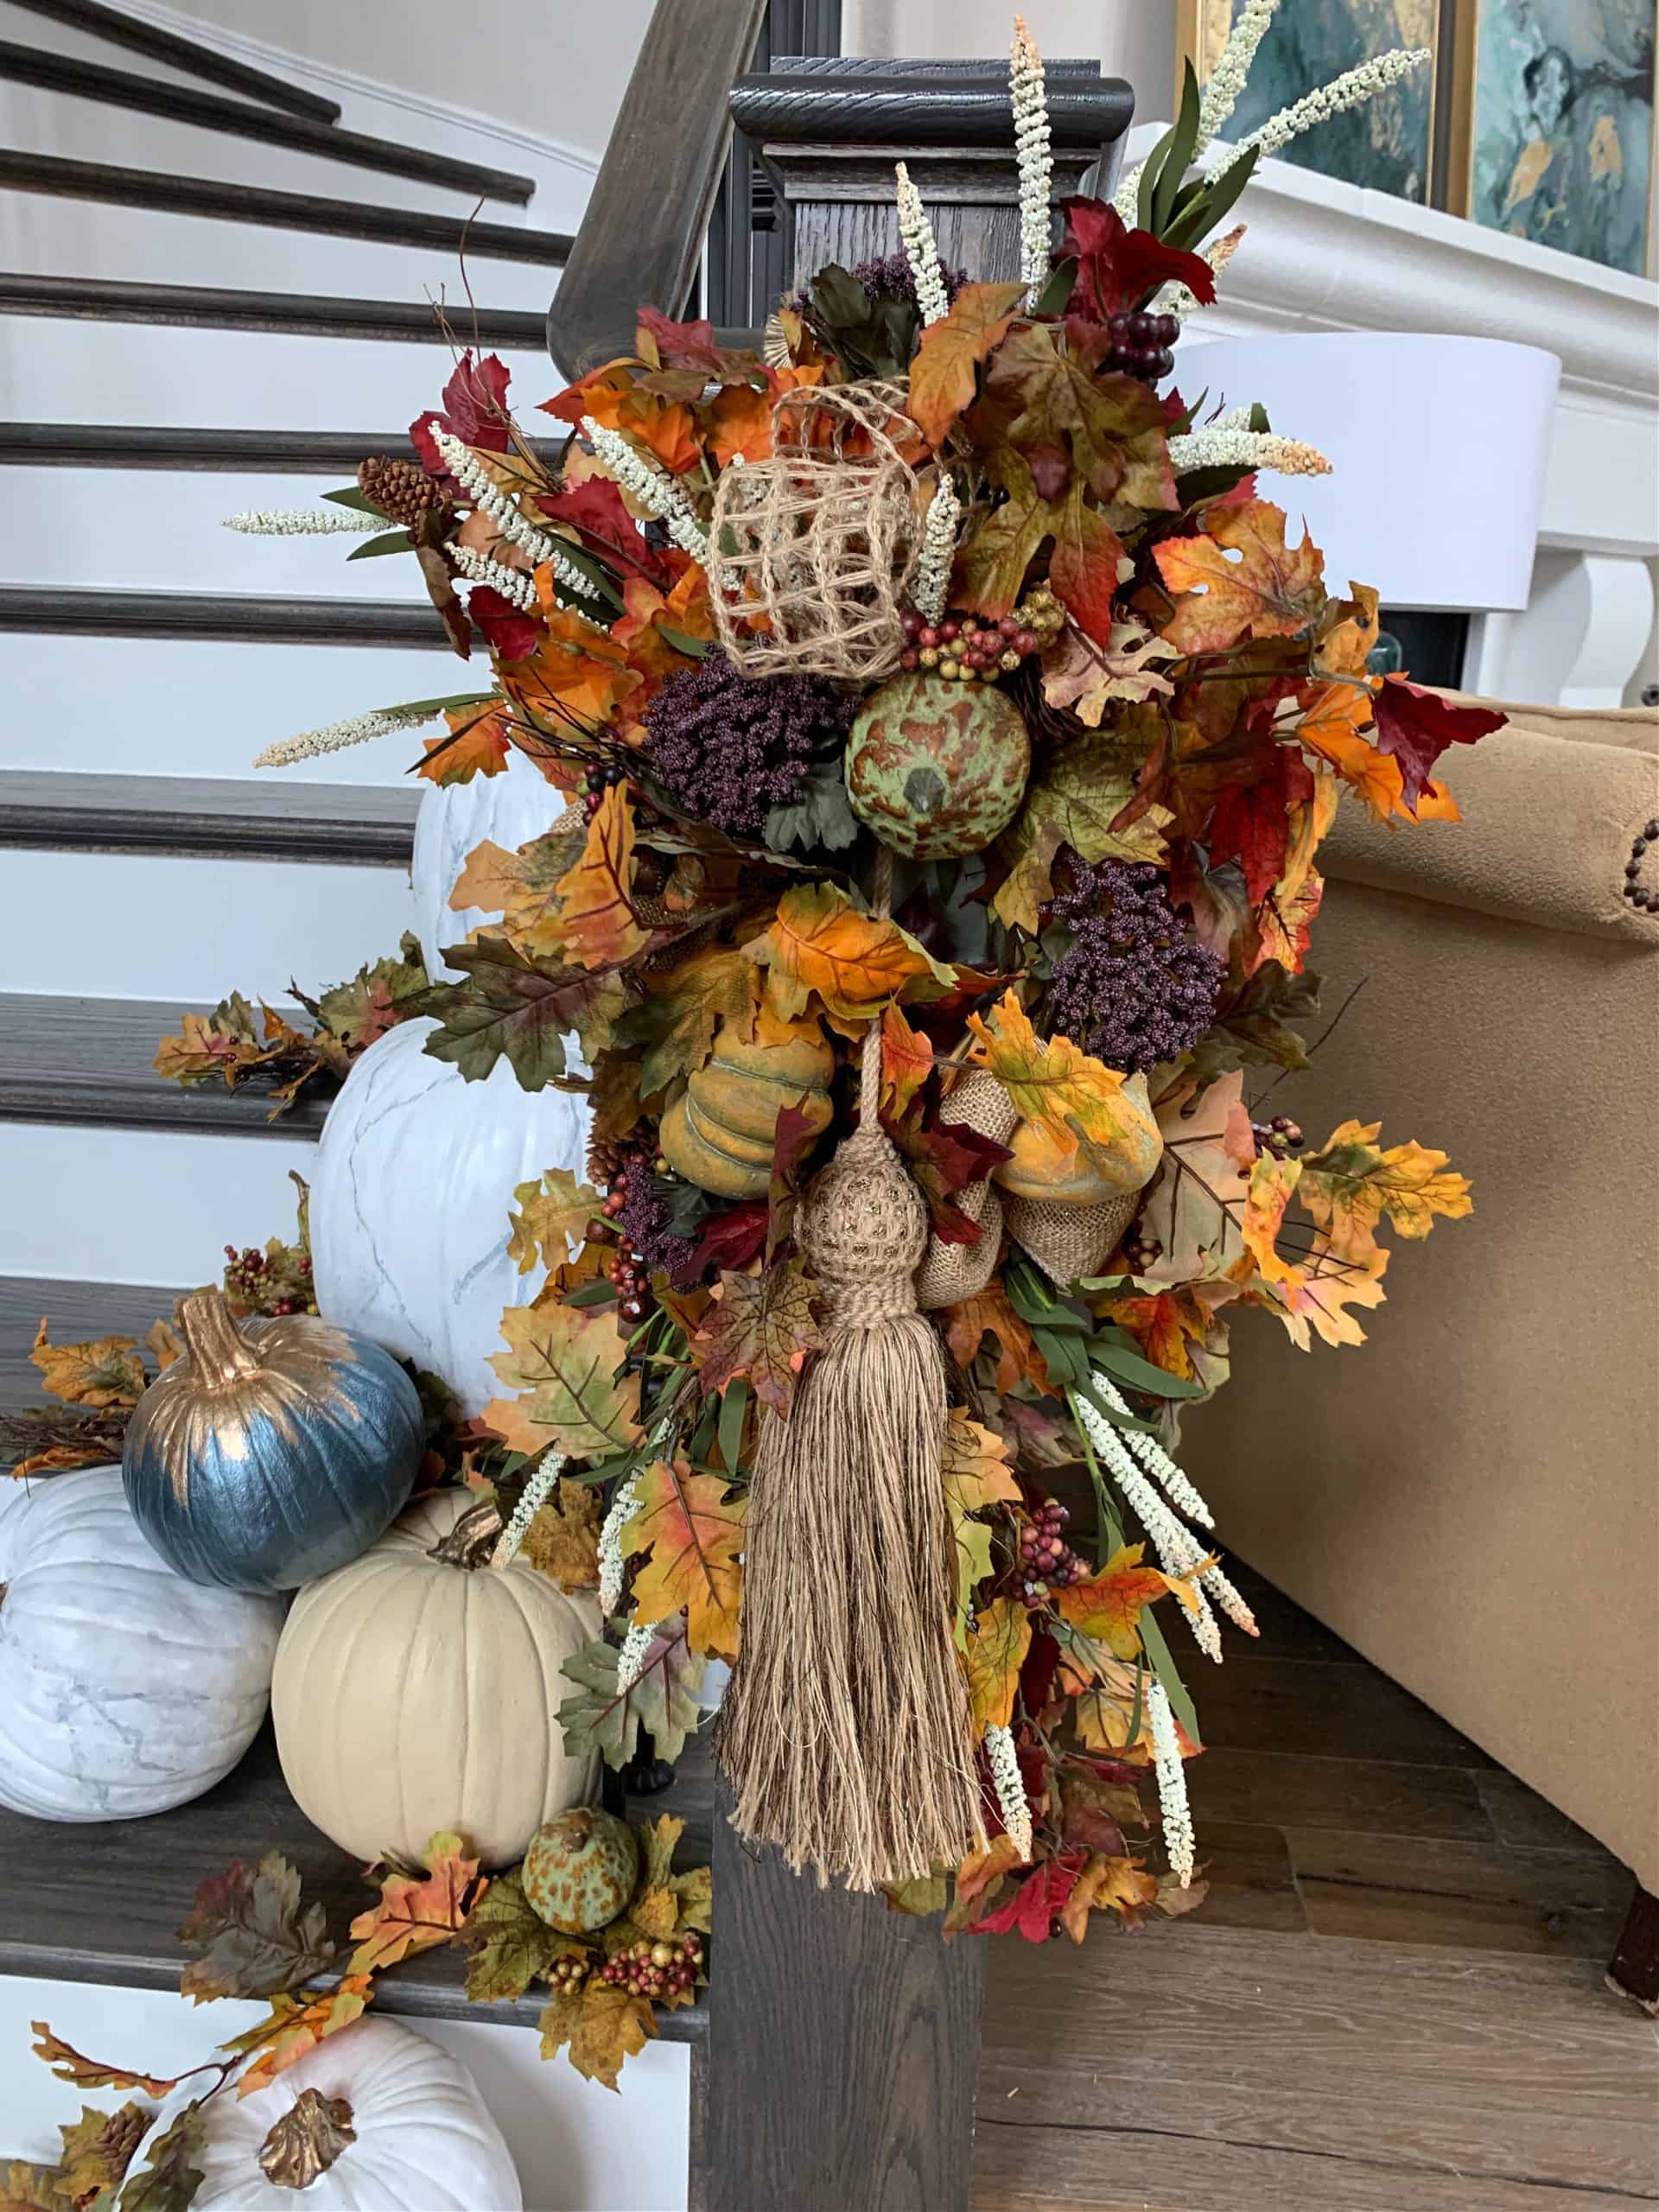
I love celebrating the seasons by adding wreaths and swags to my door. This year I decided to put the swags on my stairs – it’s fun to do the unexpected. This fall door swag was simple to make and includes recycling old fall decor!

You can see these beauties in all their glory in my fall home tour post, here.
…and if you like the faux marble pumpkins, I created an easy tutorial.
So, How do you make a fall swag?
This super easy step-by-step should help you have your very own fall door swag up in no time. Let’s get started:
Supplies-
- Silk floral foam
- Wire coat hanger
- Floral stems
- Fall/Autumn stems
- Ribbon
- Wire cutters
- Scissors
You can find most of these supplies on my Amazon store page. Please note that I will receive a small commission if you decide to purchase through the link.
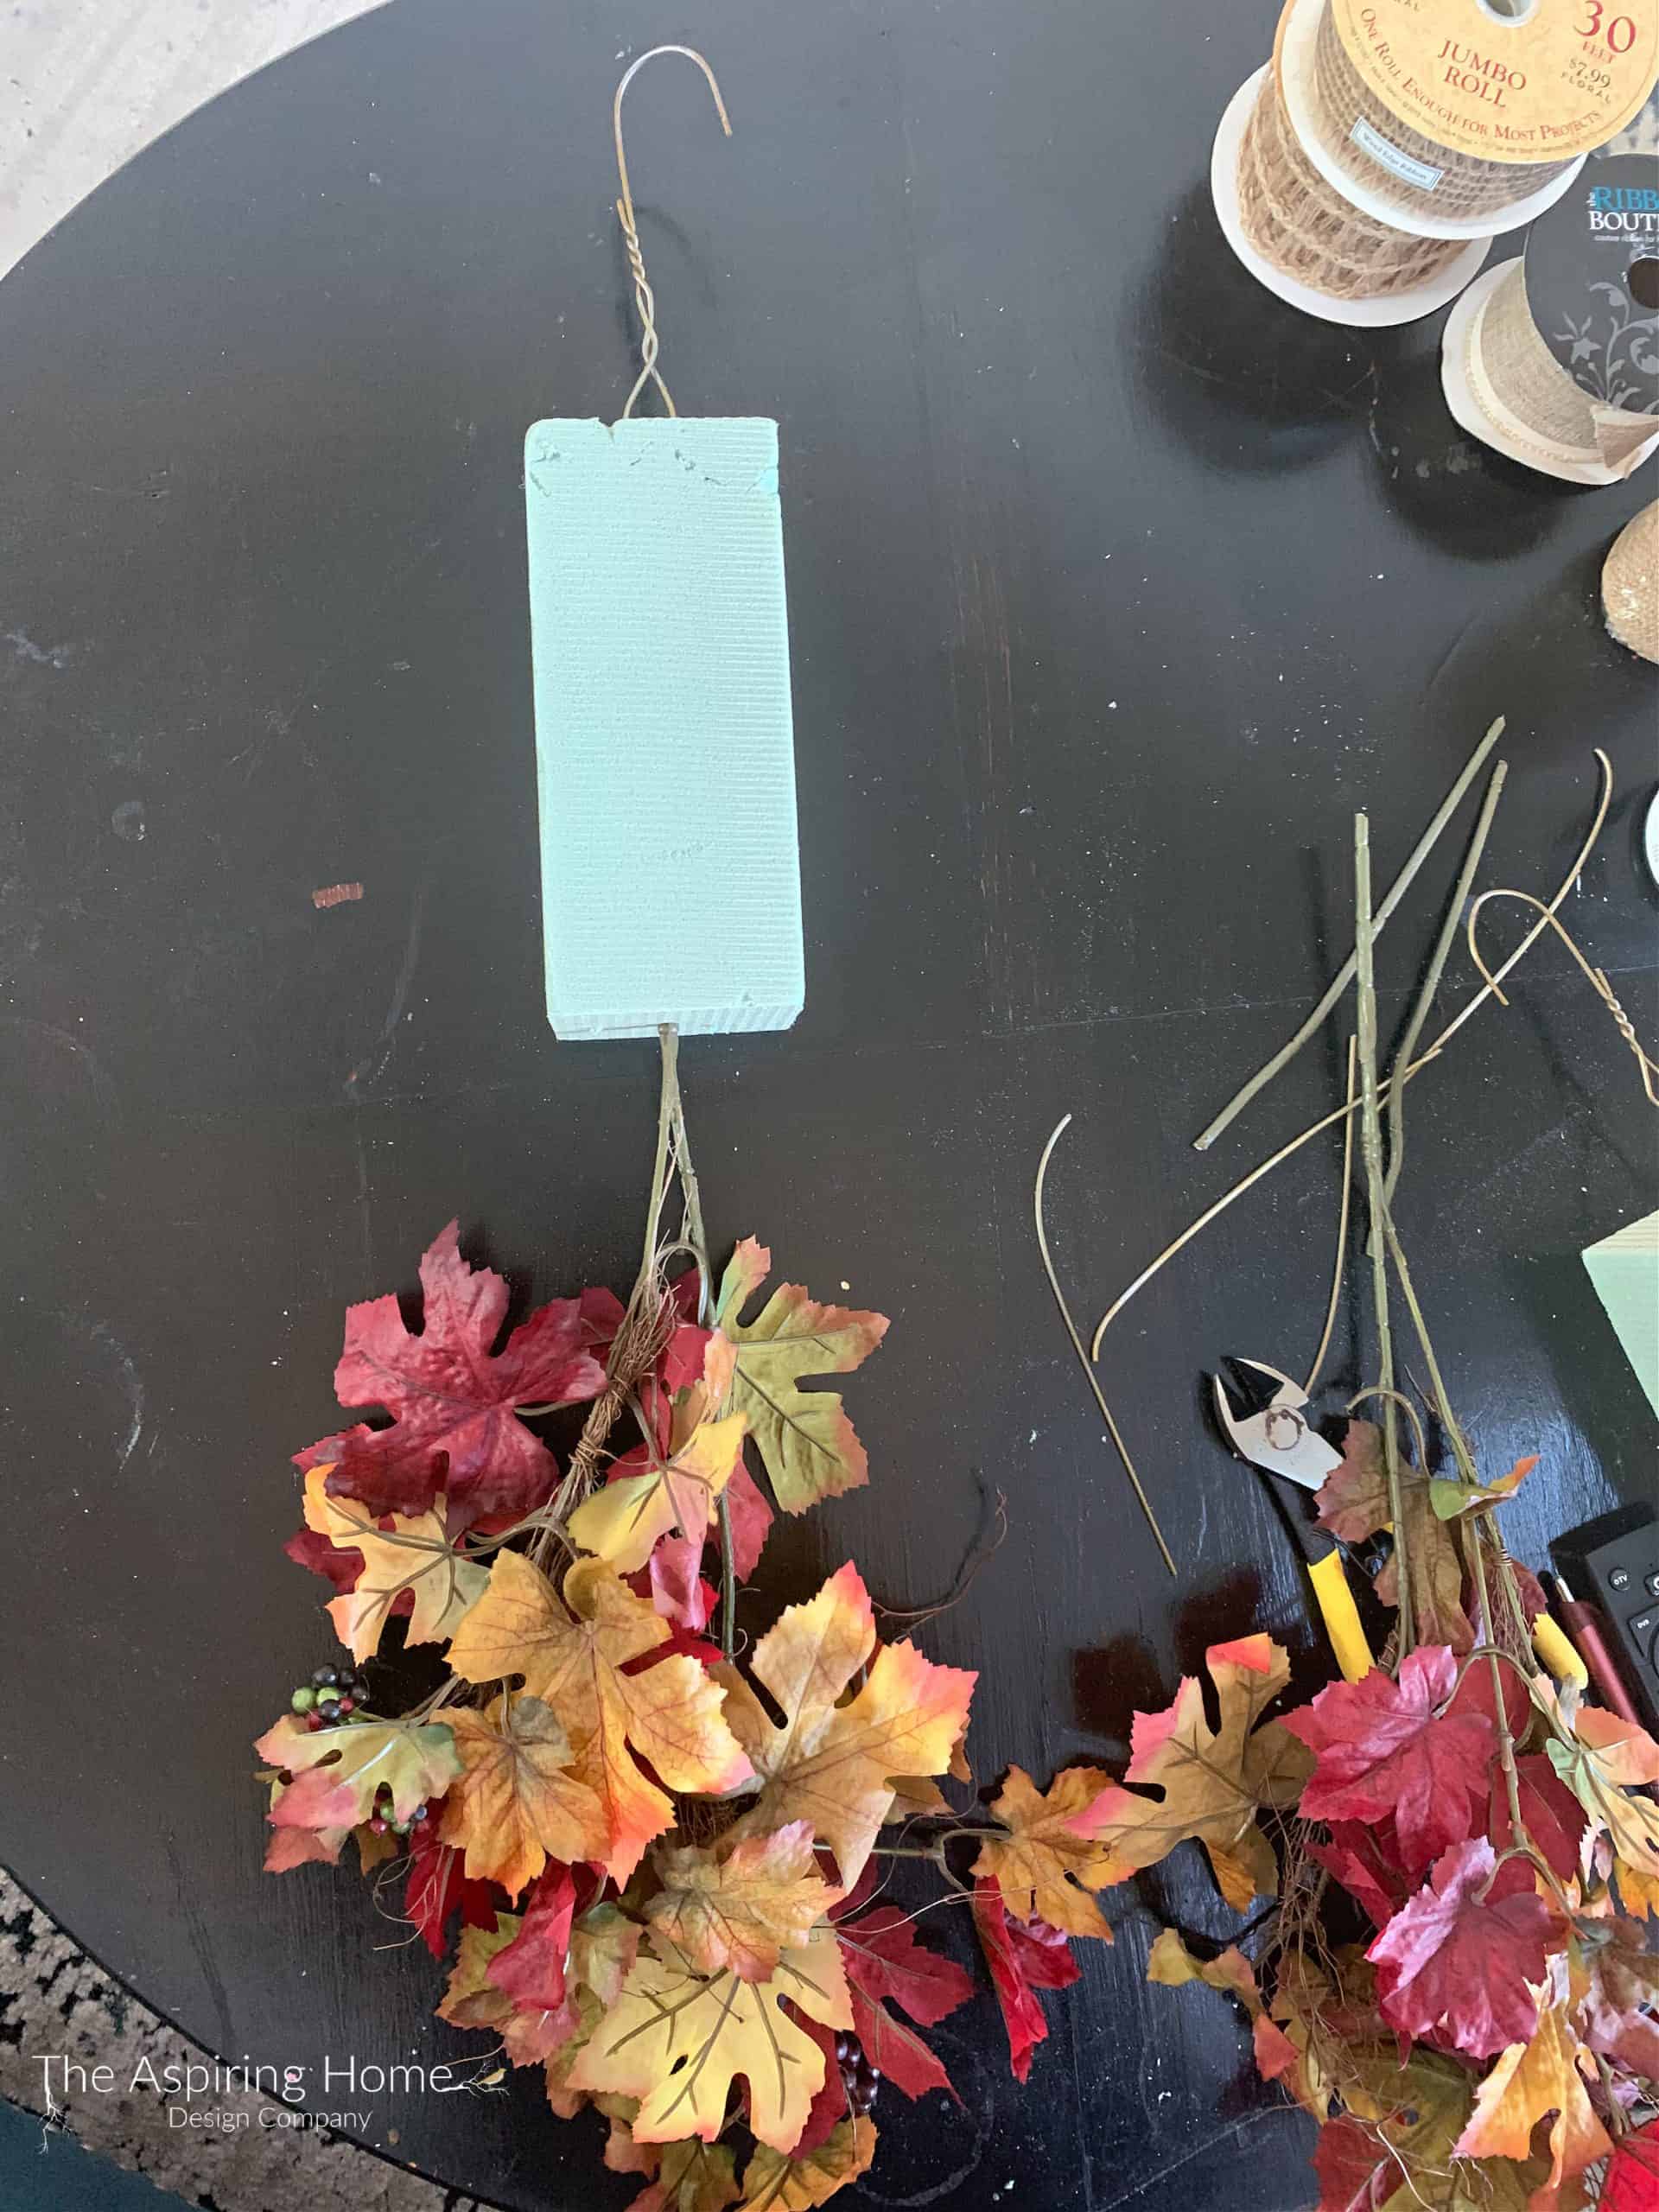
Step 1:

Bend your wire coat hanger into an oblong shape.
With your wire cutters, carefully cut the wire at the bottom of the oblong shape.

Gently but firmly slide your wire coat hanger into silk floral foam. Take your time, the wire hanger will poke out the sides before you reach the bottom if you move too quickly.


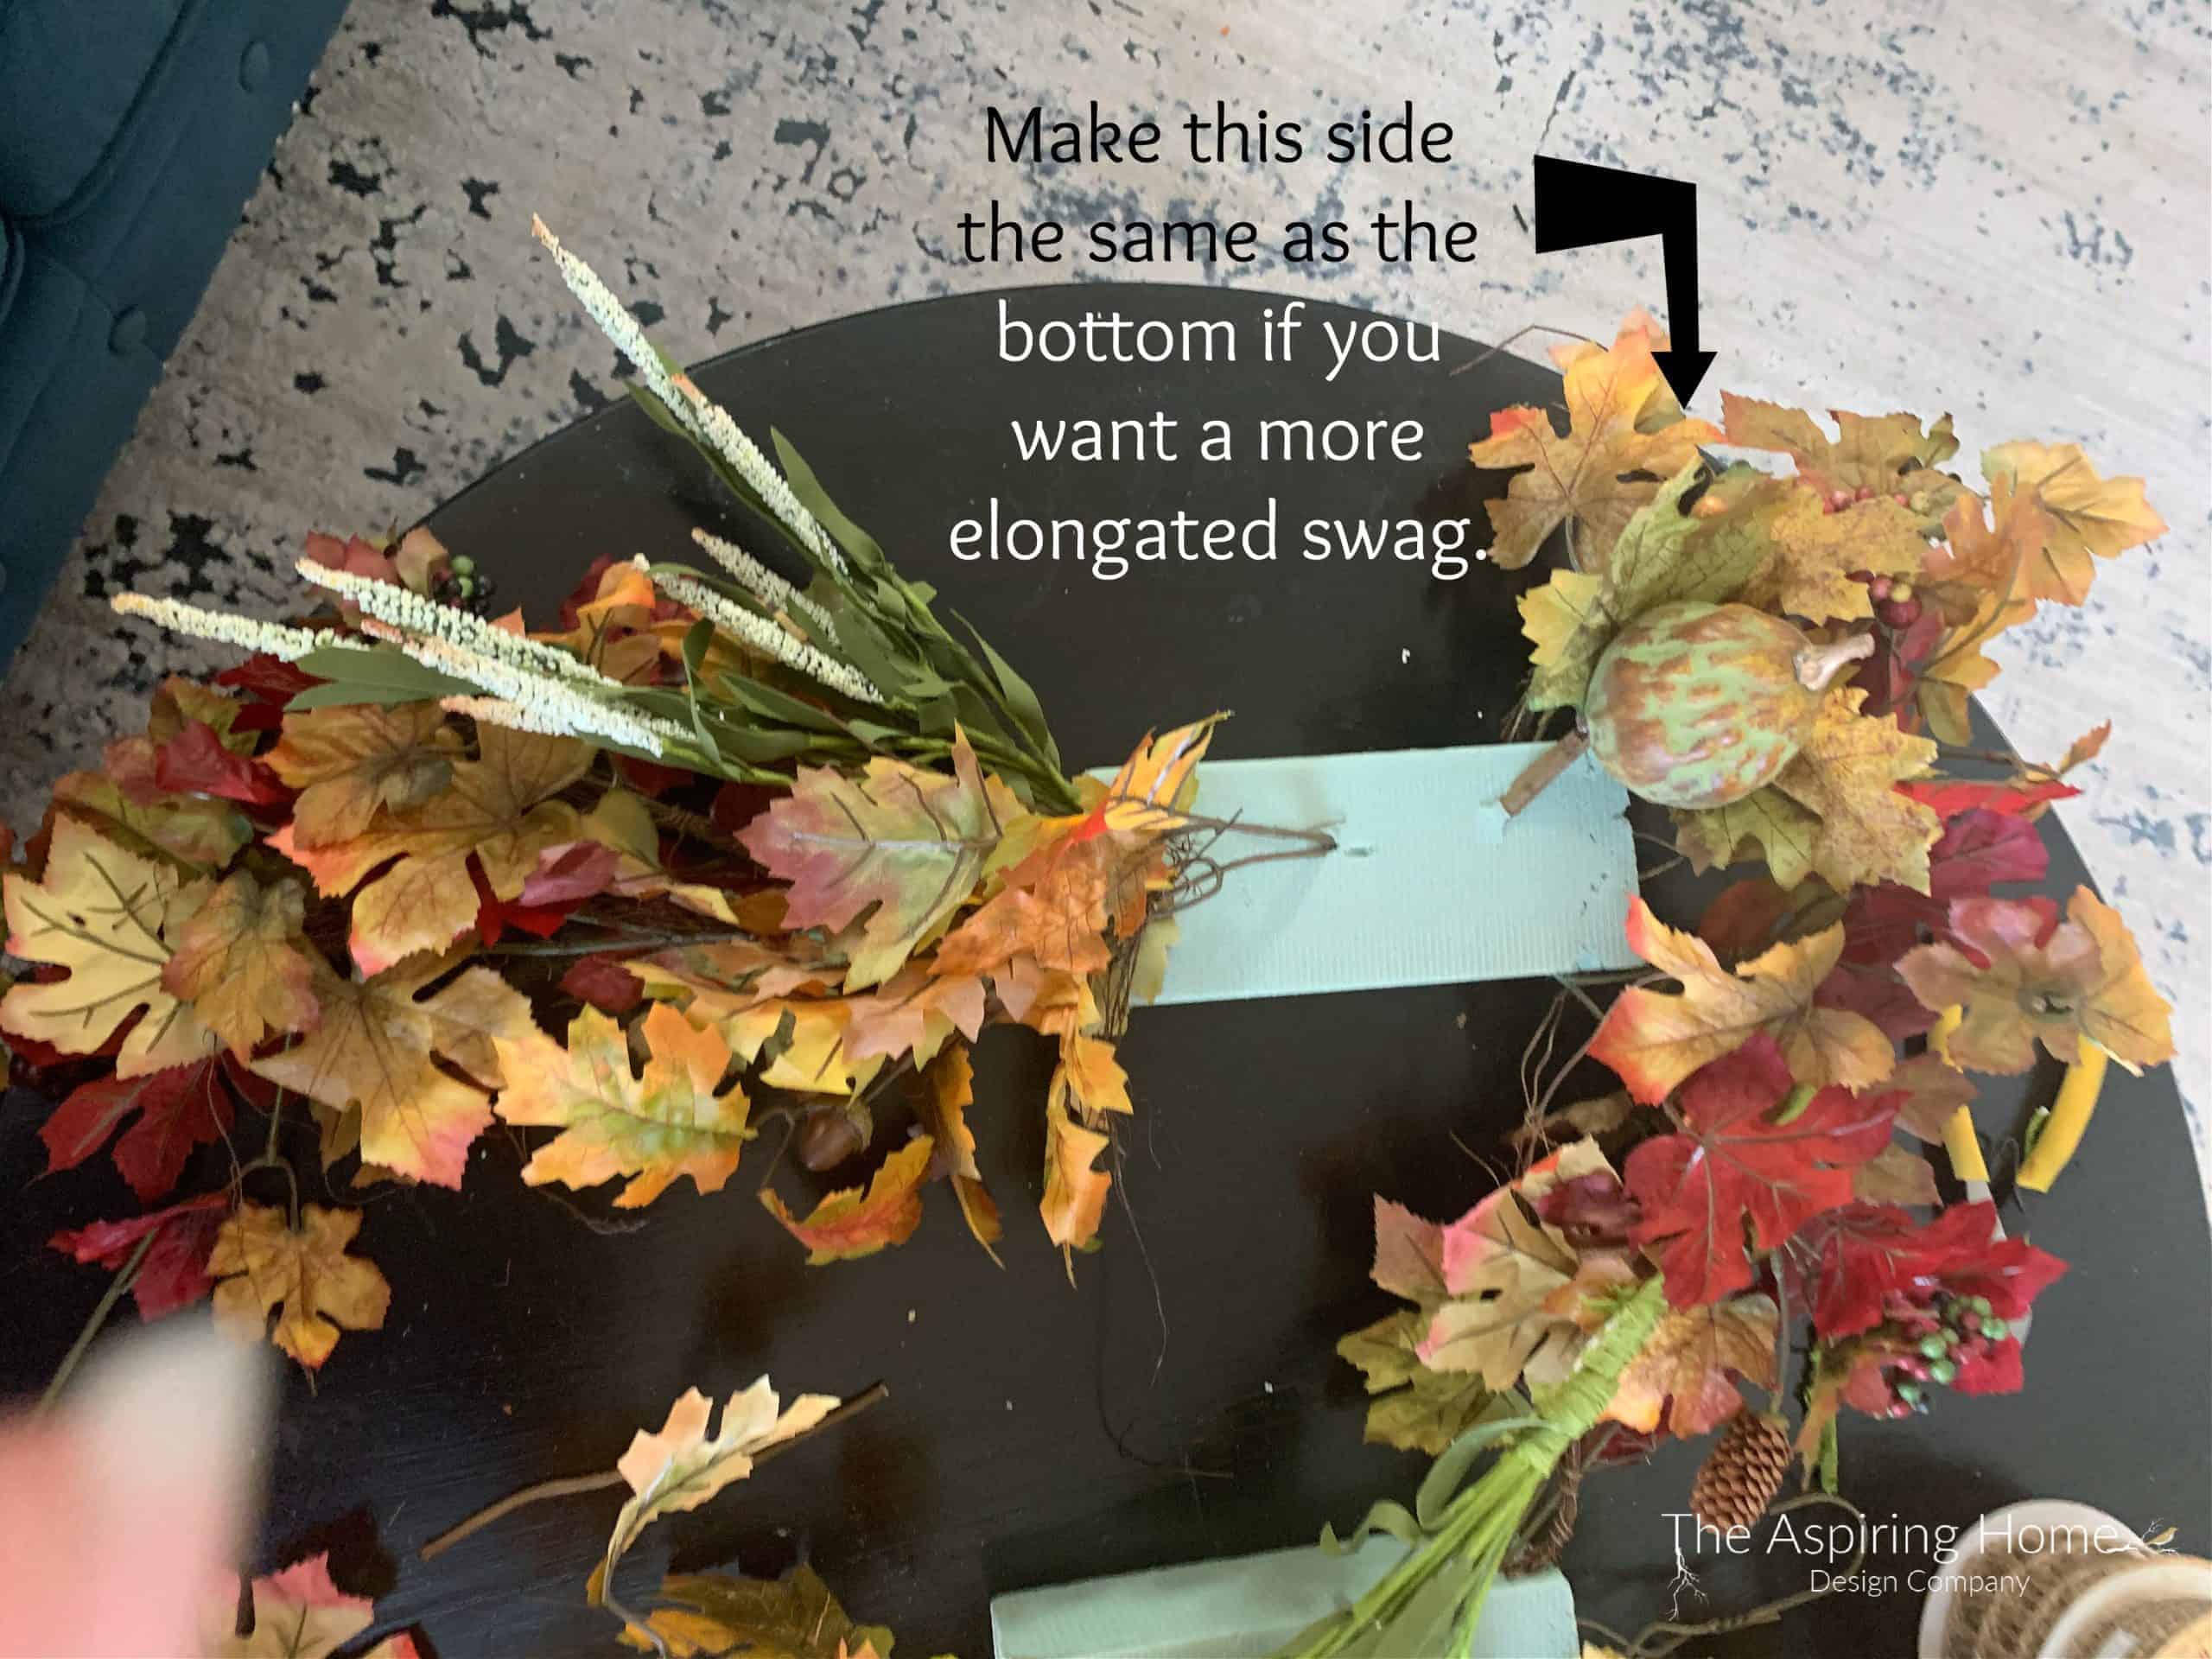
How do we get the Fall door swag shape?
To create the swag shape, take an autumn leaf stem and stick it into the bottom of the floral foam.
The further you push it in, the shorter the swag will be (I know, rocket science, here). Do the same thing to the opposite side if you want a stretched or more elongated swag.
***I decided to shorten the top of my swag because I wanted to hang it as a pair on my stairs.
Continue filling in with leaves to create the width of your swag. Then it’s just a matter of adding stems until you are happy.

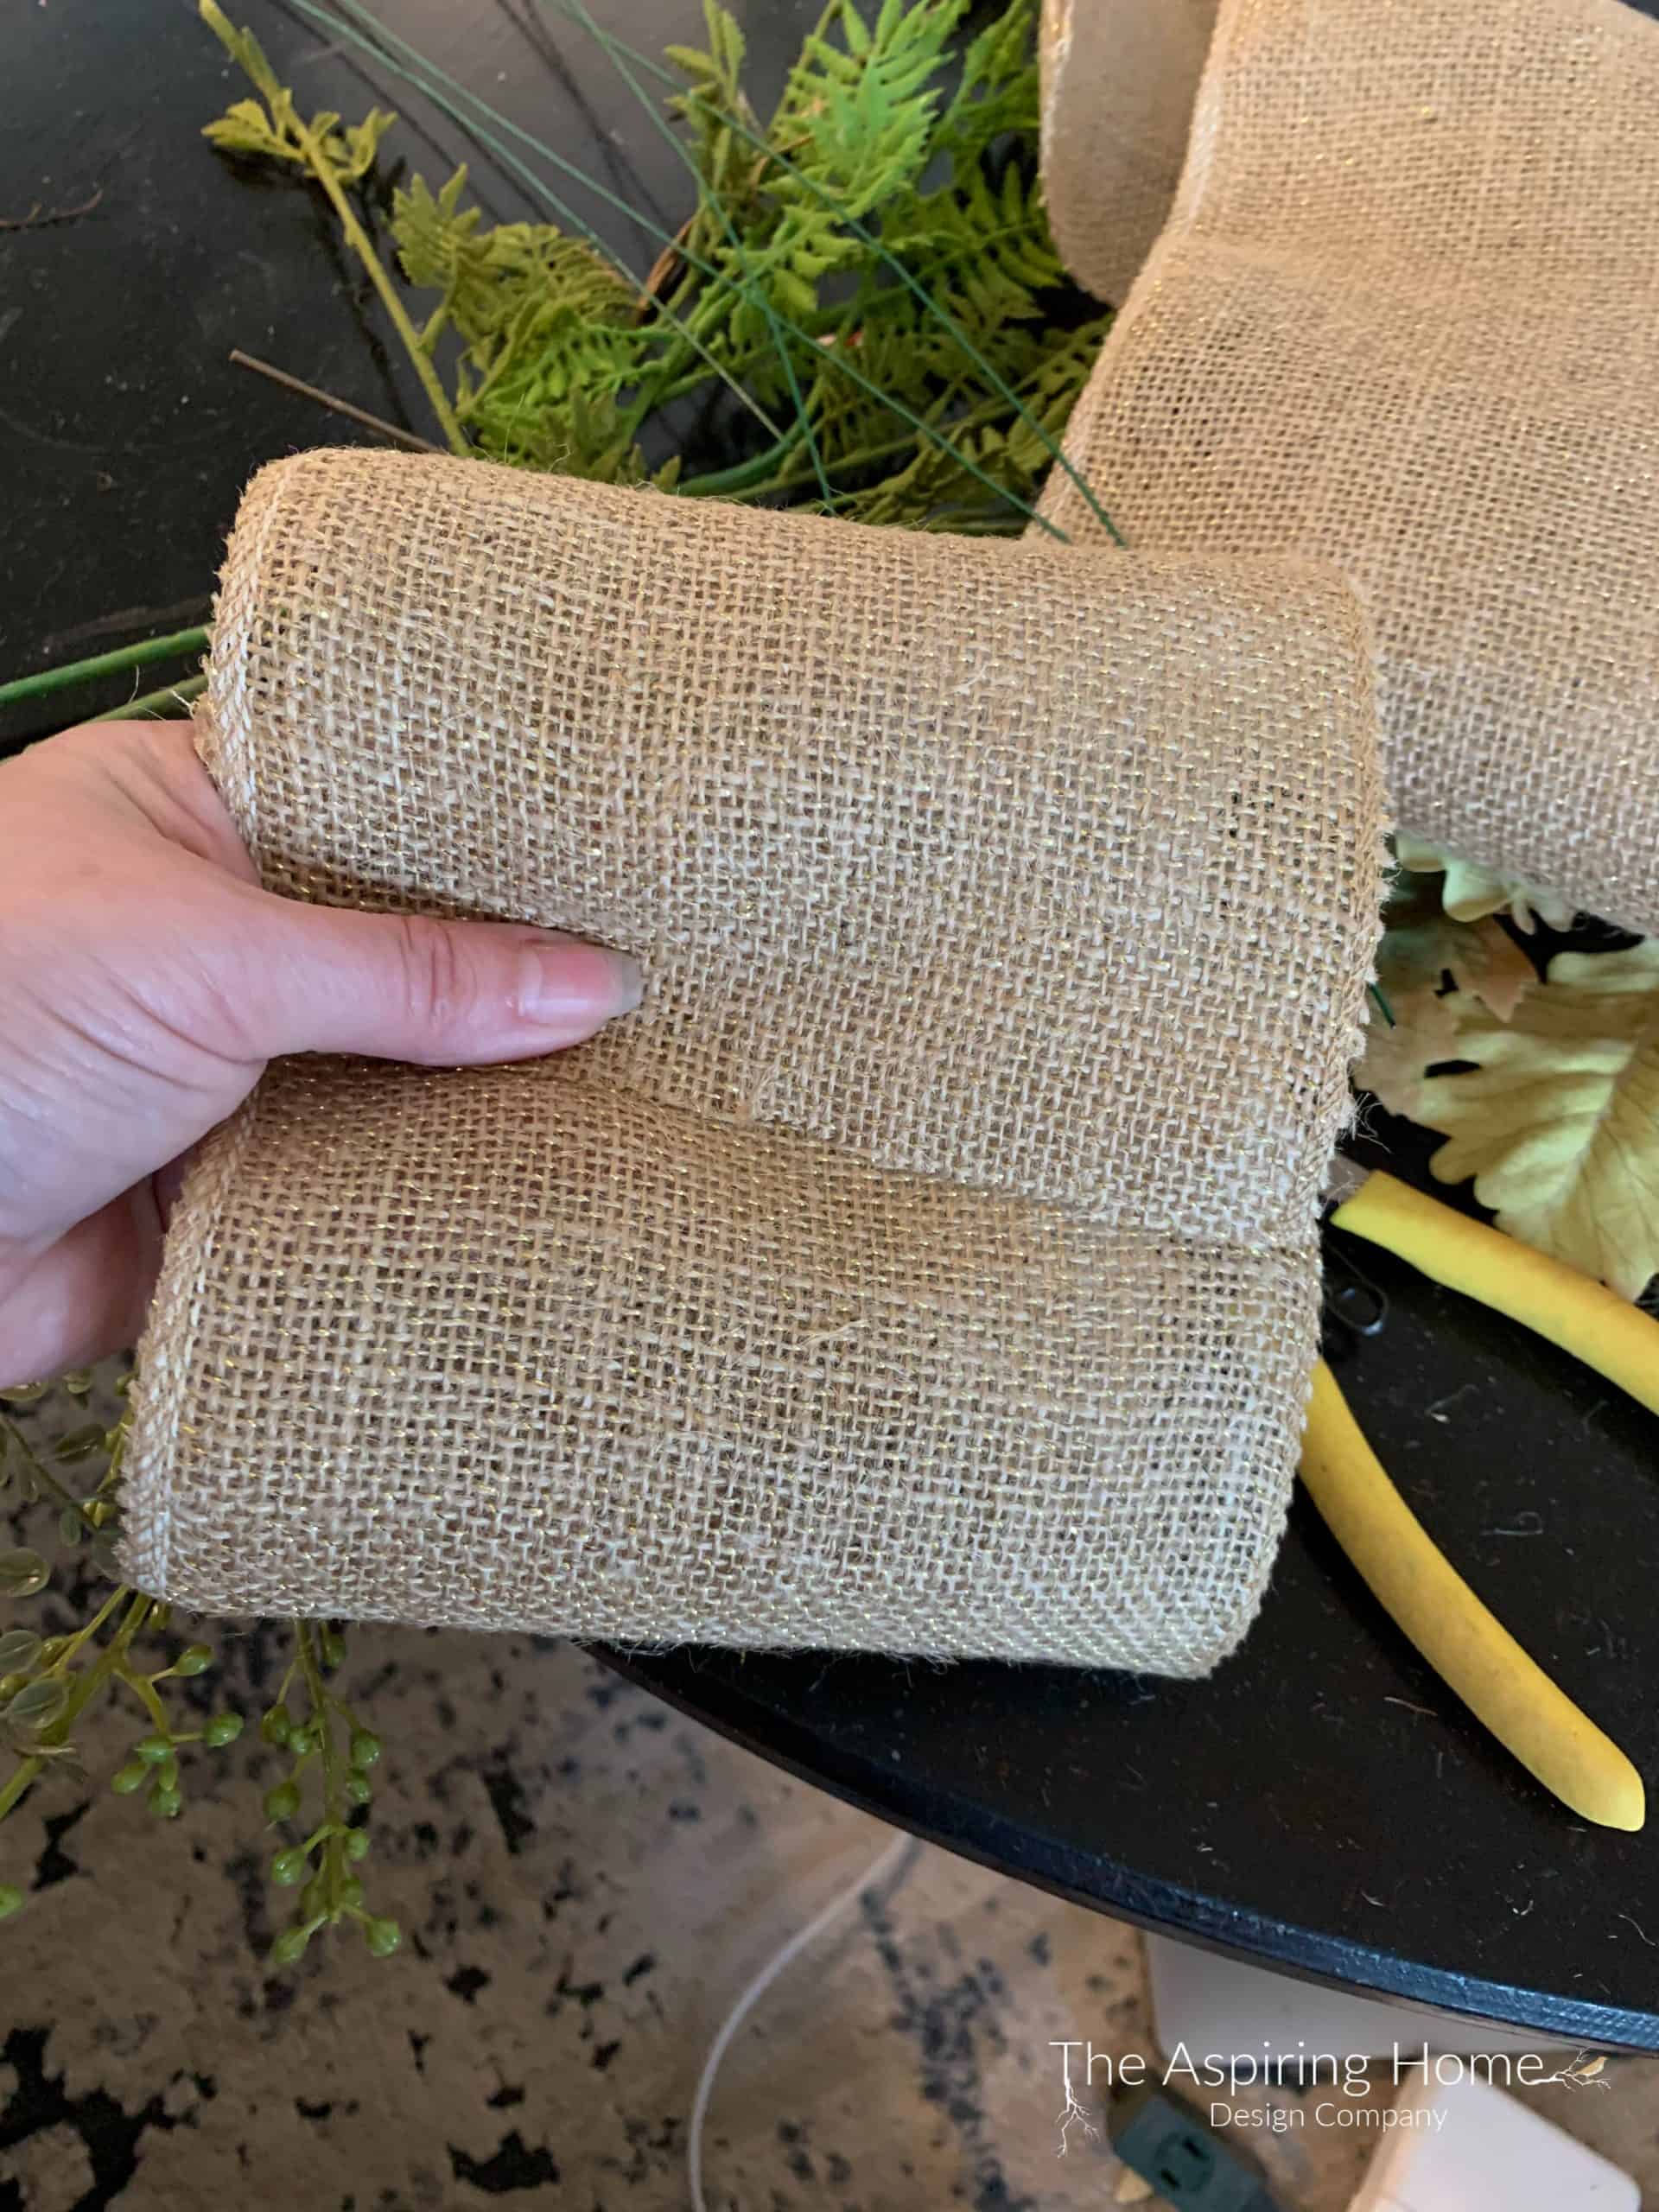
TIP: To save money on extra stems and use what I had on hand – I added wide burlap ribbon loops as a filler.

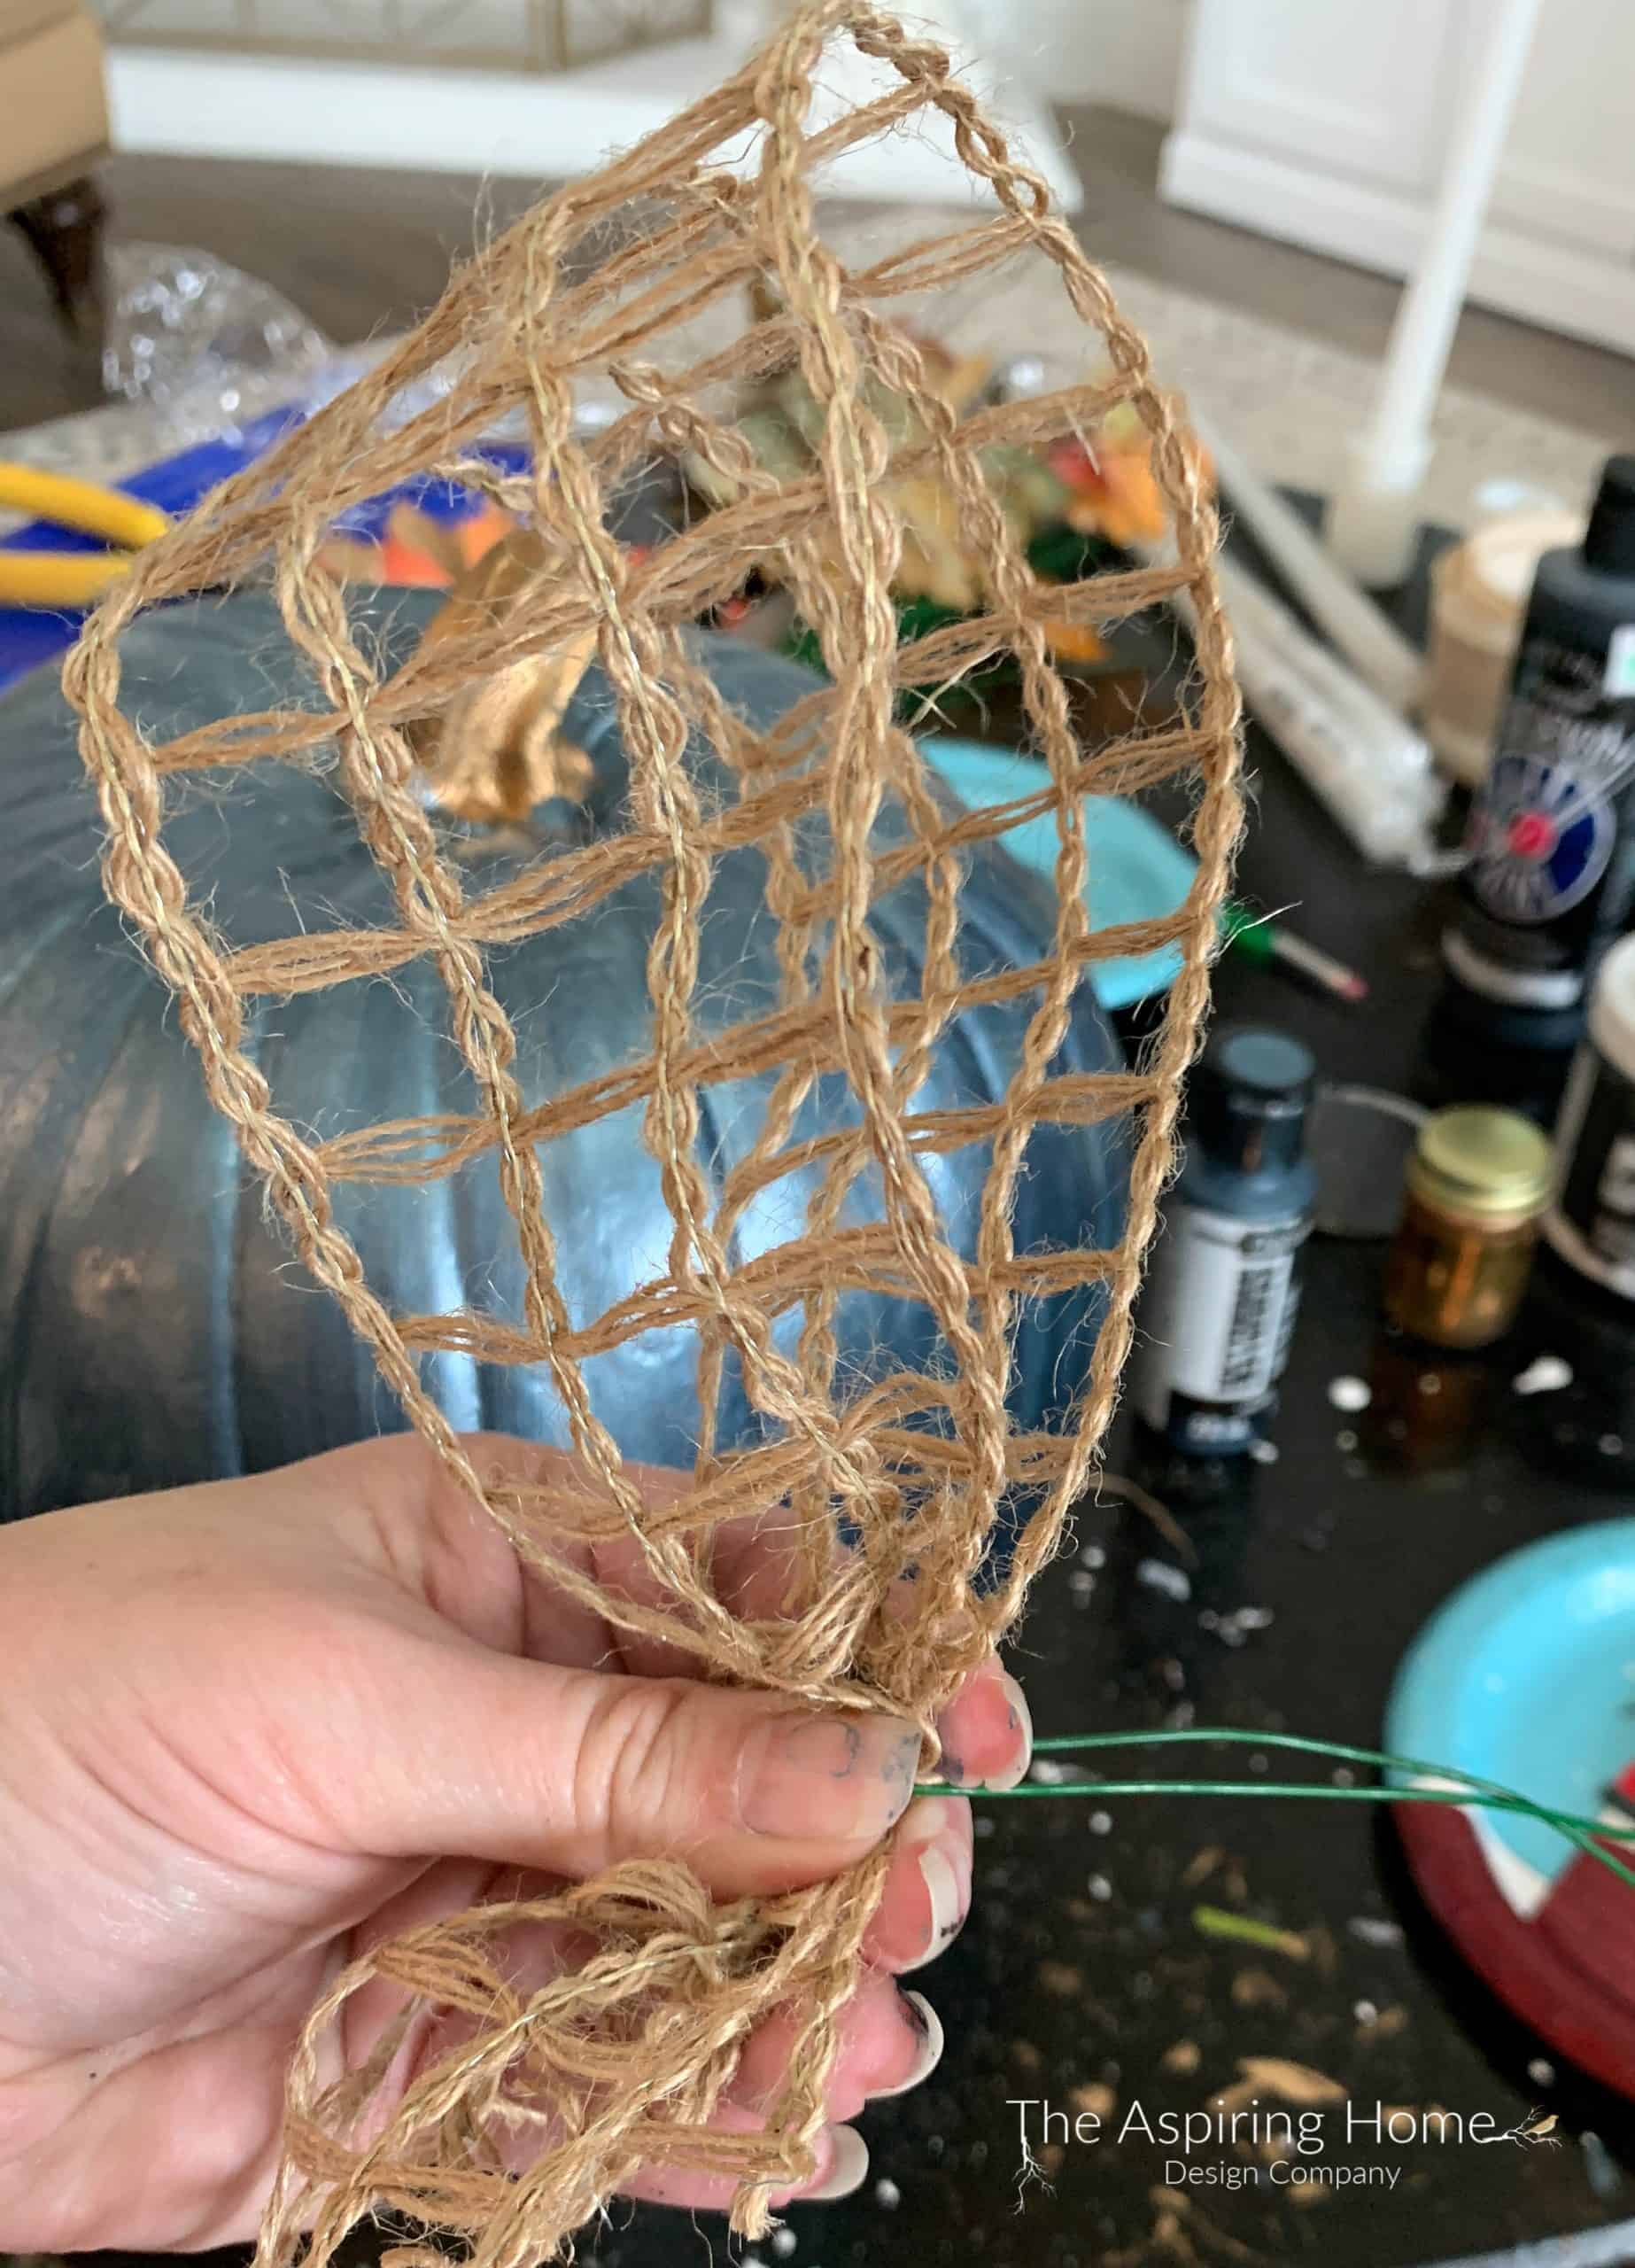
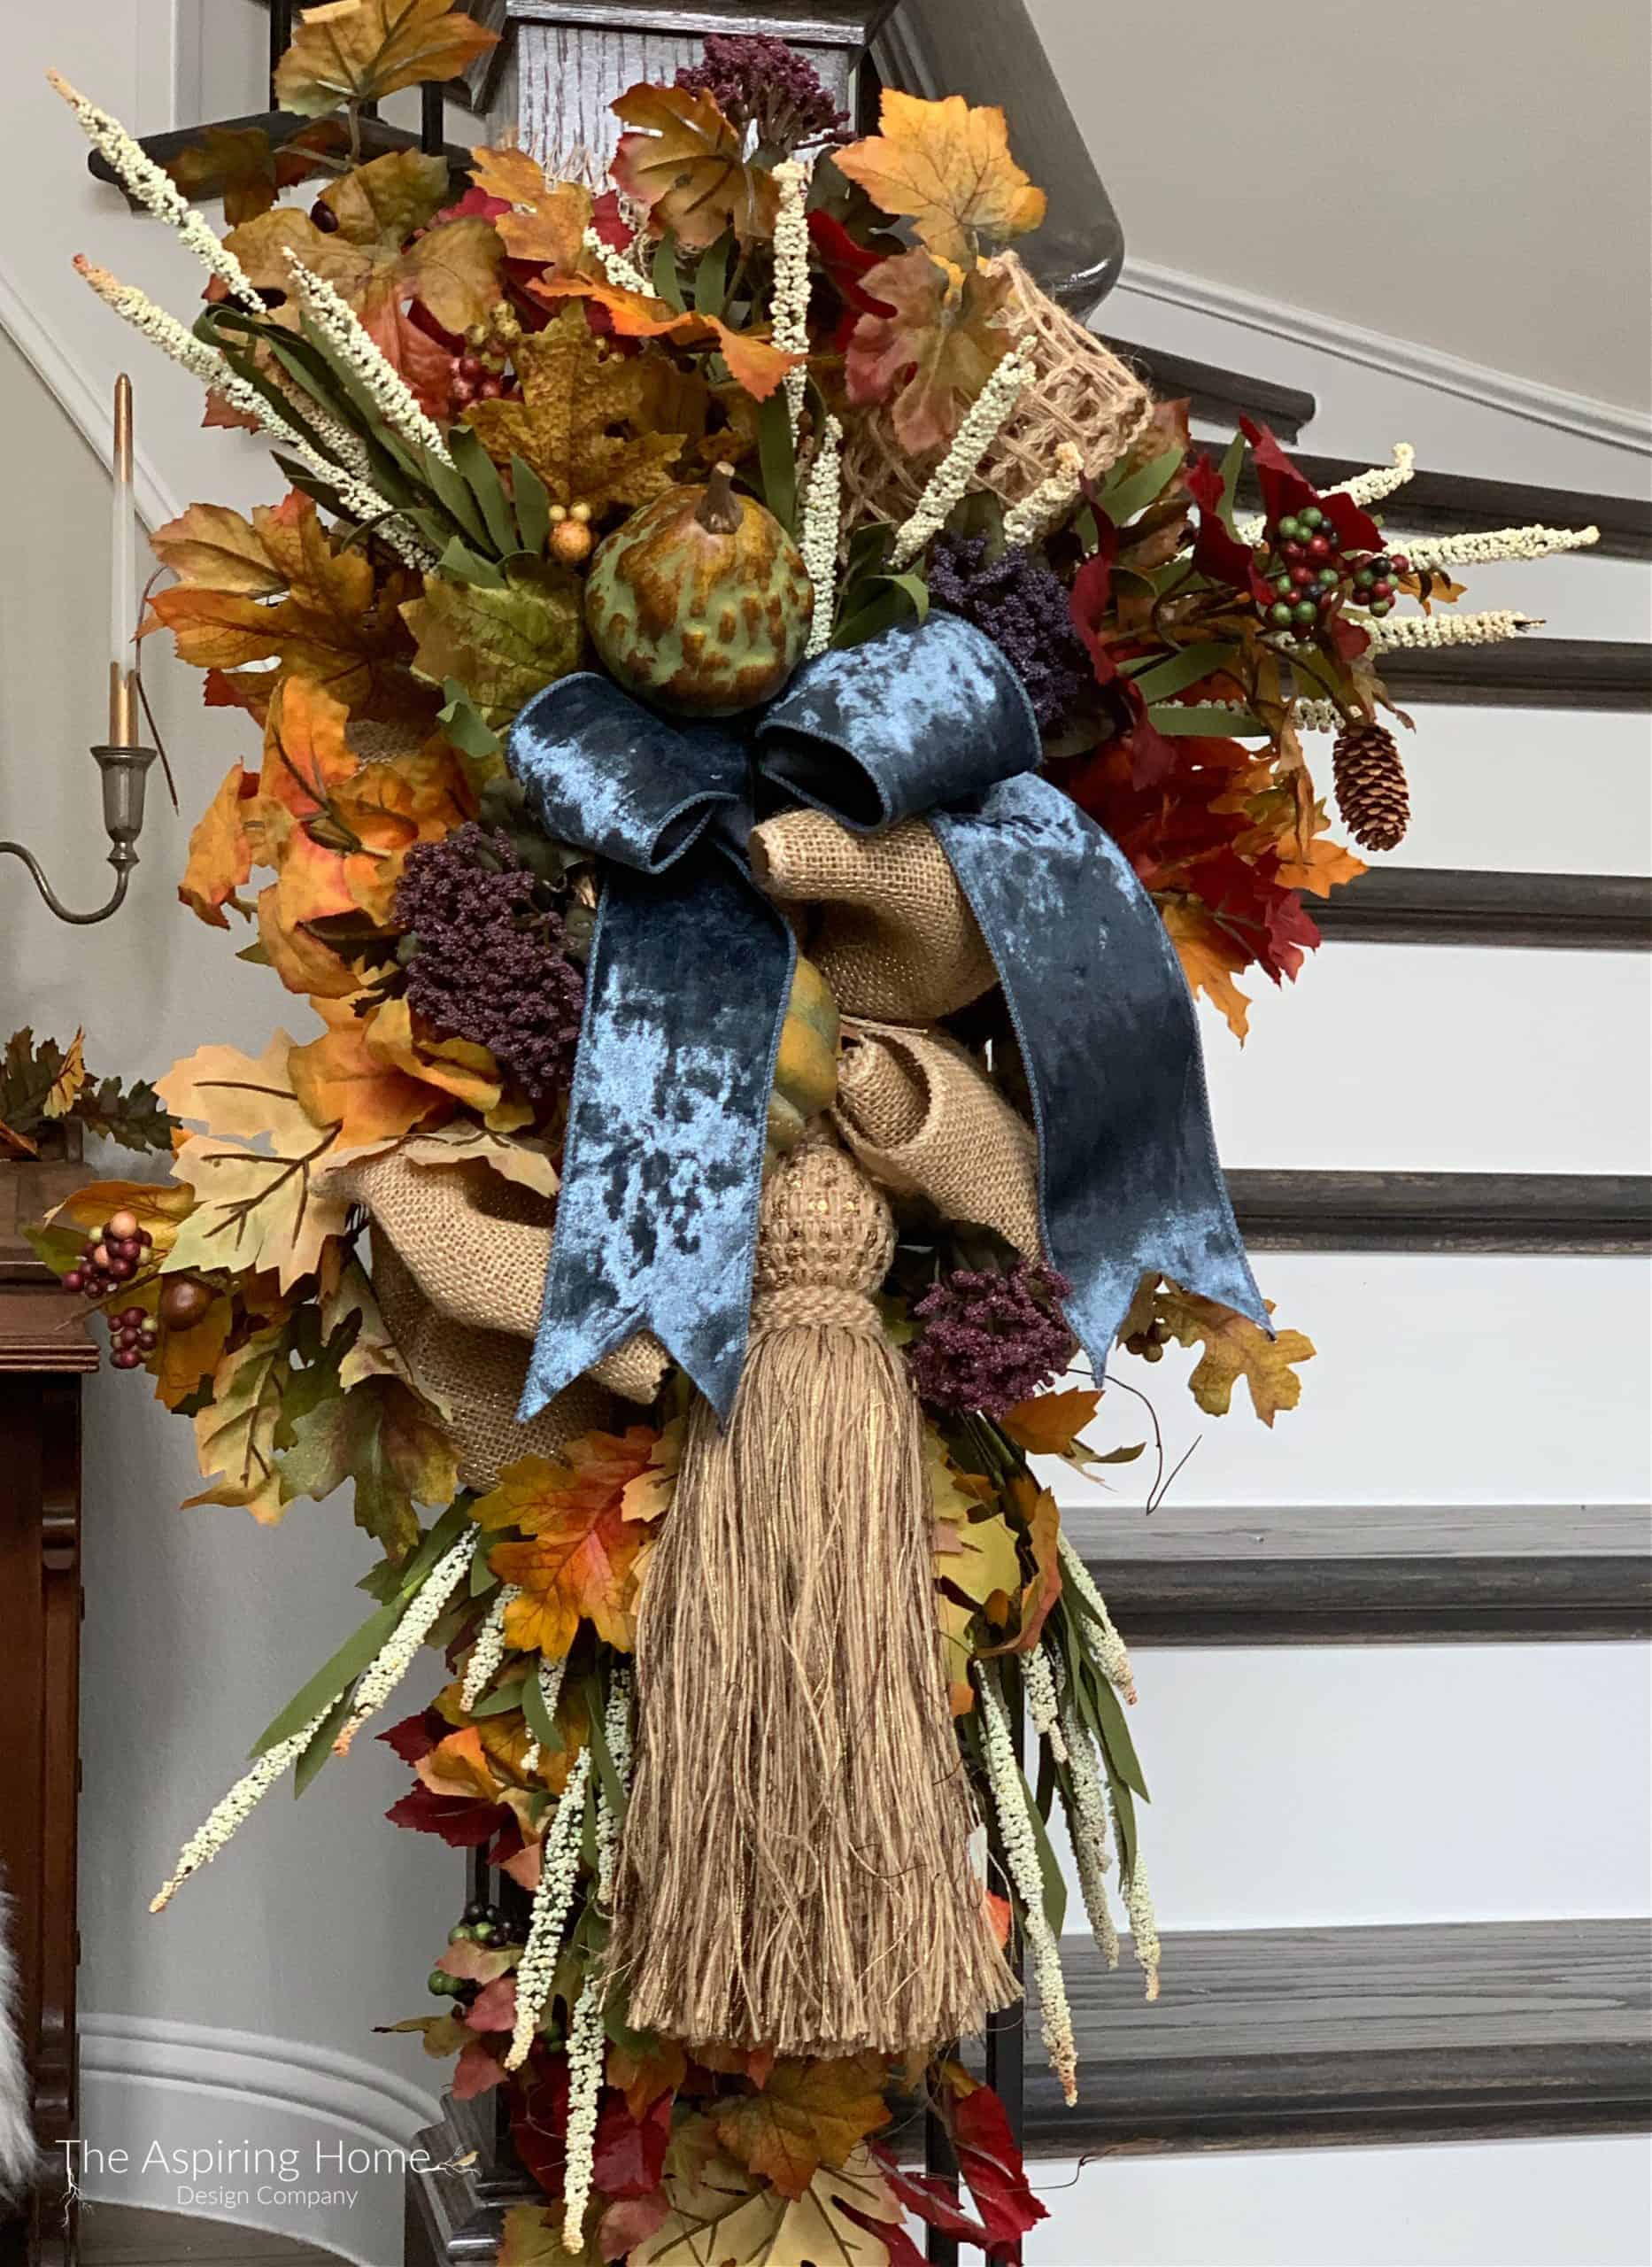
To add more texture, I added an open-weave rustic ribbon loop. I love multiple layers of ribbon, it’s one of my biggest hints when using inexpensive ribbon, layering different textures makes the ribbon look more luxe.
At this point, I hung my swags so I could easily see where the holes were and fill them. I also had these beautiful large rustic rope tassels that were the perfect accent to my fall swags, I just took a little piece of craft wire and used it to secure the tassel to the swag. Then it’s just a matter of “fluffing” leaves to hide any unsightly wire.
Our final step to complete this lovely autumn door swag? We are going to tuck in a little velvet ribbon. I chose a slate blue to “pick up” the color you see in my freshly painted small metallic pumpkin.
Find more wreath and swag ideas HERE.
So easy and a great way to reuse old fall foliage and flowers!
Want more great fall project ideas? Click Here
and if you are looking to get a head start on your spring/summer florals, check out this DIY easy orchid arrangement!
Come follow me on
Instagram: @theaspiringhome_ (click here)
and
Facebook : The Aspiring Home (click here)
Until later friends, keep creating home!


This is just gorgeous, Joy!
Thank you so much Jennifer! It is one of my all time favorites. 😊
This is absolutely beautiful! I love this idea. I was searching for ideas because I wanted to make one for my mother in law for her birthday and this is most definitely the one I am going to make. Thank you so much for your straightforward, easy to follow instructions. Beautiful! 😍