ORC 20,000 Leagues Study Details
The Challenge is complete and now I take you behind the scenes for the 20,000 Leagues Study details! This has been my favorite room to makeover thus far!
Time for the 20,000 Leagues study details! I am so thankful for all the love shown towards our study makeover. It has been a week since we wrapped it up and I still smile when I walk past the room.
As promised, I am sharing the behind the scenes details today and I will be adding the “How To’s” tutorials soon.
Let’s get started, shall we?
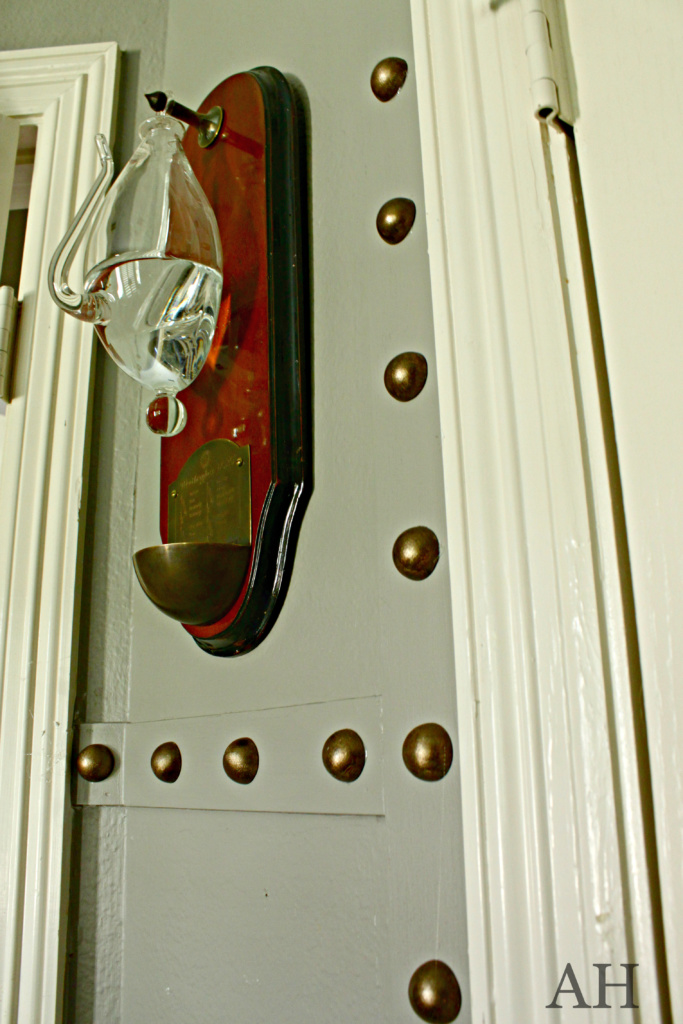
The Wall Treatment –
This was the most fun and the biggest change to the room. Without it- we would have never gotten the effect we wanted. I am so in love with it – I want to try it in other rooms or at least a version of it somewhere.
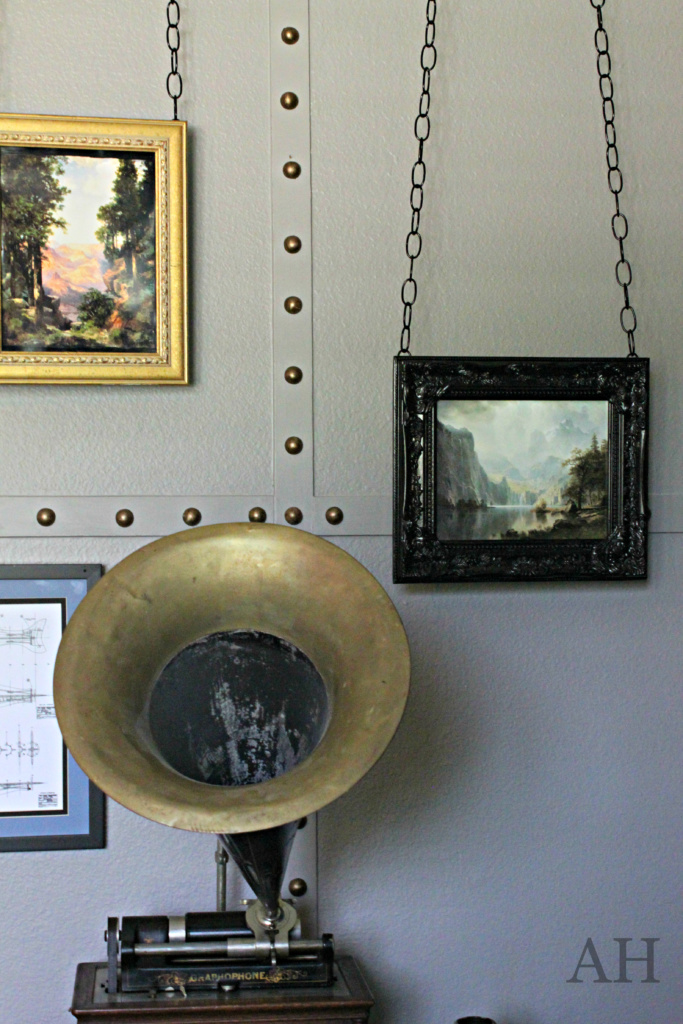
We used 1/4 inch plywood (Lowe’s) ripped down to 2 1/4 inch wide strips. It took a little over to sheets to complete the project and over 500 1-inch half round balls.
I just eye-balled the placement, so…. you may see a few “off” but I’m going to say it adds to the character of the room. 😉
The walls and strips were painted in Benjamin Moore’s “Winter Gates”.and the 1 inch half round balls were painted with Deco Art’s Renaissance Brown acrylic paint.
Furnishings-
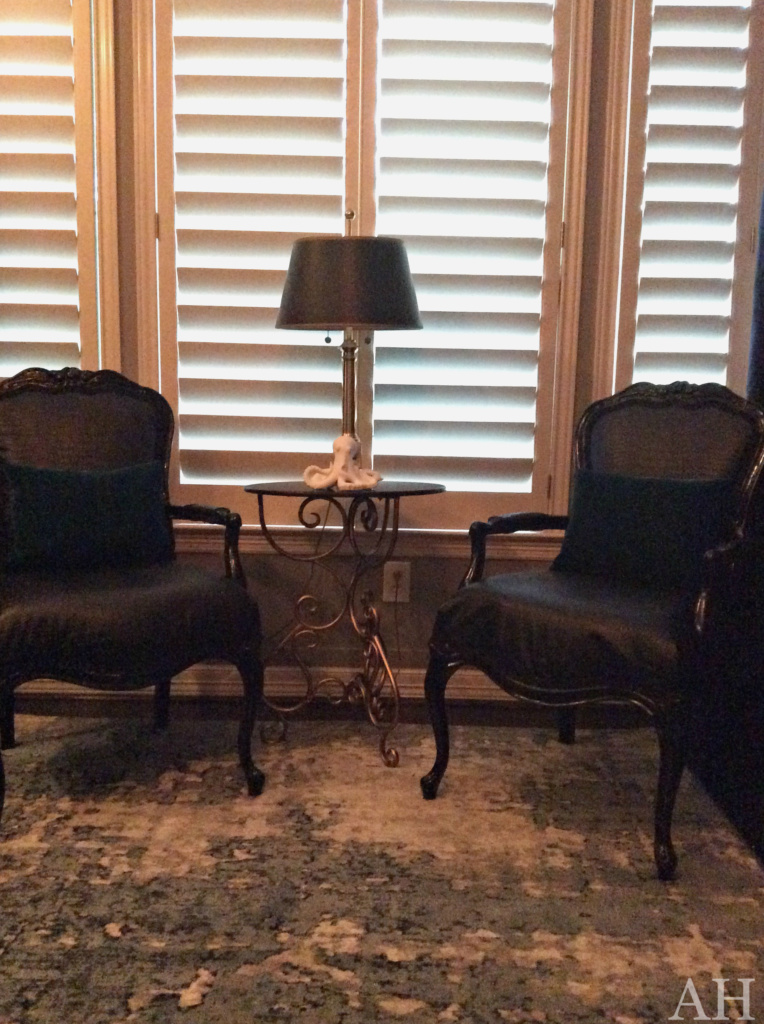
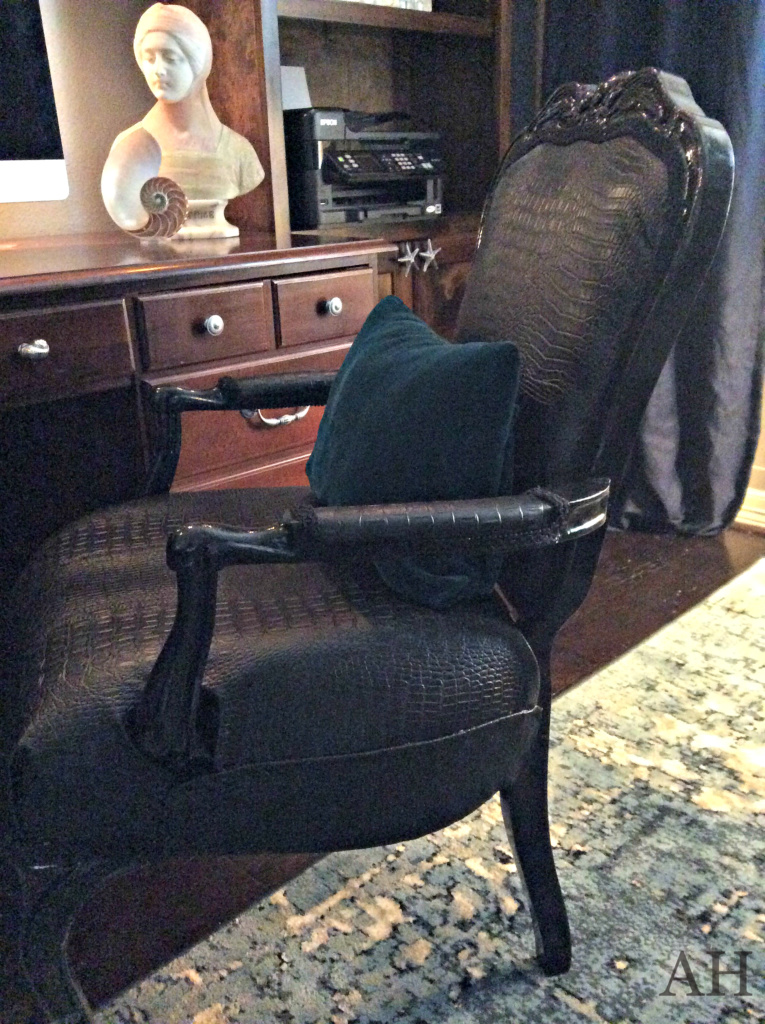
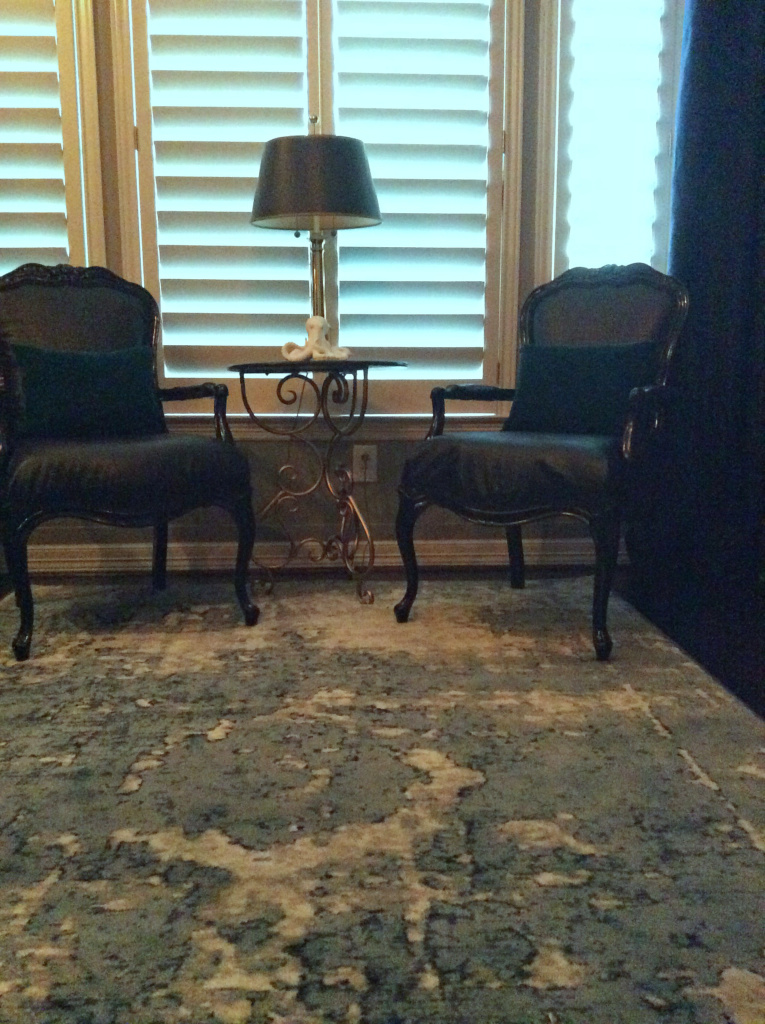
To keep the budget from going to much over the edge – I reused the two beautiful chairs that were kinda sitting idle by upholstering them in faux alligator.
To save some cash – I did it myself. If you follow on Instagram you are aware of the amount of time it took but I am super happy with the outcome and I will share with you how I did it.
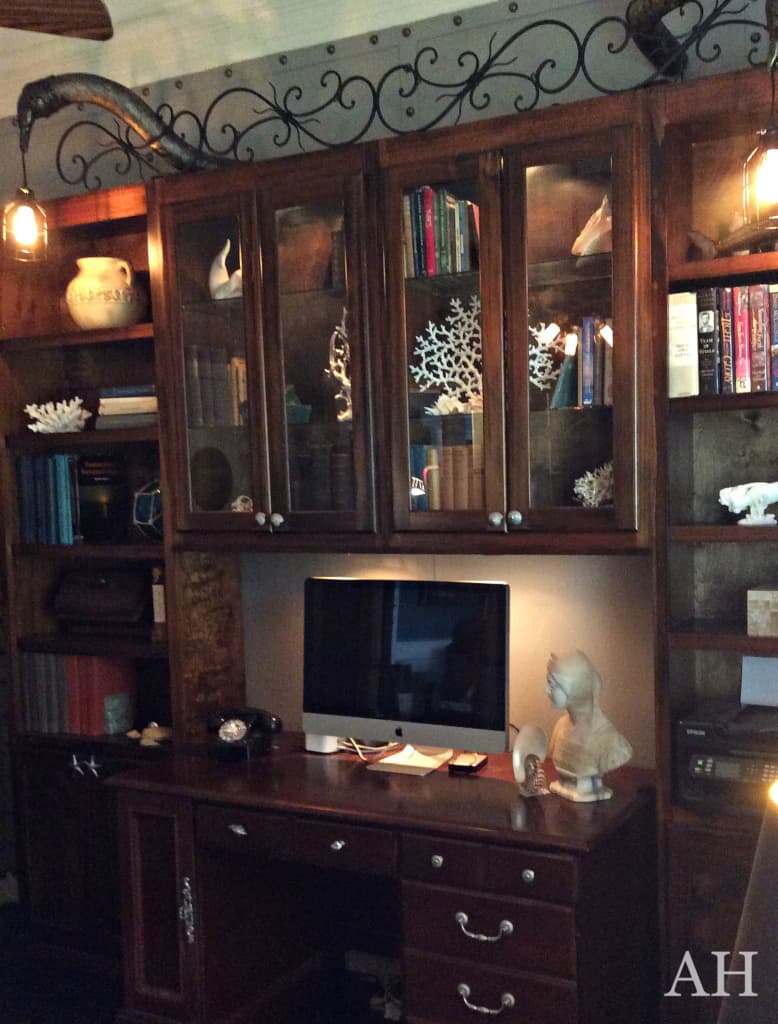
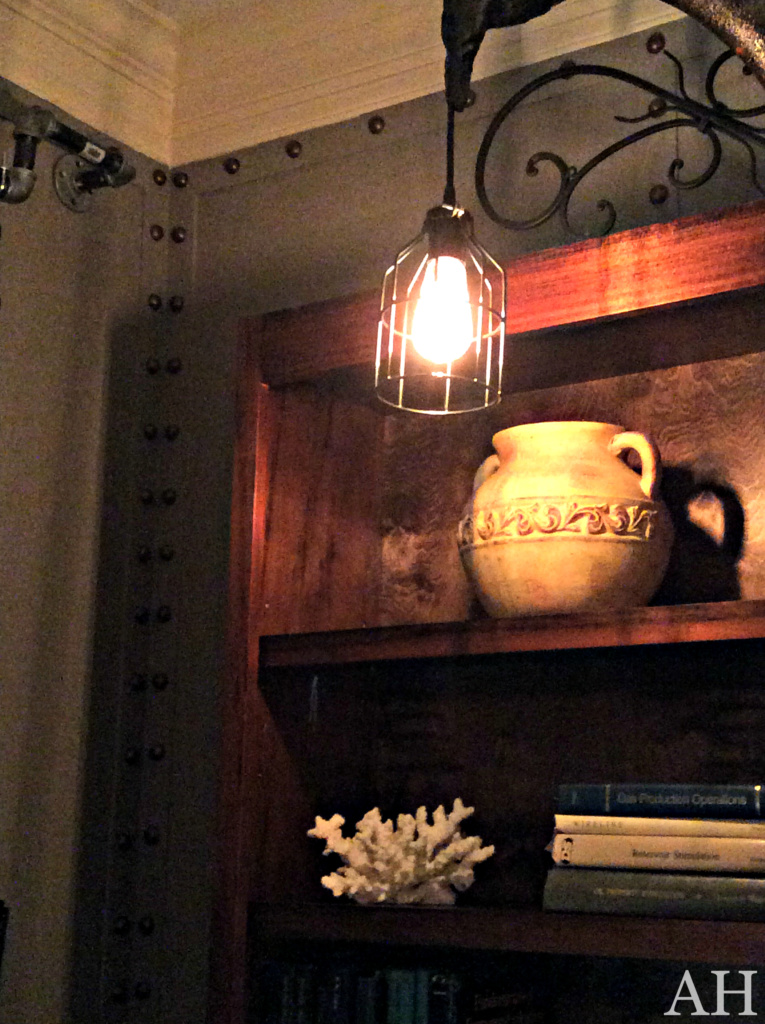
The bookshelves were already in the room and I just reworked them to make sense.
Next I found iron wall pieces (Hobby Lobby) that reminded me of waves and thought they would look clever on top of the shelves and they would help hold the Octopus tentacle sconces in place.
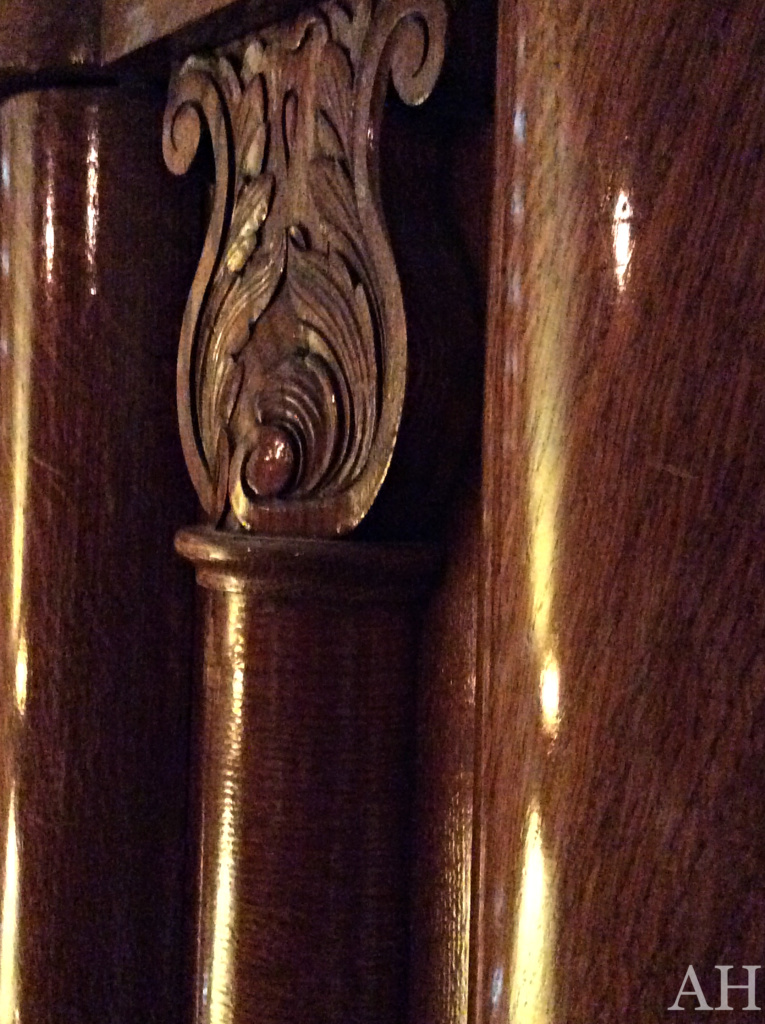
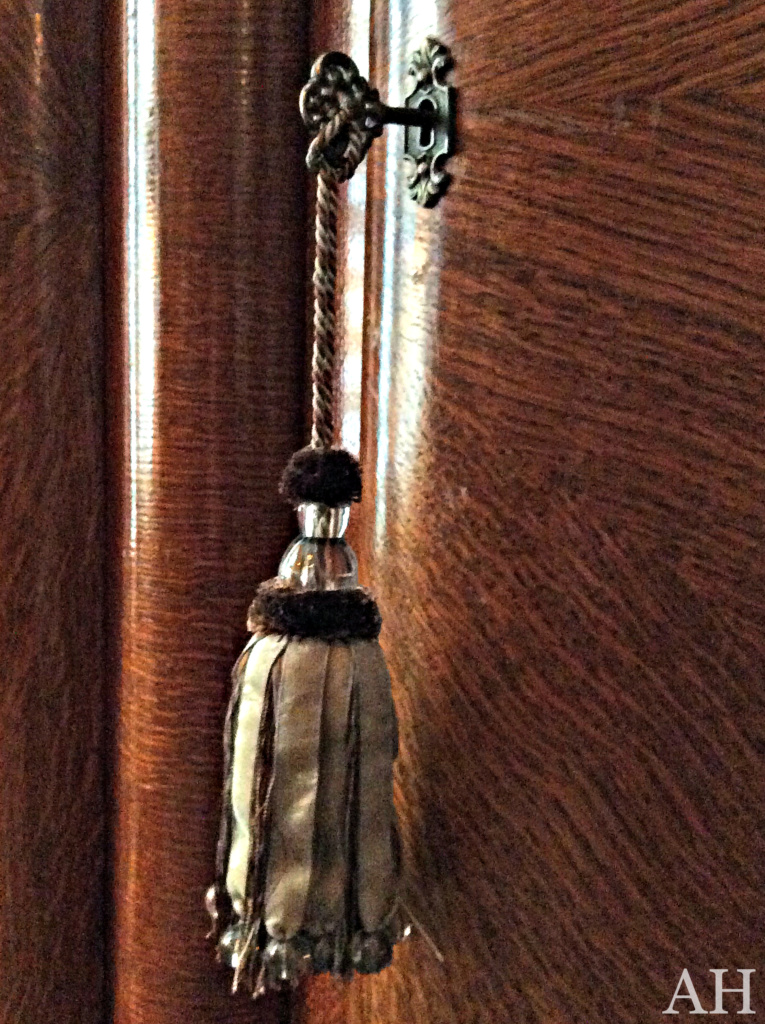
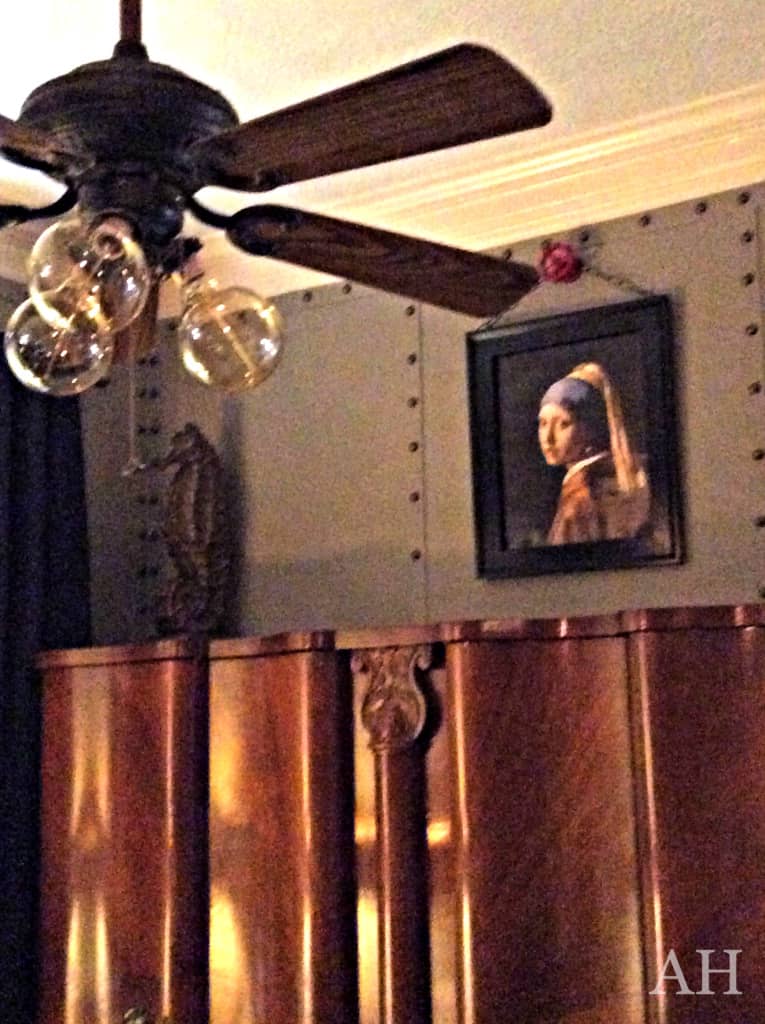
The armoire was a gift from my hubby 23 years ago. It seems that it has finally found it’s home in the new study.
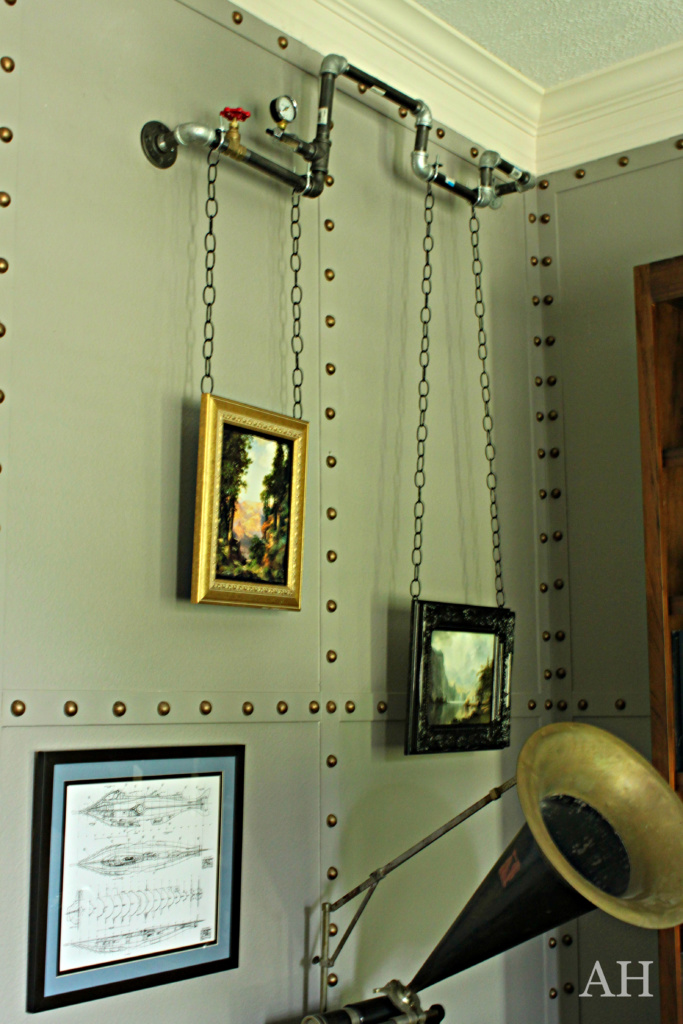
My gate leg table from the 1920s worked well to hold the 100 plus-year-old wax cylinder player.
Accessories-
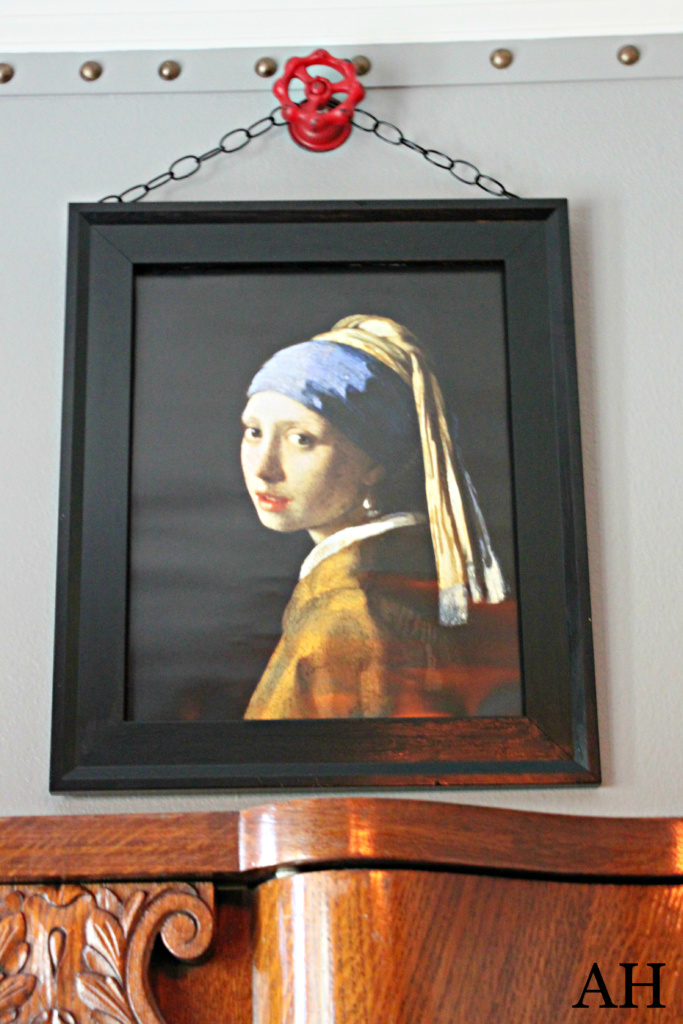
The artwork came from Allposters.com and Amazon.
The frames were from my leftovers collection of unused frames.
Ordinary picture hangers just wouldn’t do for a Captain Nemo inspired study… so a little bit of chain from Home Depot and my trusty staple gun rendered a captain worthy gallery.
I will be adding to the collection of art as I find frames to fit the pieces.
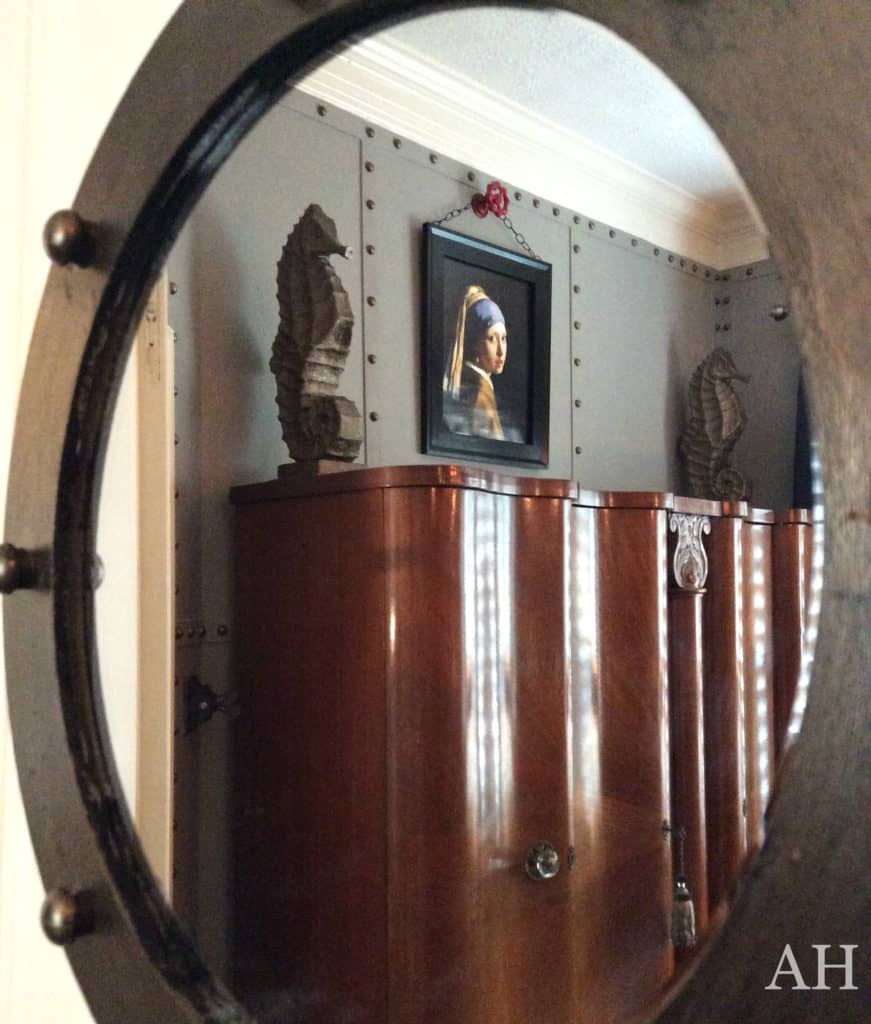
The handle holding the famous “Girl with Pearl Earring” is a knob from Hobby Lobby.
Oh! and since matting wasn’t cost-effective I just simply painted the white edges of the art pieces and “created” a mat.
Now Captain Nemo would have had priceless works of art hanging but portraits of my hubby’s favorite hiking spots were more in order for my Captain Nemo wanna be. 🙂
The pipes were one of the more expensive items for this project and thus I will be adding more as money allows. My son and I had fun figuring out the right concoction for the wall. 🙂
You can grab these at any home improvement store – we went to Home Depot. Every submarine should have its schematics posted, right?
Of course, what would a 20,000 leagues study be without paying homage to the giant octopus?!? Say hello to my sconces!
They started out at pool noodles and ended up as light-bearers. I will be adding clay to create more depth to them and will share the process in the coming weeks.
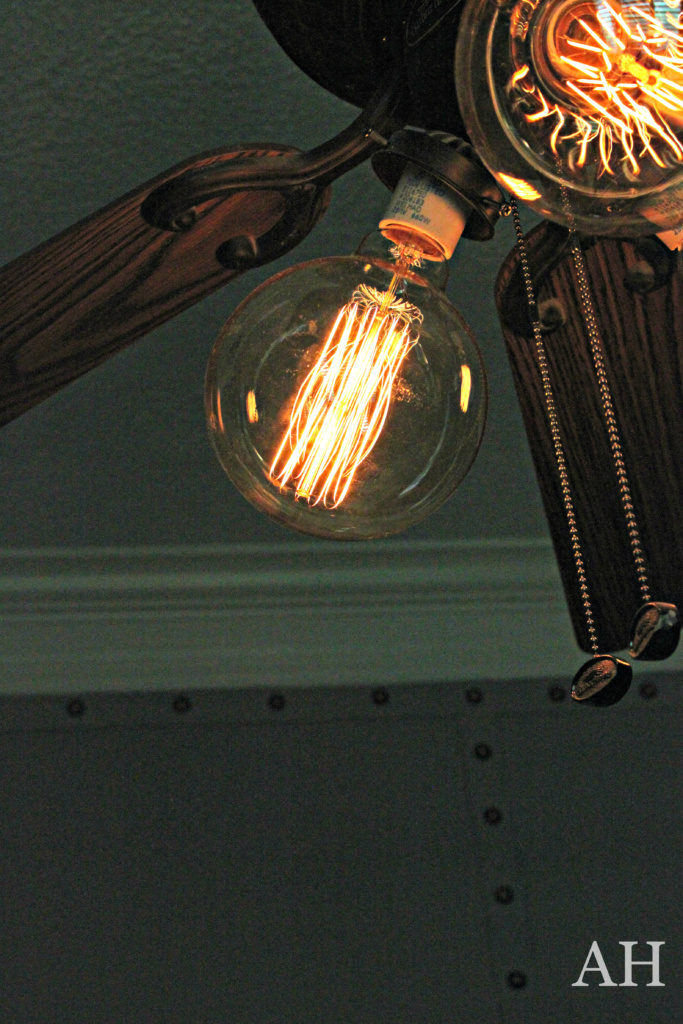
The fan was already present in the room and I didn’t have the heart to spend good money when this one worked great.
My solution? I took off the old shades and simply added large round Edison style bulbs from Home Goods. Voila! updated fan.
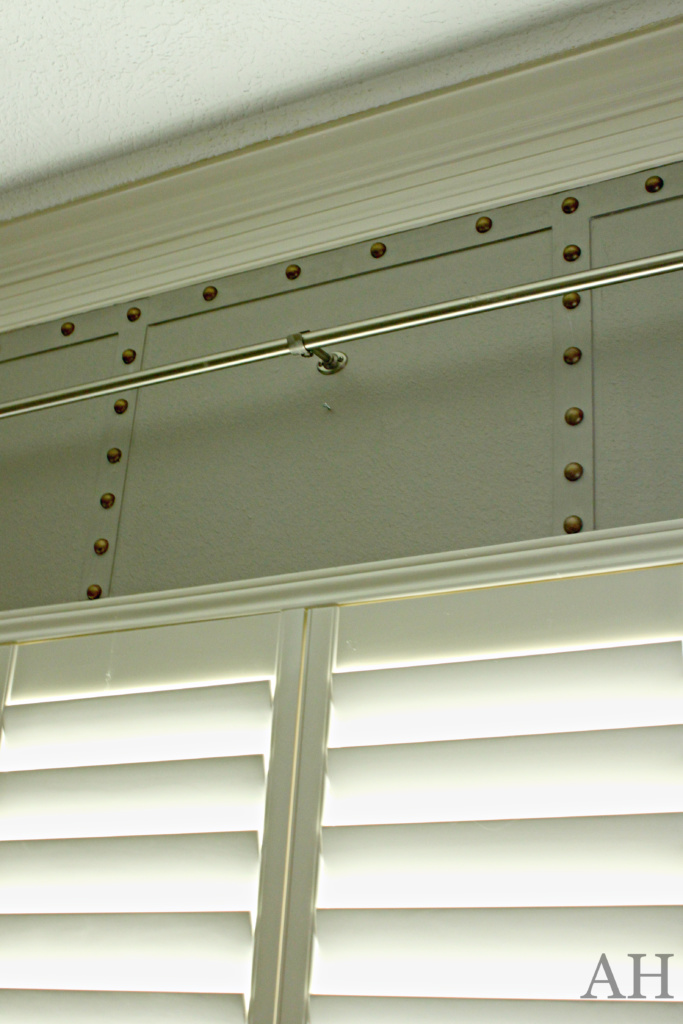
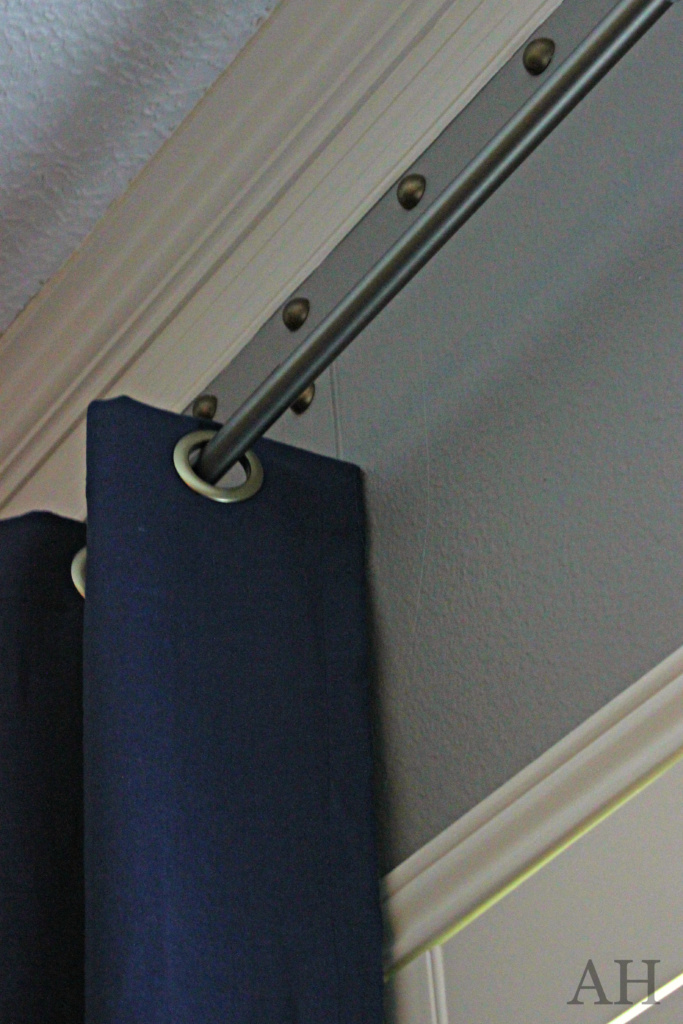
I had thought super hard about buying velvet curtains to keep with the theme but decided to turn to my closet full of stuff treasures and found a bolt of navy blue linen.
I have such fond memories of this bolt- when I lived in So. Cali, my friends, and I would venture down to the LA garment district and hunt for fabric gems.
I knew I needed fabric years ago and I am glad I finally found out why. It is perfect in the room! Just the right shade of blue to complement the room.
I chose to do a modern style grommets to balance the old world and the new. I brought the velvet in via chair pillows.
I just adore the teal velvet.
The rug is swoon-worthy. Beautiful to look at and oh so comfy to walk on. I just love it. I found it at Amazon via Rugs USA.
It was a gamble – I didn’t open the rug until the moment I put it in the room… sometimes you win my friends.
And sometimes you lose with photography… the picture just doesn’t do it justice.
The little end table was a find a few years ago from Kirkland’s. It was in a bedroom but didn’t really feel at home there- I think it found its place in the study.
Of course after a little paint update. Rub n Buff in gold let this ol’ girls curves shine through.
As much as I wanted to have a real porthole added to the closet door…. it just wasn’t in the budget. Perhaps in time, we will find one that can be refurbished along with a diving helmet.
In the meantime, I created a port-hole by using a particle board wreath form from Michael’s Crafts, small wooden pegs, and round mirror (for candles) from Hobby Lobby.
I will be back with this simple tutorial as well, and I’m going to show the process on another project.
The lamps, books, oil field paraphernalia and shells were part of the family collection.
Well, that looks to be about it for the details! Thanks again for all the good vibes. It was a really fun challenge.
Even though I was almost too late – okay I missed the Thursday deadline and slid in just before the link closed – I love this One Room Challenge Idea.
Bring on October!
I THINK I know which room will be next!
Keep creating home my friends,






I adore the wall treatments you added to your office. They really make the space!!! Might be a fun addition to our sons room when we create a more grownup space for him. 🙂
The walls are fantastic! I’ve been stumped with what to do for my 12 yo son’s big boy room. Thanks so much for the inspiration. Love the whole shubang. How did you attach trim & half spheres?
I agree, the detailing on the wall is the best part of the room. And I have never seen it before on any other blog either! The whole rooms looks just great!
Thank Nicki! I am so happy you like it!