Easy Hand Embroidered Bunny Kitchen Towel DIY
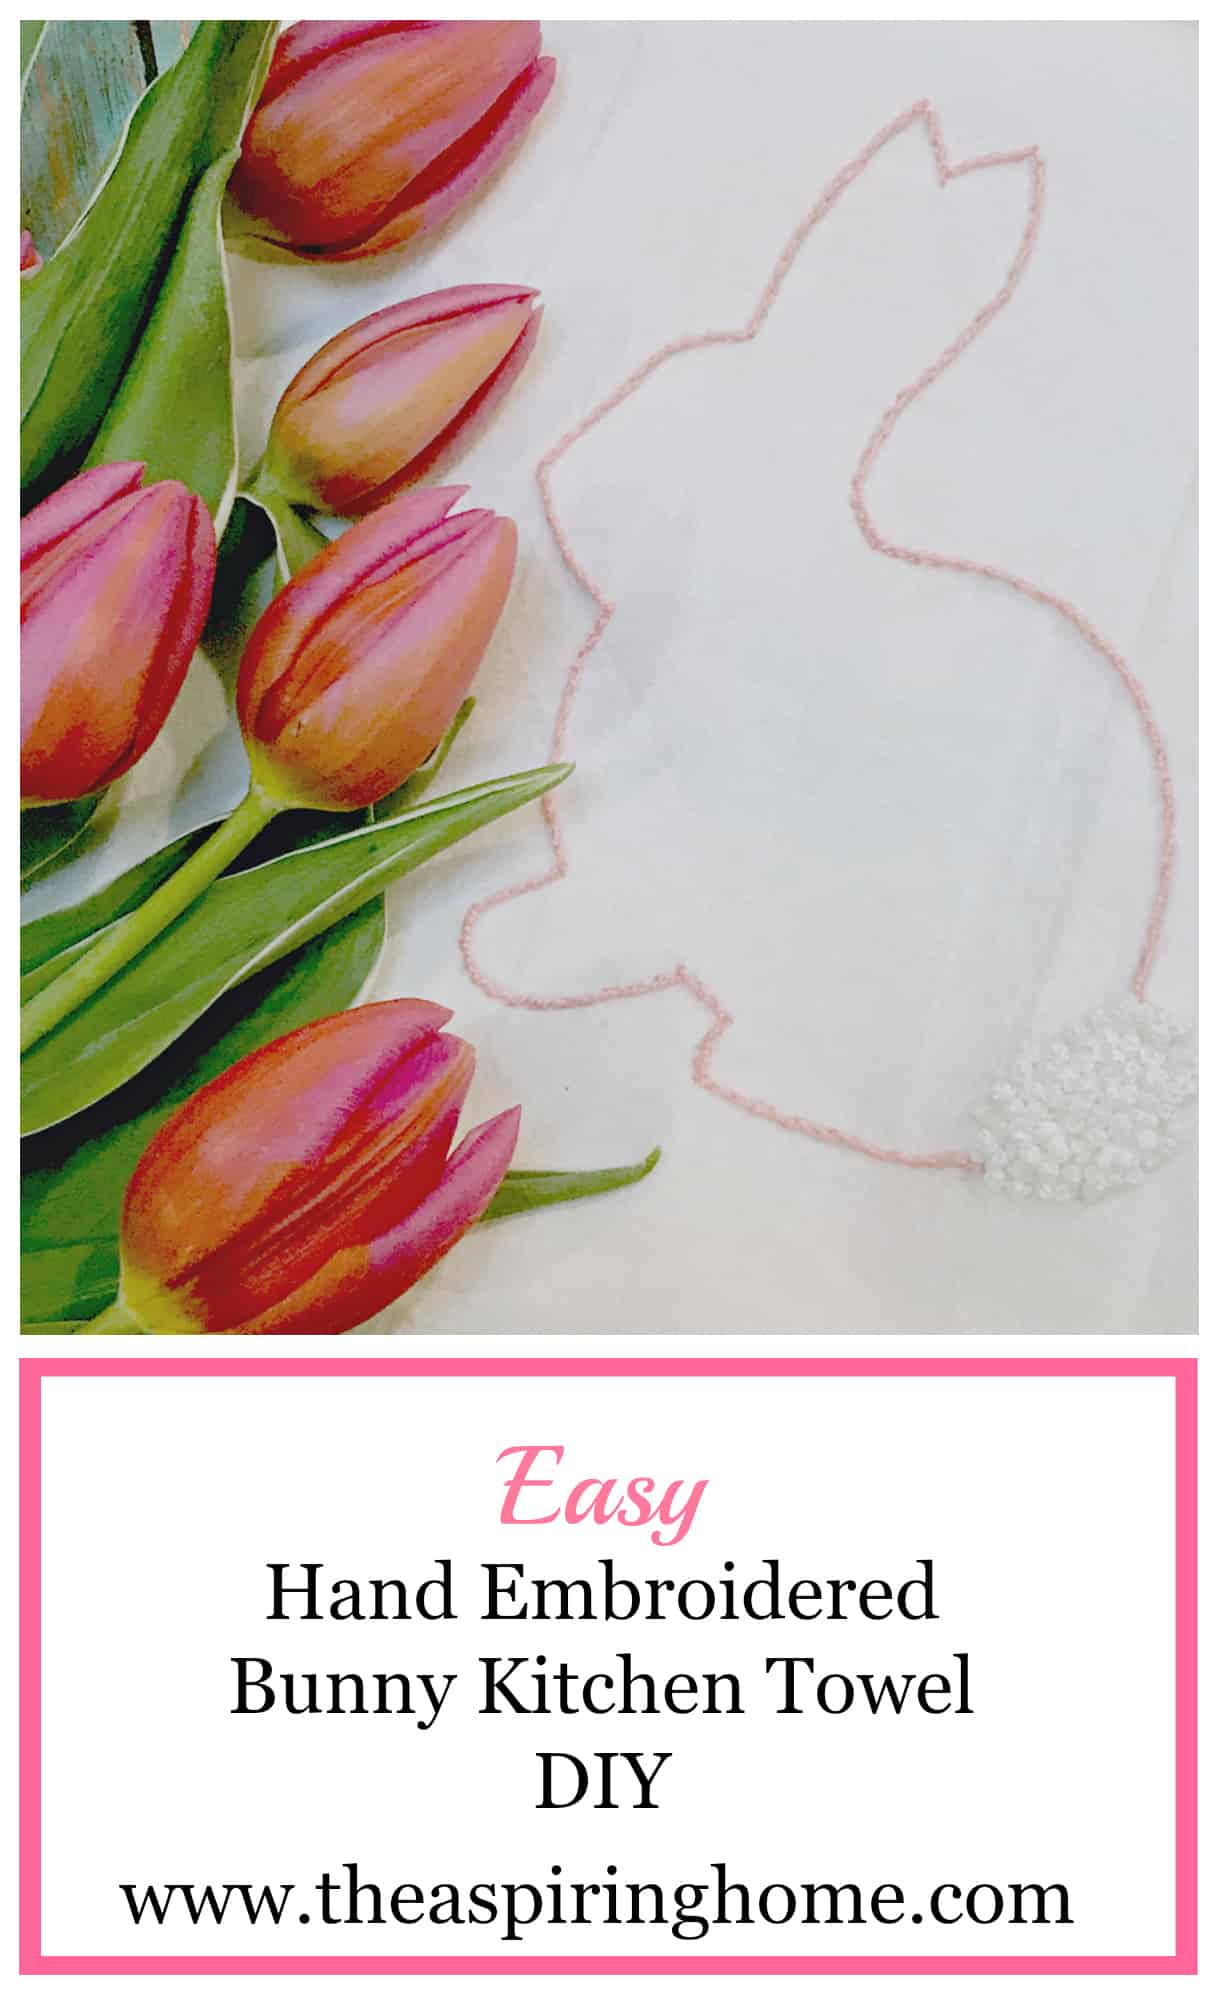
Learn how to create an easy hand-embroidered bunny kitchen towel in just a few hours! So much kitchen cuteness awaits!
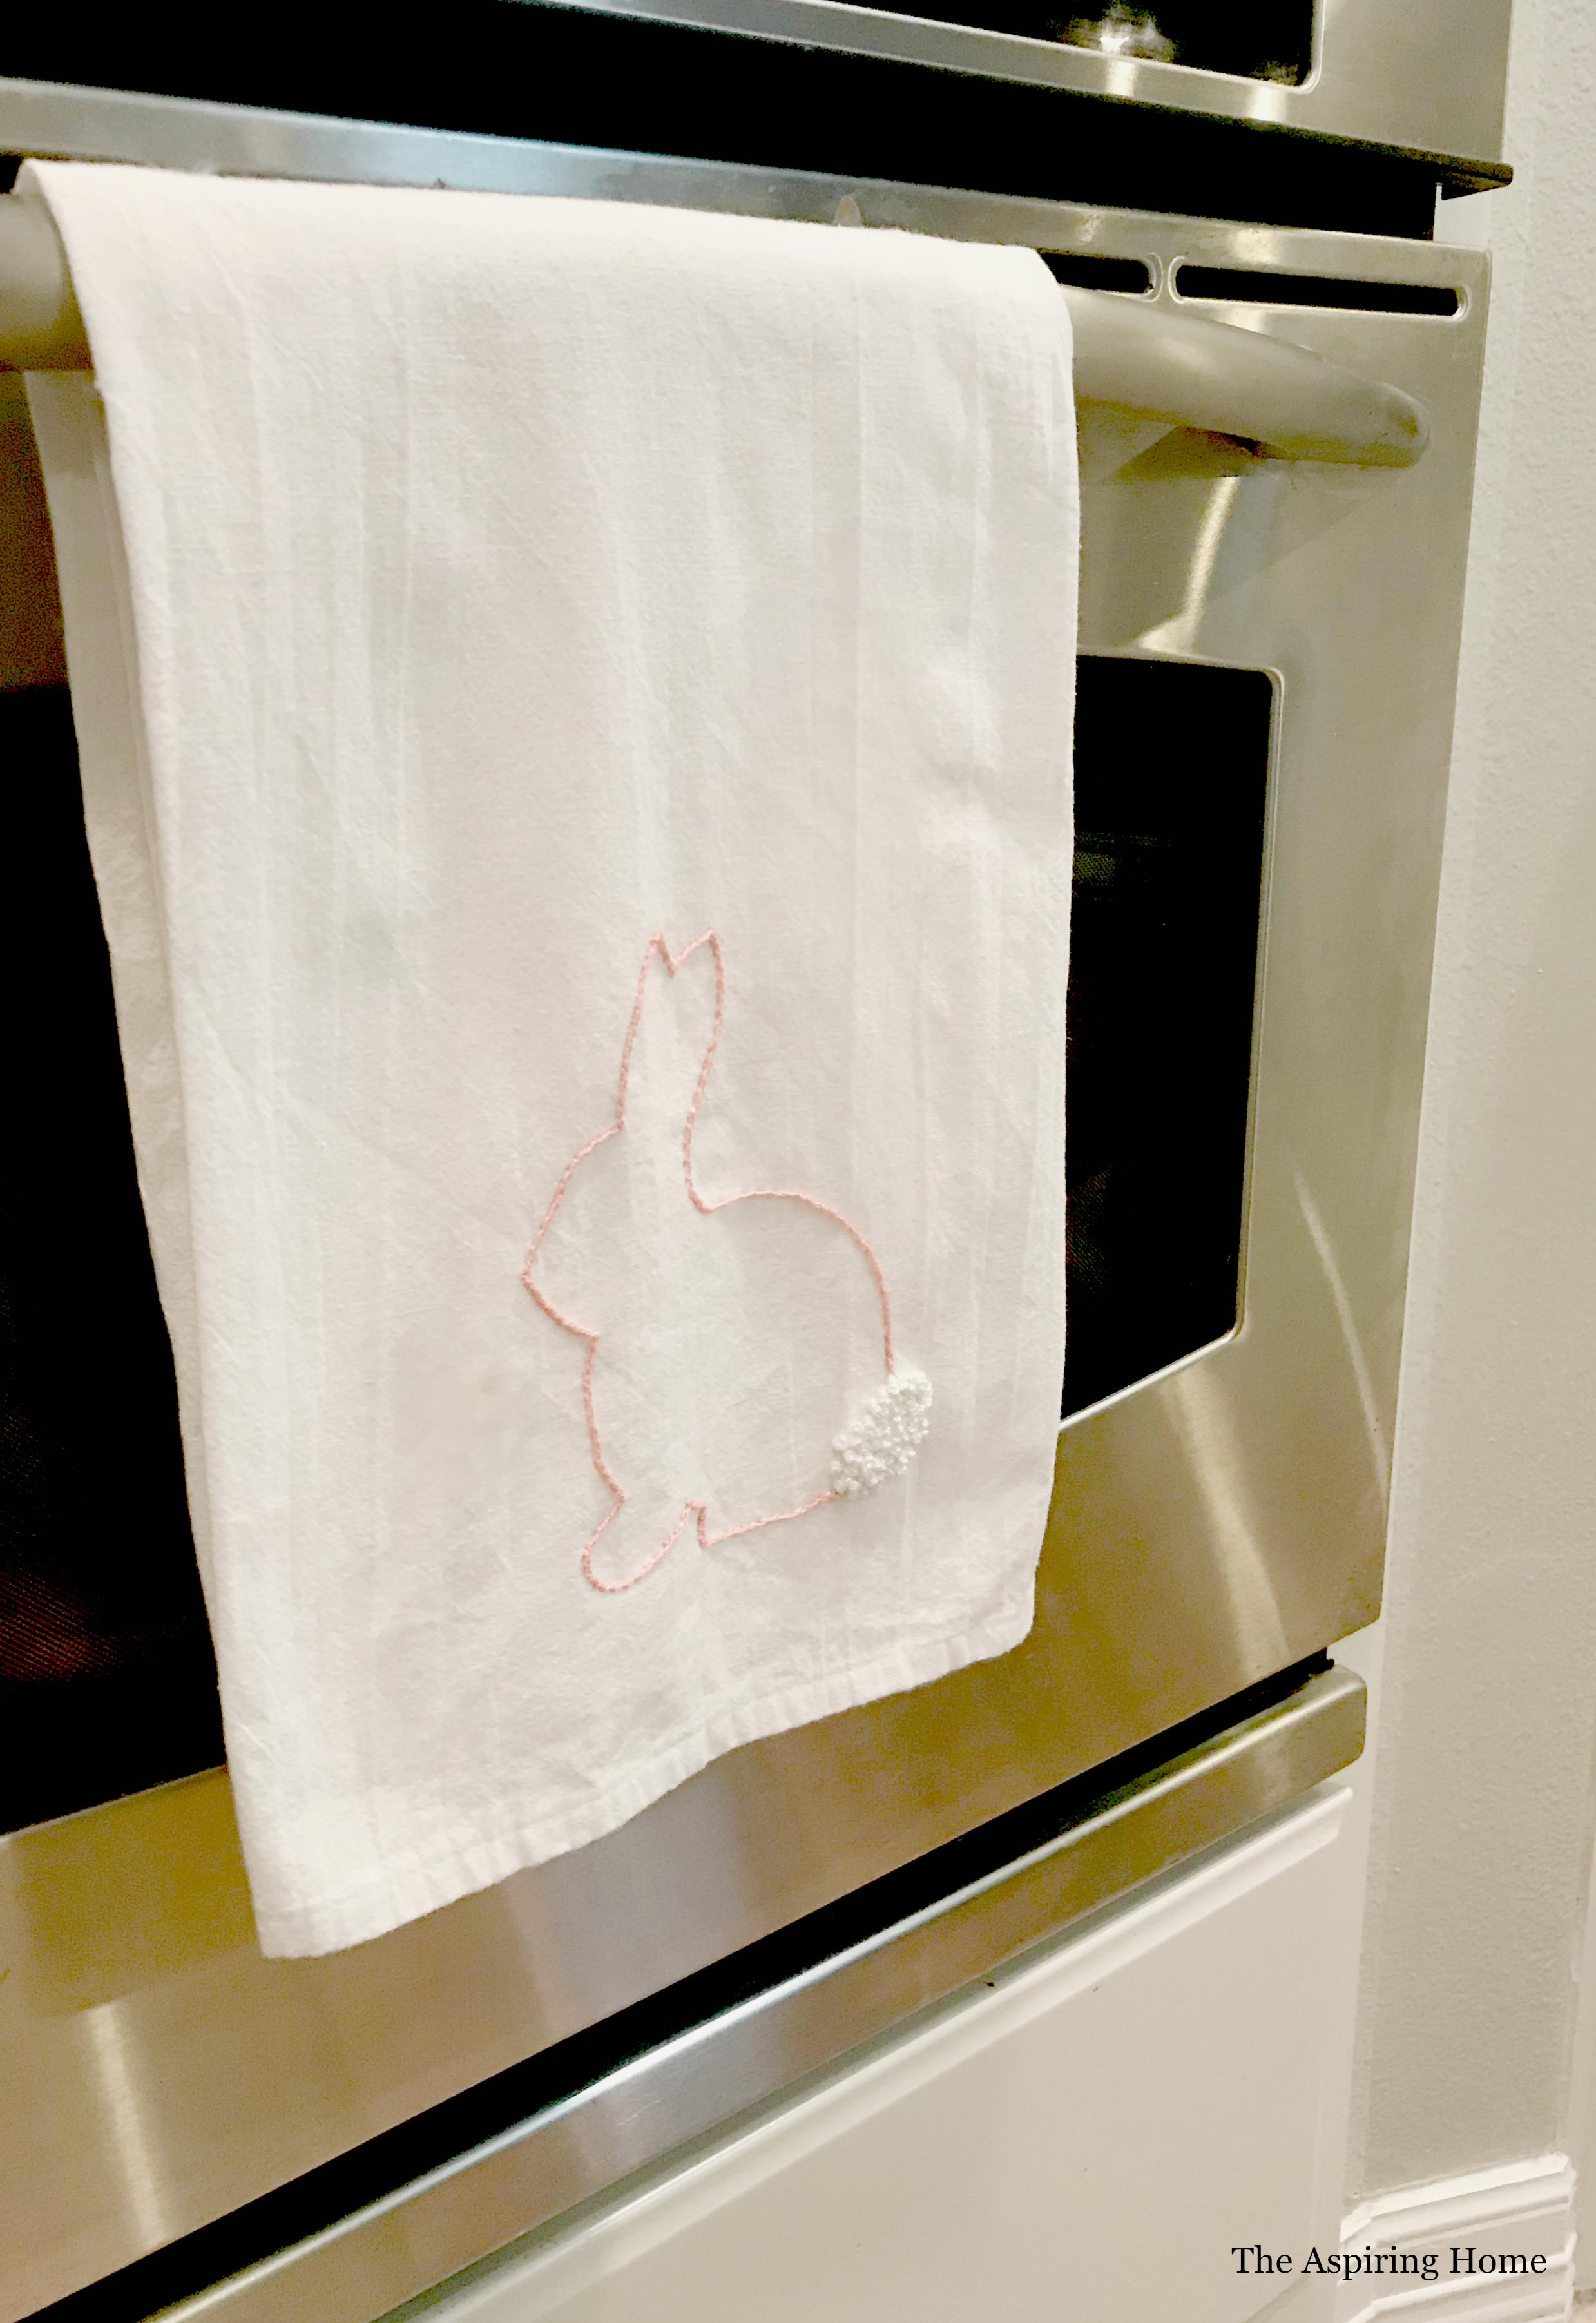
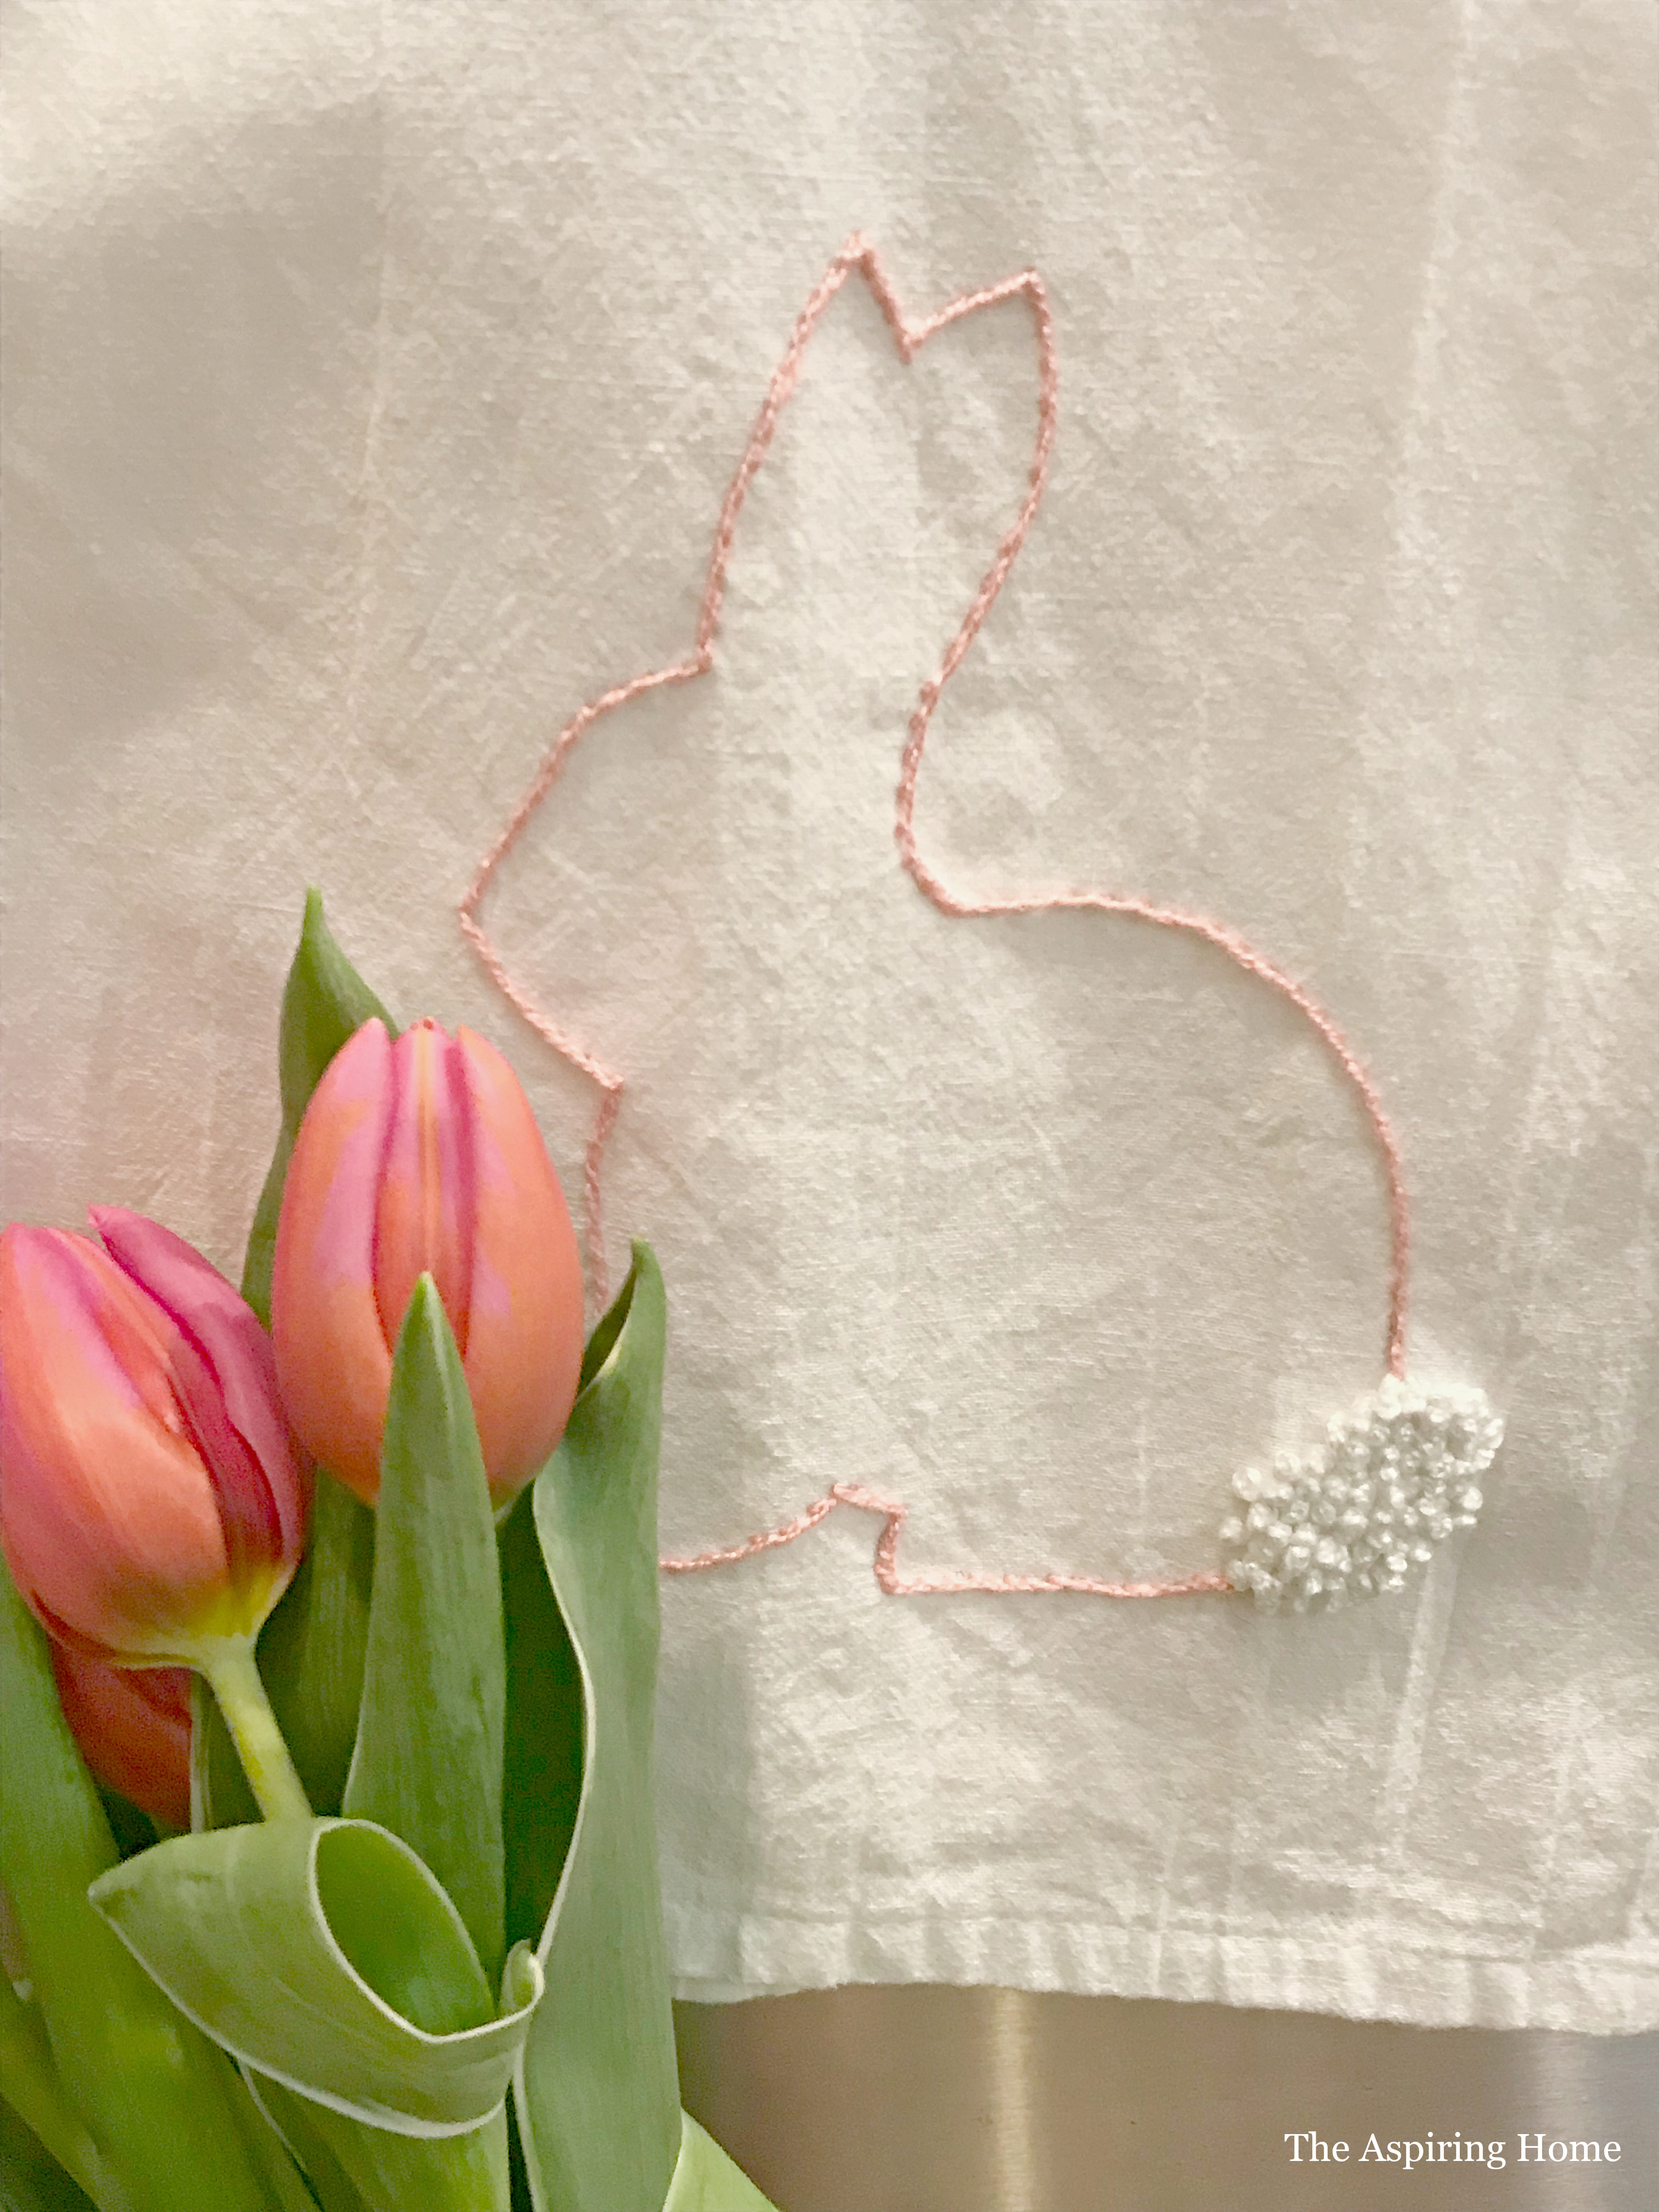
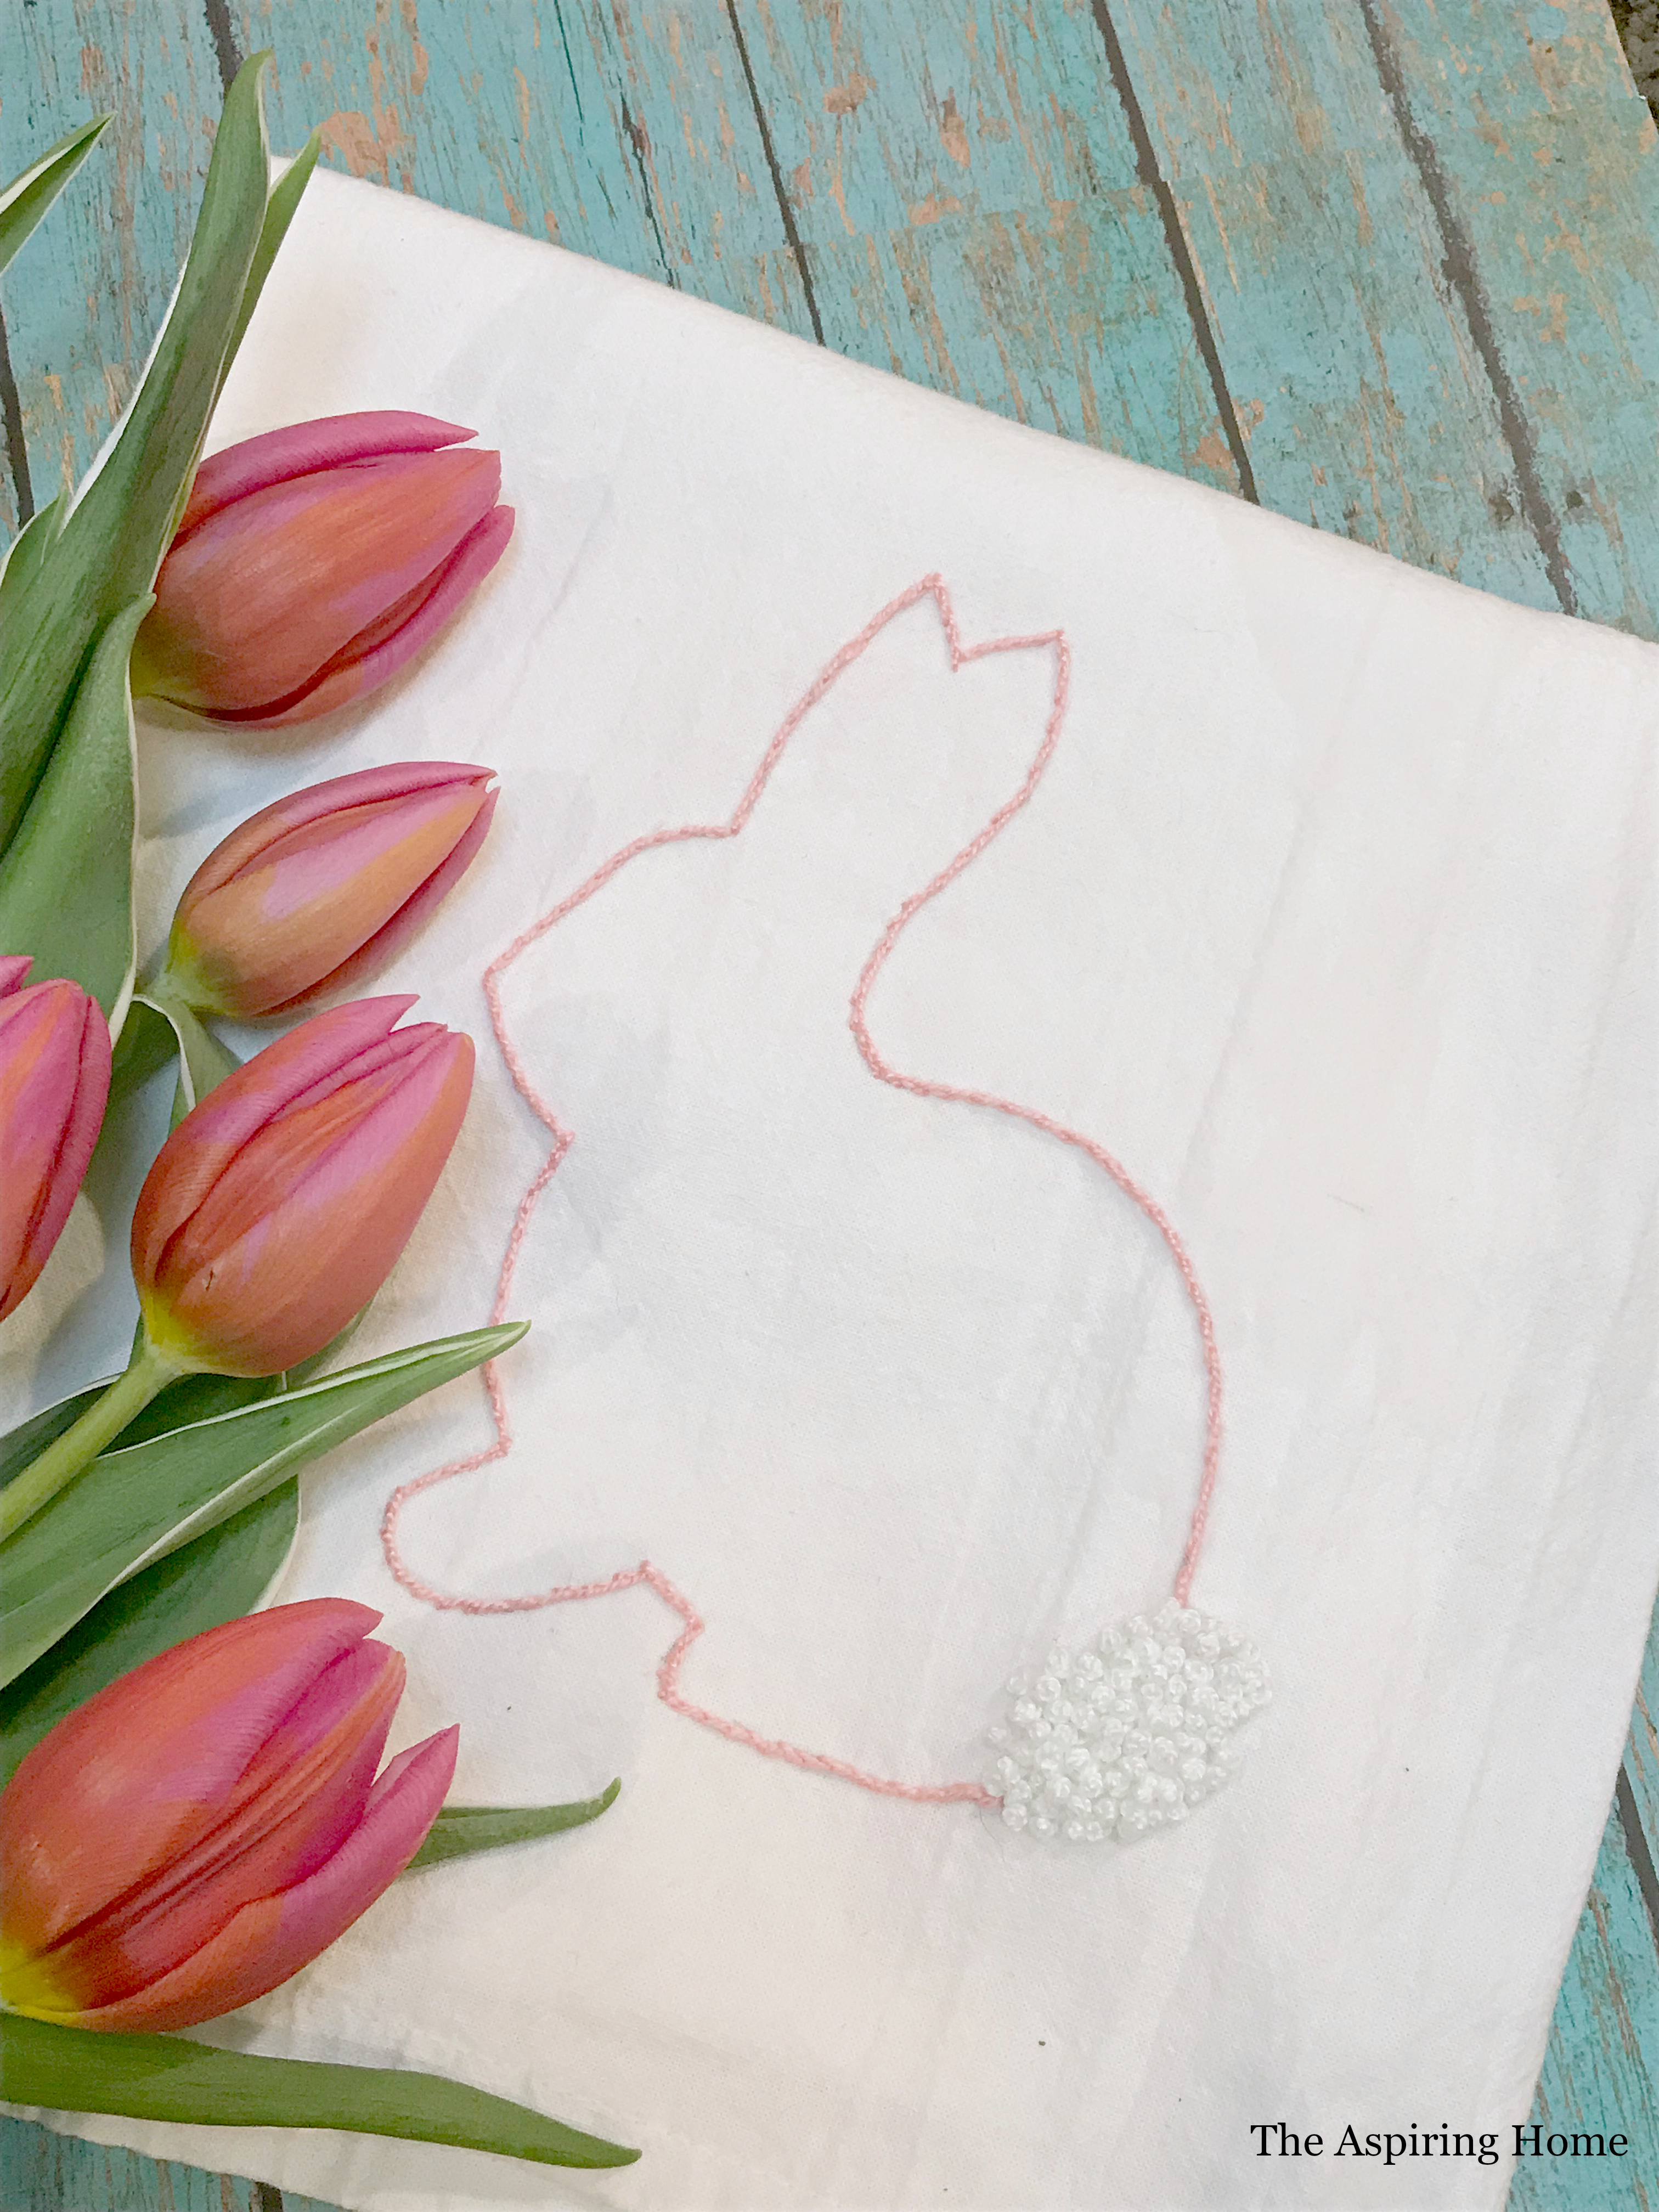
Hello friends! Today is a fun day around here. I am partnering with 4 of my blogging friends to bring you a little Spring Fling! Everyone is starting to trade out their winter home colors for pretty pastels and happy textures. My little contribution to this lovely blog hop? How about creating an easy hand-embroidered bunny kitchen towel? How darling is this?
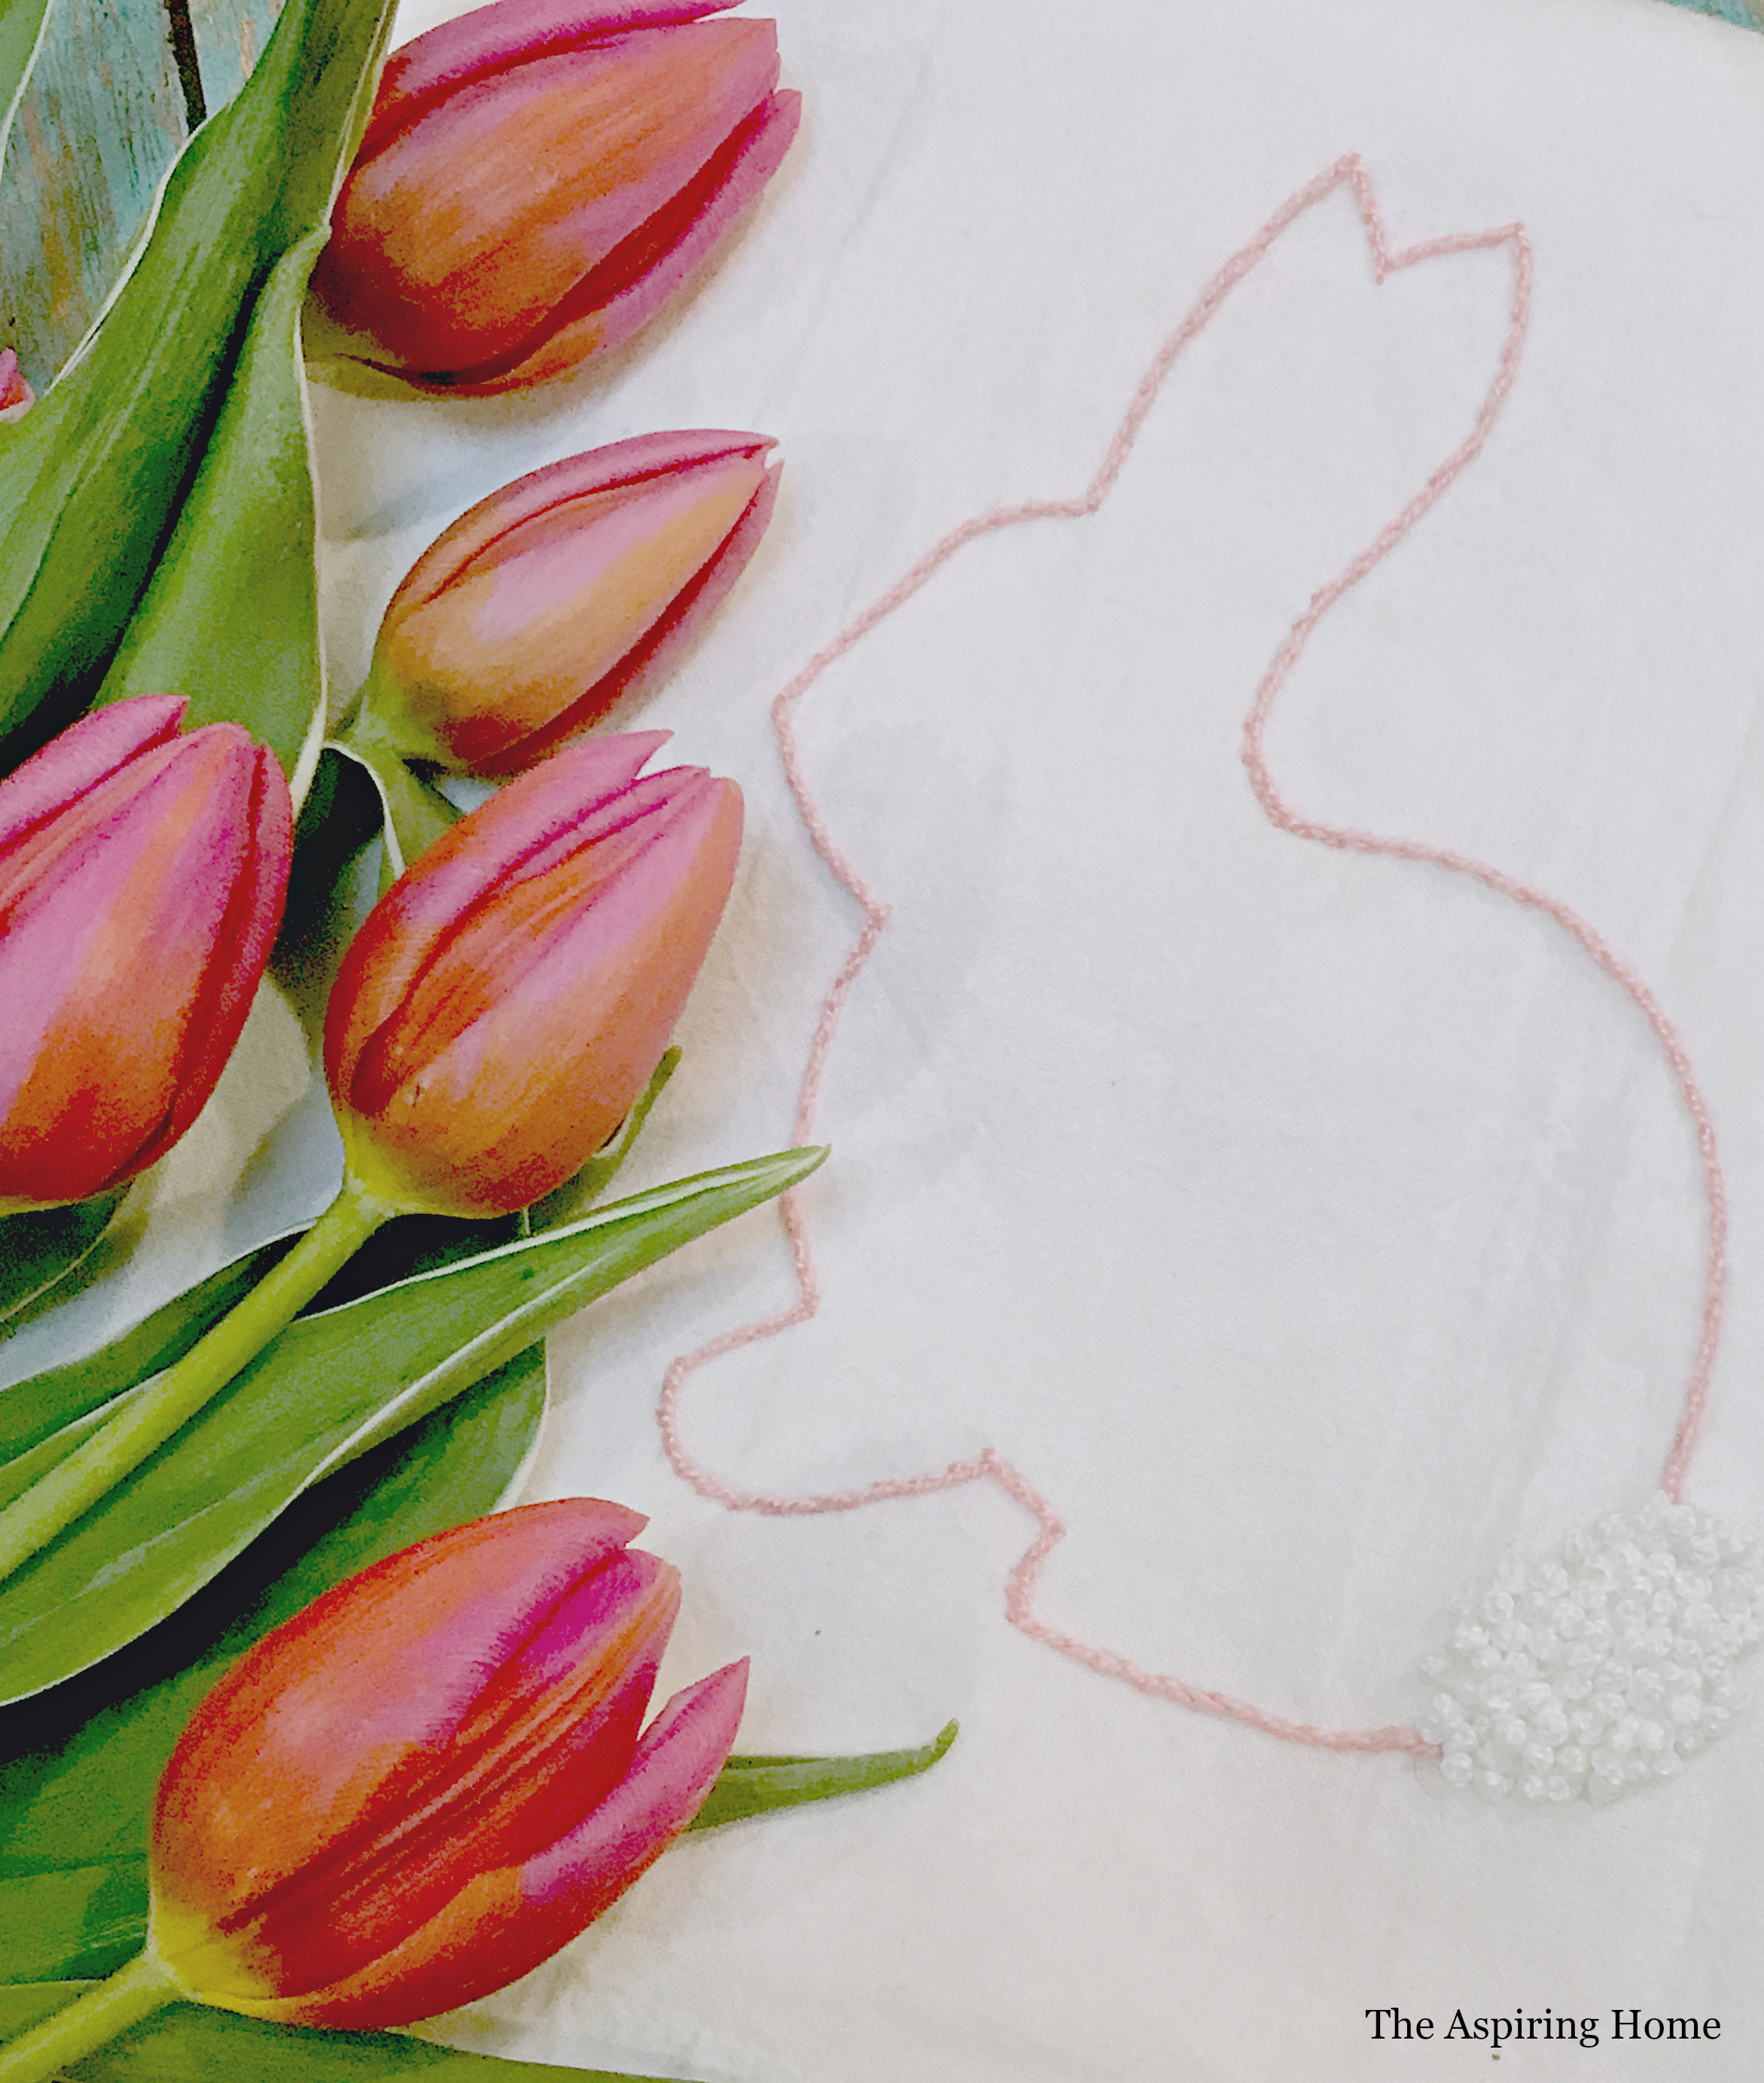
I am a true fan of the heirloom arts. So many are becoming just a memory. As a little girl I always had a desire to learn – especially hand embroidery. I have a few samplers that I have done over the years and they make me smile. This little embroidery project hearkens back the sweet little dish towels that hung with pride in the 1930’s.
Let’s get started:
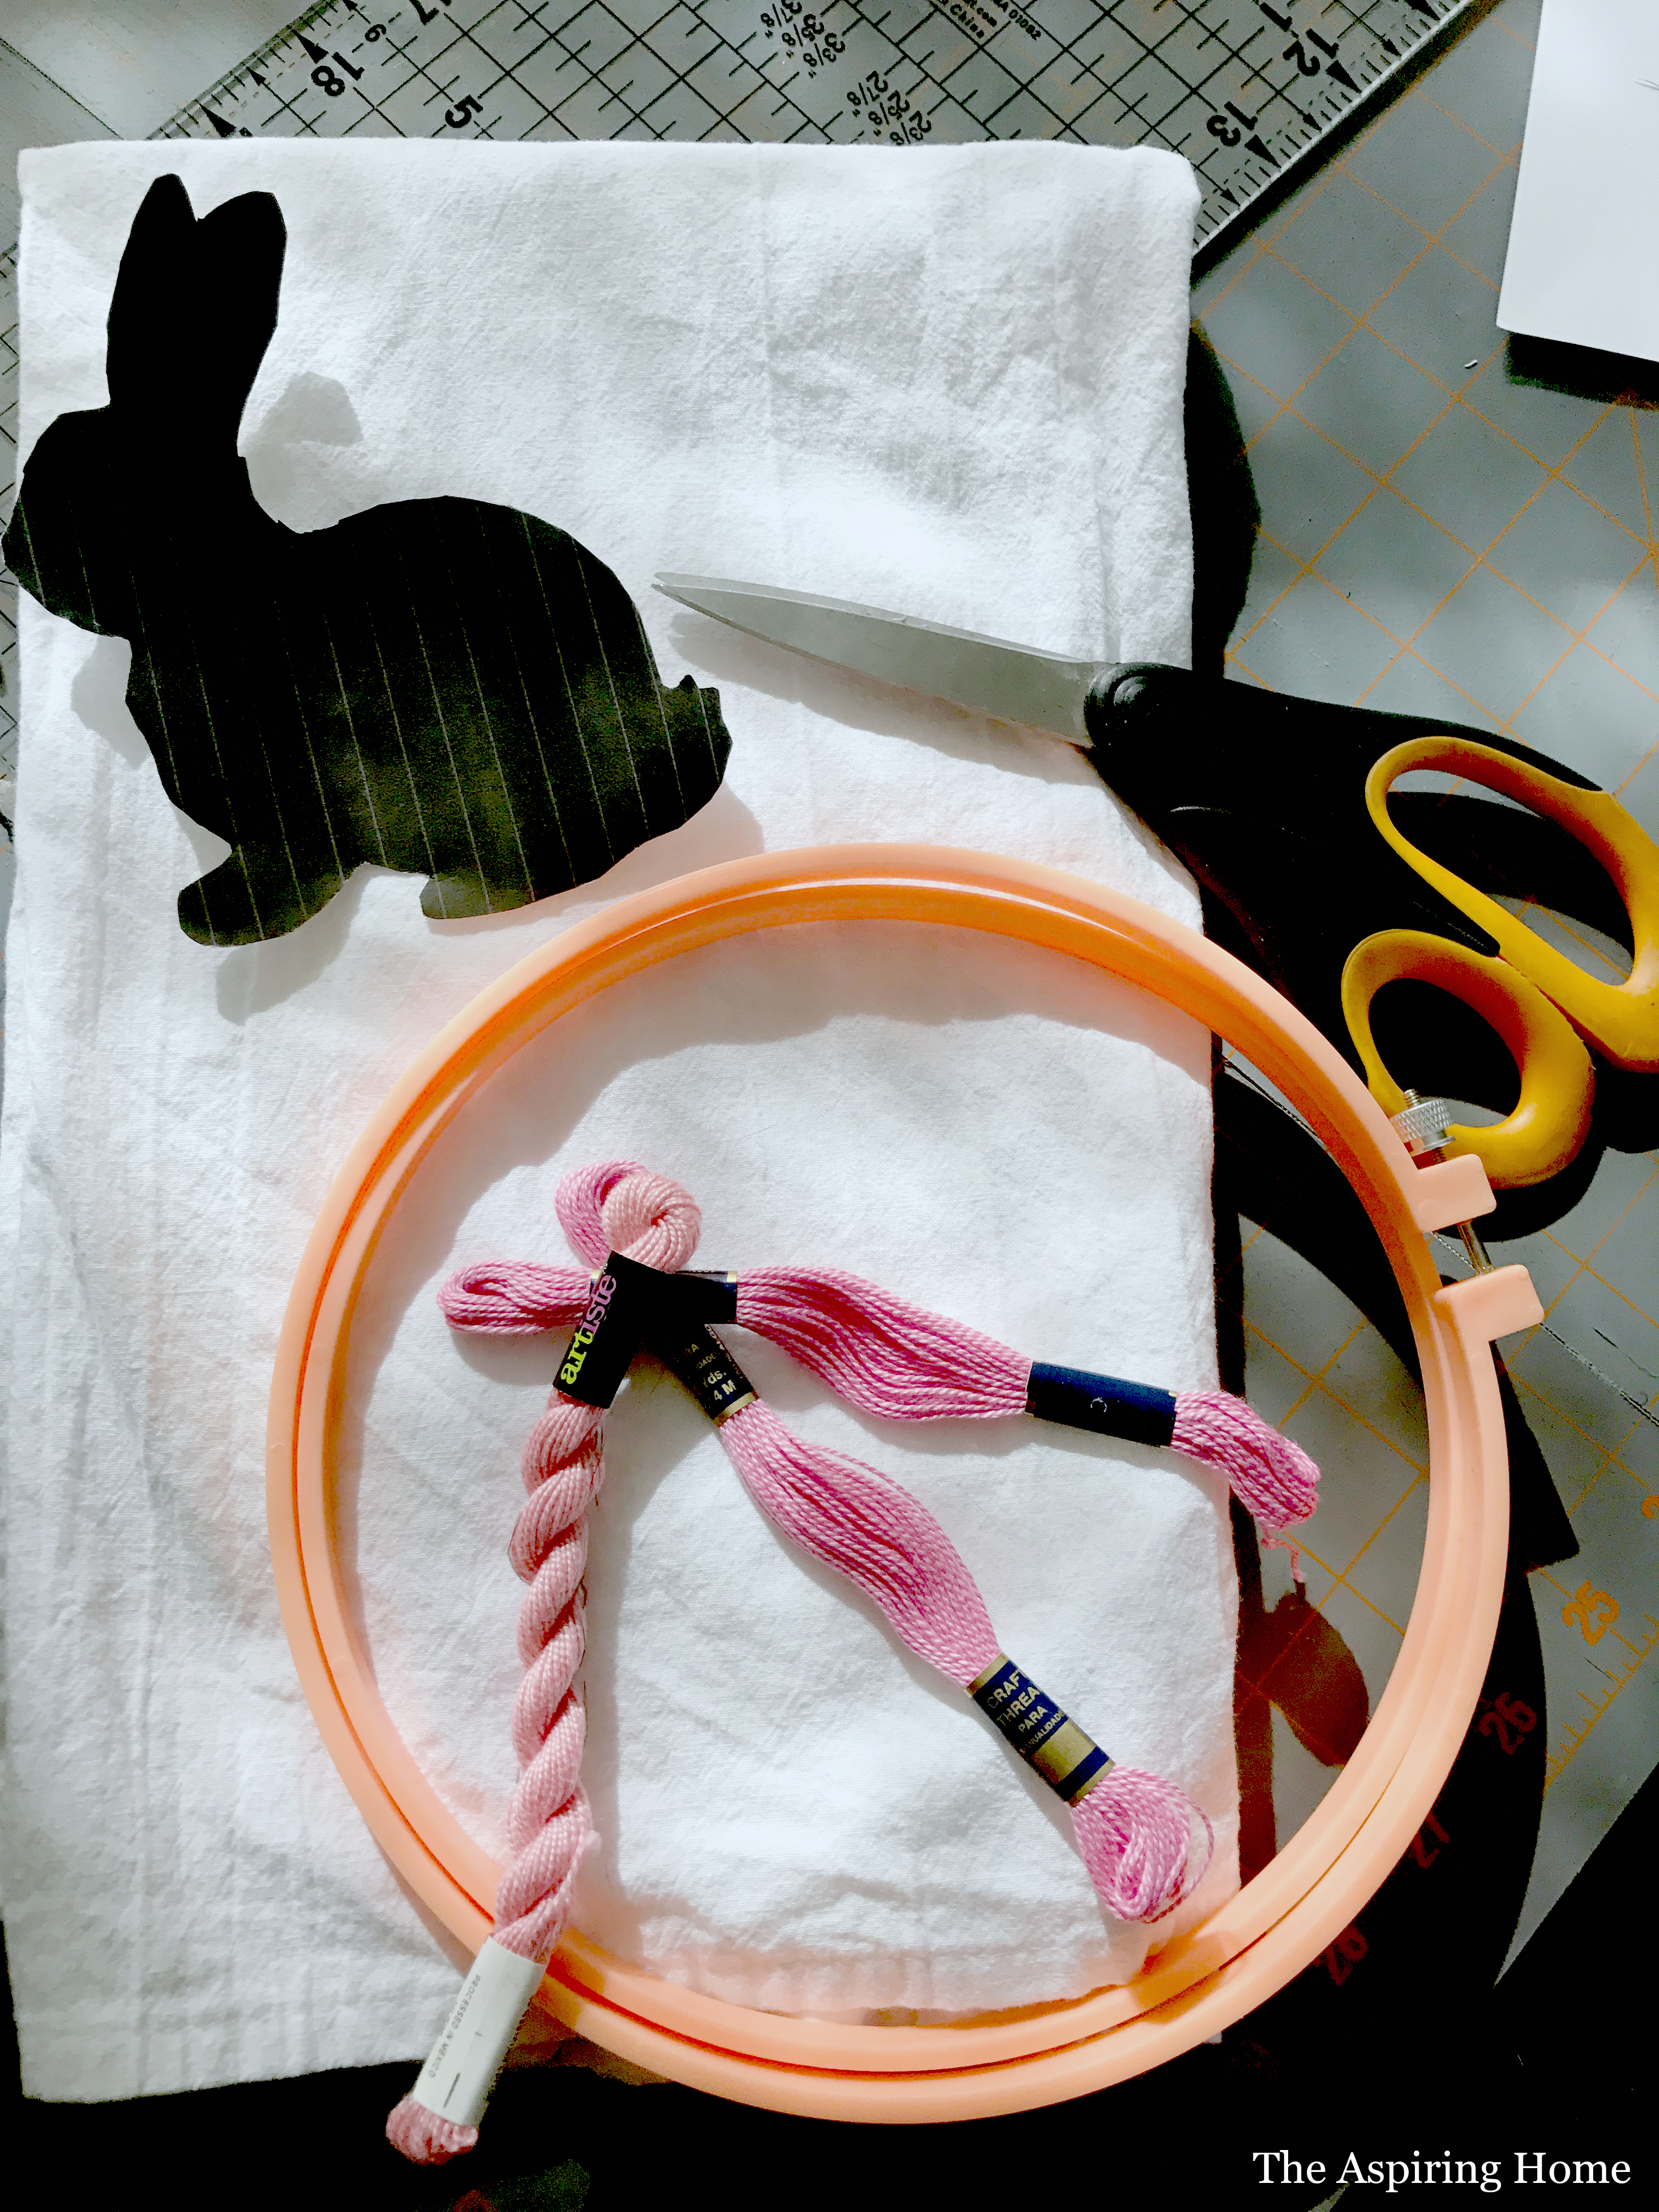
Supplies:
- Kitchen towel
- Embroidery thread
- Embroidery needle
- Scissors
- Embroidery hoop
- Pattern
Step 1:
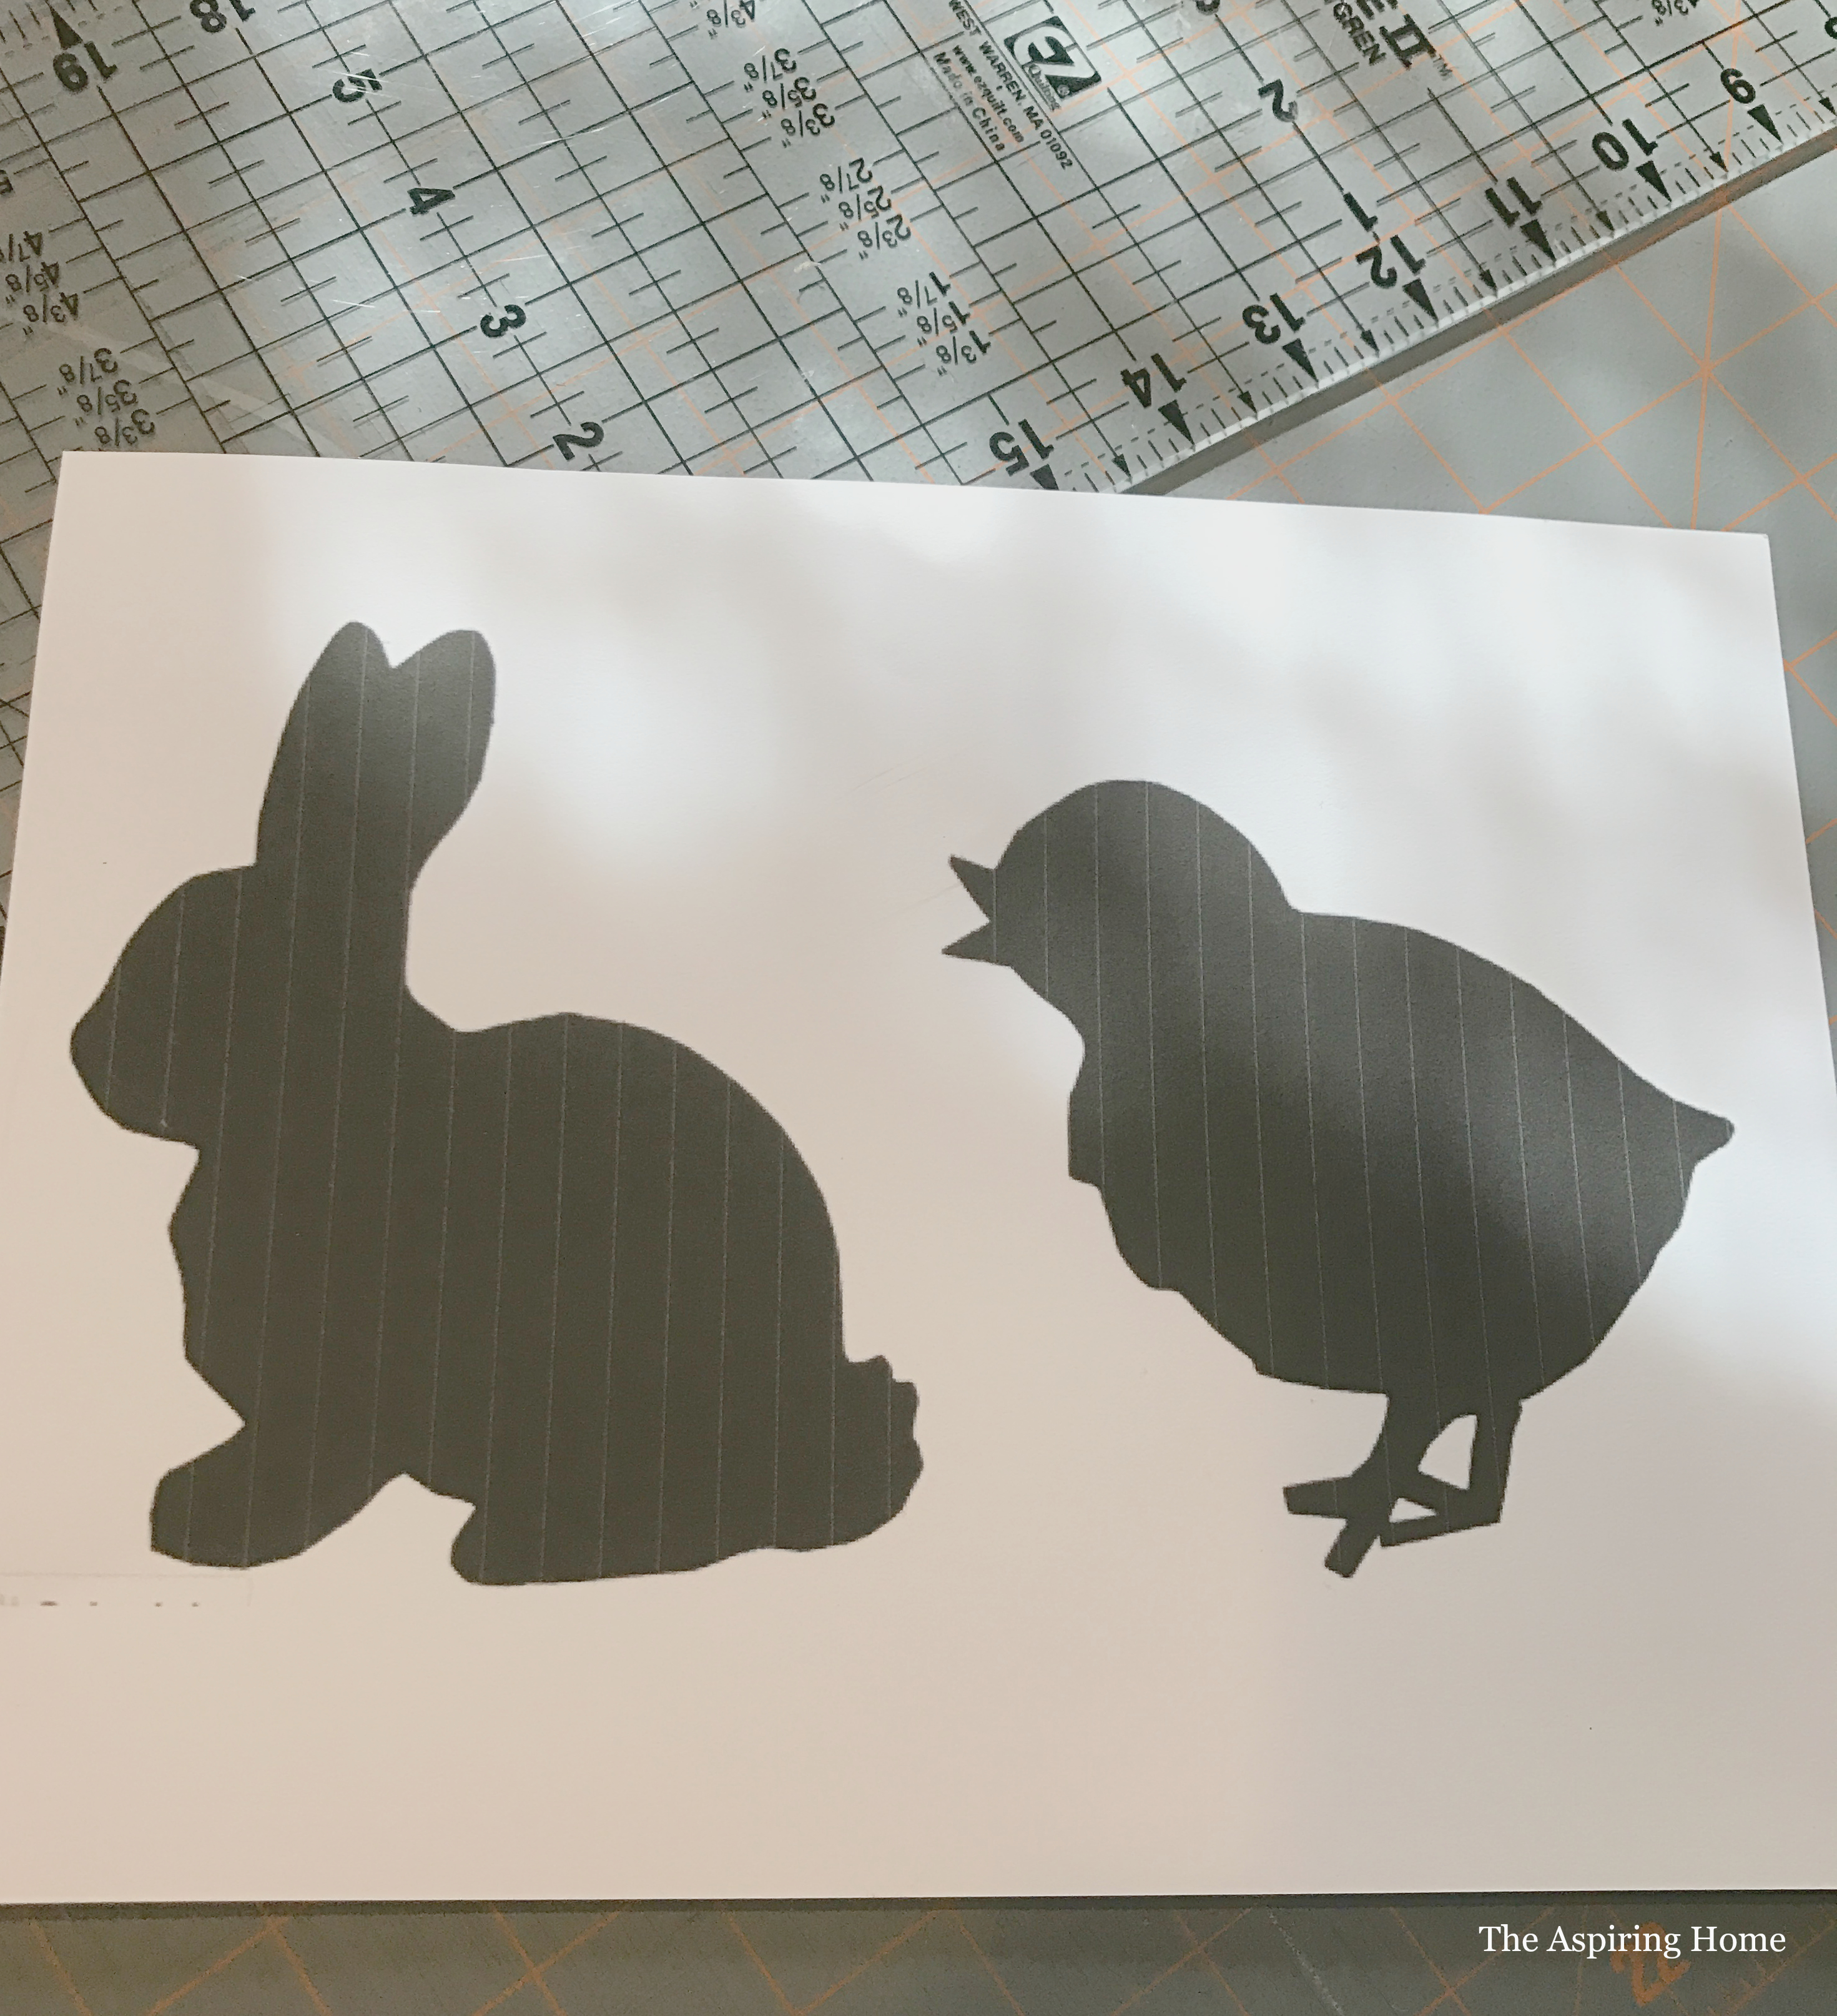
Find your pattern
Check out your local craft stores or online for patterns. I decided to search for bunny silhouettes and found a few. I downloaded one of my favorites and printed it out on cardstock. I cut it out and voila! Super cute bunny pattern!
Step 2:
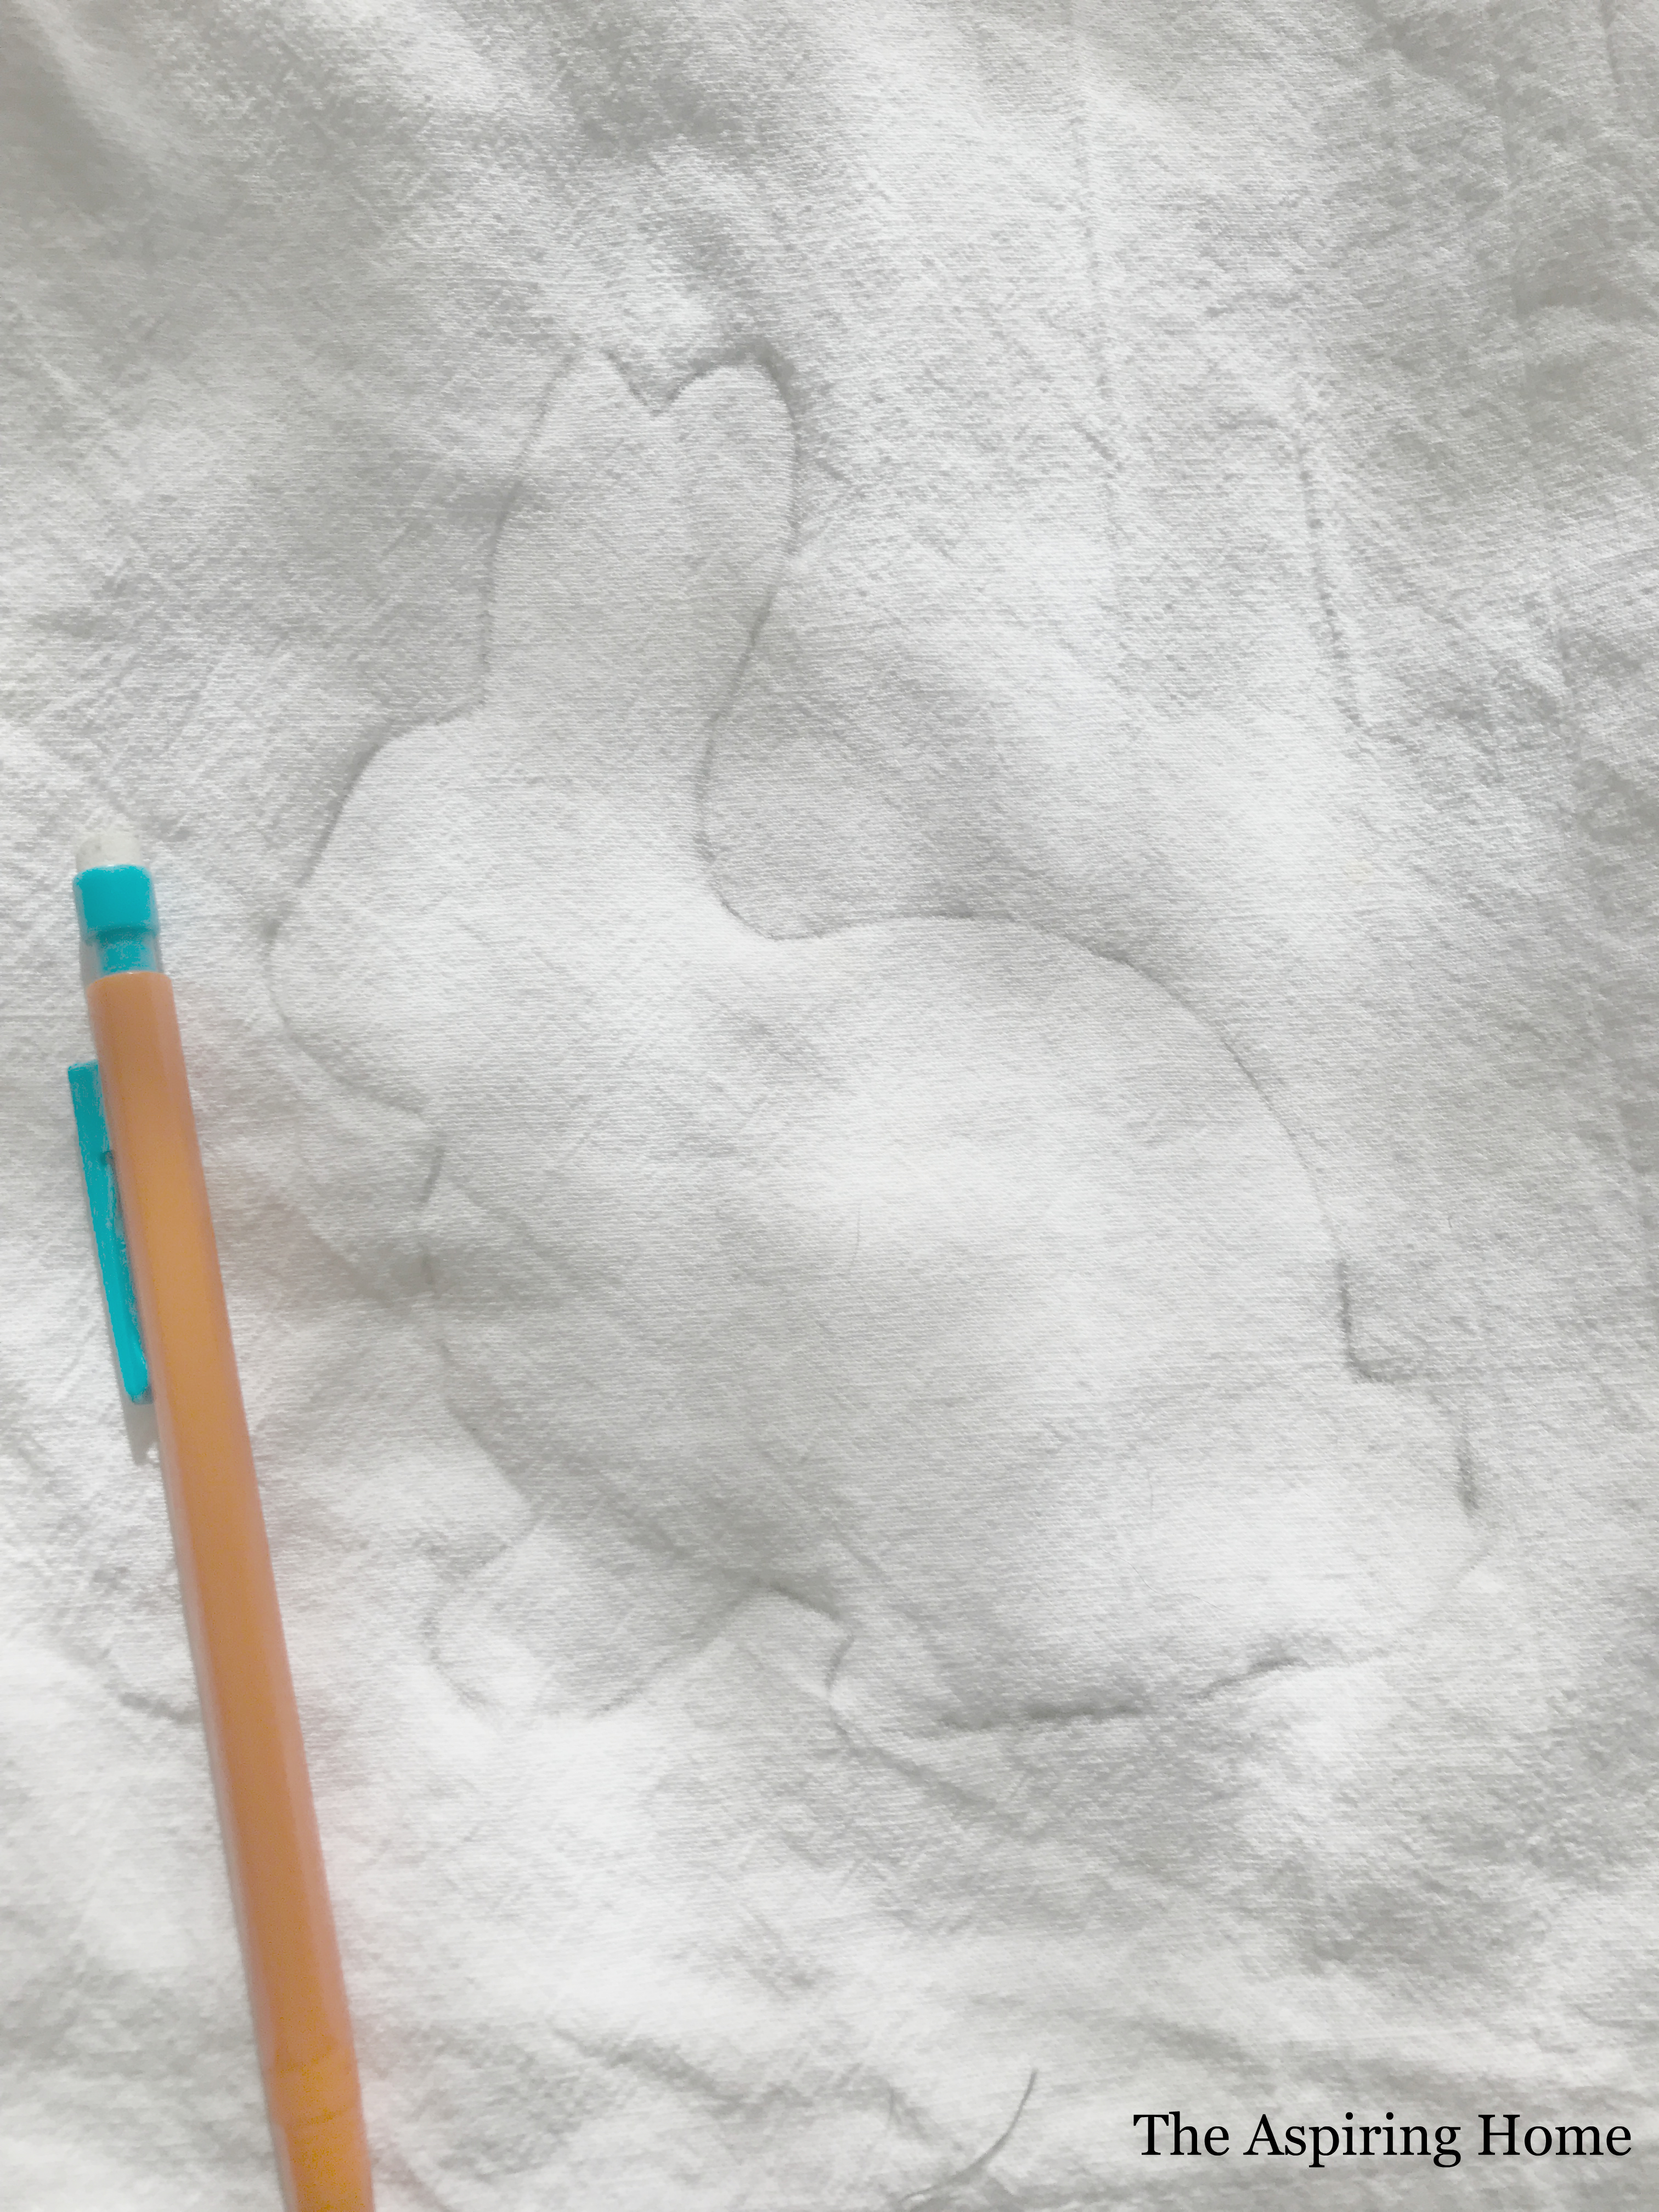
Trace out your pattern
Here is where my desire to make this project was greater than my desire “to do it right”. I found the center of my kitchen towel and placed my bunny. I eyeballed the placement and then did the unthinkable… I used a pencil to trace out the pattern. What should I have done? Well, I should have used a special marking pen that fades away on its own or washes out. I normally have said special marking pen but it has been awhile since I have dabbled in the lost art, my pen dried out. Guess what? The pencil worked great and I bet you would have never known that I committed a faux pas.
Step 3:
Begin embroidering the kitchen towel.
Add your kitchen towel to the embroidery hoop and tighten. It’s super important to have a snug fit for you towel.
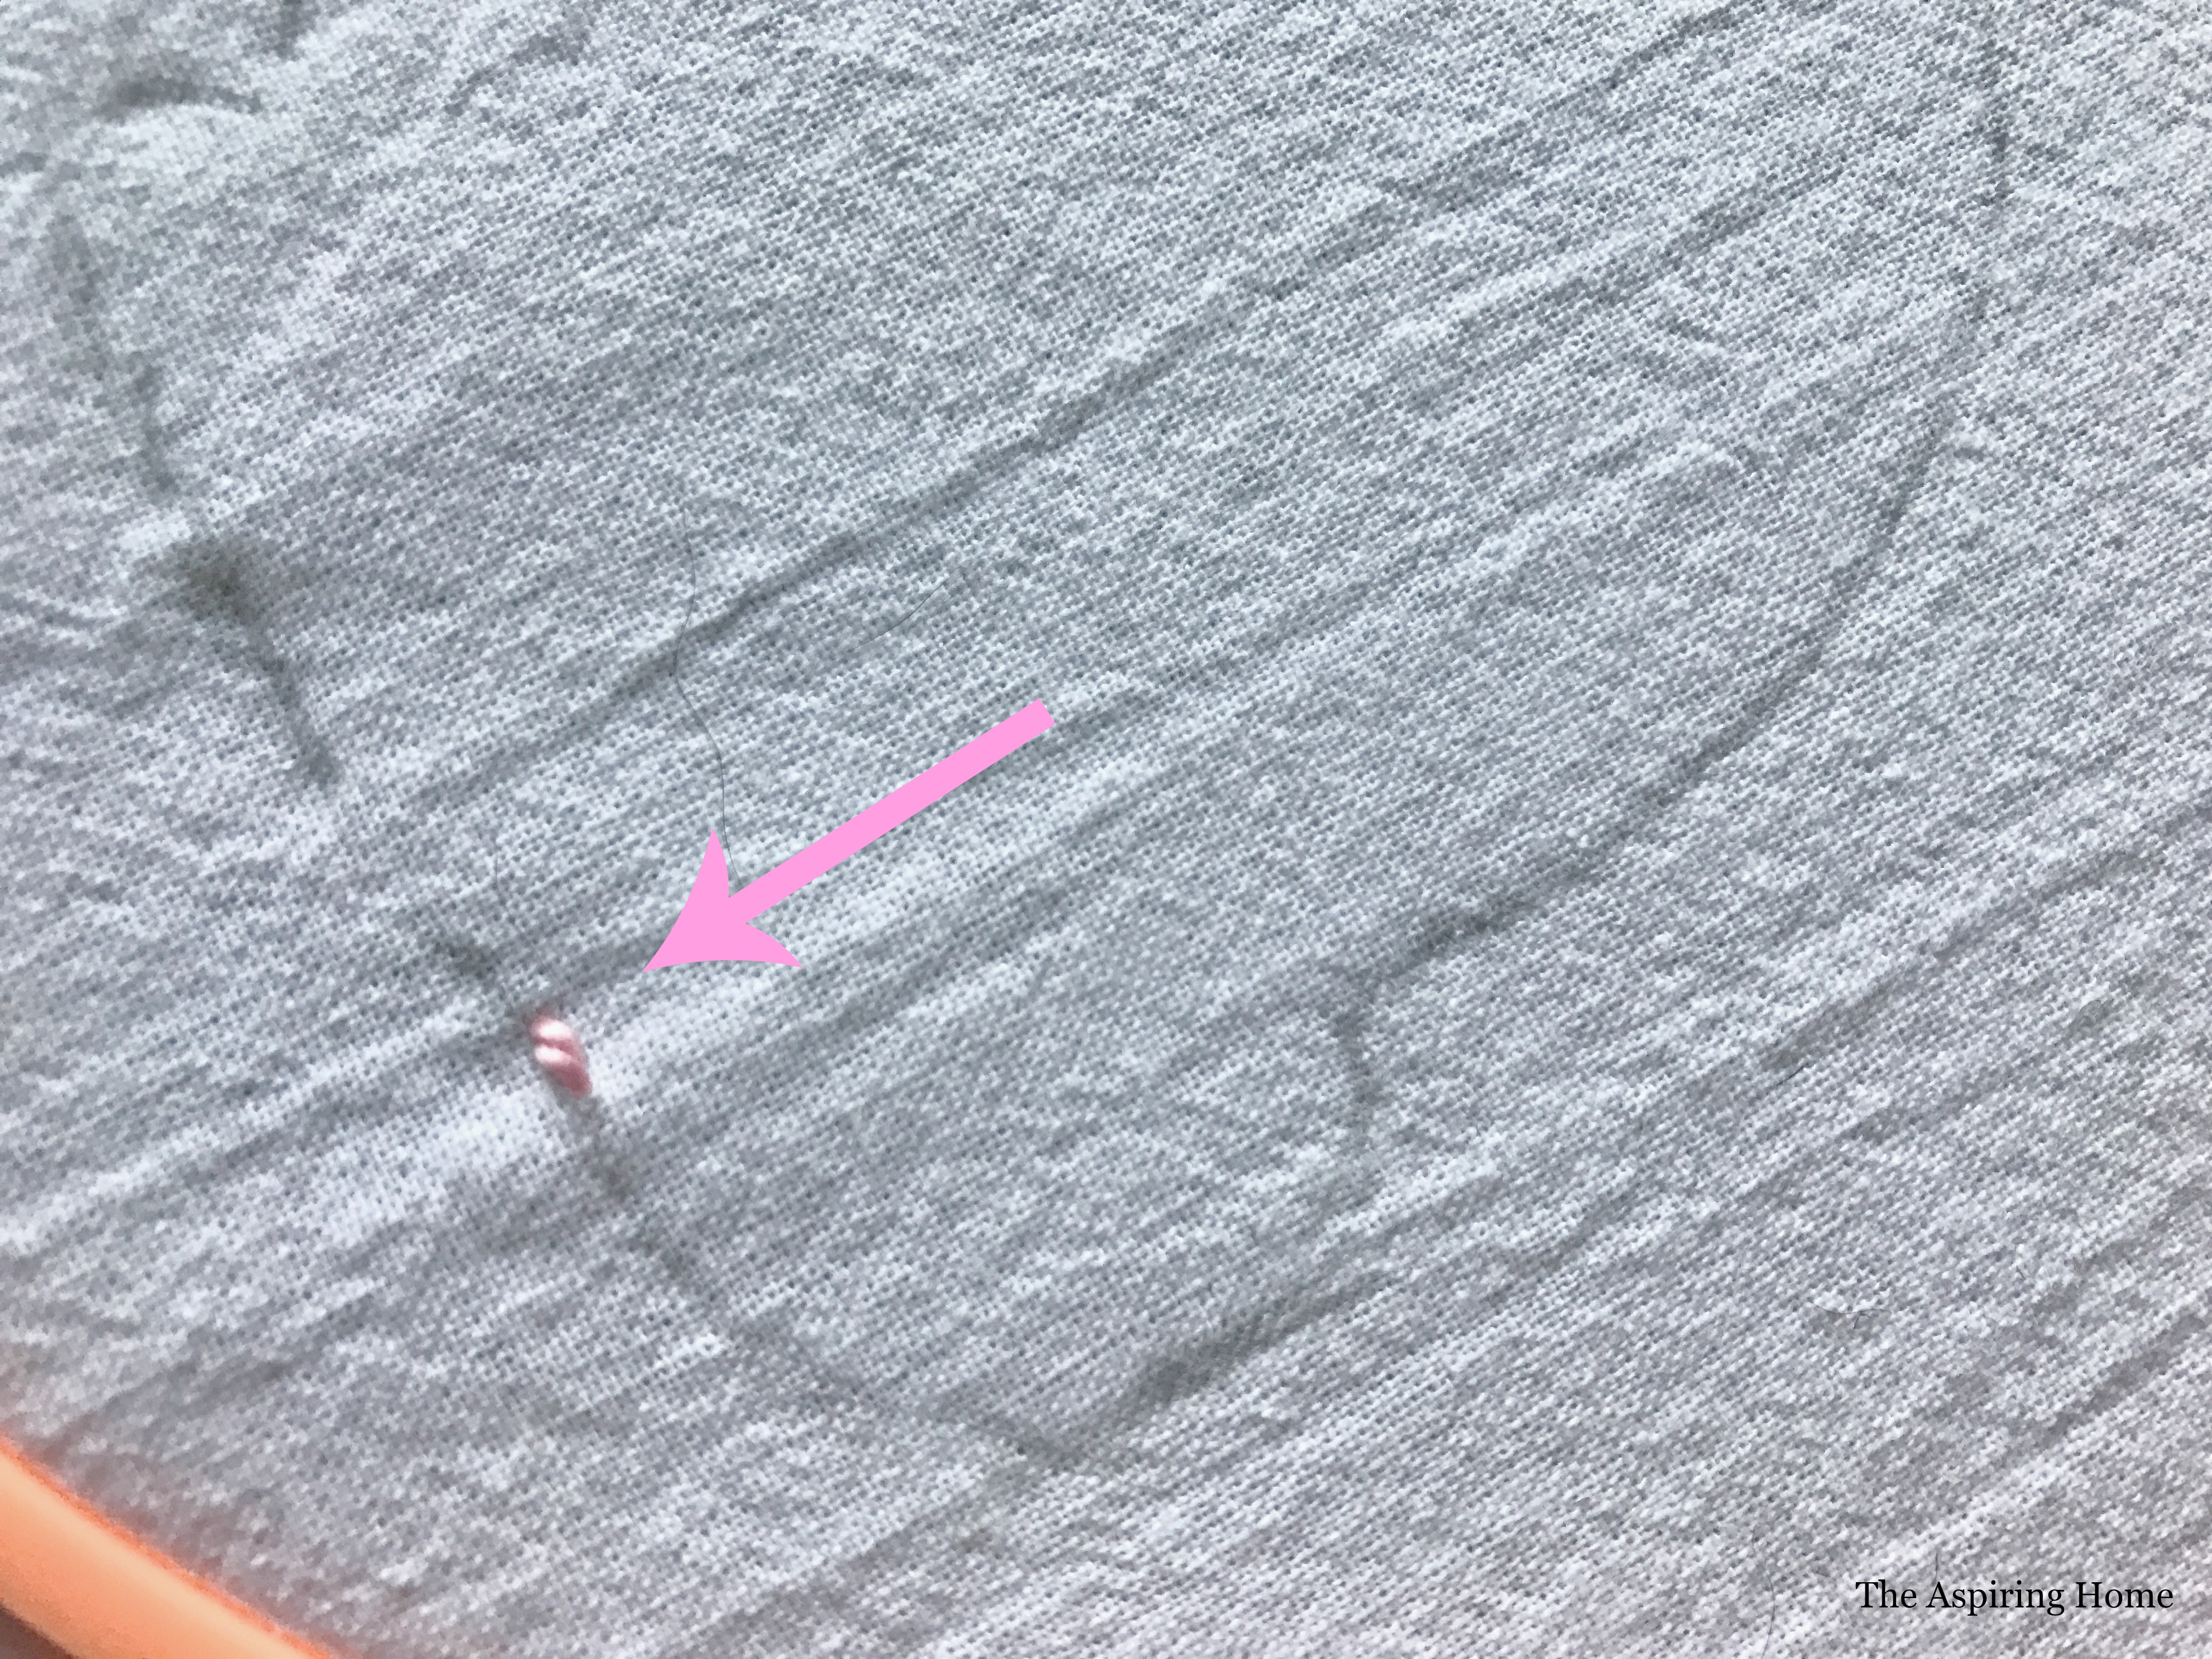
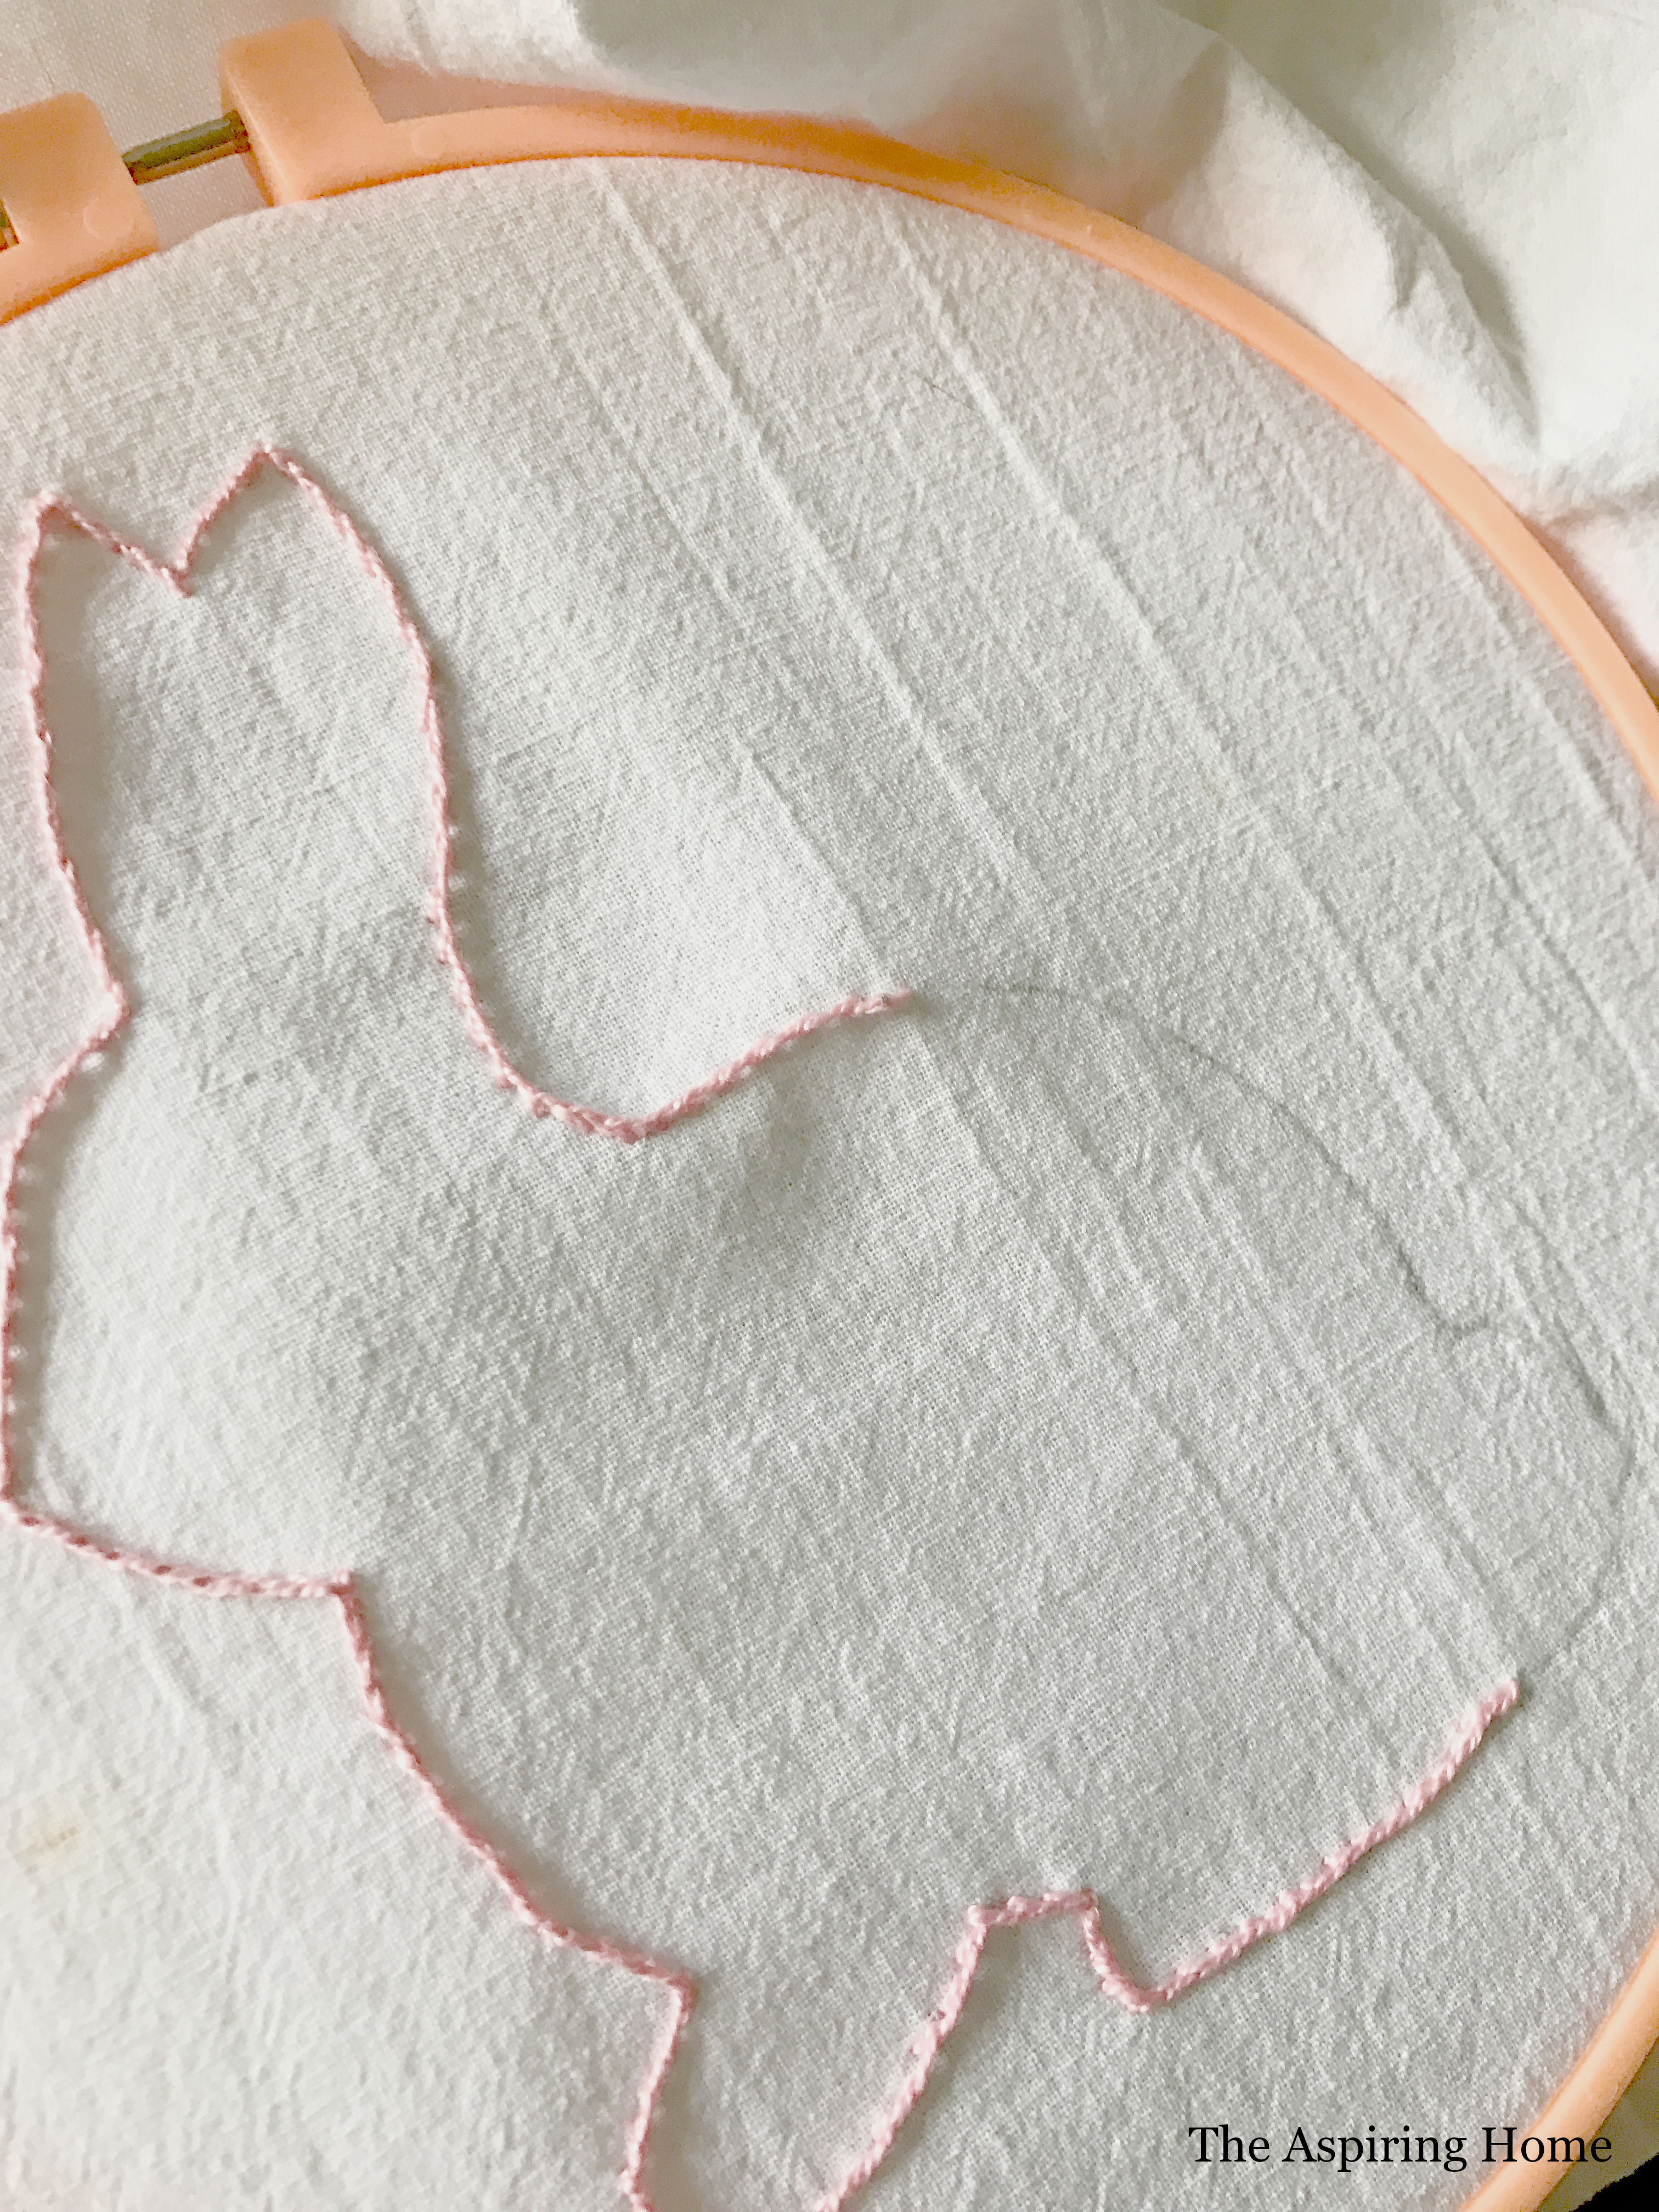
Begin with a small stitch on the outline.
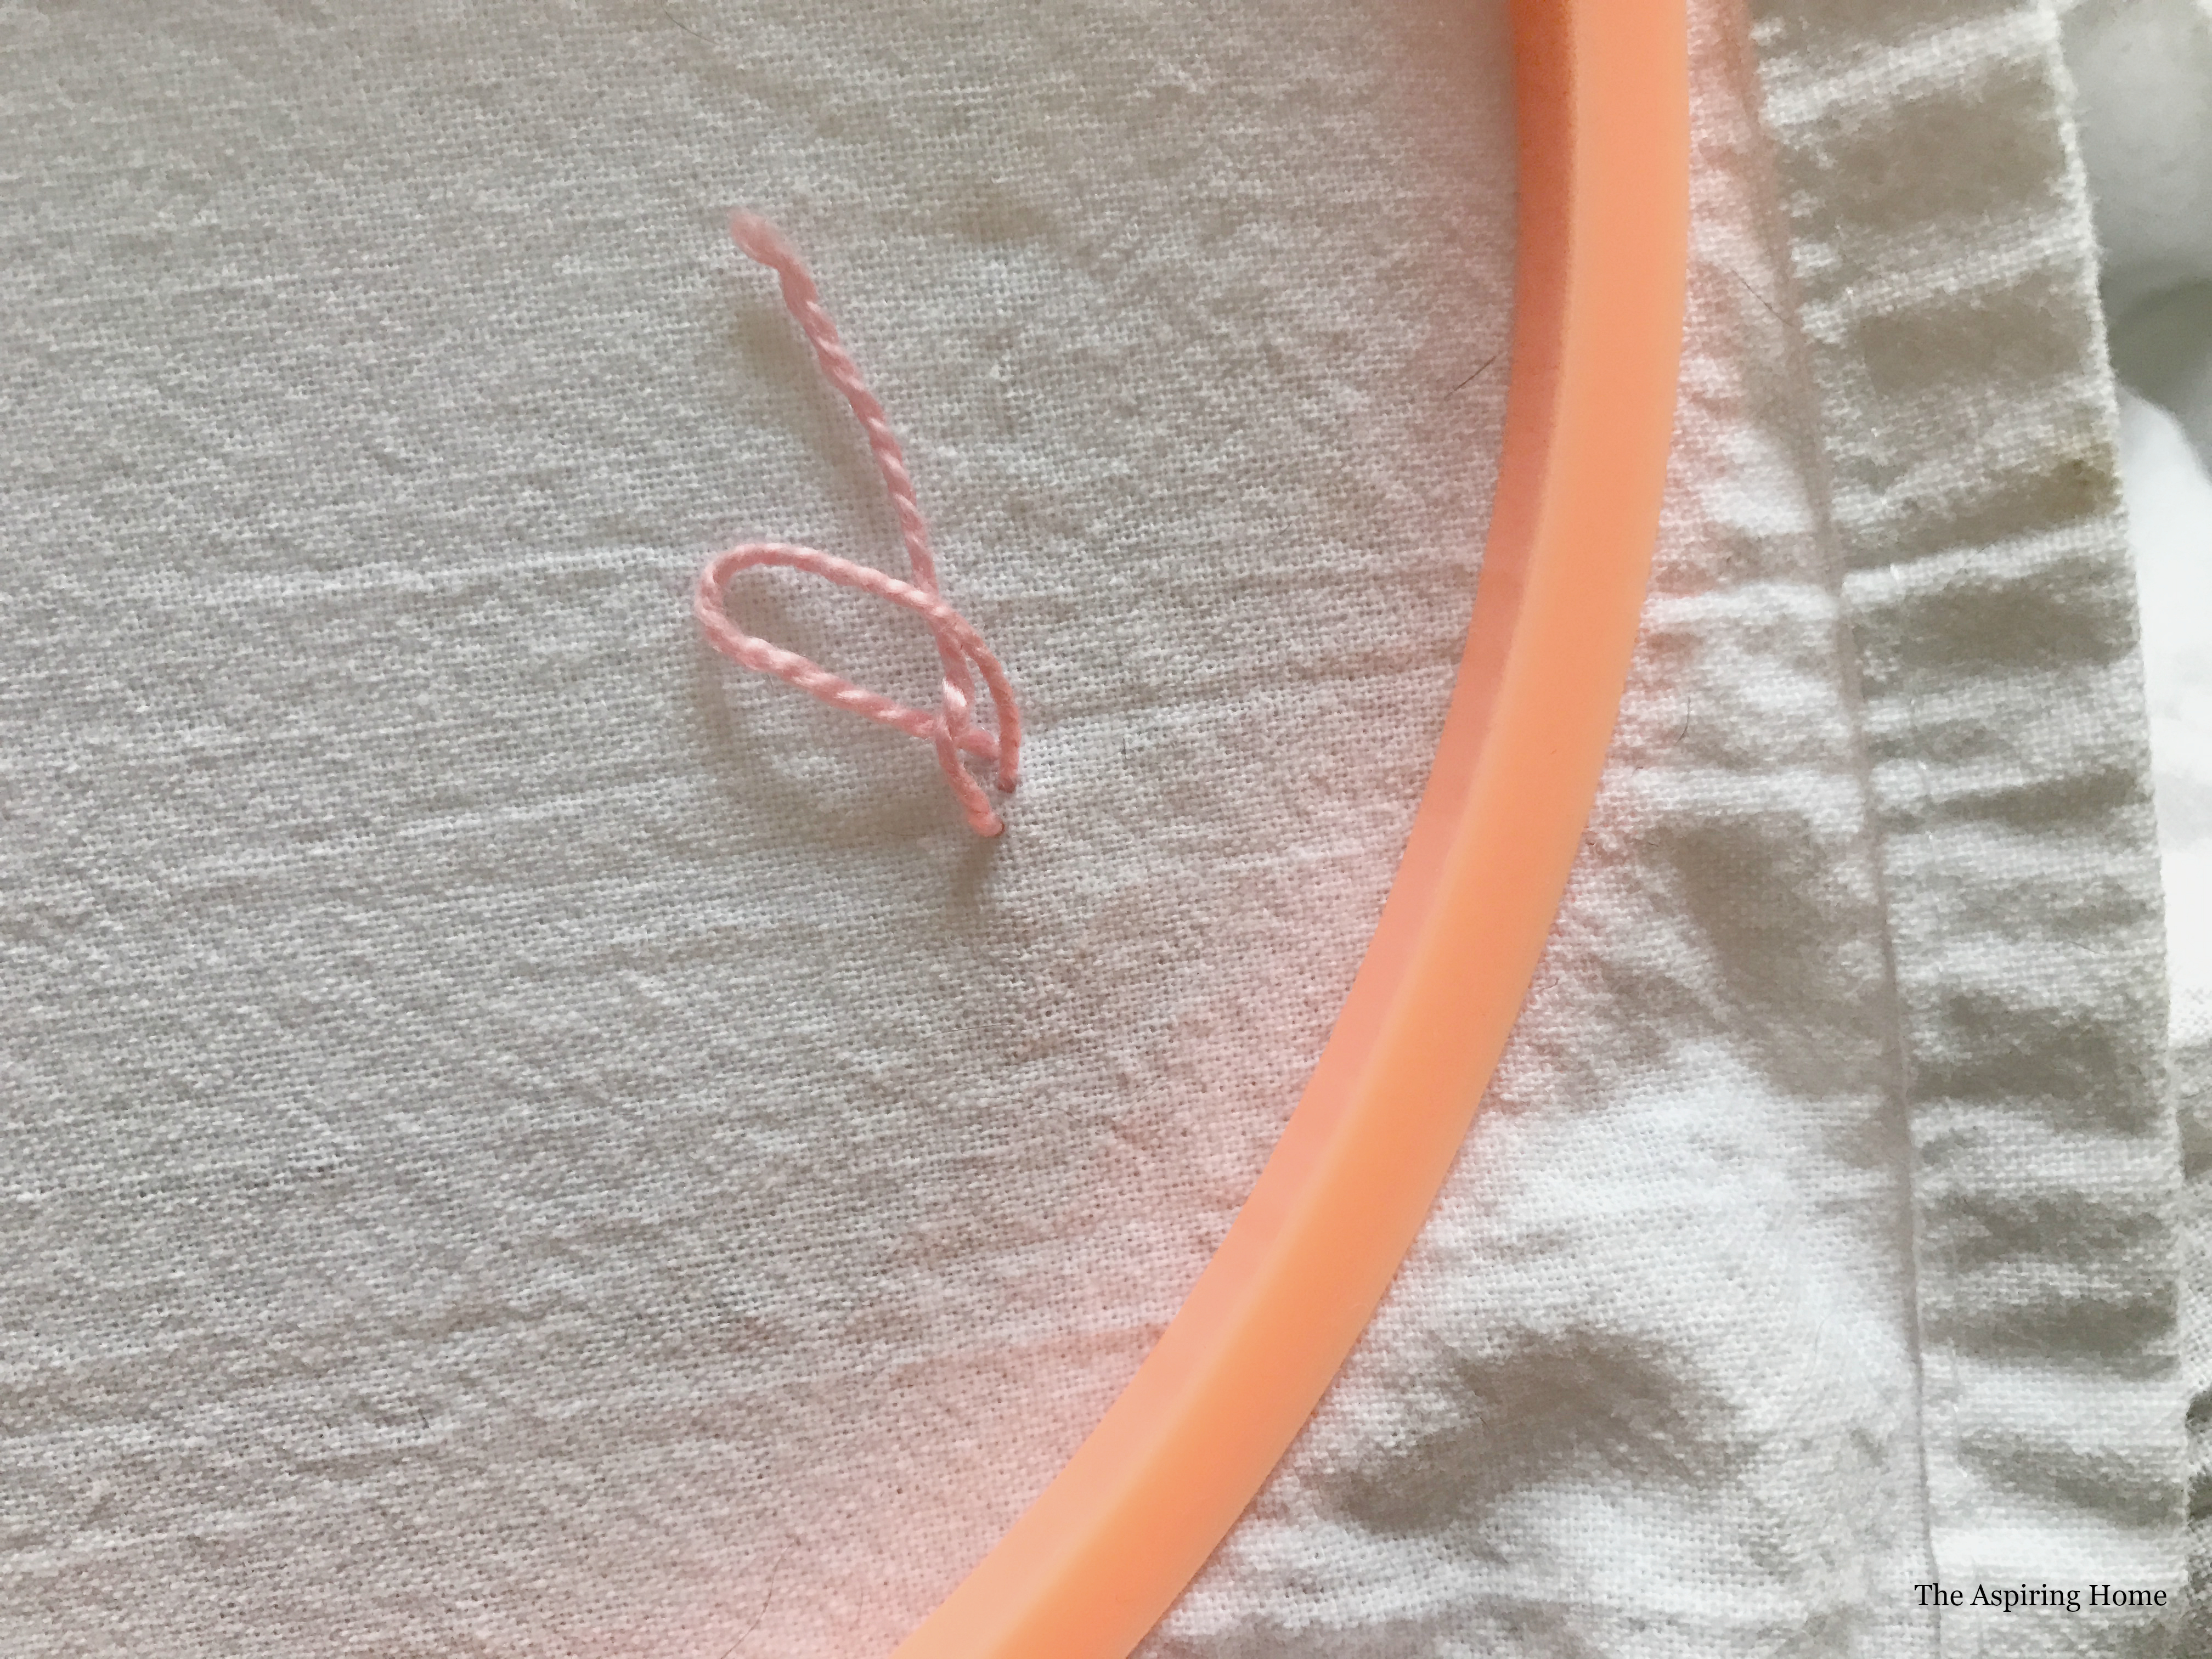
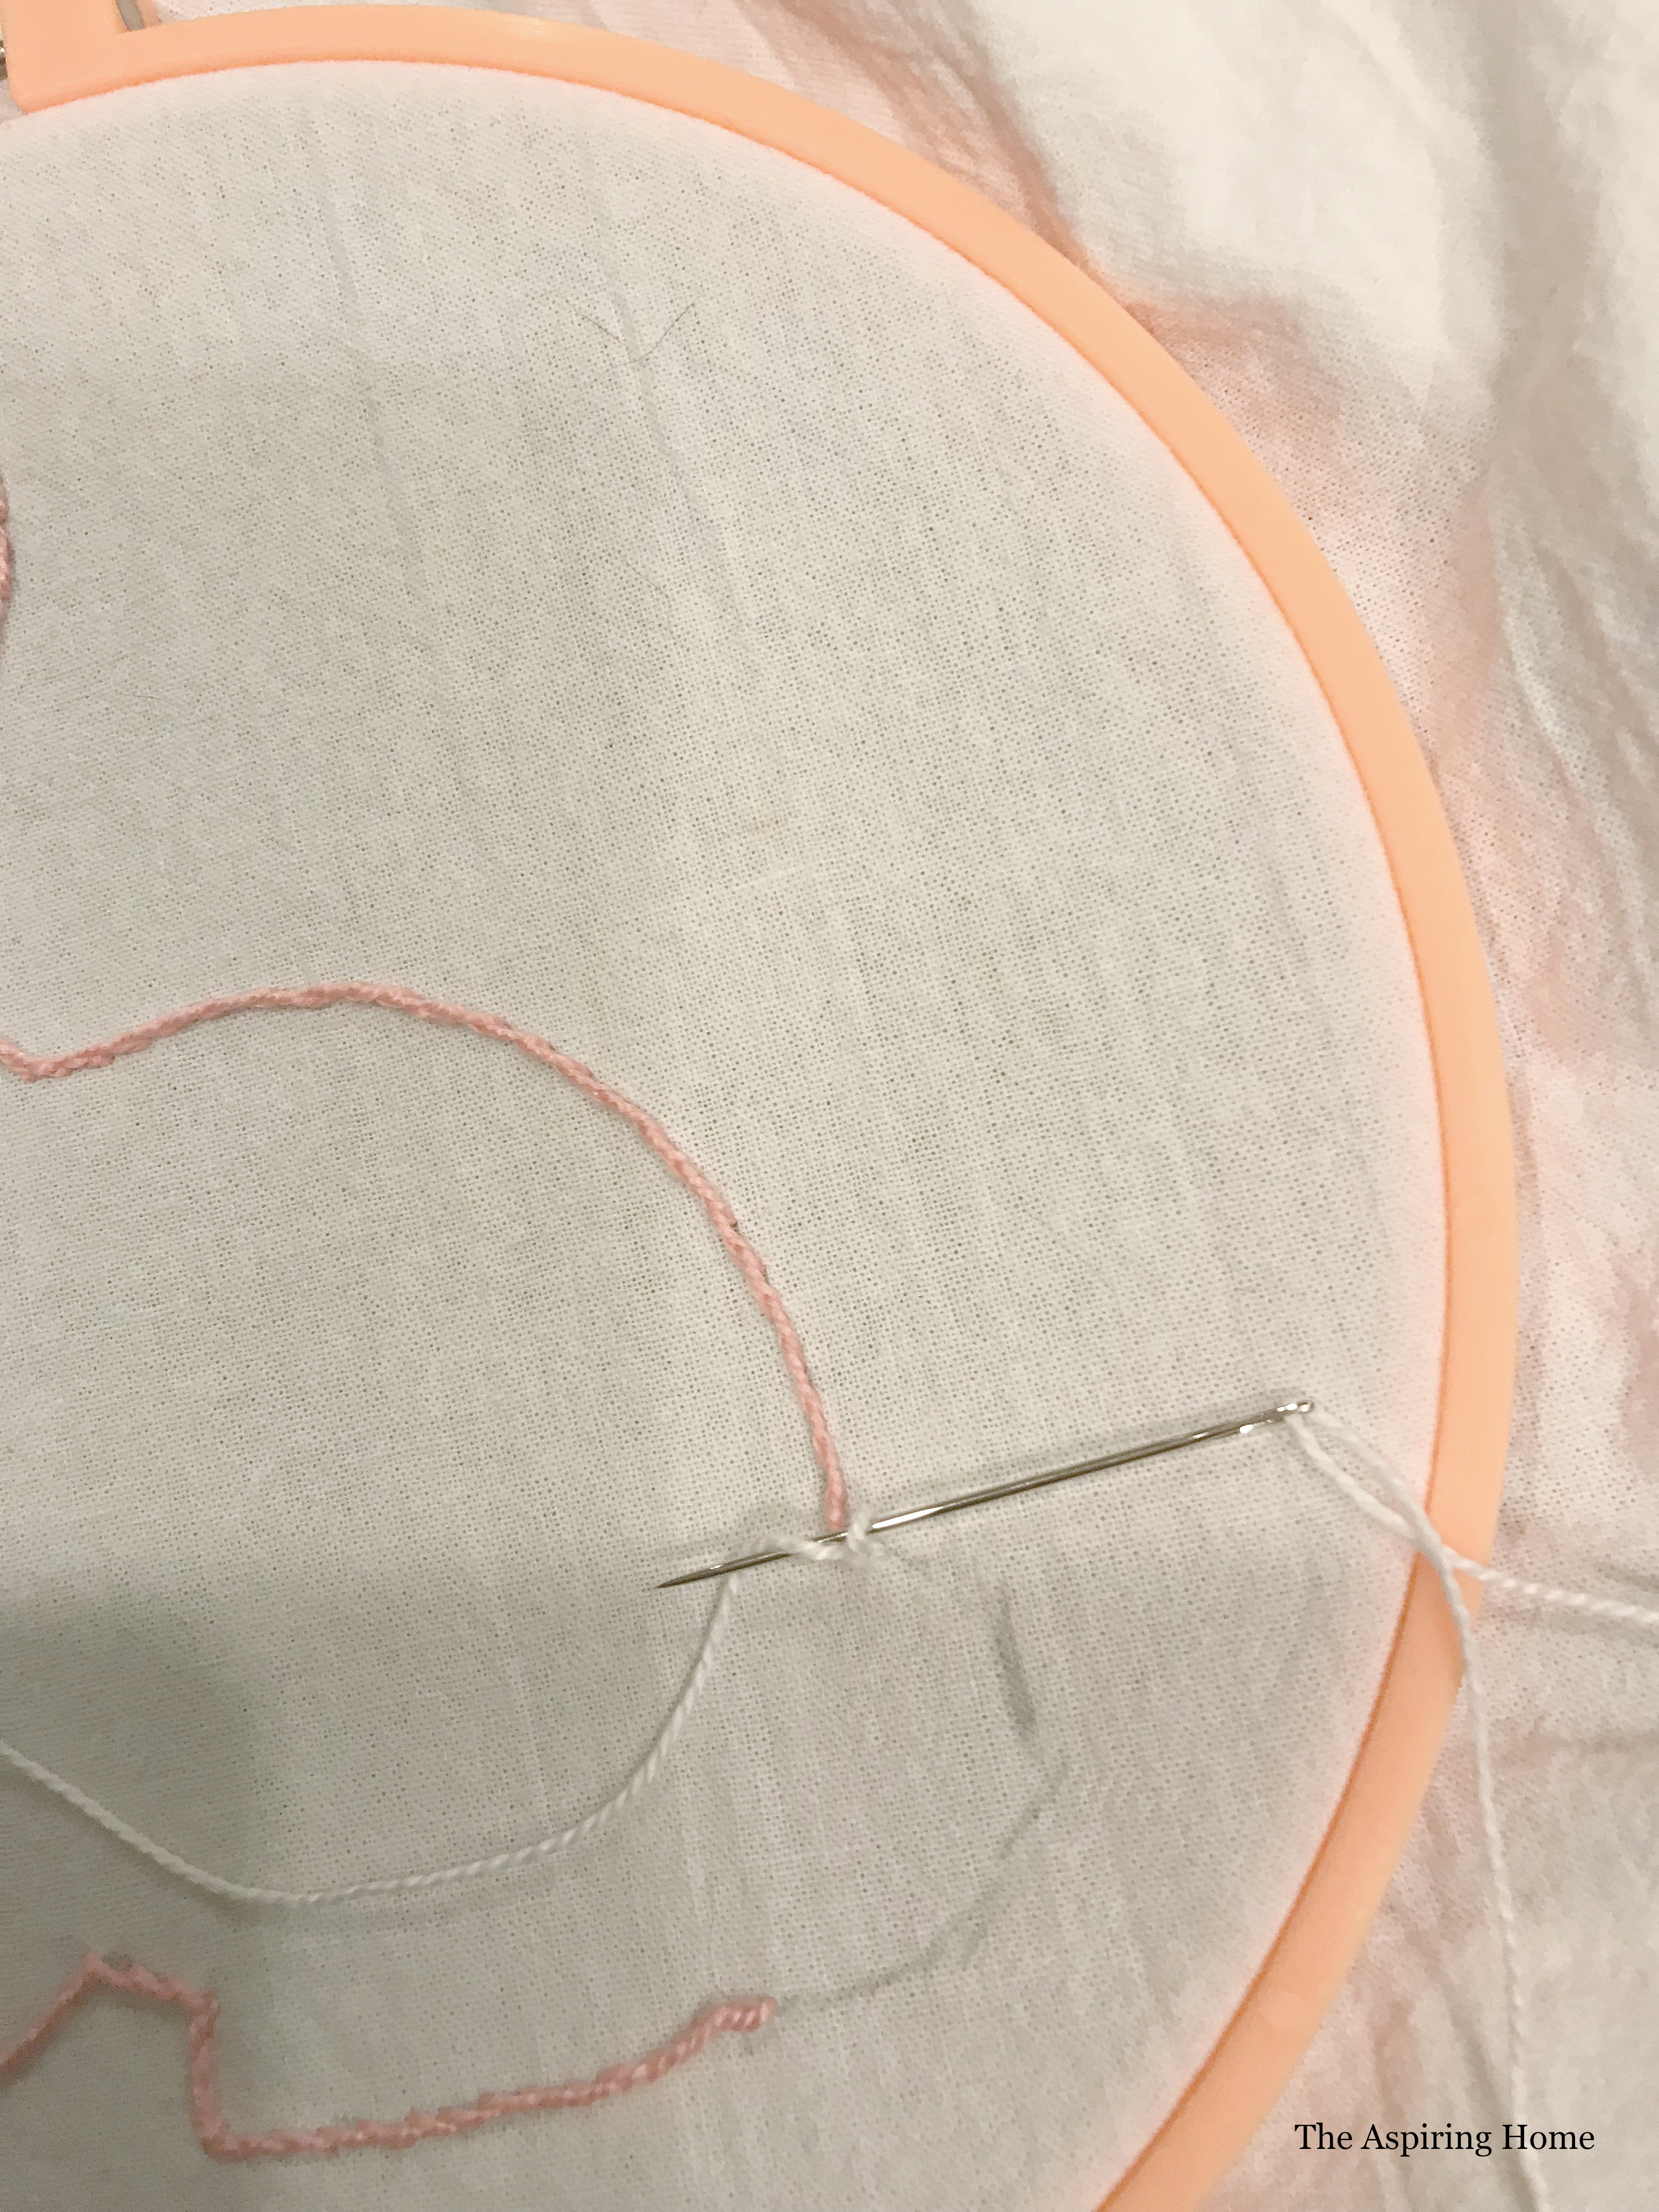
Secure embroidery thread by creating another small stitch on your outline. As the loop tightens on the backside, pull the tail of your thread through the loop and continue to pull the stitch taught.
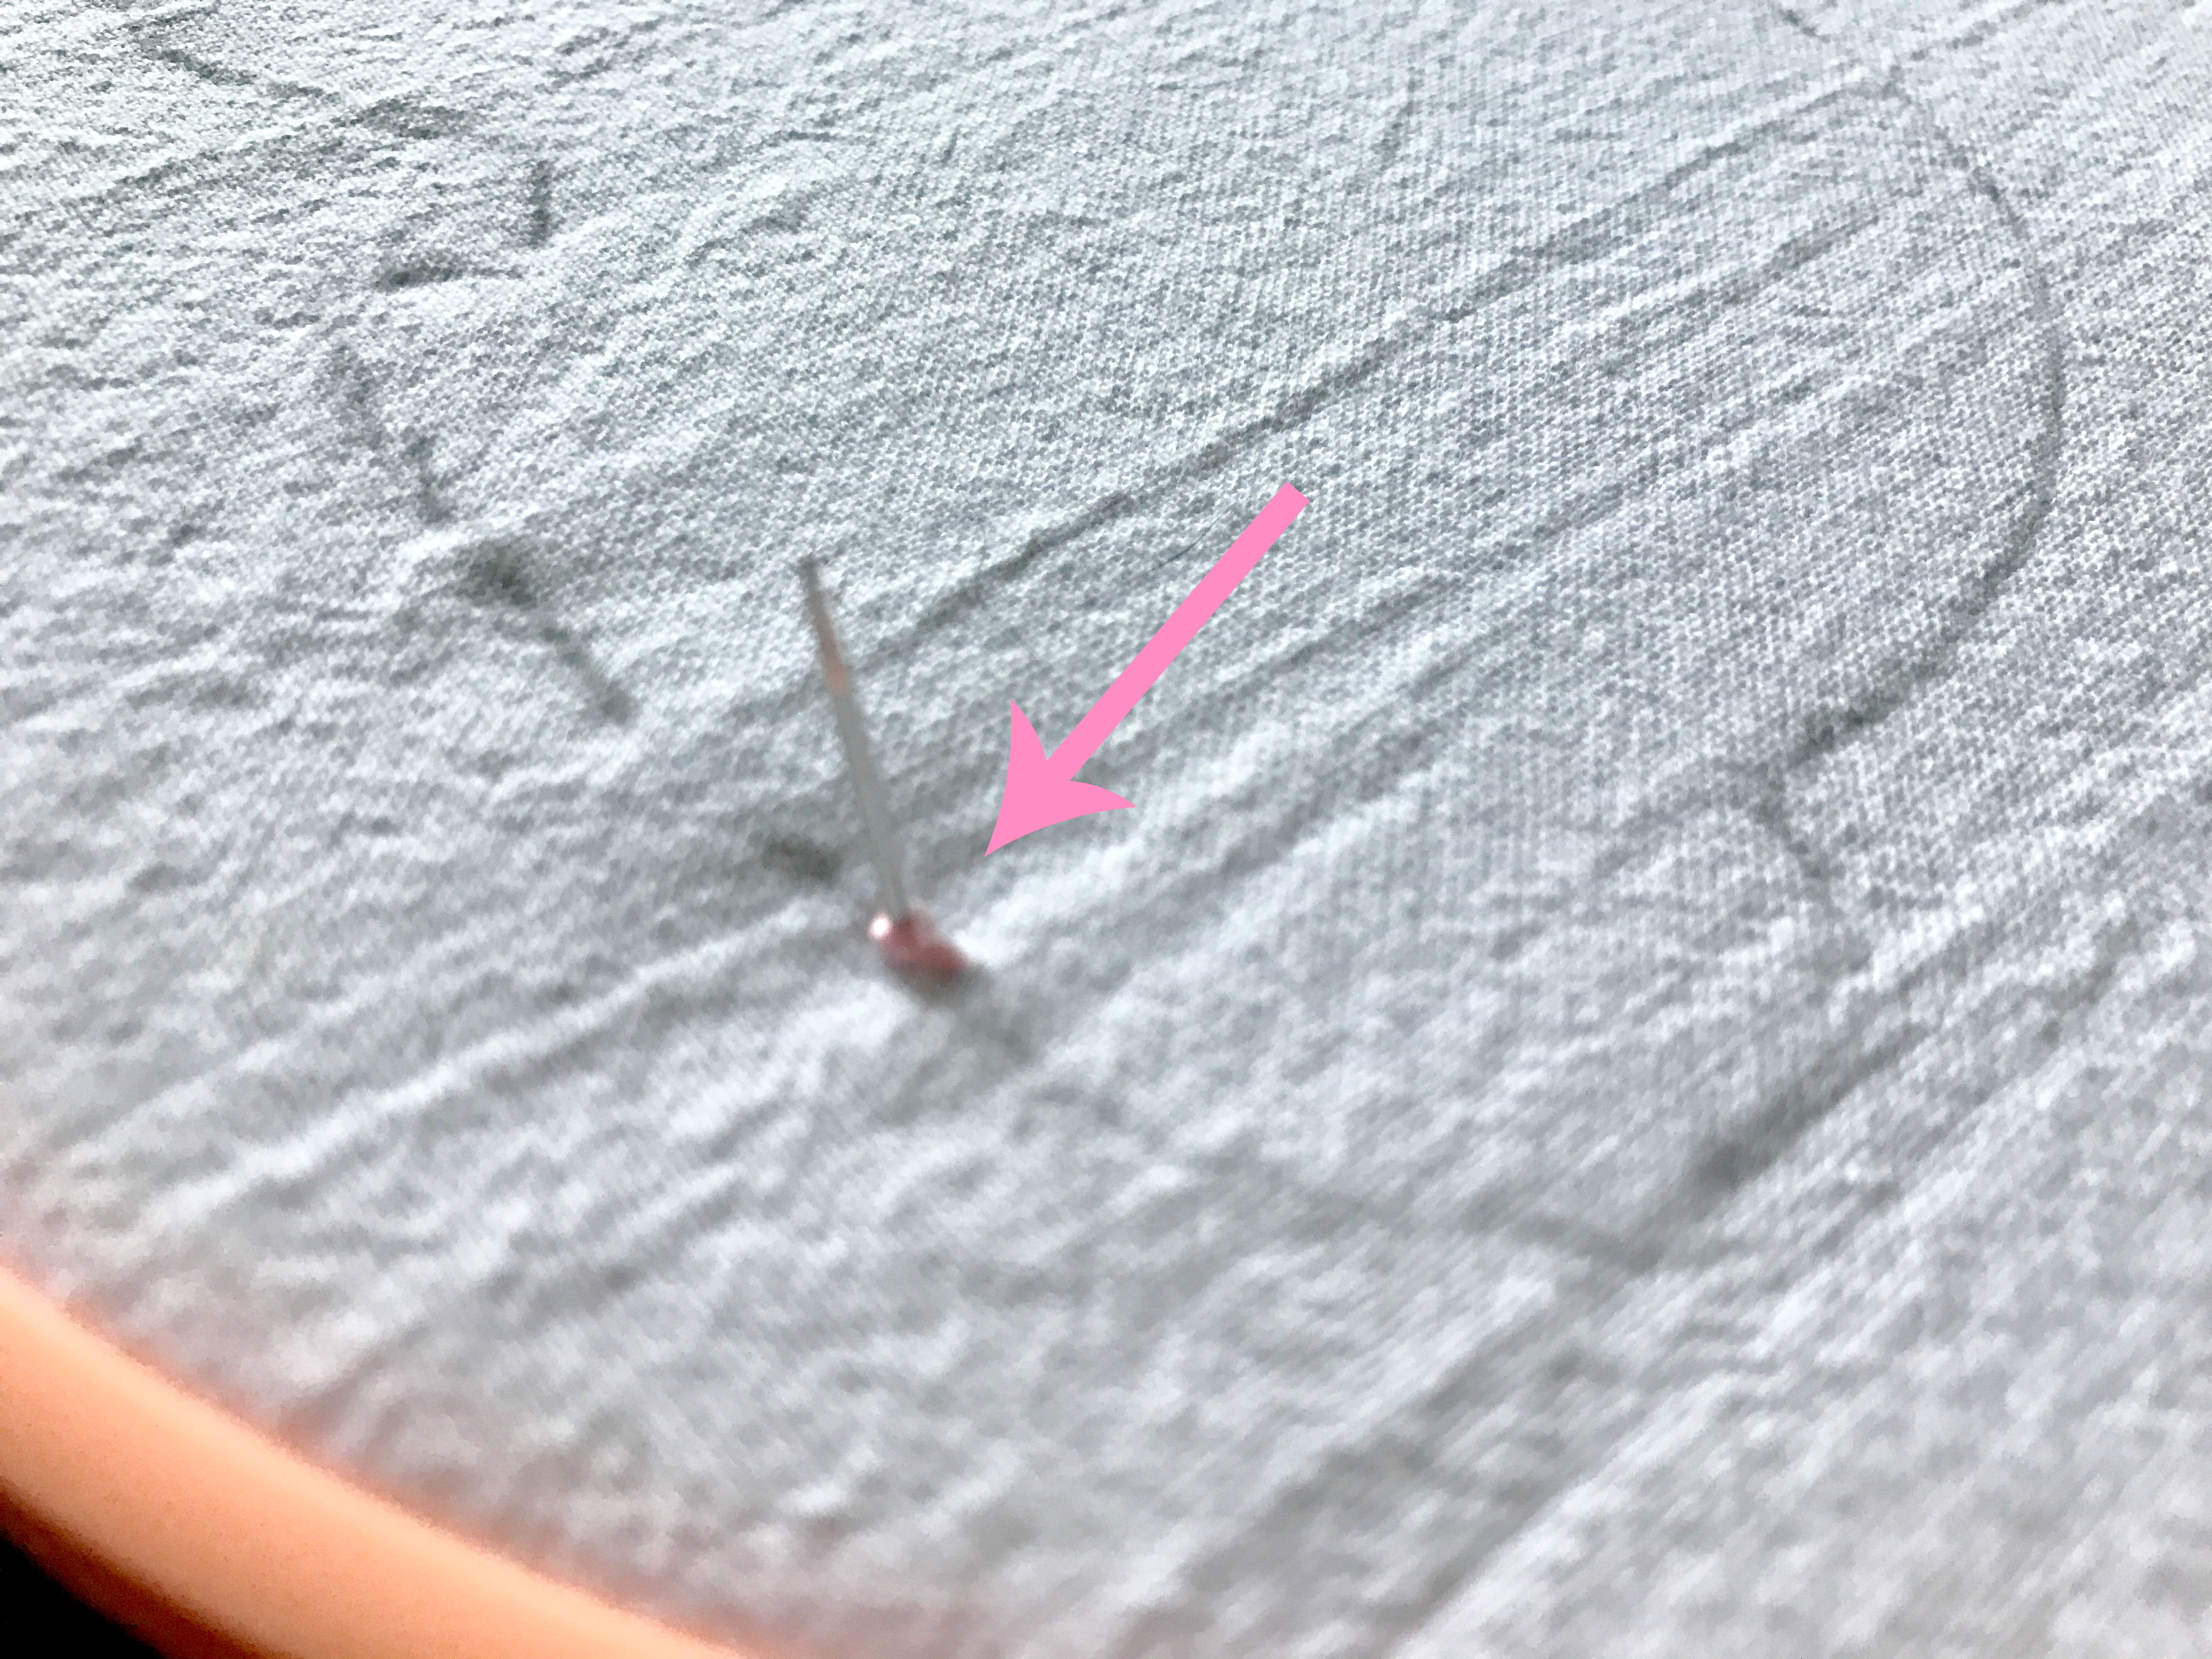
As you are creating the second stitch, make sure your needle surfaces in the middle of your first stitch. Continue the process of creating a small stitch then bringing the next stitch through the middle of the stitch before.
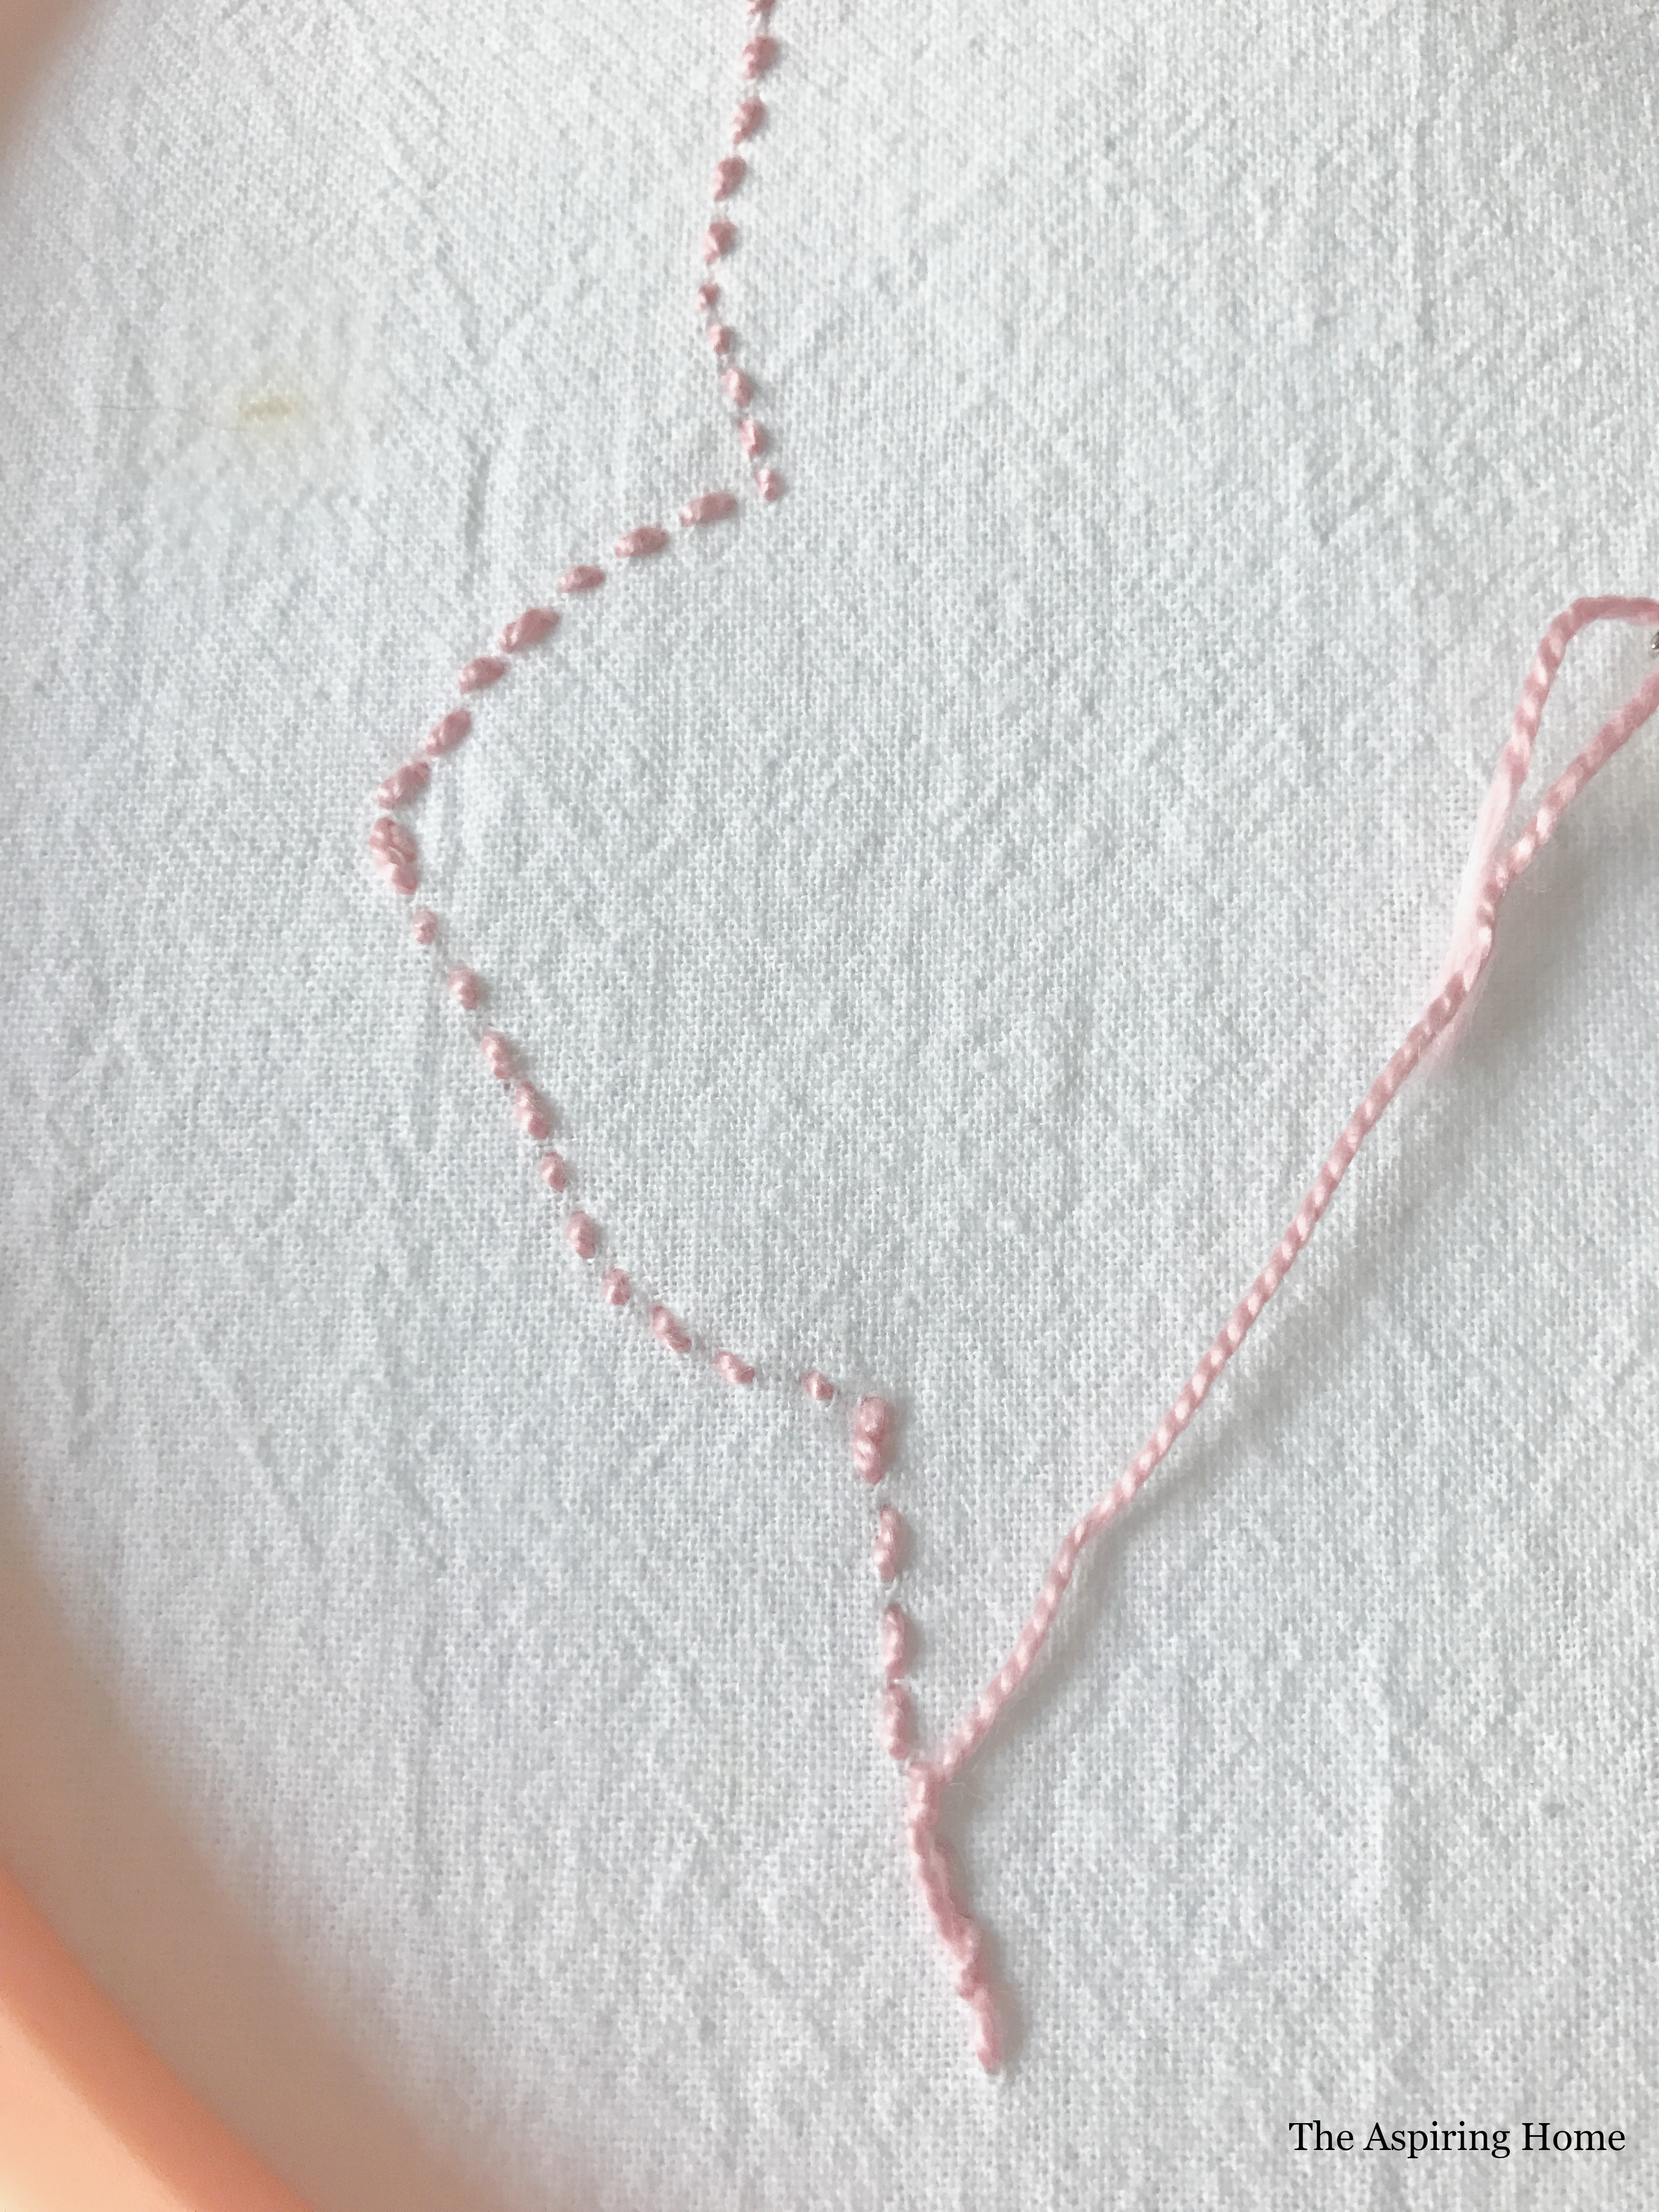
The back of your towel should look like this. When your thread begins to run out, weave it through a couple of stitches on the backside to secure it and snip the excess. Begin the process again with a new length of thread and continue stitching the outline.
Keep stitching around the outline with your thread color of choice, starting and stopping before the bunny’s tail.
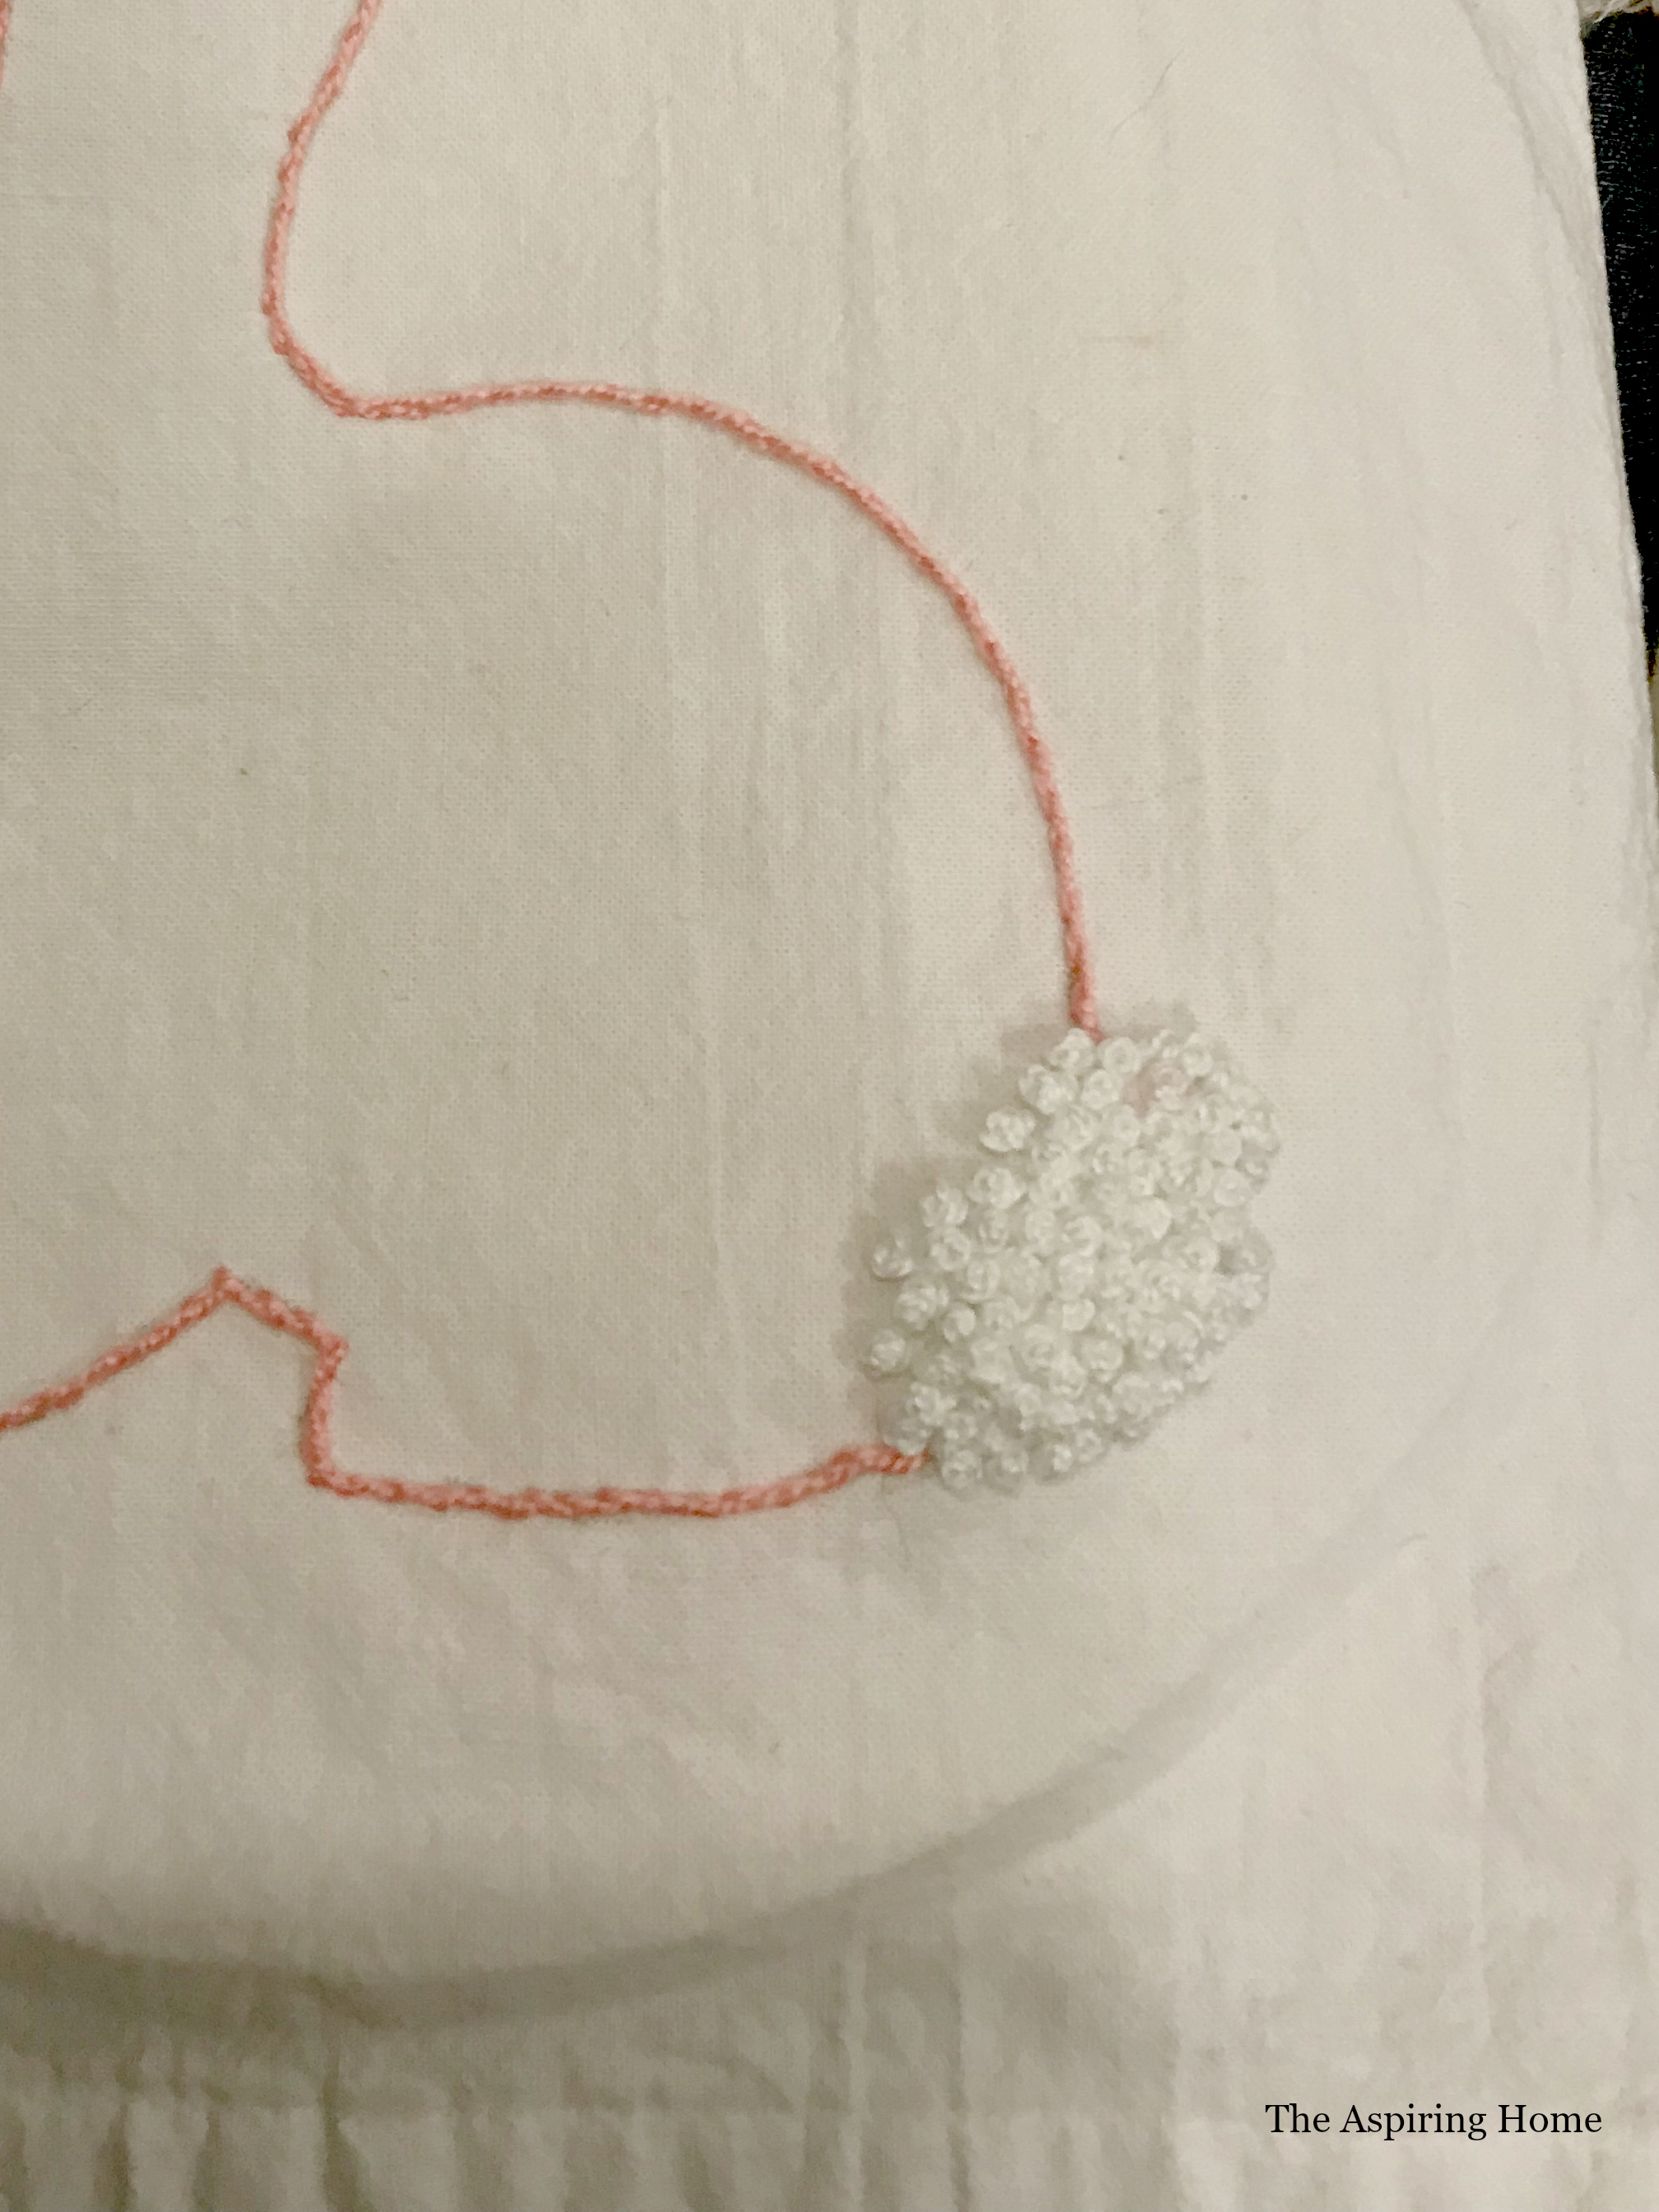
Once you have outlined the bunny, change threads. To create the cute fluffy tail we are going to switch stitches and begin doing french knots. French knots are super easy. Basically you are wrapping your thread around the needle three times, pulling the thread tight around the needle and inserting the needle back into the fabric in close proximity to the hole you created. Carefully pull the thread through to the backside while keeping slight pressure on the thread so it creates a little bump. Follow the remaining bunny outline with french knots then begin filling in the tail area until the tail looks fluffy.
Step 4:
Admire your handiwork!
Seriously, steam out the wrinkles and let your handiwork take center stage in your kitchen!
Just think, you could make the cutest napkins, table runner, placemats, etc. How fabulous would that be? Why stop at bunnies? Every holiday is fair game!
Don’t forget to head over to my dear friends’ blogs and see what spring goodness they have created for you!
A Home To Grow Old In | The Aspiring Home
Sweet Parrish Place | The Red Painted Cottage | Savvy Apron
Till Later!




Joy, your towel came out so cute, and you make embroidery look so easy. I may have to make a shamrock towel for St. Patrick’s Day.
Thank you! If you end up making a shamrock- let me know, it would be a really cute idea.
Joy, this embroidery bunny kitchen table is one of my favorite things that I have seen this year! I am with you, I love that a lot of crafts that were popular years ago are making a comeback. You have given me a great tutorial and the bunny’s tail is the cutest.
Aww, that makes me so very happy to hear! I had a friend ask me to teach her daughter how to do hand embroidery, I can not wait to pass this along. 🙂
Joy, this is a darling bunny! I loved embroidery and haven’t used it in years. Time to start again because like you mentioned it can be used on so many things. Great job, my friend!
It is amazing how many sweet embroidered towels are showing up in the boutiques! The bunny literally took a couple of hours to complete. I like instant gratification. LOL
That is so simplisitic and dainty and perfect for Spring! I love it! Great job, I need to try this myself.
I hope you do try it and share! 🙂