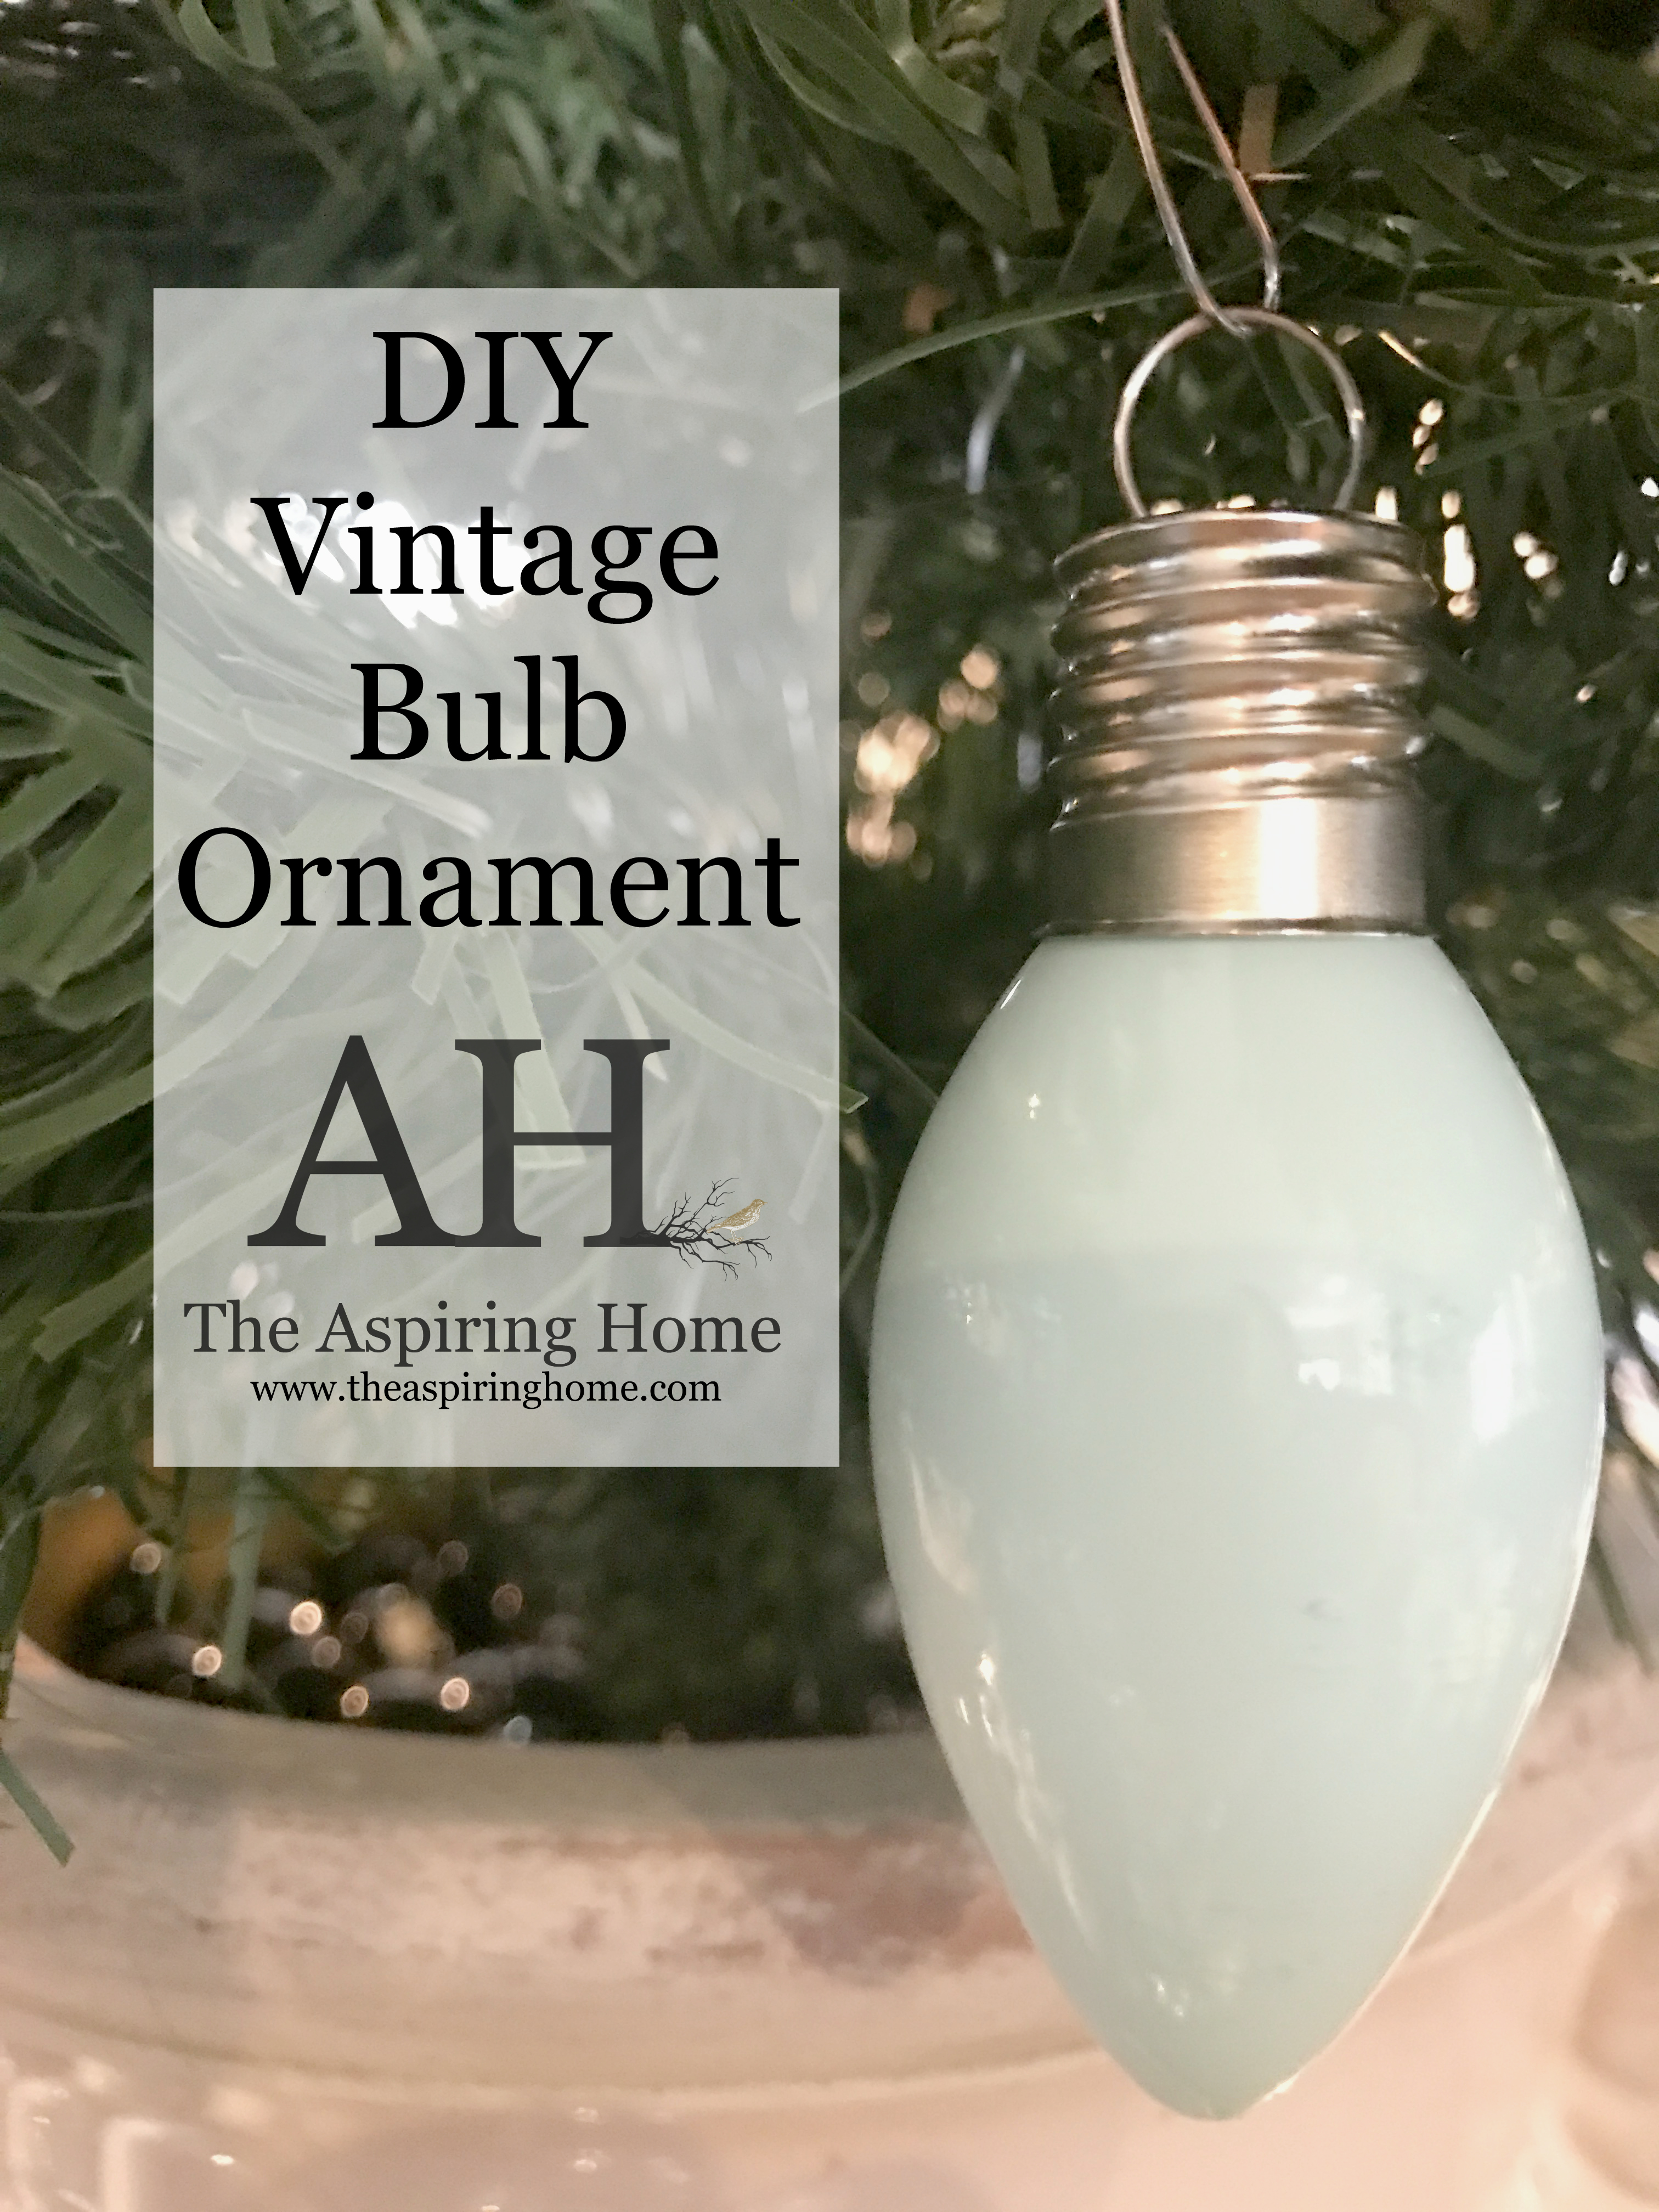
5 Steps To Make A Vintage Bulb Ornament
Create custom color ornaments in just an afternoon! This DIY vintage bulb ornament is fun to make and oh so easy. You’re going to want make a bunch!
Hi! Well, the count down is on my friends! Christmas is AROUND the corner! Guess what? I decided to add a cute DIY vintage bulb ornament to my kitchen tree and swag. So easy and so cute!
Materials:
- Clear bulb ornaments (pick up at your favorite craft store)
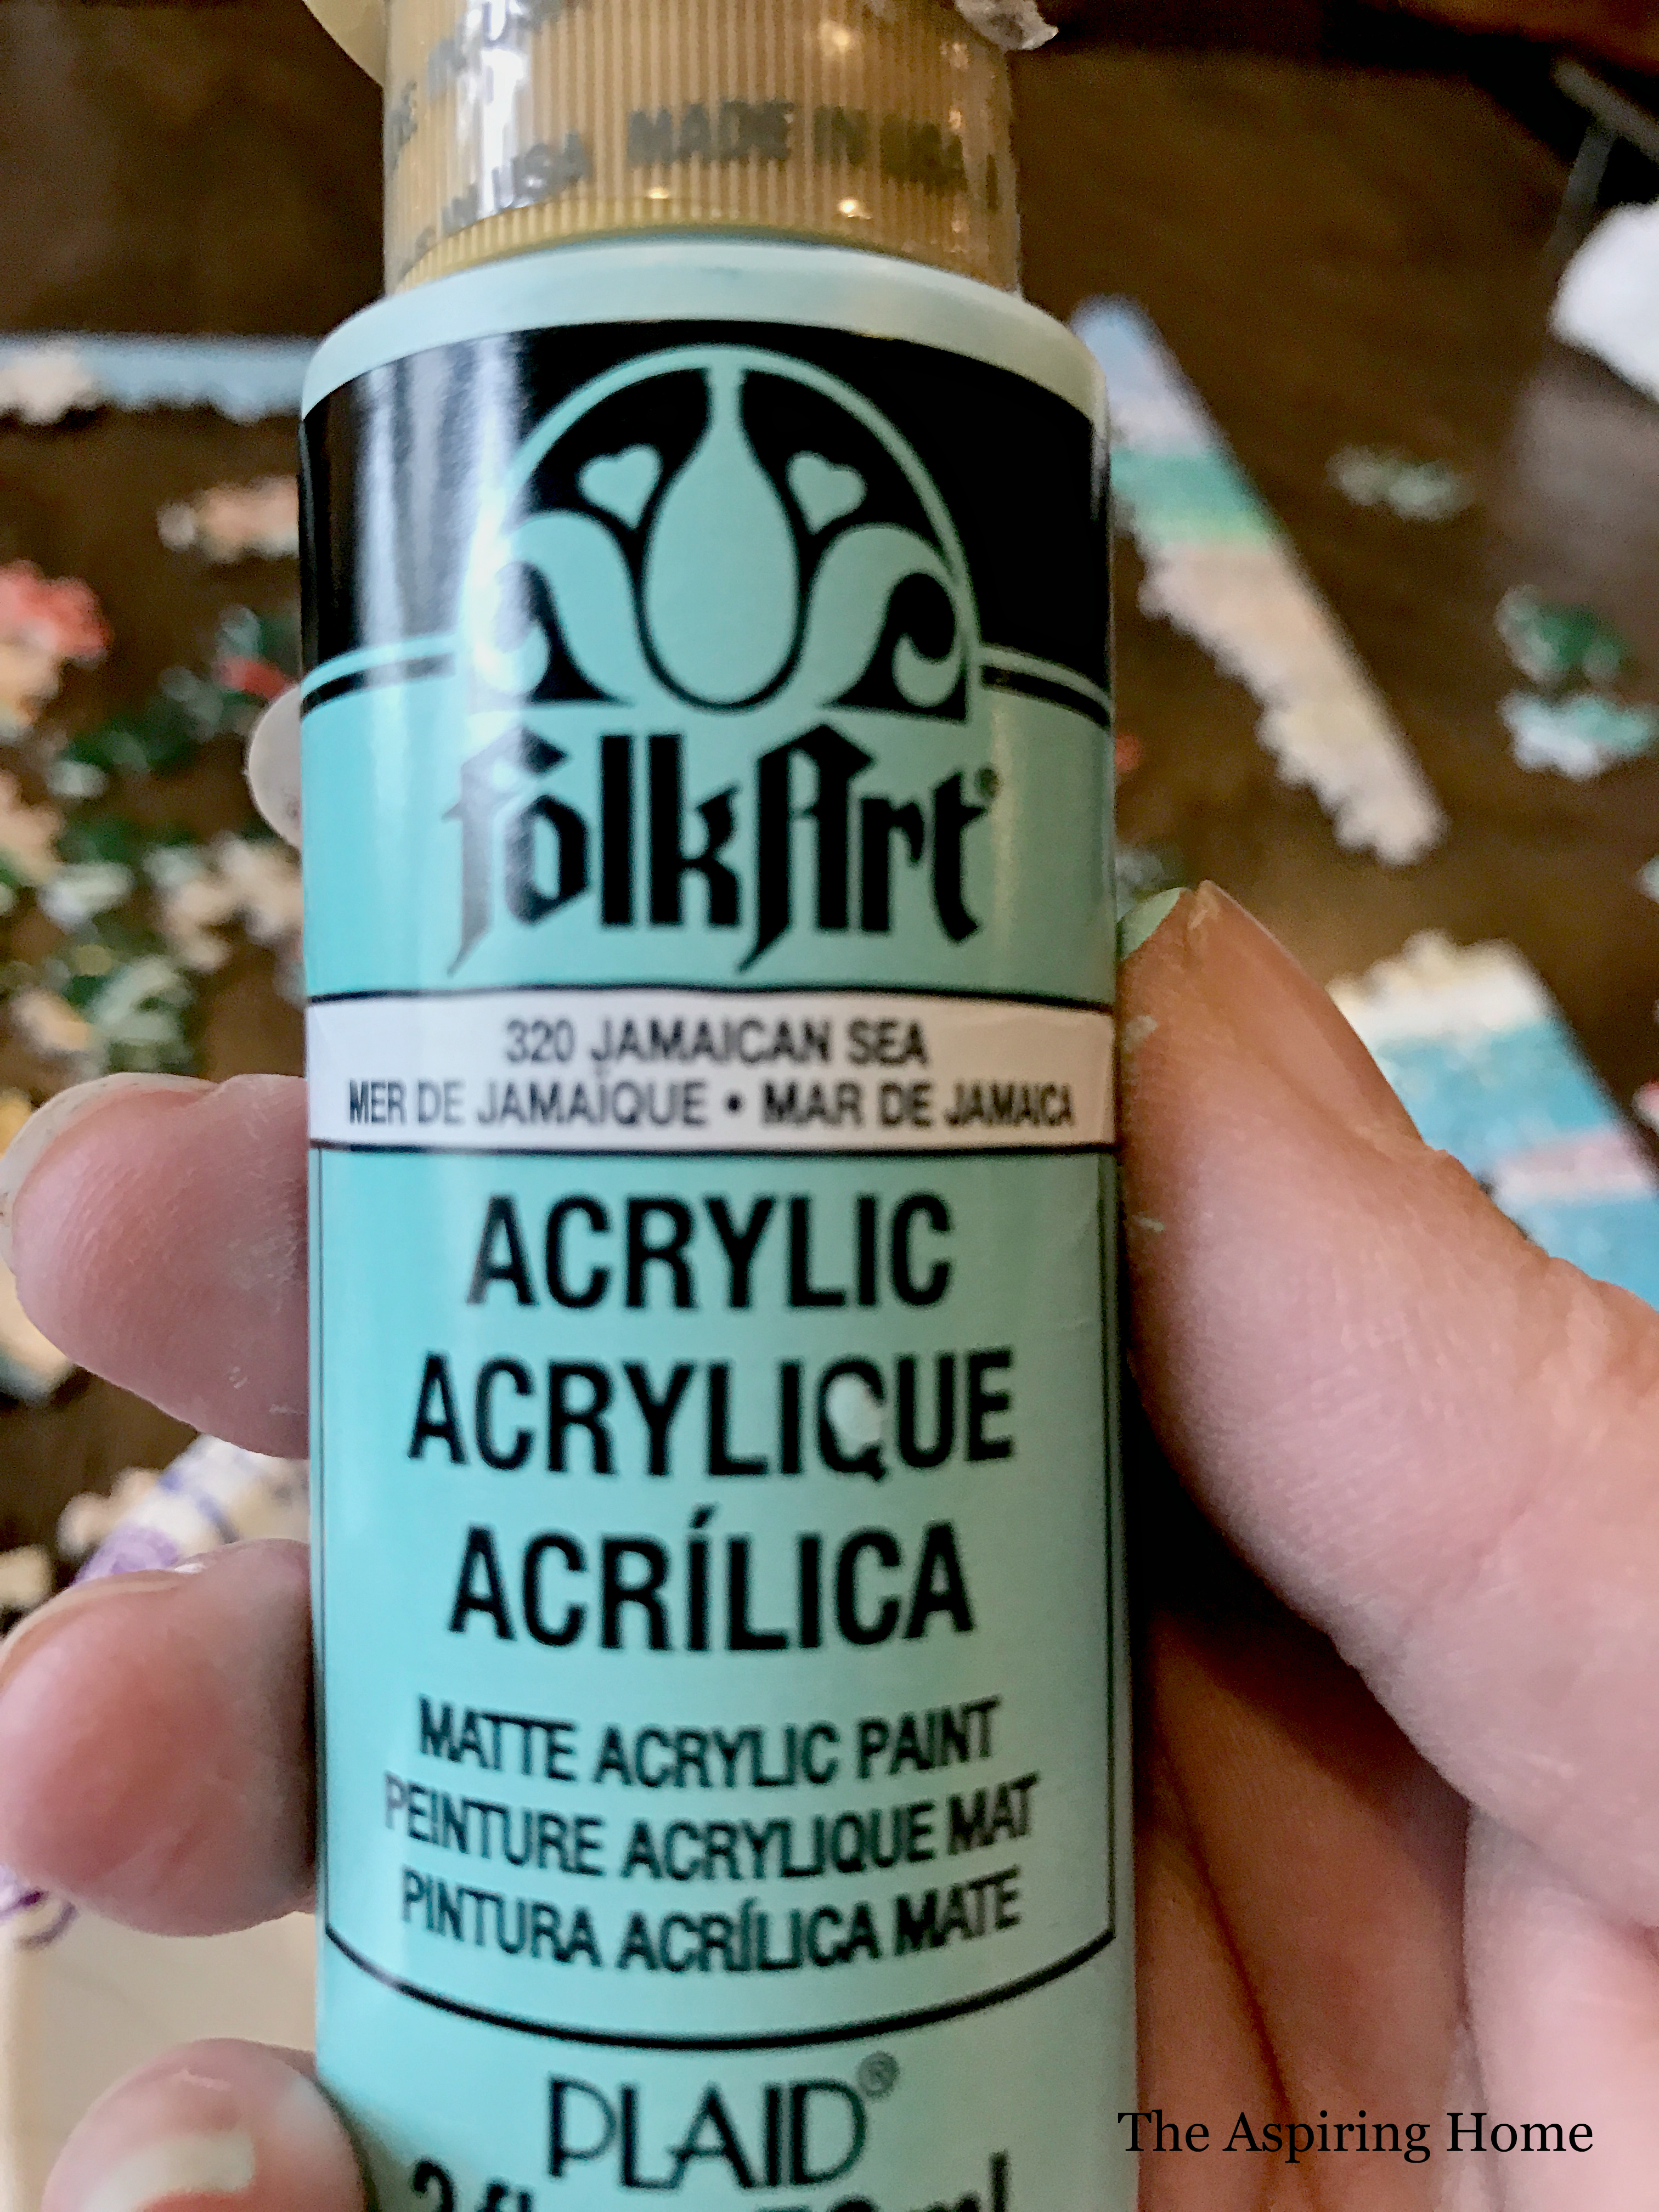
- Acrylic Craft paint
- Paper bowls
- Paper towels
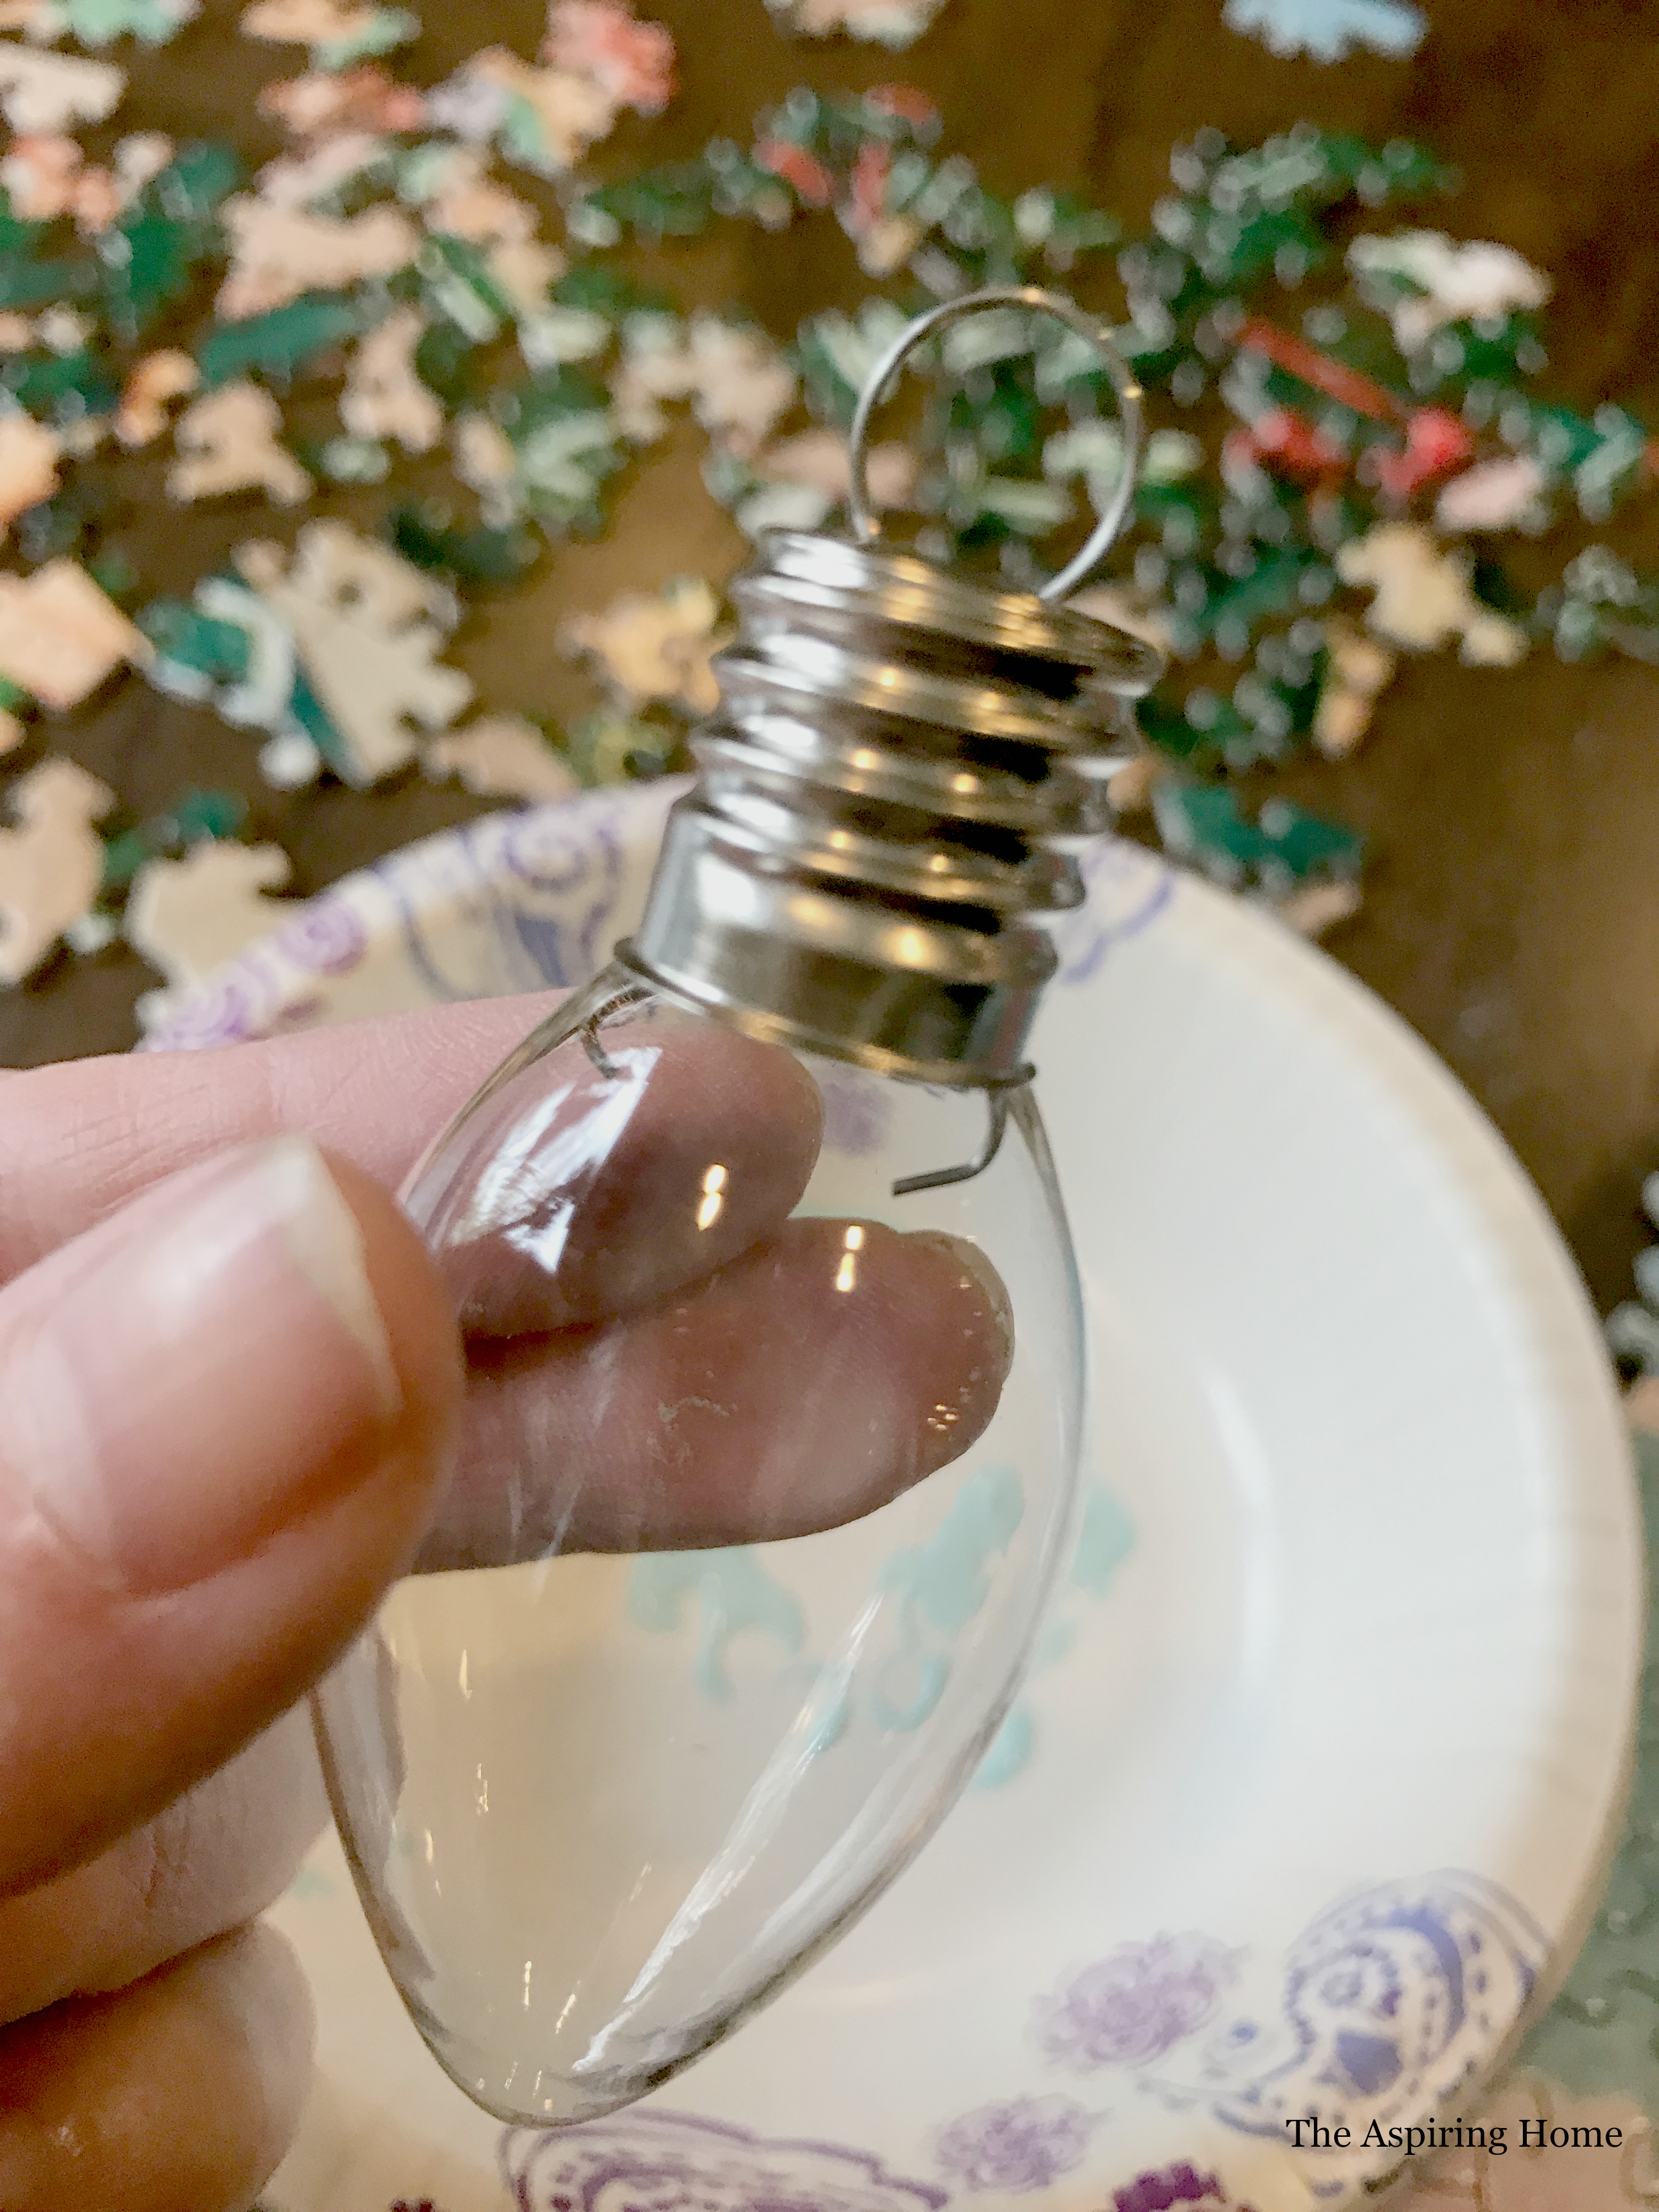
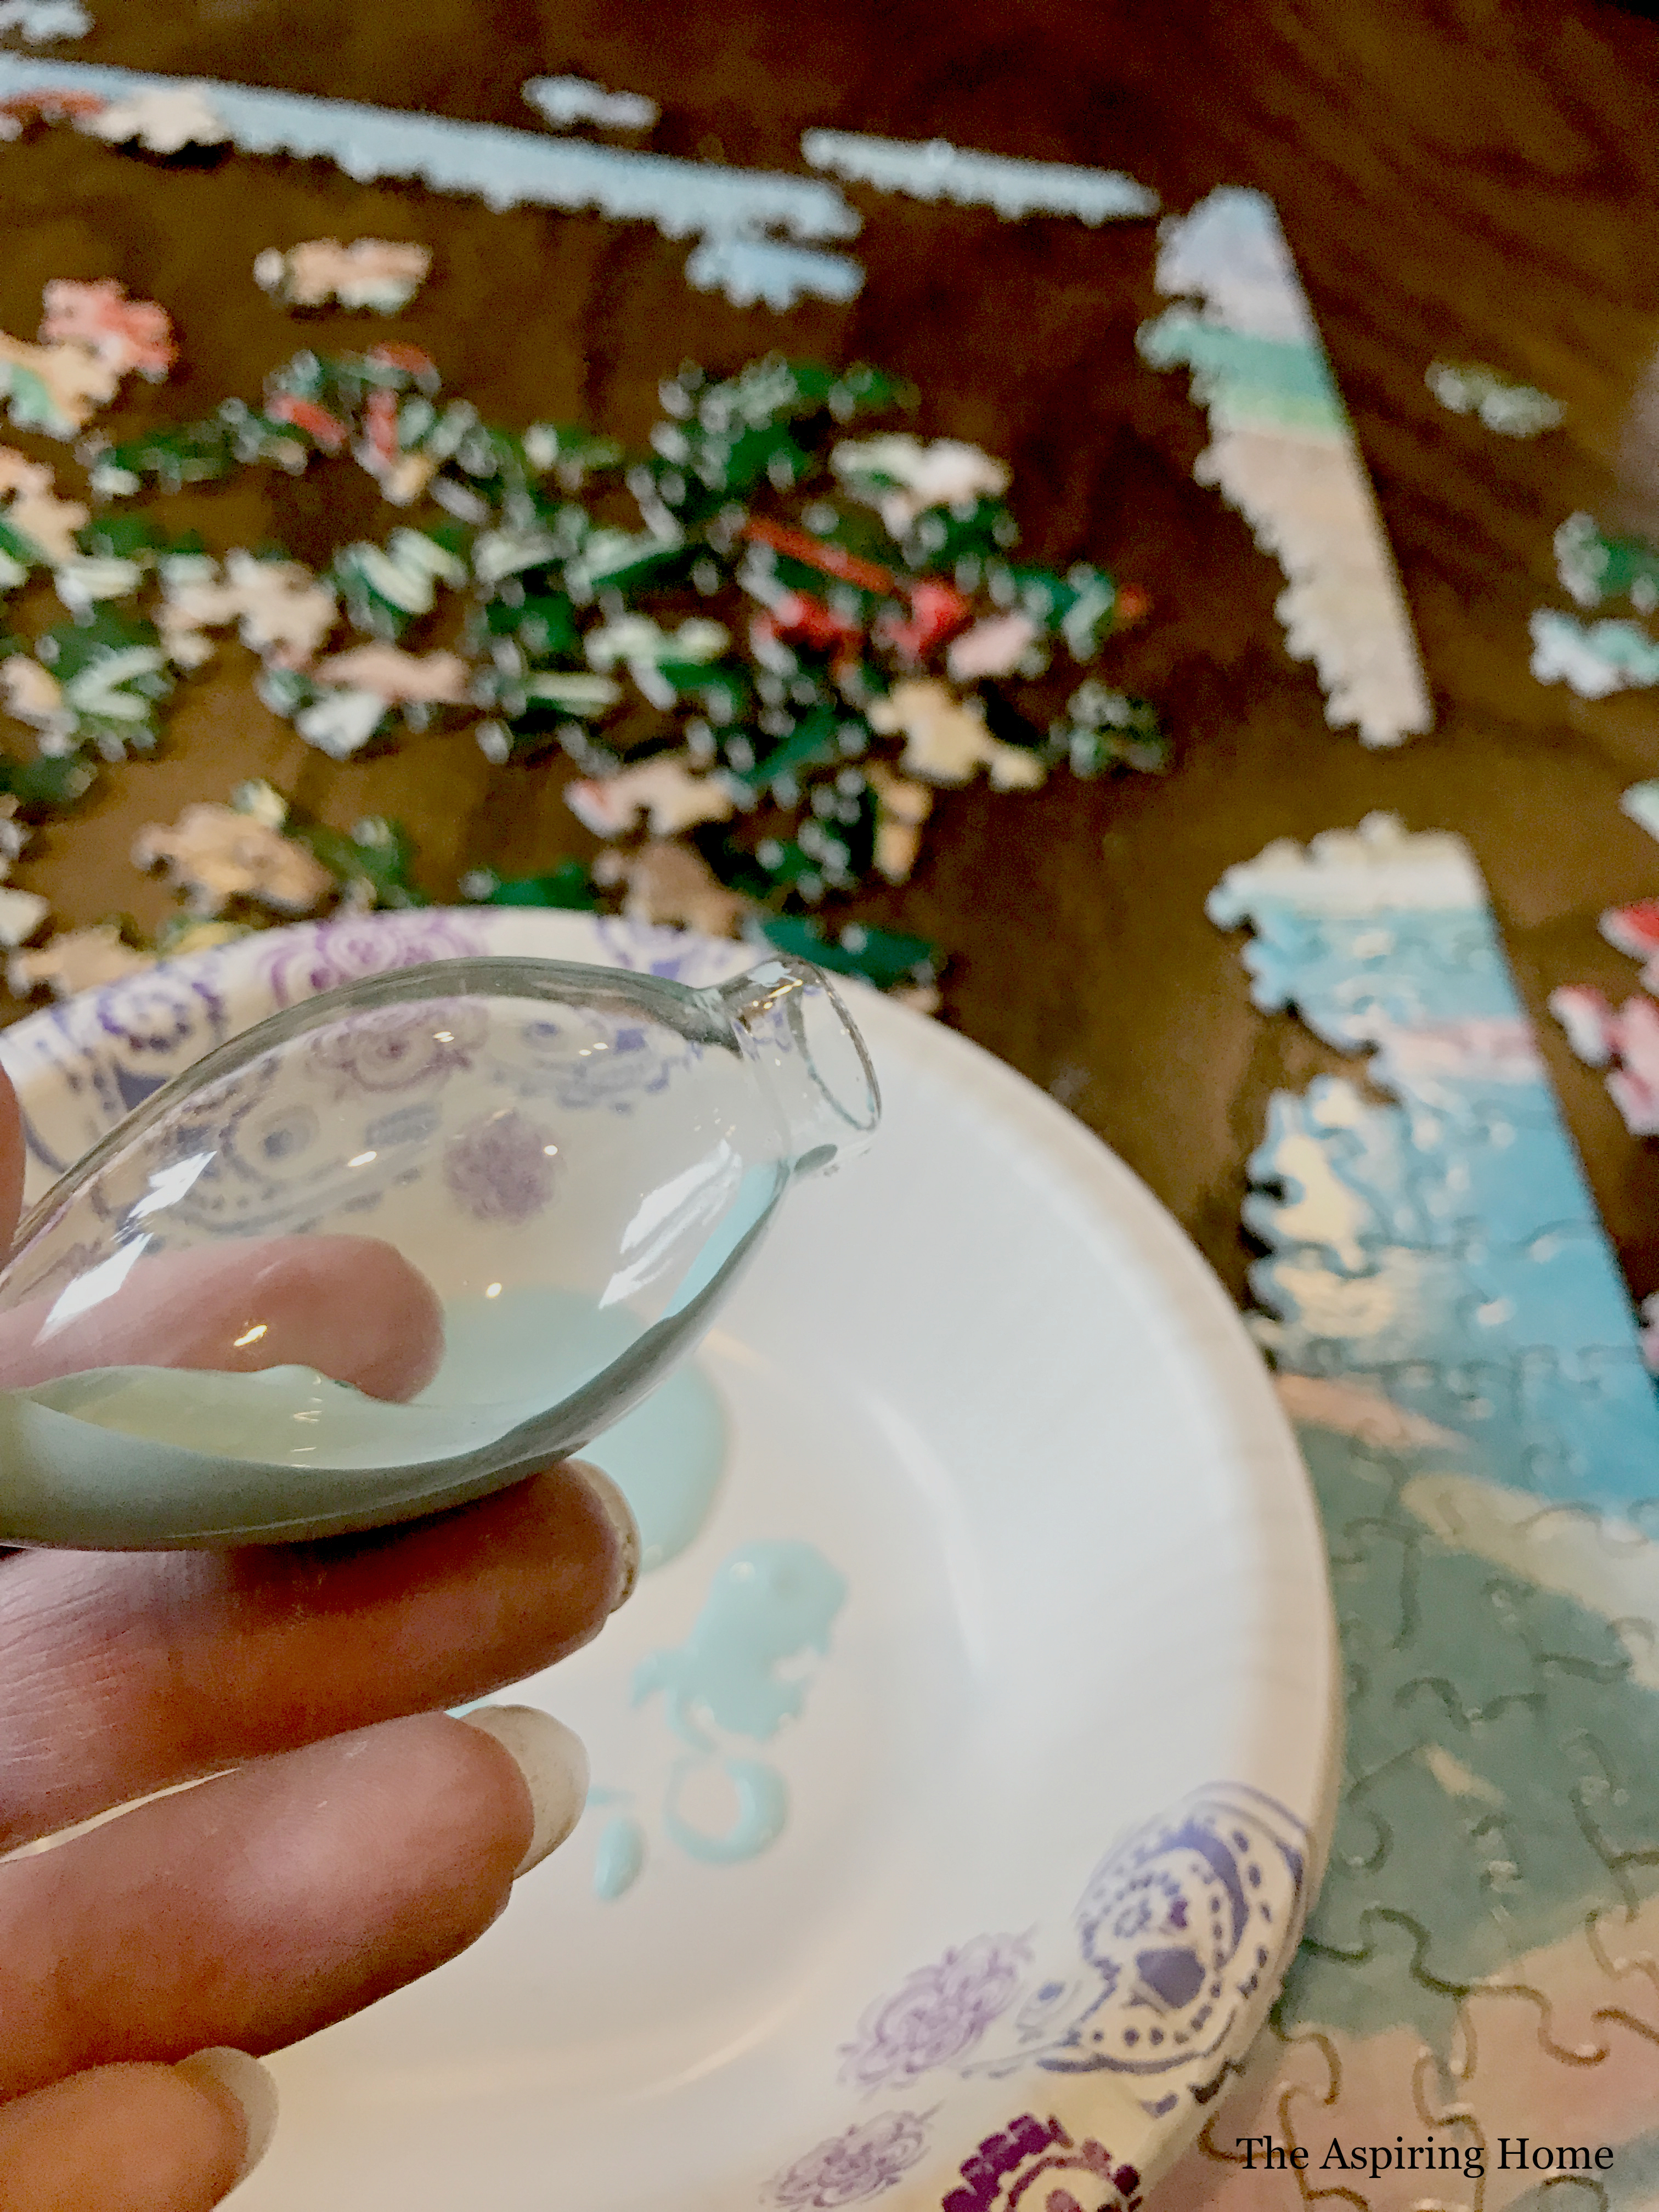
Step 1:
Carefully remove the top of the ornament and set aside.
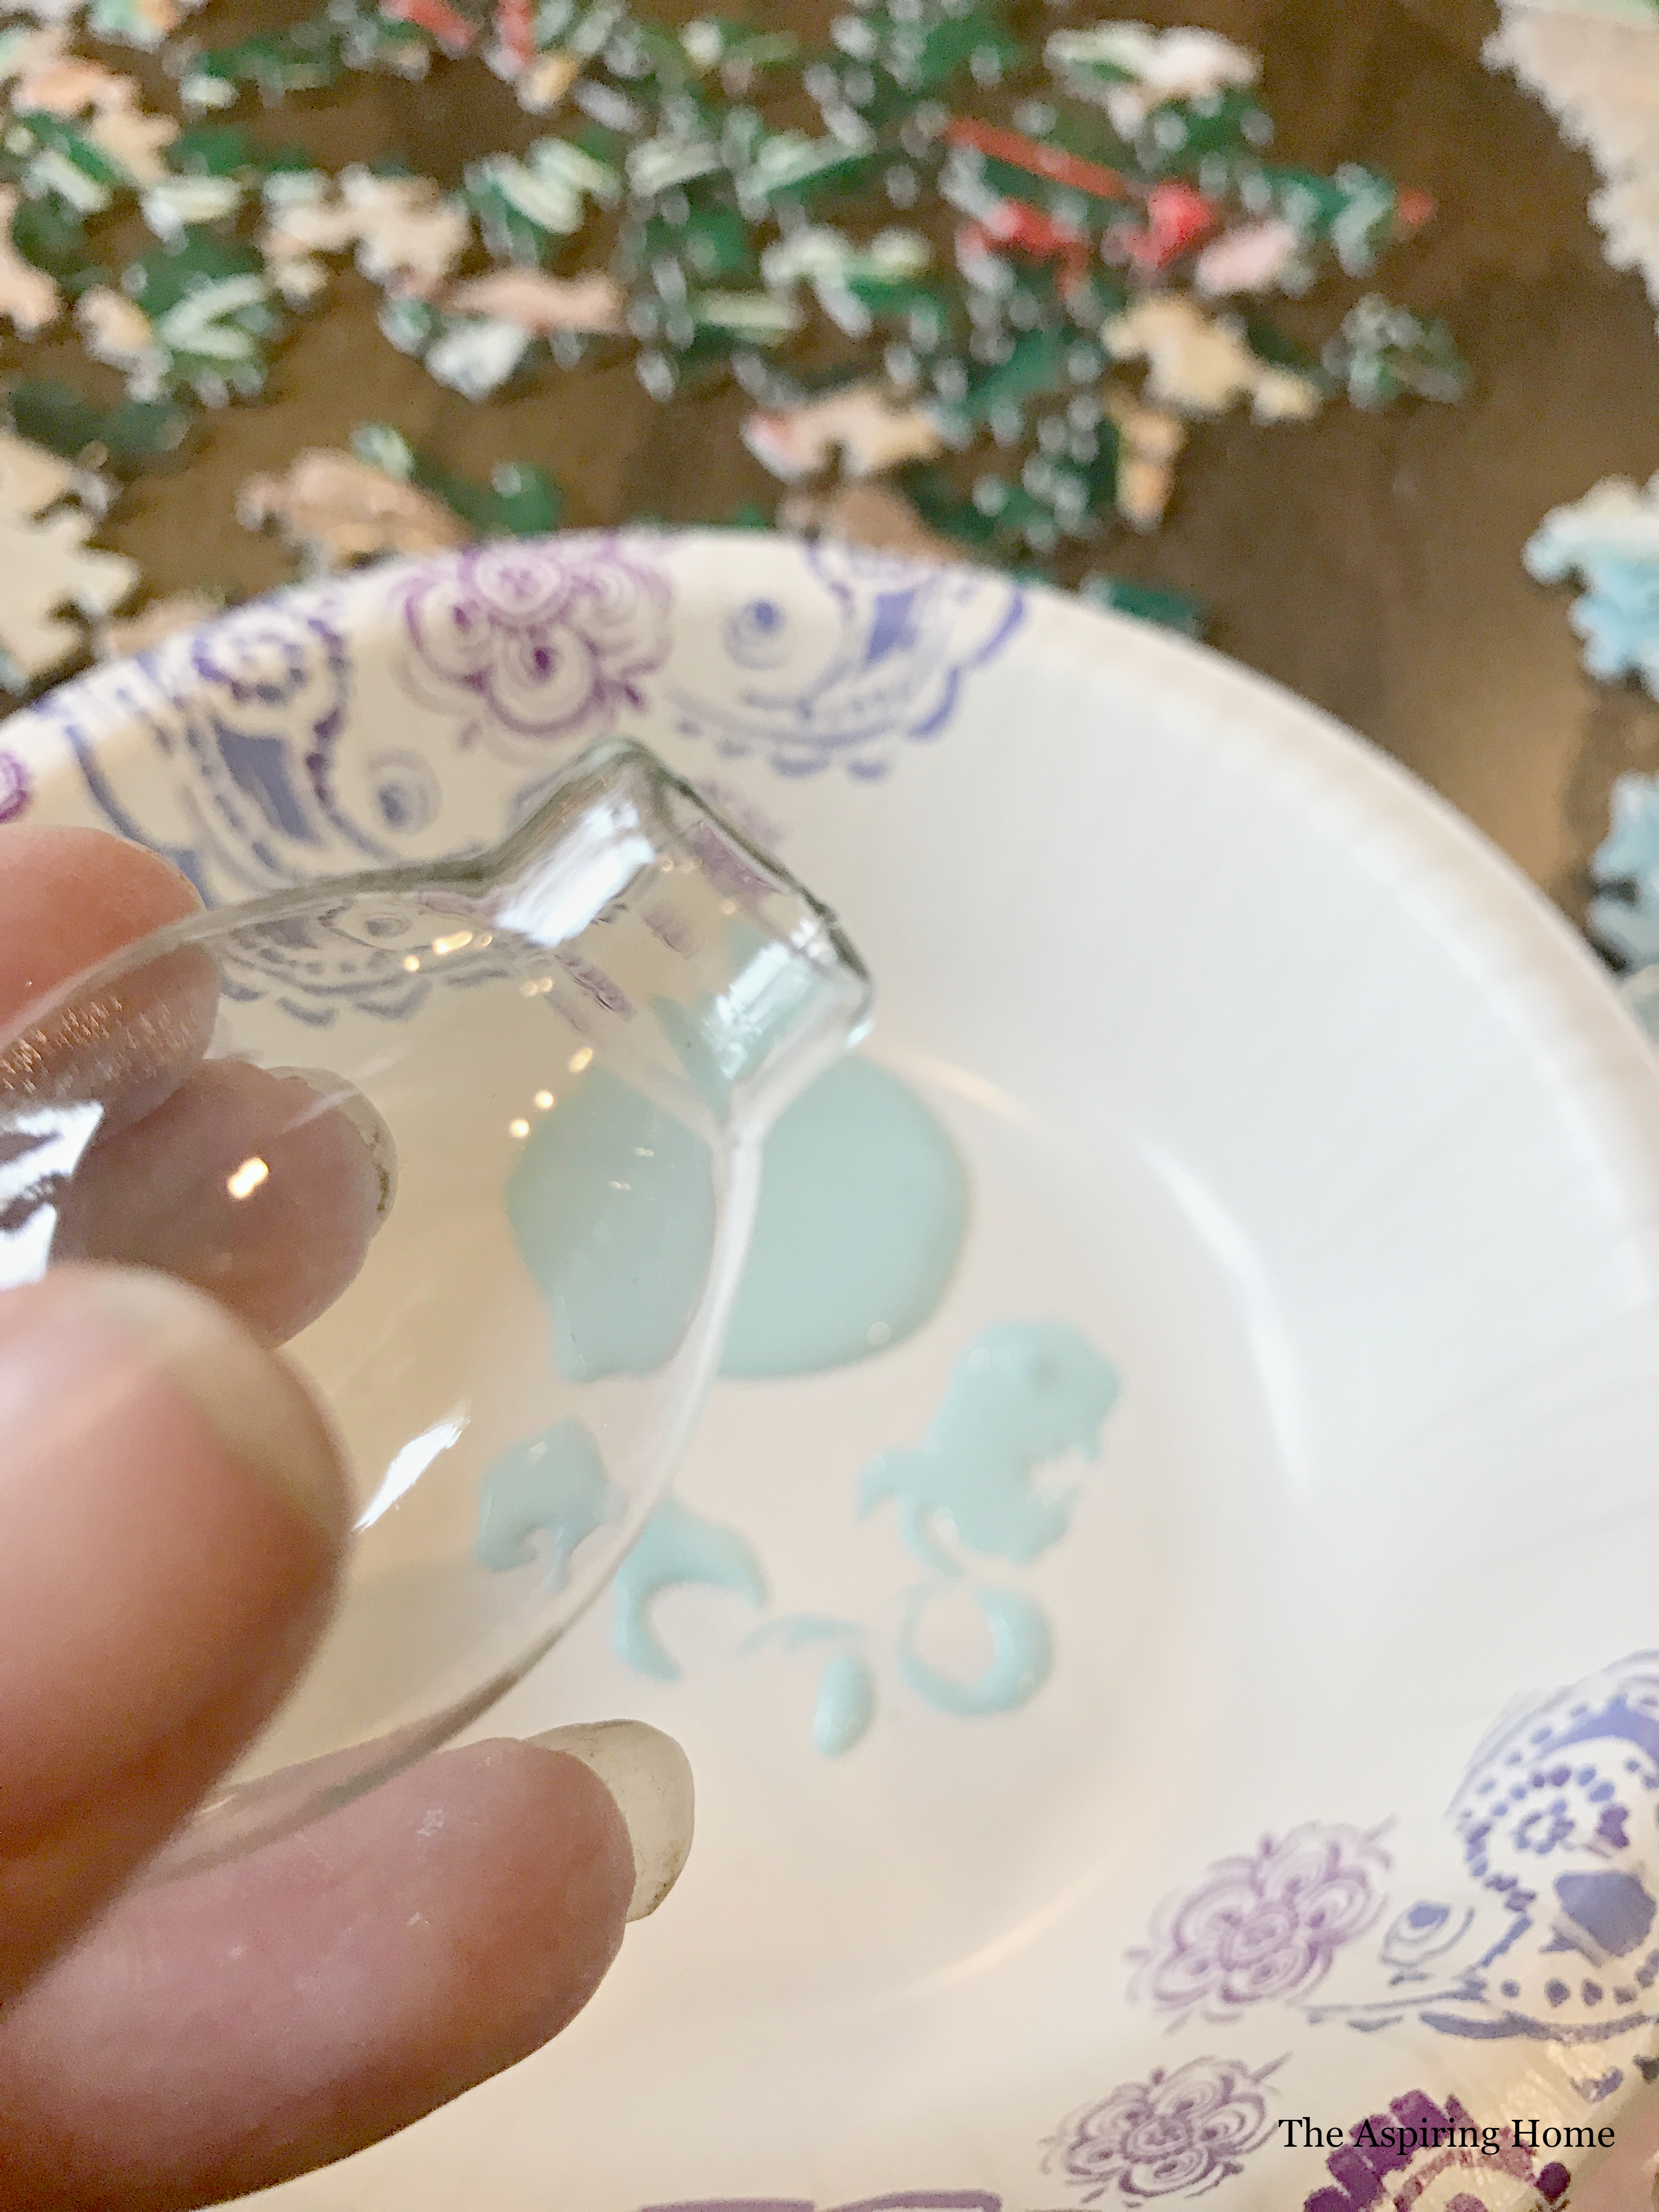
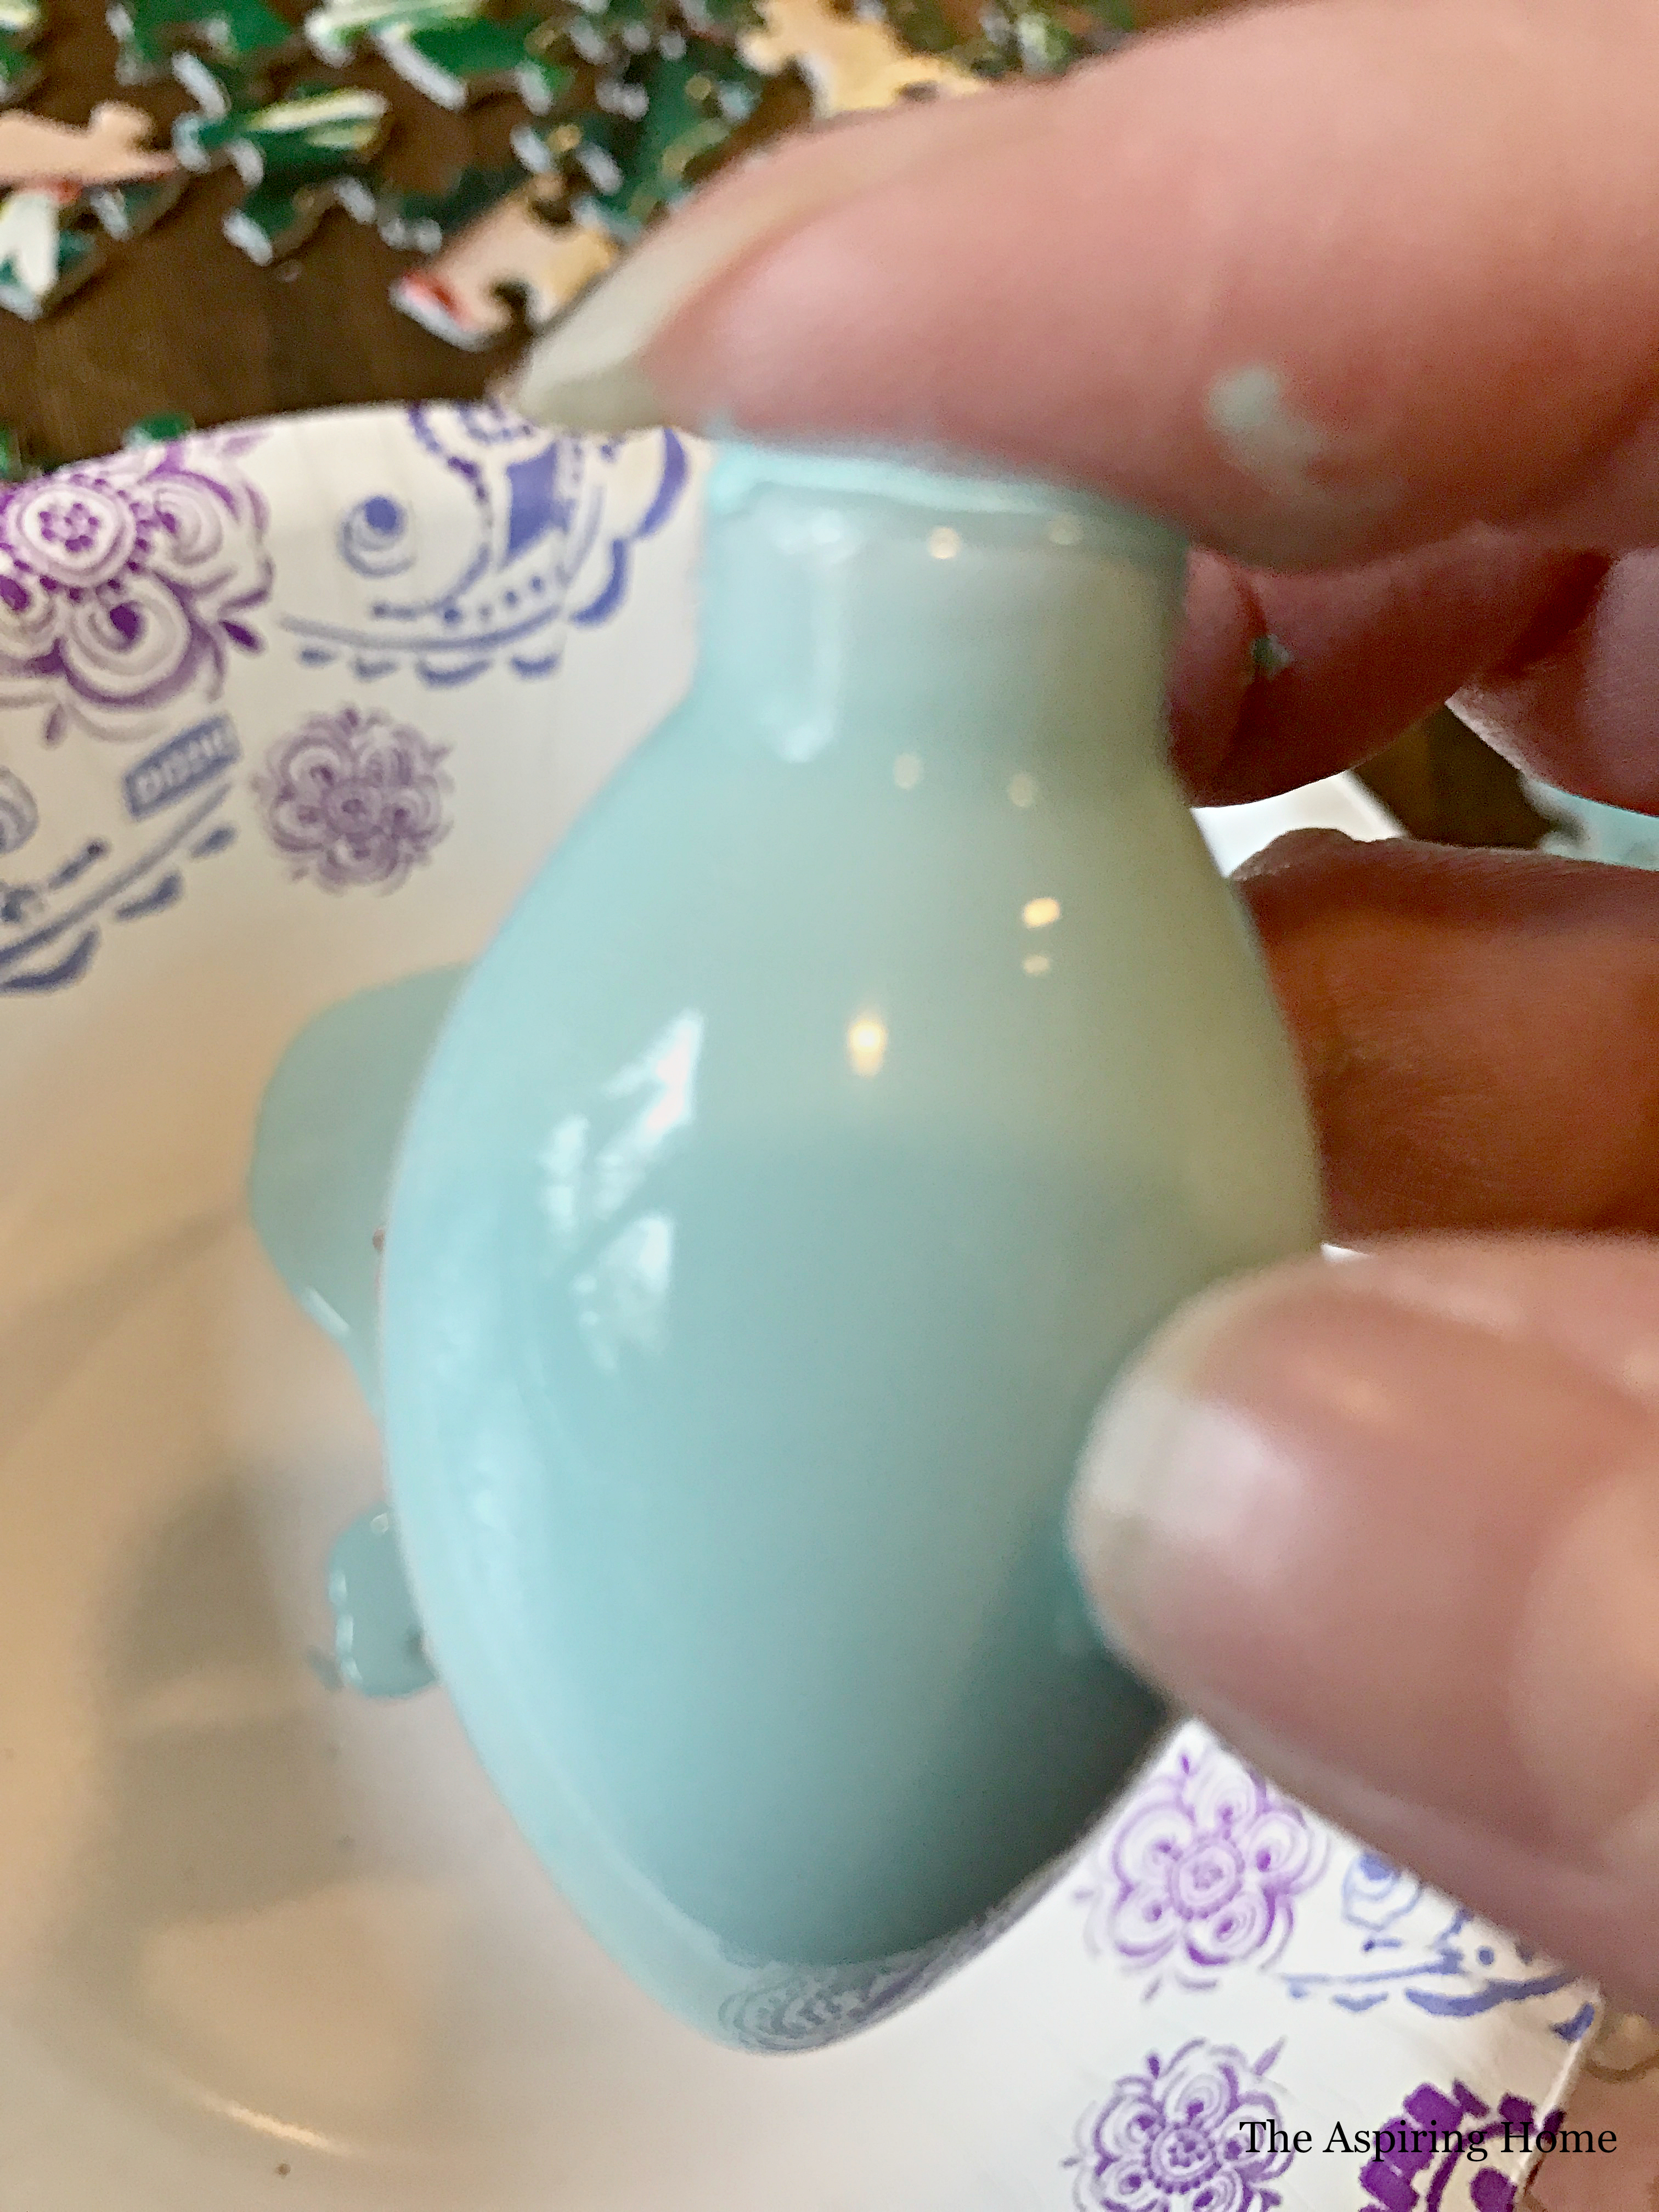
Step 2:
Work over a paper bowl and have paper towel at the ready. Carefully squeeze acrylic paint color into the clear ornament. Rotate the ornament slowly as you squeeze paint.
Step 3:
Carefully rotate to move color around until entire ornament is covered.
Step 4:
Once the color is solid, slowly turn ornament upside down so that the extra paint drips out of ornament. Use your paper towel
Step 5:
Replace the ornament top and hang!

I made about 30 of these little guys in about an hour – talk about a project that delivers great style on a budget and in short time. Gotta LOVE that! I hope you are enjoying decorating for the holidays and dreaming up sweet fun for your family and friends. Please keep those who are struggling during this time in your thoughts and prayers. As wonderful as this time of year is – it is also very tough.
Wishing all of you comfort, peace and genuine happiness.
Till Later my friends,