DIY Fun Wall Hooks For Your Favorite Aprons!
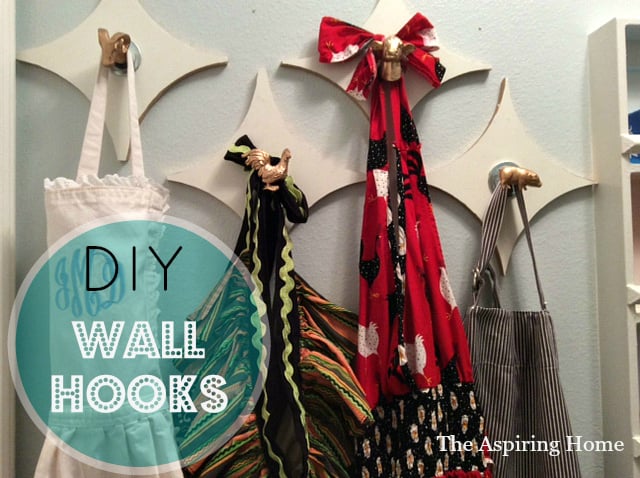
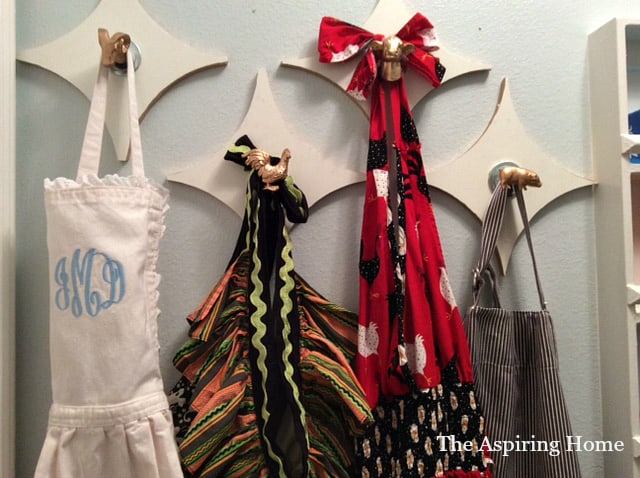
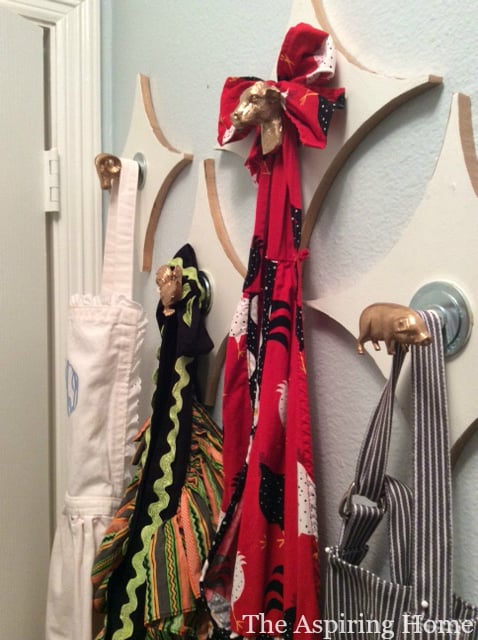
Recycle scrap wood and cabinet knobs into easy DIY fun wall hooks!
Today – let’s DIY fun wall hooks! This little project is easy-breezy, just what we need to start the year off! It’s mid- January and if “Everything having a place” is one of your resolutions (it is one of mine!) – these wall hooks may help!
What you will need to make your own wall hooks:
- Plaque for a hook back
- Paint – your choice
- Decorative knobs – as many as your heart desires
- Washers in graduated sizes
- Hex -nuts – you will use two per hook
Step 1 – The wall hook backing
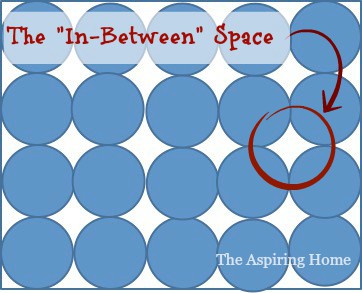
The backings for my wall hooks actually came from the “in-between” space leftover from the ceiling medallion project (you can read about it here).
I thought the shape was just too perfect for the pantry makeover and had to use it for my hooks. You can grab wood plaques ready to go from your local craft store or grab a wood slice for a more nature-inspired look.
Paint your wall hook back if you are so inclined. I felt the need to – it was MDF after all and I wanted to continue with the crisp feeling.
Find the center of your backing and drill a hole. Think of it as you would if you were installing cabinet knobs.
Step 2 – The Cabinet knobs
Ok, I could have gone in any direction for knobs but I came across these at Hobby Lobby and thought- “How kitschy cute are these?!?”.
They had to come home with me! As I gave them the once over I had an idea- “Why not paint them gold? ” Why not indeed?
Fancy farm animals… yes, please!
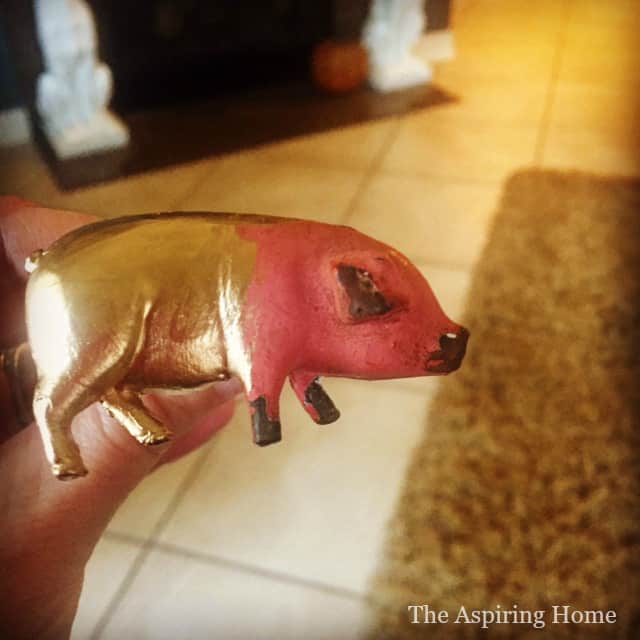
* I used Gold liquid leaf for these little cuties.*
Step 3 – Putting all the pieces together
Here is where the washers make sense.
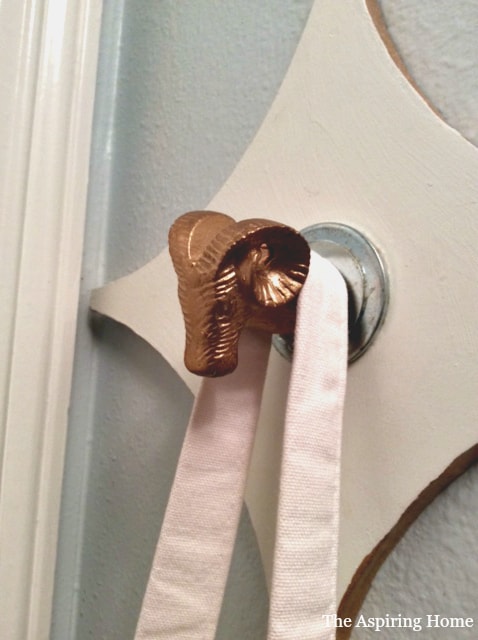
Stack the washers in a graduated fashion (secure with glue if you would like. Before attaching the cabinet knob, add a hex nut. Spin the hex nut far enough up to allow you space to attach the knob to the back then spin it down to secure washers. Secure knob to backing with another hex nut on the backside. That’s it! Just attach it to the wall. We used a nail gun but you can use a less permanent idea by adding a saw-tooth picture hanger.
‘Til Later,
Linking up with:
A Little Bird Told Me Link Party

![1023951_1[1]](https://www.theaspiringhome.com/wp-content/uploads/2016/01/1023951_11-150x150.jpg)
![1023977_1[5]](https://www.theaspiringhome.com/wp-content/uploads/2016/01/1023977_15-150x150.jpg)
![1024835_1[1]](https://www.theaspiringhome.com/wp-content/uploads/2016/01/1024835_11-150x150.jpg)
![1024025_1[1]](https://www.theaspiringhome.com/wp-content/uploads/2016/01/1024025_11-150x150.jpg)






These look so cool! I love how a bit metallic spray paint can be such a transformation. I often overlook things because of the color or finish, but need to keep this trick in mind! Thanks for sharing.
Thank you Jessica!
Great idea! Would you mind sharing what brand of gold paint you used? And if it was spray or brush on?
Thanks!
Hi Karen!
I brushed on Gold liquid leaf paint but, you can use metallic spray paint as well!