DIY Double-Welt Upholstered Chair
Some of my favorite projects have been the ones that are “learn as you go”. this DIY double-welt upholstered chair is a perfect example.
About 20 years ago I went to my first estate sale. I feel lucky that I found two great chairs. I loved the lines and they were upholstered really well. The fabric choice even worked with my decor at the time. I purchased the chairs and happily took them home. They sat for about 15 years in their current state- why mess with a good thing, right?!?

When we moved into our Houston home, I needed chairs in the girls’ rooms. So my little estate finds made their way to reading nooks. The chairs were comfy but they did not exactly go with my girls’ decor.
I carefully removed the old upholstery so that I could use it as a pattern for the new fabric.

Flash forward to my 2016 One Room Challenge and my desperate need for two chairs. I searched everywhere for the perfect pair and came up empty. Then I had a lightbulb moment- with the girls off to college – the chairs were just collecting dust upstairs. I quickly brought them down and they were the perfect size for the room. Don’t you love it when you what you need right under your nose?

*This tutorial has parts of an older tutorial woven in. You can read that DIY Chair Upholstery tutorial here.
Let’s get started on this DIY double-welt upholstered chair tutorial!
Disclaimer– I am not a professional upholsterer. I am sharing the way I created my chairs. Please keep in mind that you will be working with staples, tacks, and sharp objects. Being careful and focused on the task is very important – do not leave tools and supplies where little ones can pick them up. Even with the utmost care- things happen. I (The Aspiring Home) can not be held responsible for any accidents. Please proceed with this project at your own risk.
Materials:
- The chair needing a makeover
- Upholstery Fabric
- Fabric lining
- Upholstery strapping
- Staple remover
- Tack remover
- Welting
- Staples
- Staple Gun
- Tacks
- Foam cushion – thick for the seat
- Foam cushion – thin for arms
- Scissors
- Batting
- Hot glue
- Hot glue gun
- Small hammer
- Small Mallet
- Pliers
- Fiberfill
Step 1:
Begin the dismantling process. Carefully pull the trim off and remove the guts of the chair. This is where the tack and staple removal tools will come in handy. Use pliers for stubborn staples and tacks. Try to preserve the fabric pieces- this will become your pattern. Unfortunately, I was unable to preserve the fabric on my chairs- just too old and I will show you how I handled it later in the tutorial.


Ugh, talk about a MESS! It definitely gets worse before it gets better.
Step 2:
Once you are down to the frame decide on restoration or paint. I chose a black high gloss paint to complement the blue velvet. This is where the hubby doubted (ok, I scared him) a little bit. Make sure you prep your surface properly whichever way you go… you DO NOT want your guest able to pass the time picking the paint or scraping the stain off your prized project.
Step 3: Add the foundation
A. Now it is time to add new guts to your chair. I love nylon webbing but sadly ran out in the middle of one of the chairs and had to go old-school jute but it worked out just fine. I chose a high-density 6-inch foam. Due to the beautiful curves of my chair’s seat- I had to piece the foam together.


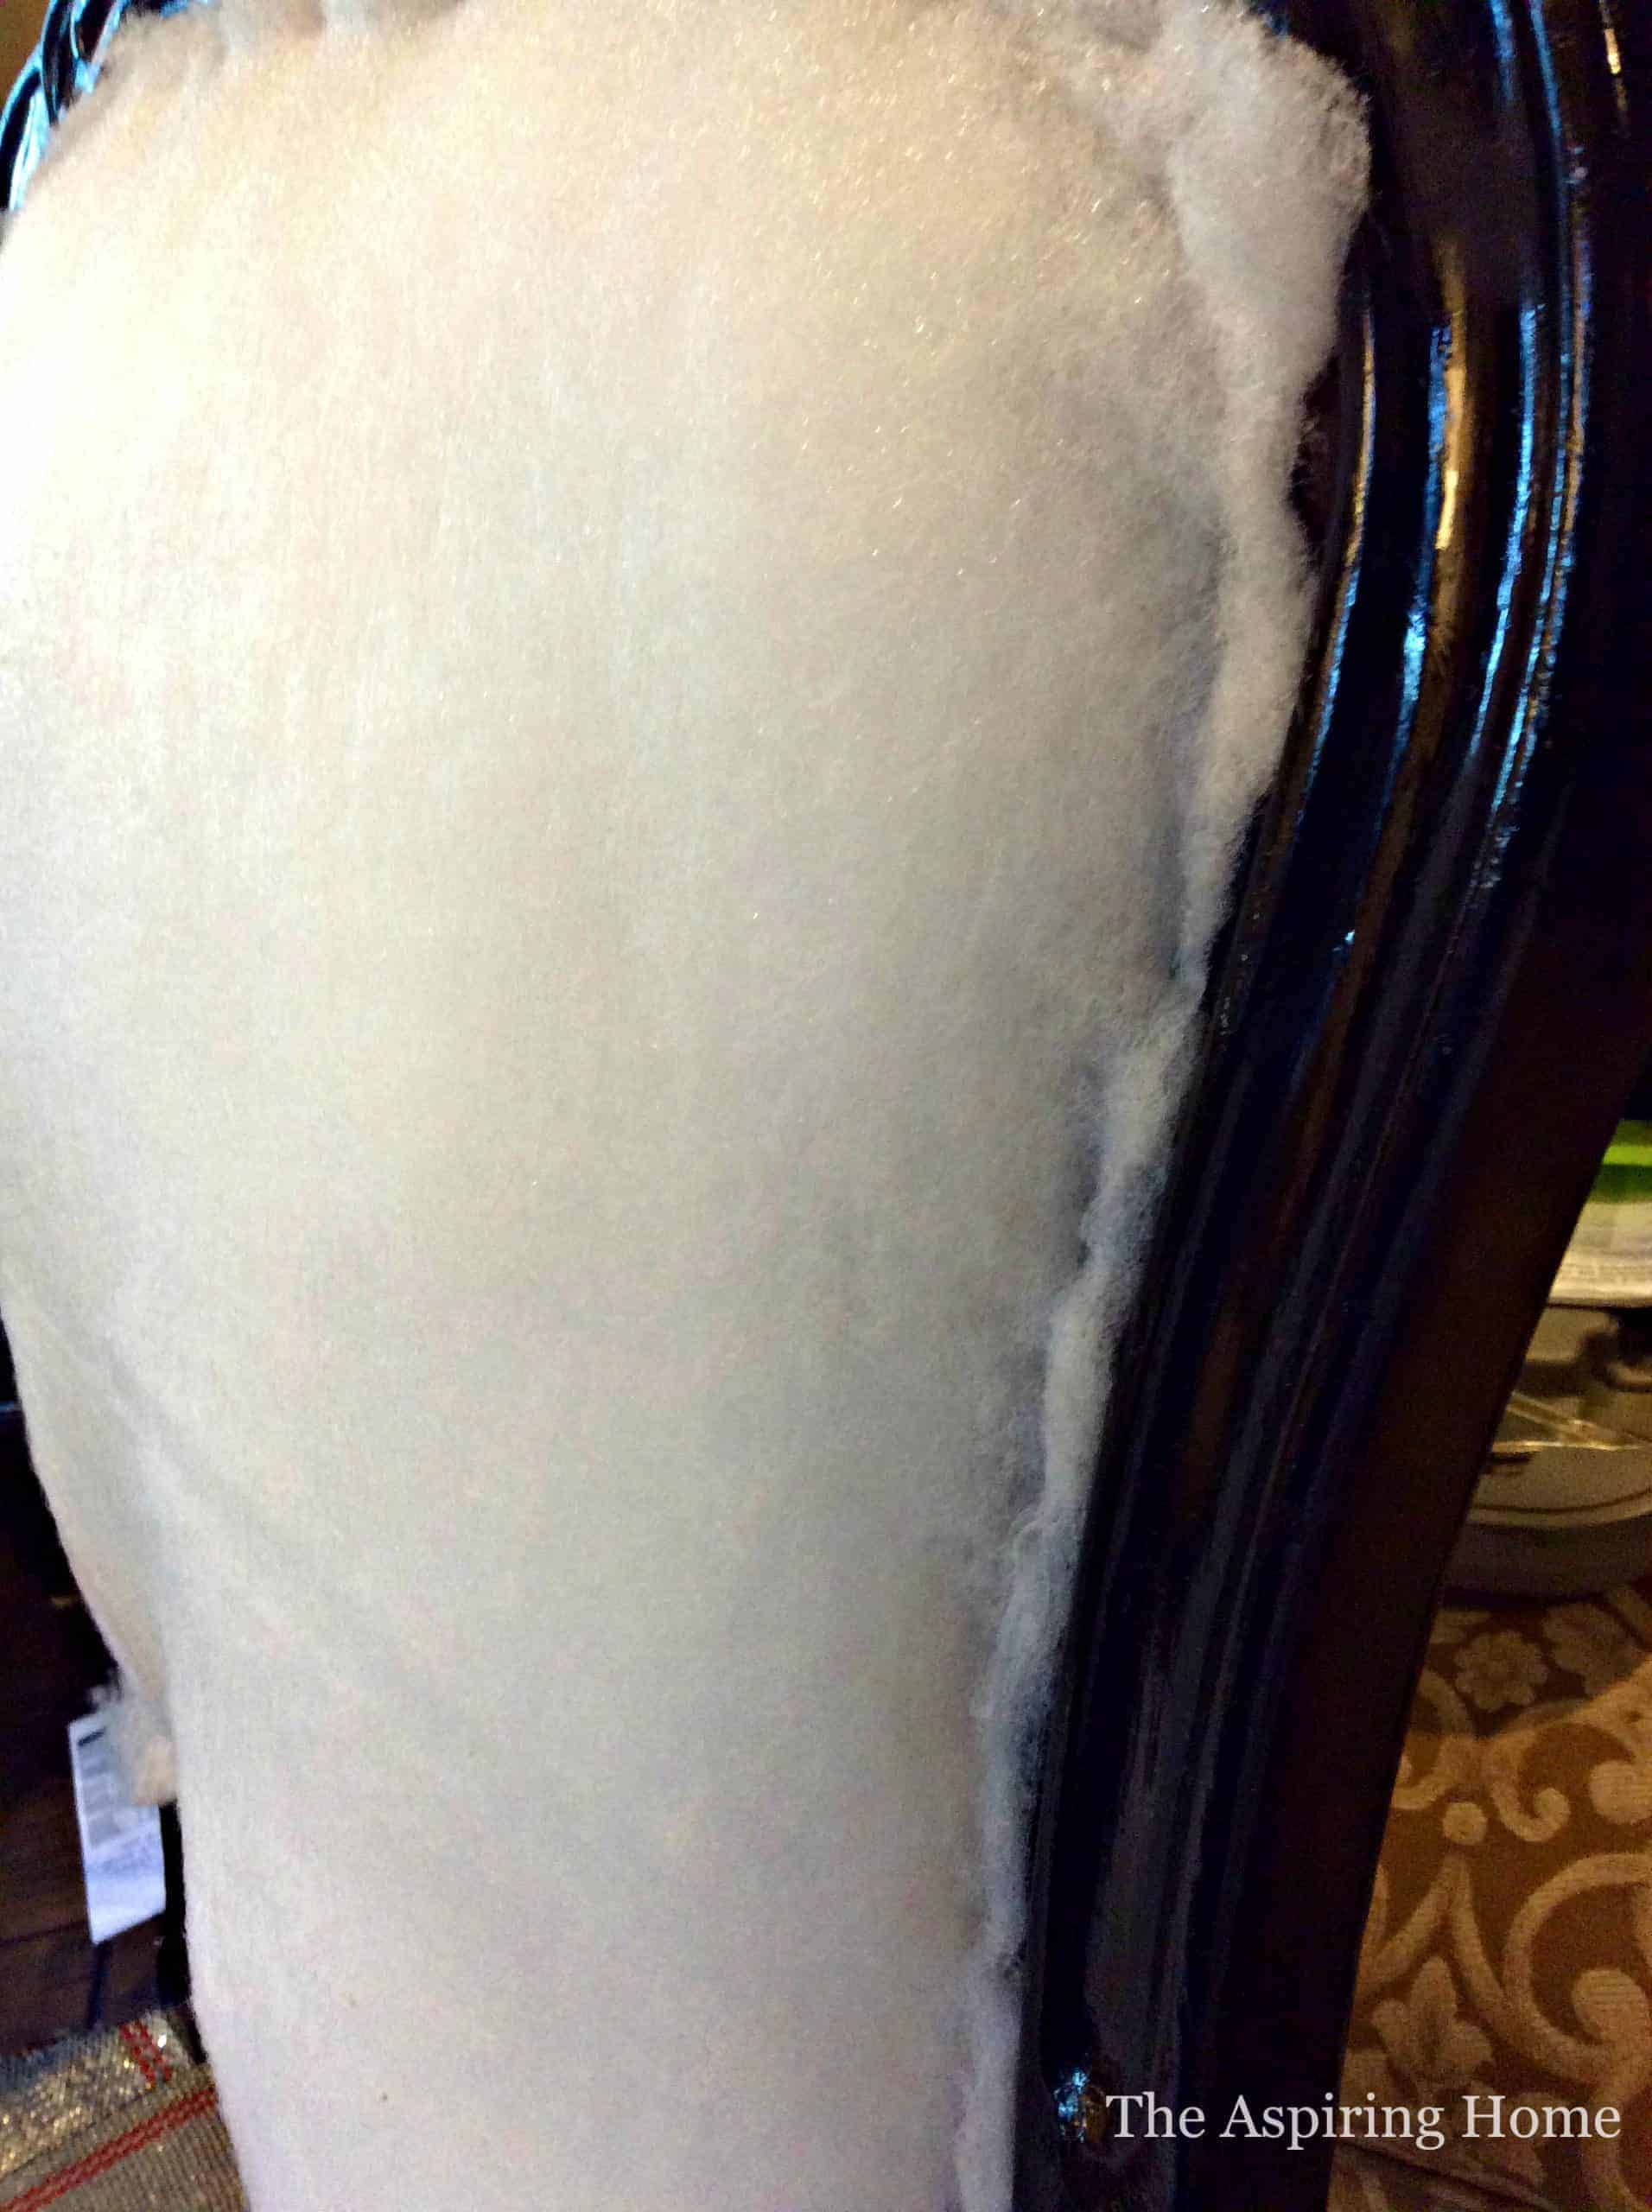
I used a bit of hot glue to attach the pieces to one another. Doing this step will hold it all together while you grab your handy-dandy batting. Lay your batting over the seat cushion and attach it to the frame. I used a staple gun to make quick work of it but you can use small tacks if you like.
*note – an electric knife will make smooth quick work of the foam. Much better than scissors as you can obviously see.

After adding the batting, grab your lining and cover the seat. Doing this step will create a nice smooth foundation for the upholstery fabric.
B. Add foam to arms. This step is only necessary if your chair’s arms originally had it. Please be careful when stapling this foam to the arms. In all the years I have upholstered furniture and used my upholstery gun – I finally had an accident and stapled my finger. YEP – hurts like the dickens! I do not recommend doing it. I also don’t recommend trying to upholster your chair when you are sleep-deprived. Wise – I was not.

C. Add foundation to the chair back. I began by adding a piece of my lining fabric to the back of the chair to give the back cushion stability. Next, I added a layer of batting, leaving an opening in the bottom. I then stuffed the seat back with dense fiberfill until it felt comfortable. Staple the batting closed at the bottom. Add a final layer of lining fabric over the batting stuffed with fiberfill. Trim off Excess fabric, batting, liner.
Step 4:Add the pretty!
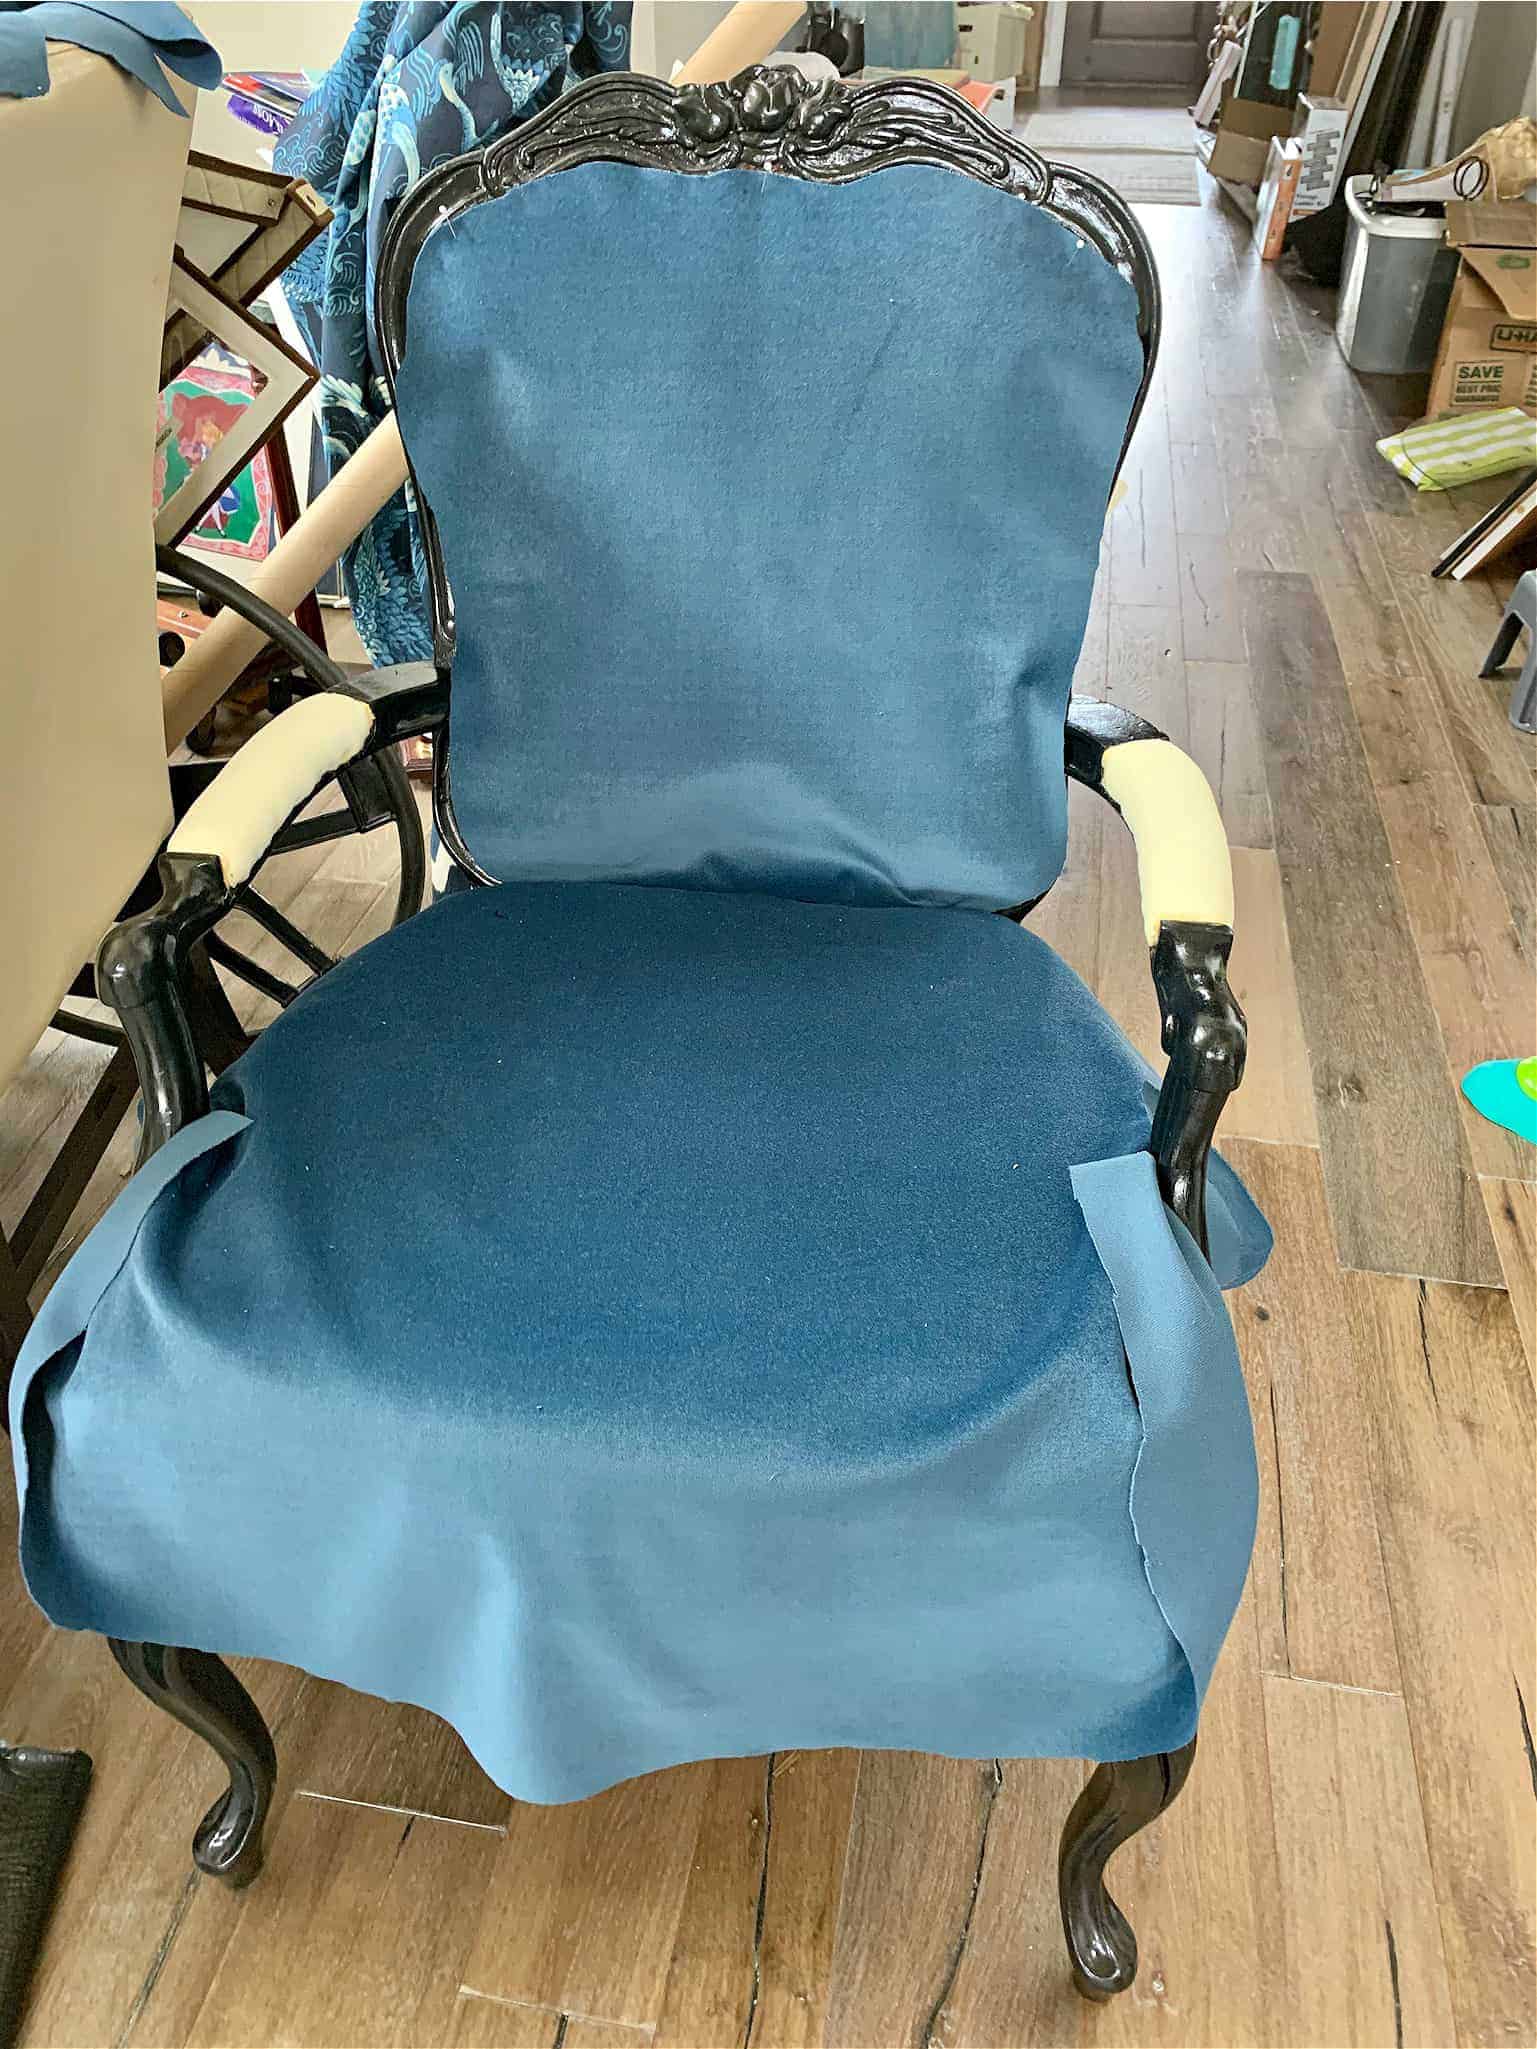
Begin applying your fabric of choice. Since my original fabric did not make it through the tear apart process – I did the next best thing – I measured. Now I didn’t get too precise. I measured a square piece of fabric that would be large enough to cover all the twists, turns, and curves.
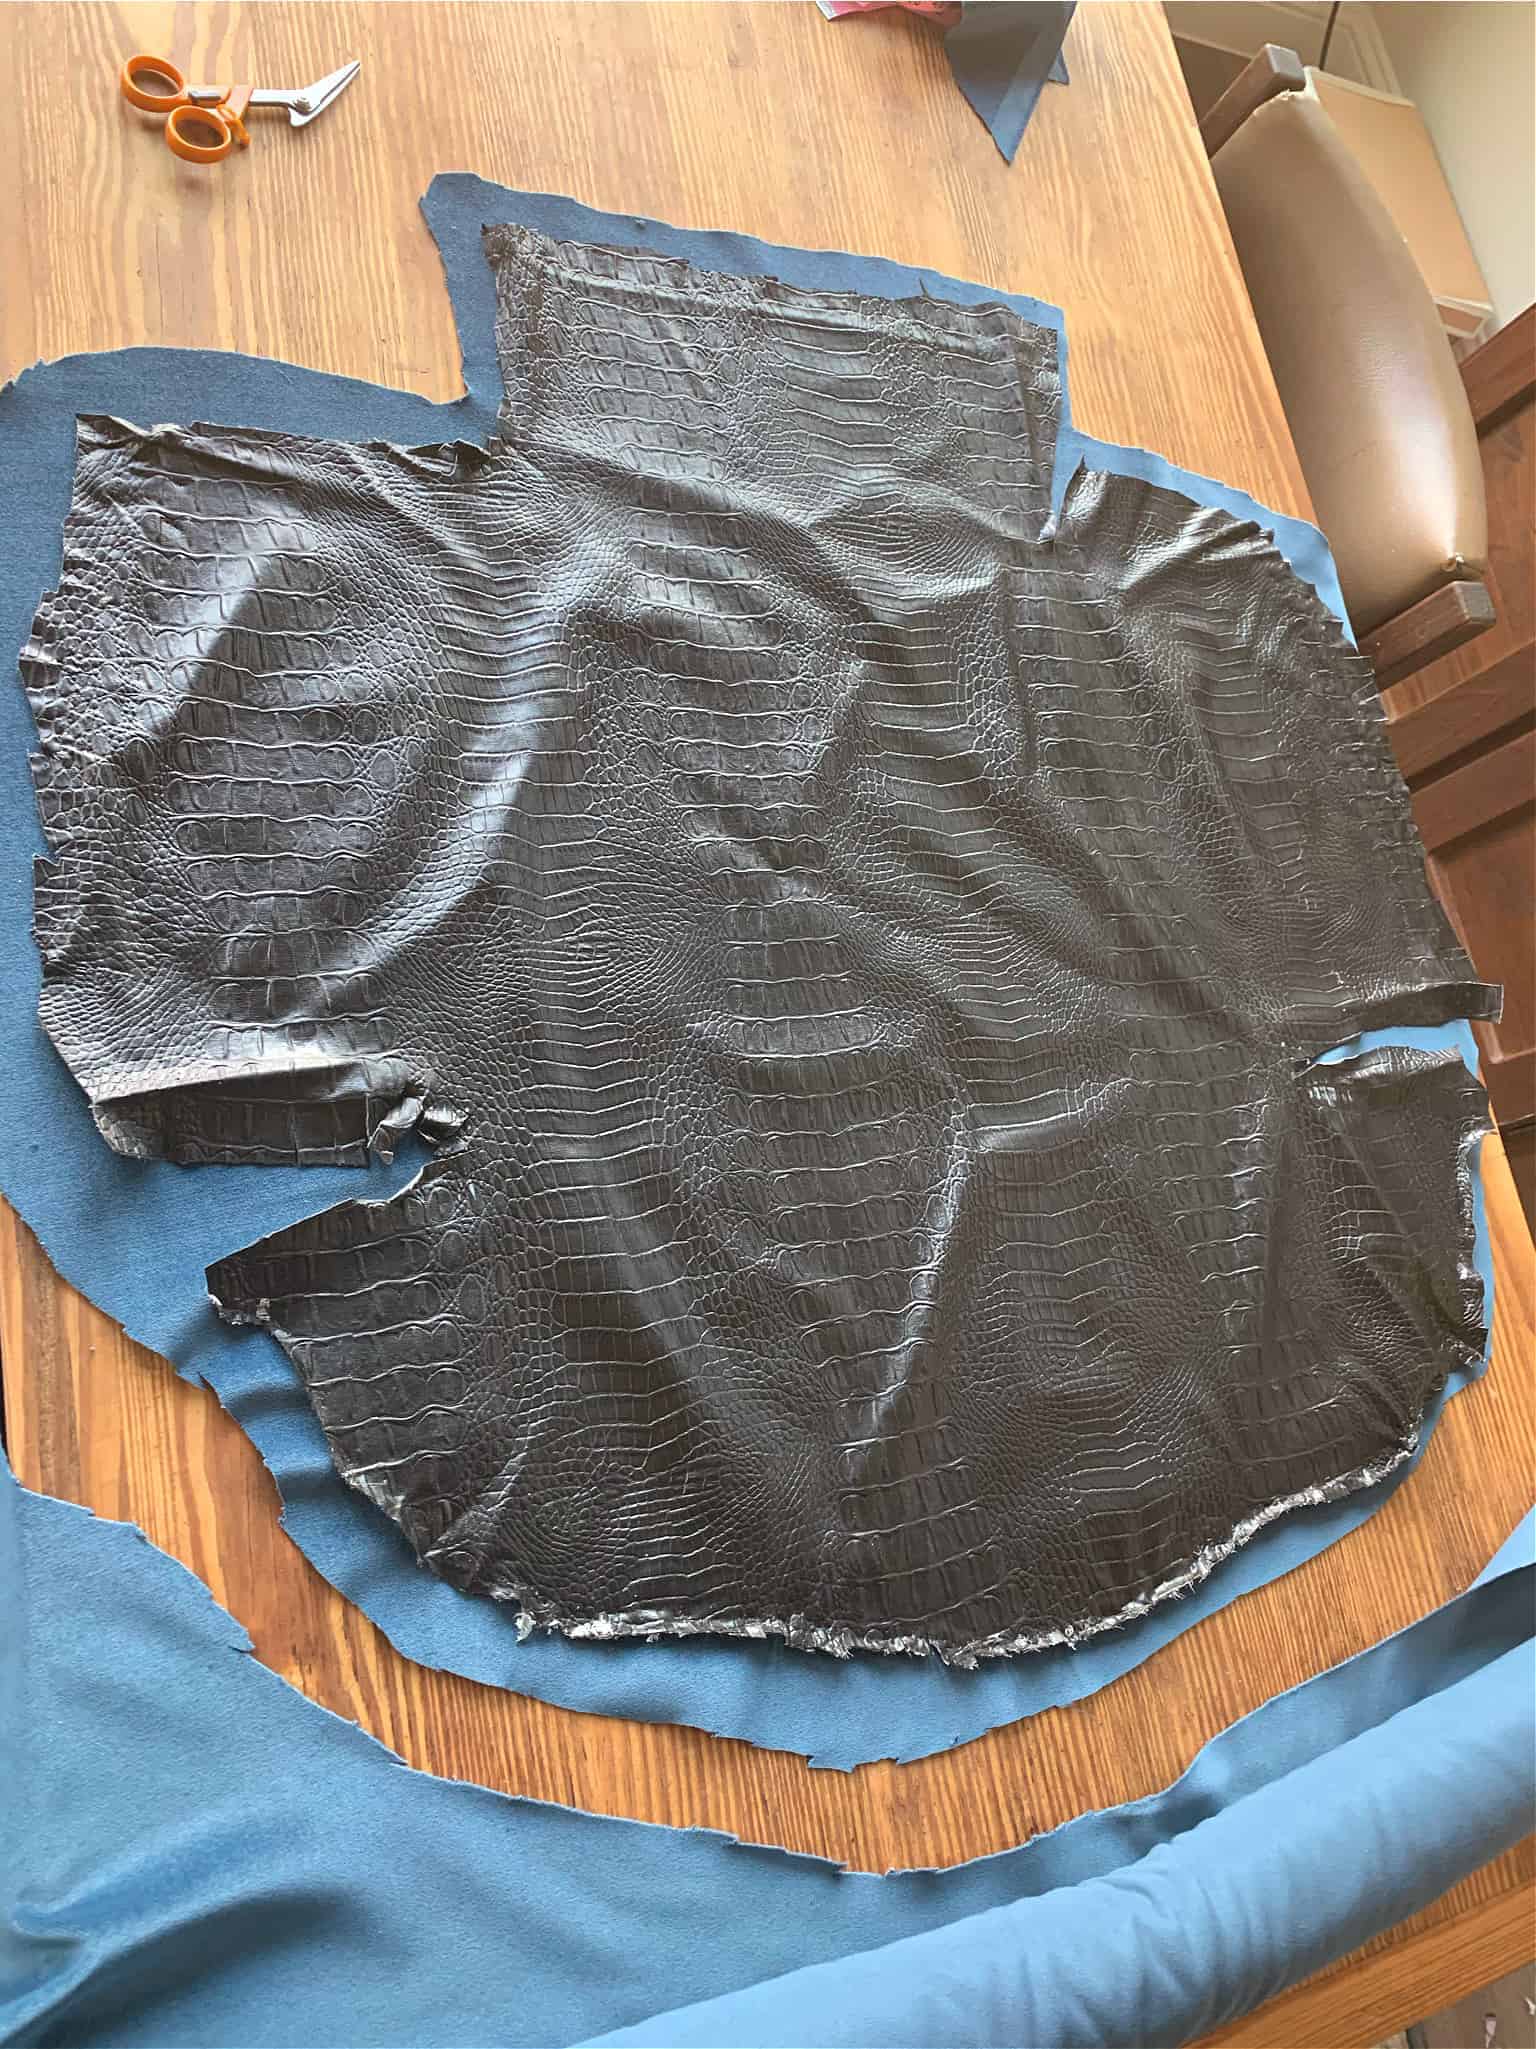
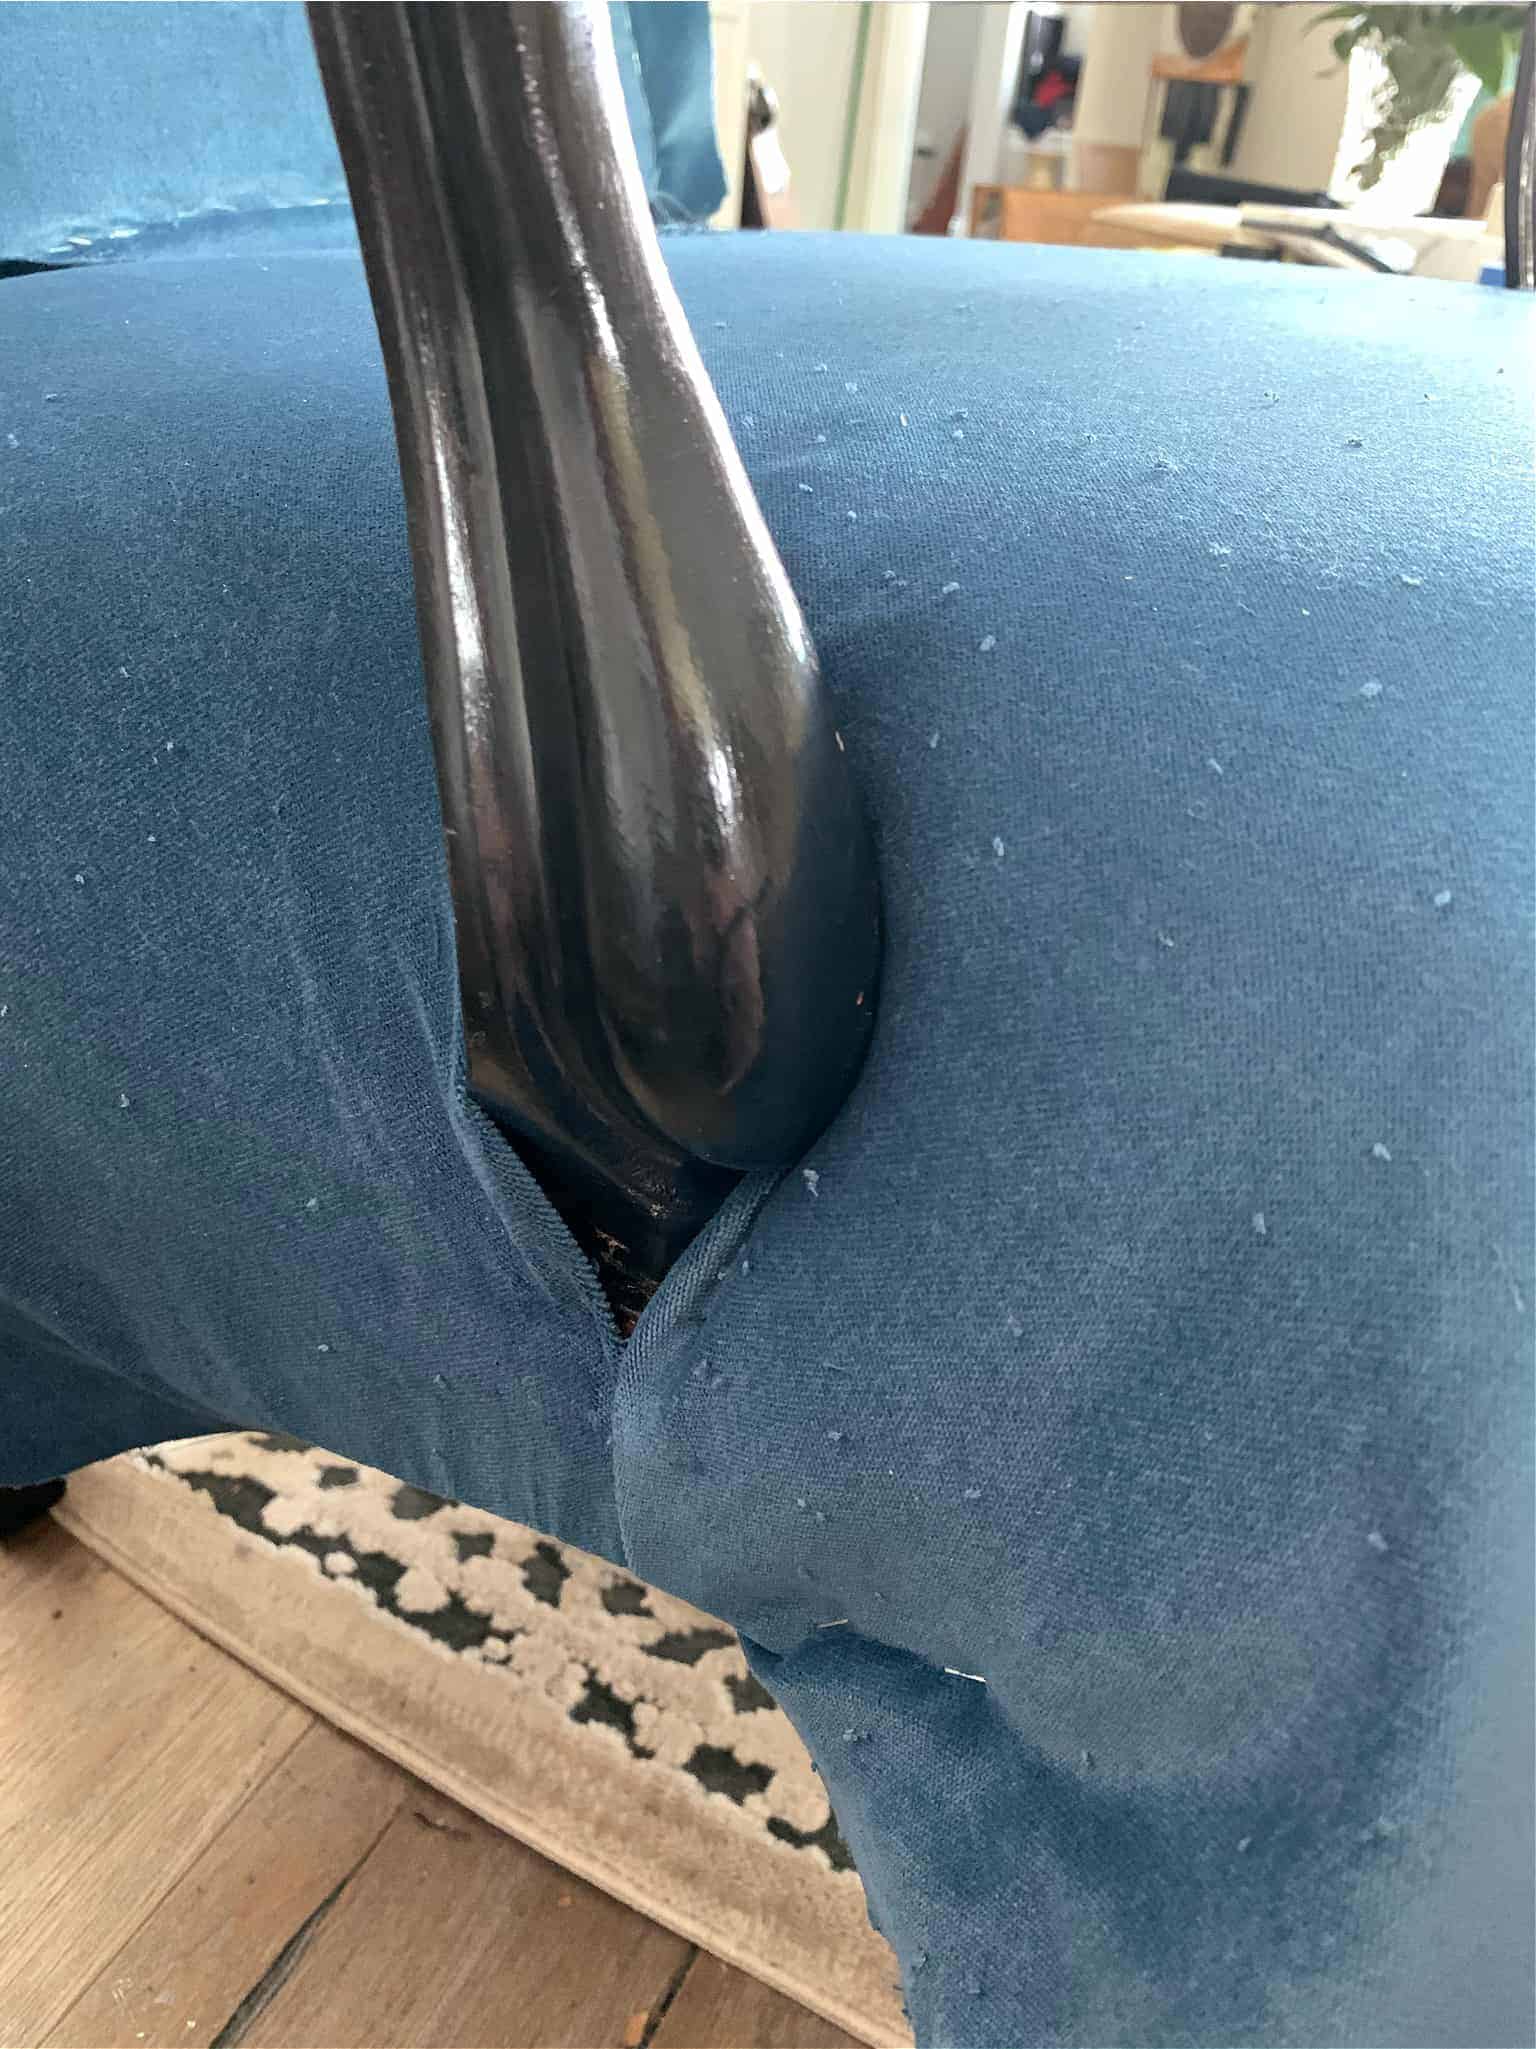
I began attaching the square piece by securing the fabric in a cross pattern then working my way out from the attached points. Working with vinyl is a little bit different and I had to pull staples a few times to help create a smooth transition. This isn’t difficult but it is a bit time-consuming. Once you have attached all the fabric to the chair – take a mat knife and carefully cut out the excess fabric. Be careful -you really want to keep a sharp blade while doing this process and be ready to change blades often.


Step 5: Add trim to hide the staples.
Cover up all the ugly with beautiful trim. Use your hand dandy glue gun to attach. * Start and end the trim at an inconspicuous place.
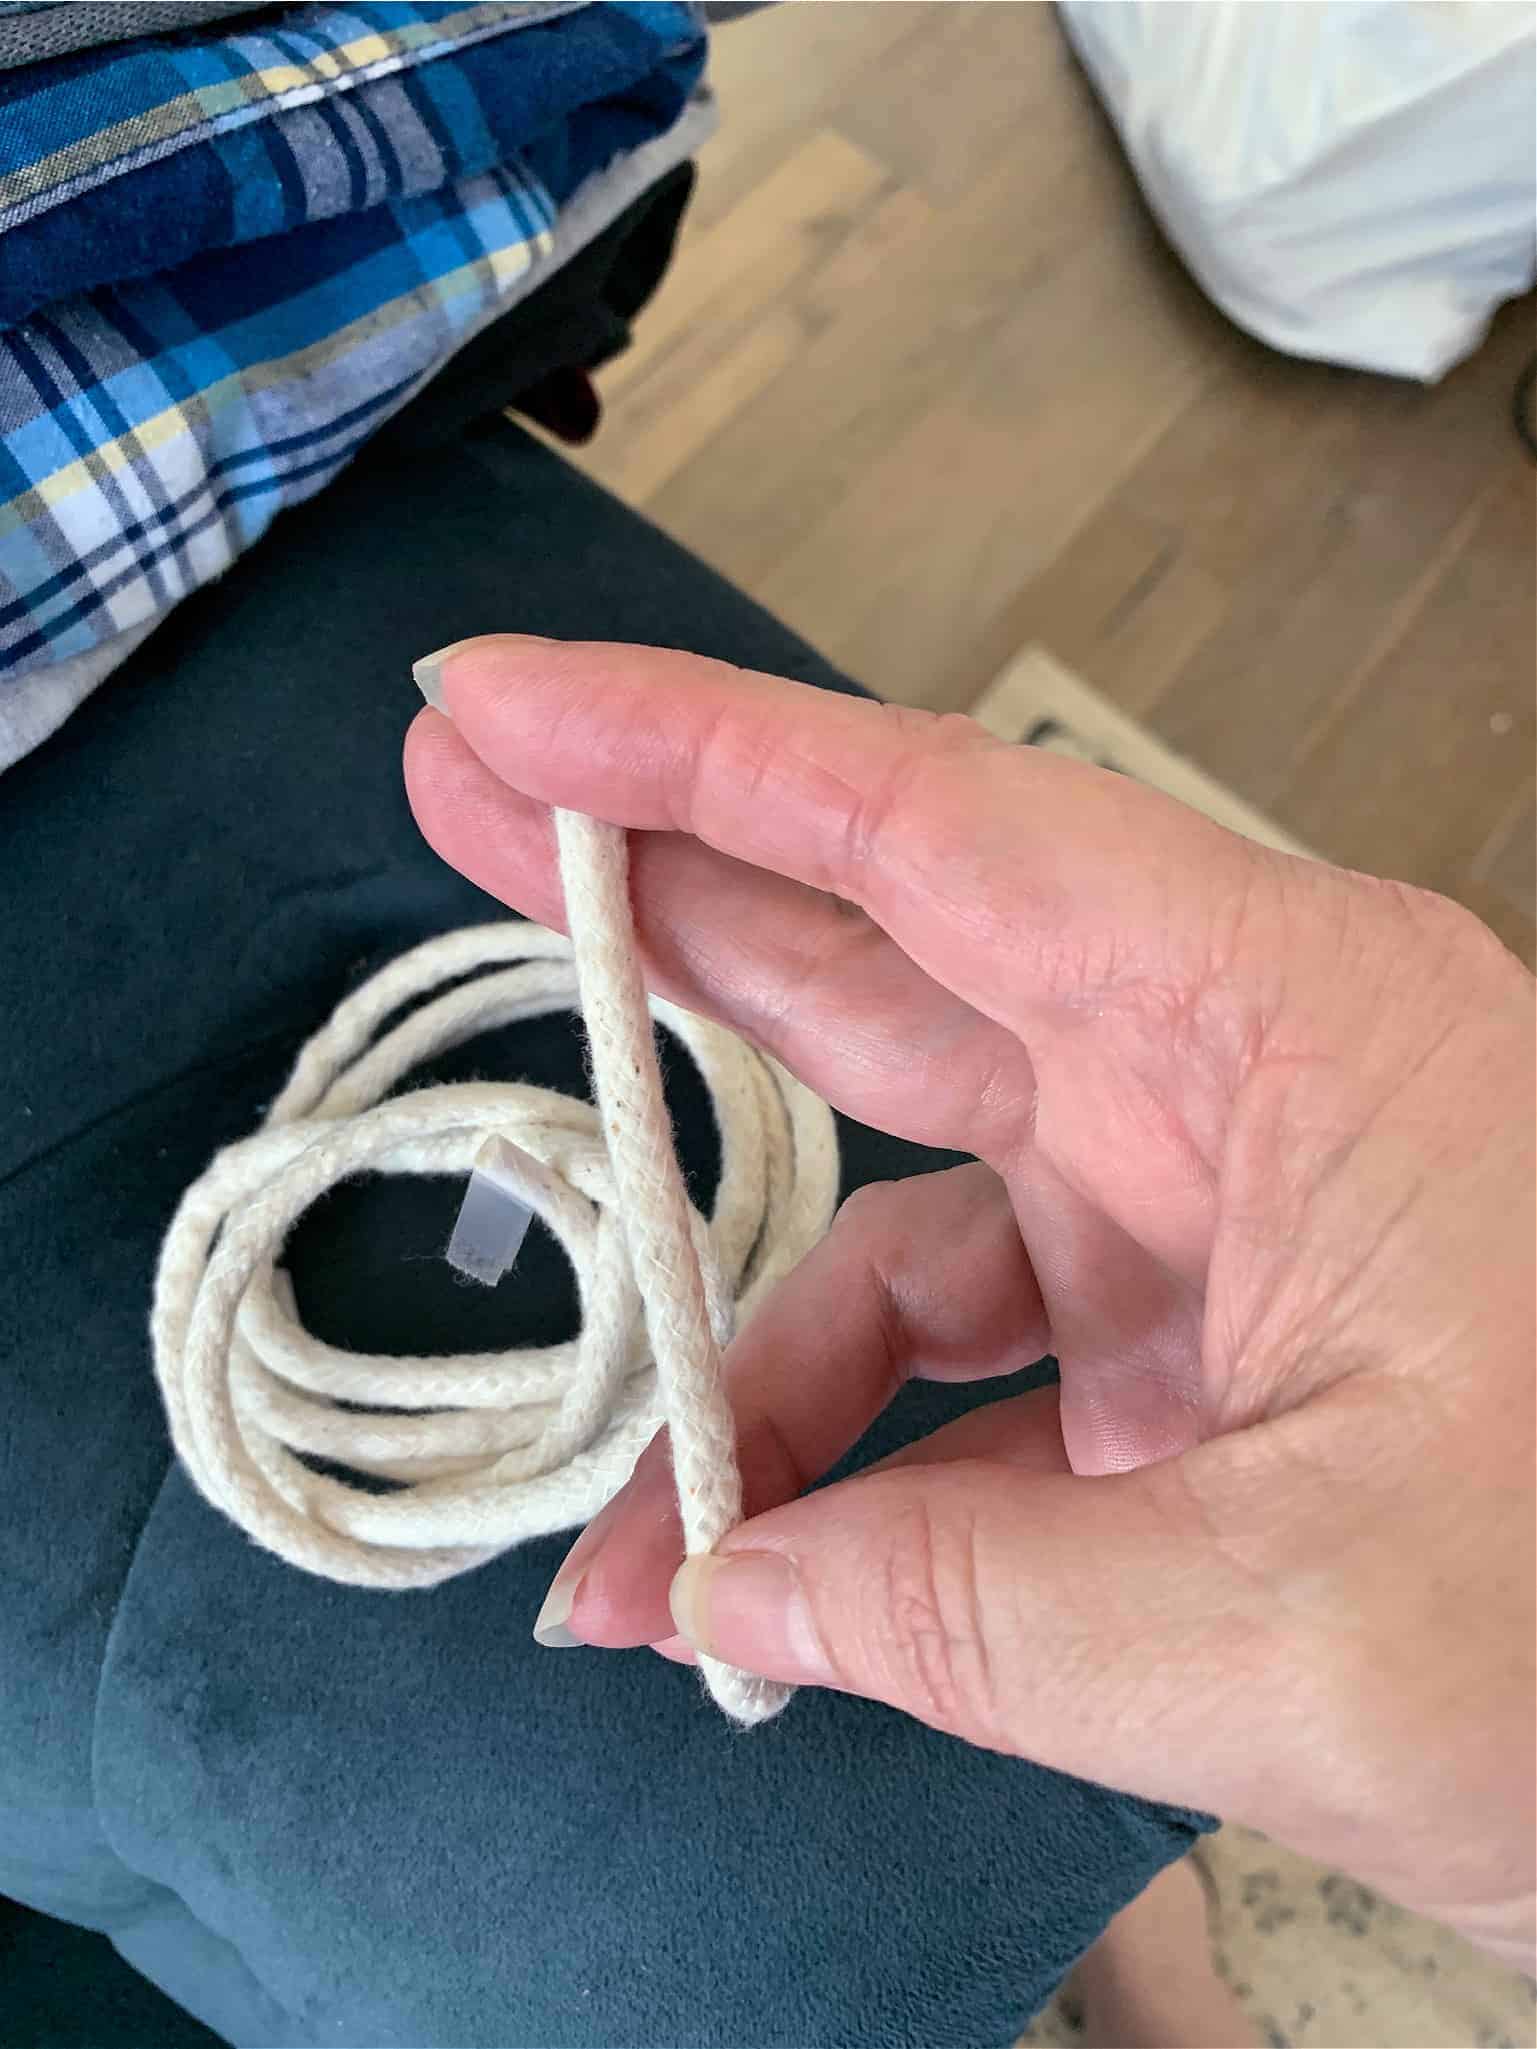
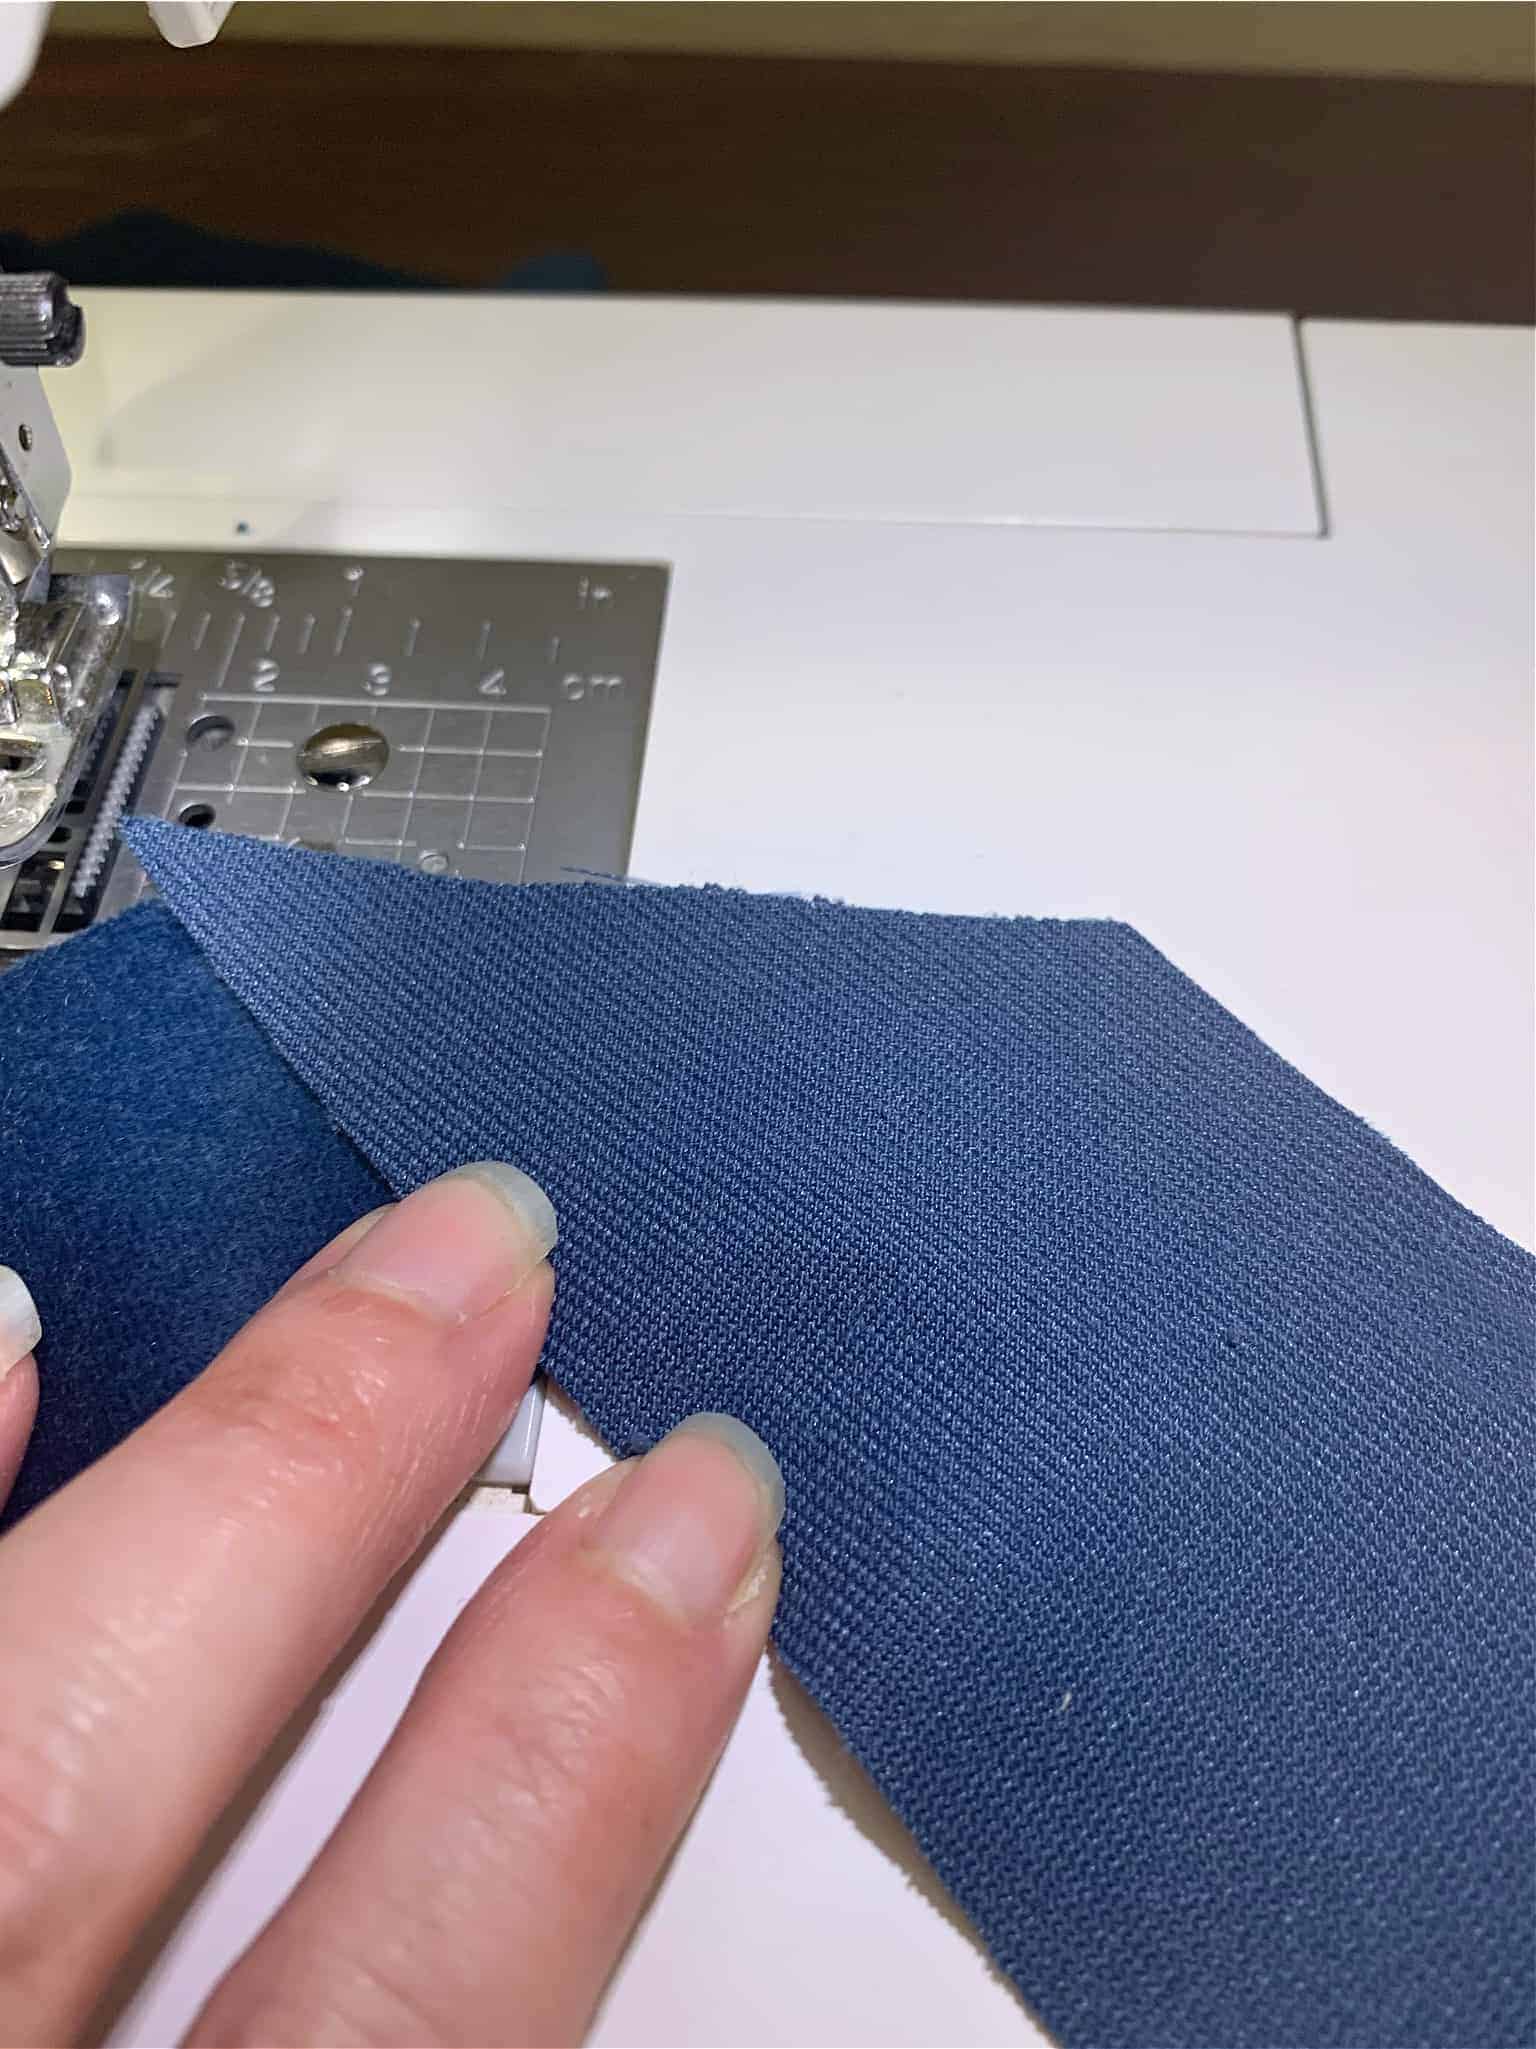
Cording I used for the double welting. You can find the cording here.

I cut 2-inch strips on the bias. Then I sewed the strips together.


That’s it! You now have a beautifully updated chair! Thanks for taking a gander at my little tutorial. If you are a newbie to upholstery- read TONS of tutorials, books and do what I did… I showed up at an upholstery shop and asked if I could observe, I learned so much and made friends to boot!
Have FUN and Be Careful!
Keep creating “home” my friends!

Read more posts from this amazing makeover here:

Oh JoyI’m so impressed! Your chairs turned out just beautiful! I love the fabric you chose. Gorgeous!
Your chairs turned out beautiful! I and they look wonderful in your room.
Joy this is the best tutorial I have seen
Your step by step instructions make it easy to follow
GW I will try on one of my chairs I have been meaning to upholster but have not had the confidence
I tried one many years ago and I think I did not use foam that was dense enough
Thank you so much
Keep up the good work in health and happiness
Noor