How to Build and Install the Rockler Library Ladder Kit
Have you ever wanted a library ladder, but thought it was too difficult or too expensive? Today learn how to build and install a Rockler library ladder kit, it’s simple and affordable!
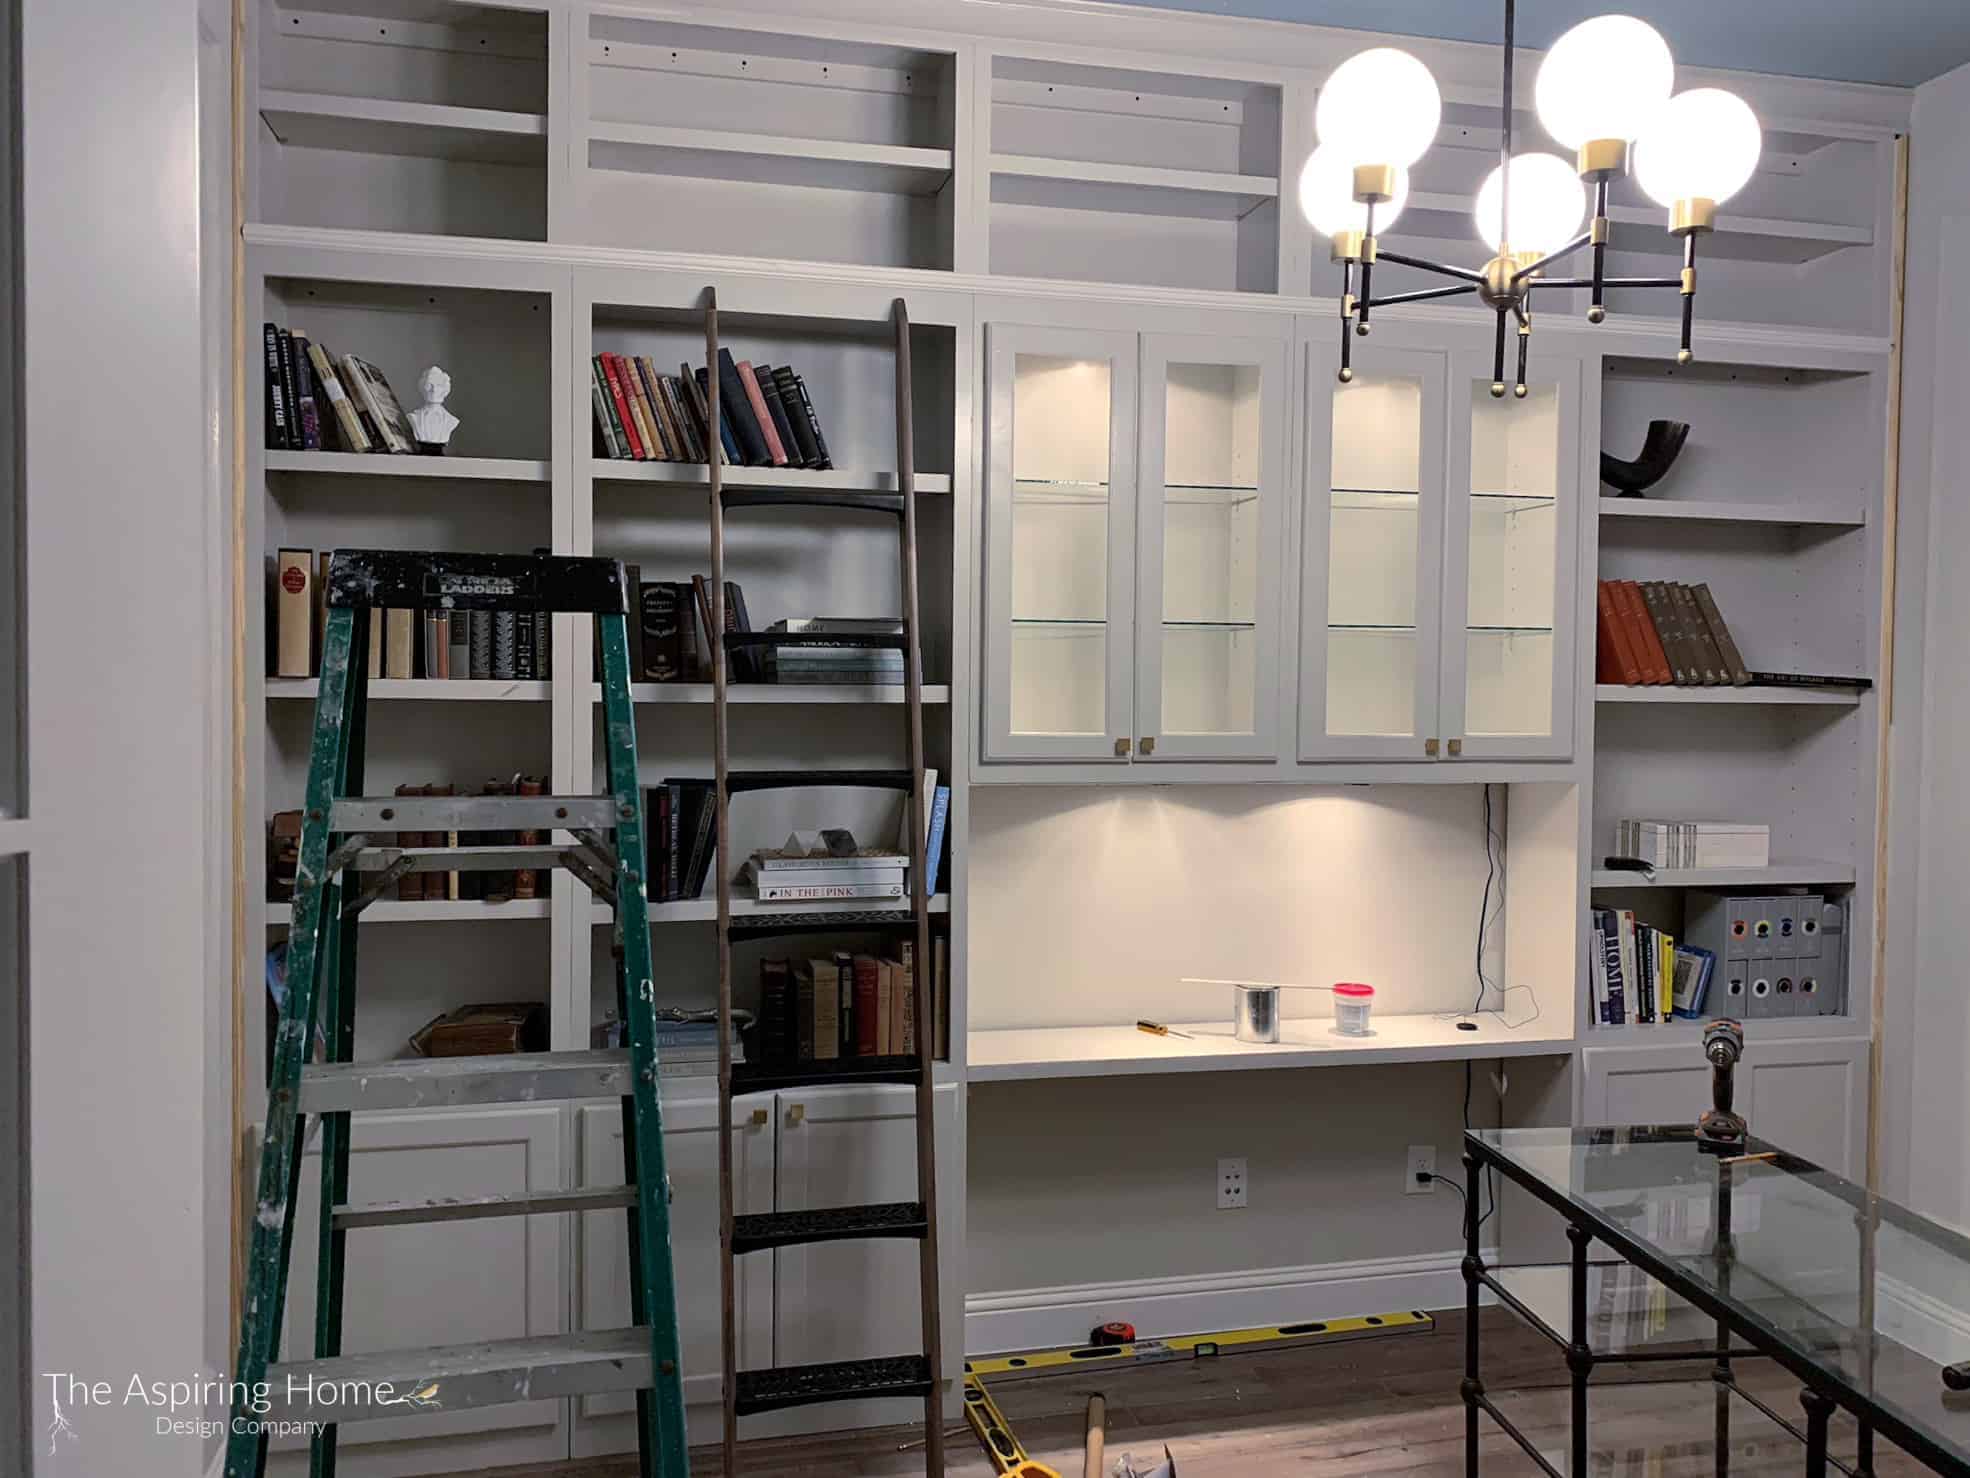
When I started dreaming up the new office/library for the One Room Challenge, I dreamed of floor to ceiling built-ins and a beautiful library ladder that would be functional and well, really cool. Scouring the internet two things became very clear: ladders were either completely decorative or completely expensive. That’s until I discovered Rockler. It is my great pleasure to introduce you to the Rockler library ladder kit!

So, let’s talk about rolling ladders. There are quite a few moving parts (literally, ha!) to build a properly functional ladder. So many pieces that Rockler created the Library ladder wizard. You just follow the prompts, adding your answers and voila! The wizard will give you an exact list of the materials you will need to guarantee a “Belle” approved library ladder!

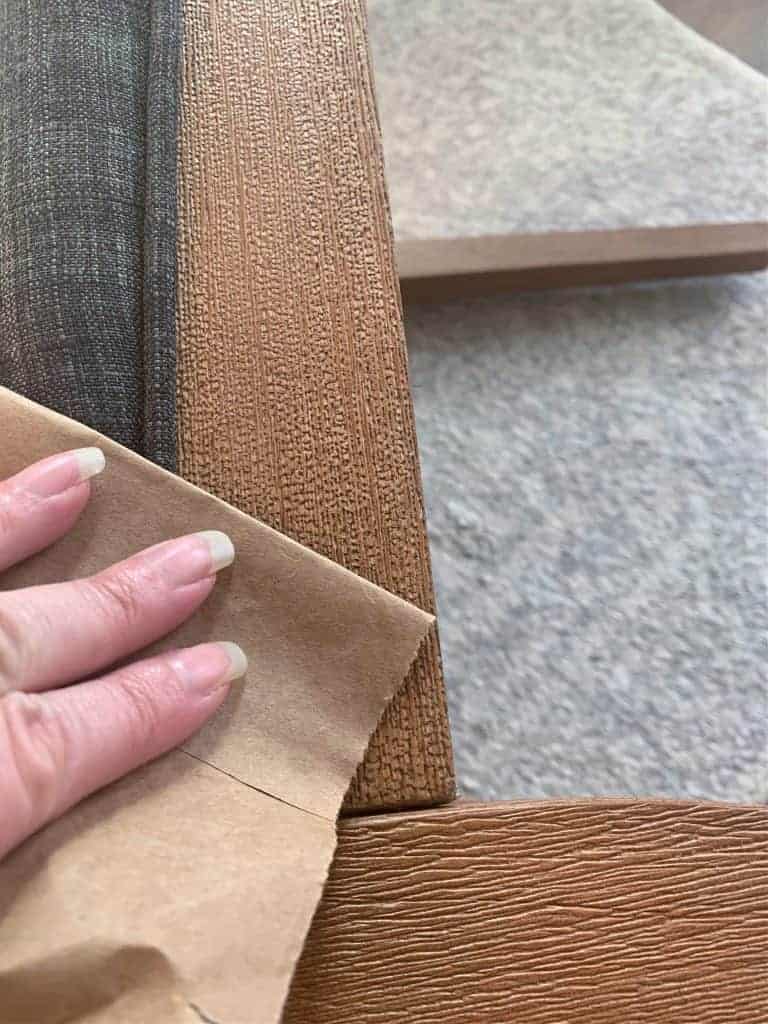
The products arrived quickly and the ladder building process was relatively easy. The first thing we did was to stain the gorgeous maple wood ladder side rails. I wanted my ladder to stand out from the built-in paint color of Sherwin Williams Agreeable Gray but blend with my slightly rustic floors. I chose to layer stain colors. This combination is tried and true – I love it. First, apply a layer of Minwax in Early American stain, wipe off excess.
Then apply a layer of Minwax Classic Gray stain over the Early American stain. Allow this layer to “sit” for 10 to 15 minutes before wiping off. Build Classic Gray stain color until you love it. It only took one topcoat to achieve the look we wanted. Protect your stain finish with a coat of poly in a satin finish.

Let’s assemble the ladder!
The instructions are actually instructions. You know what I mean, the steps were readable. So much so, I had my 15-year-old son put the ladder together just by reading the instructions and it was cake. Gotta love that!

*I chose the Vintage library ladder-style, adore the metal rungs.
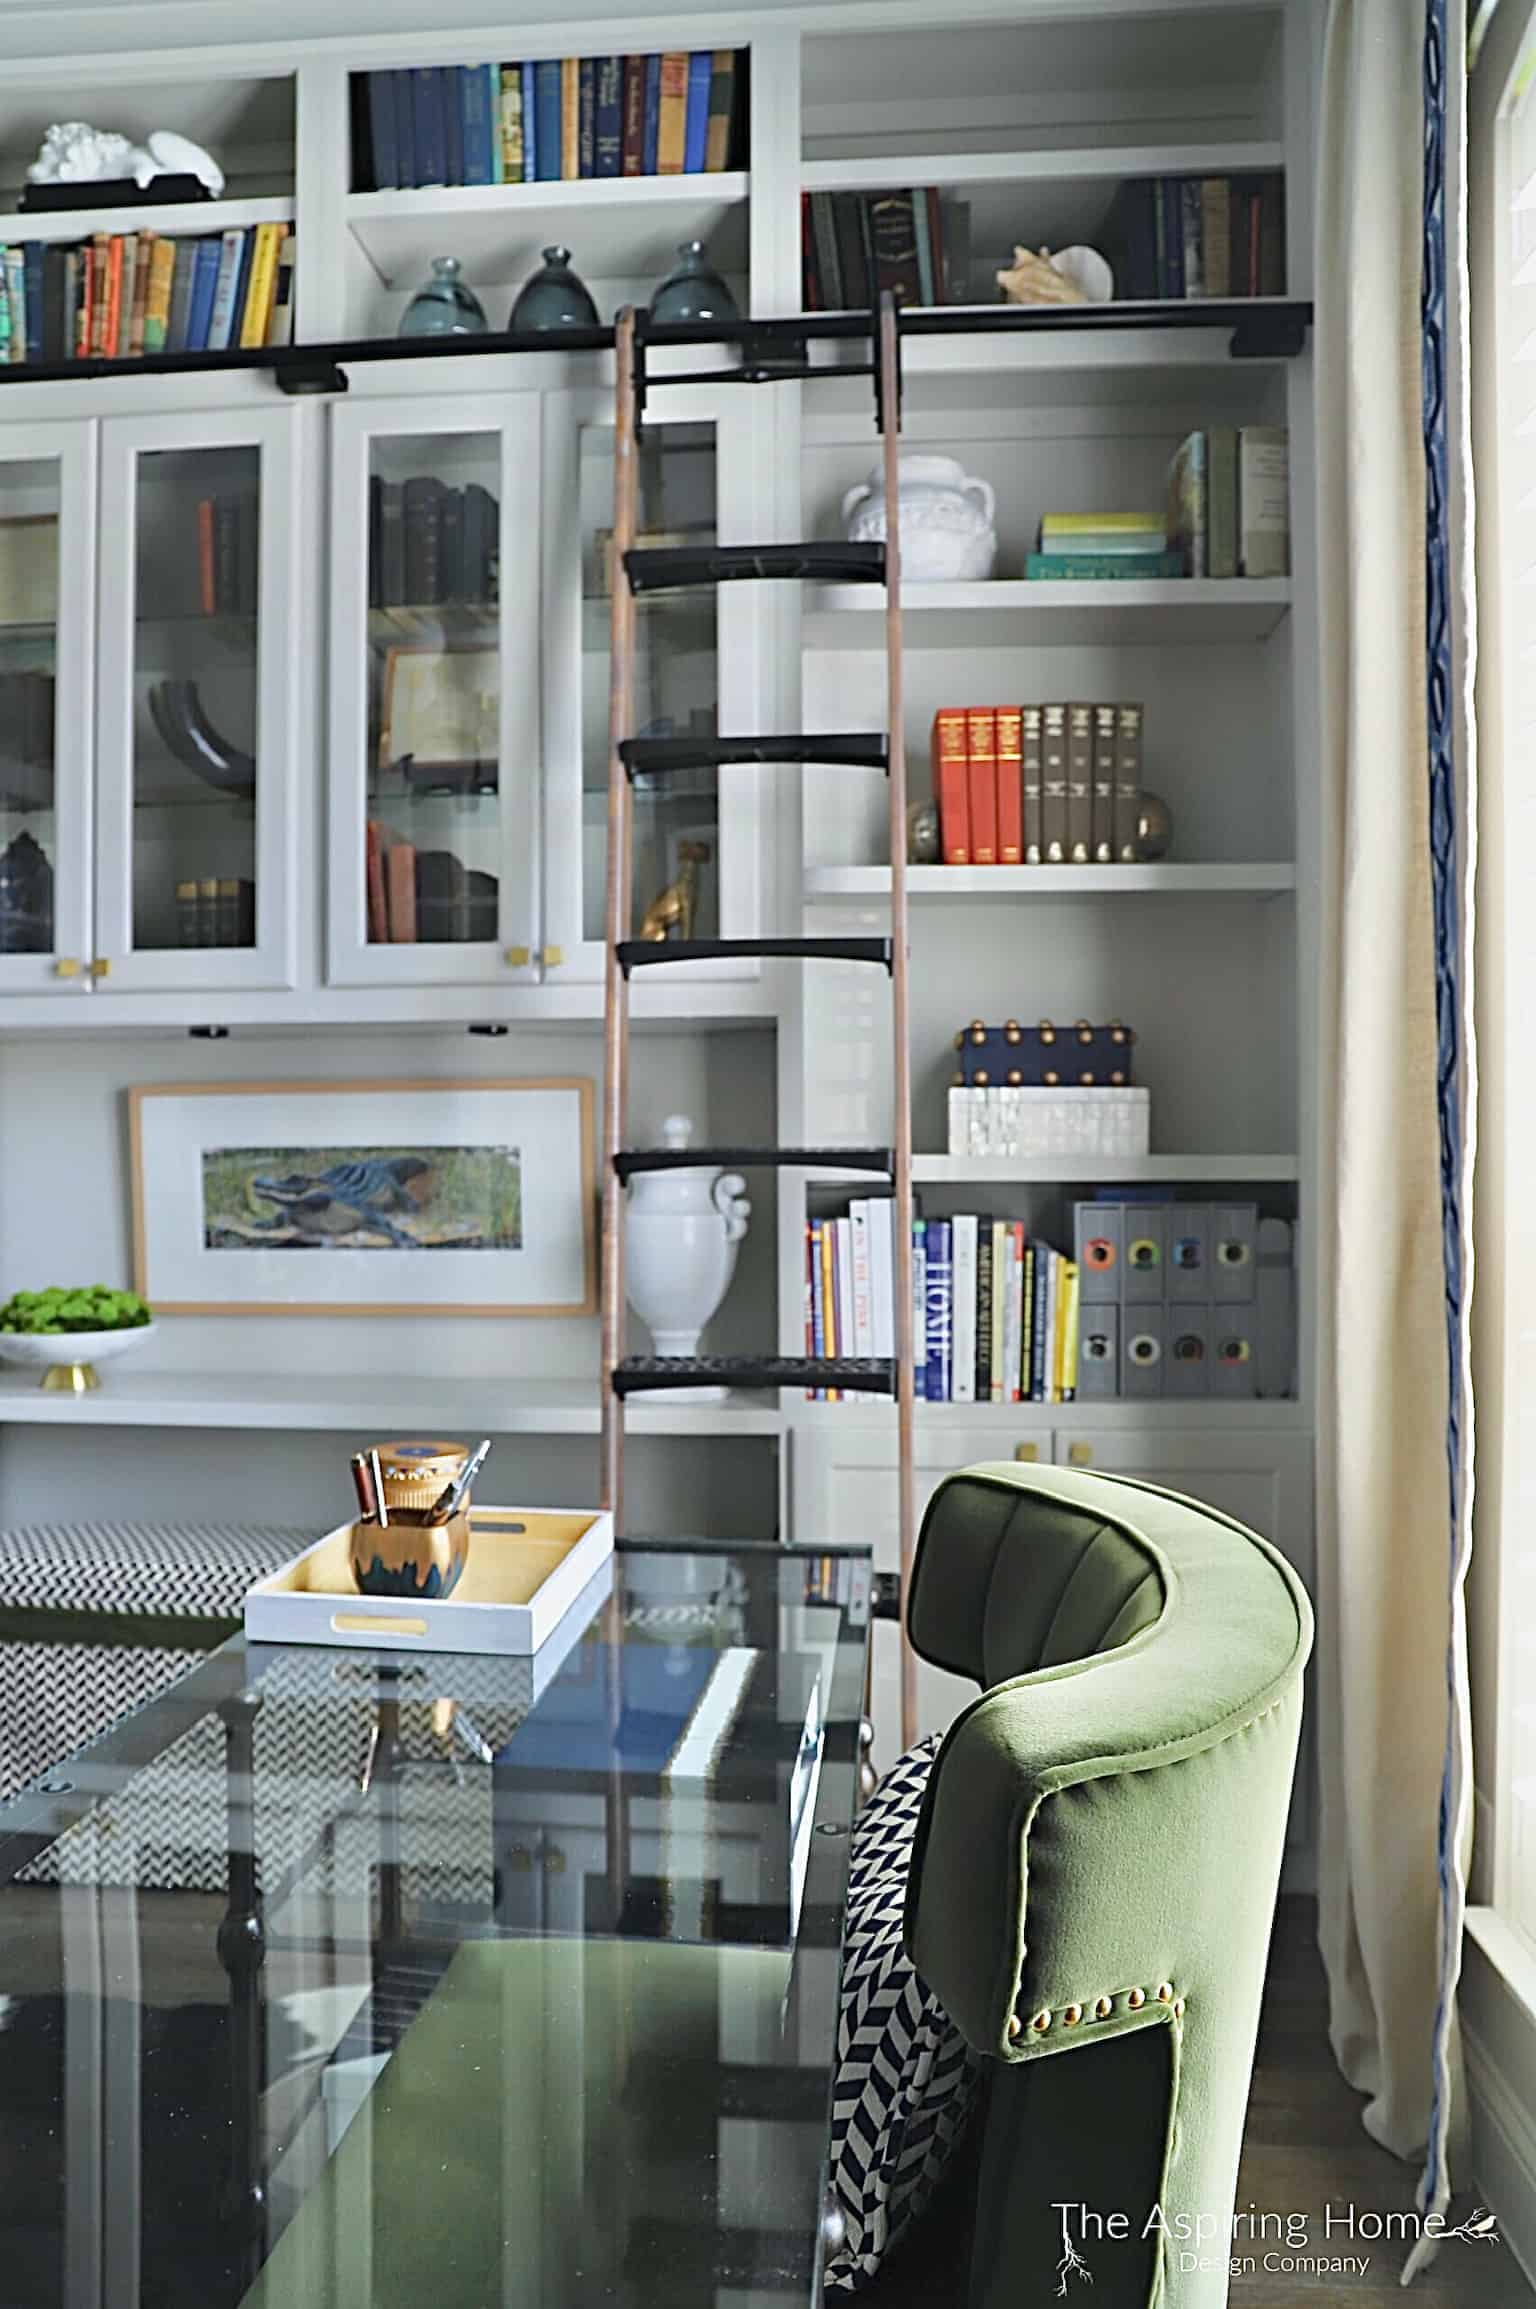
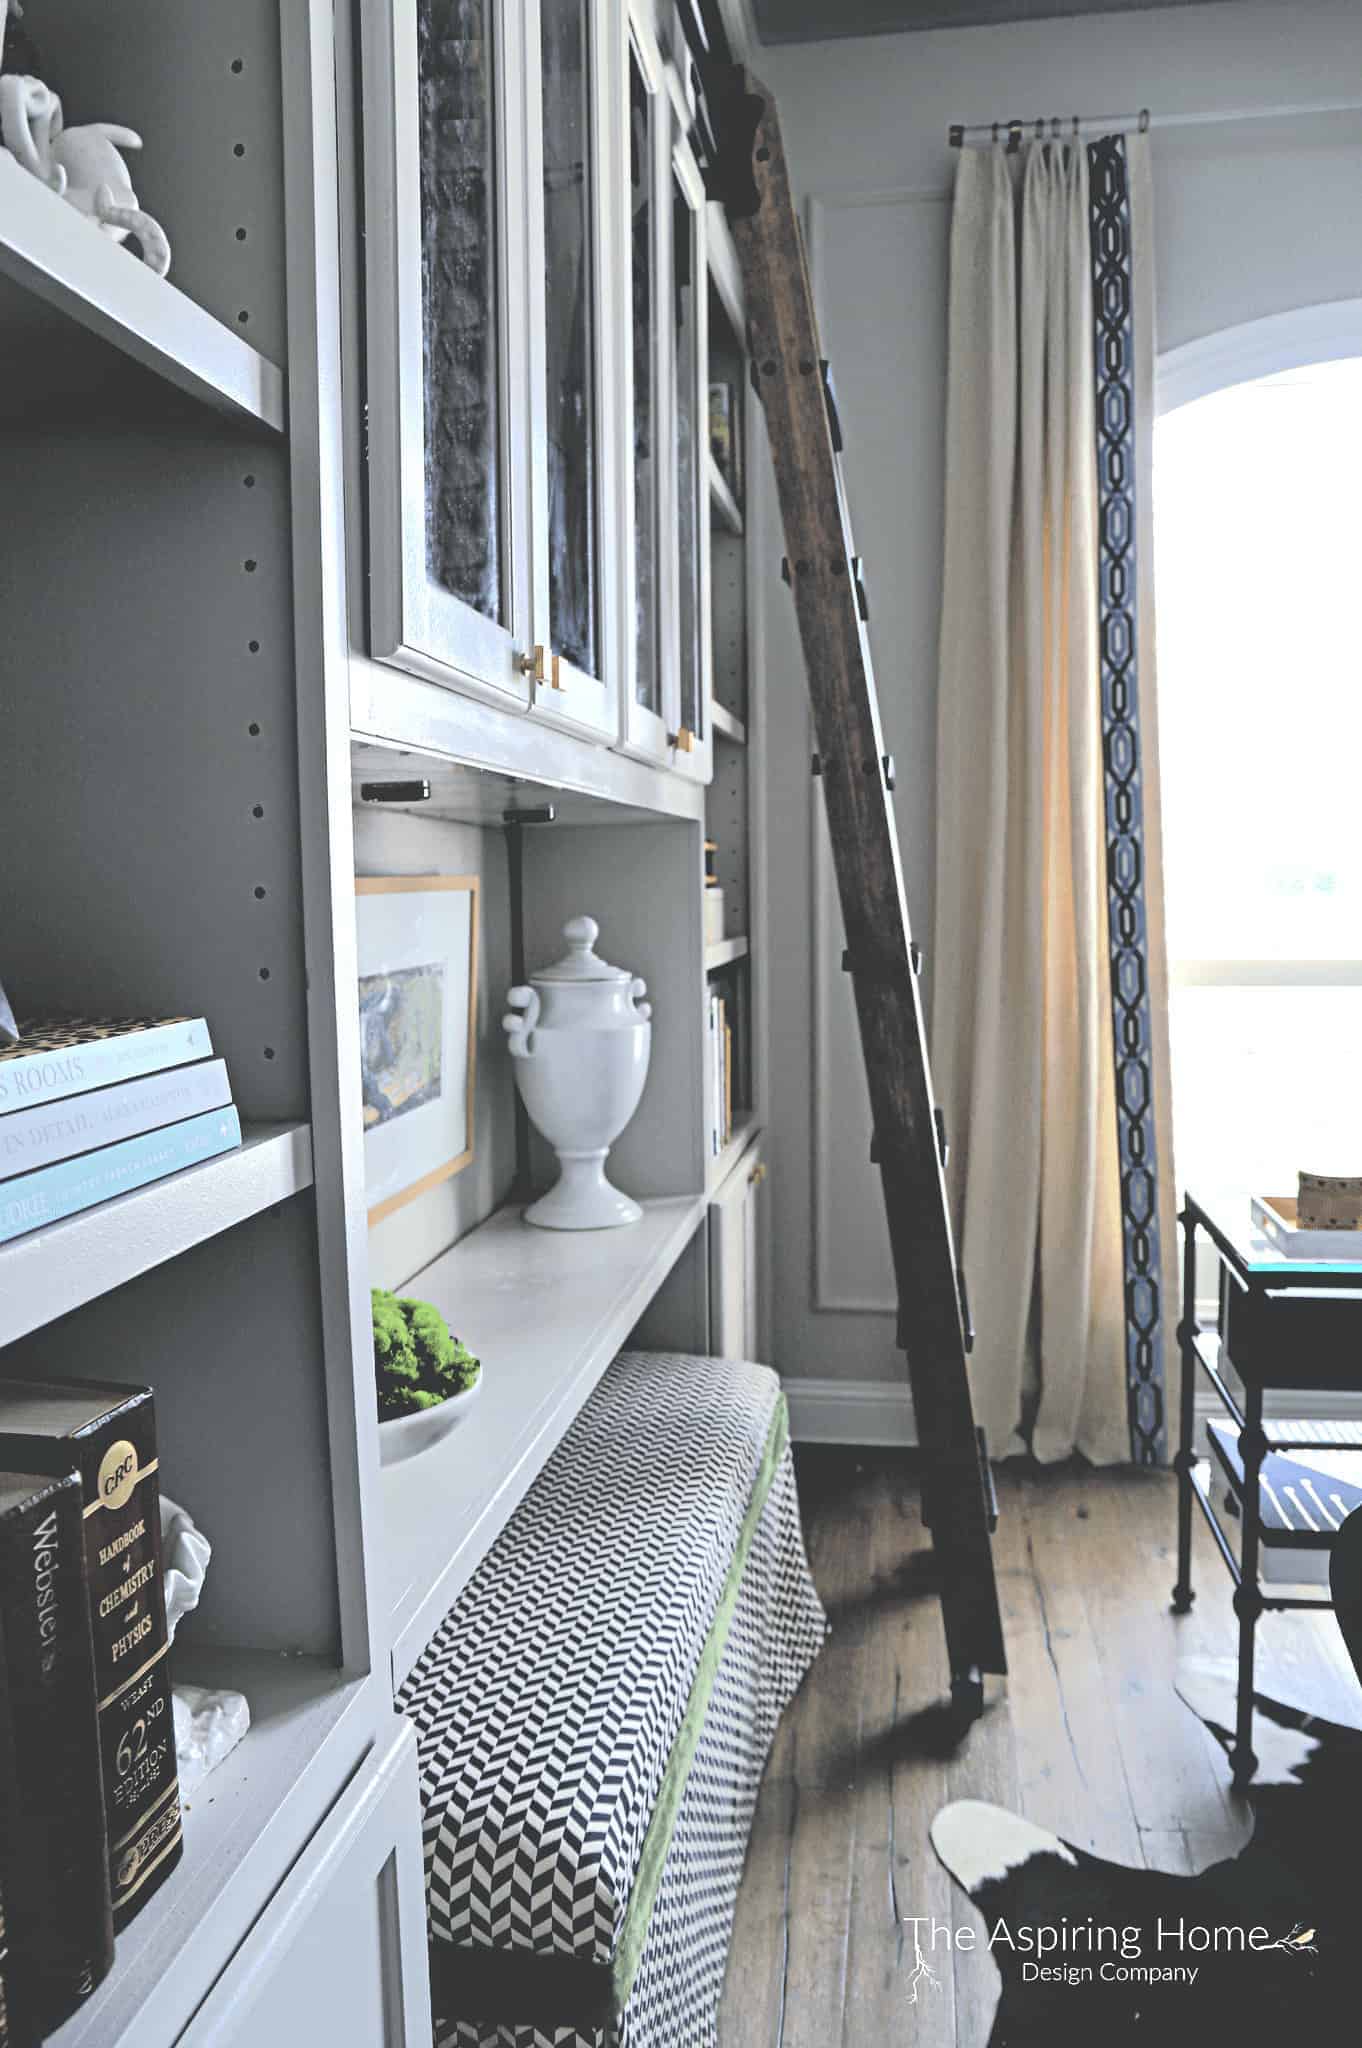
Once the ladder was assembled we leaned it up in the room – just couldn’t wait to imagine how it was going to look! This also allowed us to “dry fit” the wheels in place and get an idea of where the ladder will naturally lean against the built-ins.
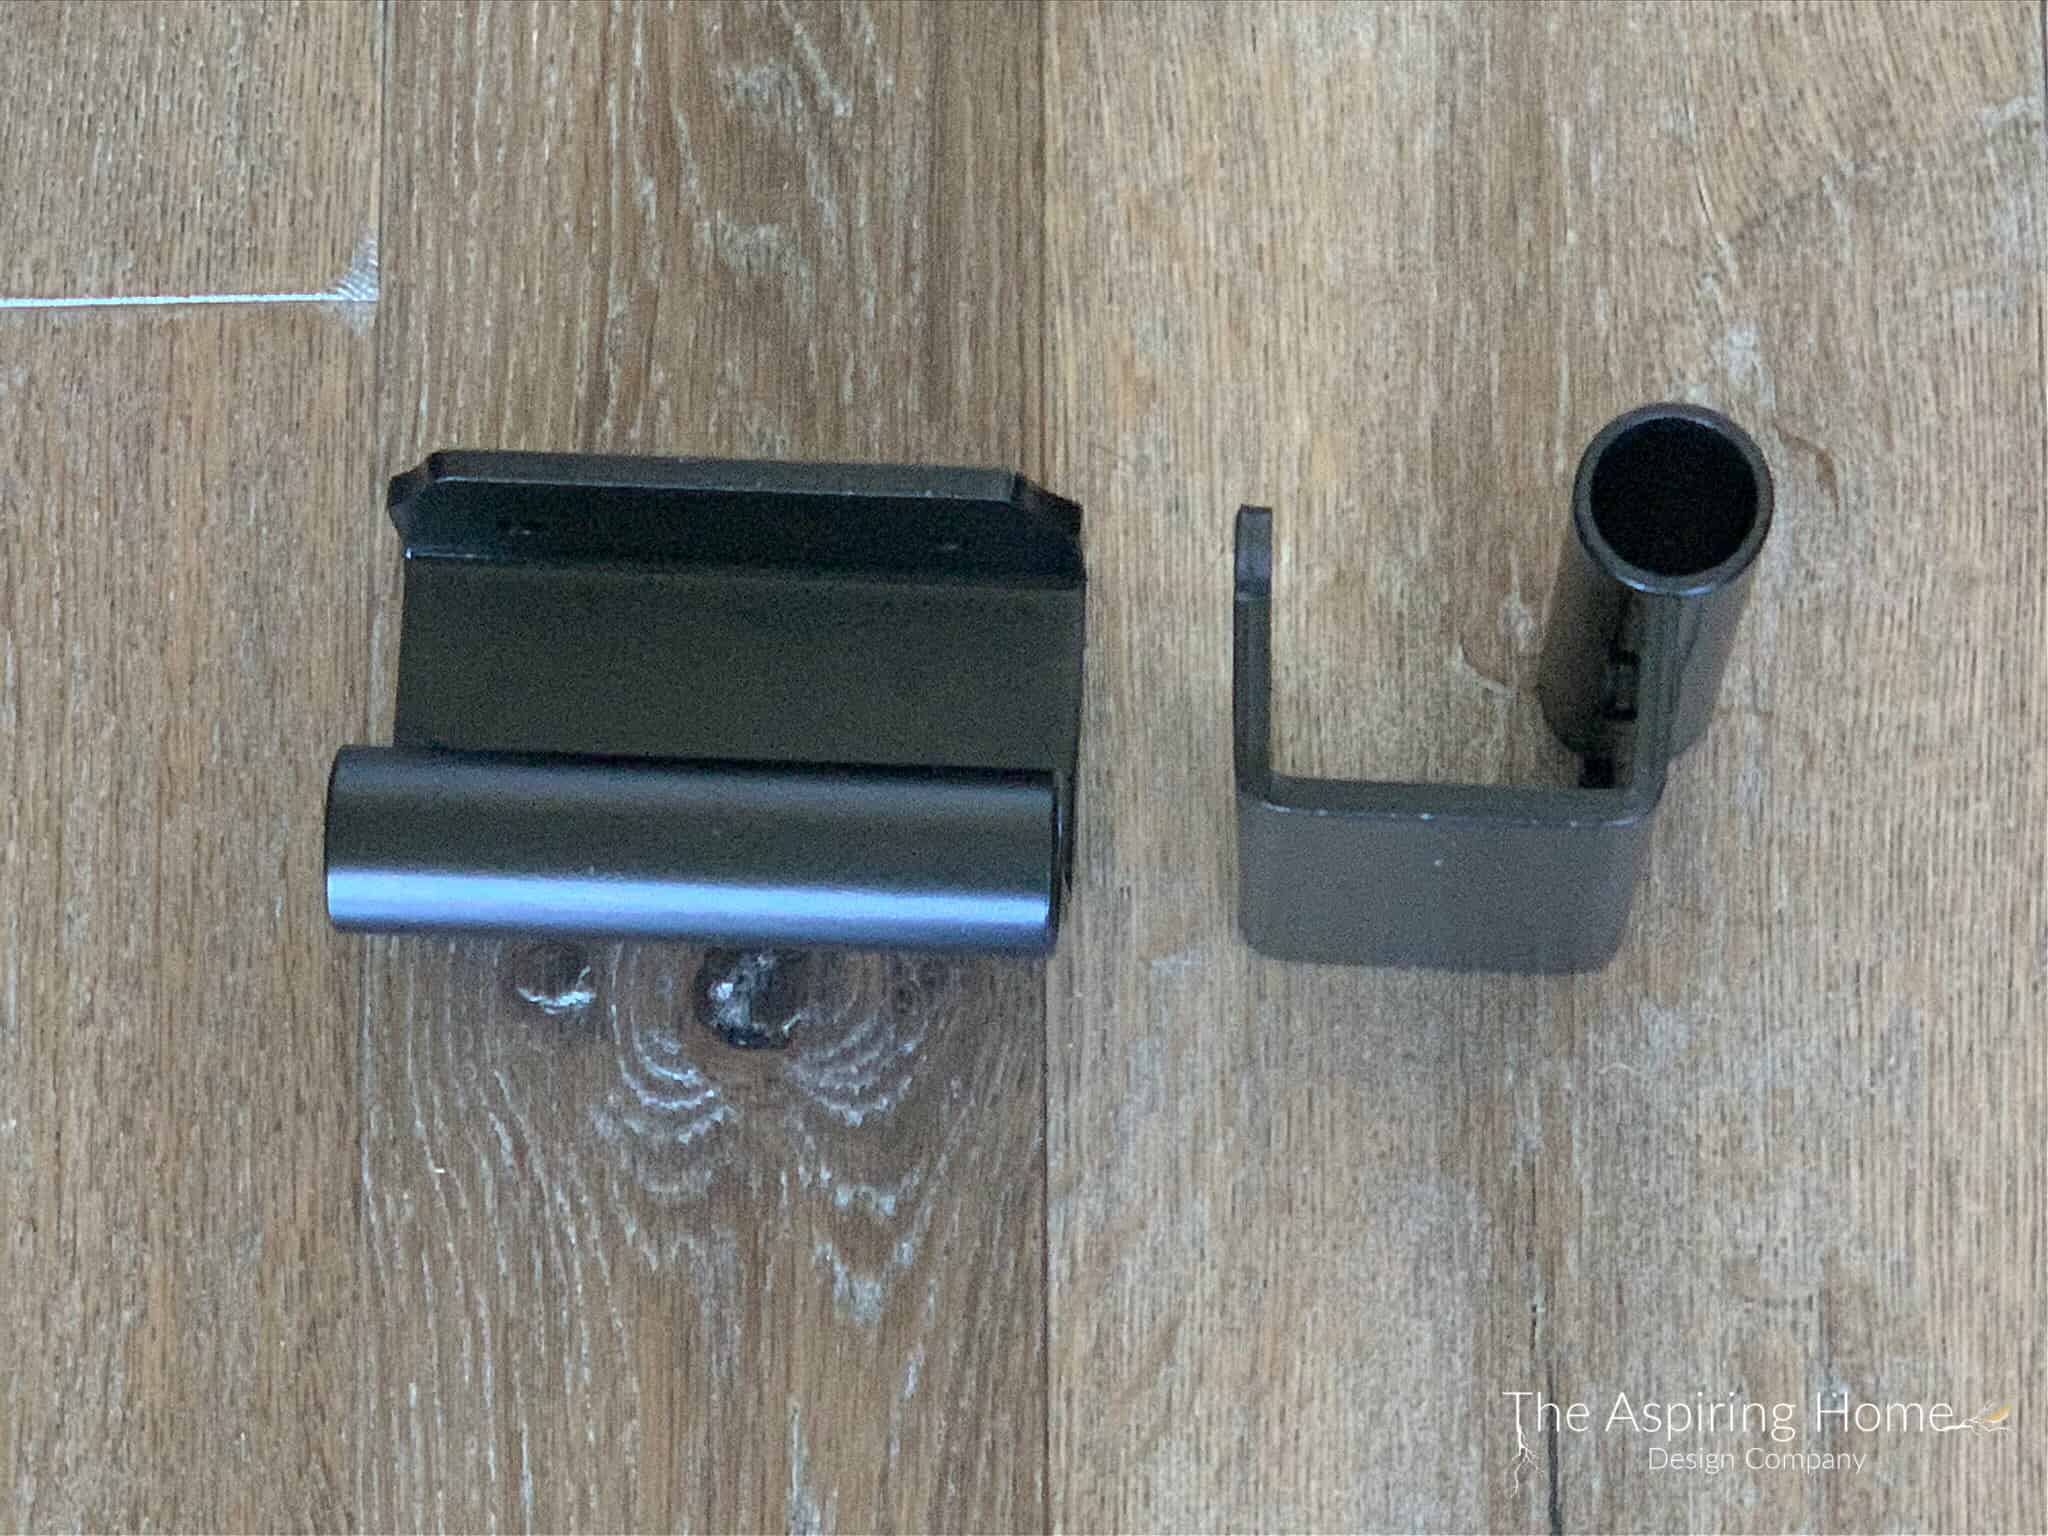
Time for the ladder hooks!
The hook itself is adjustable and the bracket arch will need to be centered. The instructions again are super easy to understand.

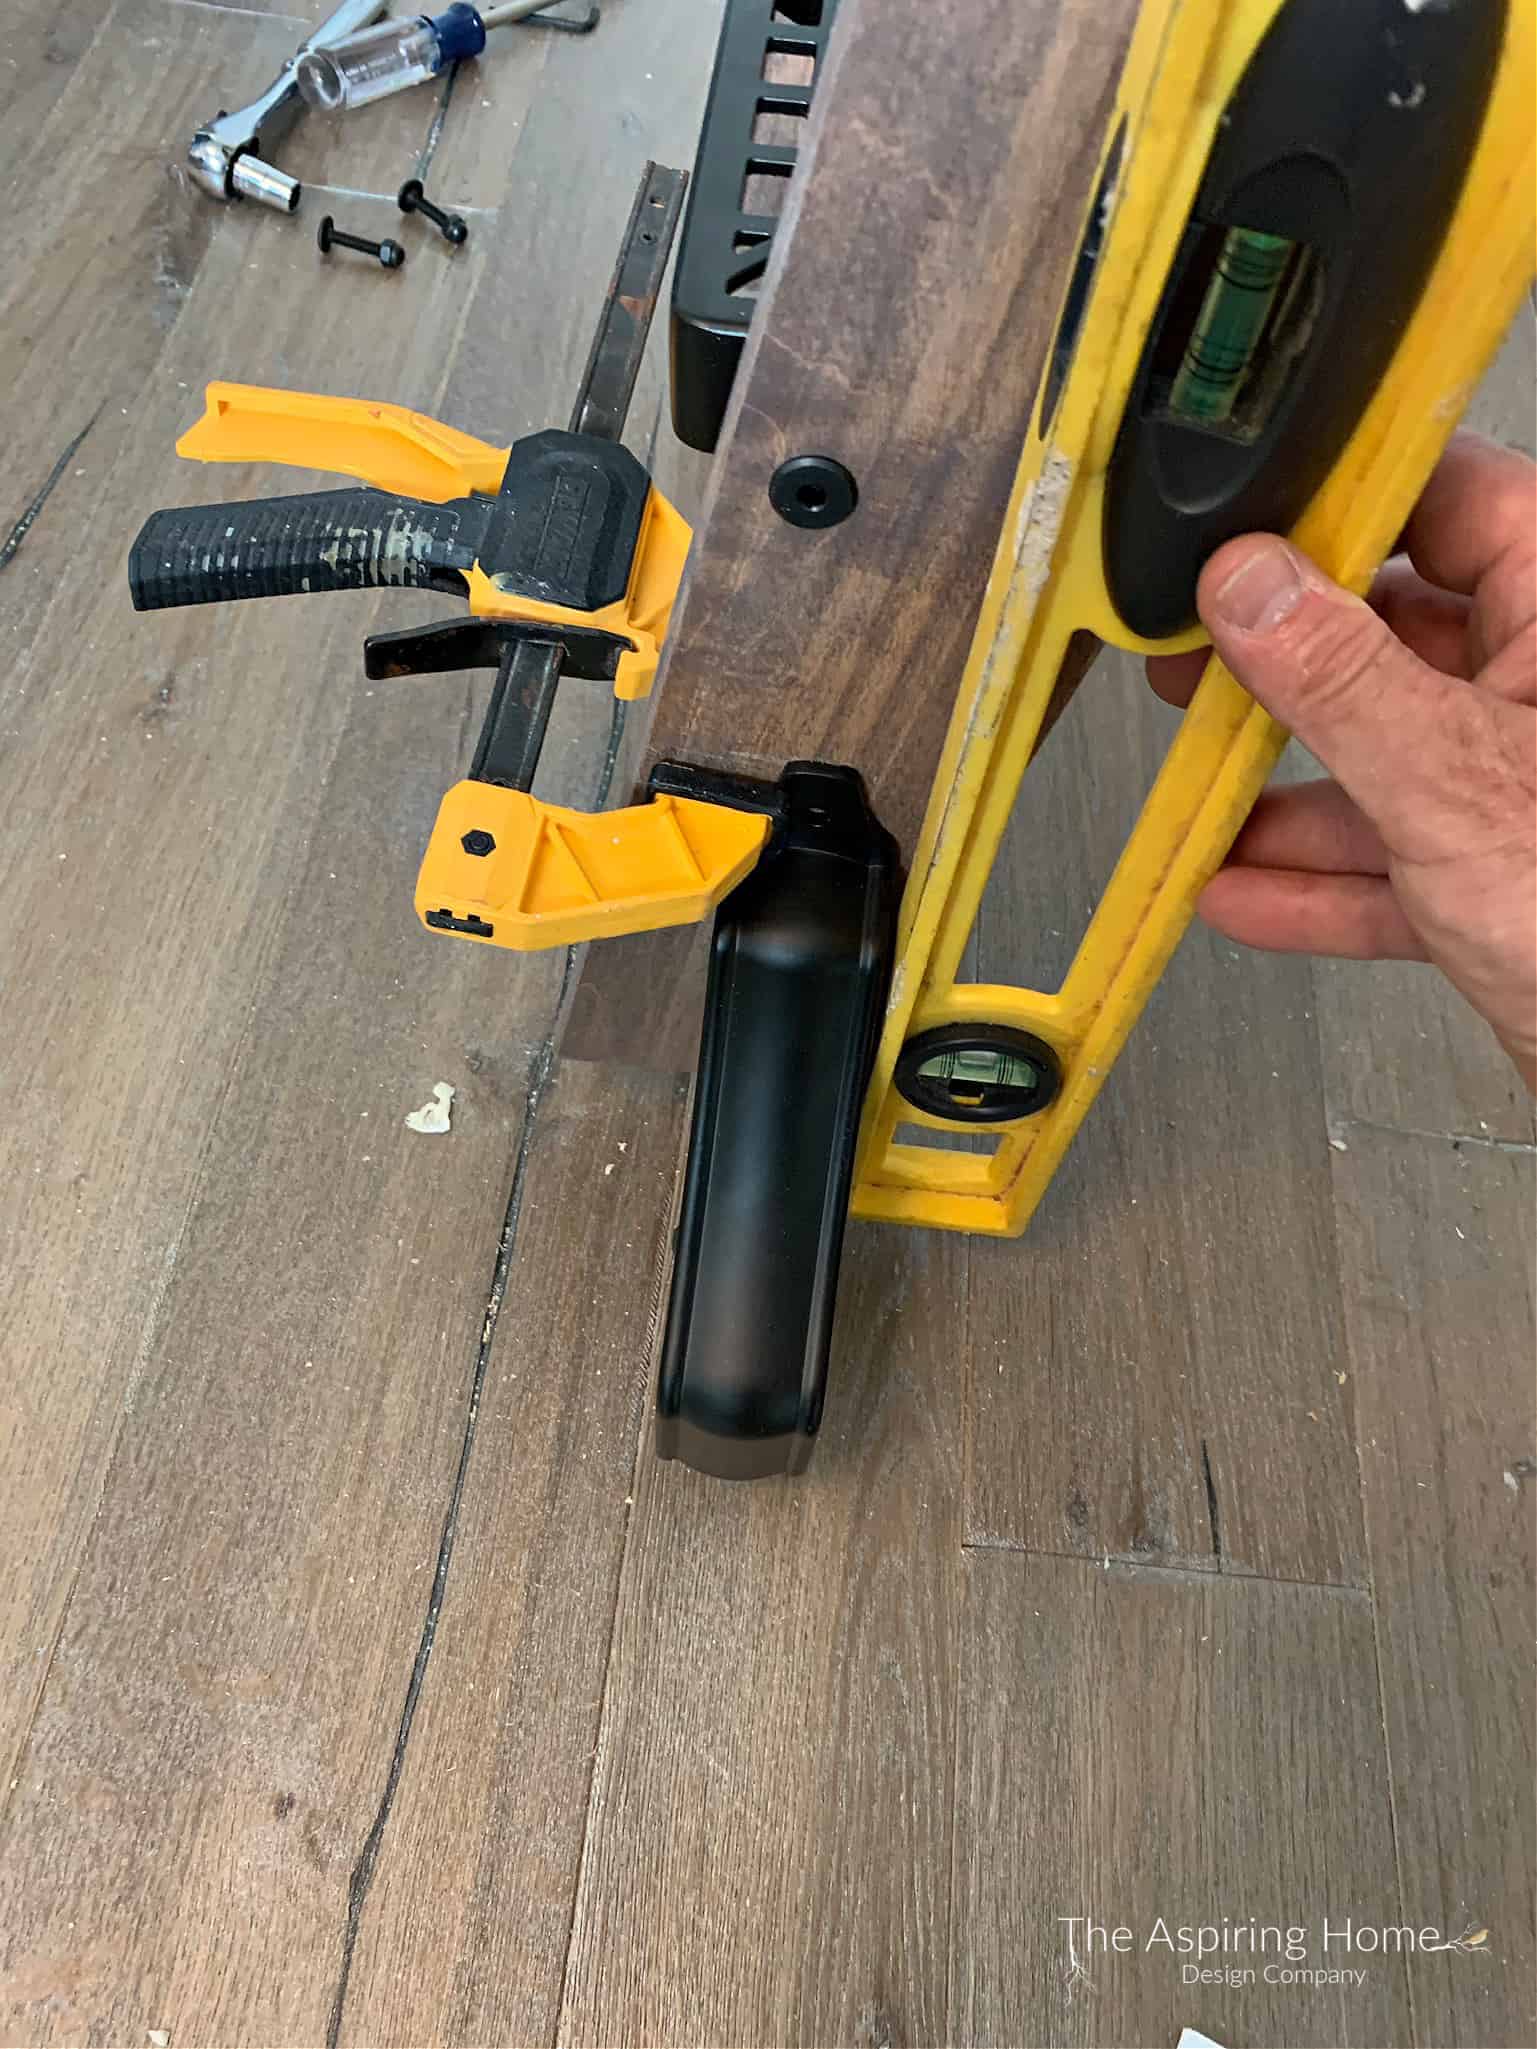
To give our ladder mobility, let’s add the wheels! Perfect placement will require two steps 1) make sure the ladder rungs are horizontal and 2) the wheels will need to be perpendicular to the floor (90-degree angle).
*This is the ONLY place we found that doing a dry fit “test run” was vital. We accomplished this by using good old clamps.
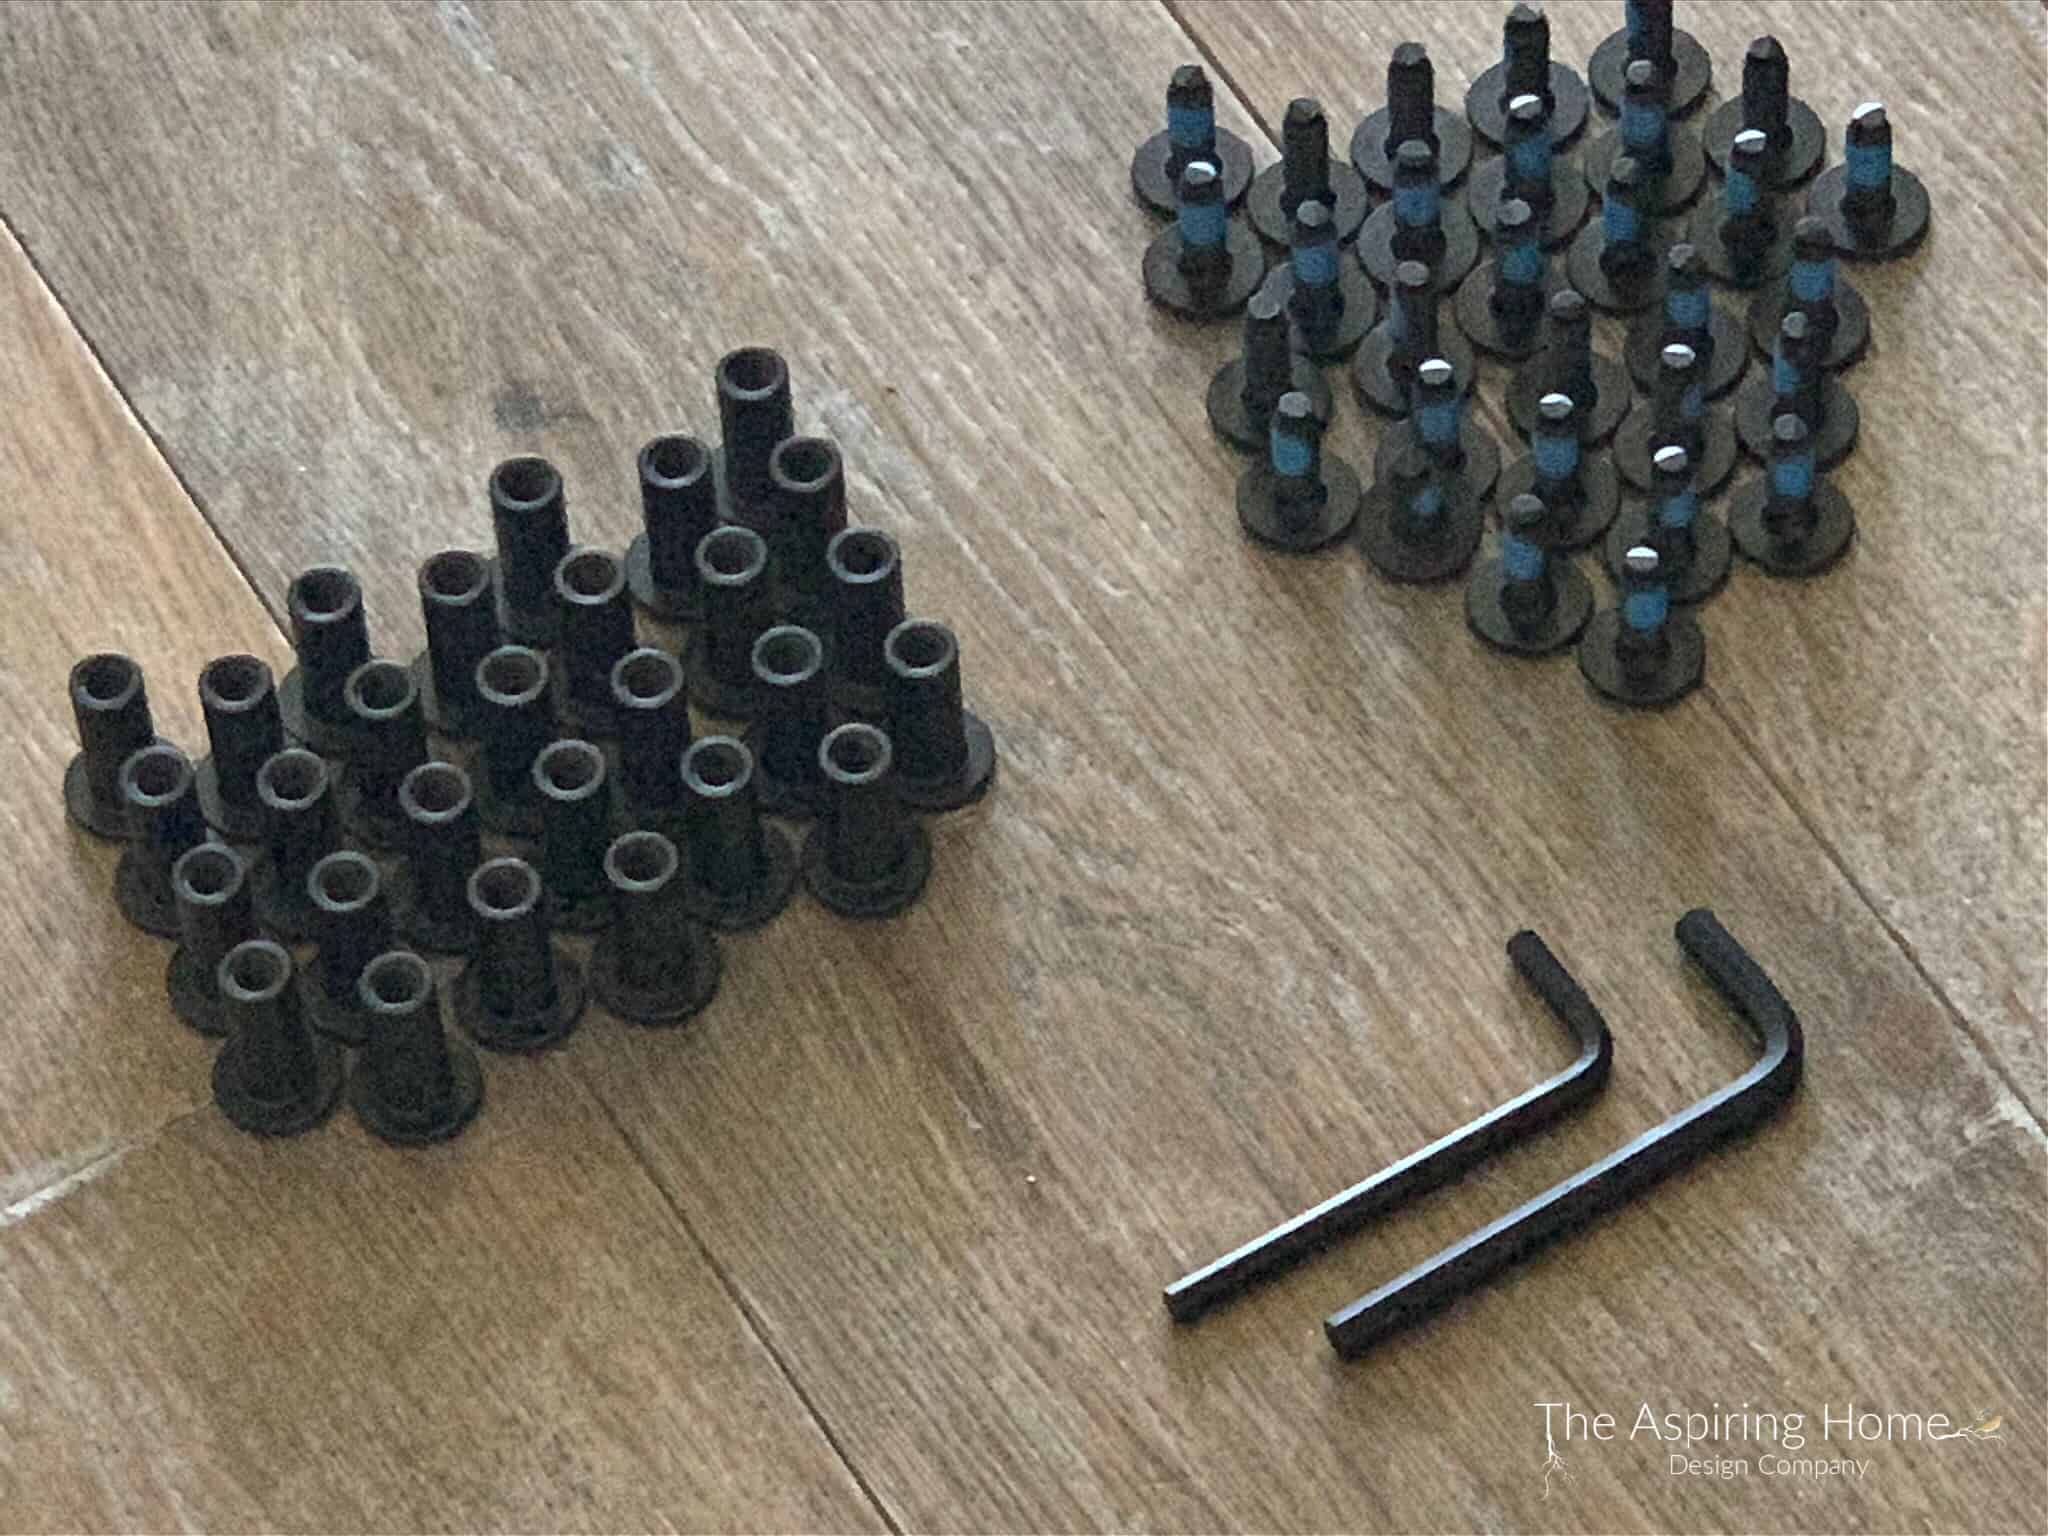
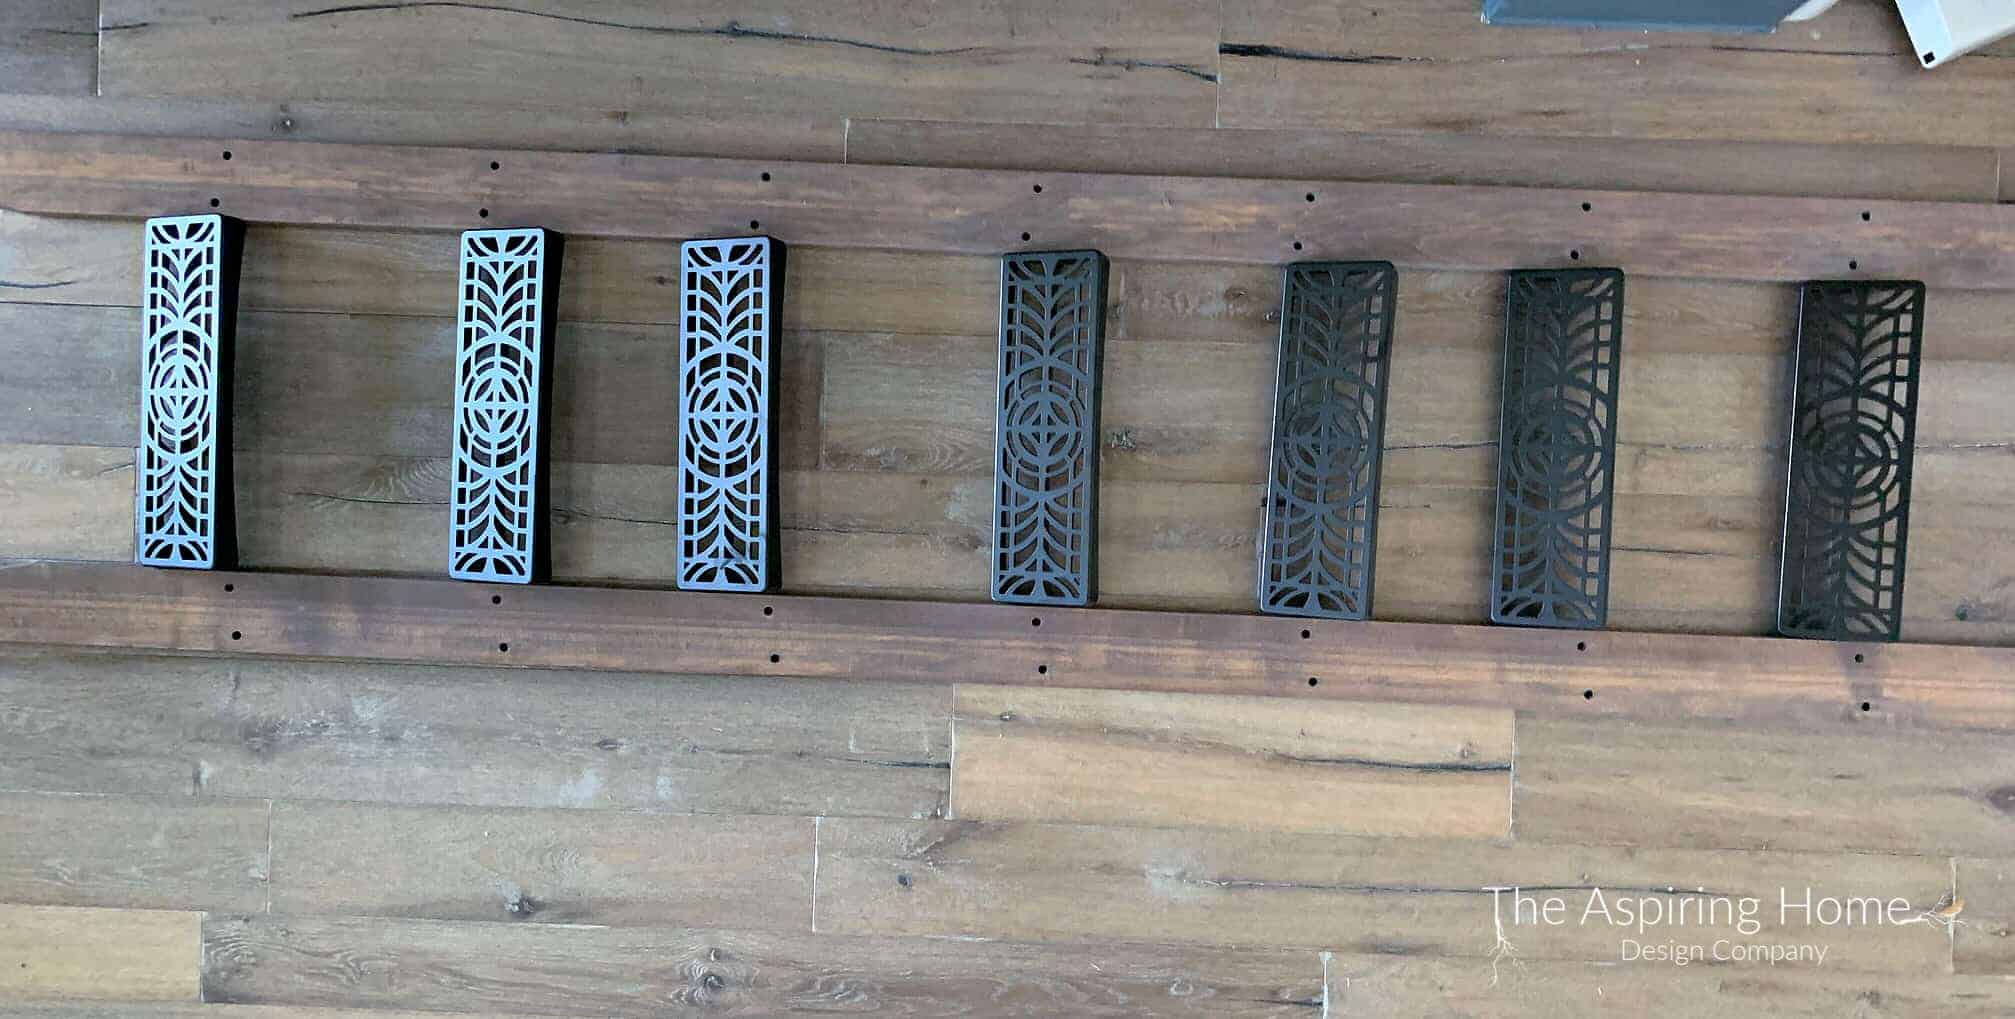
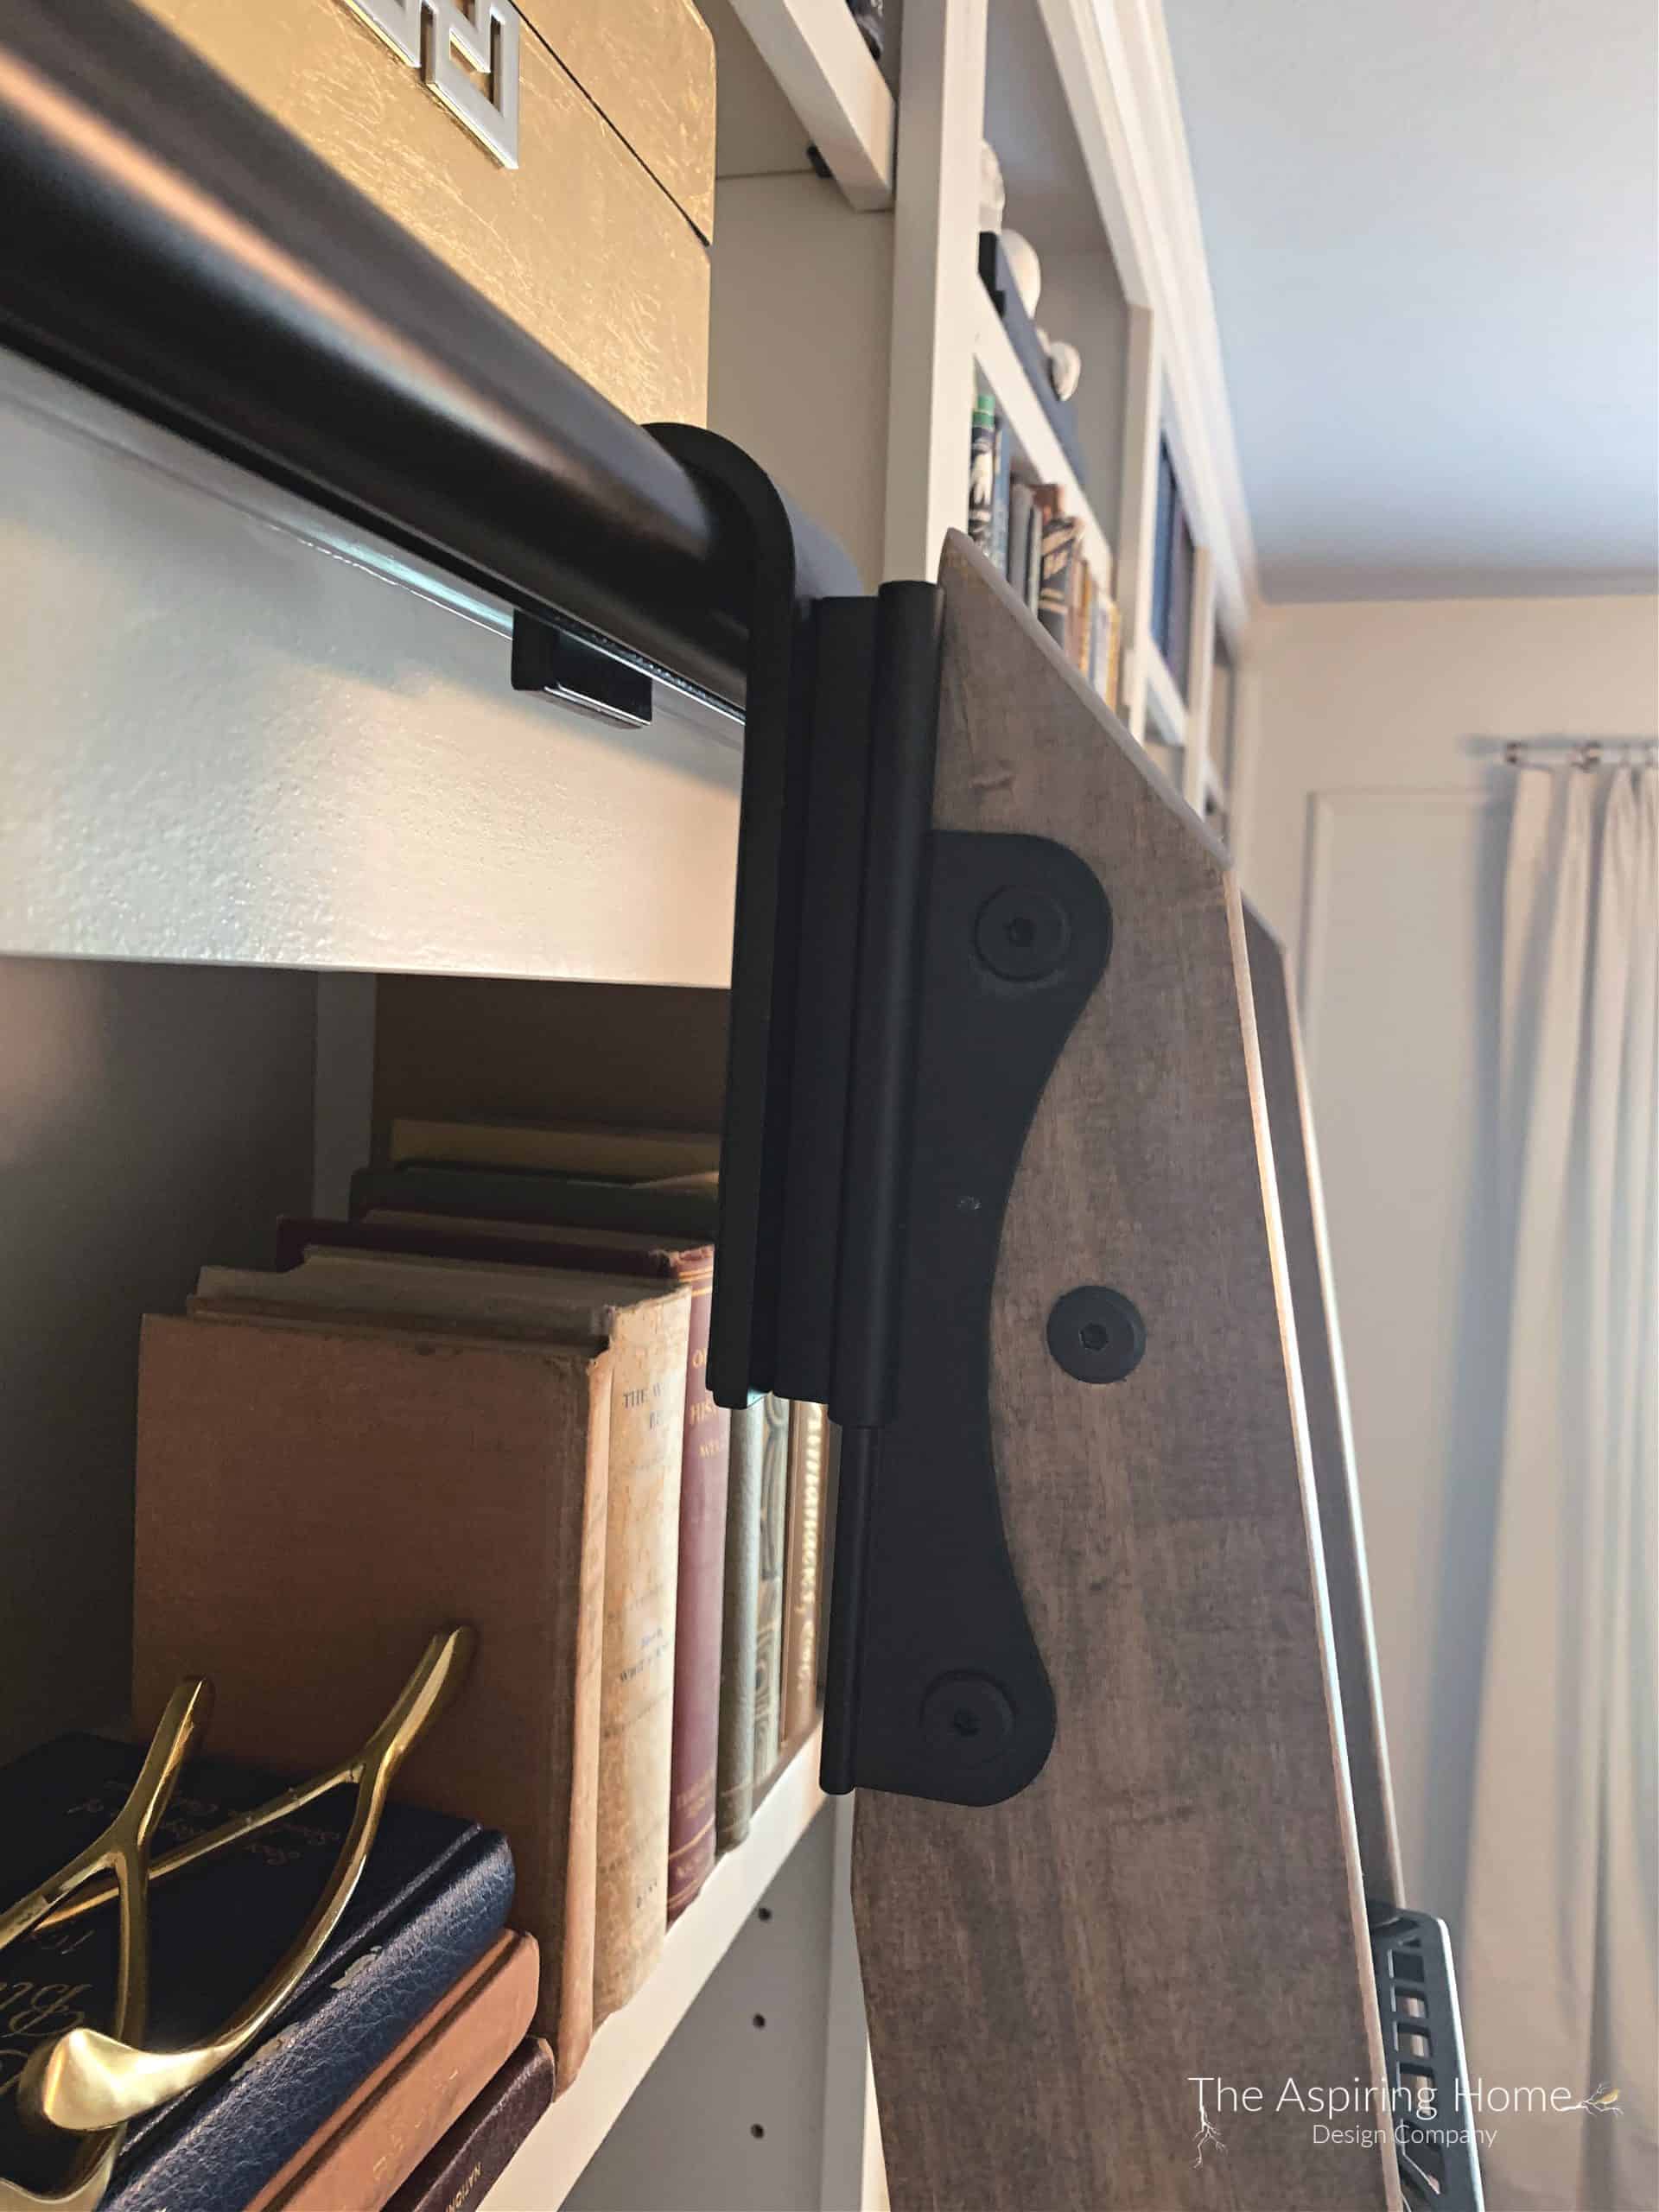
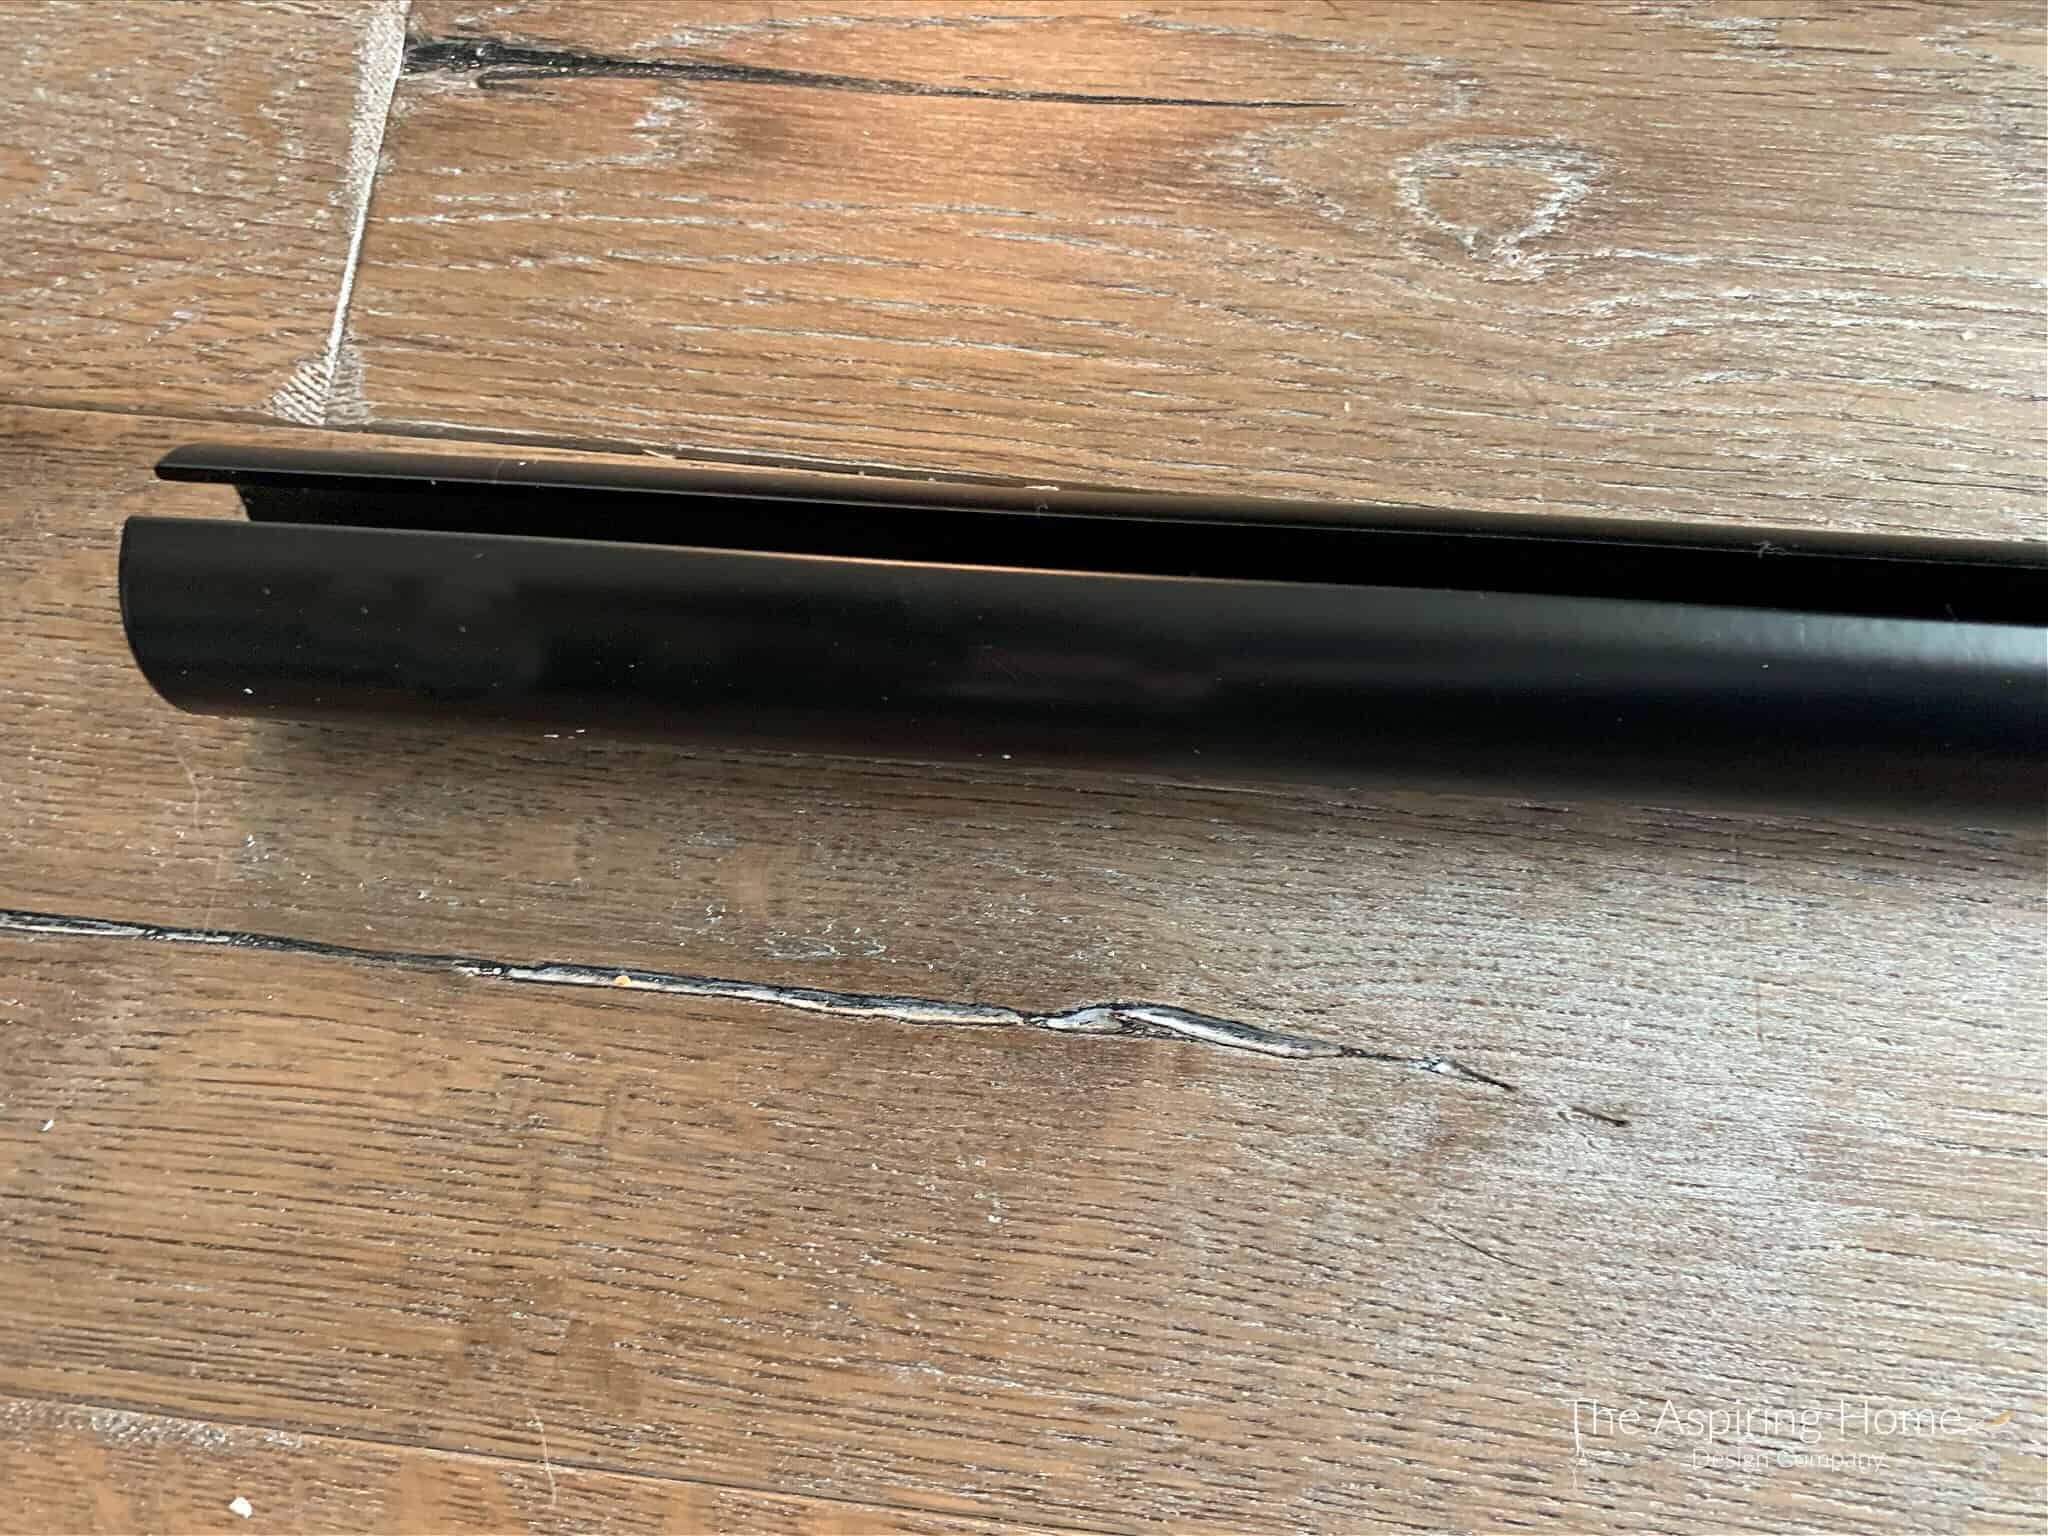
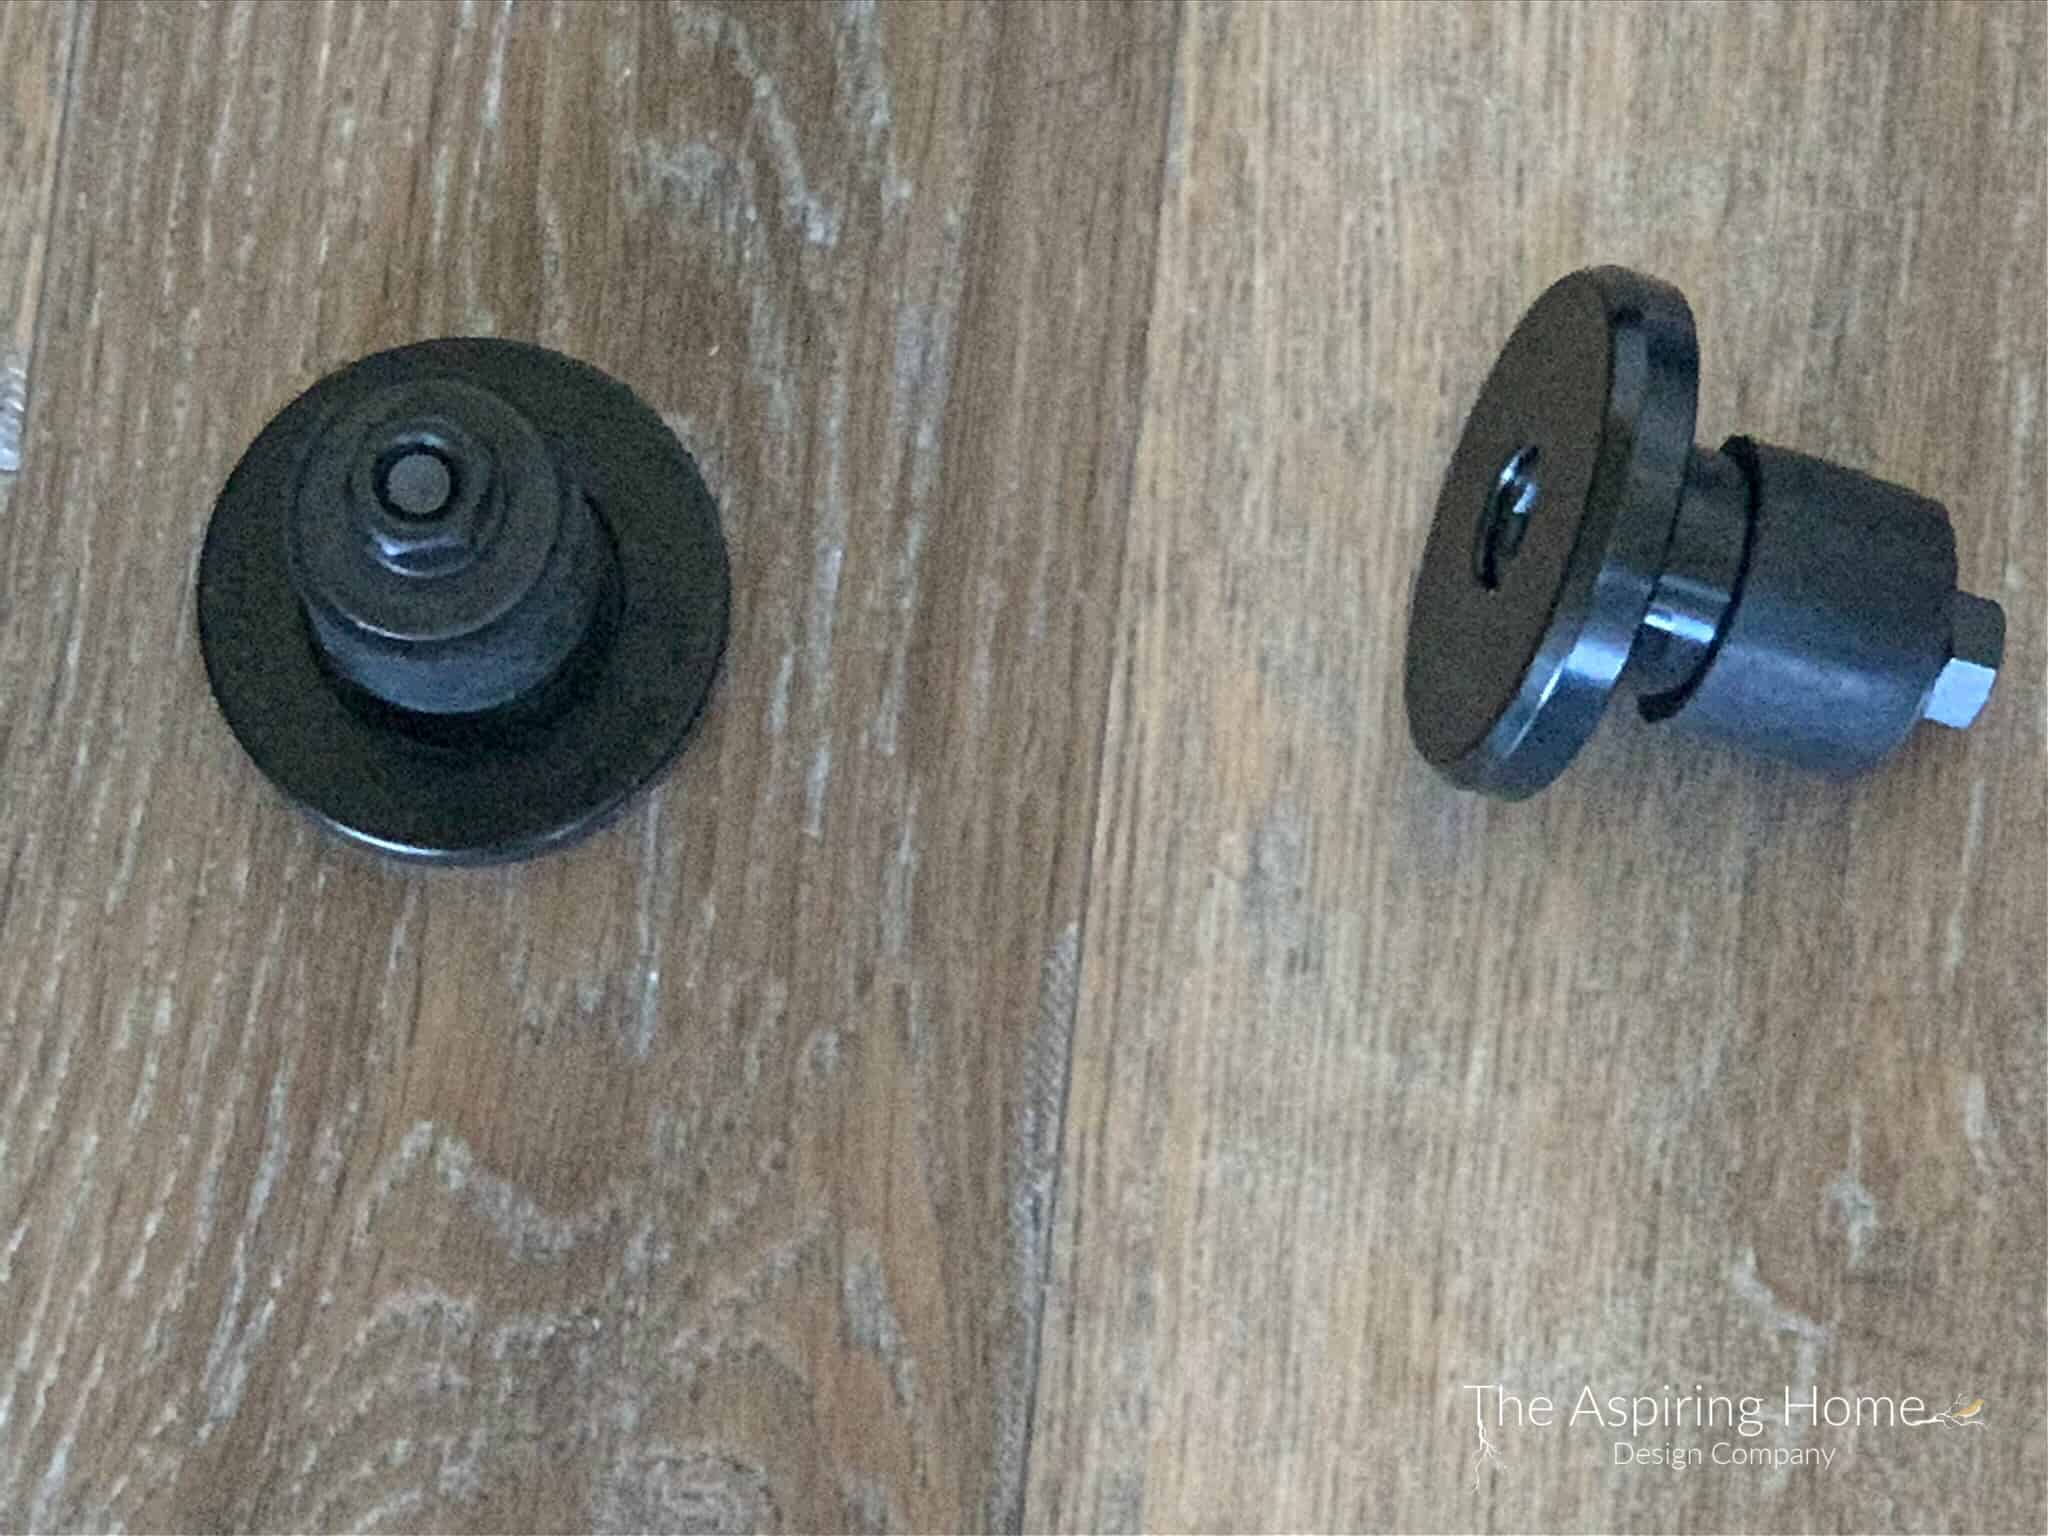
Now for the items that make this ladder so “extra” – the rail system! The library ladder rail system hangers aren’t wimpy let me tell you, watch your toes because they are heavy.
Quality, friends, Rockler doesn’t skimp.
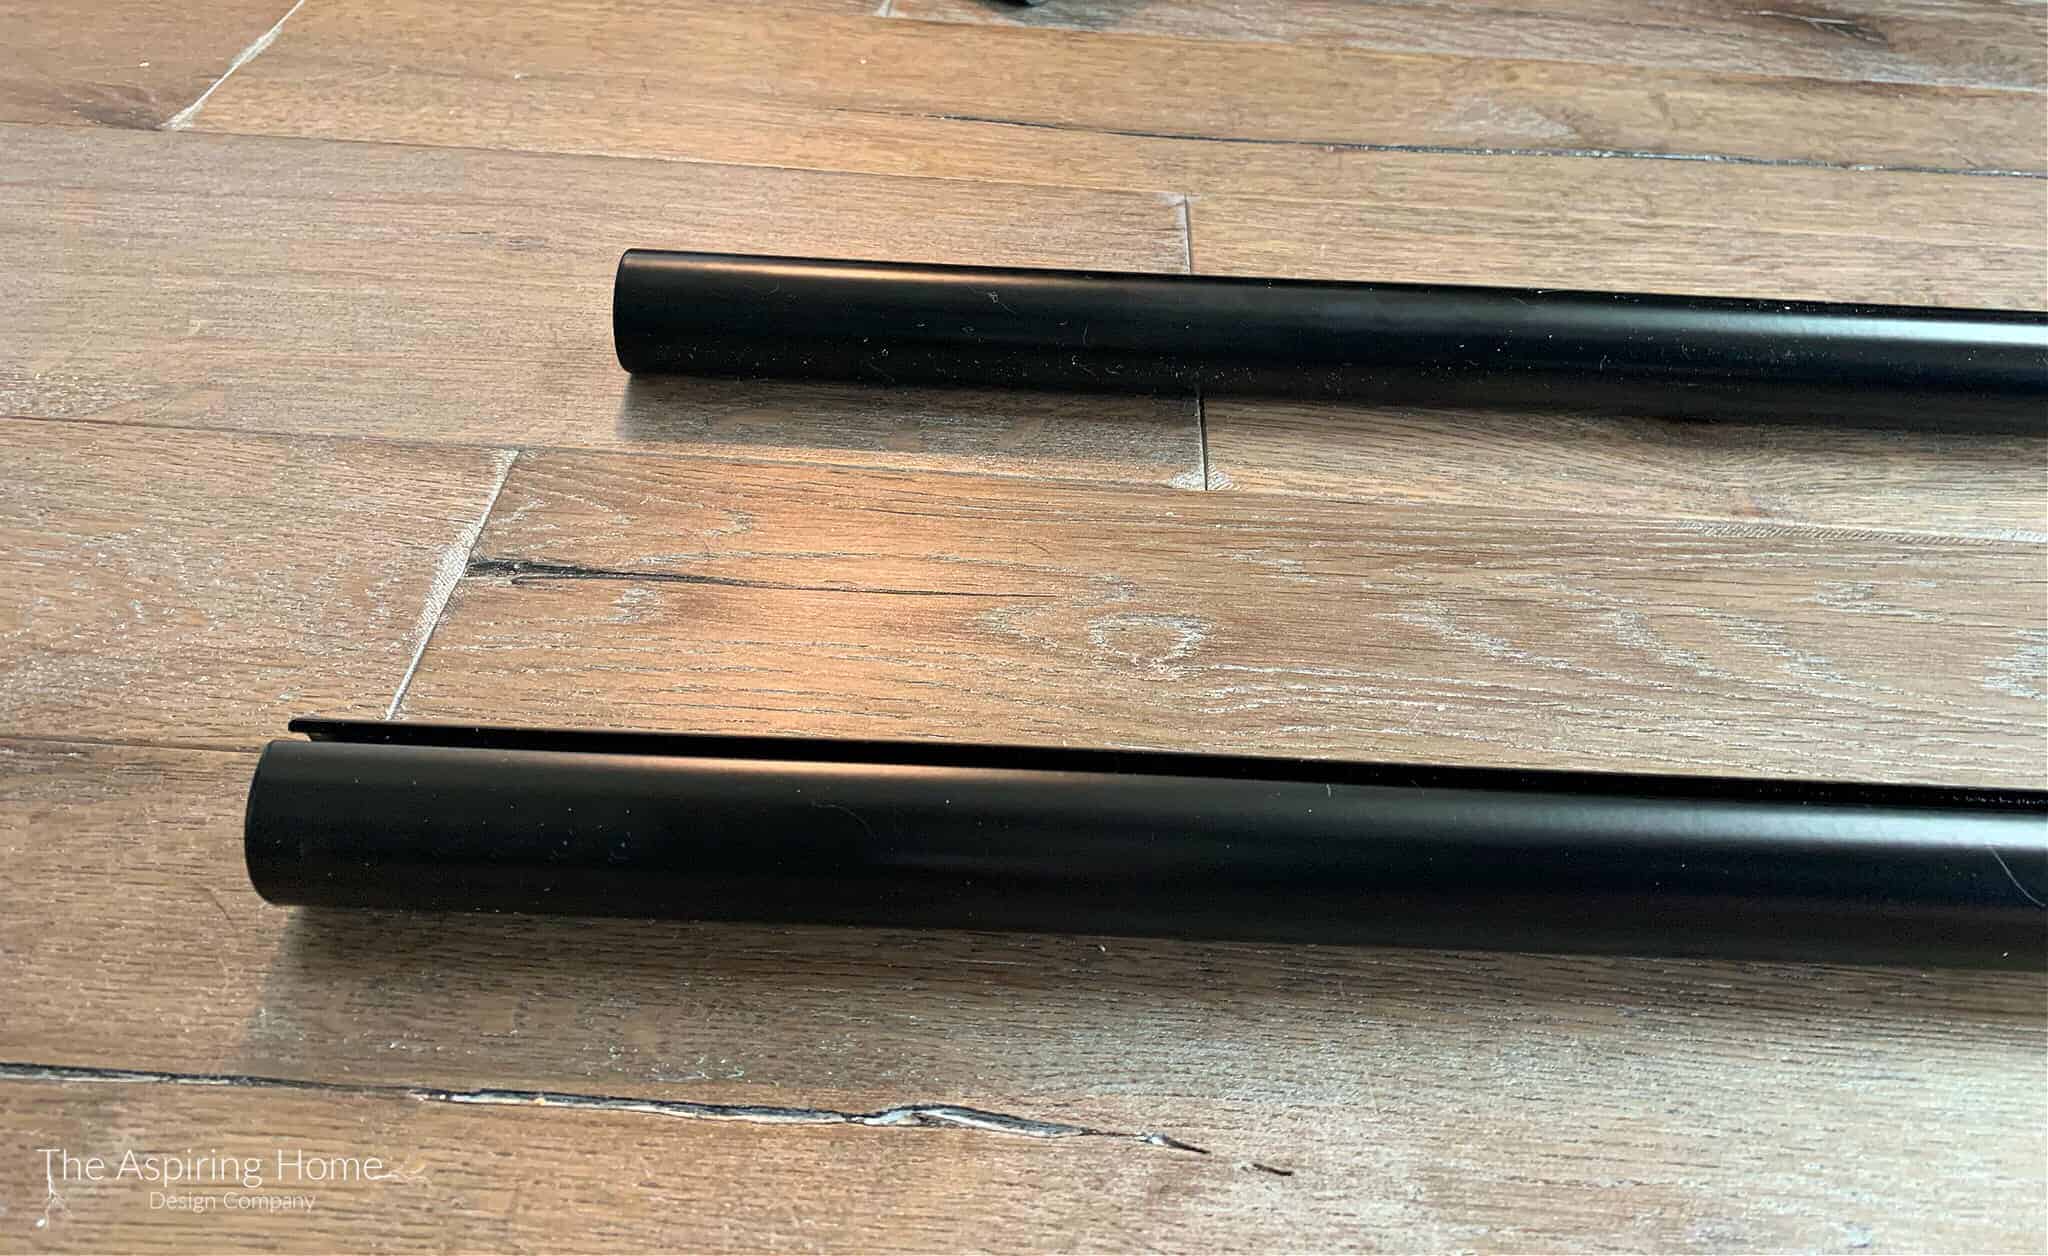
The rails are amazing, they have a slit on one side that actually allows it to slide over the hangers creating a sturdy resting place or rolling option for your ladder.
This system is easy to put up but I recommend having an extra set of hands. Keeping the railing level is key.
The rails with split
Adjust hooks so that the ladder fits snuggly but glides easily.


Ready for the “pretty” pictures? Me too!!

Doesn’t it want to make you break out in song? Twirl around and jump up on the ladder and glide across with a book in hand? Me too but for safety reasons…probably not a good idea. BUT the feeling of such frivolity is fully felt!
If you have ever dreamed of having a library ladder but felt it was unattainable – now’s your chance to fulfill that dream with the Rockler library ladder kit and rail system!
*Many thanks to Rockler Woodworking and Hardware for gifting the ladder to me for my honest opinion.
‘Till later friends!