DIY Chic Pen Caddy From A Candle Holder
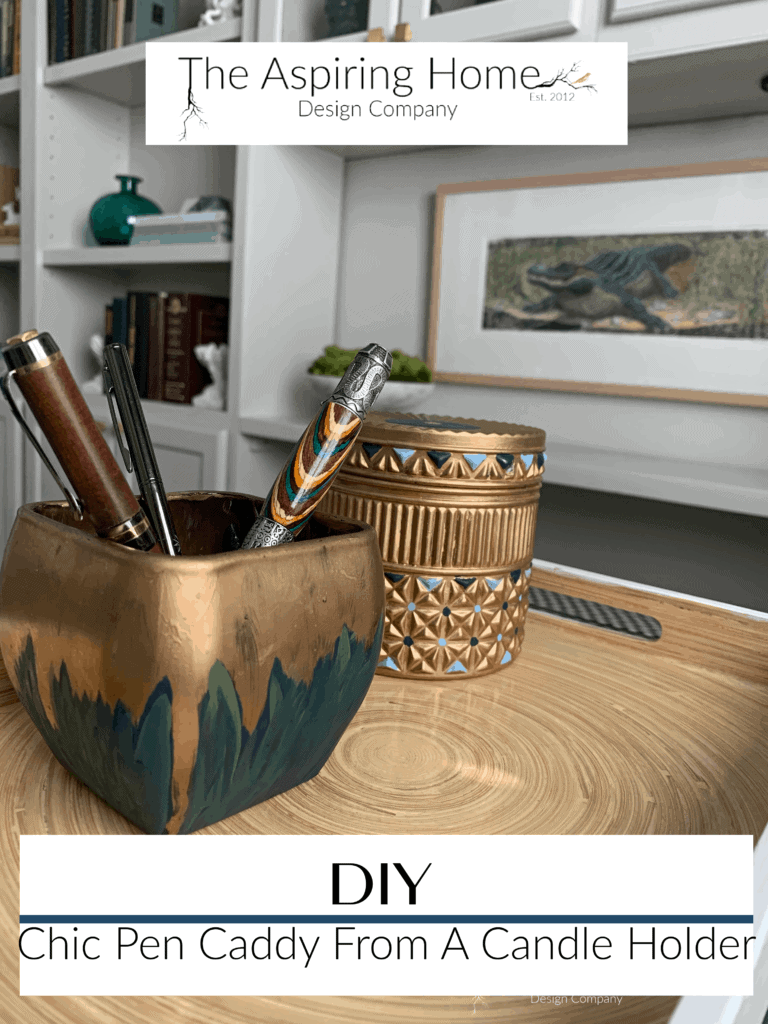
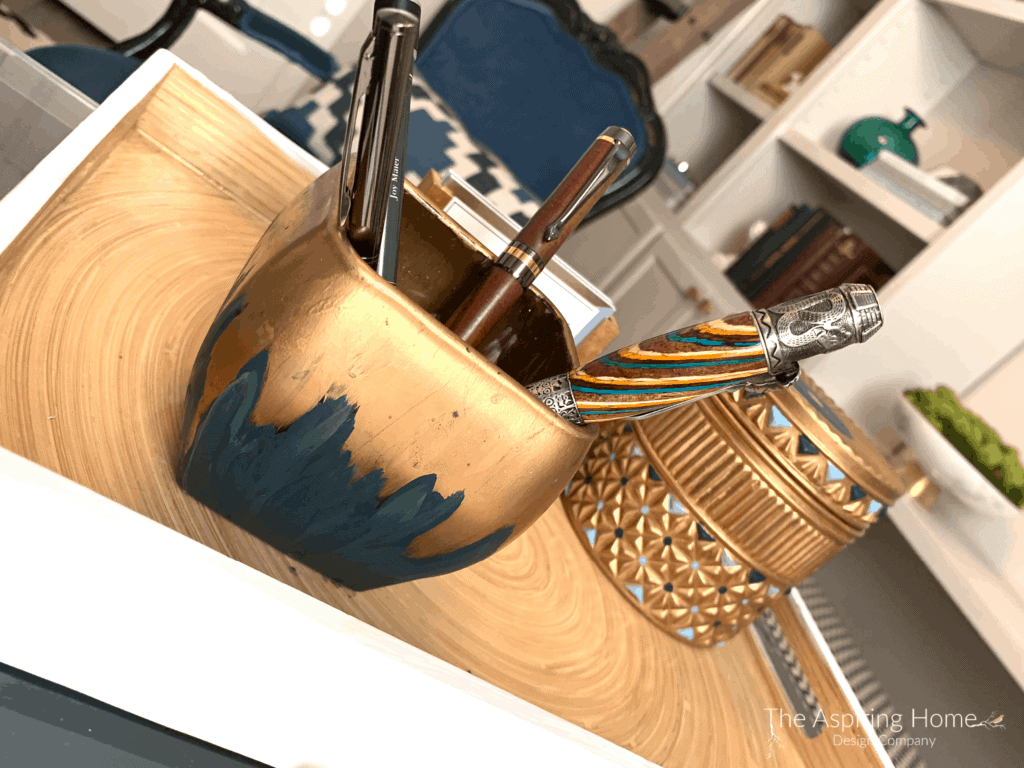
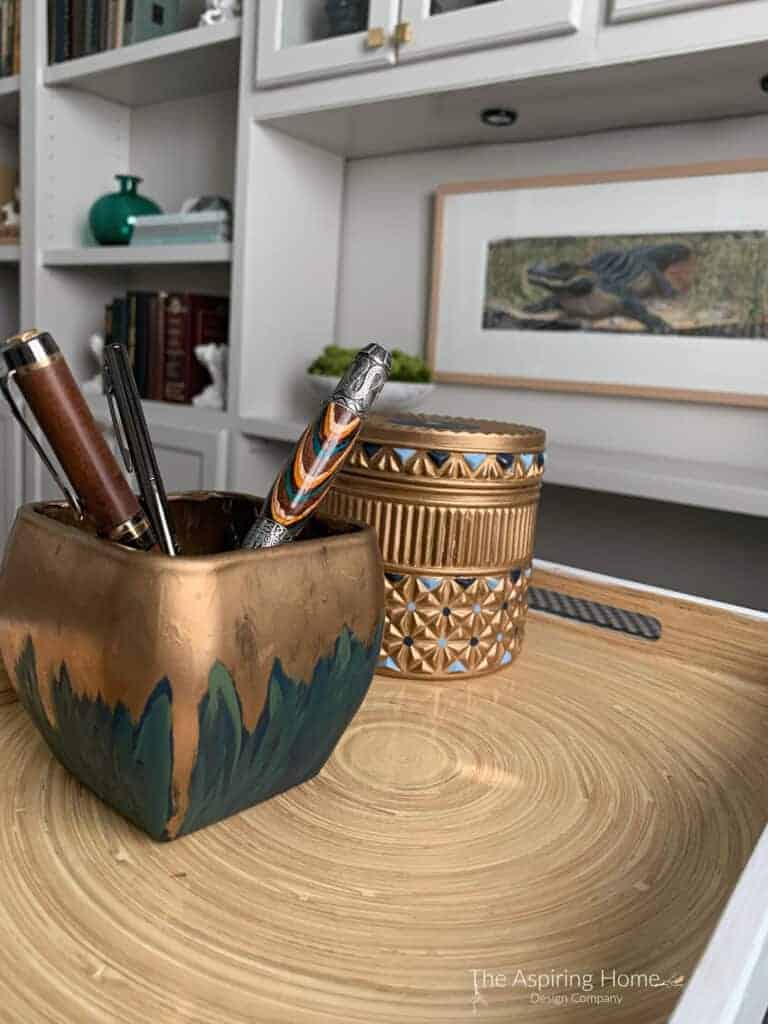
I have a super simple but oh so gorgeous project for you today! Let’s turn a candle holder into a DIY chic pen caddy.
Hello! Today’s project is some kind of gorgeous and just happens to be easy. We love those, don’t we? When I was putting the design together for the home office makeover, I wanted to amp up the style all the way down to the supply caddies and organizers. I found my perfect candidate – an old candle holder that was pushed to the back of the storage closet. Let’s begin this DIY chic pen caddy transformation!
Supplies –
- Candleholder of your choice
- Gold Leaf paint
- Decoart Acrylic paints of your choice
- Small paintbrush with an angled tip (for acrylic paint)
- Small paintbrush with a square tip (for gold leaf)
Step 1 –
Clean the candle holder with soap and water. Dry thoroughly. You can buy candle holder at the dollar store or at the big box store, honestly, my candleholder was either from Glade or Febreeze…yep, after the candle melted away. Just didn’t have the heart to throw it out. Ha!
Step 2 –
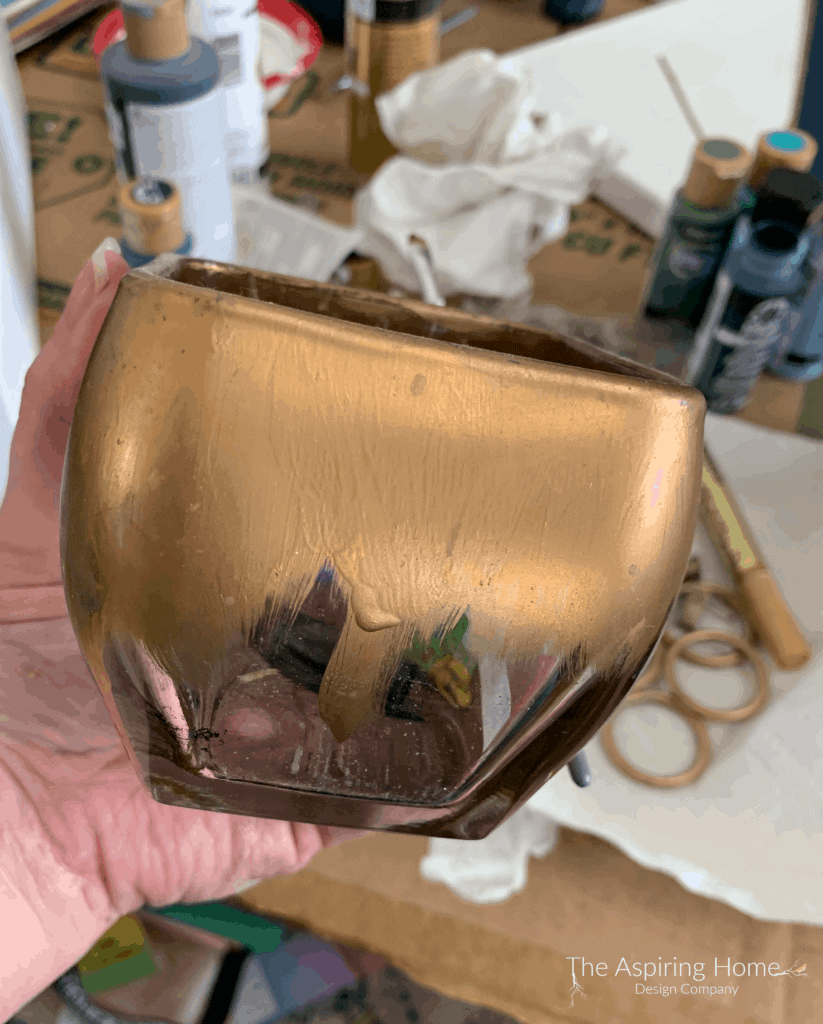
Apply gold leaf paint. I used a “throw-away brush” since the gold leaf product is oil-based. Channel your inner artist and just paint the top 1/3 of the candle holder gold, allowing your brush strokes to create a jagged edge. You can not mess this up. Have fun!
Allow the first layer to dry add an additional layer near the top to create a more solid gold surface. Allow drying for 24 hours before adding the acrylic paint.
Step 3 –
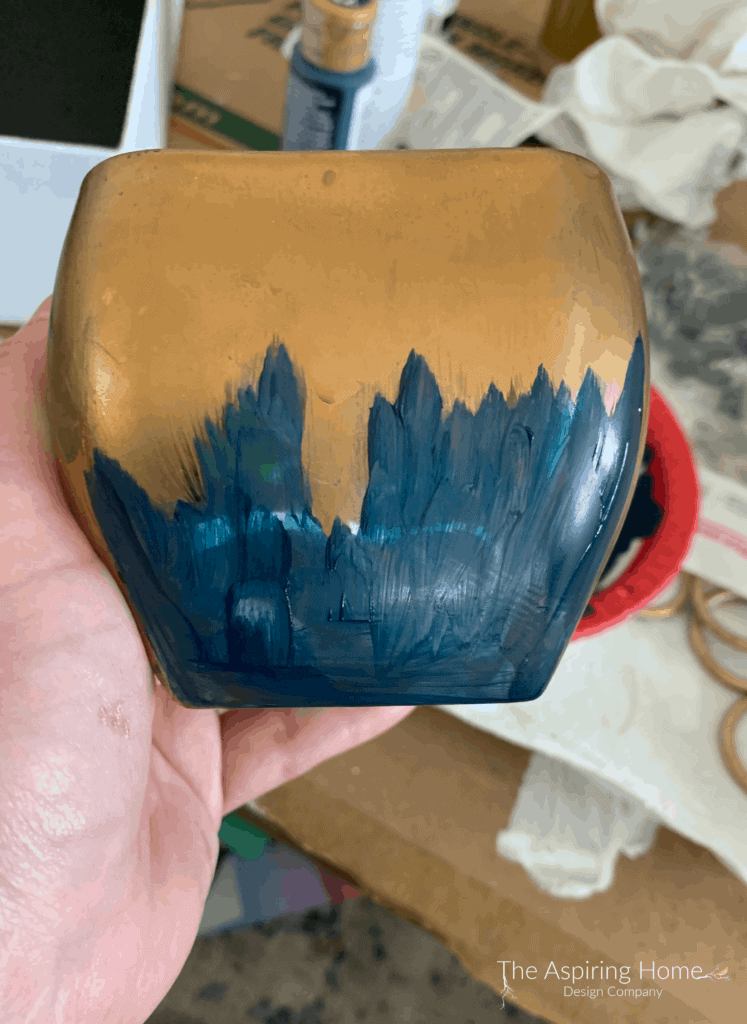
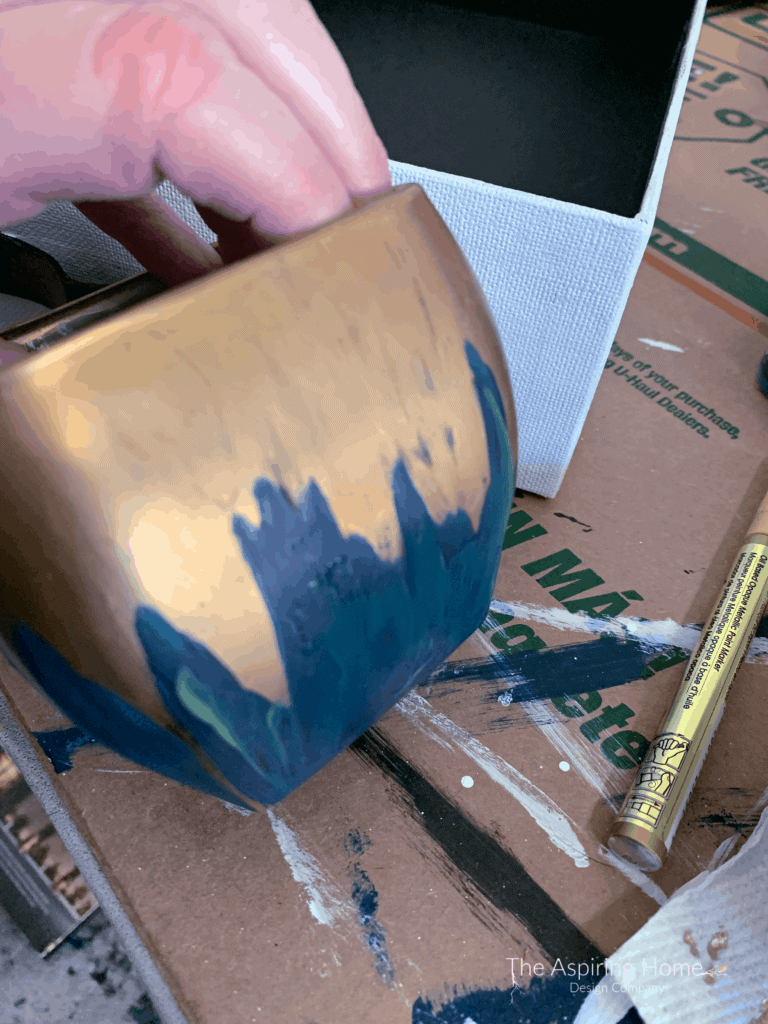
Apply acrylic paint. I chose a navy blue and a green. Paint the remaining glass area using the angled brush. I painted the navy blue first. Allow the first layer to dry. Paint another layer of blue or the darkest color you choose, Carefully work the color up into the jagged line where the gold meets. Before this second layer of blue dries completely, add the green.
Step 4 –
Add your second color, green in my case while the paint is slightly damp. Use the angled brush to push the green paint near the jagged edge. Be careful to not overload your paintbrush – almost dry brush the green paint to give the best look. Allow drying time.
Step 5 –
Fill your new DIY chic pen caddy with a few small pebbles. This will help keep your pens and pencils standing at attention.
Love upcycling, don’t you? This one of a kind caddy basically cost me $0 because I had the supplies on hand. Now, there’s something to shout about it!
Stay tuned for more home office makeover DIY projects! You can see the whole reveal here!
‘Till Later my friends,

