1 Wreath Styled 3 Different Ways for Fall
Let’s take 1 wreath and style it 3 different ways for the Fall season! Burlap, ribbon and 30 minutes are all it takes to create this project.
Hi Friends! Get ready for fall with this simple wreath that can be easily styled to carry you through the whole season. I love having a wreath on my door but I don’t have the time nor do I want to try to find storage for a bunch of wreaths that reflect the season(s). This burlap wreath makes it easy to keep up with the Autumn season.

Supplies:
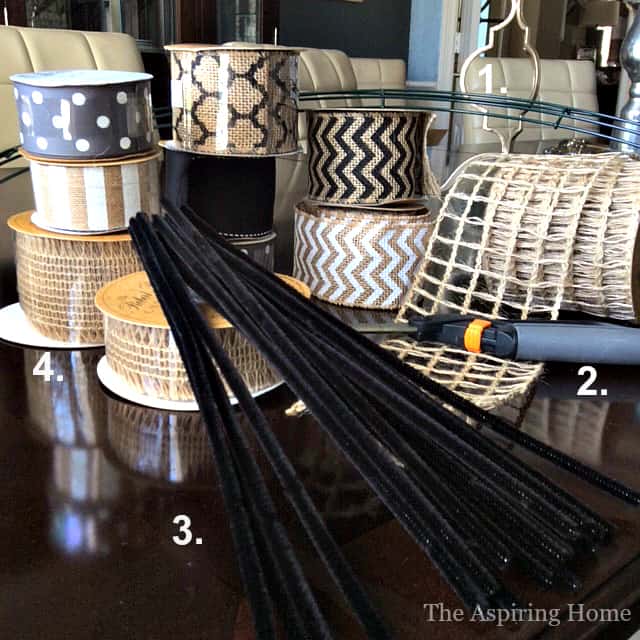
- Wire Wreath **
- Craft Scissors**
- Pipe Cleaners**
- Assorted Ribbons**
I found all the supplies at my local craft store, but I have also listed a few under my storefront on Amazon.
*The links on Amazon are affiliate links and I do receive a small commission if you purchase. This is at no additional cost to you.
Let’s Get Started – 1 wreath styled 3 different ways
Step 1:
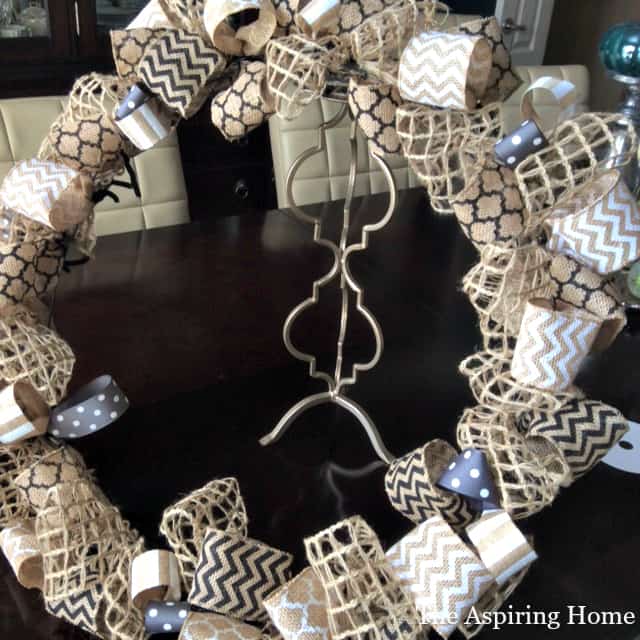
Begin by cutting pipe cleaners into fourths. Create a loop on one end of the ribbon roll.
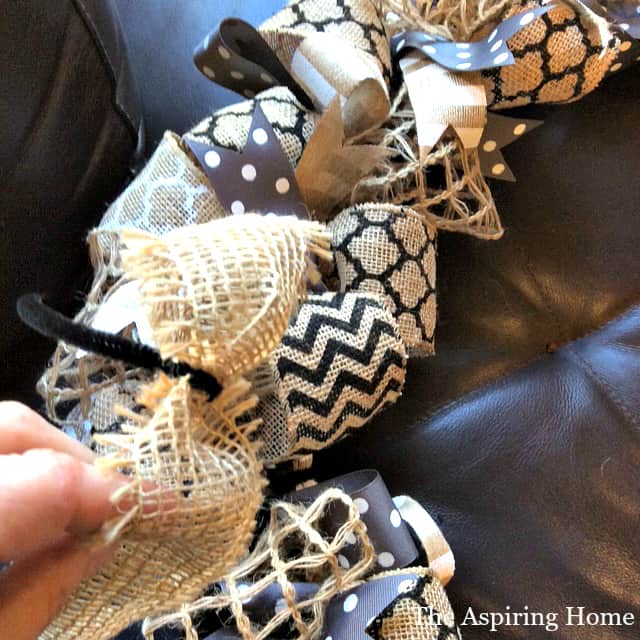
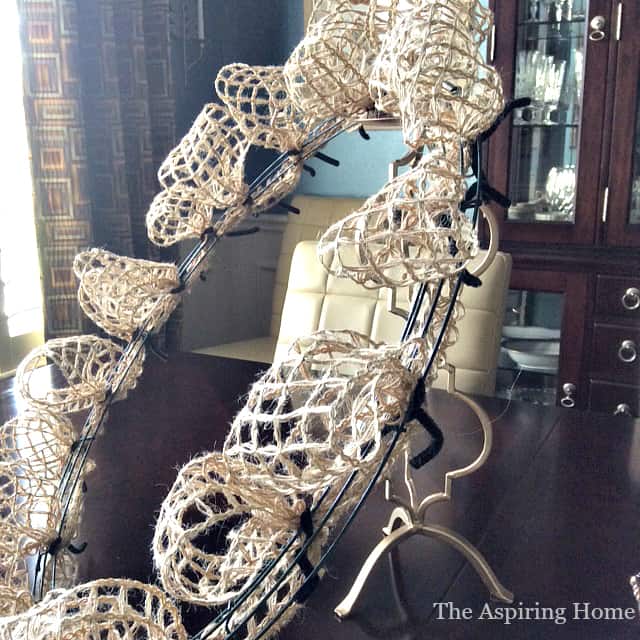
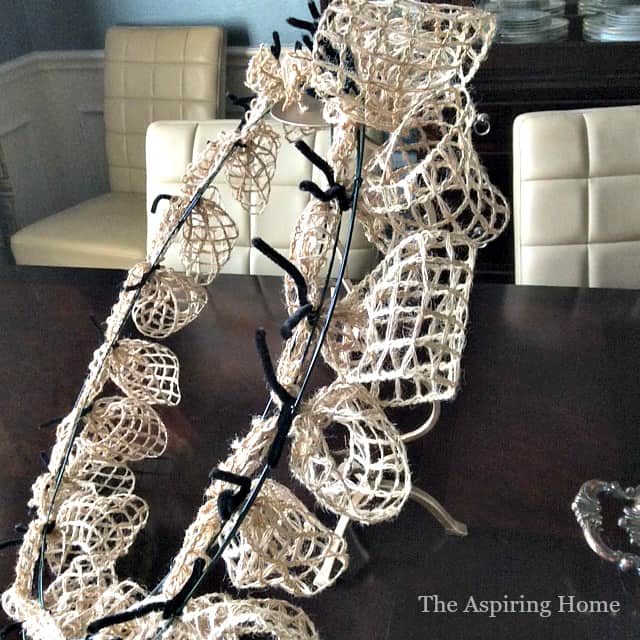
Secure the first loop to the wire wreath by pushing the loop in between the wires from the back. Twist the pipe cleaner around the wire frame. Once the loop is stable, start using the ribbon through the wire wreath to create new loops, secure each loop as you create with a pipe cleaner.
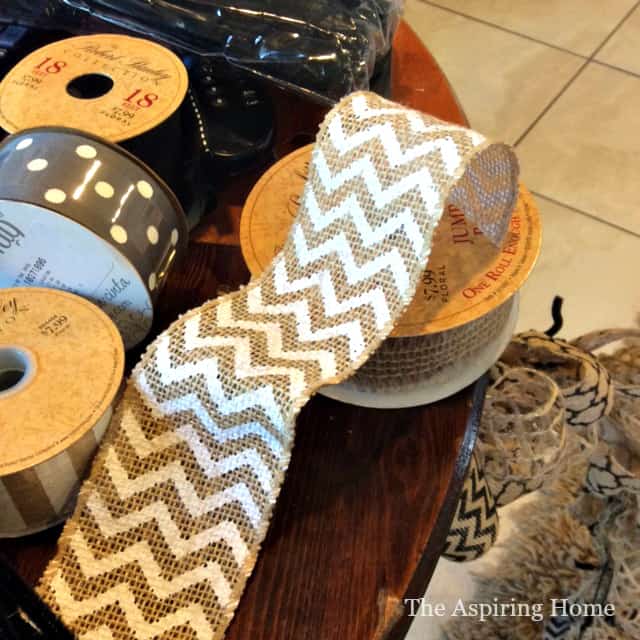
NOTE: I chose ribbons with large open weaves due to their flexibility. The printed ribbons will be added but in a different way. The “airy” ribbon provides a nice backdrop for the printed burlap ribbons.
Step 2-
Cut the printed burlap into 8-inch sections. Create loops and secure with a pipe cleaner. Begin tucking assorted printed burlap ribbon in a zig-zag fashion filling in the holes.
Step 3-
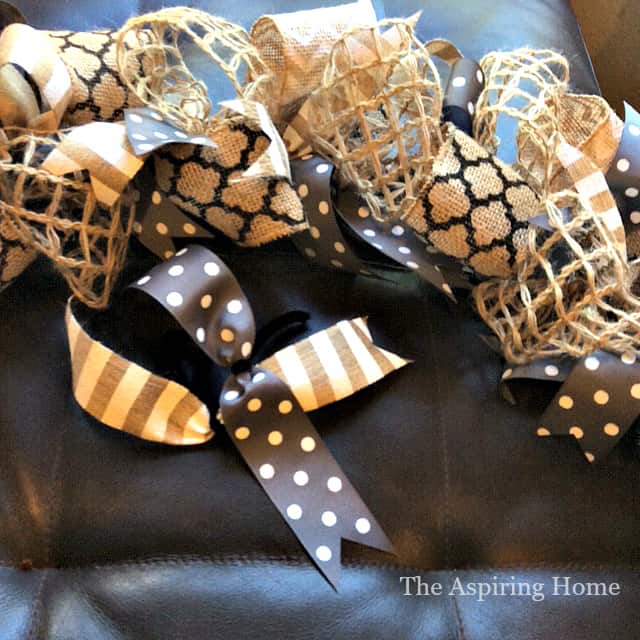
Add a little whimsy to your wreath by cutting 4 to 6-inch lengths of narrow ribbon. Pinch in the center and secure with a pipe cleaner. You can layer different styles together or you can tuck them in next to each other.
Once you have completed your wreath, use a tightly woven ribbon to cover all the “ugly” on the back of the wreath. A bit of hot glue to attach is all you need. This little finishing touch is important if your wreath will hang on a door with a glass insert.
Now let’s style our wreath!
Style Number 1- Keep it simple.
Our base wreath is cute enough on its own.

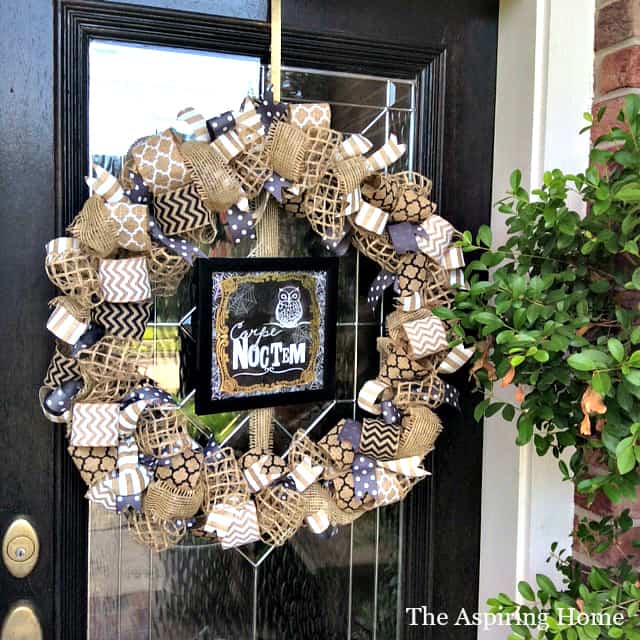
Style Number 2: Boo to You!
With the simple addition of a cute framed picture, our wreath is ready for Halloween.
Style Number 3: Keep it Classy
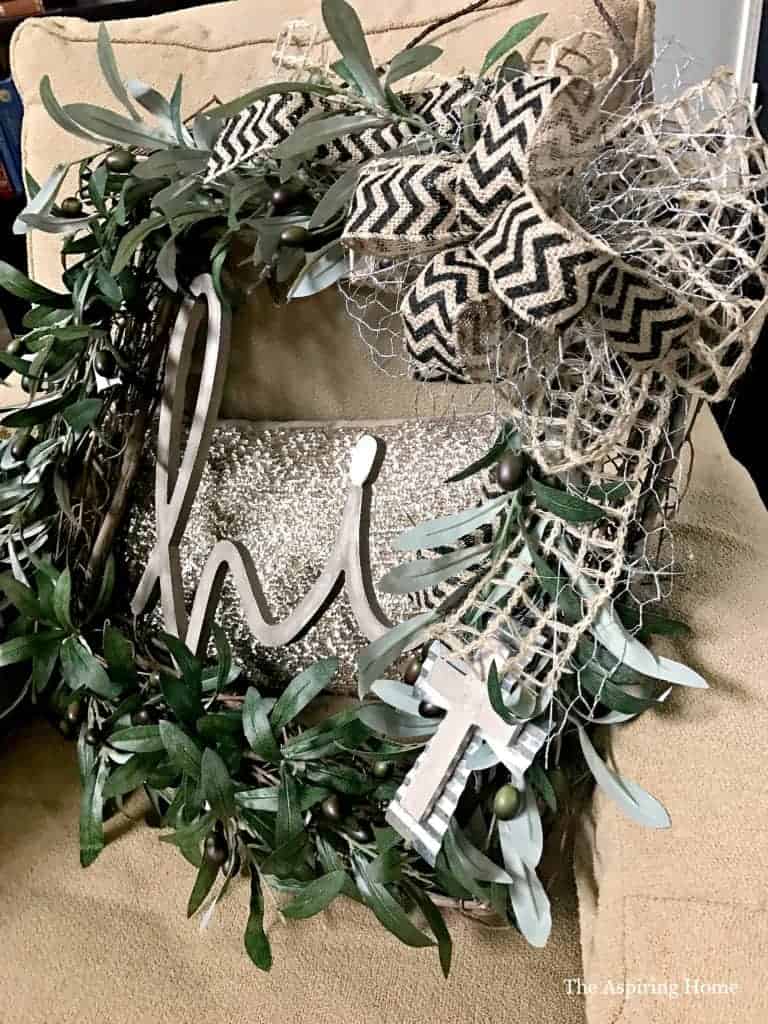
Our final style includes this simple monogram letter I found at the craft store and painted it with gold metallic craft paint. The burlap wreath and monogram combo is a perfect transition into the winter months.

Simple, affordable and fun! This project has it all!
Till Later Friends, keep aspiring to make your house a home!

I am so excited to create my first little video – it’s very simple but hey, it’s a start – right?!?
you may also like:
**Affiliate Link Disclosure: Please note that some of the links above are affiliate links, and at no additional cost to you, I will earn a commission if you decide to make a purchase after clicking through the link. Please understand that I have experienced all of these companies, and I recommend them because they are helpful and useful, not because of the small commissions I make if you decide to buy something through my links. Please do not spend any money on these products unless you feel you need them or that they will help you achieve your goals.


Joy…first off, the wreath by itself is so great…I’m in real wreath slump but there are so many possibilities here! And I love how you were able to change it ever so slightly with those simple additions. Great post my friend!
Thanks for the inspiration.
Hugs, LYnn
Thank you my friend! I am partial to the gray and white polka-dot ribbon mixed in. I totally understand wreath slump! 🙂